Week 3 Challenge : CFD meshing on Turbocharger
AIM: To perform volumetric mesh for the required internal volumes of the Turbocharger.
PROCEDURE:
- Download the model through the provided link. Open the item using "~performance mode_3" to ease our graphic card to work out smoothly.
- The downloaded geometry has different geometrical errors with side cutout, face cutout, edge trims, hole trims, overlap surfaces and such errors. And these errors are shown as 'red cons' and 'blue cons' along with glitches for overlapping. The 'yellow cons' depicts that they are the corrected forms of any geometry.
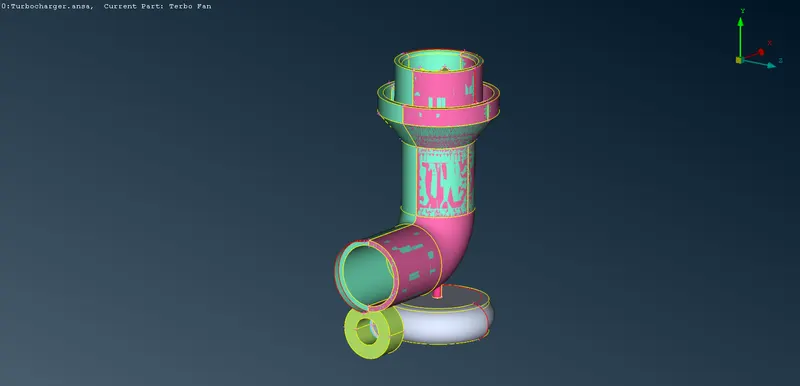
- The geometry manipulation, correction & cleanups of these errors are only been done in 'Topo mode'.
- Till now we explored simple geometries for clean-up. This geometry helps us to elaborate more about Topo-Face, Topo-Hot points and others.
- Before using tools for geometry clean-up, we must analyse the body to be corrected with the appropriate tool to be used in a single go to avoid unfortunate errors.
- We see in the pic, that turbocharge has a missing curve face, and a compressor is having missing face & overlap surfaces.
- Step by step these errors are cleared by using different 'Topo modes'.
- To remove the overlapping face over the Compressor casing, the easiest way is to search out the extra item in the 'Properties dialogue box' which helps to identify and eliminate it quickly without hiccups.
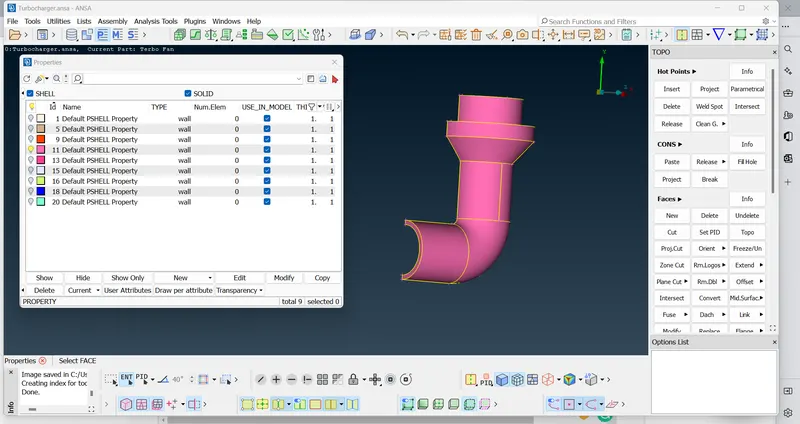
- With this quick step, we make rank out the scariness of the geometry. Now we will clear out the geometry error using different Topo tools.
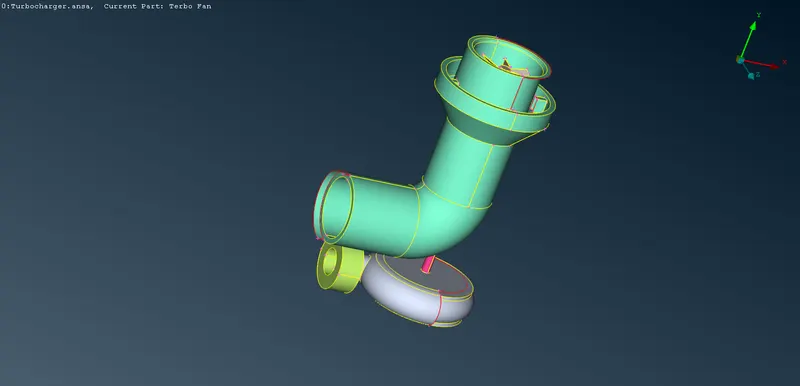
- For the geometry clearing errors, we use various topo tools to end up with perfect geometry. The below pic shows all geometry is cleaned with one set of 'triple con' which can't be avoided.
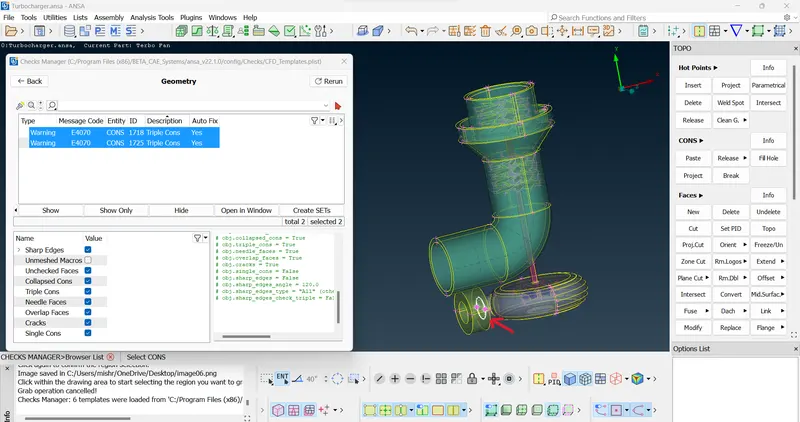
- The model is ready for surface meshing but for volume meshing, all open ends need to be closed perfectly for internal CFD. To make the system close few items were added that highlight the triple cons as the extra surface is added.
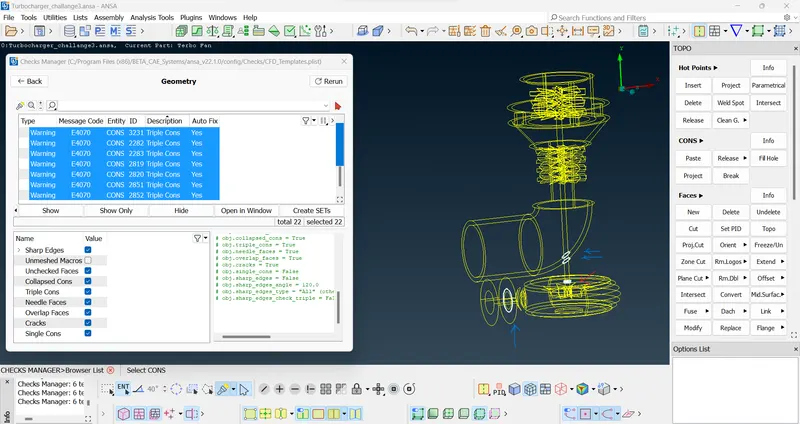
- Now I will make all individual parts highlighted here which are modelled before surface meshing.
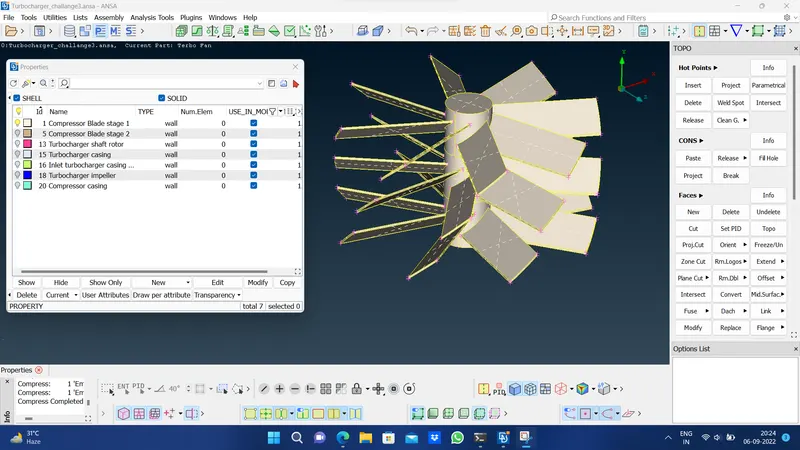
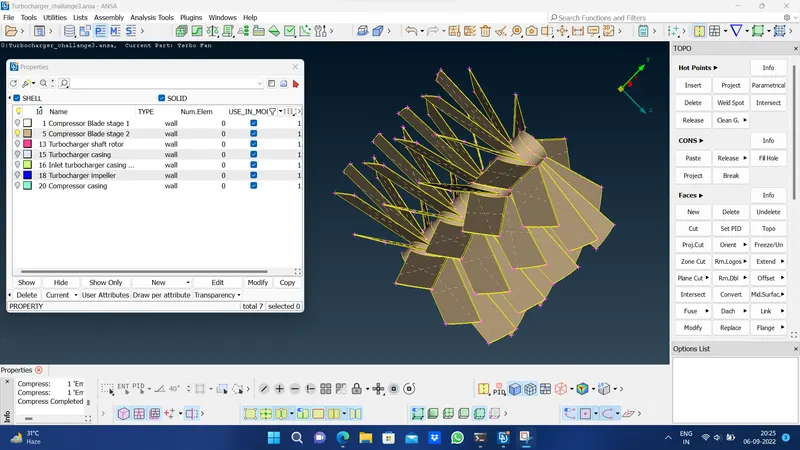
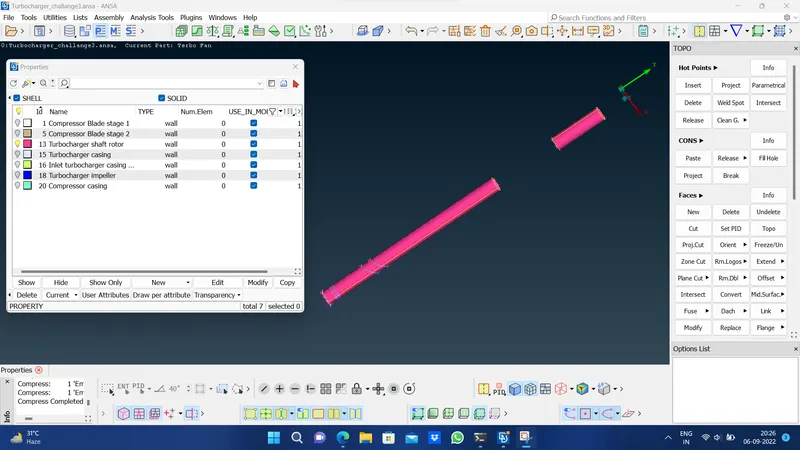
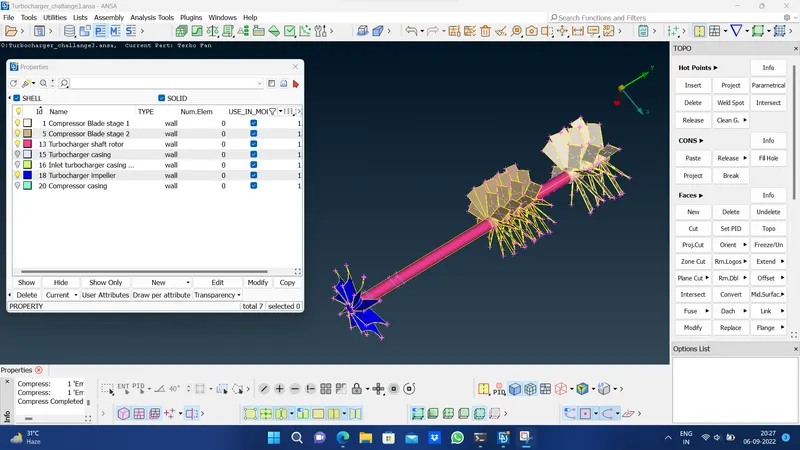
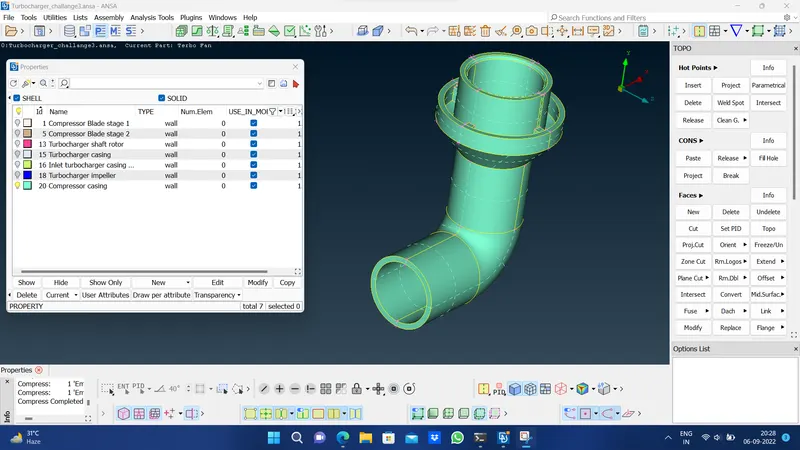
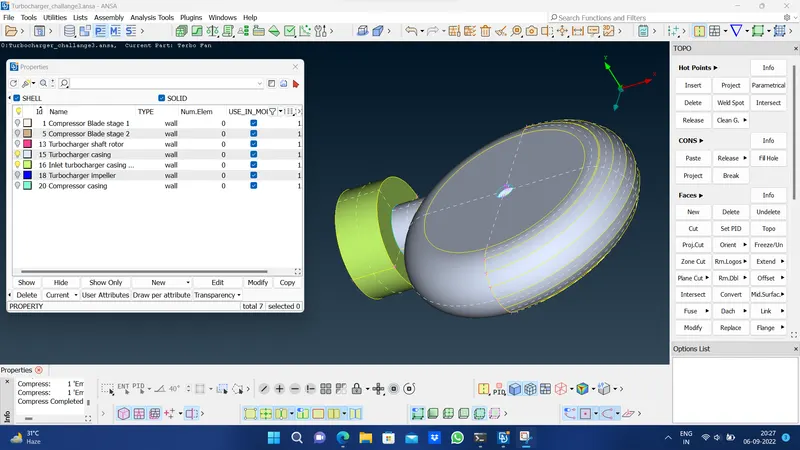
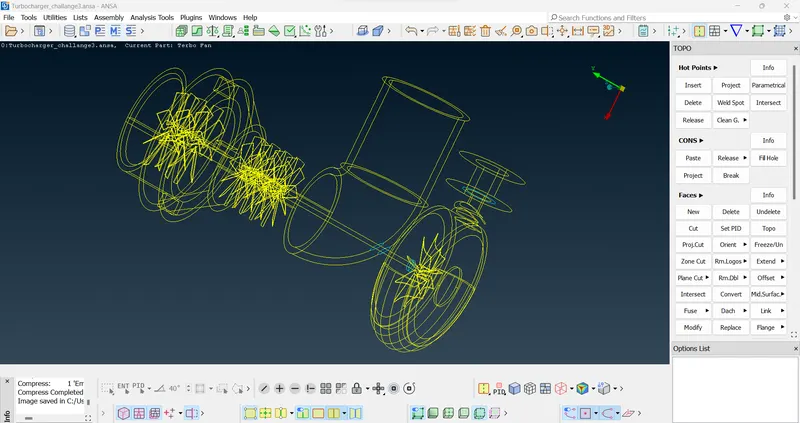
- As the body is perfectly cleaned for geometry we can proceed with meshing the surface of entities. The target length as mentioned in the challenge was given to individual PIDs to mesh the surfaces.
- Individual PIDs are been surface meshed with guided parameters & macros in spot meshing.
- In two instances the different mesh target lengths were generated. To arrange them perfectly the meshing for those parts is done in elemental growth.
- Also in possible areas, the macros cut is been provided to simplify the mesh length.
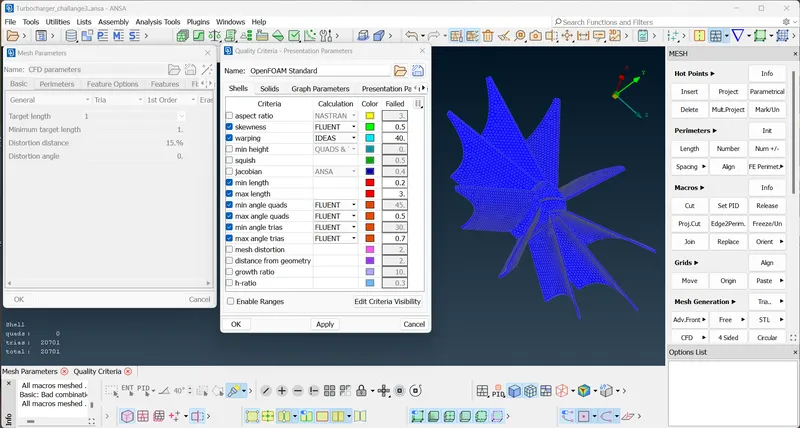
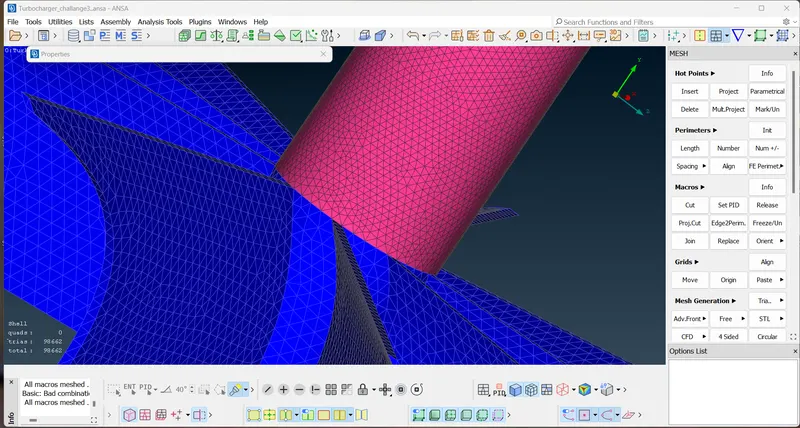
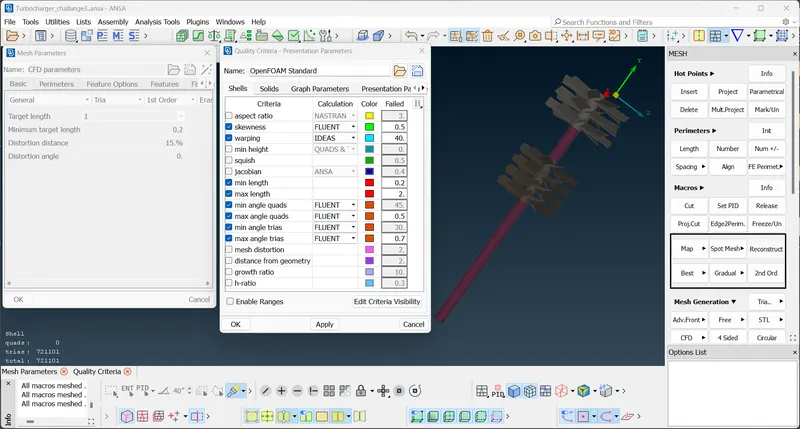
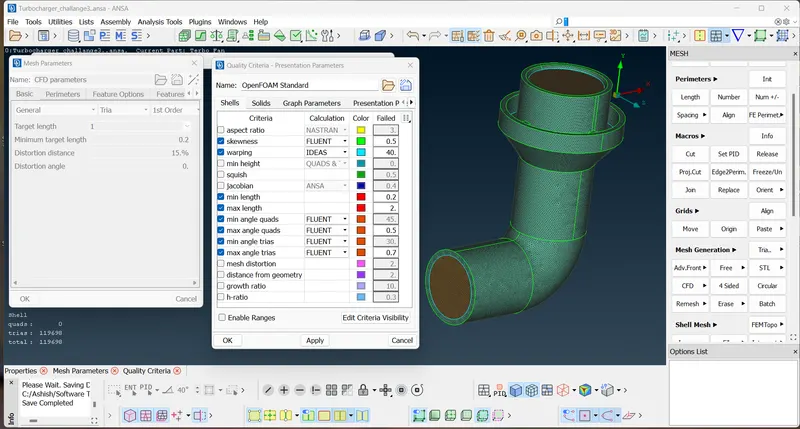
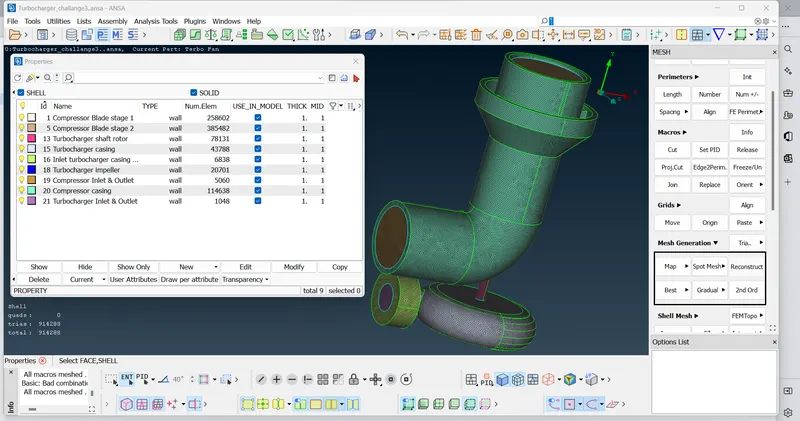
- The surface mesh for the model is completed.
- Now the volumetric meshing needs to be done. And the initial stage to start mesh is to meshed in the surface then only the next process can be done.
- Here we have to do internal fluid flow meshing, so we will be using 'Tetra CFD - mesh type' to mesh the required volume.
- But before that, we need to define the volumes of the model. And that can either be done manually or we can let the system automatically do the job.
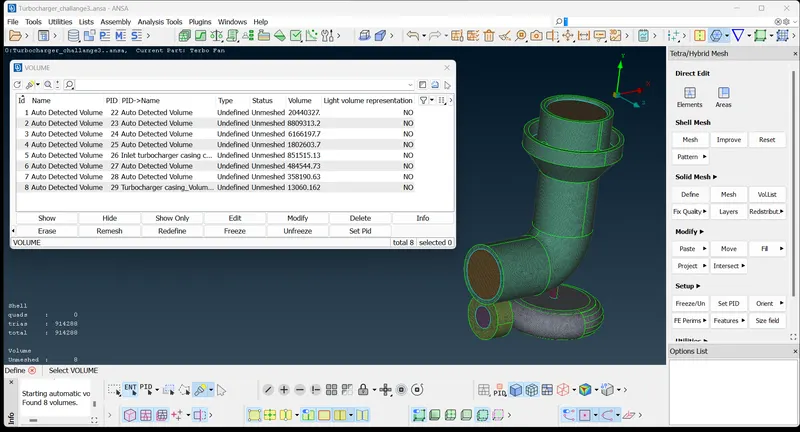
- Above the picture, we can clearly see that the model has meshed perfectly with the surface. Now it can be taken for volume mesh. And here, there are 8 volumes in total detected. Among them, only a few are required to do the internal flow mesh.
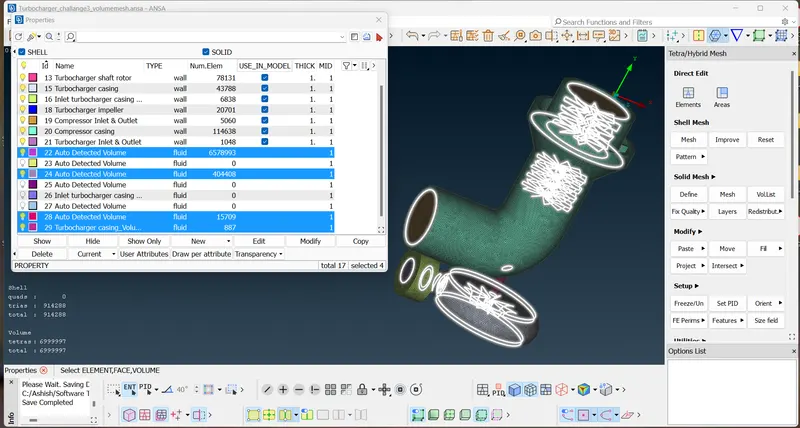
- By selecting individual auto-detected volumes we will get to know which all models are required for mesh.
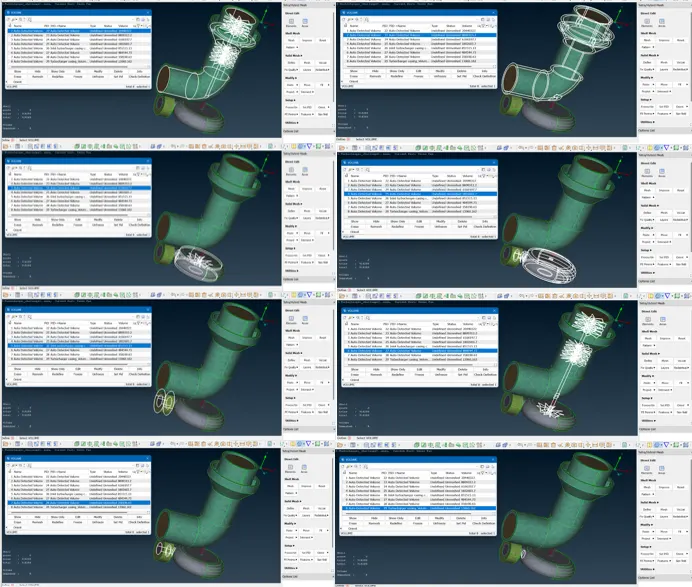
- Here all 8 volumes' pictorial representations are shown. And from this, we can look out for requested volumes and eliminate the rest.
- By modifying the defined list of volumes and following the guided path to mesh them in 'Tetra CFD' mode, we get the required model of volumes meshed perfectly.
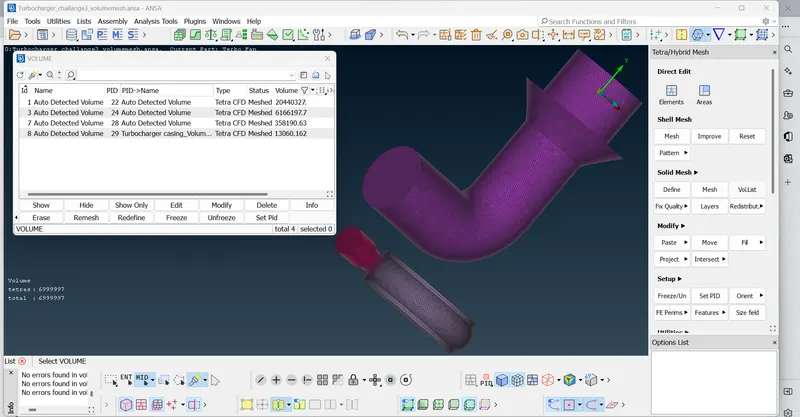
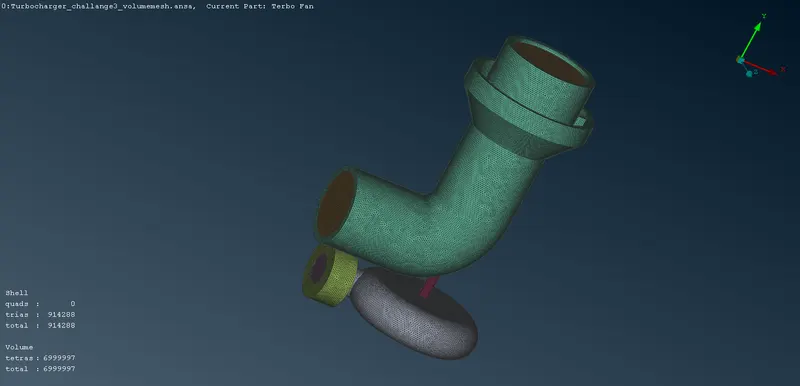
- By observing the model we get to know that we have 4 volumes attained to have meshed for internal fluid flow.
- Also, the mesh elements for volumetric meshing is way too much then the mesh elements found for the surface.
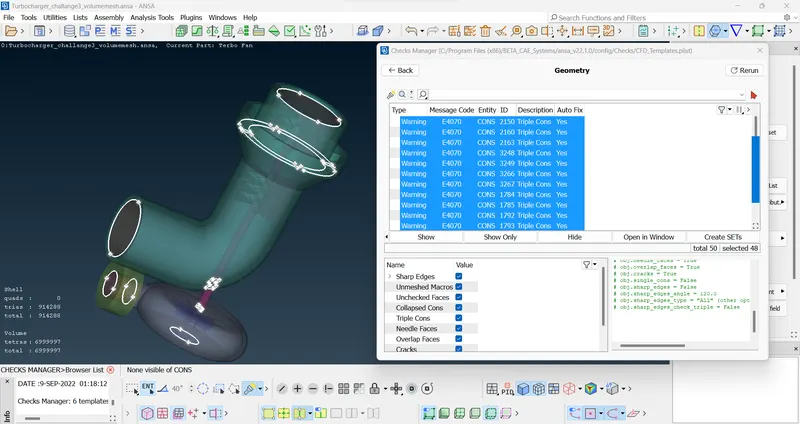
- As the model is completed with volume meshing. Now we can again check for geometric error and it shows only triple cons which can't be modified further.
LEARNING OUTCOMES:
- The glitched surfaces are eliminated in Topo.
- Different techniques of face-topo command.
- The meshing of various sub-parts is a good learning process.
- Volume meshing is a good learning outcome.
RESULTS: The volumetric mesh for the model is done.
CONCLUSION: The meshing for both surface & volume is been done and the model is been attached to G-drive. While modelling many error rectification is been done and this will help a lot in further challenges.
UPLOADED MODEL:
https://drive.google.com/file/d/1DxUJoXpSL0rJpYQpT3WpsB47KV49BWRw/view?usp=sharing
* as the size of the model is too large to upload directly, the 'google drive' link is been shared to access the corrected model.