Week 3 Challenge
Challenge:-3
QUESTION:-1
Create beam properties for First floor and model the beams.
ANSWER:-
- First we have to open the TEKLA software.
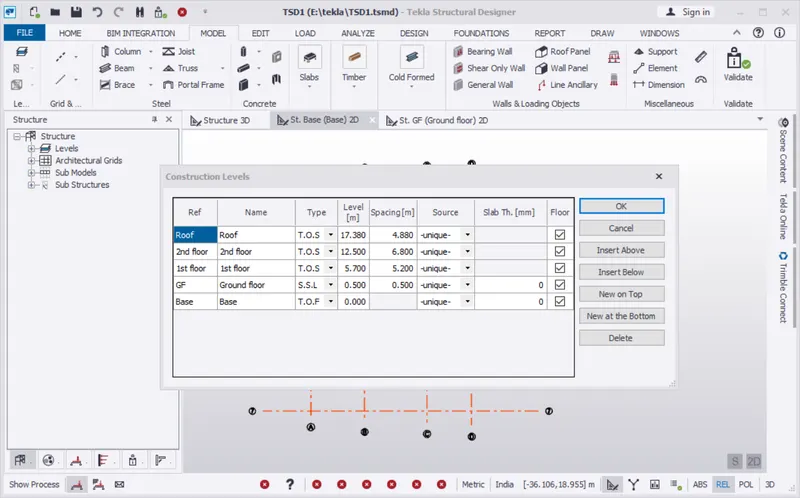
- Next we set the levels using the construction levels option, as shown below.
- And the grid lines are drawn according to the given attachments, as shown below.
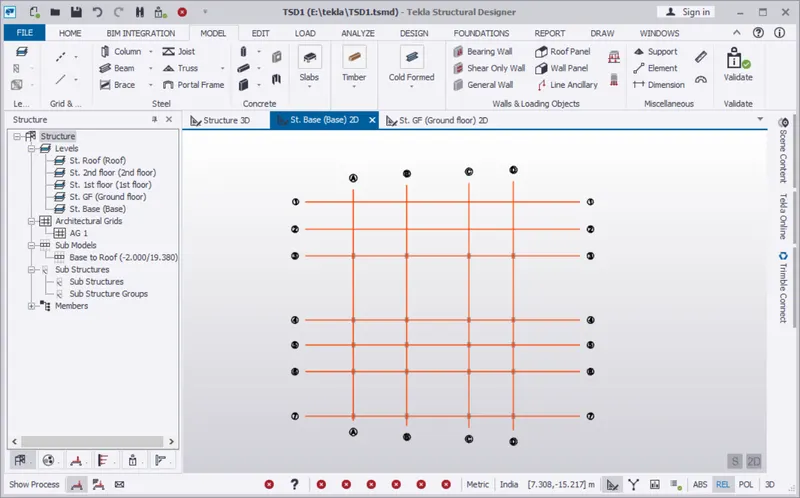
- Next we create column properties for different types of pedestal members and model in the grids, as shown below.
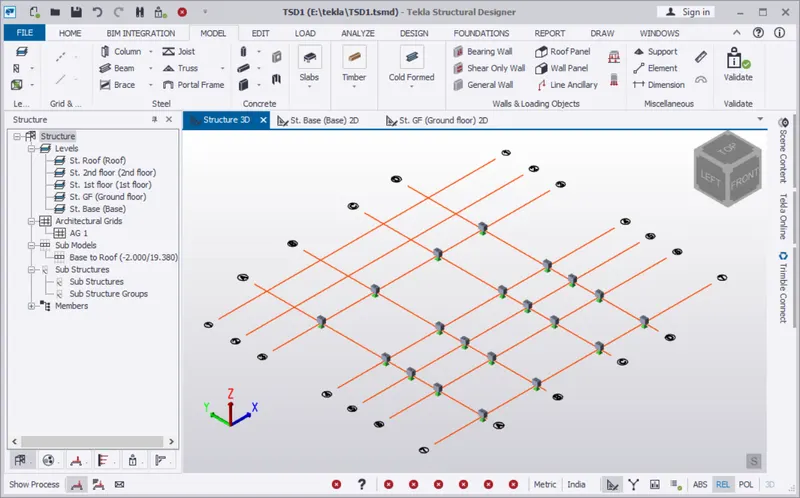
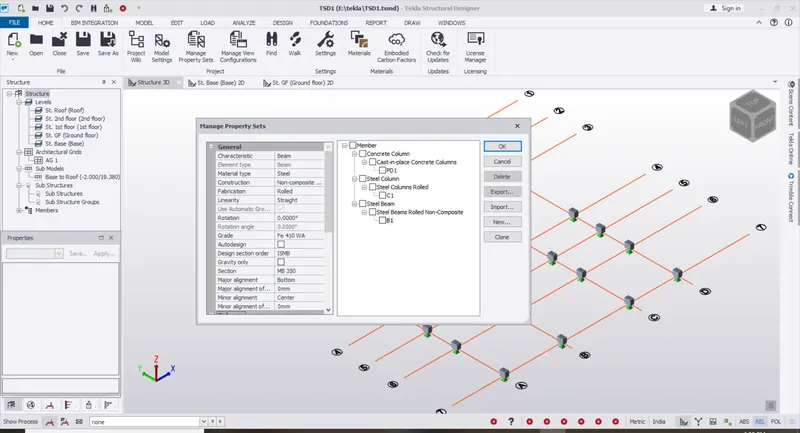
- Next we go to the Home tab and select Manage Property Sets option.
- Next the new tab will appears, in that we need to add the properties of Steel column and Steel beam, as shown below.
- Next click on the OK button.
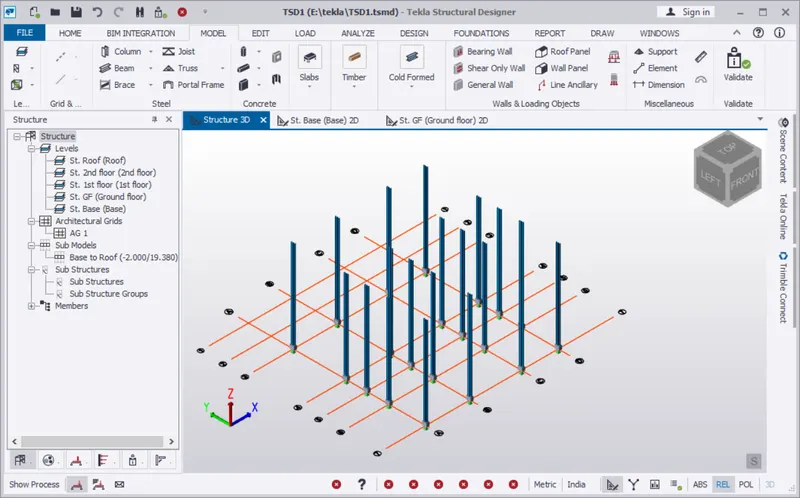
- Now we add the steel columns by applying the column properties which we have added in the manage property sets, as shown below.
- Now we add the steel beams by applying the beam properties which we have added in the manage property sets, as shown below.
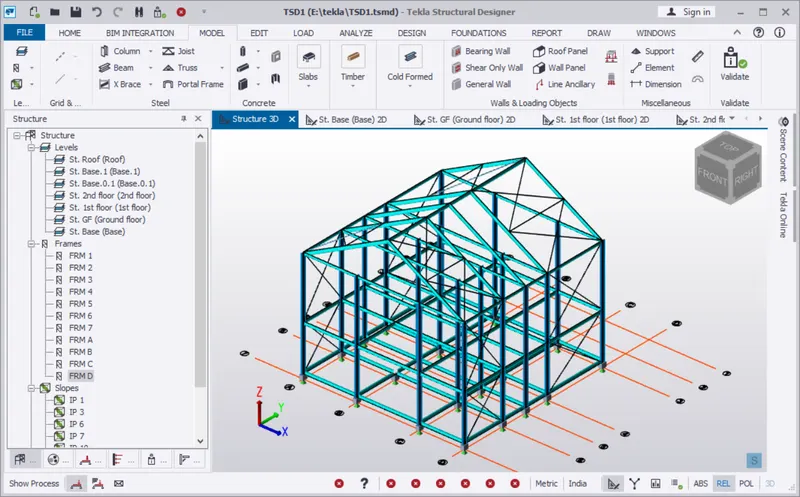
- Now the Steel beams and Steel columns are shown in the 3D view, as shown below.
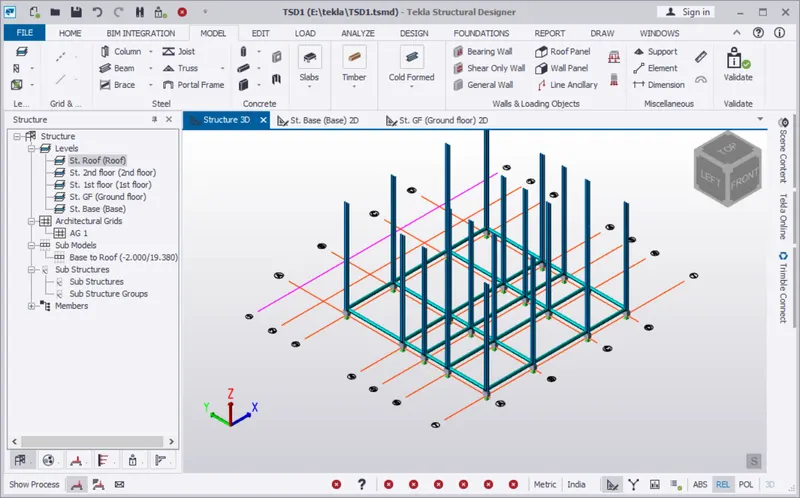
- Next we need to add the beam properties for 1st floor.
- Now we go to the Home tab and select Manage Property Sets option.
- Next the new tab will appears, in that we need to add the properties of Steel beam, as shown below.
- Next click on the OK button.
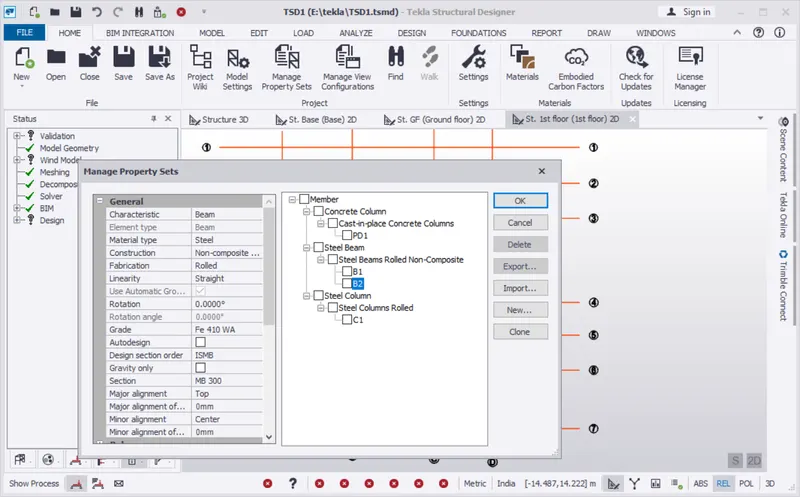
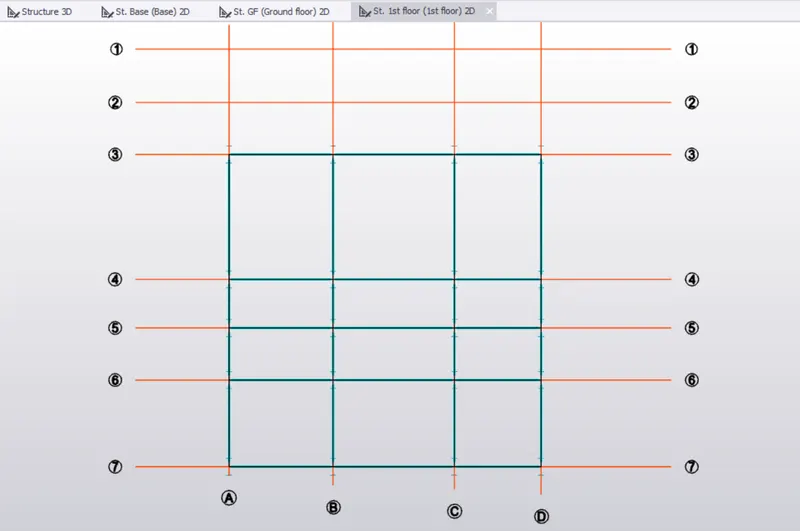
- Now we add the steel beams in 1st floor by applying the beam properties which we have added in the manage property sets, as shown below.
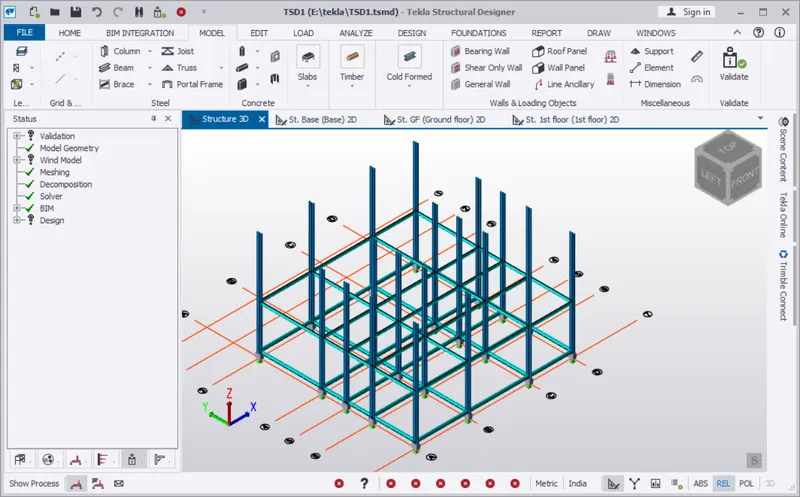
- Now the Steel beams created in 1st floor are shown in the 3D view, as shown below.
QUESTION:-2
Create rafter beam on second floor as roof and moment frame action in one direction and add bracings at locations as per the design intent.
ANSWER:-
- Here, we need to create the rafter beam on second floor as roof.
- Now we go to the Home tab and select Manage Property Sets option.
- Next the new tab will appears, in that we need to add the properties of Steel beam (Rafter beam), as shown below.
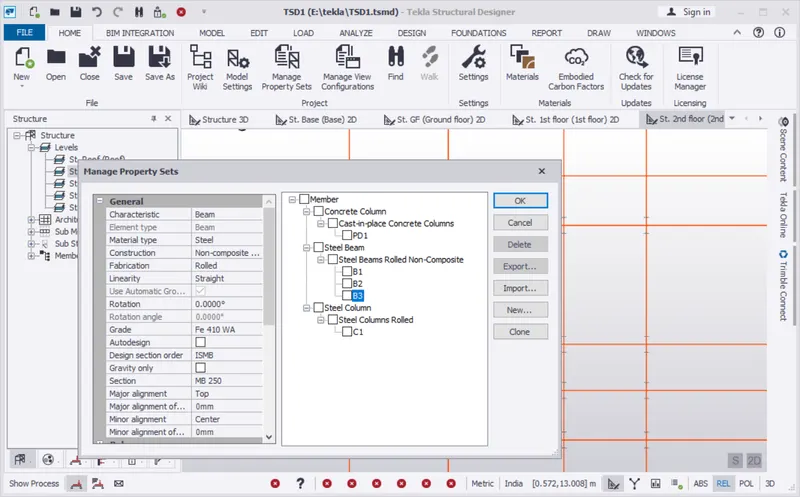
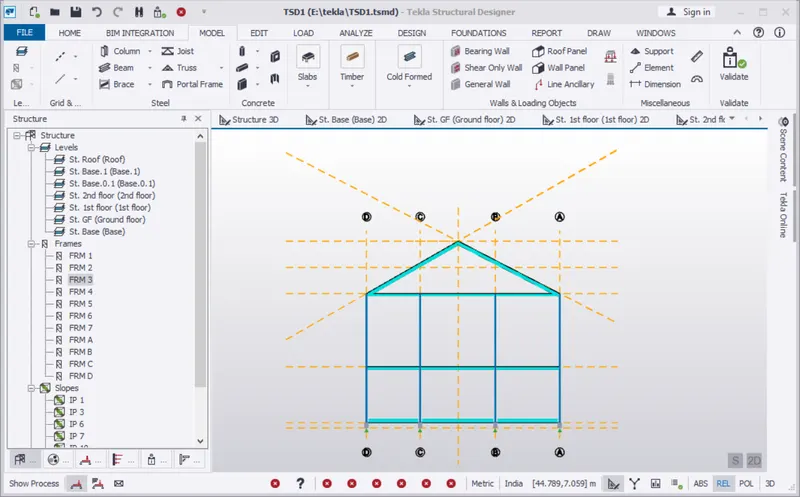
- Now we add the add beams as roof on 2st floor by applying the beam properties which we have added in the manage property sets, as shown below.
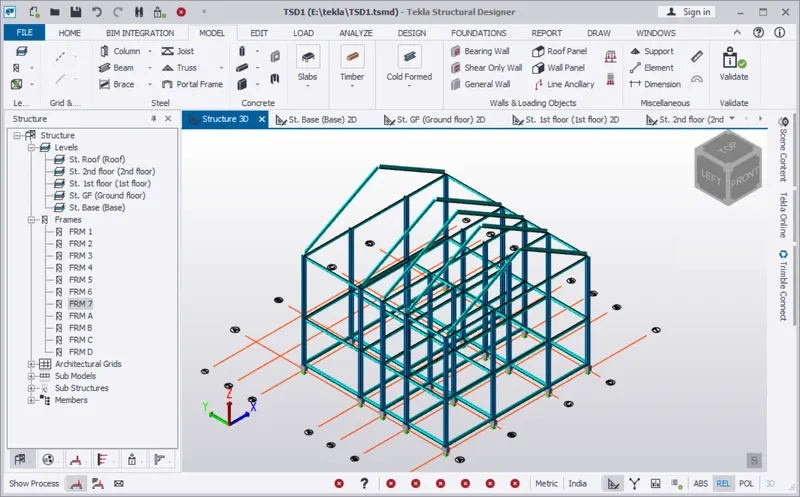
- Now we go to the Home tab and select Manage Property Sets option.
- Next the new tab will appears, in that we need to add the properties of Steel beam (Ridge beam), as shown below.
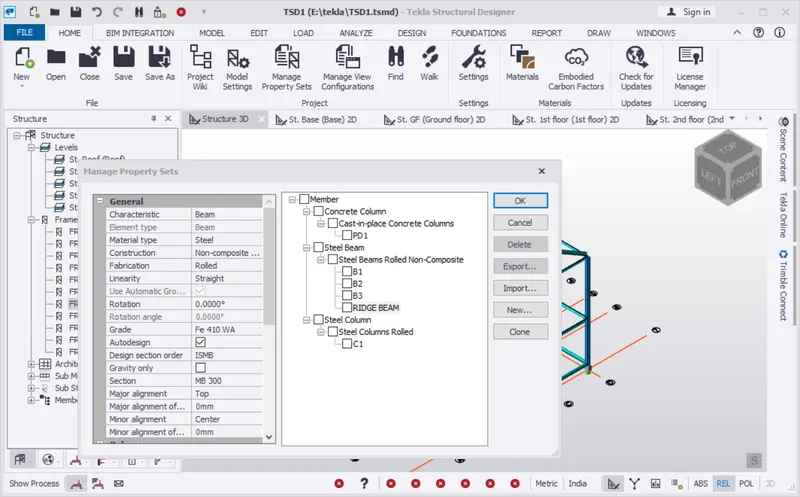
- Now we add Ridge beam on the roof by applying the beam properties which we have added in the manage property sets, as shown below.
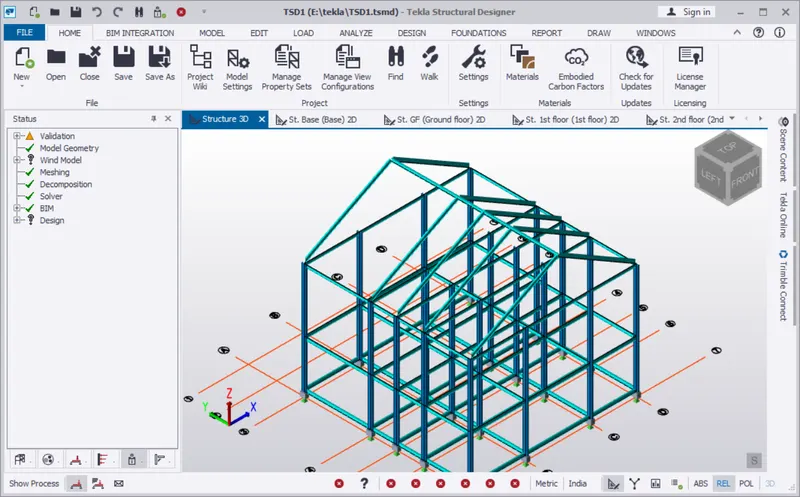
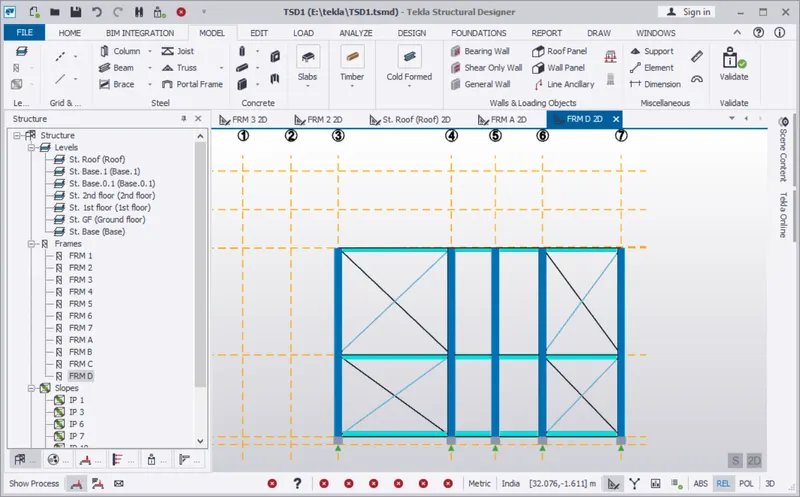
- Now we add the bracings in the required places.
- Next we go to the Home tab and select Manage Property Sets option.
- Next the new tab will appears, in that we need to add the properties of Steel Bracing, as shown below.
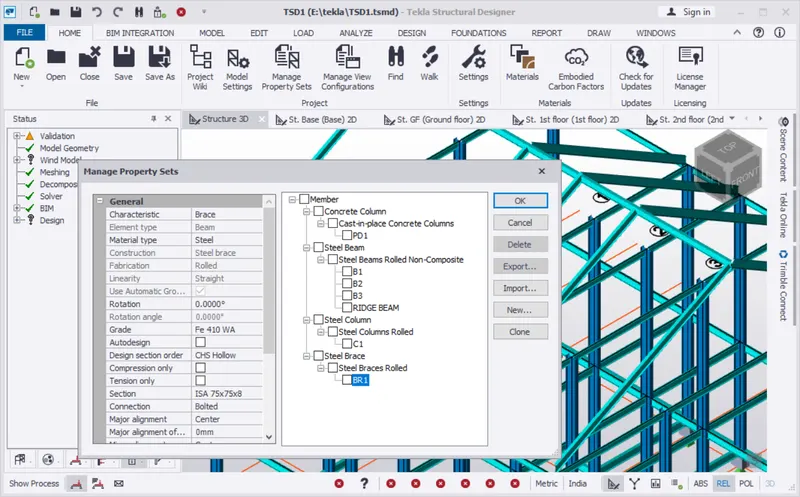
- The Steel bracings are added in the required places, as shown below.