REVIT_Usage of Elements & Properties_Week 3
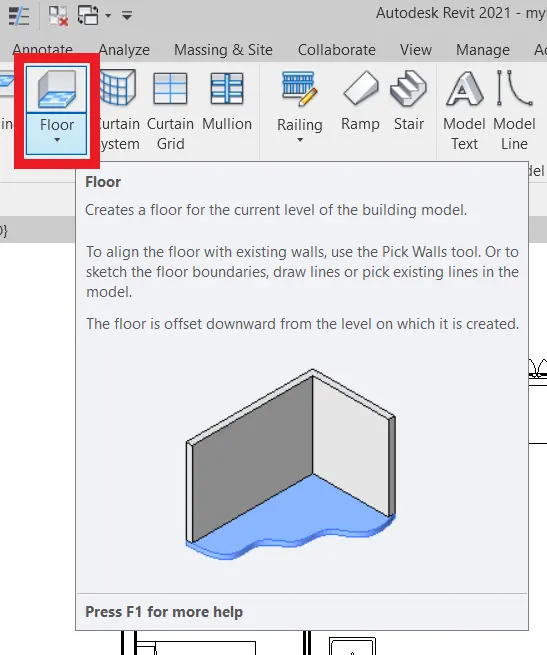
1) Use the project file created from Week 2. Use it for this assignment. Based on your layout from week 2, using the floor tool under the architecture tab and select the floor with appropriate material and thickness using the property browser create a layout in the Ground floor level. Align the floor plan with grids created from week 2.
1ans)
Aim: Using floor tool under the architecture tab and select the floor with appropriate material and thickness using the property browser create a layout in the Ground floor level. Align the floor plan with grids created from week 2.
Tools Used:
- floor
- pick lines
- properties browser
Procedure:
- from the architectural tab select floor tool
- click on the pick line tool. Then select the boundaries in between which you desire to ad floor.
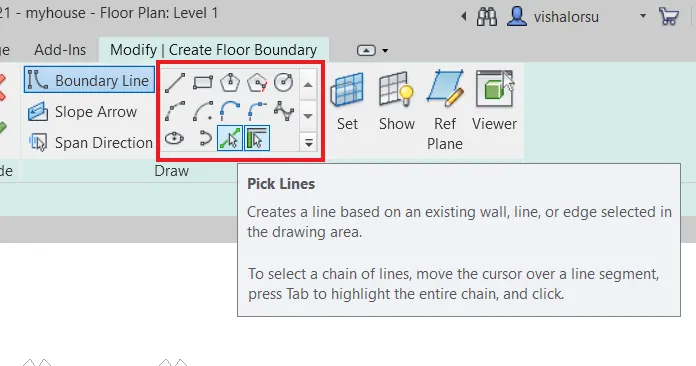
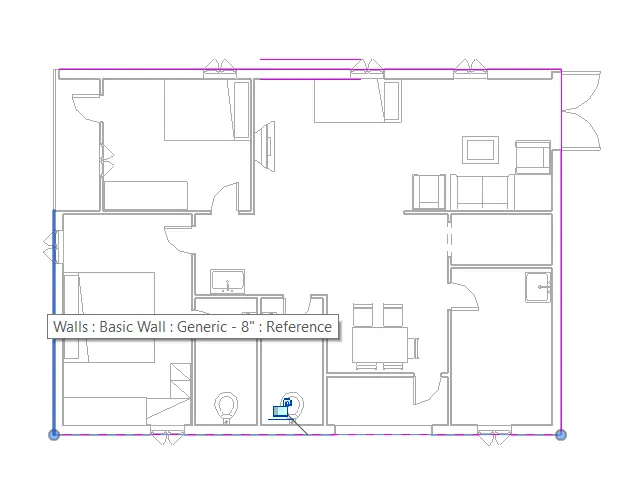
- after completion of setting the boundaries click on the tick mark in the mode section. the floor will appear.
- now from the properties browser we can change thickness, texture, and material
- click on edit type, from the dialog box opened
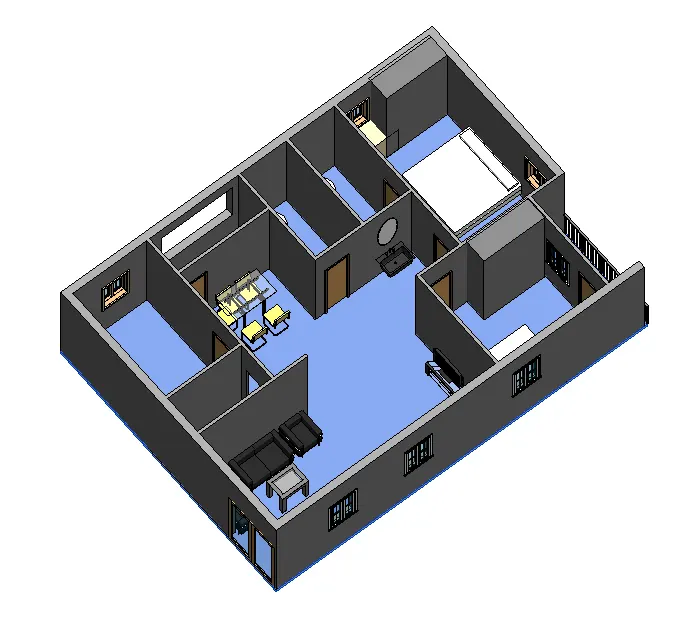
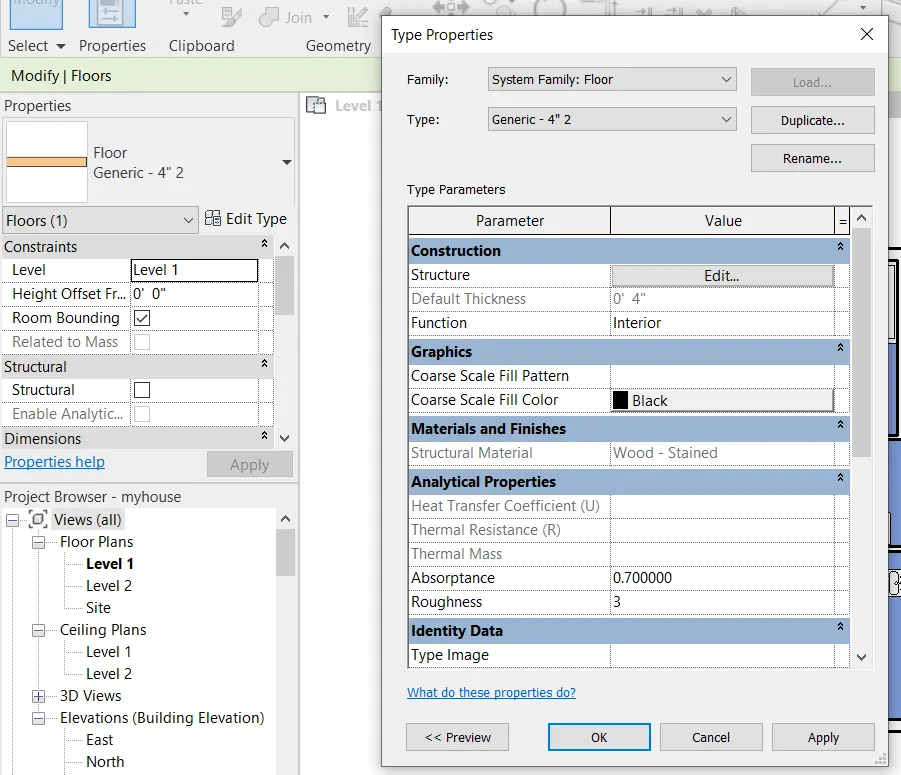
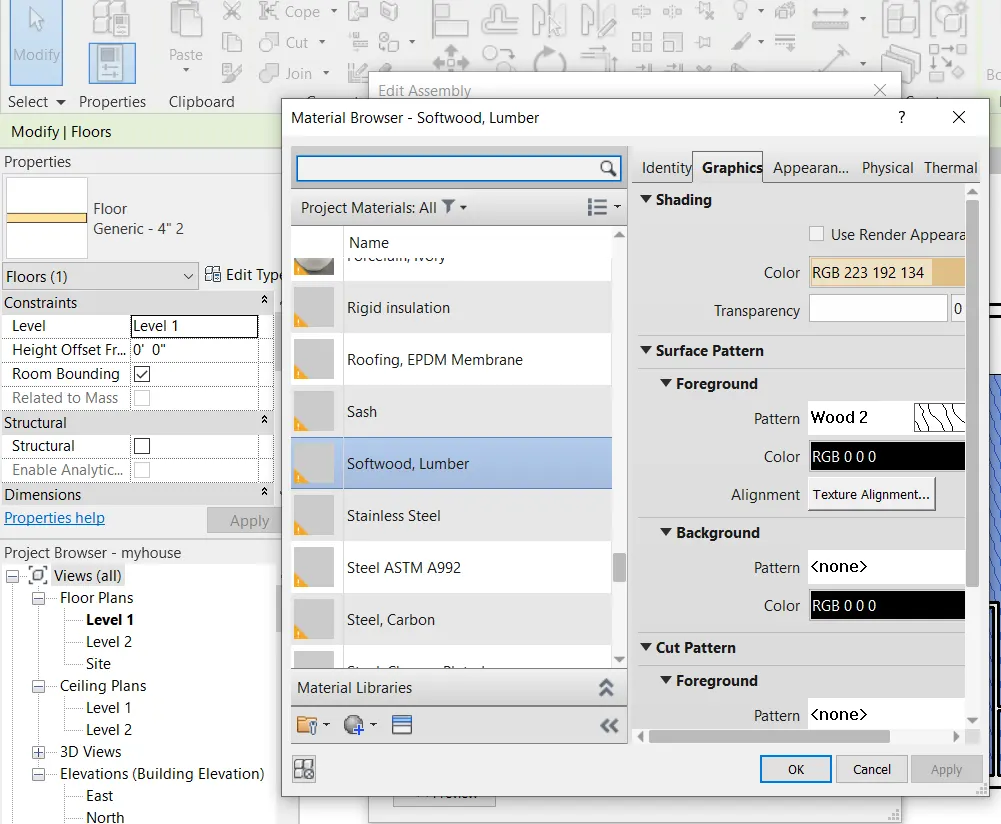
6.from there select the required texture and material.
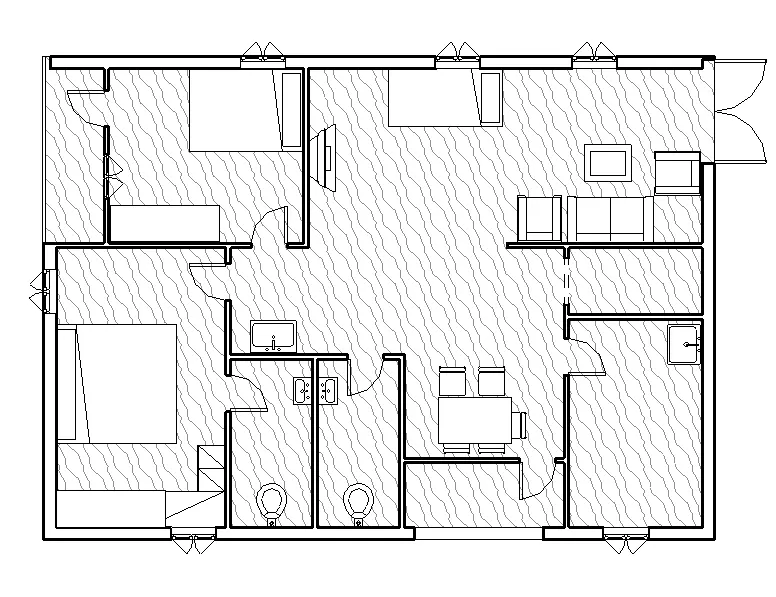
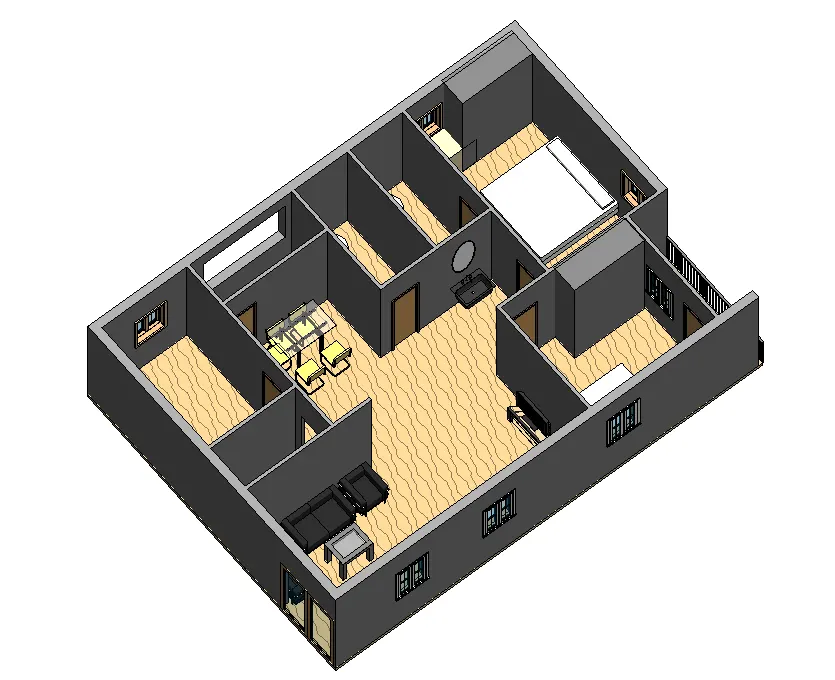
Result: Floor with appropriate material and thickness is added.
_____________________________________________________________________________________________
2) Add walls based on the floor layout. Pick lines or use the draw tool to modify the boundary of walls. Use the property browser to select appropriate material and thickness for walls. After creating the walls verify using the property browser to see if the top and bottom of the walls are constrained.
2ans)
Aim: Use the property browser to select appropriate material and thickness for walls. After creating the walls verify using the property browser to see if the top and bottom of the walls are constrained.
Tools used:
- wall
- properties browser
Procedure:
- Select wall from architecture menu
- from the properties browser change the wall the type as desired.
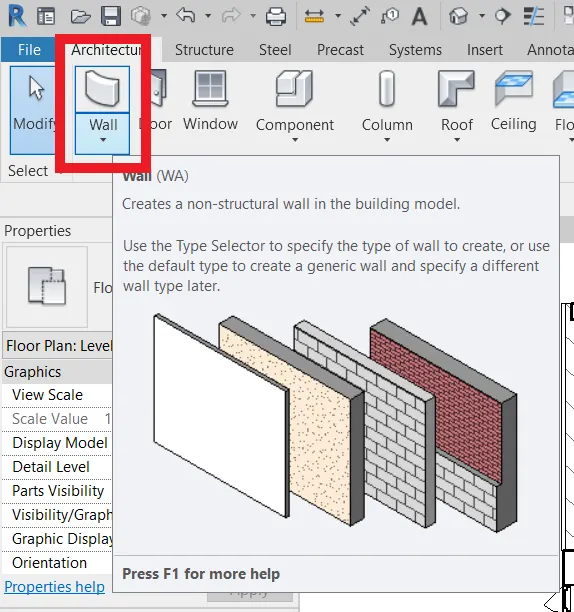
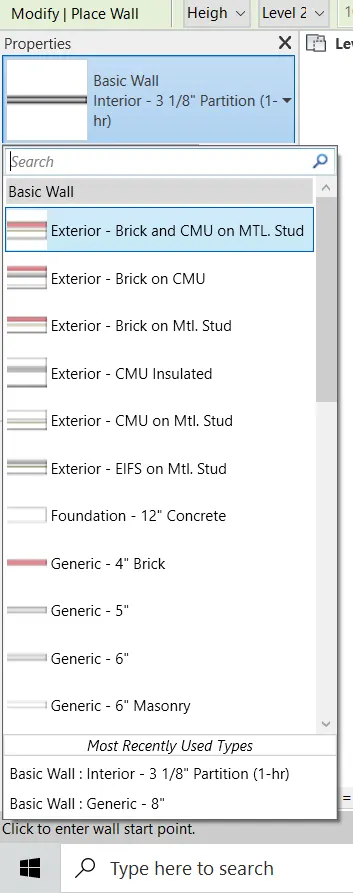
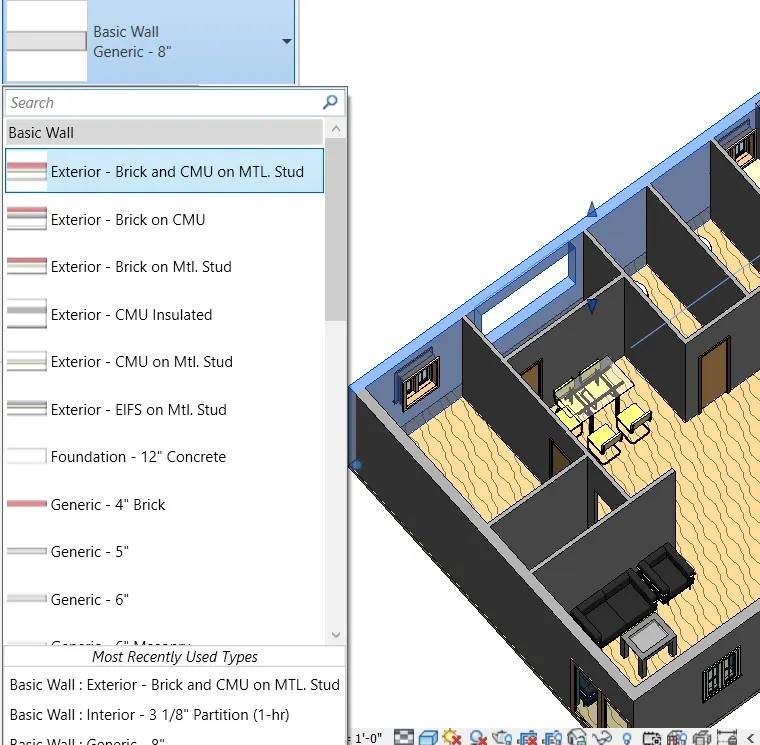
- from the properties browser look into the top constraint to verify if the top and bottom of the walls are constrained.
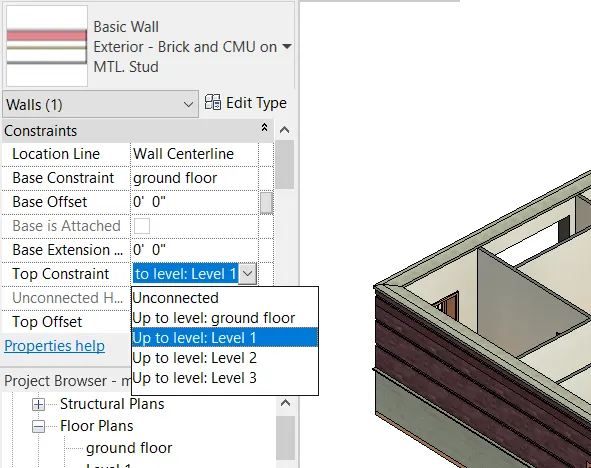
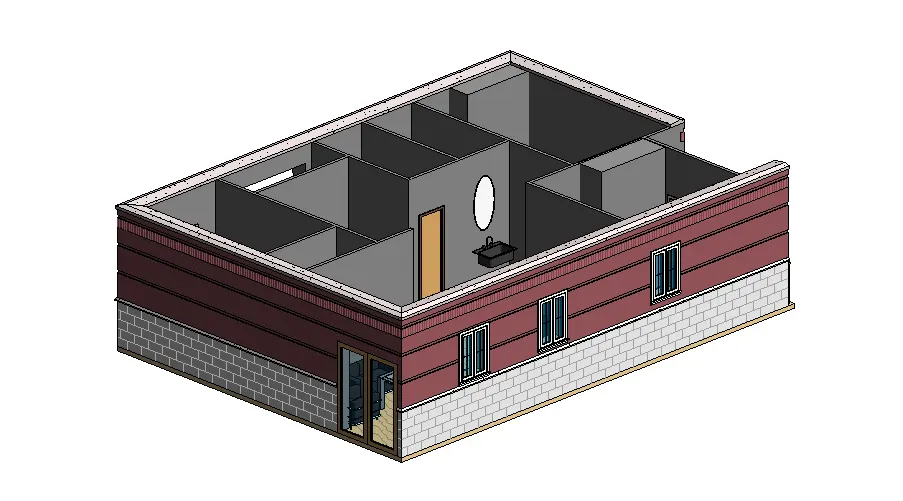
A) Based on your observation, what is beneficial for connecting walls with associated levels rather than being Unconnected
answer) When walls are being connected to the associated levels if the upper level is moved down or up in terms of height. The walls stay connected to the level and we need not change the heights of the walls or else they stay as the height mentioned and the level stays unconnected.
B) Which option is convenient for modeling walls, By Height or By Depth?
answer) In modeling walls, we can build walls with depth and height parameters. I would prefer doing it with heights because when we start the ground floor then continue with the first floor. Placing the walls with heights mentioned may make it easier.
_____________________________________________________________________________________________
3) Copy the model elements ( wall, floor ) modeled to Ground Floor Level and paste it aligned to First Floor Level. Use modify tab to utilize copy and paste options to align
elements to a different level
ans)
Aim: To copy the model elements ( wall, floor ) modeled to Ground Floor Level and paste it aligned to First Floor Level. Use modify tab to utilize copy and paste options to align
elements to a different level
Tools Used:
- modify tab
- copy to clipboard
- paste
Procedure:
- select the ground floor layout.
- From the modified tab select the copy option.
- move to first-floor plan use paste option from modifying tab and paste it.
- align it properly upon the ground floor.
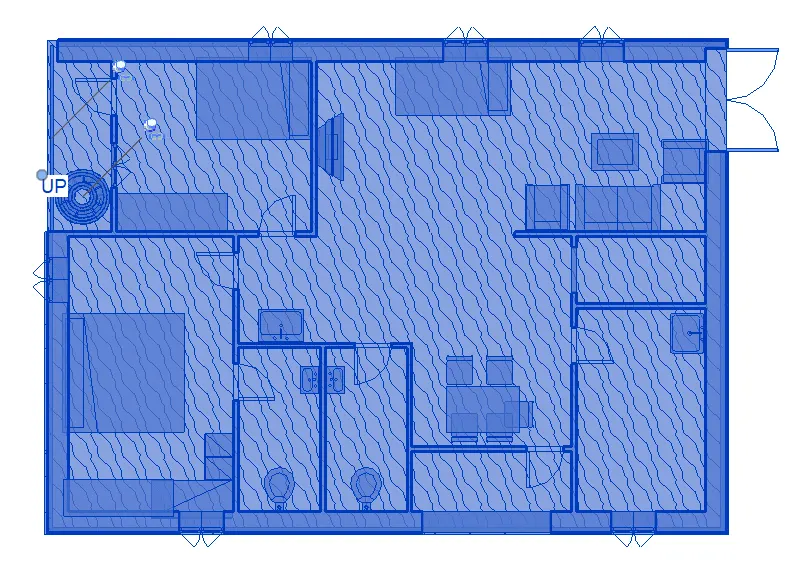
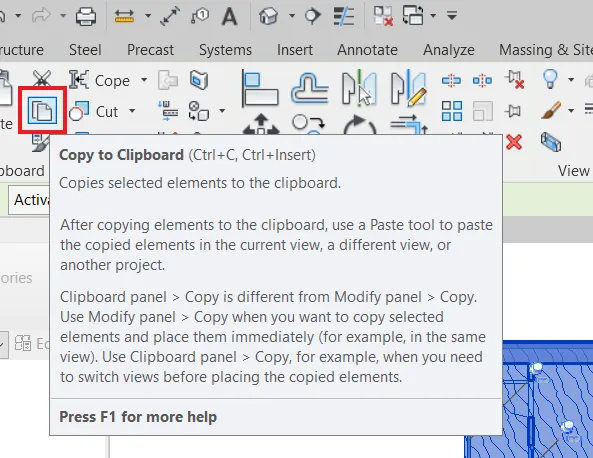
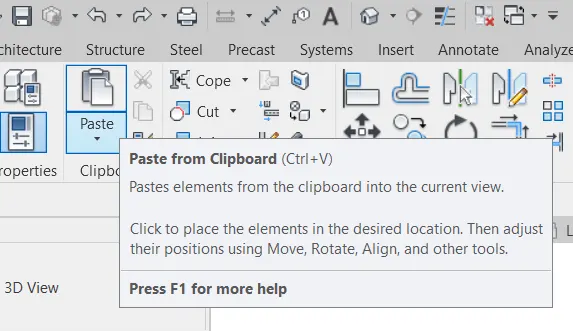
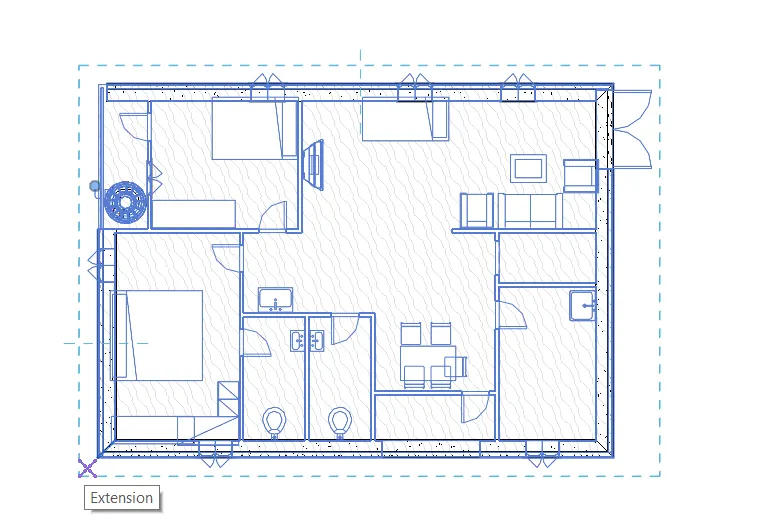
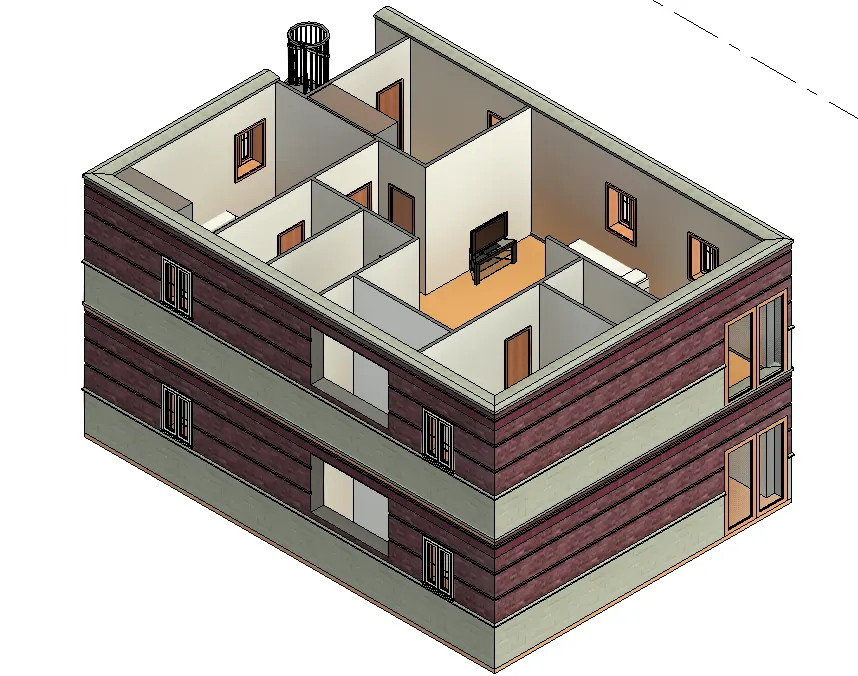
Result: The ground floor layout was posted on the first floor.
____________________________________________________________________________________________
4) Use interior partition walls to create separate rooms within your residential unit. The model must include the following rooms
- Living Room/ Drawing Room
b. Dining Room
c. Bed Room
d. Rest Room
e. Kitchen
ans)
Aim: To use interior partition walls to create separate rooms within your residential unit
Tools used:
- wall
- property browser
Procedure:
- select walls tool from the architecture menu
- from the property, the browser select the desired interior wall
- place the walls to make rooms
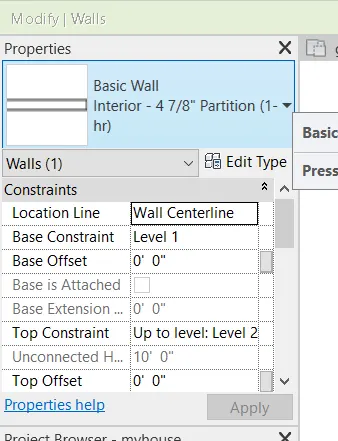
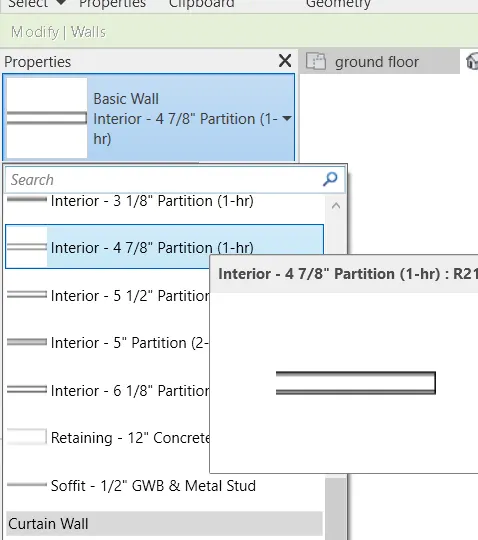
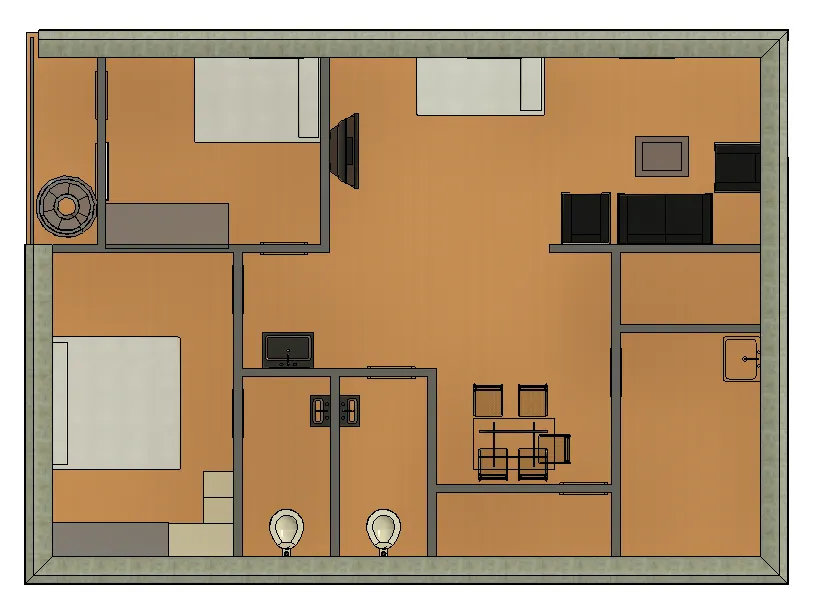
Result: Room walls were placed and required rooms were made successfully.
_____________________________________________________________________________________________
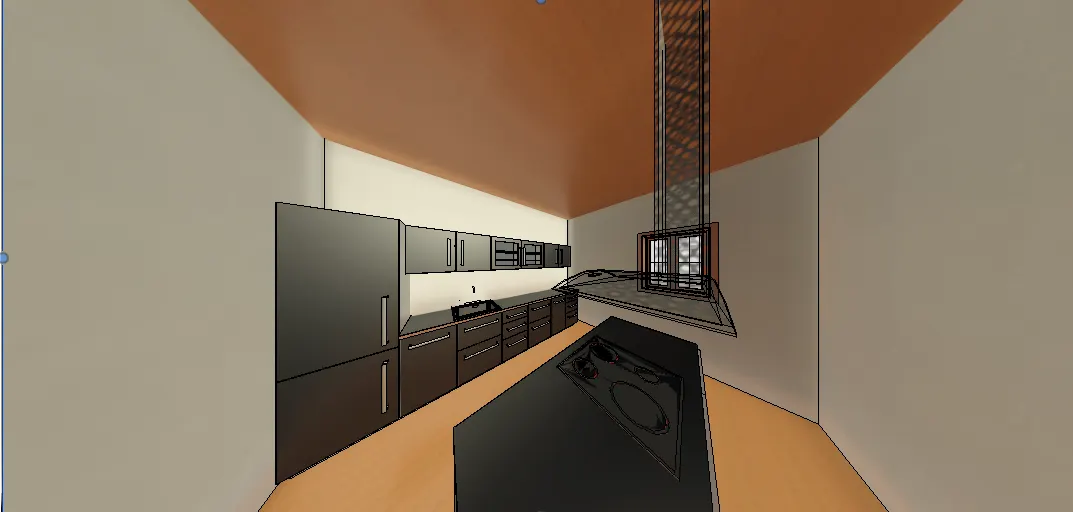
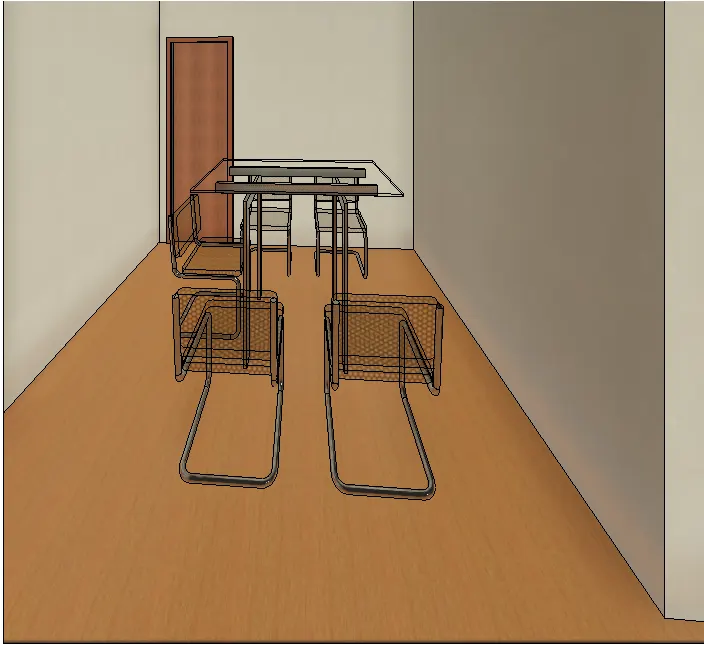
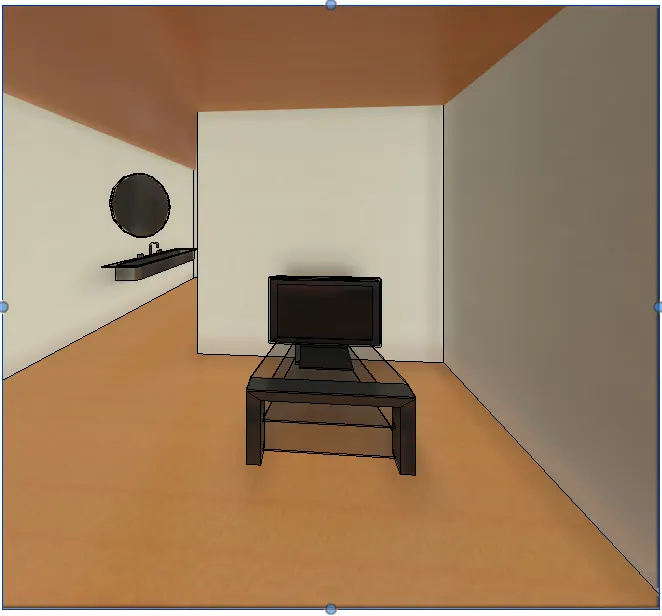
5) Based on the week 2 assignment, the components to be included in a residential unit were inserted into the Revit file. Place these components in appropriate locations to add details to your residential model
ans)
Aim: To add required components in appropriate locations to the residential layout created.
Tools used:
- insert
- load family
- component
- property browser
Procedure:
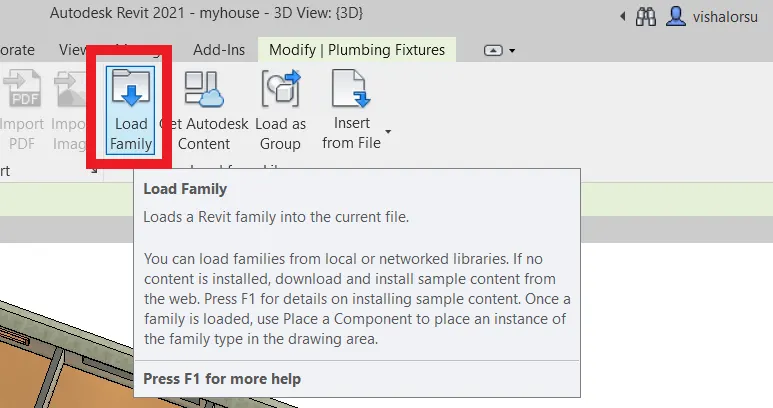
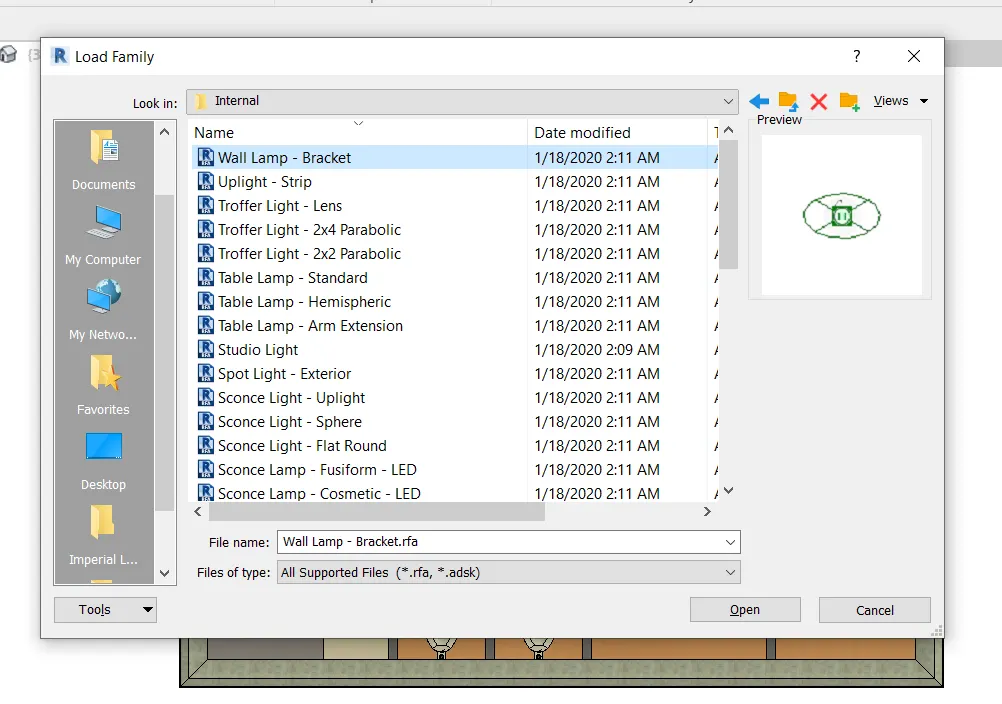
- From the Insert tab select load family and from the dialog box opened select the desired components that need to be added at an appropriate location.
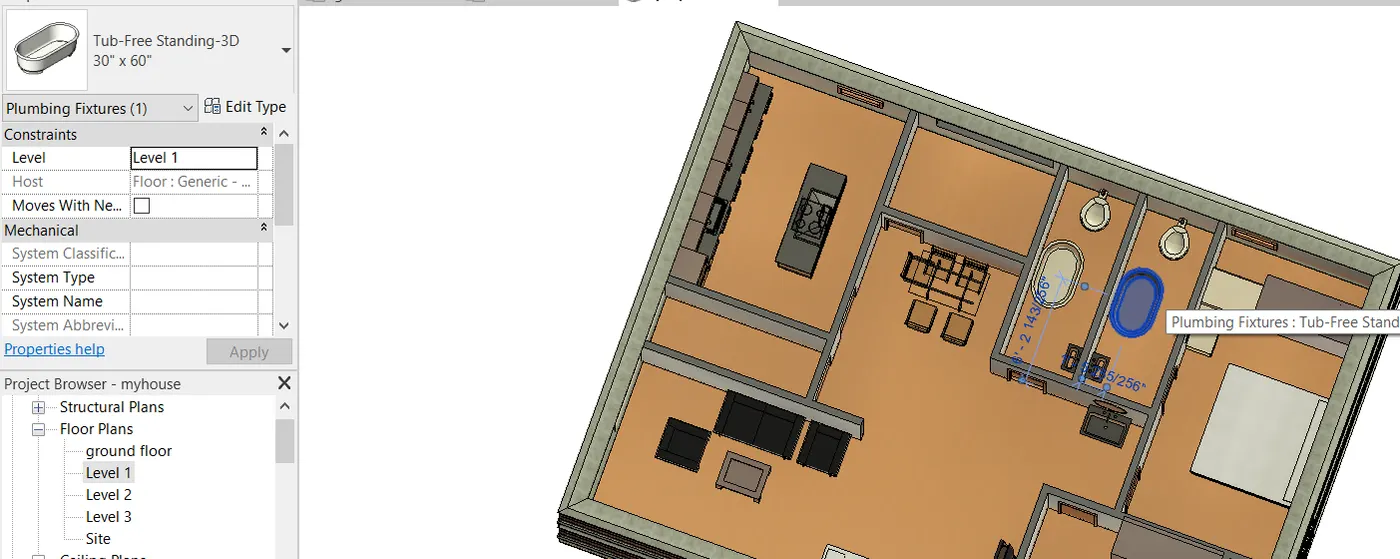
- in the architecture tab select component and place it in the appropriate location.
RESULT:-
Using all the components that are available in Revit Library, they are placed at appropriate locations successfully.
_____________________________________________________________________________________________