Week 3 - 2D meshing for sheet metal
Meshed Model:-
https://drive.google.com/file/d/1hxmIPFR_0Pip4pGAdJf2v3U4AcRtvURD/view?usp=sharing
Objective:- For the given hood model we have to take the midsurface for all the components after checking the geometrical errors then mesh the midsurface with the given element quality criteria.
|
S.No |
Quality Criteria |
Value |
|
1 |
Target/Average length |
5 |
|
2 |
Minimum Length |
2 |
|
3 |
Maximum Length |
7 |
|
4 |
Aspect |
3 |
|
5 |
Warpage |
15 |
|
6 |
Skewness |
45 |
|
7 |
Jacobian |
0.7 |
|
8 |
Minimum Quad Angle |
45 |
|
9 |
Maximum Quad Angle |
135 |
|
10 |
Minimum Tria Angle |
30 |
|
11 |
Maximum Tria Angle |
120 |
|
12 |
Tria Percentage |
15 |
Steps followed:-
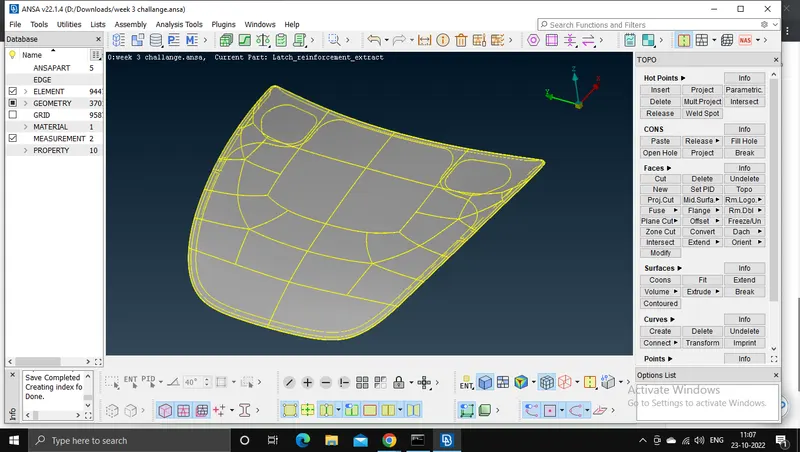
1) We have to import the model. File>Open> week 3 challenge.ansa
2) Then we have to do the cons resolution. Mesh>Perimeter>Length>Length parameters=1
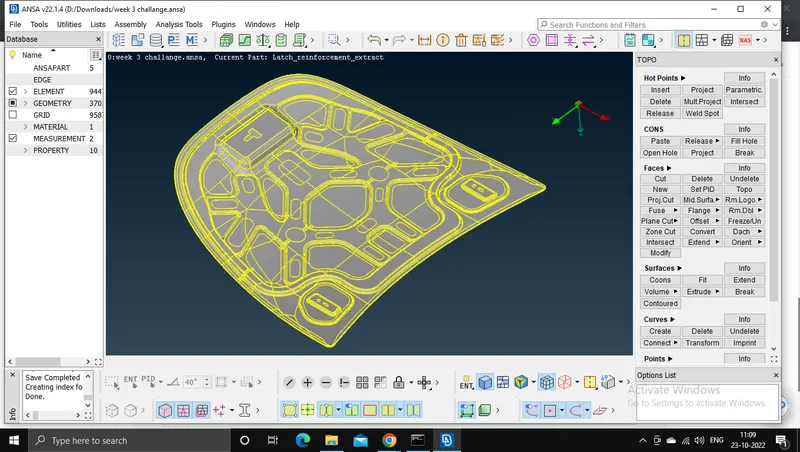
3) Check Connectivity if there are any unnessesary single and triple cons we will try to avoid it by giving topo. TOPO>Faces>Topo
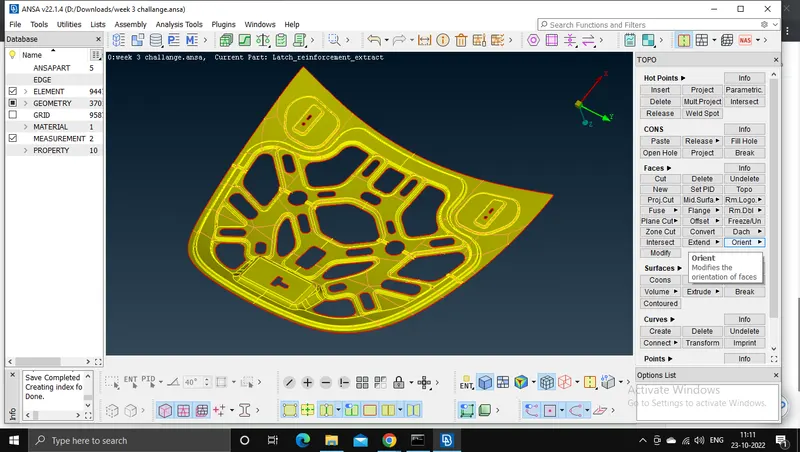
4) Orient :- we have to give the orientation. Topo>Faces>Orient
5) Then we have to check the geometry by using geometry check option. Tools>Checks>Geometry and fix the errors.
6) Now we have to check the thickness of the model using measure option. Utilities>Measure
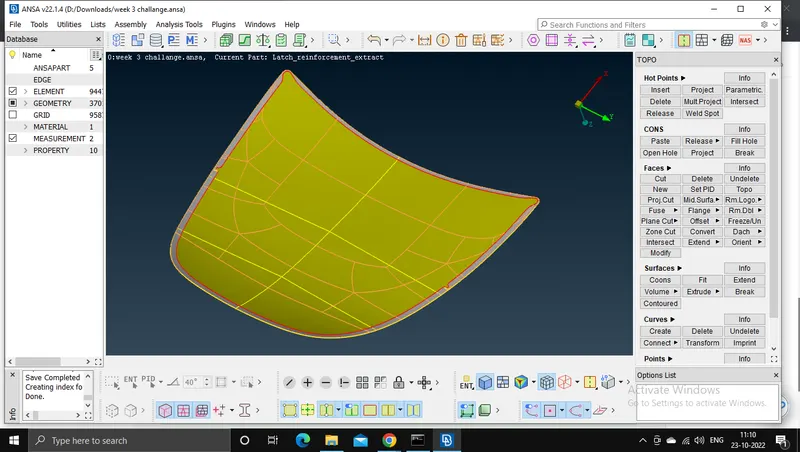
7) Then we have to extract the mid surface using offset option. TOPO>Faces>Offset> then select the face u want to offset.
8) Then we have set the mesh parameter then the Quality criteria. Utilities>Mesh Parameter & Utilities>Quality Criteria
9) After extracting the mid surface and setting the mesh parameter and Quality Criteria we will mesh it using best mesh option MESH>Mesh Generation>Best.
10) For better mesh flow we can reconstruct the mesh using reconstruct option. MESH> Shell Mesh> Reconstruct
11) If it is still failing the quality criteria then we can use smooth option to make the mesh smooth. MESH> Shell Mesh> Smooth
12) We can use split. swap and other options to make the mesh flow better. MESH> Elements > Spilt/Swap.
13) If there is a symmetry in geometry me can use Transform>Copy Option to copy the mesh flow to the symmetric side.
We will do the same for all the parts.
Img:-1 Imported File
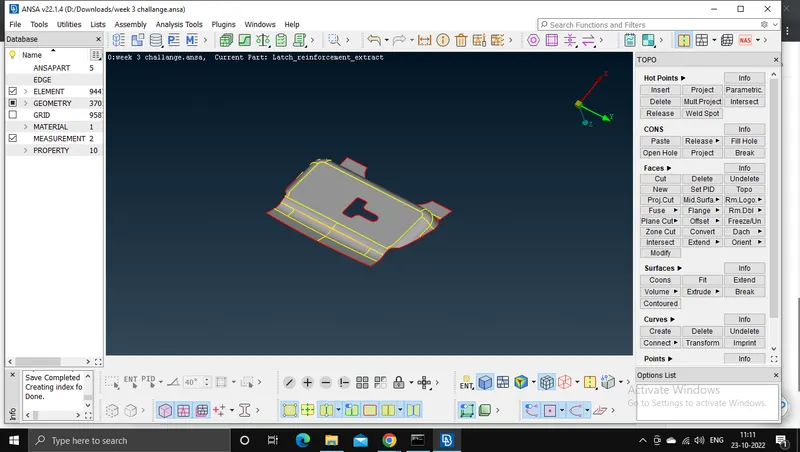
Img:-2 After geometry check and topology cleanup.
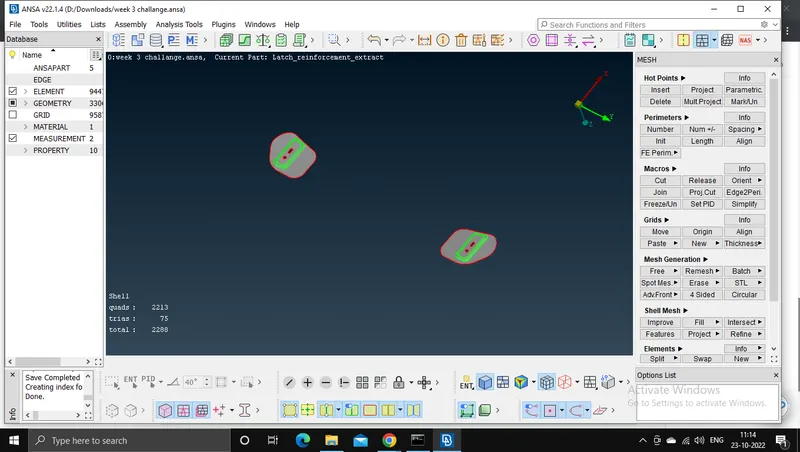
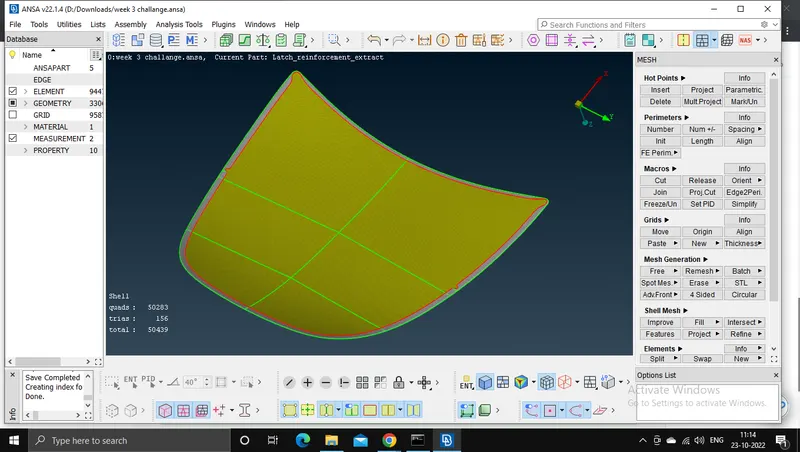
Img:-3 After mid surface generation of different PIDs.
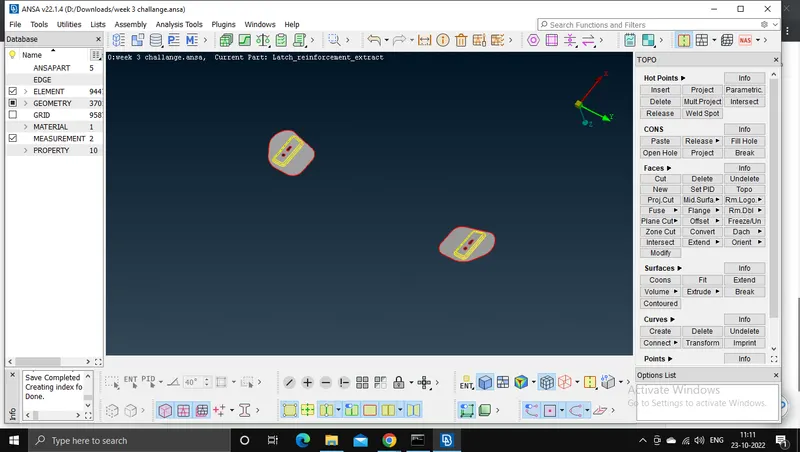
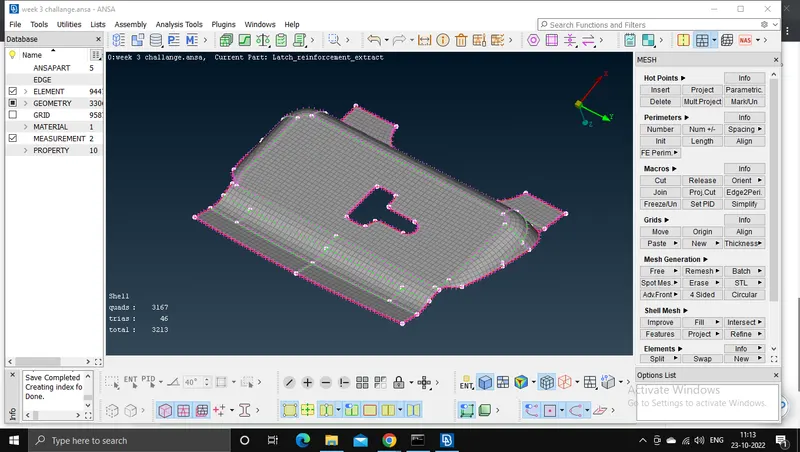
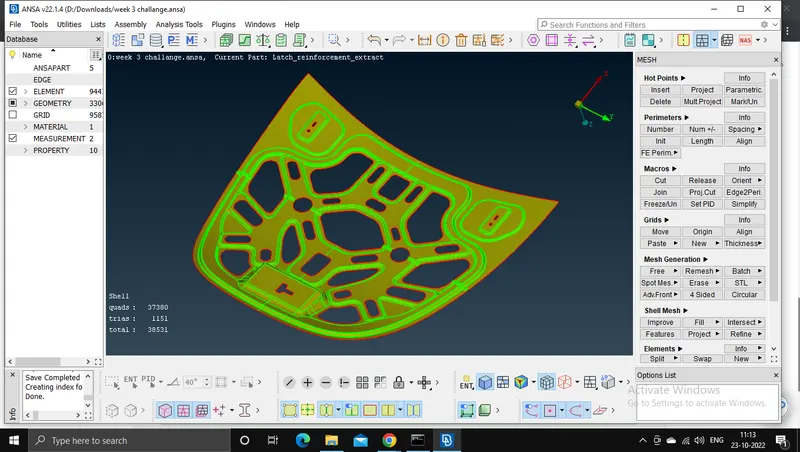
Img:-4 After Mesh Generation of different PIDs.
Conclusion:-
After this challenge we learn about the mesh generation according to the mesh parameter and quality criteria.