Week 3 - 2D meshing for sheet metal
AIM:
For the given Hood model, Take the mid surface for all the components after checking the geometrical errors and mesh the mid surface with the given element Quality criteria. (Refer the table Below for the Quality criteria).
OBJECTIVES:
Take the mid surface for all the components after checking the geometrical errors and mesh the mid surface with the given element Quality criteria.
WORK FLOW:
Step 1: Check the geometrical errors.
Step 2: Check Quality criteria.
|
S.No |
Quality Criteria |
Value |
|
1 |
Target/Average length |
5 |
|
2 |
Minimum Length |
2 |
|
3 |
Maximum Length |
7 |
|
4 |
Aspect |
3 |
|
5 |
Warpage |
15 |
|
6 |
Skewness |
45 |
|
7 |
Jacobian |
0.7 |
|
8 |
Minimum Quad Angle |
45 |
|
9 |
Maximum Quad Angle |
135 |
|
10 |
Minimum Tria Angle |
30 |
|
11 |
Maximum Tria Angle |
120 |
|
10 |
Tria Percentage |
15 |
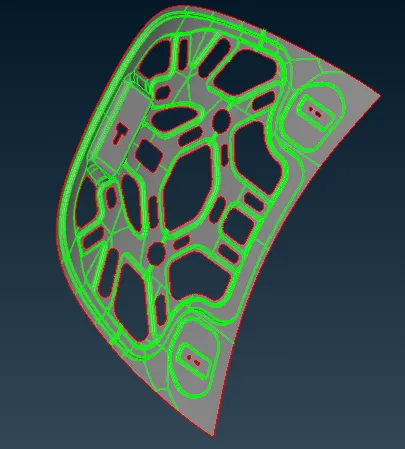
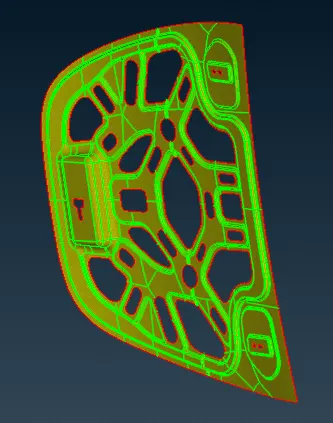
Step 3: Creating midsurface through skin process.
Step 4: Geometrical error checkup(cons near by near cons and hot points).
Step 5: Check the PID.
Step 6: Check the mesh properties.
Step 7: Check the target lenth and minimum length.
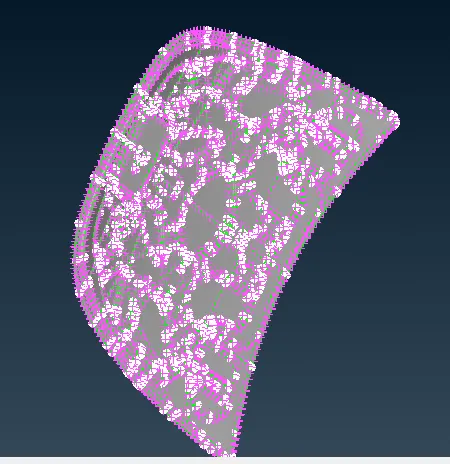
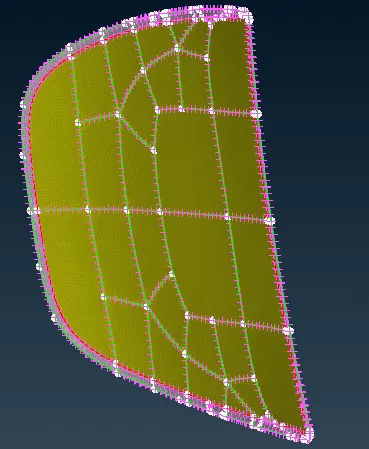
Step 8: Apply the mesh through best mesh, then adit the tria mesh(swap, improve, smooth and split) at boundary.
Workflow diagram:
1)
2)
3)
4)
5)
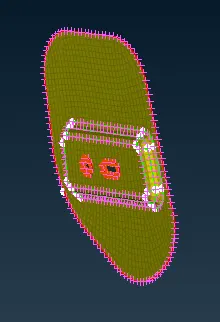
6)
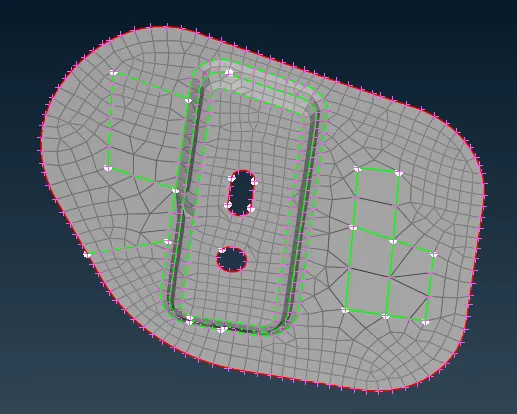
7)
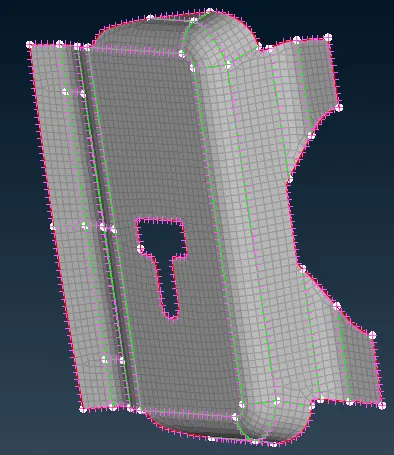
Conclusion:
In this hood model i get desire mesh and good result. As a begineer in this field it take time to mesh and understanding the prrocess of mesh and functioning of comands.