Week 3 - 2D meshing for sheet metal
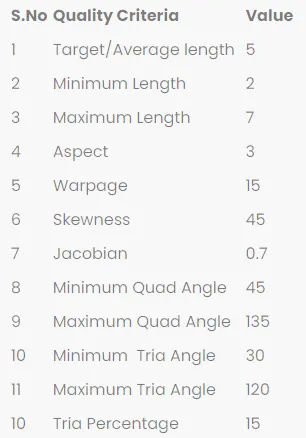
Aim: To mesh the given Hood model by extracting the midsurface for all components and checking the geometrical errors and meshing the mid surface with the given element Quality criteria as mentioned below.
Procedure:
Import the hood.stp file in ANSA.
Check for the orientation of the model where one side should be in gray colour meaning positive and other side should be in yellow colour meaning negative. If the faces or the geometry is not oriented, it can be done by using topomodule>faces>orient.
Check for any errors in the geometry and try to fix them by using Tools>Checks>Geometry>Execute. If any errors show up then use autofix or else fix it manually by using topo, hotpoints, release cons, etc.
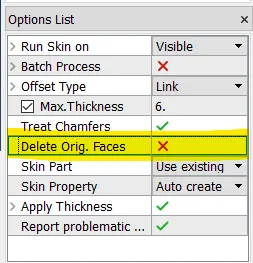
Go to property manager and apply visibility to only one component and then create a midsurface using skin and uncheck the delete original face option so that the parent geometry does not get deleted.
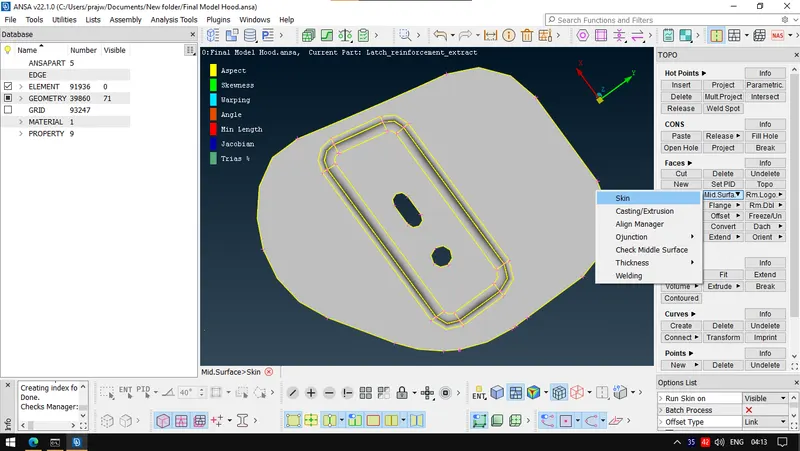
One face shows green colour, the other red and the thickness is shown by blue colour.
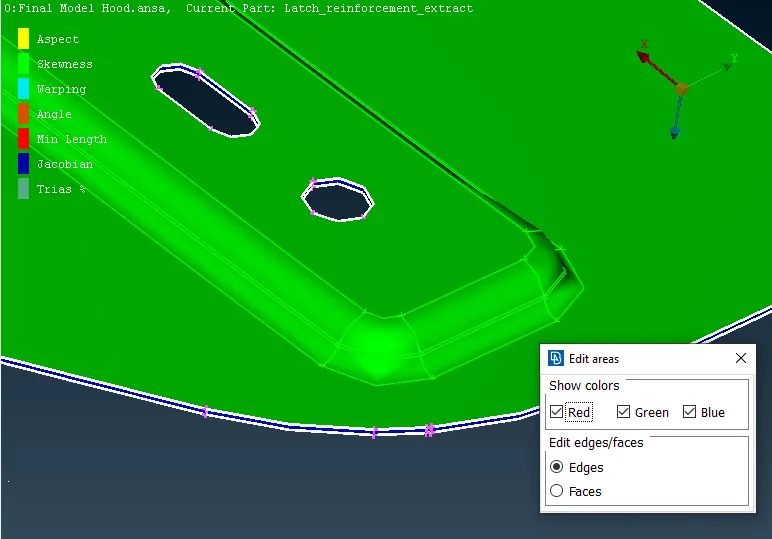
Select the offset face:
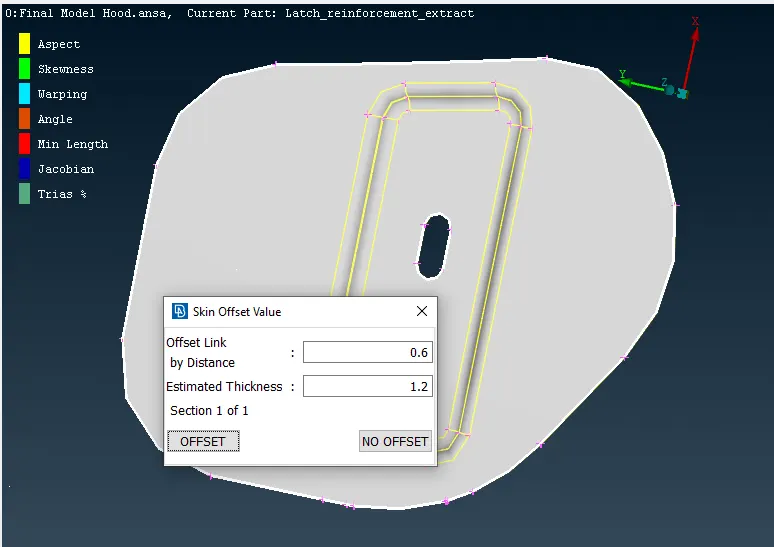
Following midsurface is created:
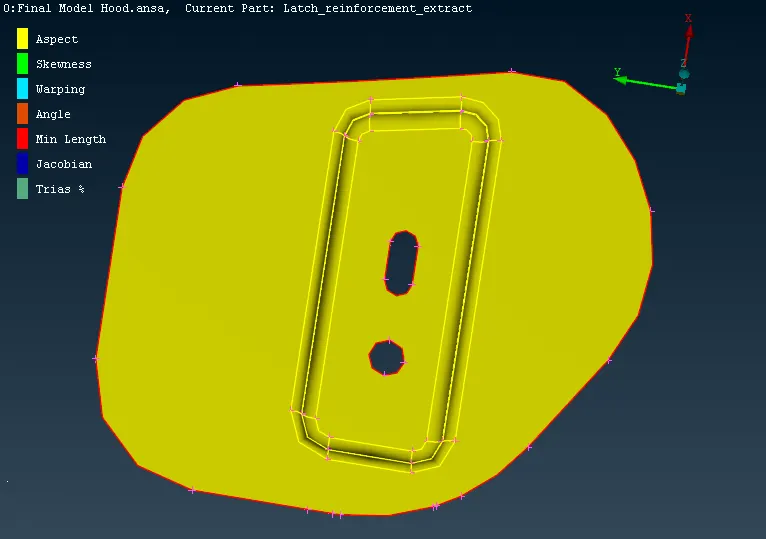
After midsurface extraction, edit the geometry of the component by using faces>cut which can be used to add or delete cons.
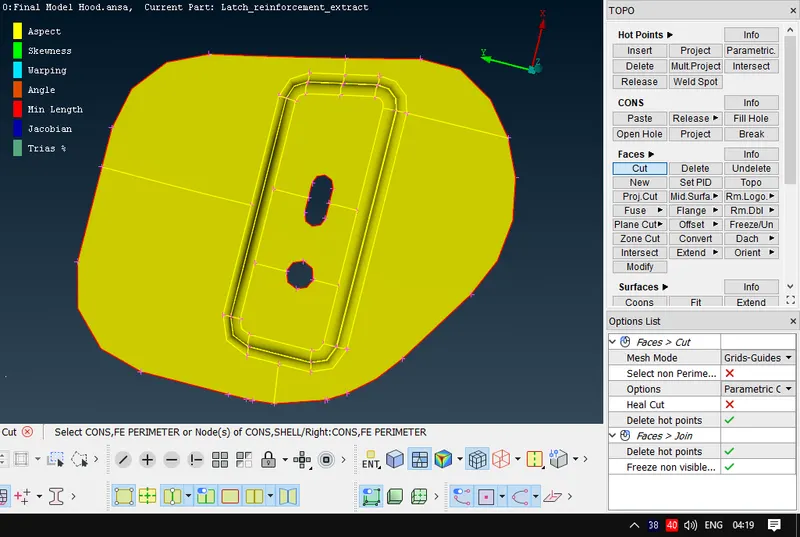
Remove the cons which are closer to each other.
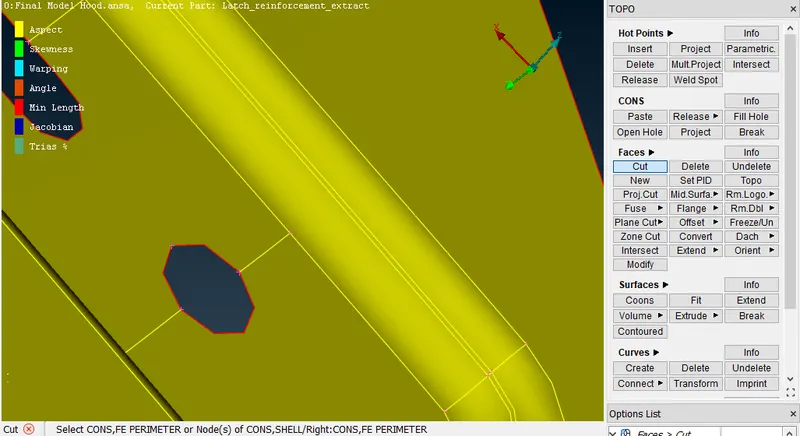
Refine the given geometry by length>perimeters>target element size(5).
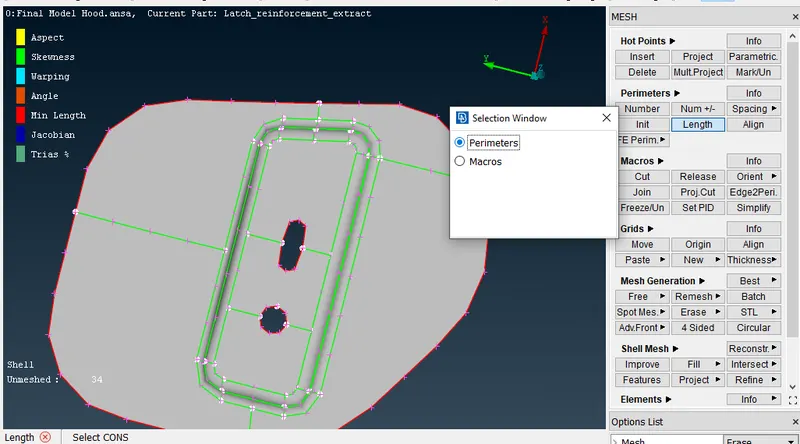
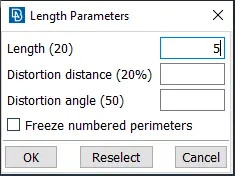
Set the quality criteria of the mesh by pressing F11.
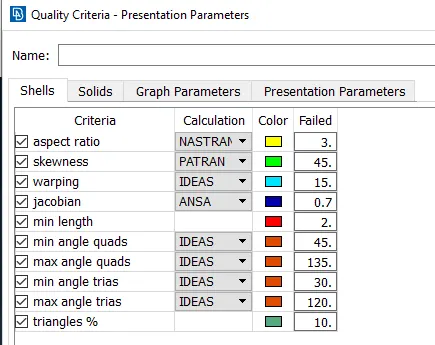
Following mesh parameters were used:
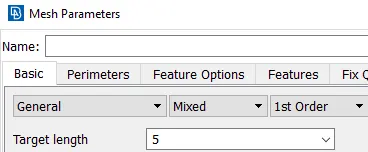
Now, Mesh the component by using ClassicMesh_Module>Best>Reconstruct.
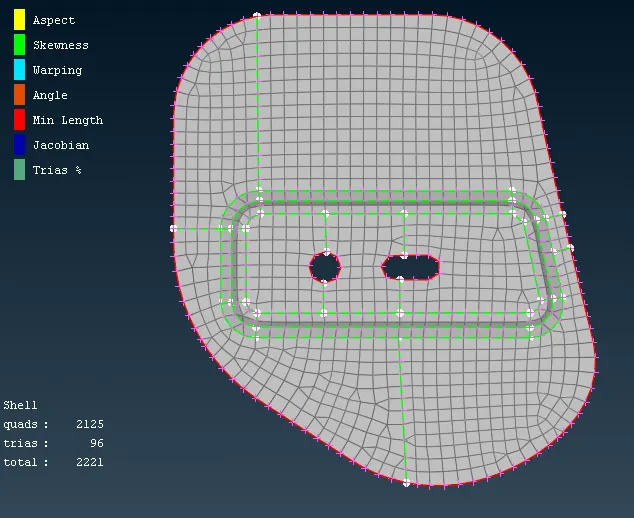
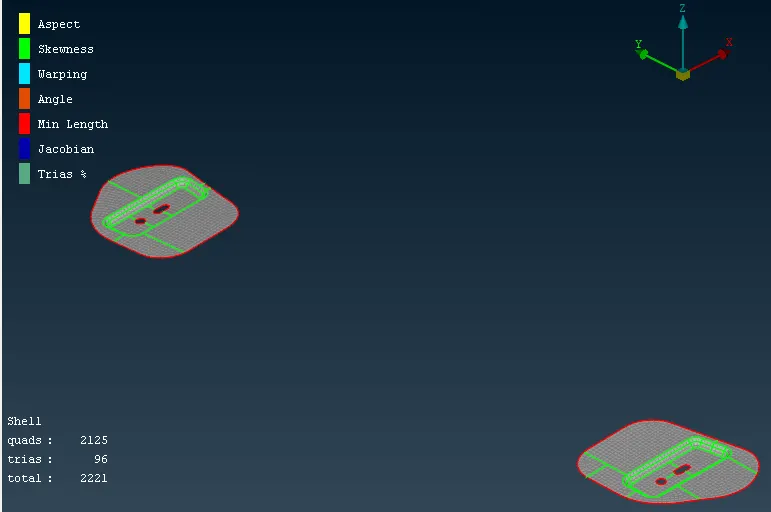
Similarily, after following the above steps for the rest of the parts:
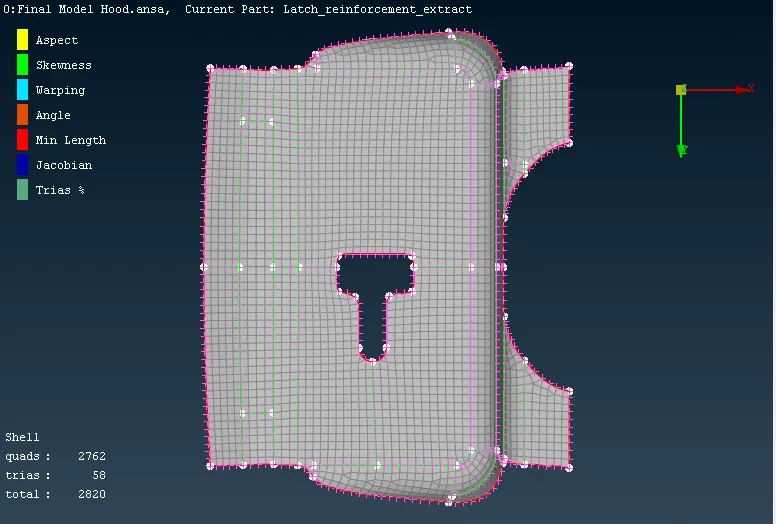
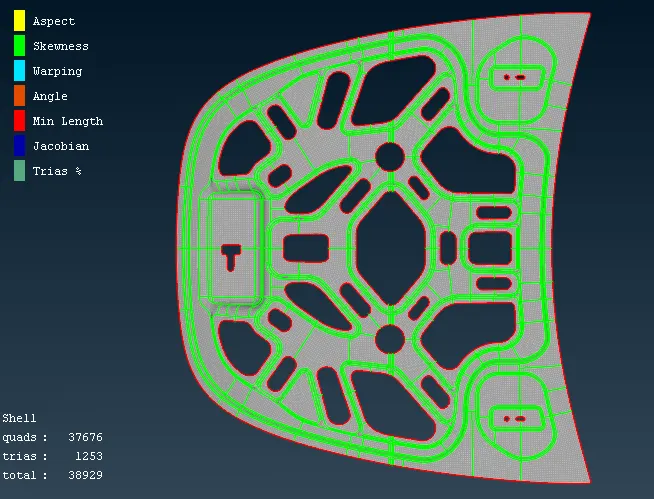
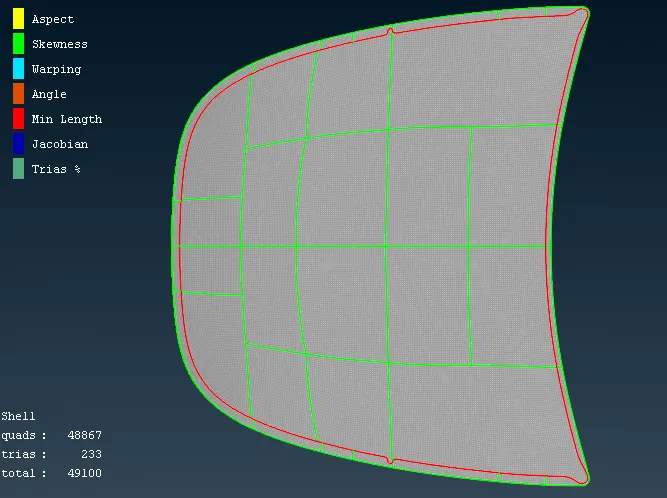
The thickness of each every component is seen below in property manager:
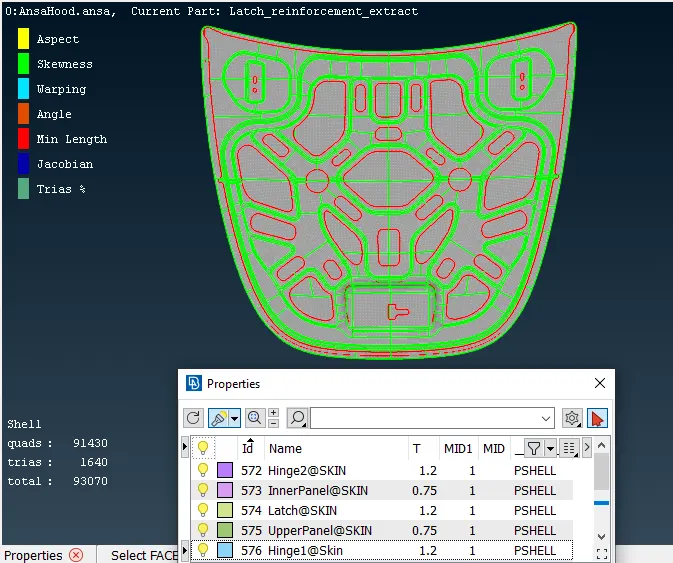
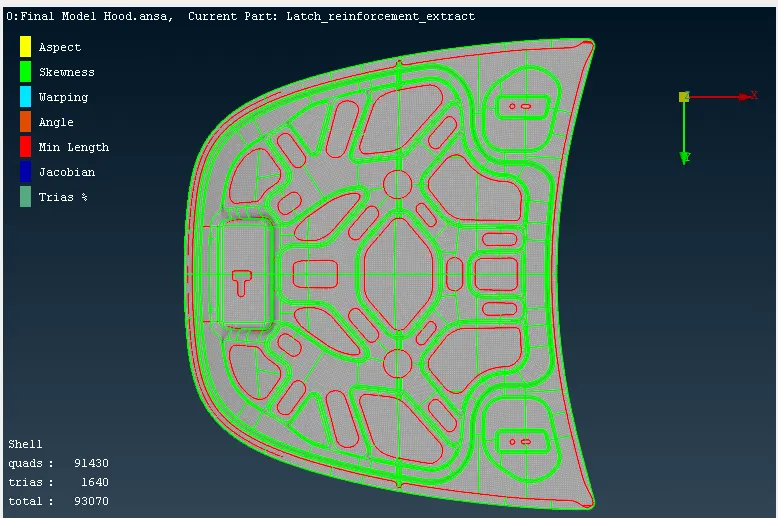
Result: The final hood was obtained with 1.7% trias.
Conclusion: From this challenge, learned about geometry cleanup, mid surface extraction, shell meshing and assigning thickness, etc..