Week 3 - 2D meshing for sheet metal
Week 3 Challenge: 2D Meshing of Sheet Metal
Aim: Checking the given hood model for geometrical errors and taking mid surfaces for all components, 2D meshing of the extracted mid surface with the given mesh quality criteria.
Given sheet metal model: Hood model
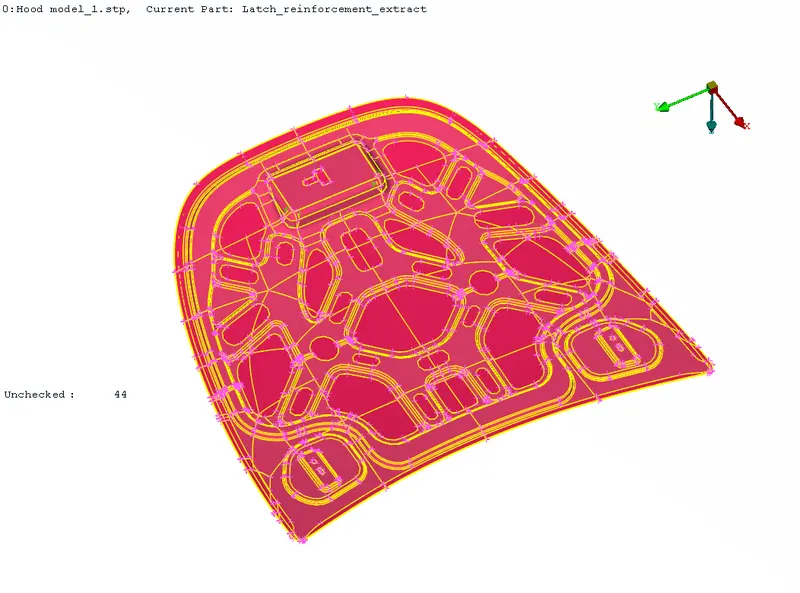
Parts included in the model:
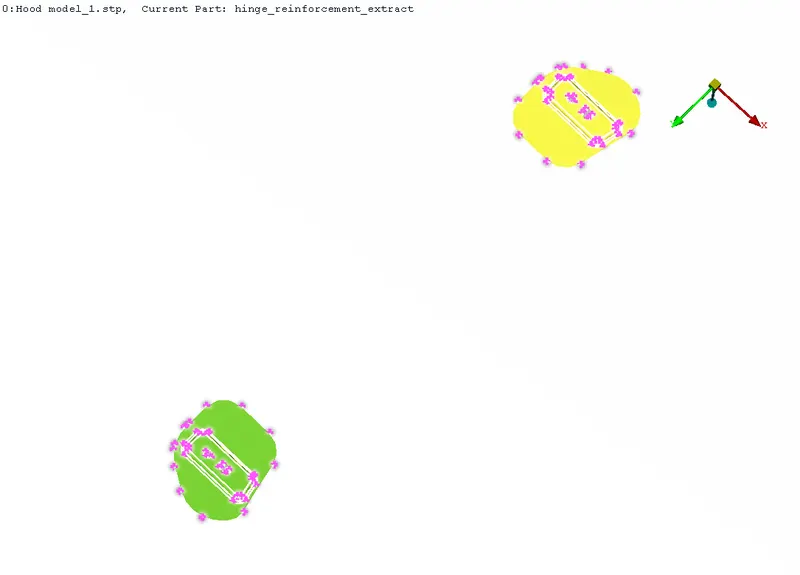
Hinge reinforcement - Thickness: 1.2 mm
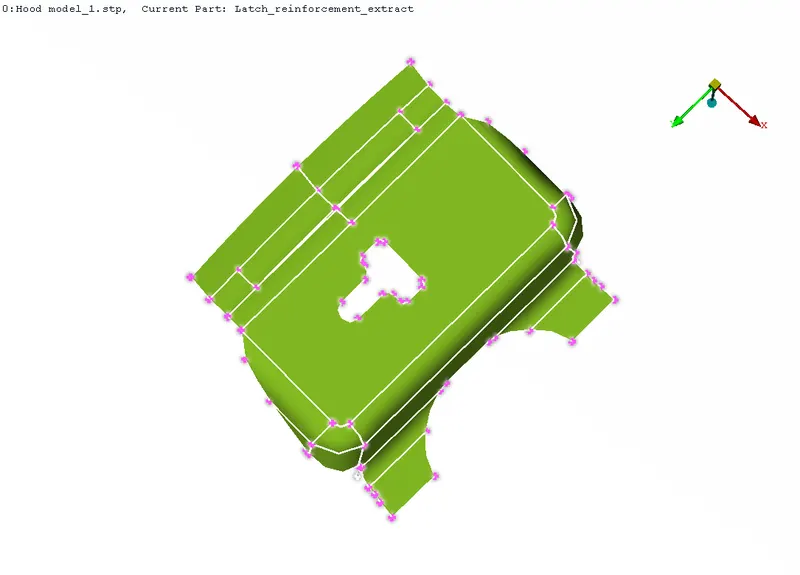
Latch reinforcement - Thickness: 1.2 mm
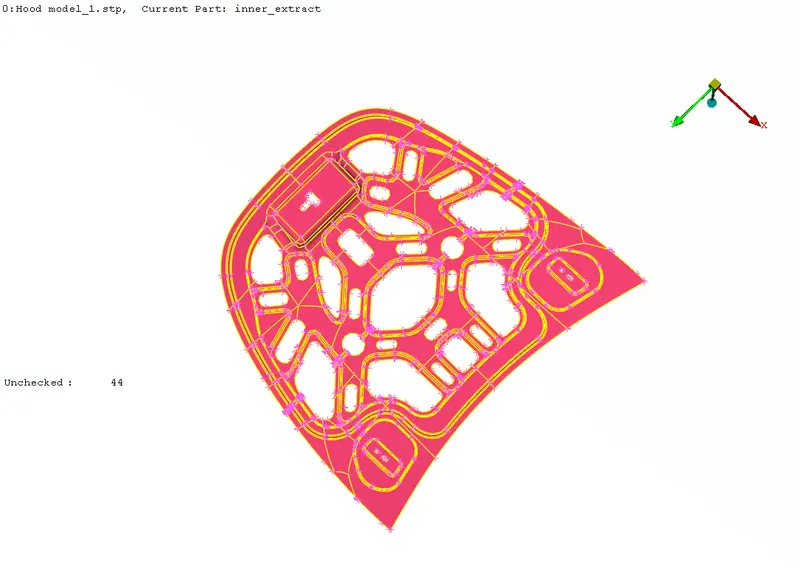
Inner Extract - Thickness: 0.75 mm
Outer Extract - Thickness: 0.75 mm
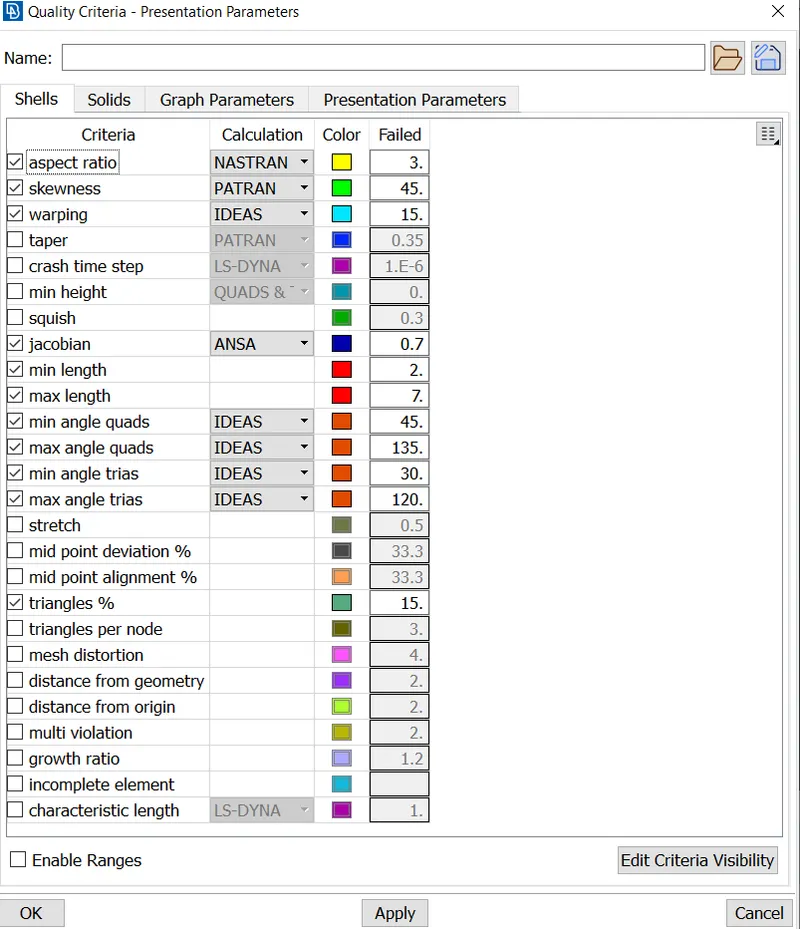
Given Quality criteria:
|
S.No |
Quality Criteria |
Value |
|
1 |
Average Length |
5 |
|
2 |
Minimum Length |
2 |
|
3 |
Maximum Length |
7 |
|
4 |
Aspect Ratio |
3 |
|
5 |
Warpage |
15 |
|
6 |
Skewness |
45 |
|
7 |
Jacobian |
0.7 |
|
8 |
Minimum Quad Angle |
45 |
|
9 |
Maximum Quad Angle |
135 |
|
10 |
Minimum Tria Angle |
30 |
|
11 |
Maximum Tria Angel |
120 |
|
12 |
Tria Percentage |
15 |
Procedure steps followed:
- Checking for Geometrical errors and fixing them for all components
- Extracting mid surfaces for all components after measuring the thickness of the components
- Fixing the given mesh quality criteria
- Defeaturing the areas where the given quality criteria might fail
- The meshing of the components
- Assigning thickness to the mesh
Procedure:
- Checking for Geometrical errors and fixing them for all components
After importing the given hood model into ANSA, checking for geometry cleanup is done from
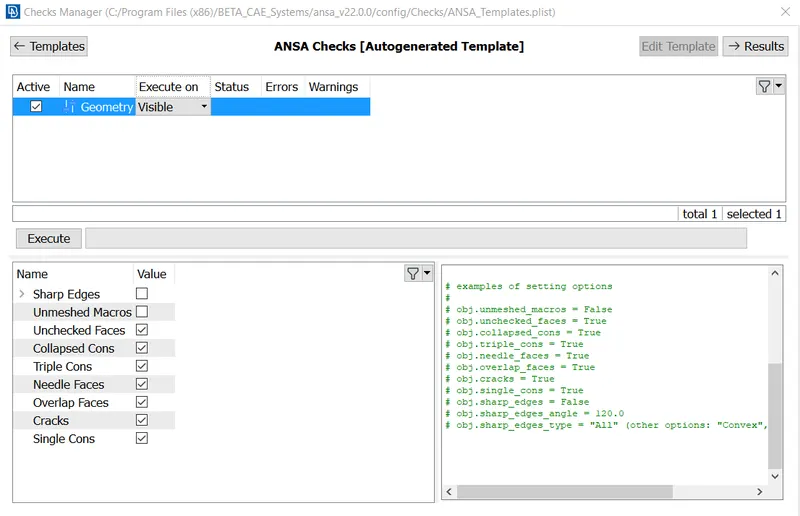
Tools -> Checks -> Geometry
Before Executing Geometry check
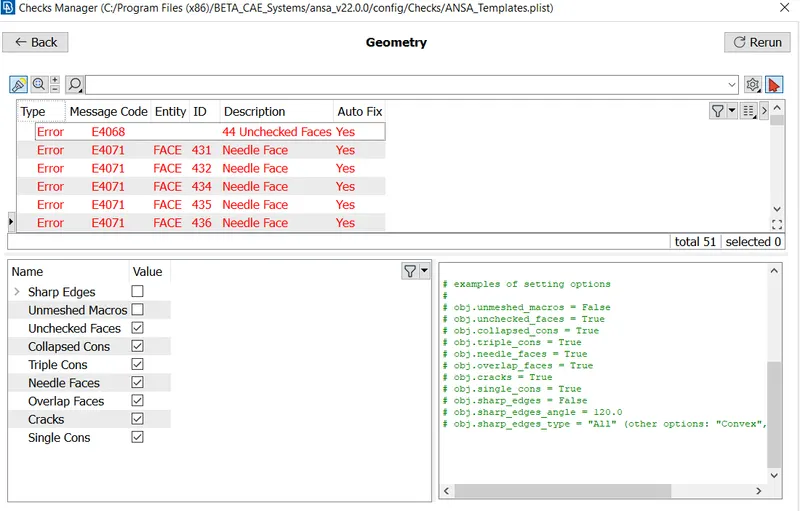
After Executing the Geometry check
After Geometry cleanup
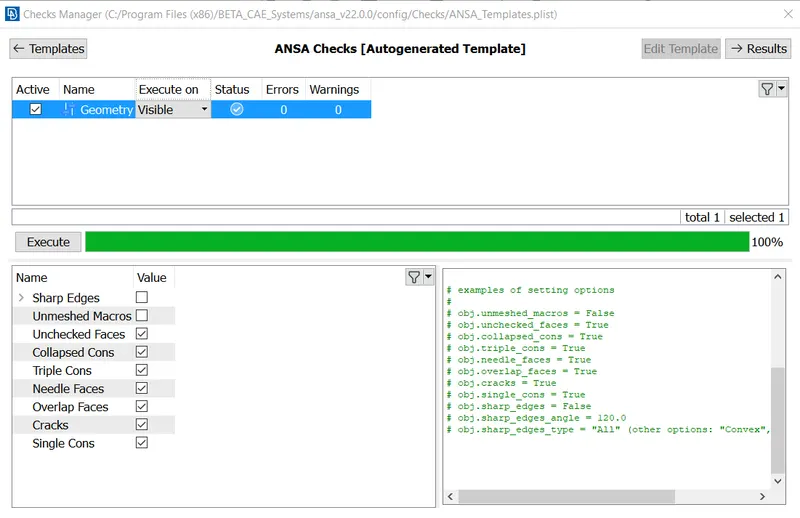
There are only two errors 1) Unchecked faces 2) Needle Faces and these are solved by Auto fixing them through clicking on the actions icon -> Fix
- Extracting mid surfaces for all components after measuring the thickness of the components
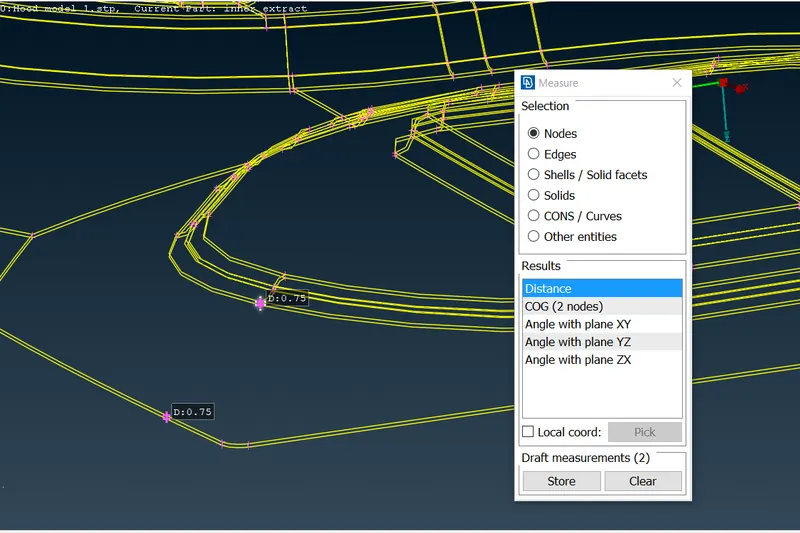
After geometry cleaning is done, the thickness of the components is measured to check if the components are sheet metal and for extracting the mid surface.
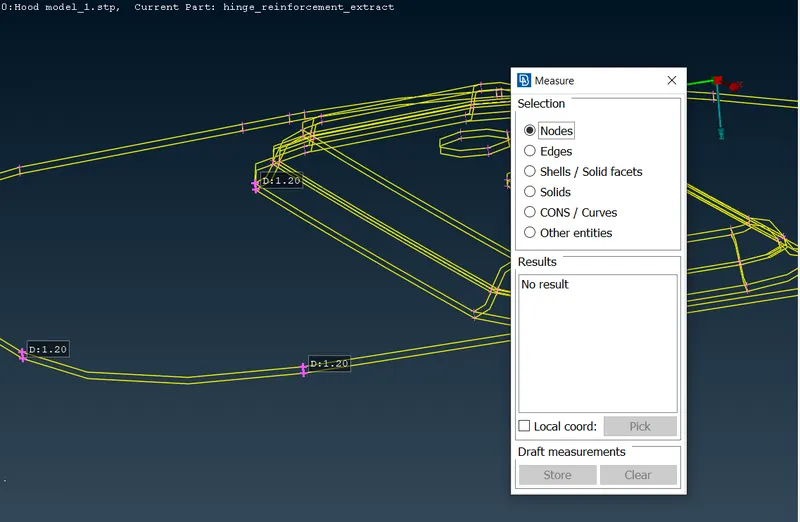
The same thickness of 0.75 mm for Inner Extract and Outer Extract.
The same thickness of 1.2 mm for Lange and hinge reinforcement
Using the thickness, we can extract mid surface using either by
Option 1: TOPO module -> Faces -> mid surface -> Skin
Option 2: TOPO module -> Faces -> offset -> faces
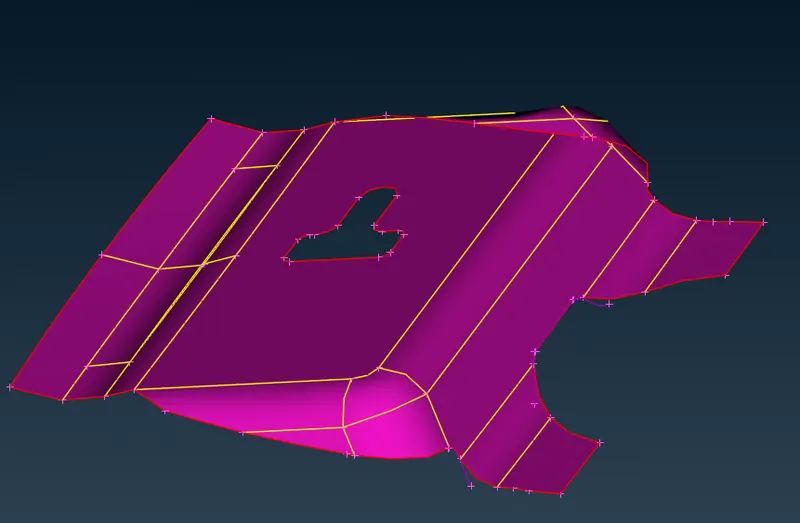
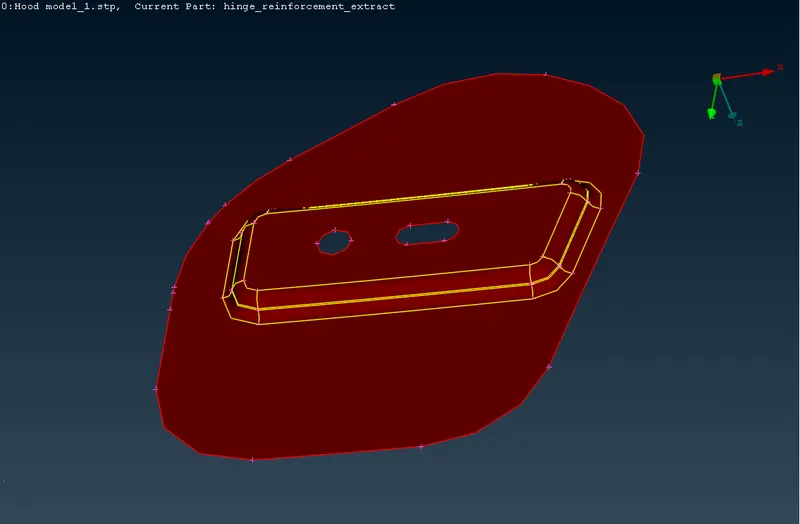
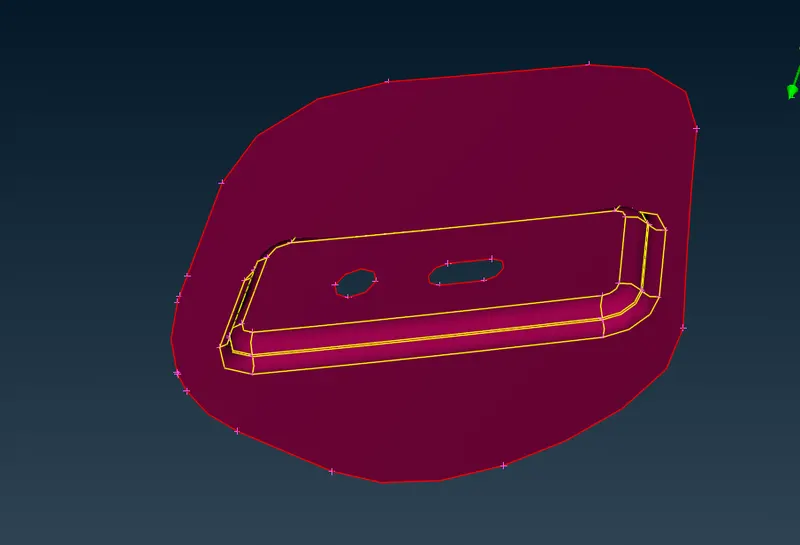
Due to simple geometry and no geometrical error occurring when importing Outer extract, Latch, and Hinge reinforcement extract, option 1 is used for extracting mid surface.
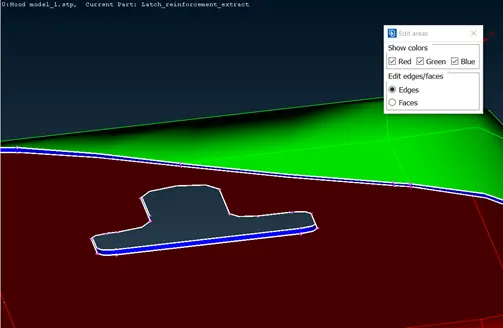
The colors for outer, inner, and middle faces are checked for confirming that no faces are wrong or left out. The offset thickness for the mid surface is given.
Giving the offset value which is exactly half of the measured thickness.
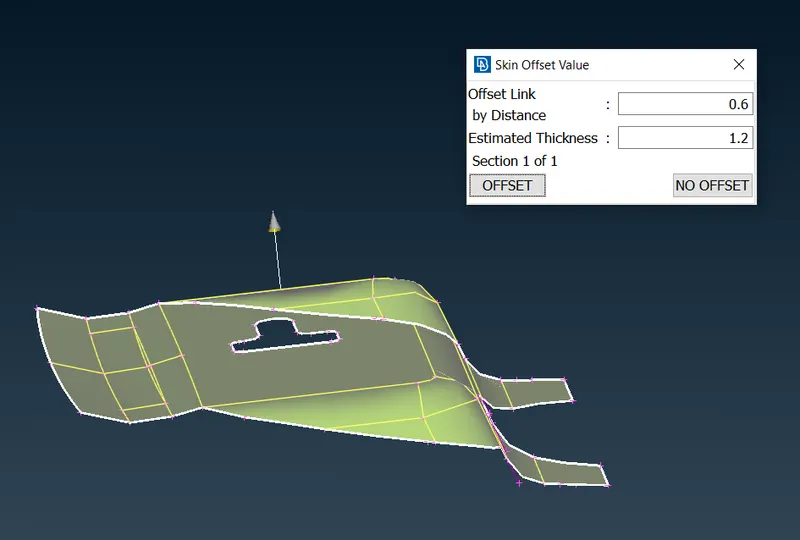
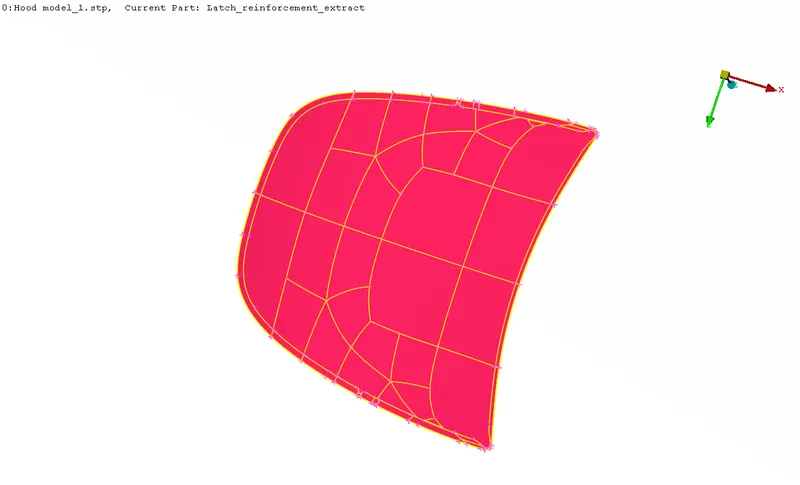
The mid surface of Latch reinforcement
The mid surface of Hinge reinforcement extract (right)
The mid surface of Hinge reinforcement extract (left)
The mid surface of the Outer extract
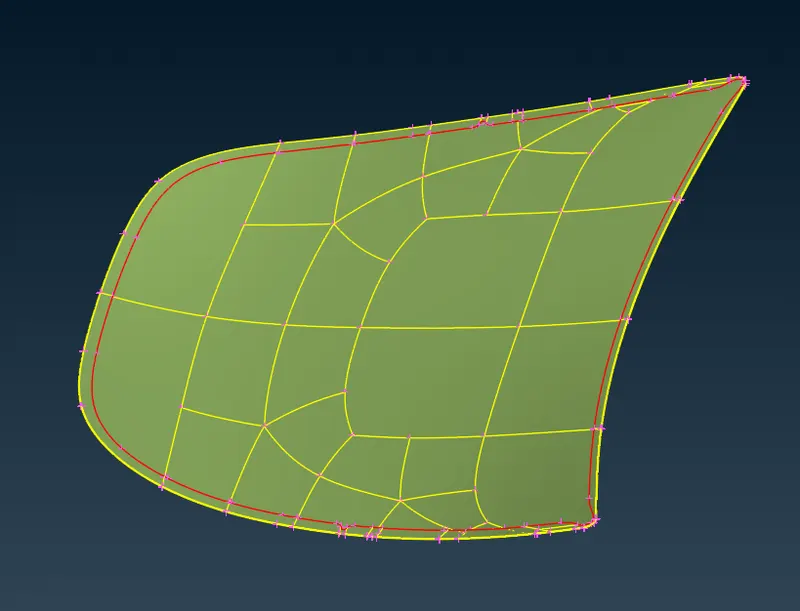
The mid surface of the inner extract
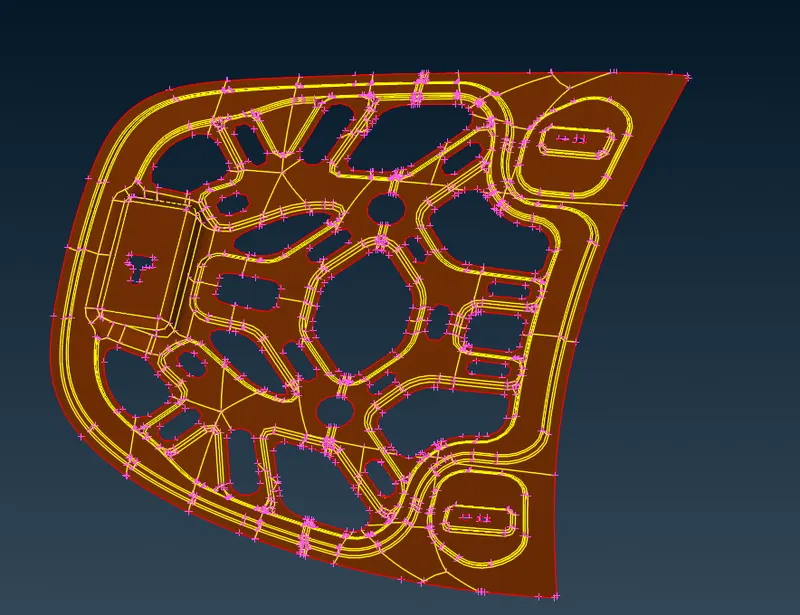
Using option 1 (mid surface) sets PID automatically. Using option 1 for extracting mid surface of inner extract causes topology errors, so option 2 is used. Using feature selection for curves and fillets for mid-surface extraction along with entity selection for surfaces.
Using Set PID to assign material to the mid surface of Inner Extract.
- Fixing the given mesh quality criteria
Utilities -> Quality criteria
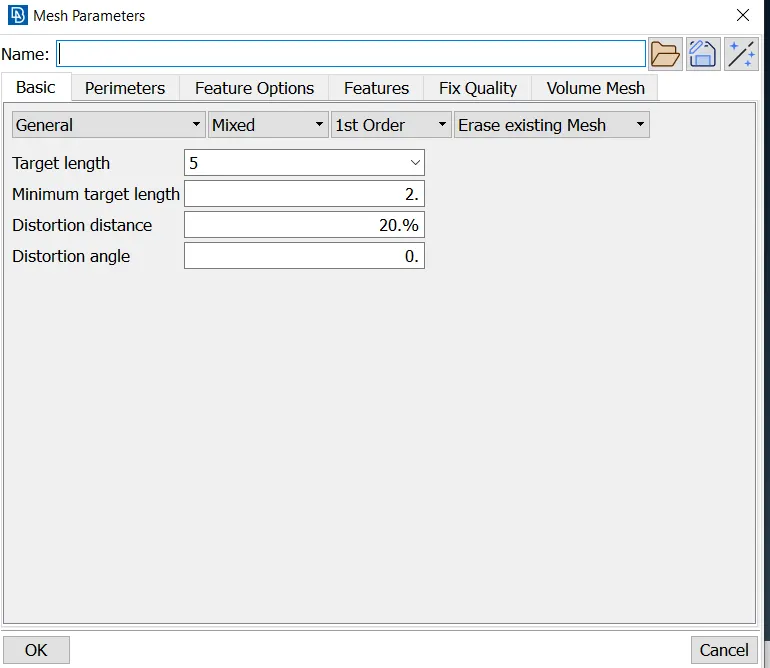
Utilities -> Mesh Parameters
- Defeaturing the areas where the given quality criteria might fail
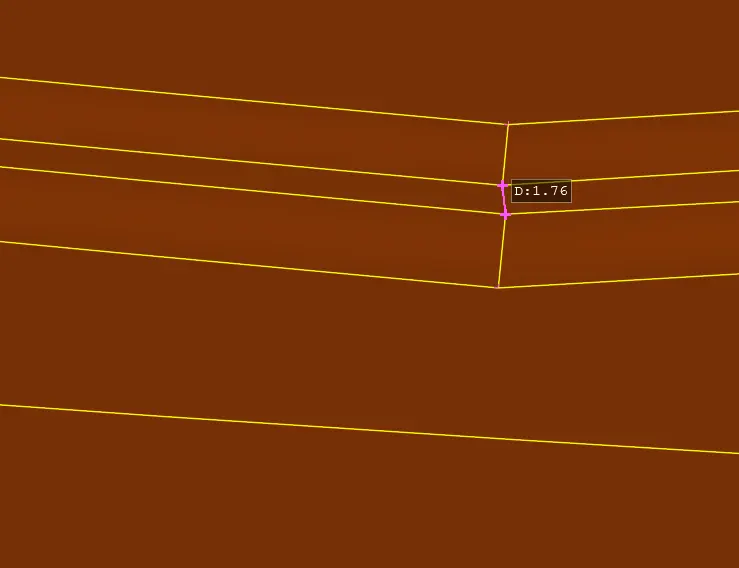
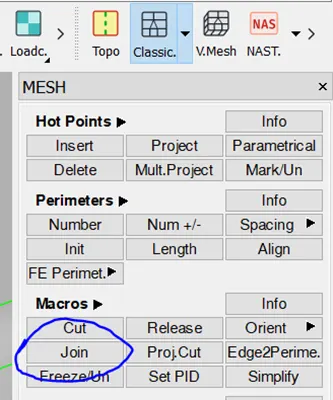
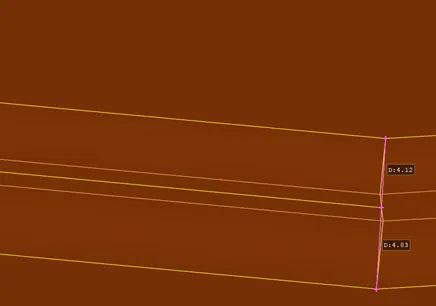
Since the value is less than the minimum value the mesh might fail in these areas and so by using ‘join’ we can suppress the cons and create a new con using the ‘cut’ option.
After defeaturing the measurement is in an acceptable range.
- The meshing of the components
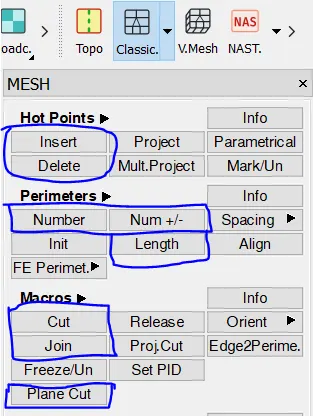
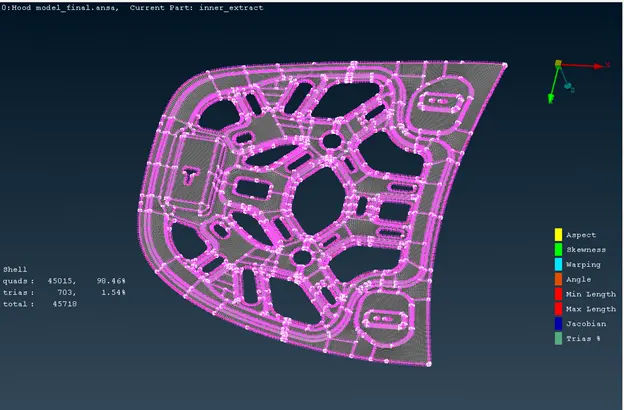
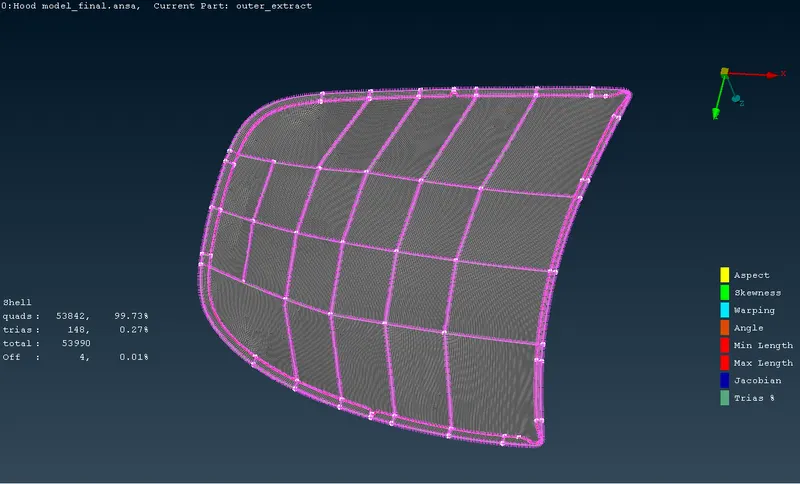
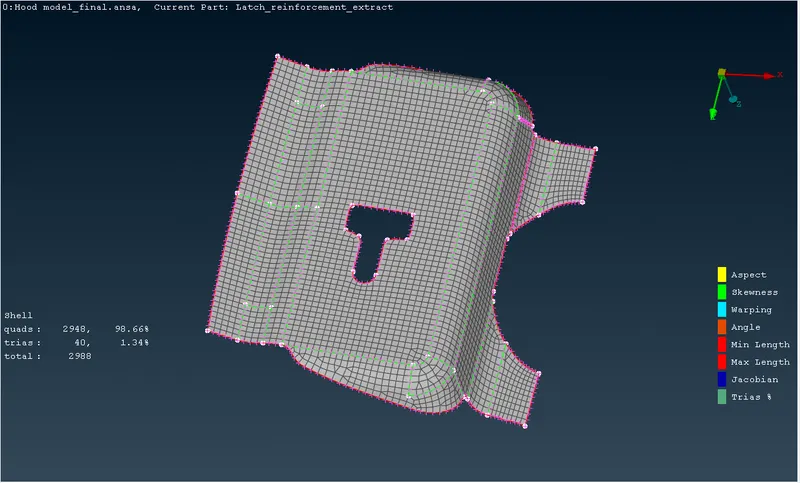
After the defeaturing is done, we can proceed to mesh. Using default perimeter to mesh causes disturbed mesh flow and it takes a lot of time. So, by creating a new perimeter using the ‘cut’ option and the ‘join’ option it takes less time and lee effort to create good mesh flow.
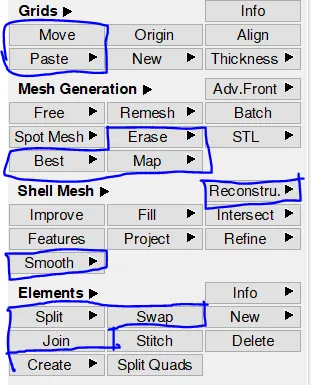
By using these options from the mesh module, the meshing of components is done.
The meshing of inner Extract:
The meshing of Outer Extract
The meshing of Latch reinforcement extract
The meshing of Hinge reinforcement extract (left)
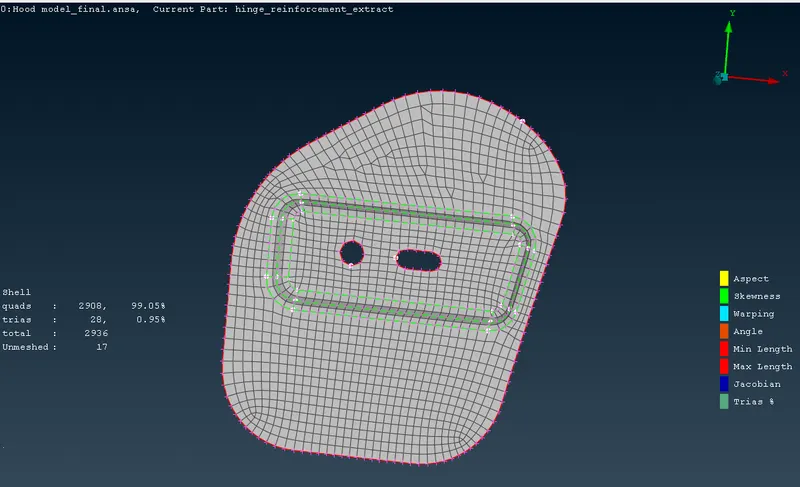
Meshing for Hinge reinforcement extract (right) is done using Utilities -> Transform -> copy
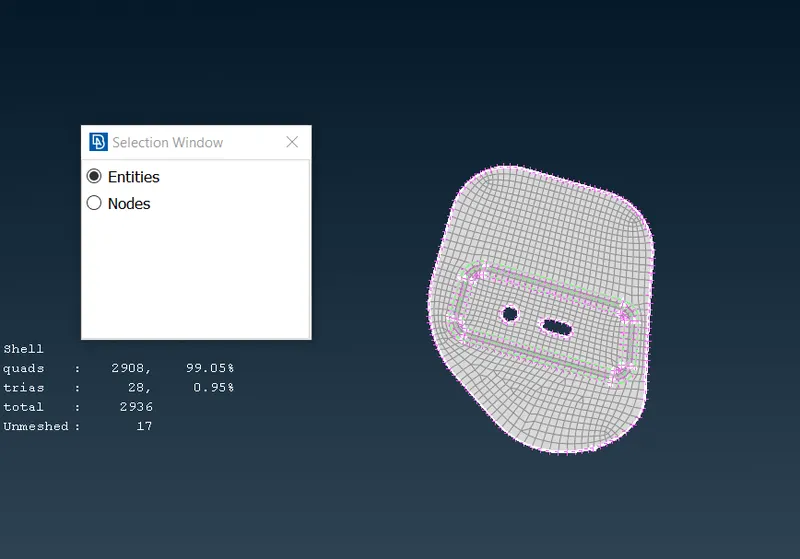
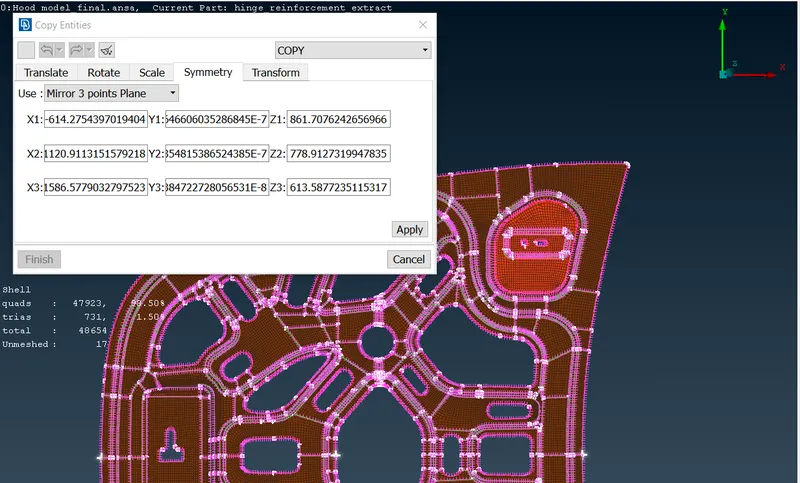
The meshing of Hinge reinforcement extract (right):
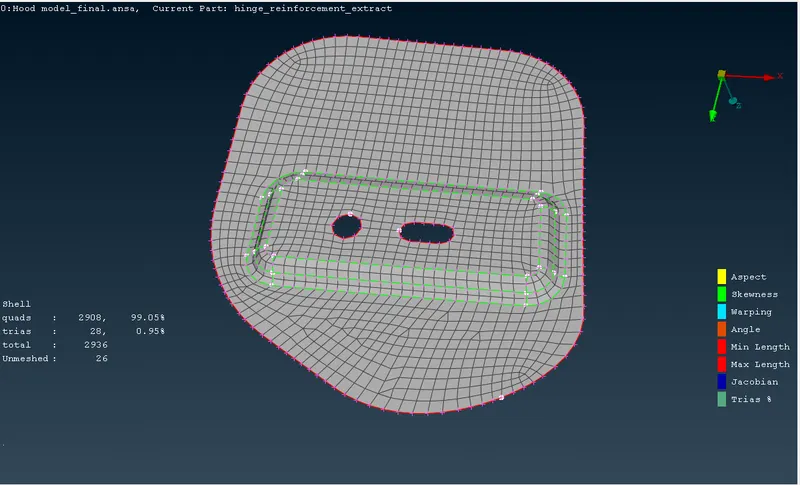
- Assigning thickness to the mesh
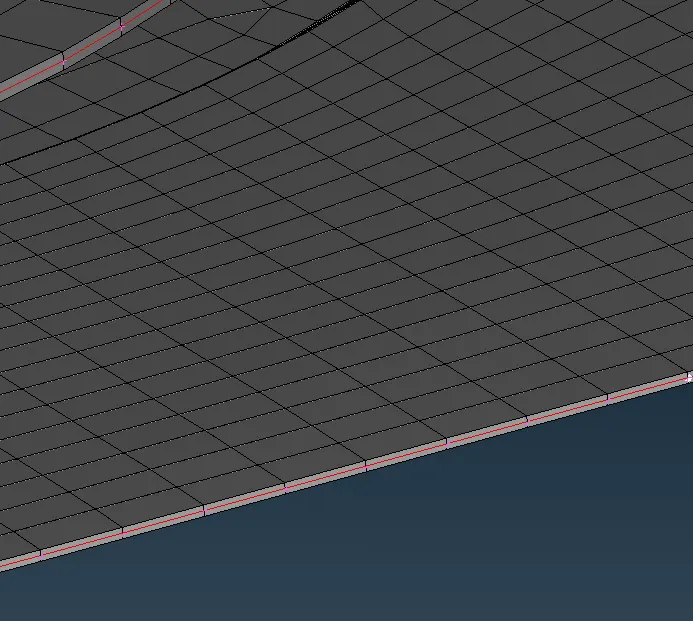
By switching on “Presentation parameters: Shell as solid” command, mid surface mesh will have a thickness same as its parent component.
When “Presentation parameters: Shell as solid” is OFF: Zero Thickness
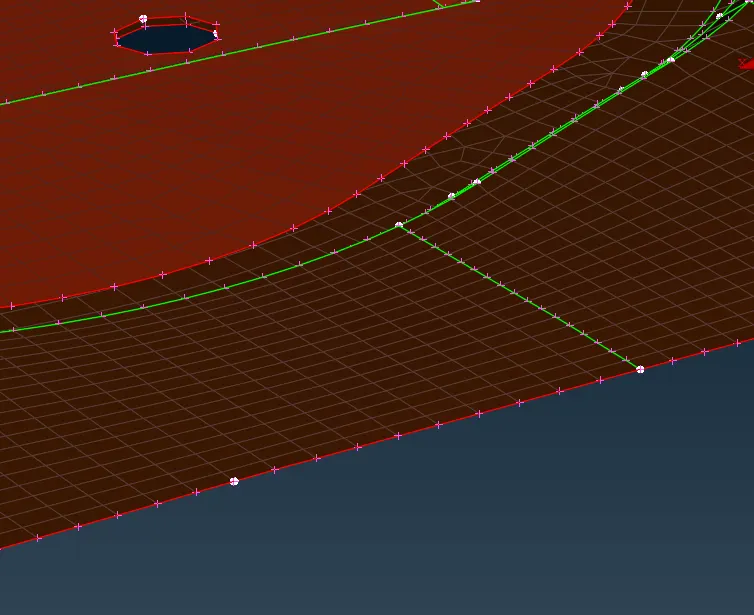
When “Presentation parameters: Shell as solid” is ON: Thickness
Learning Outcomes:
- Cleaning of Geometry.
- Generating mid surfaces using feature selection, entity selection.
- Defeaturing of areas to fit them within quality criteria
- Meshing of component using different (Best, Map) Algorithms
- How to effectively use split, swap, join, paste commands in Mesh module for removing Trias and rotating Quads.
Conclusion:
Geometry cleanup and 2D meshing of given Hood model is done using ANSA v22.0