Week 3
Aim:
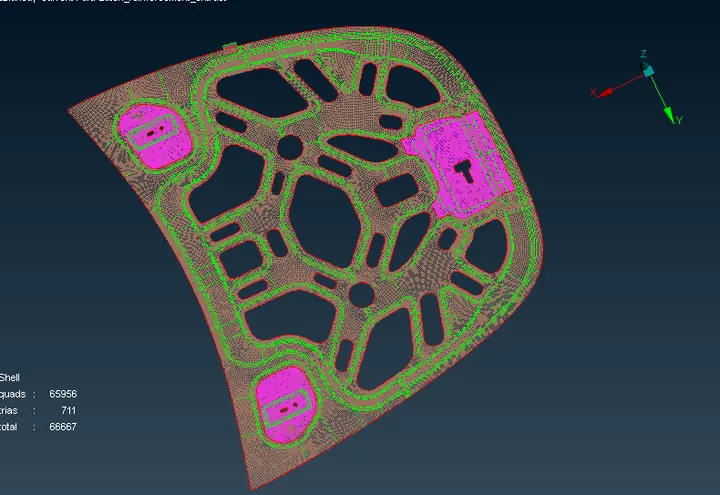
- To perform manual mid surface and meshing the given model using Quad dominant mesh flow.
- To study quality parameters and check the quality parameter, if necessary eliminate the bad quality parameter.
- To assign the property ID and material ID to the given model.
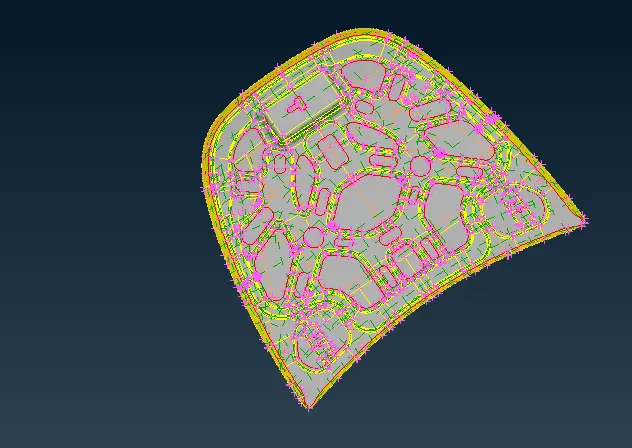
CAD File:
Procedure:
1) To import the Geometry file.
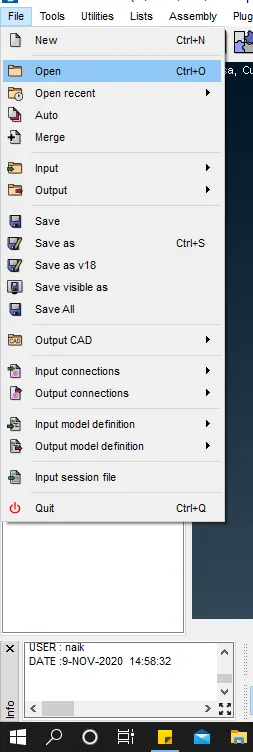
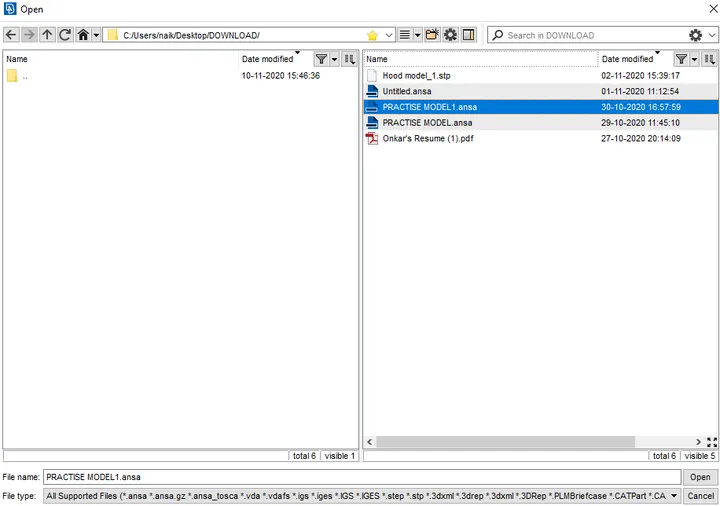
In Ansa, we can import files having extension of .ansa, .step, .igs, .stl. As the given model is in .ansa file it is easy to import the file in the software using the following command.
File – Open – Select file – Open
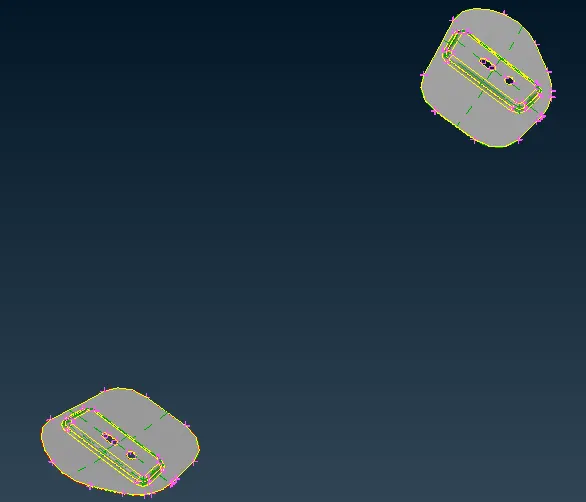
As the model is difficult to visualize we can split the model into different parts using focus options. This tool will help us to organize the model as per our convenience.

Organized model as following
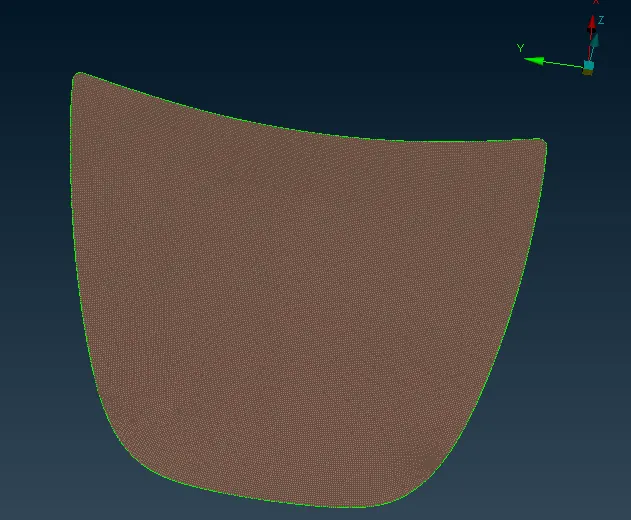
i) Inner Panel
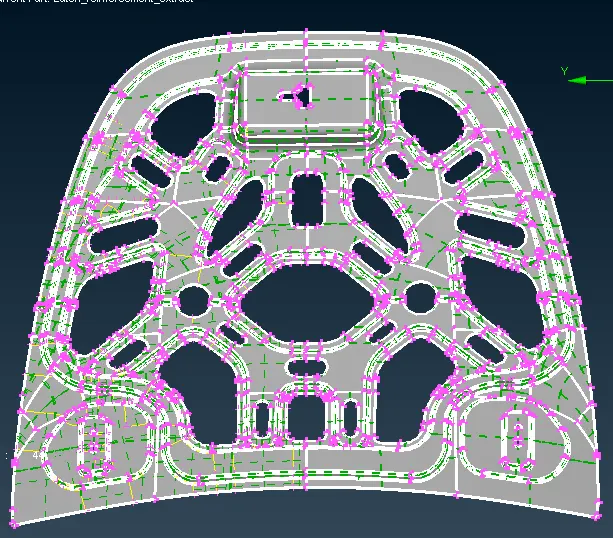
ii) Outer Panel
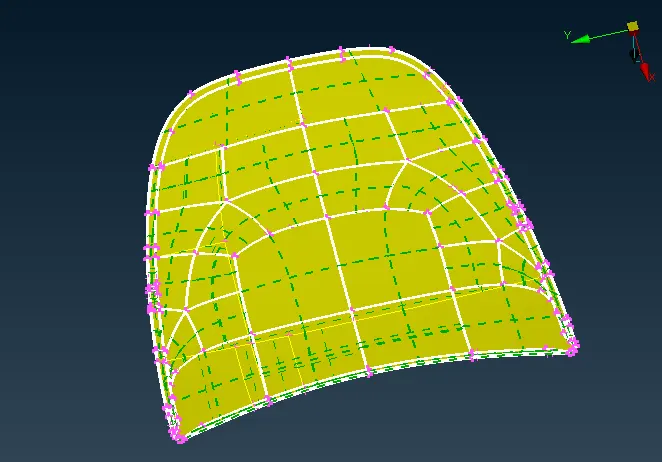
iii) Latch reinforcement extract
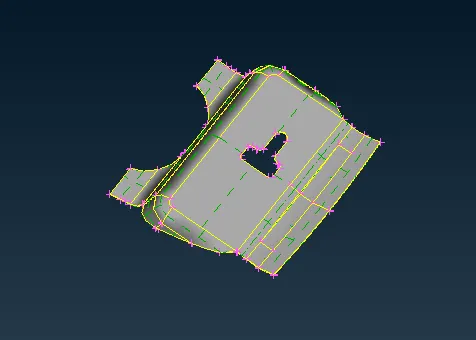
iv) Latch reinforcement extract 2,3
2) Extraction of mid surface:
i) Check the orientation of the model
Orientation will not only help us to identify the orientation of the model, but it will also help while assembling different models to achieve some specific task. While checking the orientation it is important to change the display to ENT i.e. entity mode to get a visualization of orientation. In orientation, yellow colour means the negative side and grey colour means the positive side. If the orientation is symmetric then change the orientation using
Topo – Face – Orient – selected
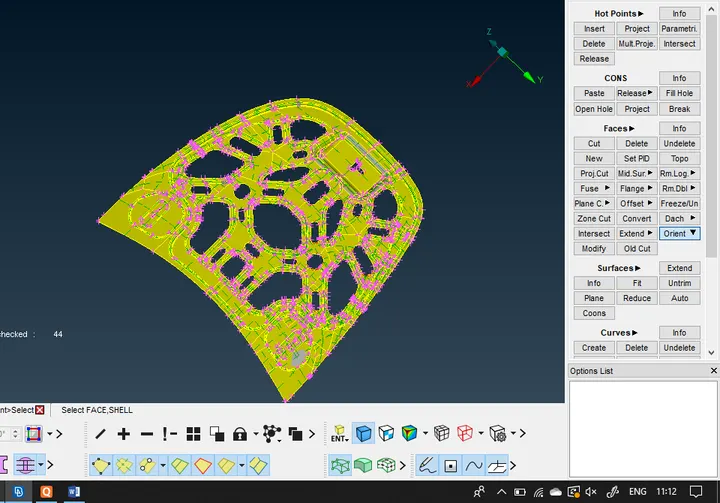
The software will automatically check the orientation and change it as required.
ii) Mid surface extraction :
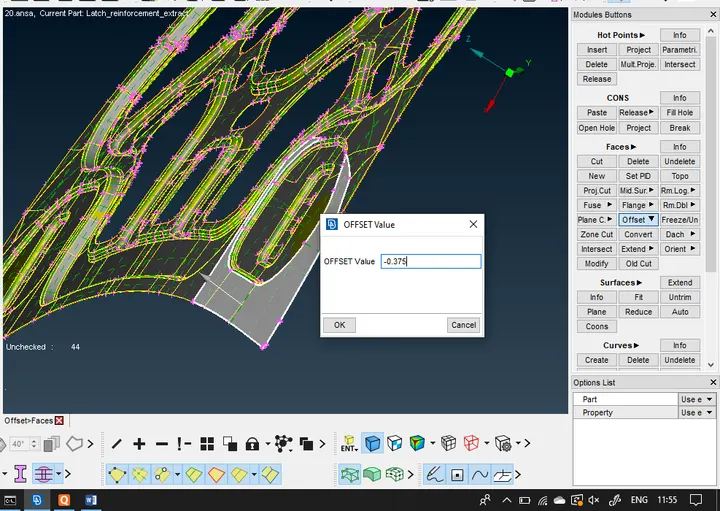
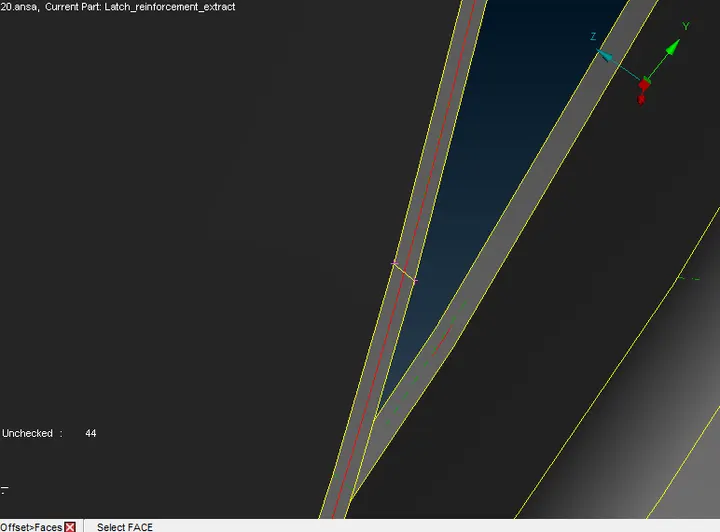
As the model is of sheet metal. It is advisable to perform 2D meshing. While performing 2D meshing we have to extract mid surface. The extrusion process can be done automatically or manually. While offsetting face, the extracted surface should lie in between two faces to check the distance between two surfaces.
Measure – nodes – select two point
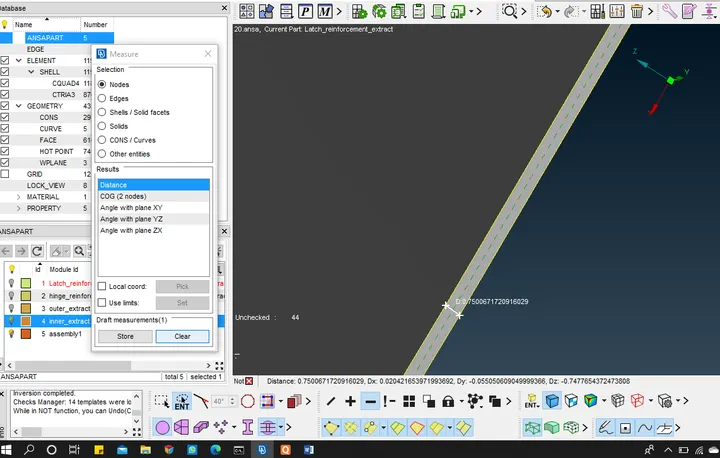
We are going to use manual mid surfacing.
Topo – offset – select surface – offset
3) Checking the geometry.
As the model in is symmetric over the axis it will be easy to reflect the mesh about axis and point. It will reduce our effort and time to mesh the model.
i) Check the geometry topology :
Topo – face – Topo
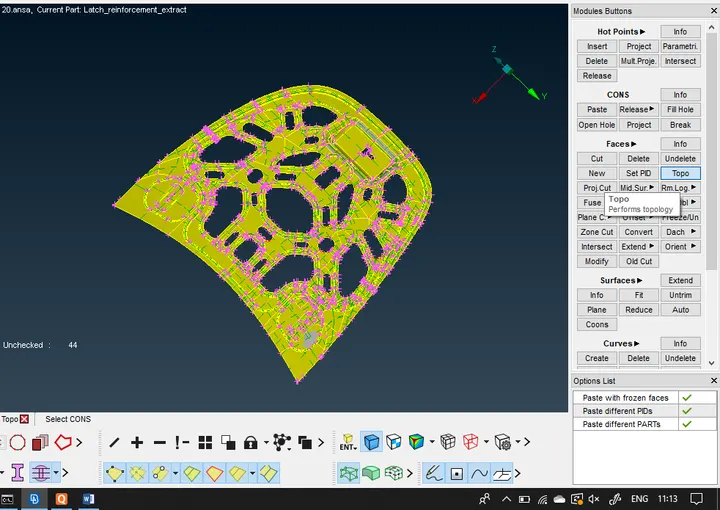
This tool is used to connect the cons which are in tolerance limit. After generating topo the cons are categorized into three types
1)Single cons: which share 1 face, appears on the edges of the model, appear in red colour.
2) Double cons: Shares 2 face, this type of cons are present within the model, appear in yellow colour
3) triple cons: Share 3 face. It is advised to remove most of the triple cons, appear in blue.
If there is cut in between the surface than we can paste one con over another using paste option.
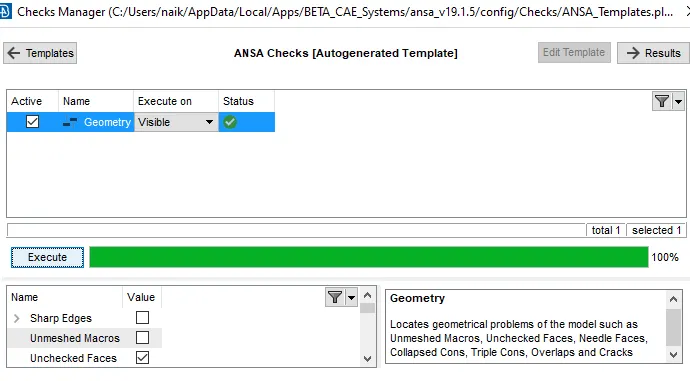
After completing the geometry cleanup check the geometry
Check manager - select parameter to check – execute
If there is any error we can manually resolve the error.
4) Meshing the model:
While meshing the model in ansa software we have to follow some of the standard operating procedure:
1) Check the geometry after an interval of time.
2) Save the model after every 15 minutes as software may stop working.
3) Avoid rotational quad, trai on edges.
i) Changing the quality criteria
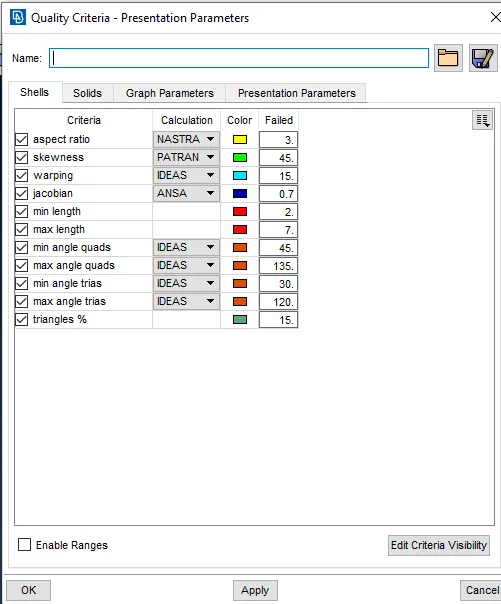
As the model should be meshed using different quality criteria, changing the criteria as per instruction.
Go to Quality criteria or F11
Unlock the required parameter and edit it as per instruction.
ii) Change the mesh perimeter
This is used to change the parameter like mesh flow, element size, element order, element shapes
Change the length of the perimeter to 5 as the element size is 5
Mesh – Perimeter – Length – 5 – select all
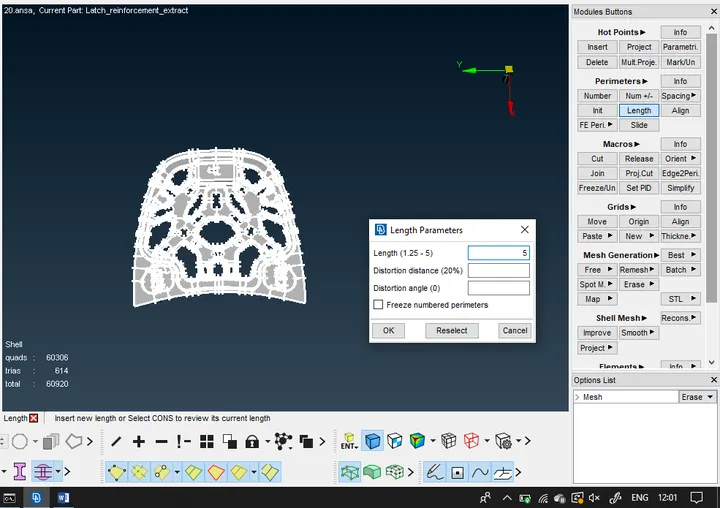
iii) Meshing the model:
In ansa, we can mesh model using a different algorithm, as per geometry. We are going to use the best option as it will select the best suitable algorithm for meshing the component. After meshing the model, use reconstruct the mesh using reconstruct option, this will improve the mesh flow and reduce the tria in the region, even if the mesh is to reconstruct use split option to move tria and to combine trias.
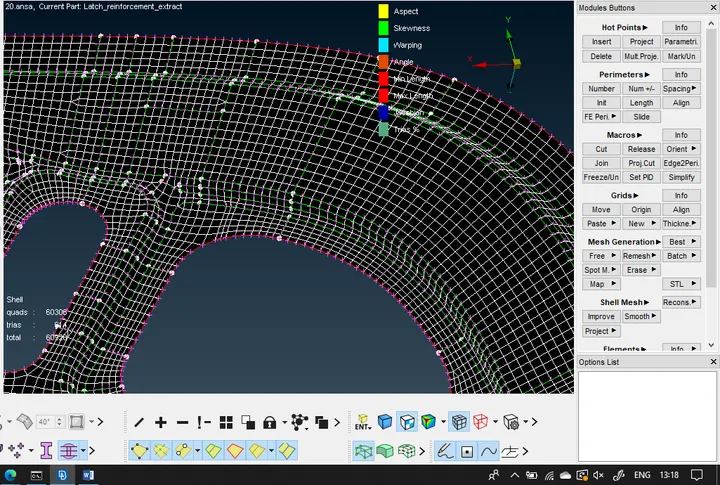
After reconstructing the mesh flow get disturbed, to create good flow mesh use option of smoothing operation. This improves the mesh flow.
iv) Check the quality criteria of element :
To check the failing element, unlock the hidden view option. This tool will display the failing element due to different parameters.
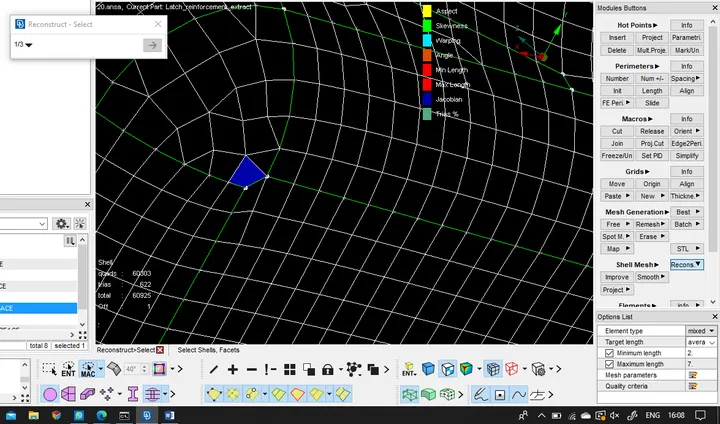
Try to eliminate elements using reconstructing, smoothing, moving trias, etc.
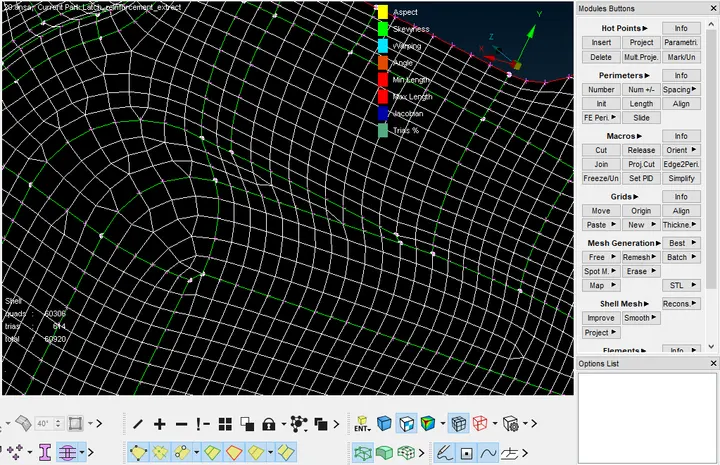
5) Reflecting the surface:
As most of the geometry is symmetric along the axis we can easily reflect the mesh over the axis. To reflect the mesh.
Transform – copy – select entity – symmetry – mirror 3 point plane – apply
This whole process 1 to 4 applies to all other components.
6) Assign the material ID and Property ID
Before assigning the material ID and property ID we have to create the property.
To create material ID:
List – material – right click – create one – MAT1
Add the material property as required and create a material ID.
To create property ID:
List – property – right click – create one – assign thickness
Create property according to the thickness i.e. one property for geometry having thickness 0.75 and another for thickness having 1.2
After creating property ID, assign the geometry to property ID
Mesh – Macros – Set PID – select face – select PID
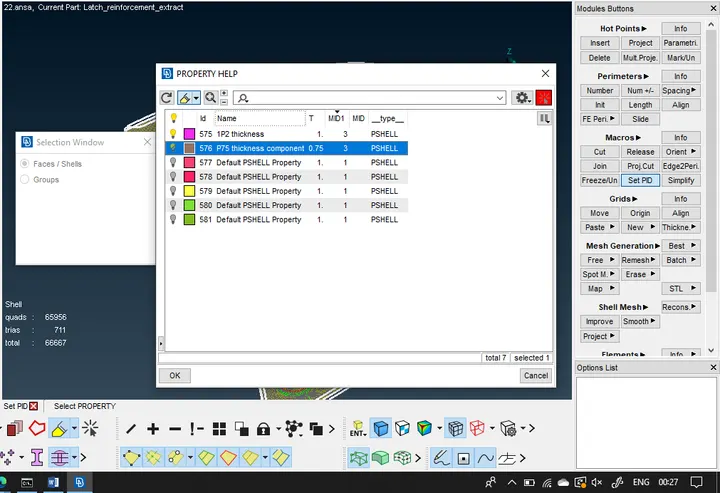
To check the property is assign properly change the display mode to PID.
Conclusion:
- Got to know the interface of ansa software, learned how to clean up the geometry, mesh the component and how to eliminate the failing elements.
- Got to know property ID and associated steps while assigning property ID to the geometry.
Final Model: