Week 2 Challenge : Surface meshing on a Pressure valve
Aim :-
To deploy the mesh over the surface of the pressure valve.
Steps :-
i. Import the CAD file.
ii. Display setup.
iii. Geometry clean up/Repair.
iv. Geometry check up.
v. Assigning the PID
vi. Defining element size of mesh.
vii. Generate the mesh.
Procedure :-
i. Importing CAD file -
Go to file > Open > Browse the location of the model > Select it and click enter.
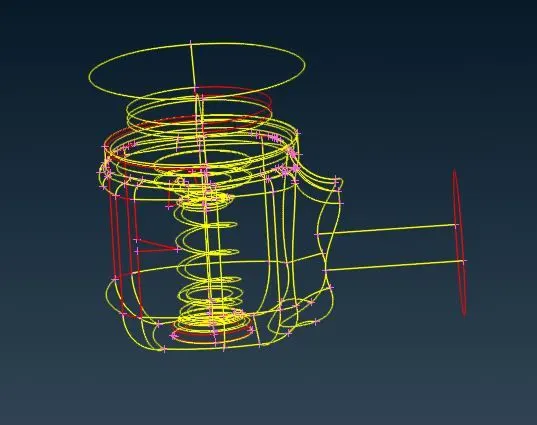
ii. Display setup -
As we can see the imported CAD file is in wire frame. We need to set it right for use.
Bottom tool bar > Shadow.
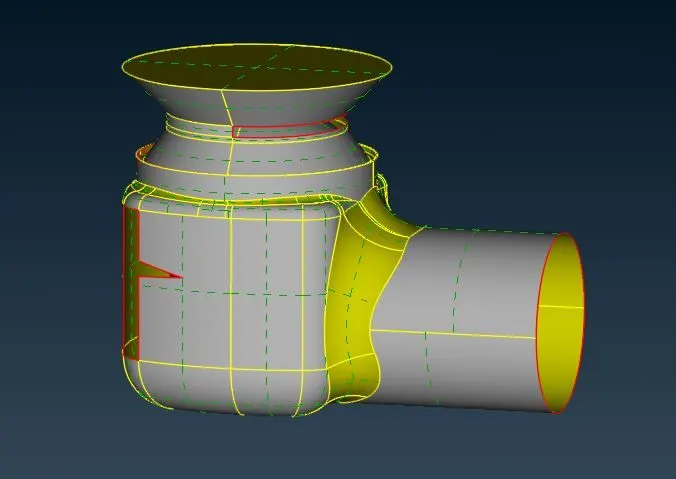
iii. Geometry clean up/Repair -
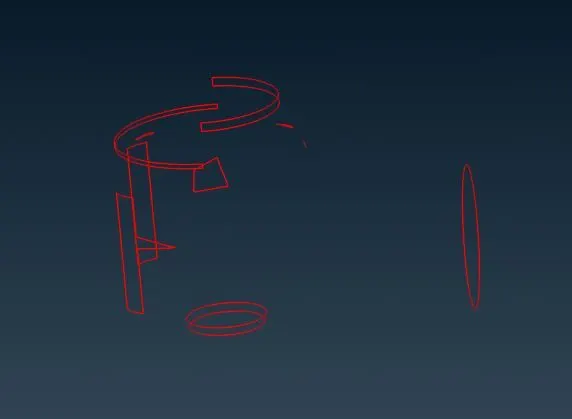
As we can see there are several single cons present. Single cons means there is only one surface. So we can turn the single cons into double cons by adding new surfaces over there by doing some operations.
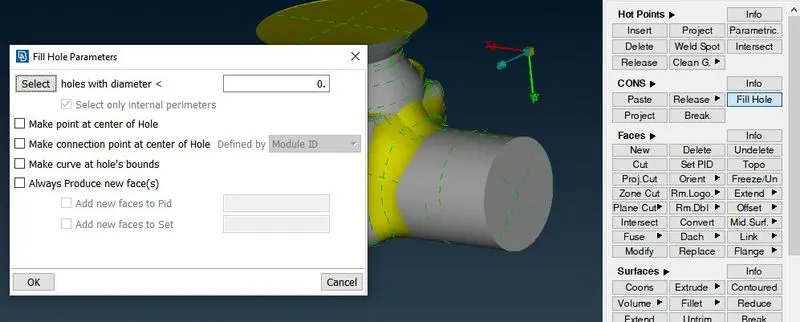
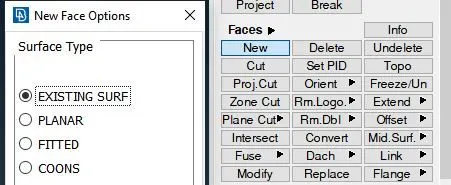
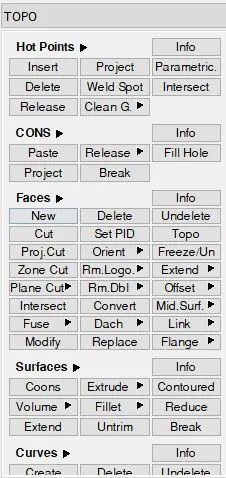
There are two ways which are used , a. (CONS > Fill Hole) , b. ( Faces > New). These are shown in the image below.
There are four options in the 'New' option, so we can use them appropriate to add new face over there ( at single cone). 'Fill Hole' option is used to fill the holes or fill the gaps or cracks.
After geometry clean up the geometry looks like shown below.
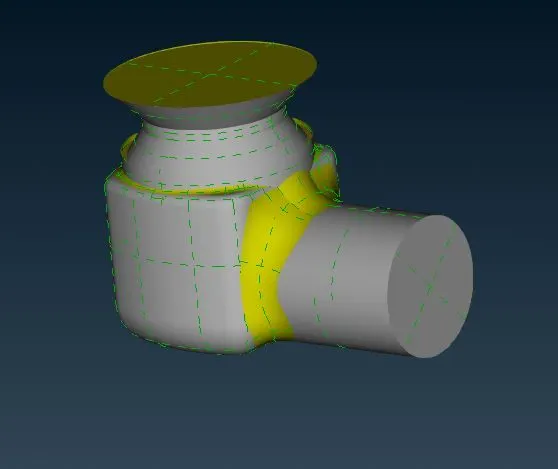
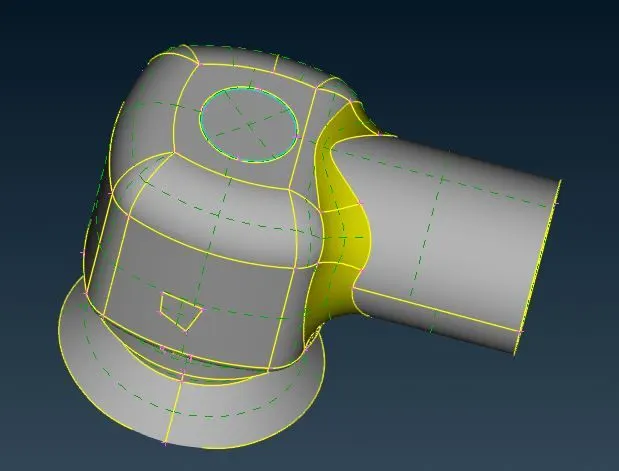
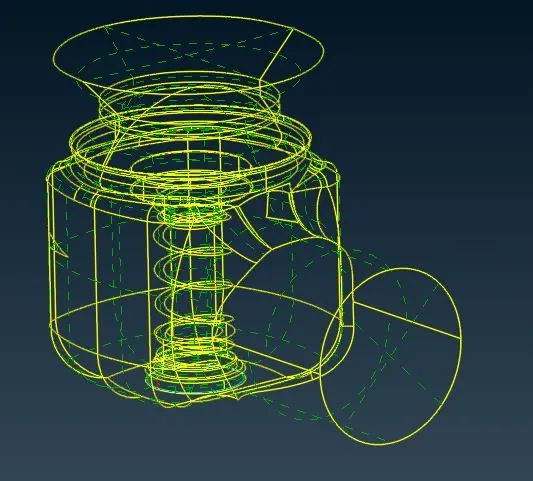
As we can see the geometry in the wire mode, there is no single cons present. But as we can see in the second image there is one triple cons formed. It is not error. We need the triple cons over there, it is necessary. So the geometry has been cleaned up.
iv. Geometry check up -
This step is done to check the if there are any error in the geometry like needle face, cracks etc.
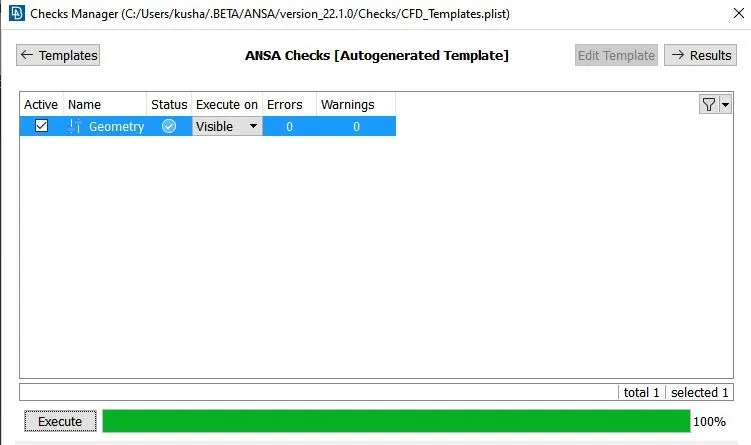
Toolbar > Check > Geometry . Select the geometry and click on result. We can see green tick over there which means geometry has no error.
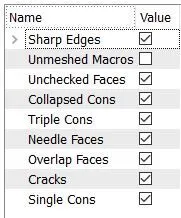
Here is the types of the errors .
As we can see there is one triple cons formed so we get only warning as shown in image below.
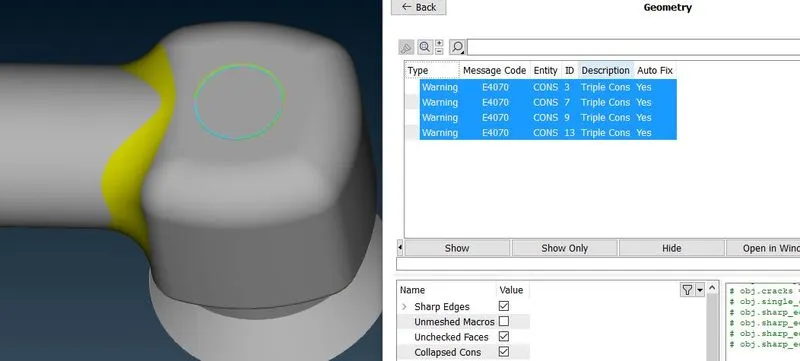
As we know triple cone is necessary here in the particular case. So we can proceed the geometry as it is perfect and cleaned up and checked up.
TOPO Deck -
v. Assigning the PID
a. Target length = 1 mm , element type = Tria.
Create the PID in the properties (Toolbar > Properties).
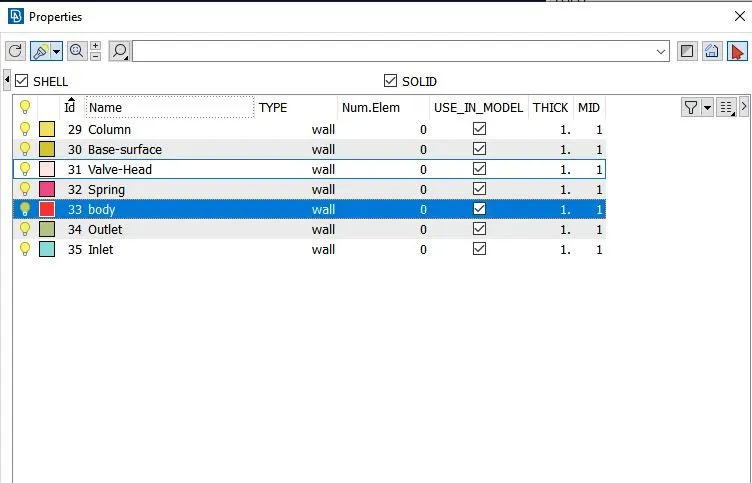
After creating the PID, in PID mode for geometry , apply the PID by doing (right click on the particular PID > Apply > click on the particular face) and do middle click.
Inlet -
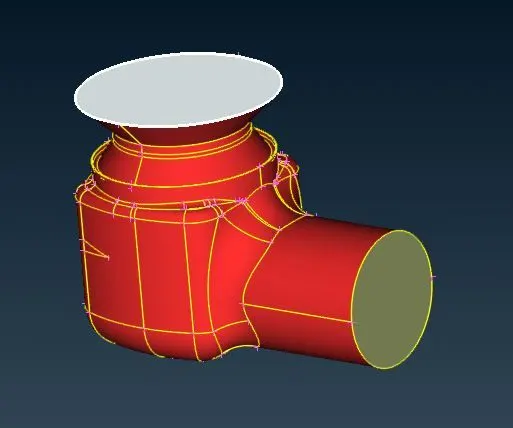
Outlet -
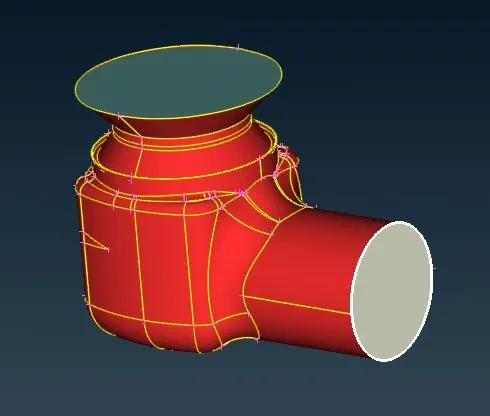
Body -
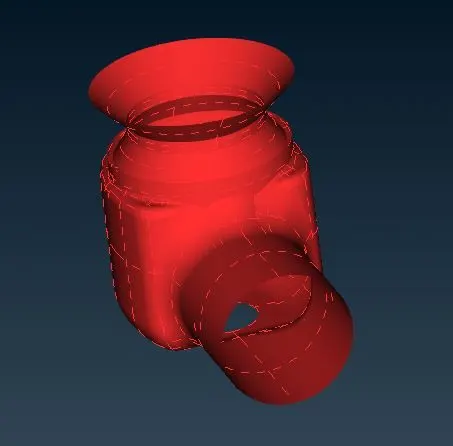
Valve-head -
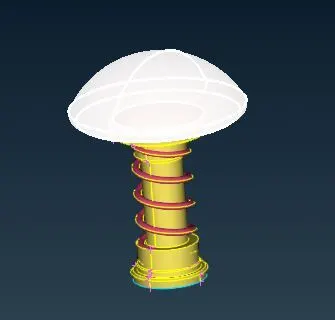
Spring -
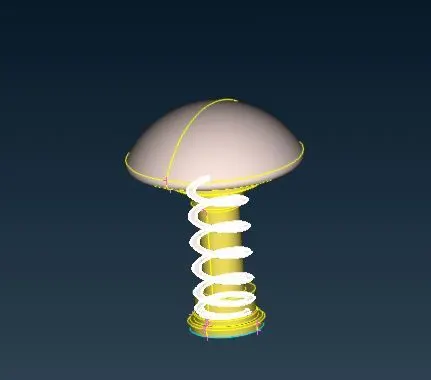
Column -
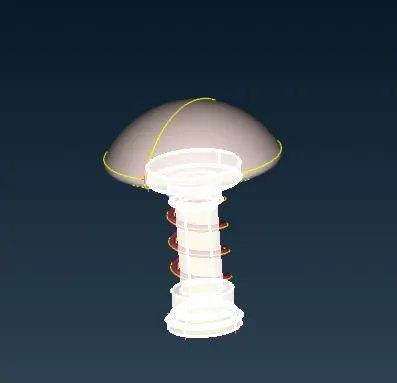
Base-surface -
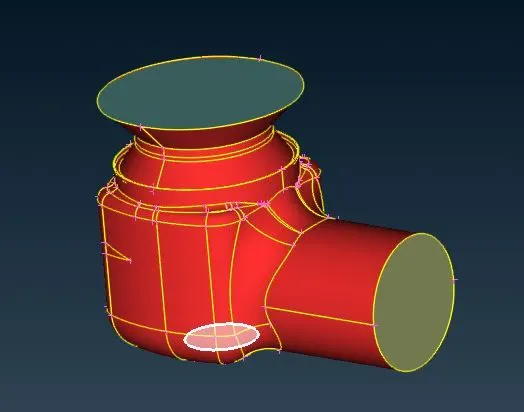
After applying all the PID, PID geometry looks like as shown below,
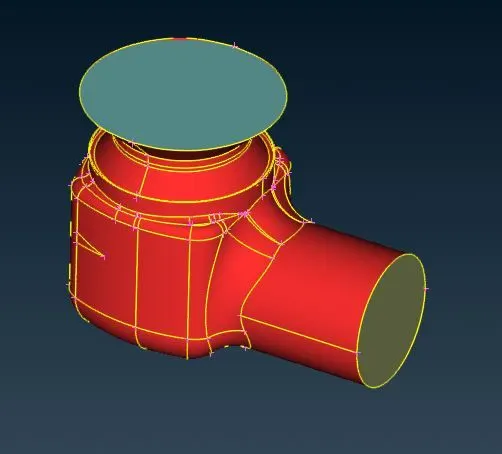
vi. Defining the element size -
To define the size element click on the Classic Mesh deck.
Classic Mesh -
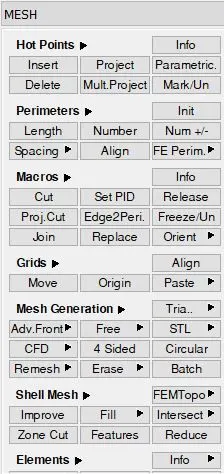
Perimeters > Lenght and we can see two types. a) Perimeters b) Macros .
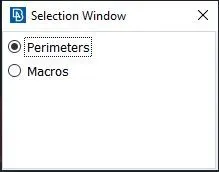
Perimeters > Length > Perimeters. Select the geometry and Apply lenght = 1 mm
Perimeters > Length > Macros . Select the geometry and Apply lenght = 1 mm
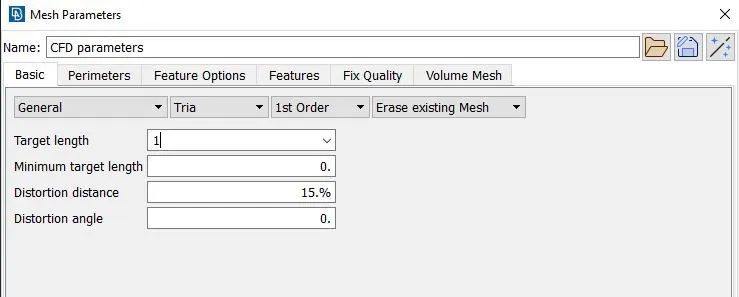
After setting the lenght , Click on the Mesh parameters. Apply Target length = 1 mm and type of the mesh = Tria. Then apply mesh quality accordingaly.
vii. Generate the mesh.
To deploy the mesh ( Mesh Generation > CFD > visible).
We get the Surface mesh on pressure valve.
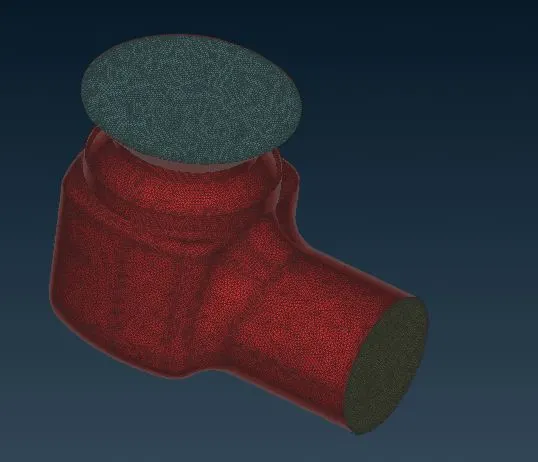
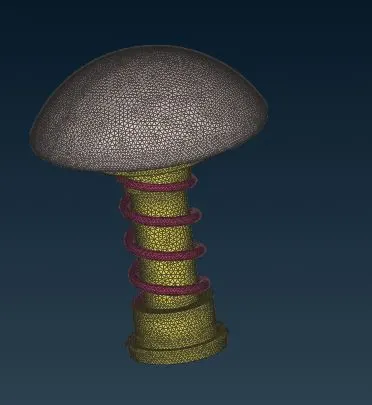
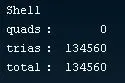
No of Trias = 134560
b. Target length = 3 mm , element type = Tria.
Create the PID in the properties (Toolbar > Properties).
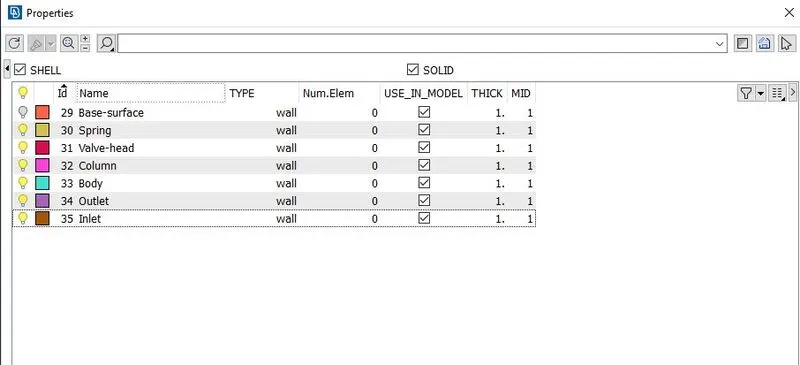
After creating the PID, in PID mode for geometry , apply the PID by doing (right click on the particular PID > Apply > click on the particular face) and do middle click.
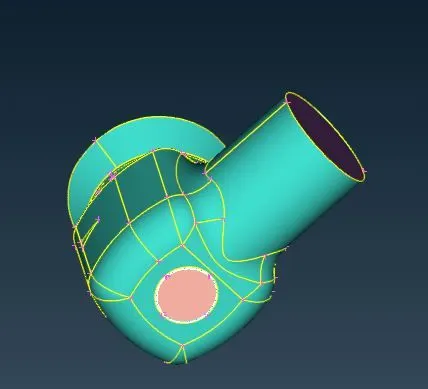
Inlet -
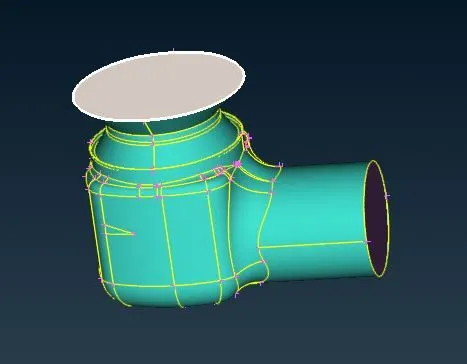
Outlet -
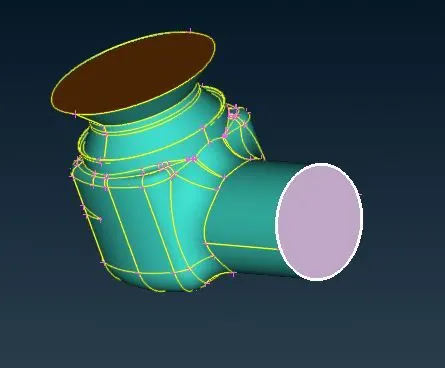
Body -
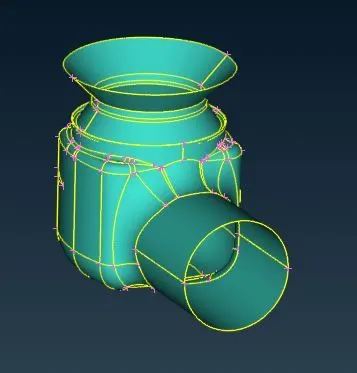
Valve-head -
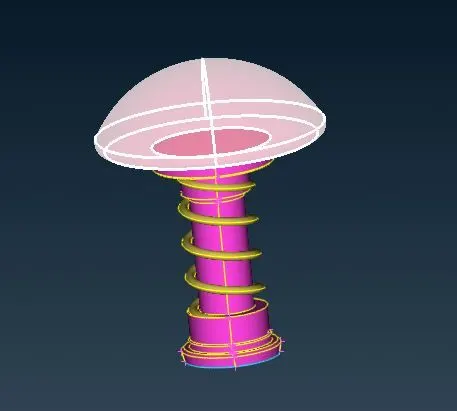
Spring -
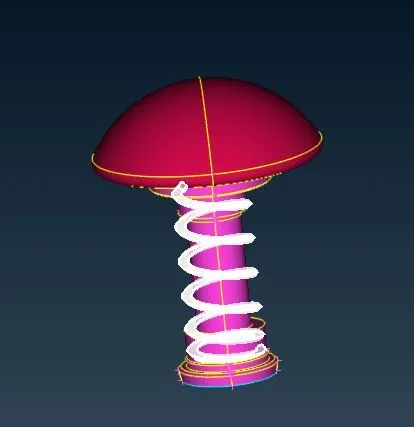
Column -
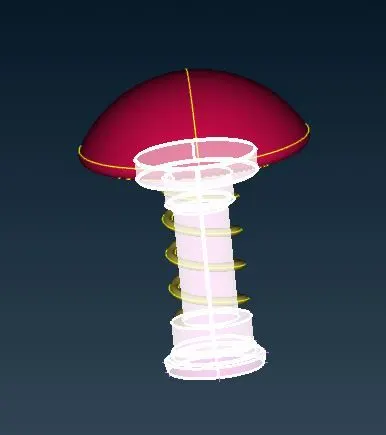
Base-surface -
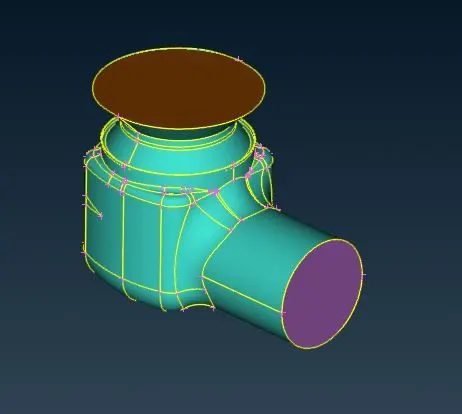
After applying all the PID, PID geometry looks like as shown below,
vi. Defining the element size -
To define the size element click on the Classic Mesh deck.
Classic Mesh -
Perimeters > Lenght and we can see two types. a) Perimeters b) Macros .
Perimeters > Length > Perimeters. Select the geometry and Apply lenght = 3 mm
Perimeters > Length > Macros . Select the geometry and Apply lenght = 3 mm
After setting the lenght , Click on the Mesh parameters. Apply Target length = 3 mm and type of the mesh = Tria. Then apply mesh quality accordingaly.
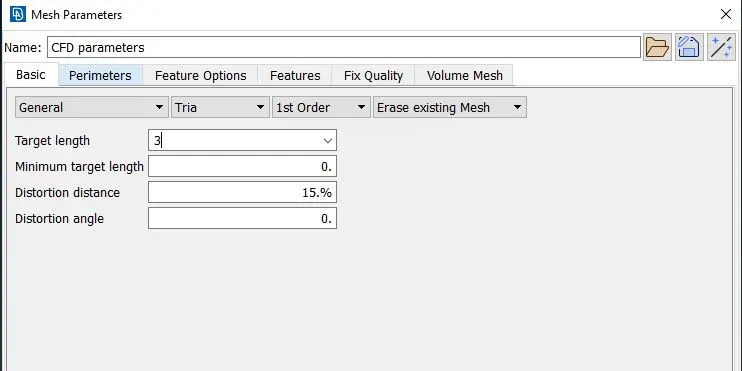
vii. Generate the mesh.
To deploy the mesh ( Mesh Generation > CFD > visible).
We get the Surface mesh on pressure valve.
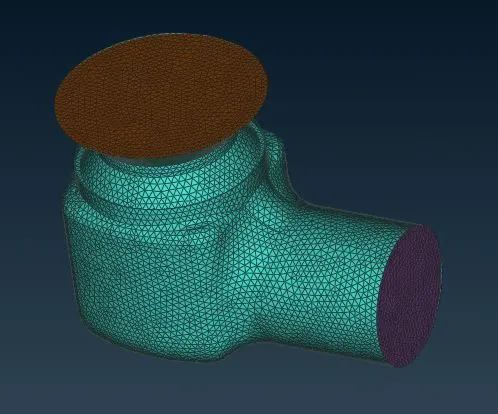
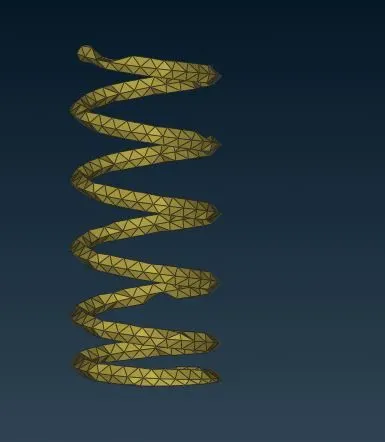
As we can see for 3 mm target length it can not get the proper spring shape. So for getting proper shape we reduce the target length to 1 mm for spring only.
By taking 1 mm we get the spring geometry like shown below which is acceptable.
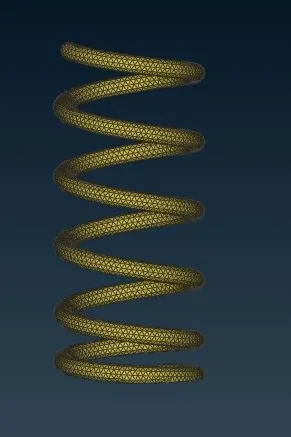
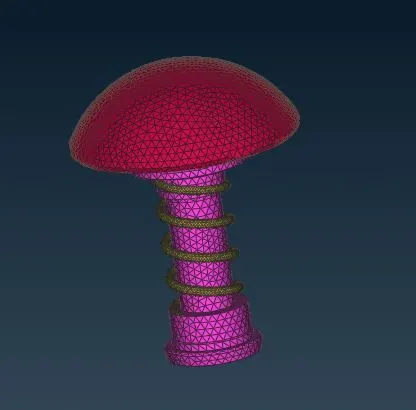
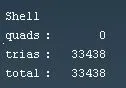
No of Trias = 33438
c. Target length = 5 mm , element type = Tria.
Create the PID in the properties (Toolbar > Properties).
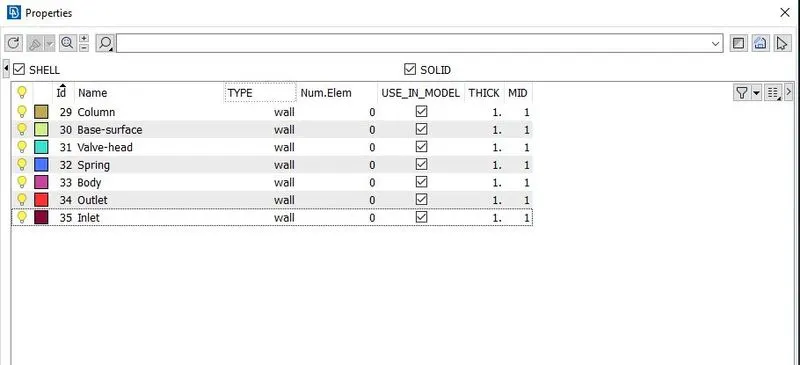
After creating the PID, in PID mode for geometry , apply the PID by doing (right click on the particular PID > Apply > click on the particular face) and do middle click.
Inlet -
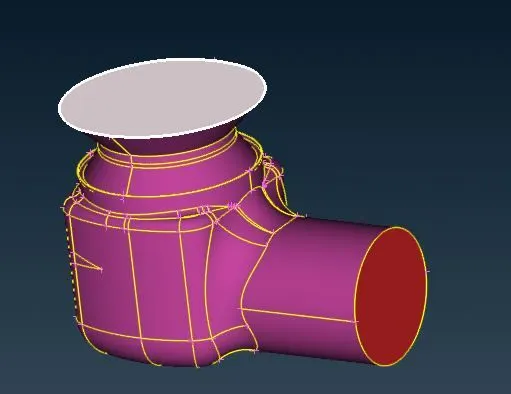
Outlet -
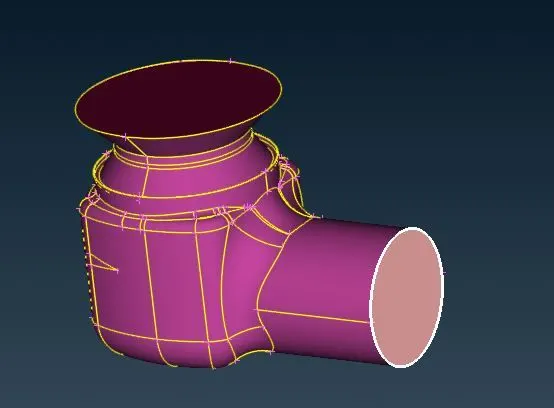
Body -
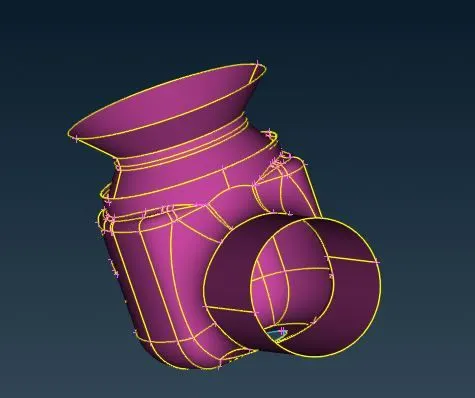
Valve-head -
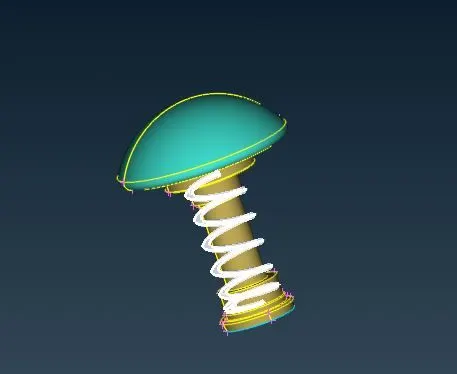
Spring -
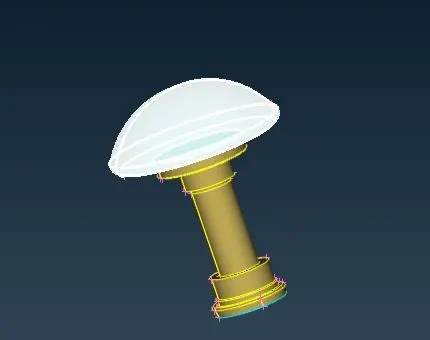
Column -
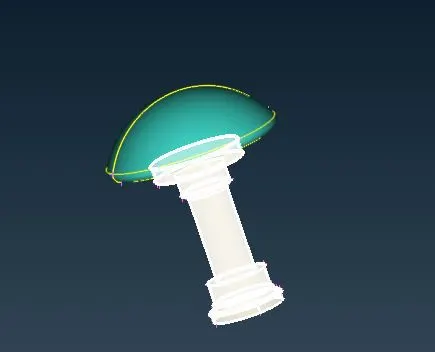
Base-surface -
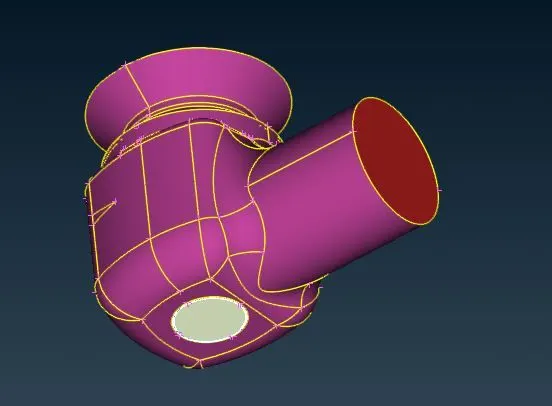
vi. Defining the element size -
To define the size element click on the Classic Mesh deck.
Classic Mesh -
Perimeters > Lenght and we can see two types. a) Perimeters b) Macros .
Perimeters > Length > Perimeters. Select the geometry and Apply lenght = 5 mm
Perimeters > Length > Macros . Select the geometry and Apply lenght = 5 mm
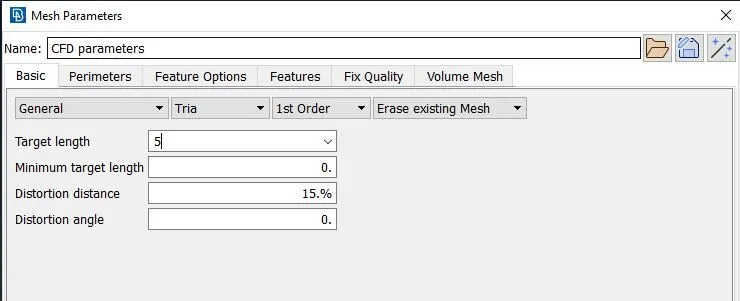
After setting the lenght , Click on the Mesh parameters. Apply Target length = 5 mm and type of the mesh = Tria. Then apply mesh quality accordingaly.
vi. Generate the mesh.
To deploy the mesh ( Mesh Generation > CFD > visible).
We get the Surface mesh on pressure valve.
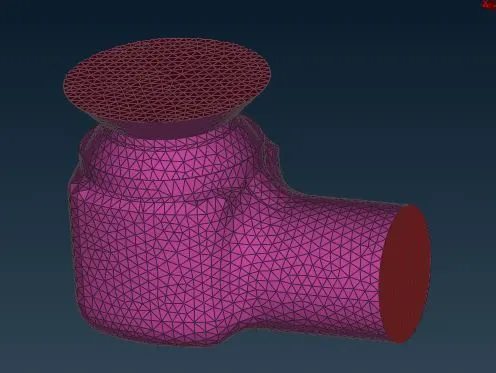
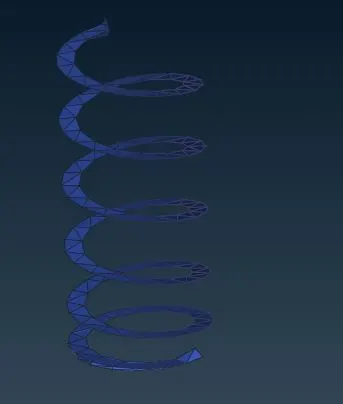
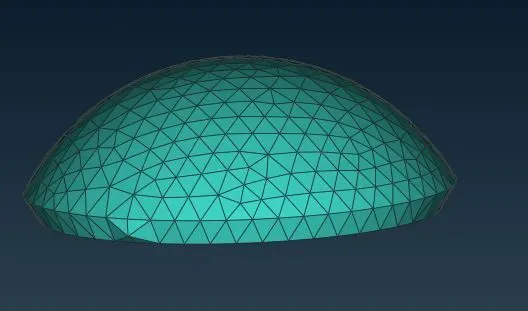
As we can see for 5 mm target length it can not get the proper spring shape and valve-head shape. So for getting proper shape we reduce the target length to 1 mm for spring and valve-head only.
By taking 1 mm we get the spring and valve-head geometry like shown below which is acceptable.
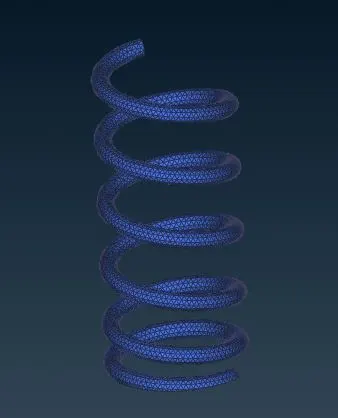
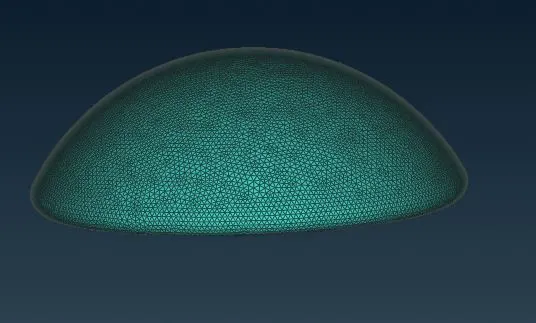
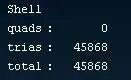
No of Trias = 45868
Conclusion :-
The surface mesh on the pressure valvehas been created by following above steps with the different target lengths.
We have genetared mesh for 1 mm , 3 mm, 5 mm target length for pressure valve, and we can see that in 5 mm target length does not give proper shape of the some parts of the geometry like spring and valve-head. And also 3 mm target length does not give proper shape of the spring. If we take 1 mm target length it gives proper shape of the all the partsbof the geometry (pressure valve). So 1 mm target length gives the good result as compare to 3 mm and 5 mm target length.