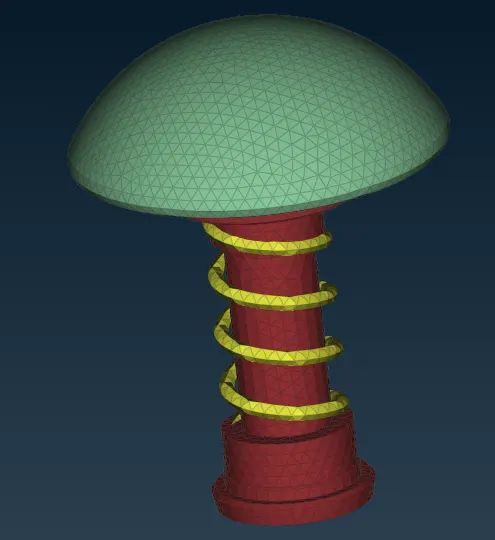
Week 2 Challenge : Surface meshing on a Pressure valve
Note:
Due to large file size, I was only able to attach the 3mm and 5mm mesh size file (even after compressing).
Aim:
To perform geometry clean up of the valve body and perform meshing with different sizes.
Objectives:
1. To perform geometry cleanup using options like New, Cut in the Topo tab
2. To assign the different PID's to different parts of the Valve body
3. To mesh with different mesh sizes and compare
Procedure:
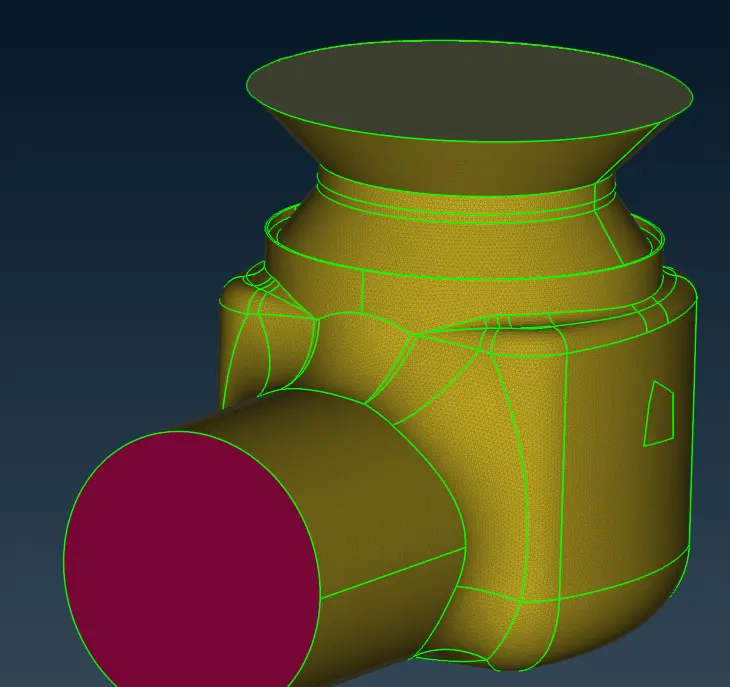
- Intially geomtry check was performed, which showed different errors in the valve body.
- The geometry cleanup was performed by adding new surfaces in the gaps using coons, fitted, and fill hole options.
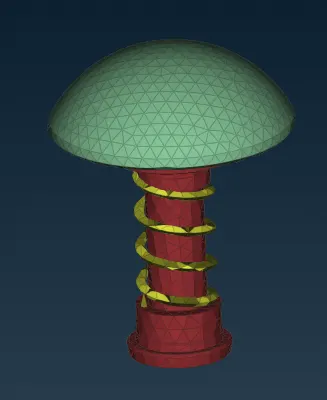
- Property Ids were assugned carefully to each and every part of the valve body with different colors.
- Mesh criteria like length (1,3,5mm) and shape(tria) of the mesh was selected.
- Minimum/maximum lengths for the mesh size were provided in the quality criteria.
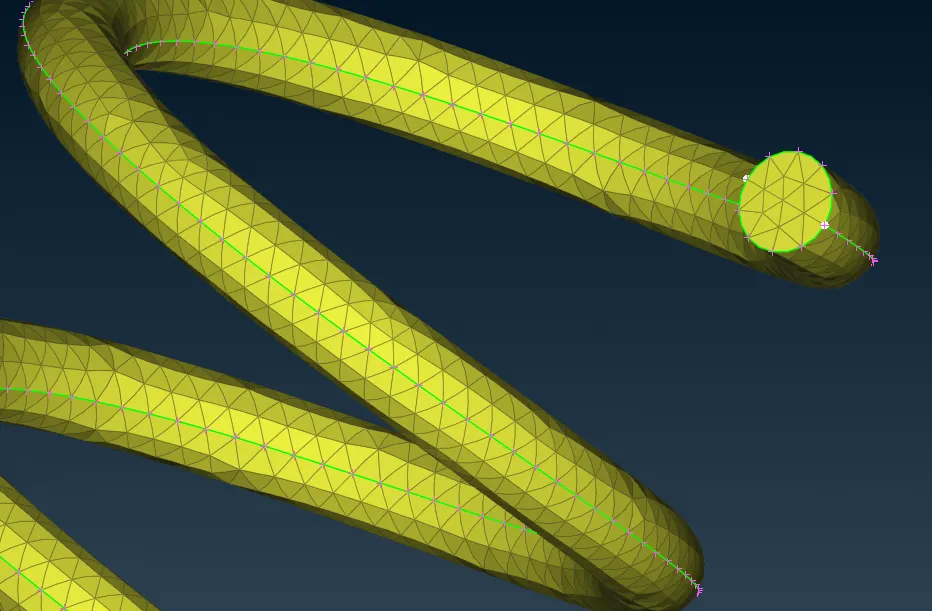
- Each part was selected using PID tab and spot mesh was applied to different parts of the valve.
Result:
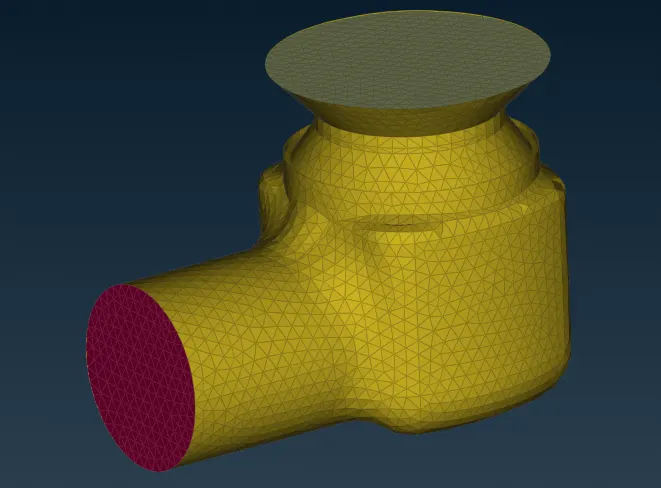
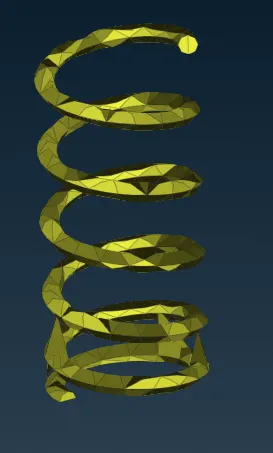
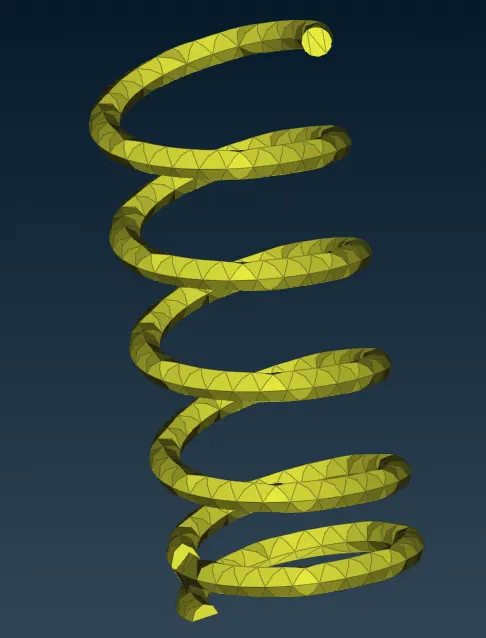
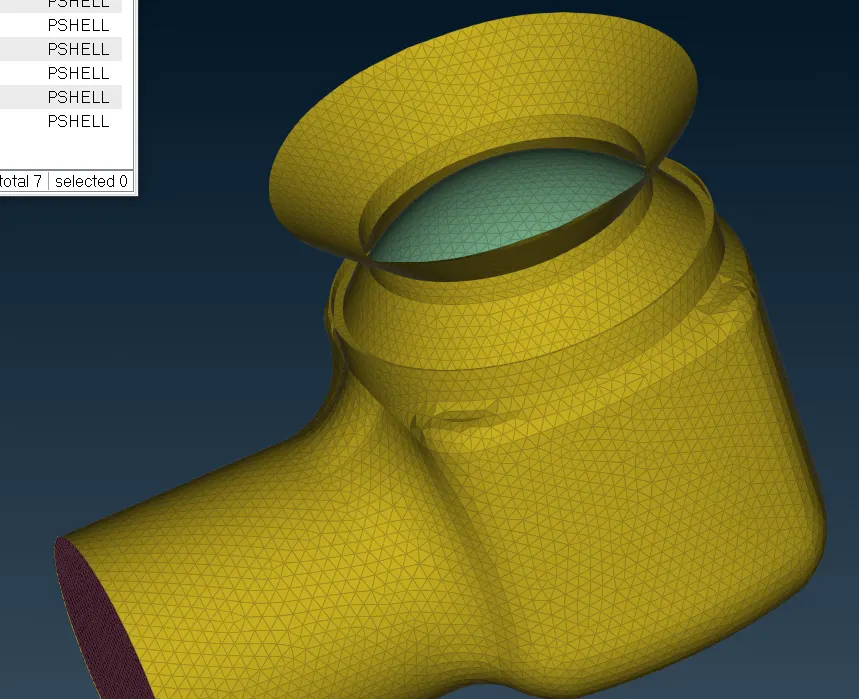
- Geometry clean up was performd and 3 different mesh sizes were applied to the valve body.
Conclusion:
- Depending on the mesh size, the valve body was confirming to the shape.
- Lower mesh size took extra time to mesh, however the conformity of the shape was good compared to large mesh size.
- Lowest dimension in the body can be used for deciding appropriate mesh sizes.
- Geometry cleanup should be performed before meshing using checks.
- Quality criteria should be decided before starting of the mesh which will reflect the mesh adapting to the actual body.