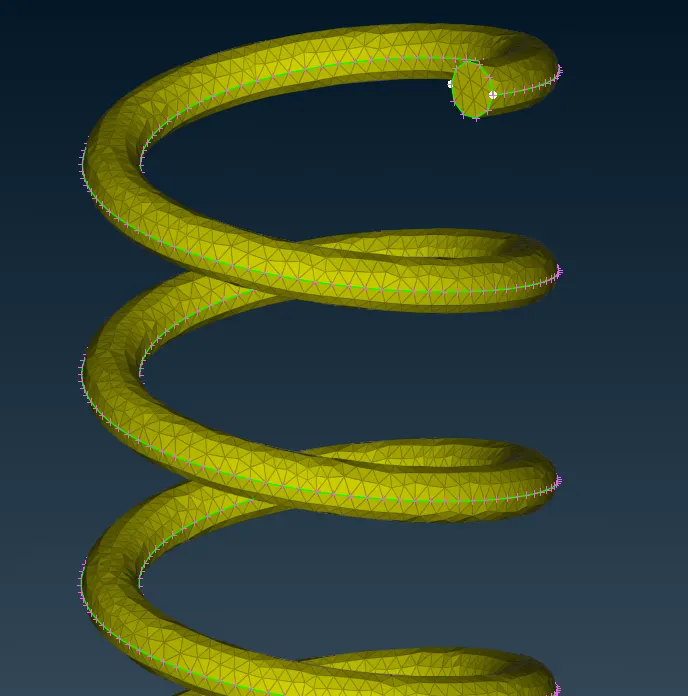
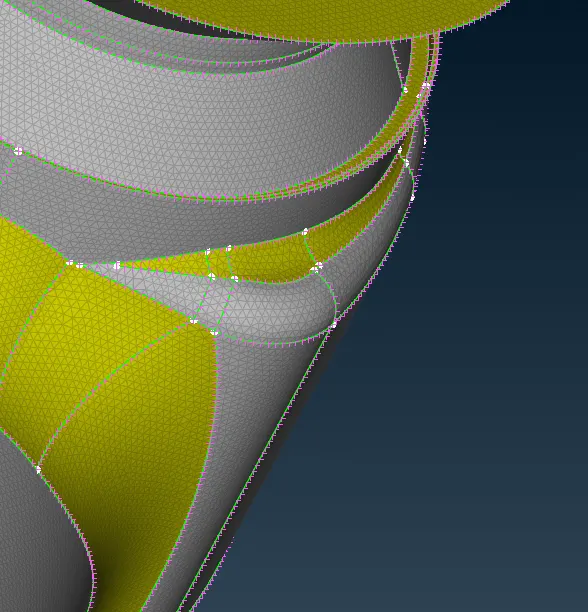
Week 2 Challenge : Surface meshing on a Pressure valve
Aim/Objective: Analyze the mesh of the model with three diffrent target length.
Procedure:
- Import the model into the ANSA.
- Check the model by using Geometry check manager. then check Cracks, the single cons and triple cons etc. in the model.
- then move to topo module
- solve the single cons by using the new option in faces. By using the existing surface , planer, fitted and coons option will create surfaces wherever required.
- By using fill hole option, created the circular surface.
- We can use the Ctrl+ Shift for wired model representation for view and confirm the selection
- after solve the all the surfaces. check the geometry again. Make sure you wont get any error.
- if we want to do volumetric mesh, we need a closed surface model. so we need to patch the model wherever it open.
- sometime while solving the surfaces we will get tripple cons. tripple cons is not the error but we need to make sure weather tripple cons required or not.
- After the Topo clean up, execute the geometry check again. check the error and solve the error.
- we can check single cons, double cons and tripple cons by turning on/of visibilty of single double and tripple cons and wired representation.
- if the surfacewidth is less than target length we will not get proper mesh, so clean the small and non signifacant surface by deleteing the cons cut option in faces.
- create the PID for each parts in the model. which helps to mesh the model properly.
- to create PID, go to properties right click, new then Pshell. Enter the PID namethen ok. checkge the color by double click on the color icon.
- to asign the surfaces to PID select the PID and right click then apply. select the surface the middle click.
- Delete all the unwanted PID. Right click on the PID and delete. if we get error undelete the surface. selct the deleted surface. middle click. so we can delete the PId without error.
- then mesh module. define the perimeter and macros target length.
- Select the target length , minimum and maximum target length.ok.
- select the quality criteria . define the max. and min length.
- then selct the spot mesh. mesh model by PID, one by one.
- Repeat the procedure for different target length. Analyse the mesh.
Learning Outcomes:
- Clean the model surface in topo module.
- Create and edit the PID
- Mesh the module with different target length.
Result & Conclusion:
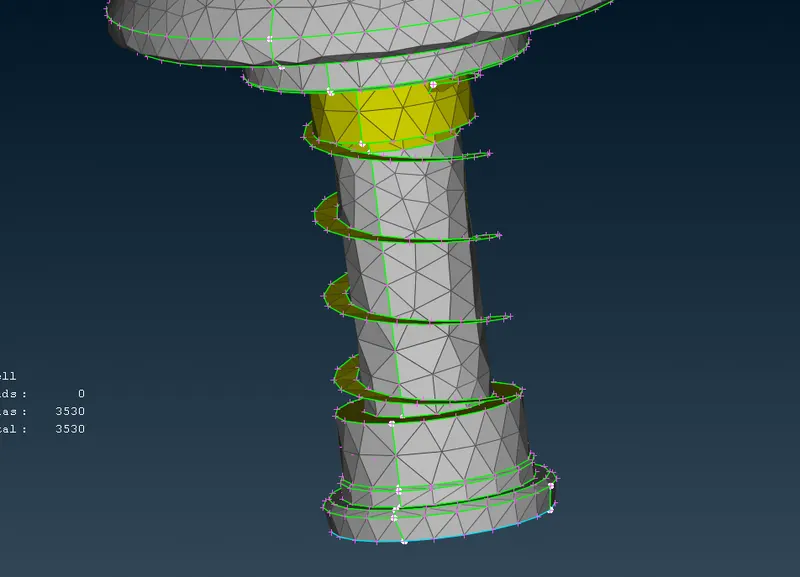
Traget length 5mm: some of the component like spring which has dimension lesser than 5mm not meshed properly. some parts edges fillet not meshed properly. Total Number of mesh element 8808.
.
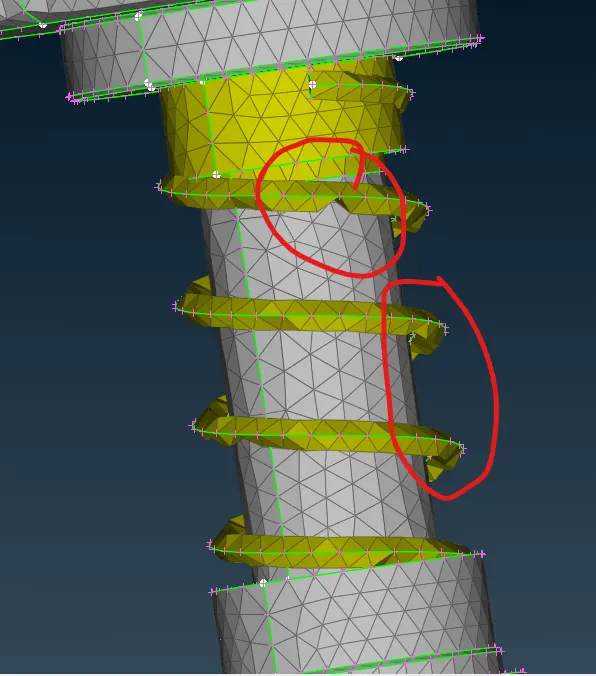
Target length 3mm: some of the component like spring which has dimension nearly equal to 3mm not meshed properly but better than 5 mm target lenth. some parts edges and fillet still not meshed properly. Total Number of mesh element 23876.
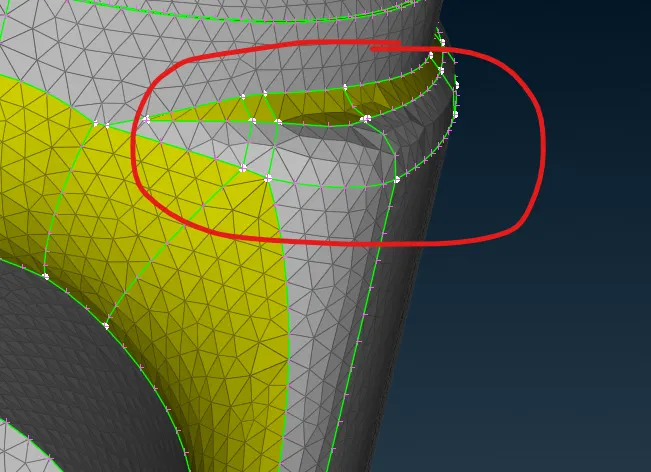
Target length 1mm: Mesh element is much finer. All the fillet and edges meshed properly. Spring which has diameter more than 1mm target length is meshed properly. Number of mesh element is increased.Total Number of mesh element 210146.