Week 2 Challenge : Surface meshing on a Pressure valve
Objective:
For the given model, check for the geometrical errors and perform Topology cleanup accordingly. Set three different target lengths as three different cases and mesh the model.
- Target length = 1mm, 3 mm and 5 mm (i.e. 3 cases)
- Element type = Tria
About Pressure Valve :
Pressure valve is a type of valve which release the extra pressure which is created in the system such as boiler created due to temperature in the form of steam.Pressure valve is very important component boiler.
Procedure:
First we will import geometry
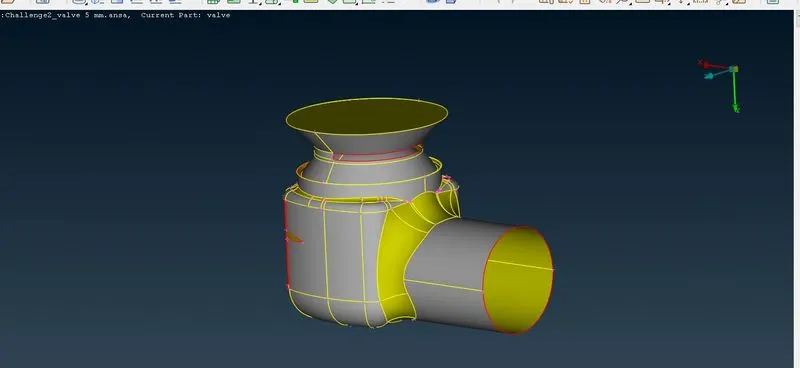
Now we will check geometrical errors in geometry by geometry checks under check manager tool
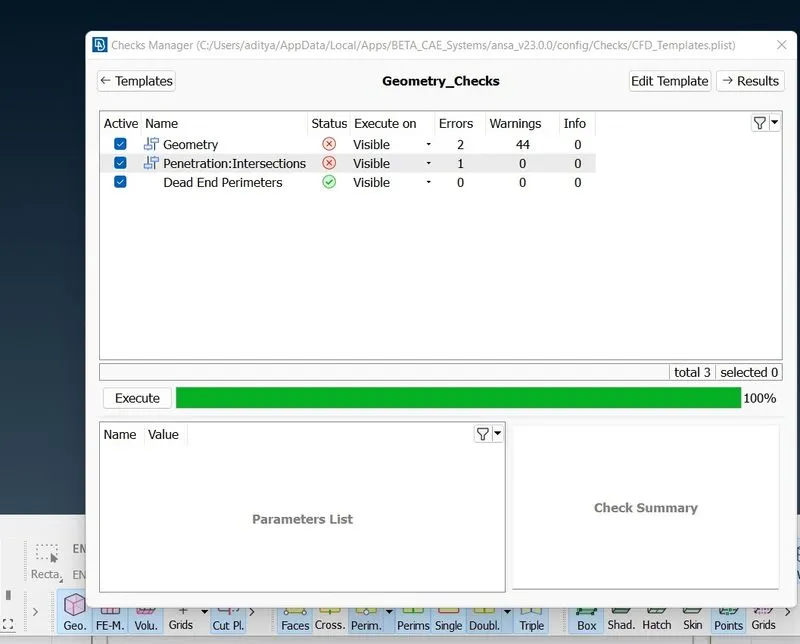
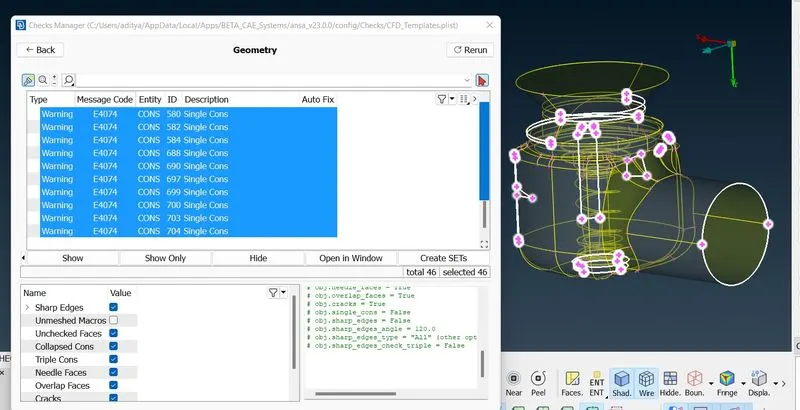
Below the errors are showing are single cons it means there is missing surfaces so we have to create or delete surfaces which are required.
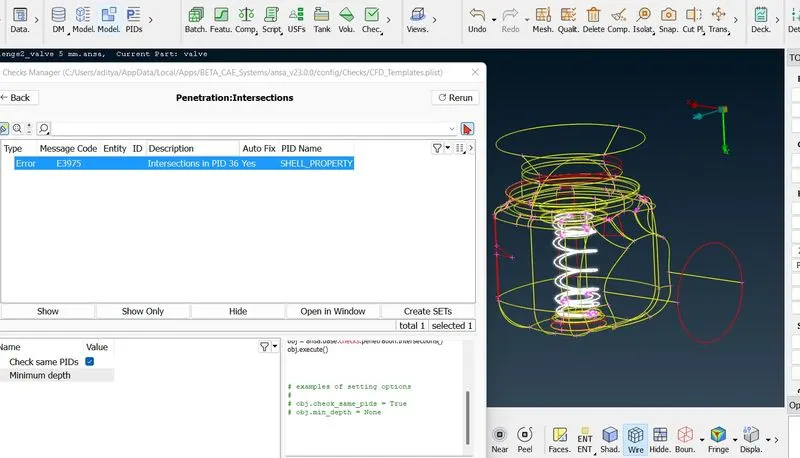
Below is intersection error which is occured between spring and column of pressure valve.
Now we will clear geometrical errors, First i will change from Entity to PID mode
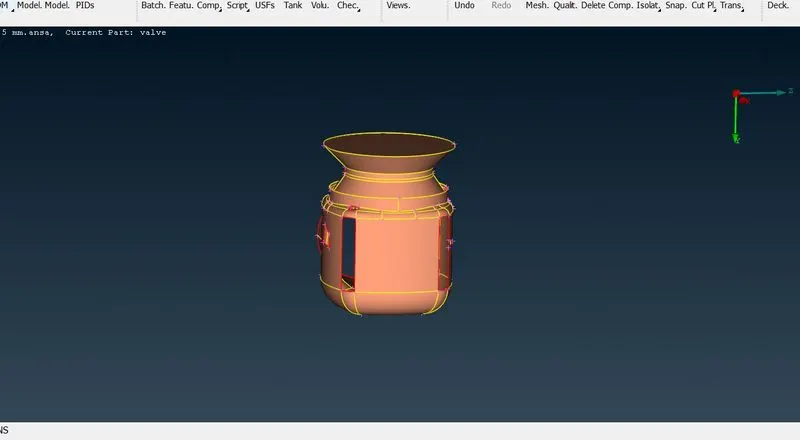
In the above figure some faces are missing.So that we will create Faces under new option by using COONS option(FITTED,PLANAR and EXISTING SURF are also) or we can use Fill Hole under CONS, In some cases Fill Hole not working(But it is more convenient) at that time we can use COONS option.
Note : Fill Hole works at the place of red coons only
..............................................................................................................................................................................
I will zoom the geometry
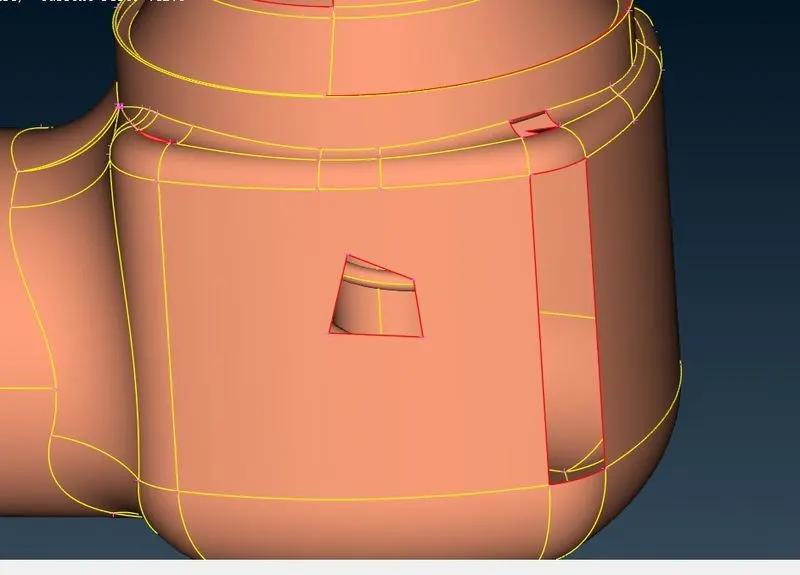
Now we will use Fill Hole.After selecting the fill hole option all we need to do is select any hole as shown above and click the middle button of the mouse. We can do this for all the holes and we'll get a clean geometry step by step as below
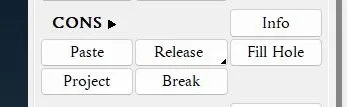
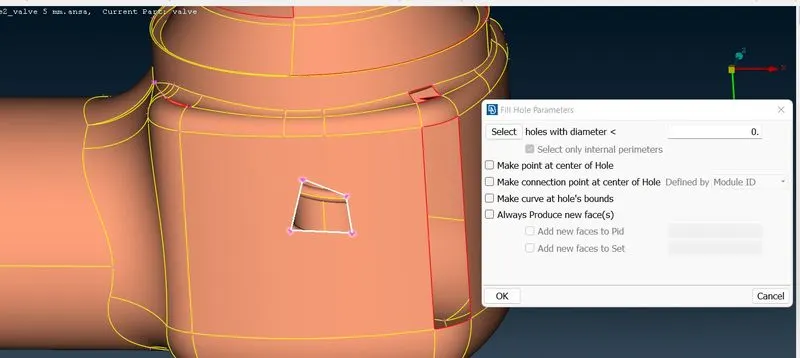
Now above all errors are removed and we created successfully created new faces by removing the red coons
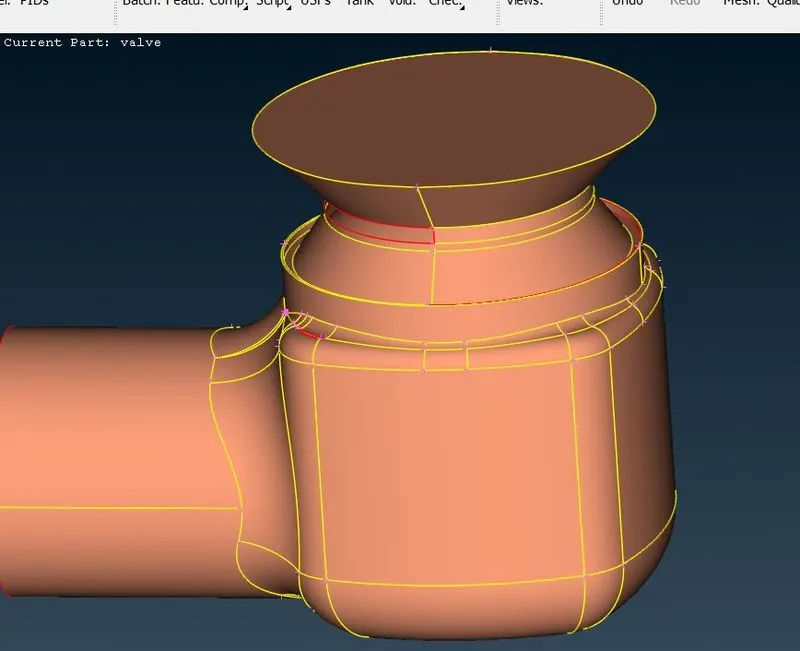
Now lets go to another error shown below
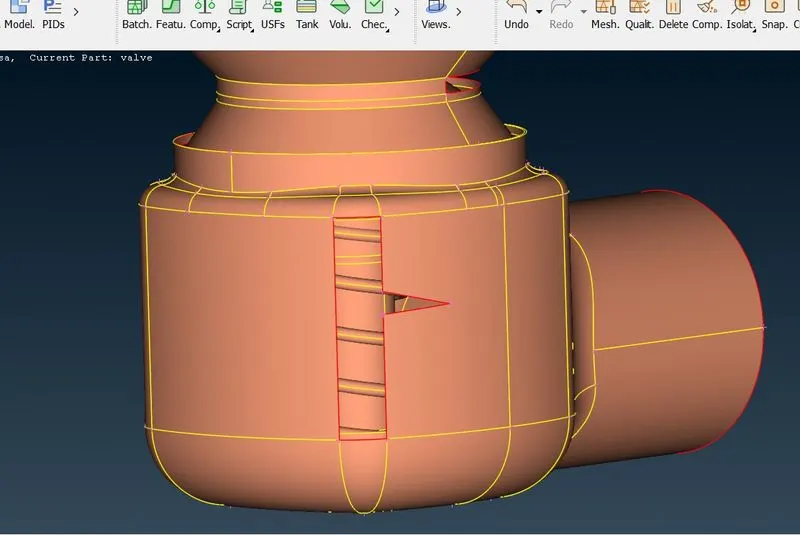
Here also we will use Fill Hole option and follow same procedure
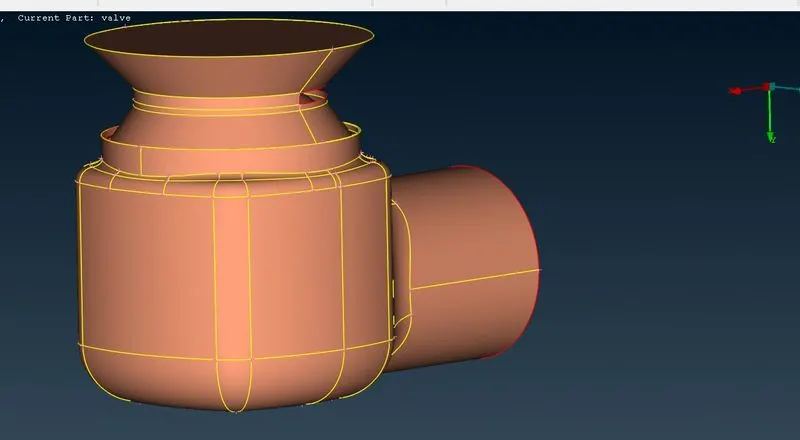
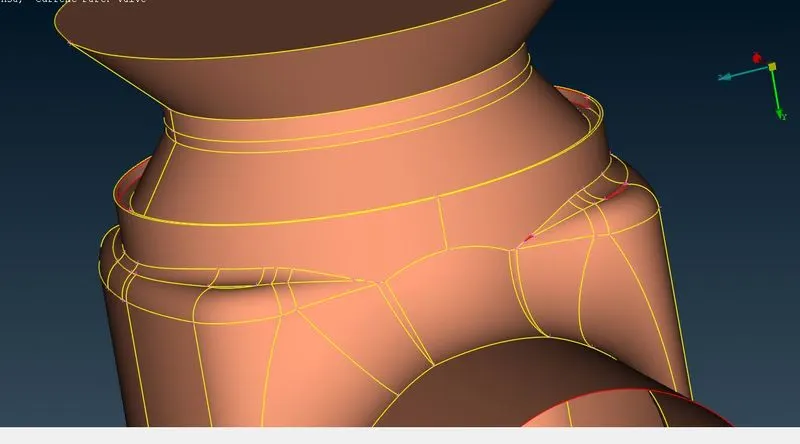
Let now we will go to another error
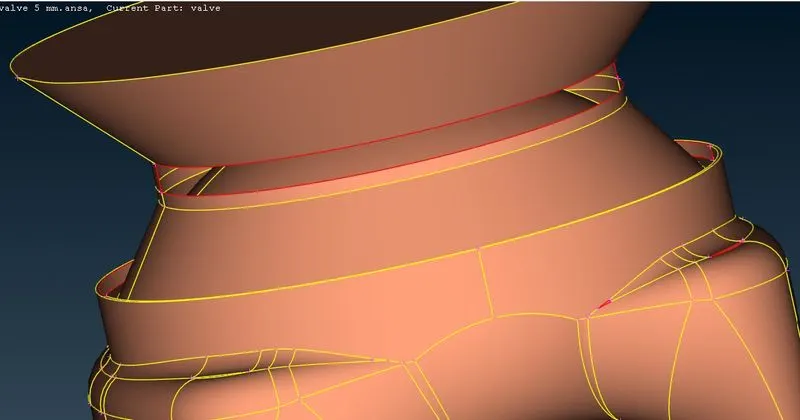
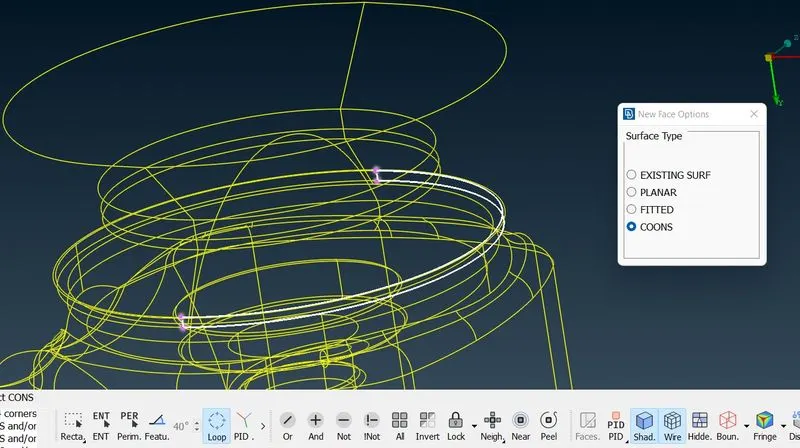
Here Fill Hole option is not working,we will use COONS with Loop options.Whenever red coons appeared in circular shape,it is better to use Loop,because all red coons select in one time.
Similarly COONS with Loop option we will select below red cones and clear that error also
Next we will go to another error
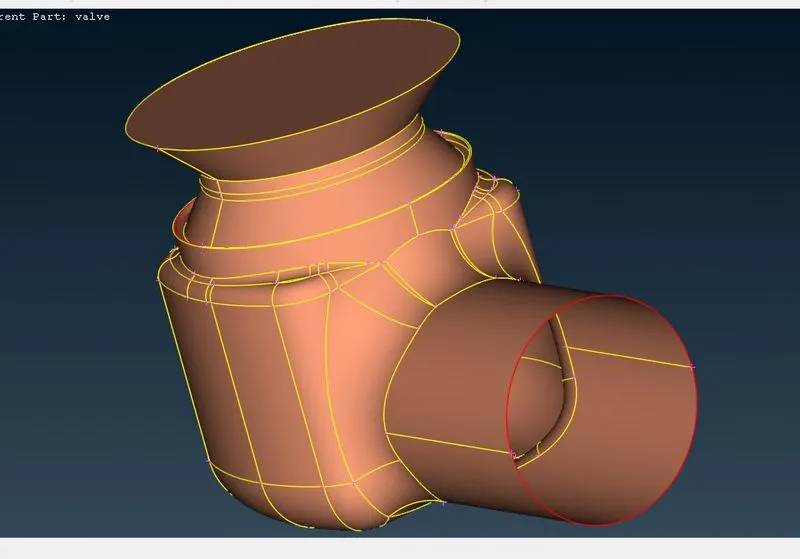
Here we can use any options PLANAR option (COONS AND FITTED also working)
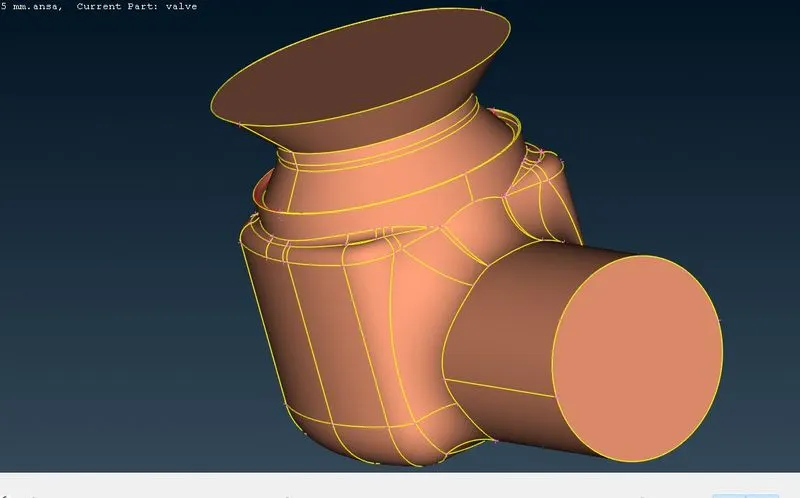
Next we will go to another error
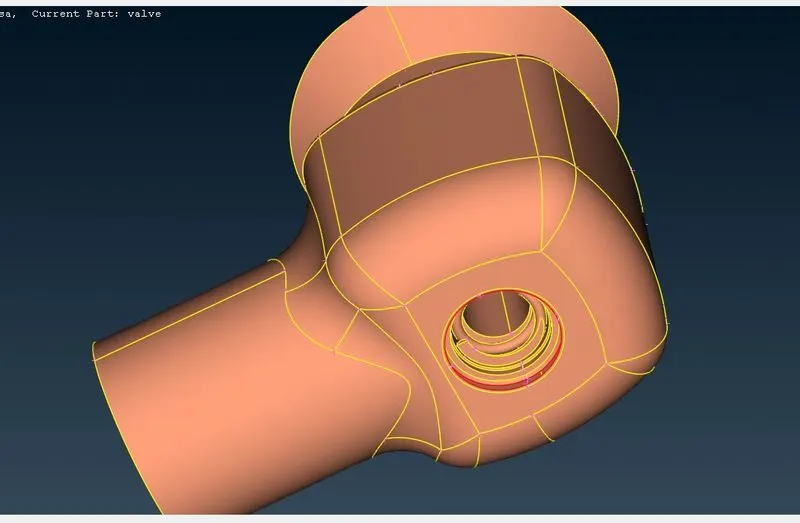
In Ansa for hidding the parts (PIDS) in geometry we can use Not option, for retrieving those hidded surfaces we can use All option. These options are used for clearing internal errors in geometry, By doing so
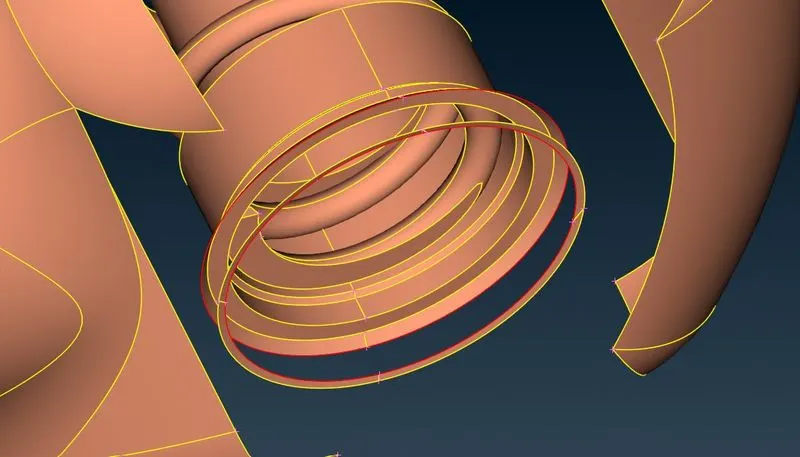
Here we cannot use COONS with Loop option because there is connection between red coons.Here we are using COONS with ENT(entity) option.ENT option is used to select the coon or face one by one.
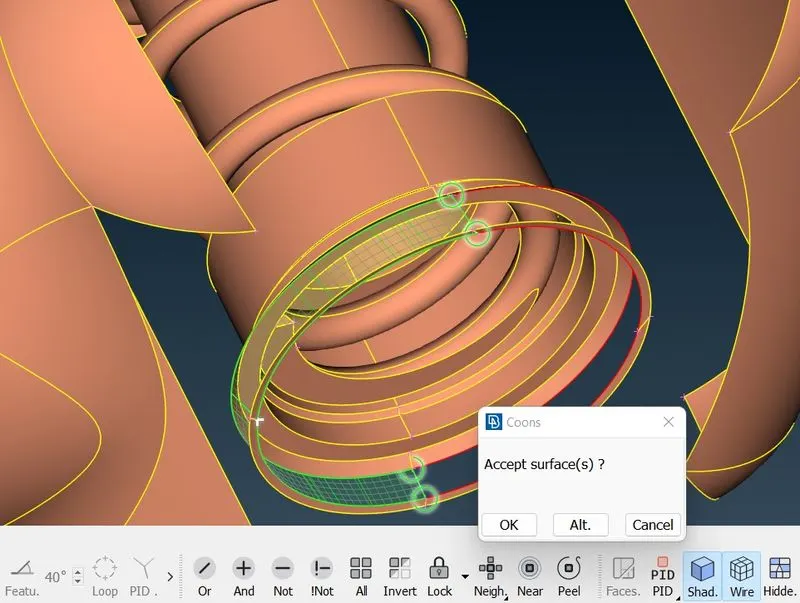
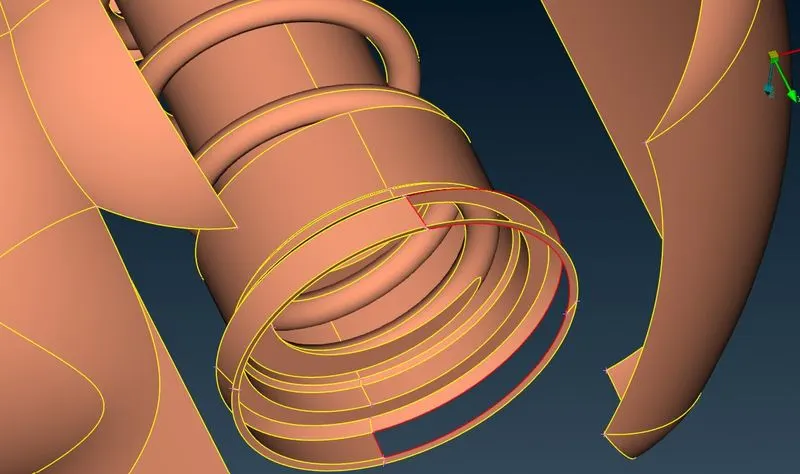
Now can use Loop with COONS because here there is connection between red coons
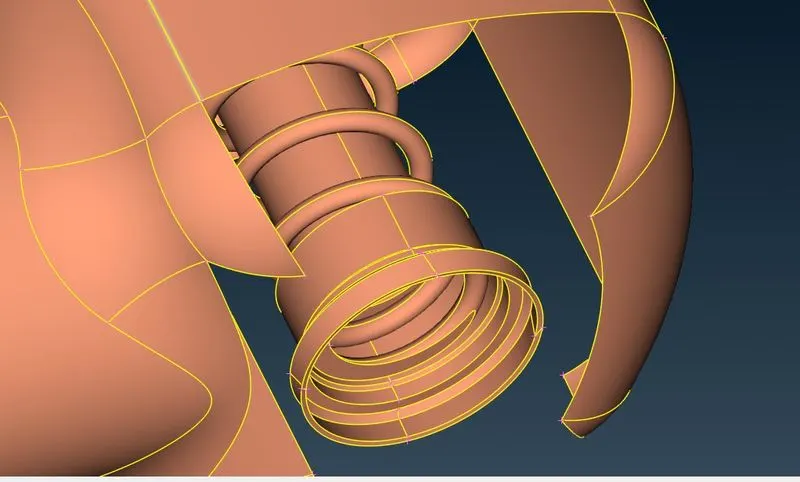
Now go to Geometry under Checks Manager to check the errors and click on execute.
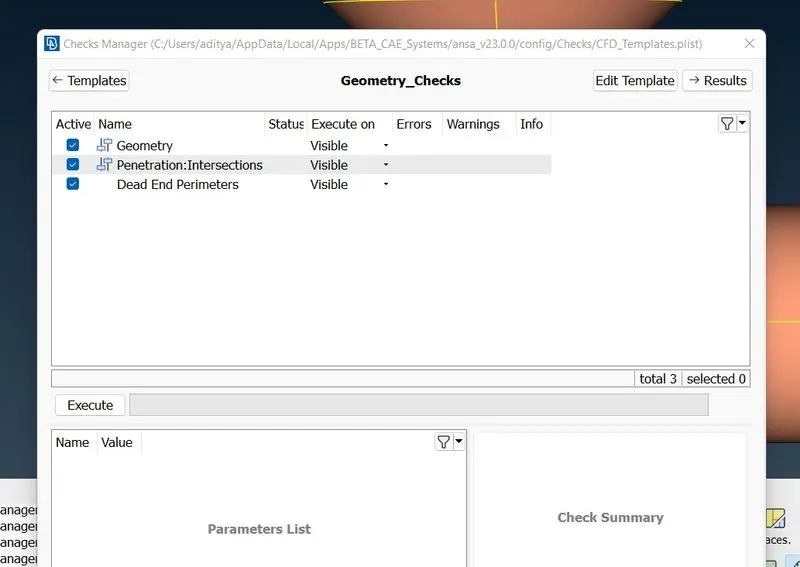
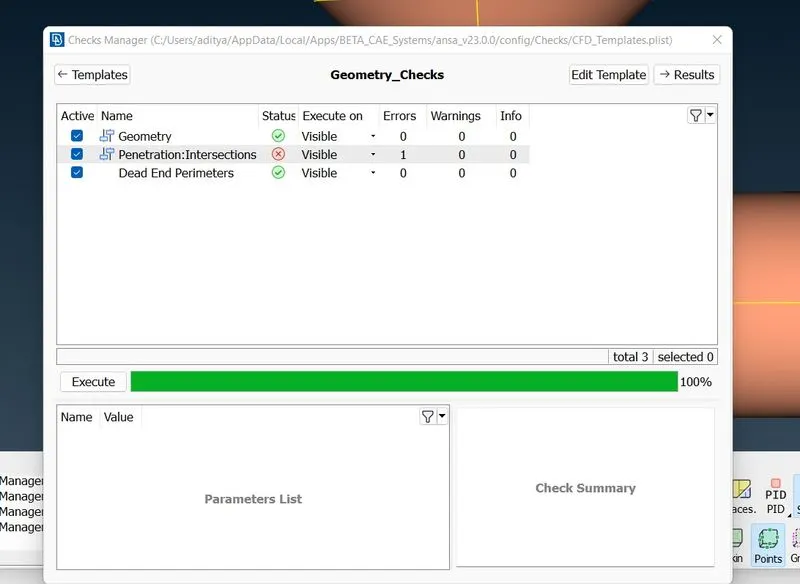
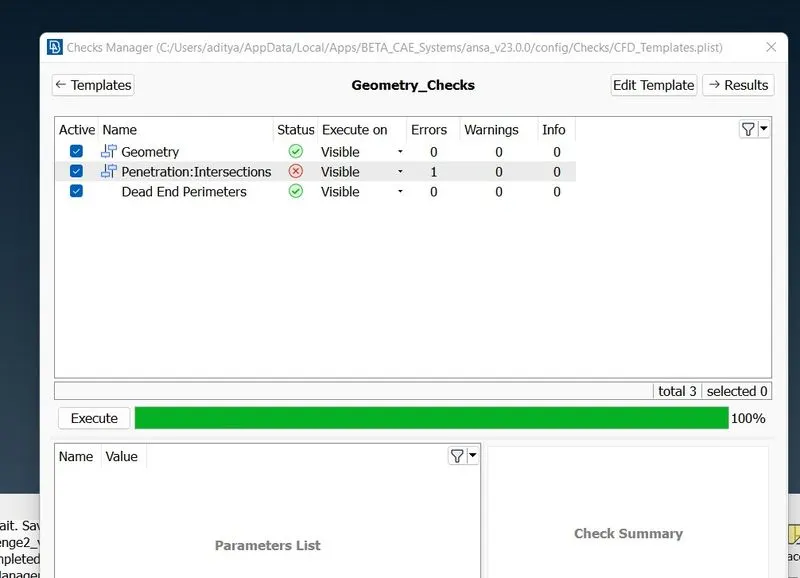
We have cleared all Geometry errors and only one intersection error is found.That is below here it is between spring and column.
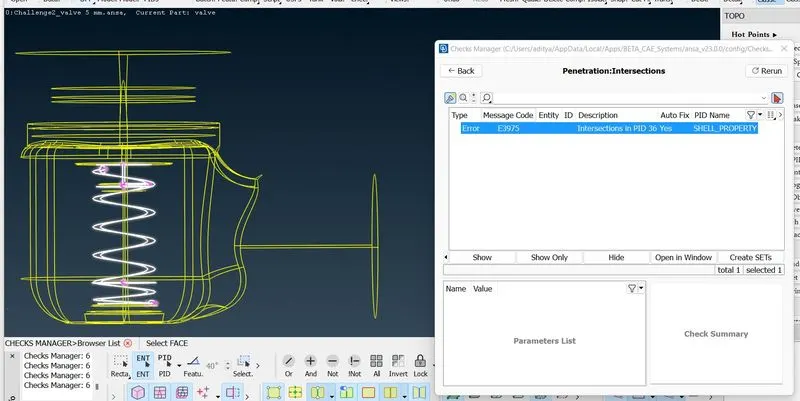
Now we will assign PIDs in the geometry by giving names as inlet,outlet,spring,column,column head and body
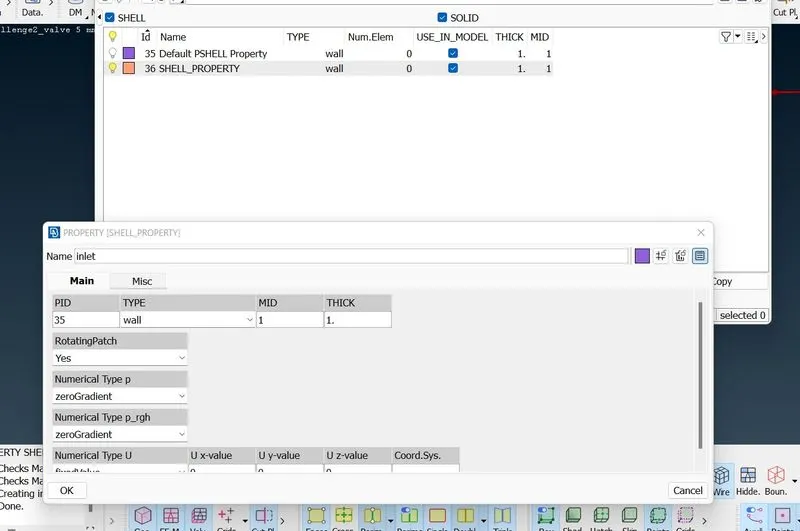
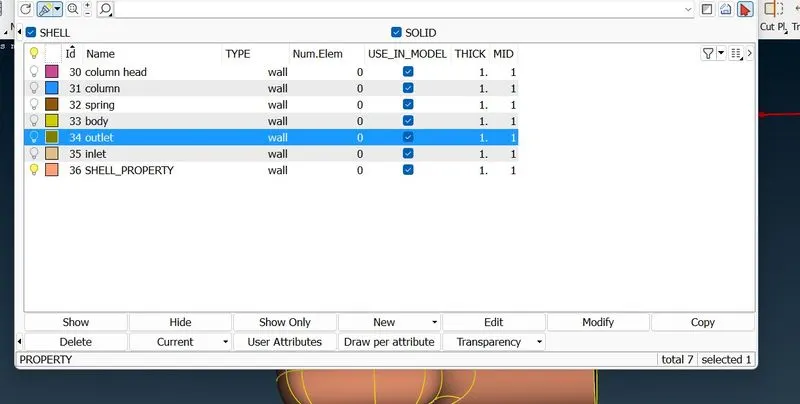
Now we will assign inlet,for that right click on inlet and click on apply after that select the face,click on middle mouse button.
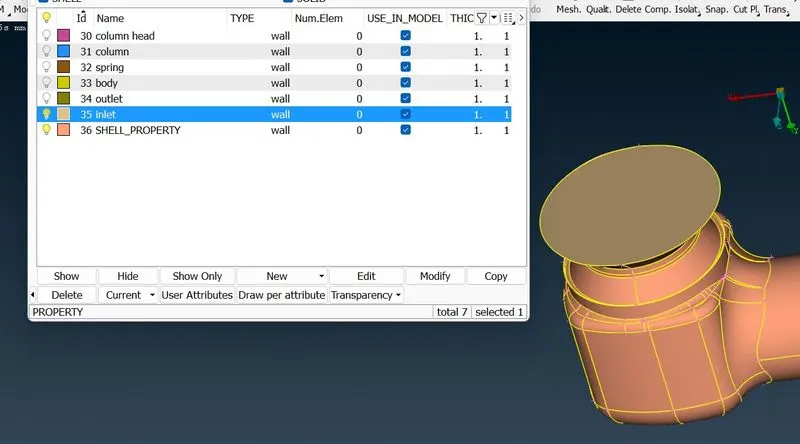
similarly we will do for outlet
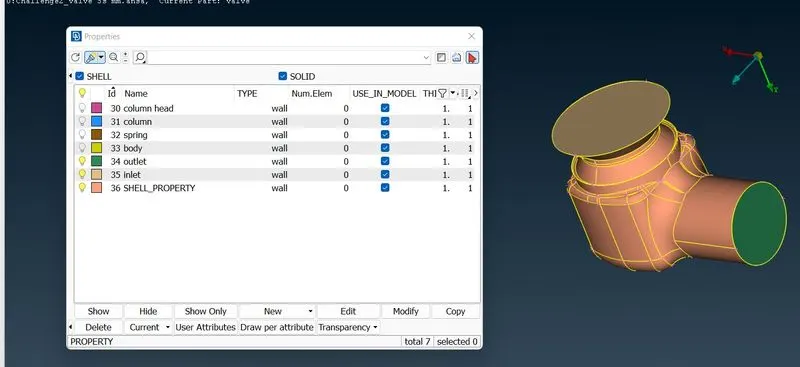
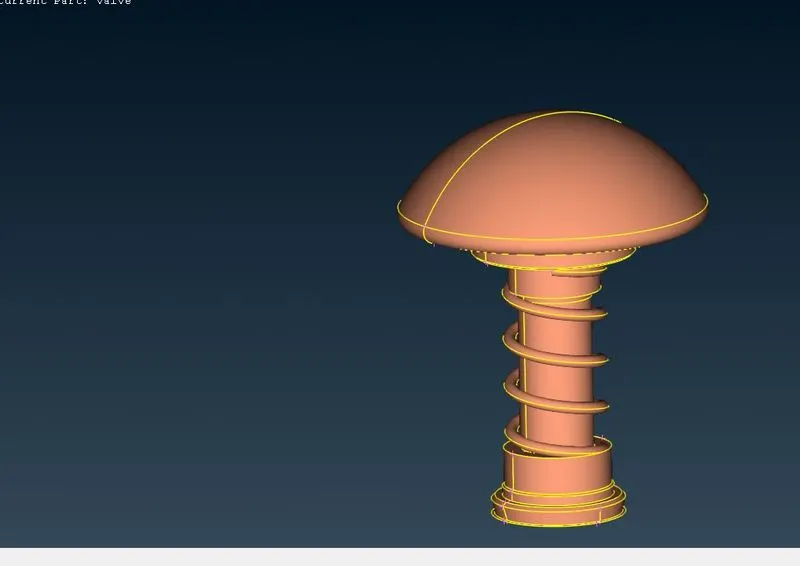
Lets isolate spring,column and column head by hiding the other parts of pressure valve using Not option to apply PIDs
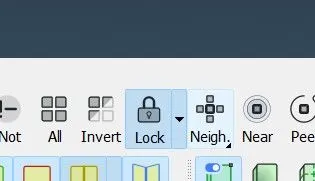
Now we will Lock option below.This tool will lock the entity which we do hide so that after that if we do another Boolean operation and click on all the oter parts which are hide before lock doesn’t come.
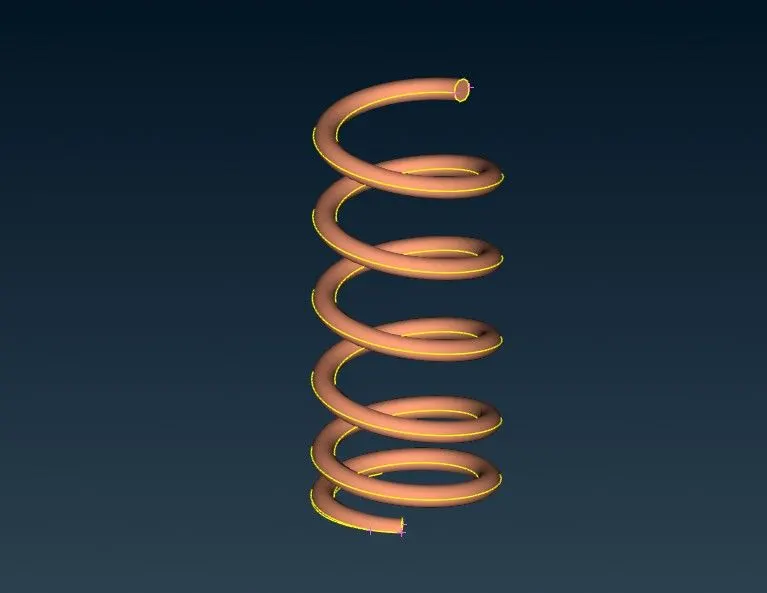
Now we will isolate the spring by using PID Region and !Not option to assign the PID
Now we assign the PID for spring
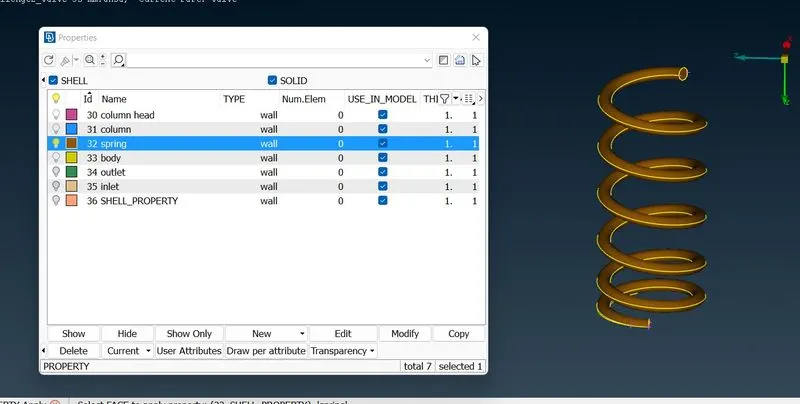
Similarly we will do for column and column head
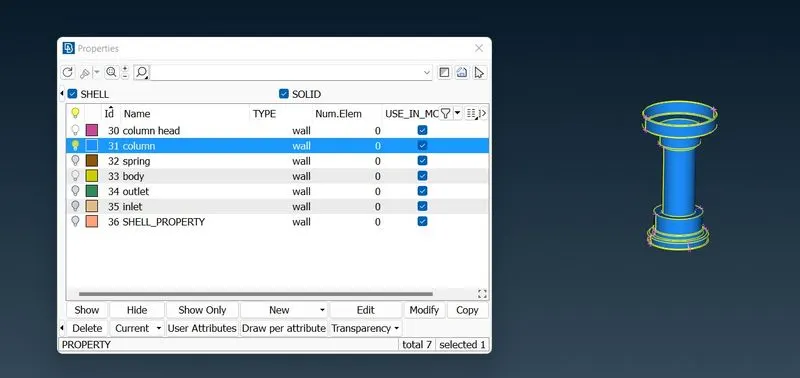
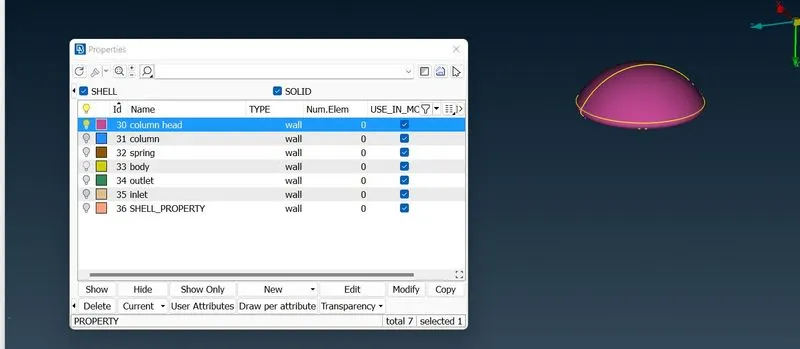
Now remove the lock,and show all component. Lets assign body by hiding all other parts.
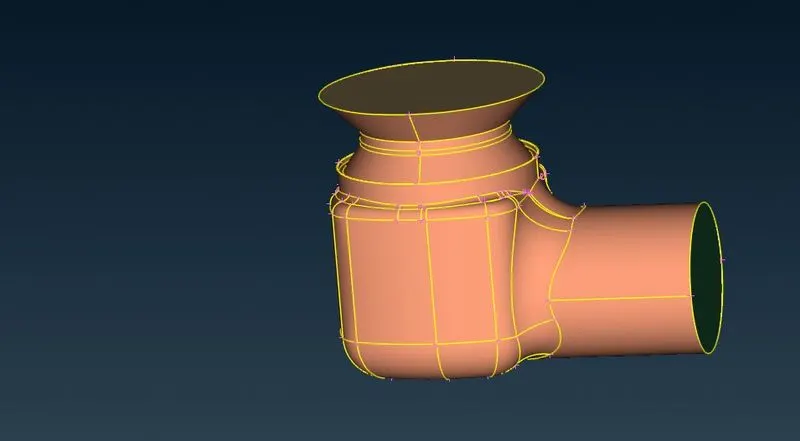
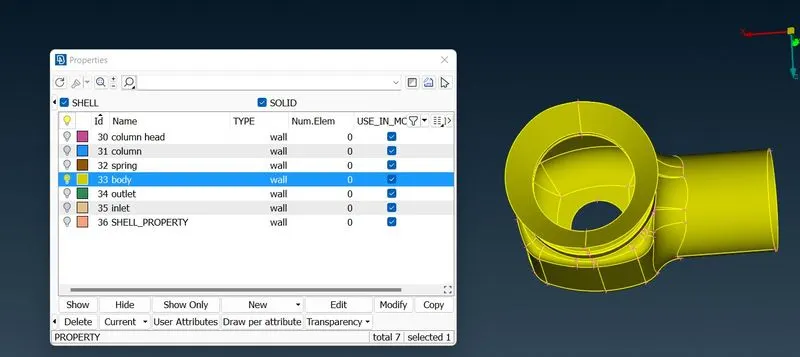
Now we assigned all PIDs
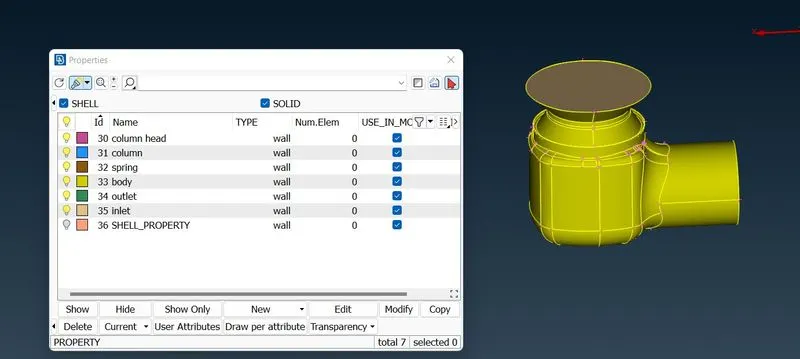
Now we will delete SHELL-PROPERTY PID using Comp(Compress) tool,then finally
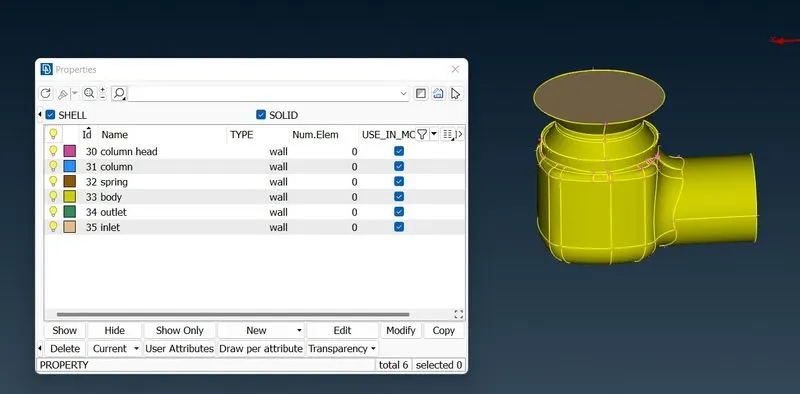
Now we will go to Geometry_Checks under Check Manager tool,then we will find intersecrion error between spring and column,that can be cleared by using Intersect under Faces option.
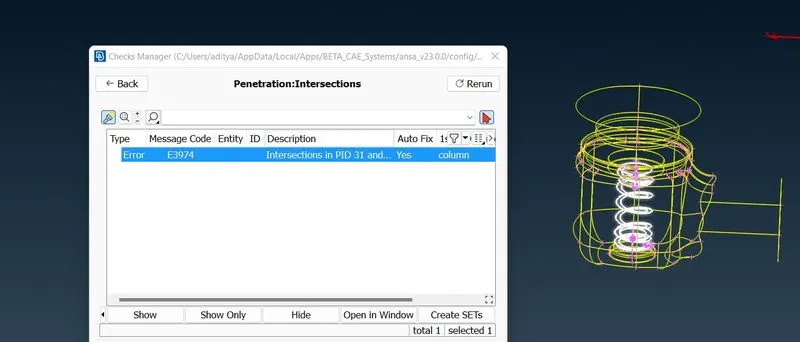
For that we will hide all parts except spring and column
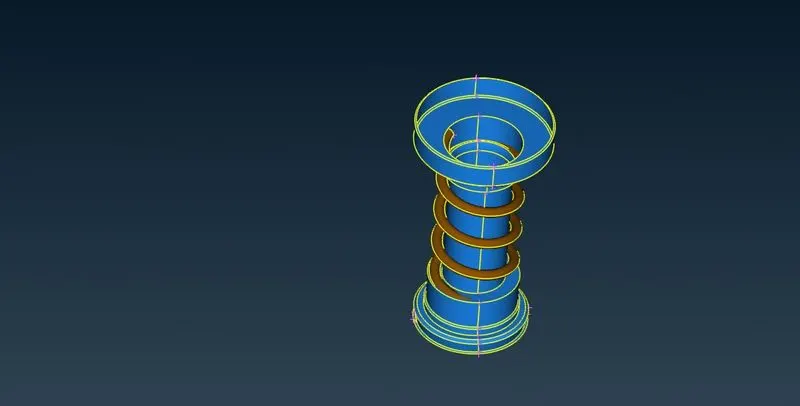
Now by using Intersect option under Faces we will remove this error.First select column by using intersect by hiding spring and then select spring by enabling column.
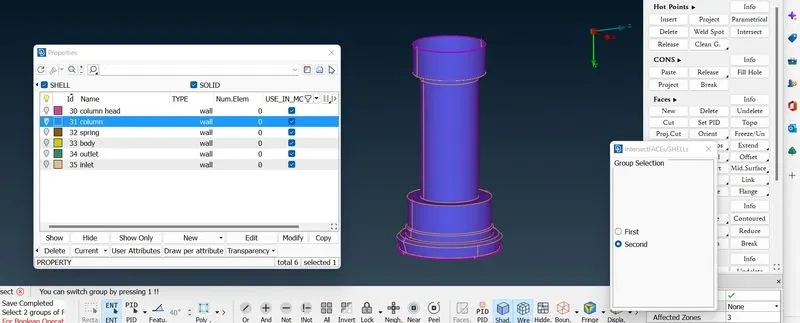
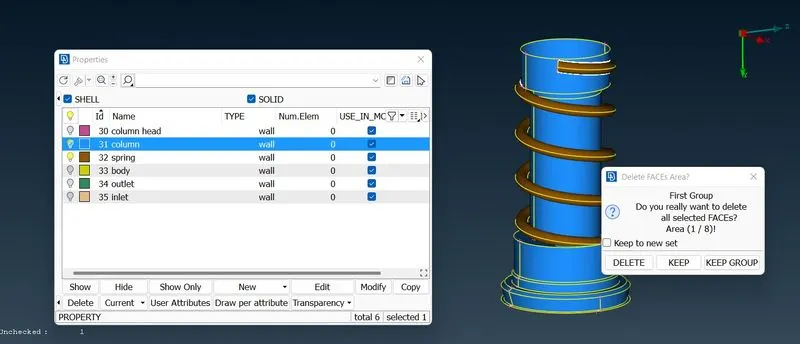
Now its asking 8 faces are intersecting we have to find out which face we want to keep and which want to delete
Delete below face
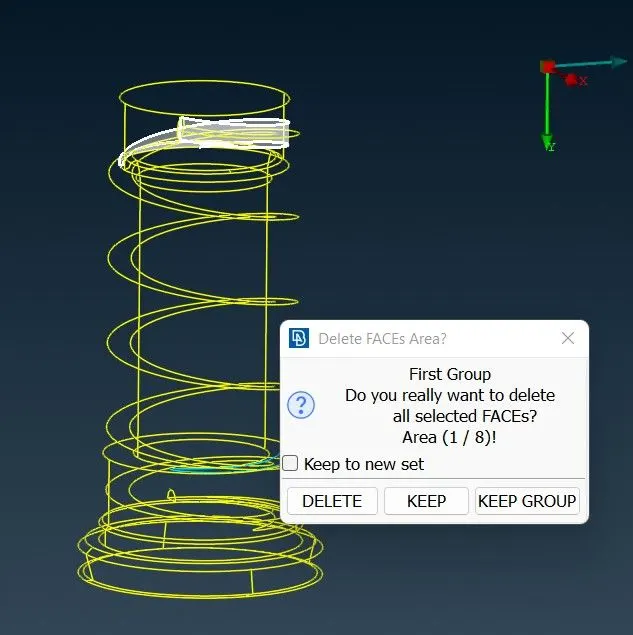
Keep below face
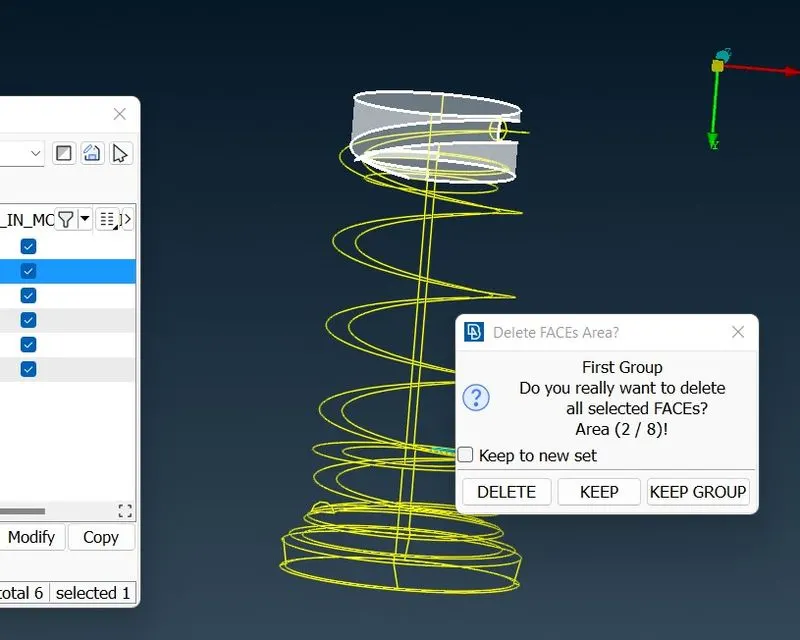
Delete third face
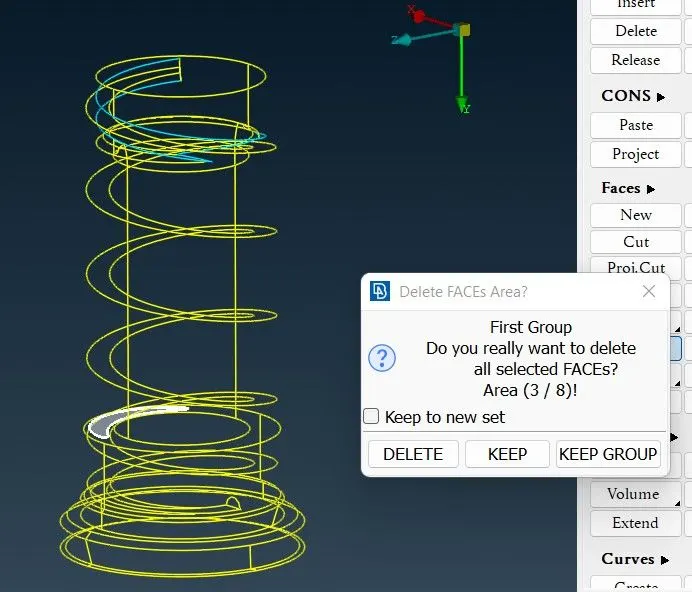
Keep fourth face
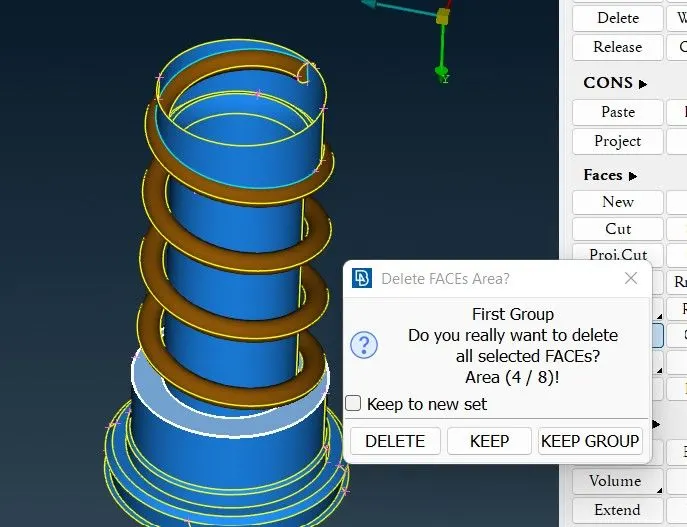
Similarly we will do all faces and Go to Checks Manger tool and check Geometry_Checks
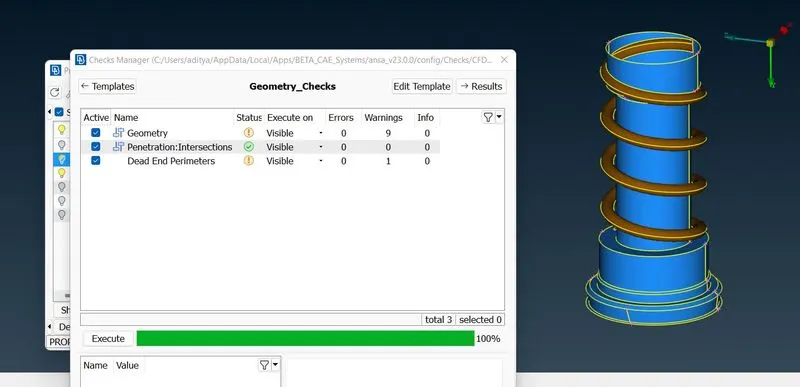
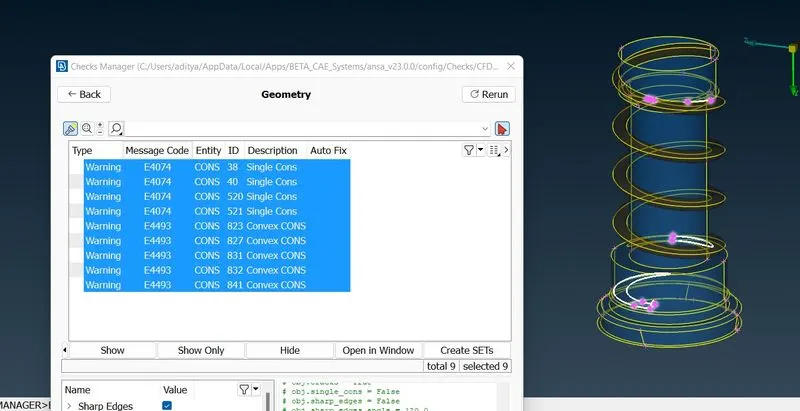
Now here showing Warnings so first check in geometry
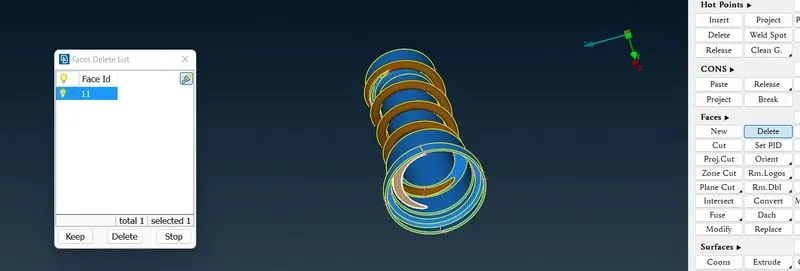
Below surface is remaining part of spring but don’t need this so we are deleting this by using delete tool under faces.
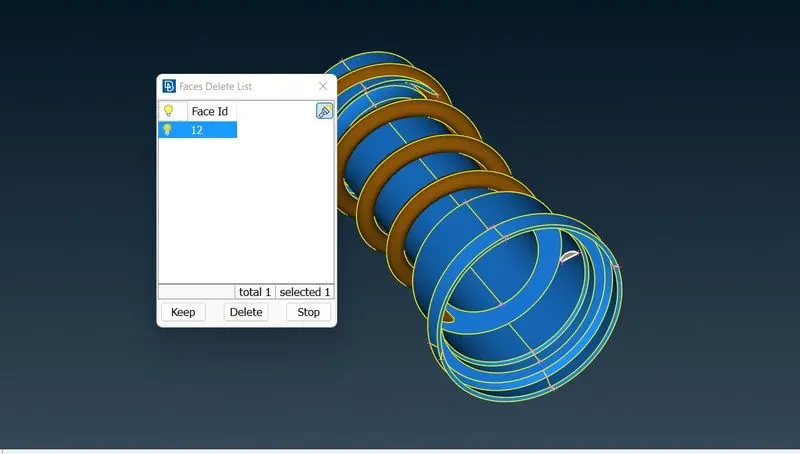
Similarly we will delete another face
Now again go to Checks Manger tool and check Geometry_Checks
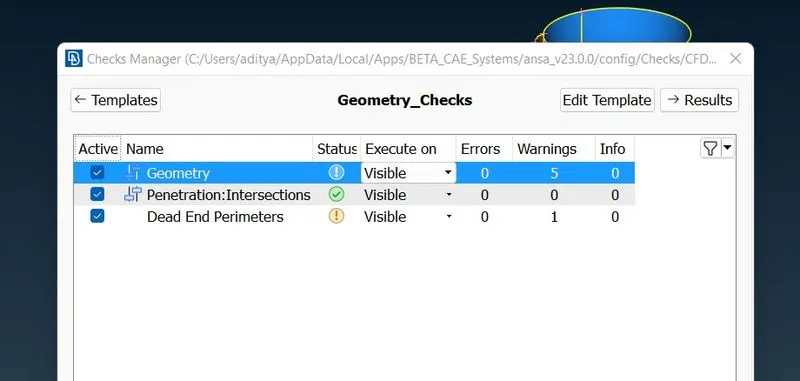
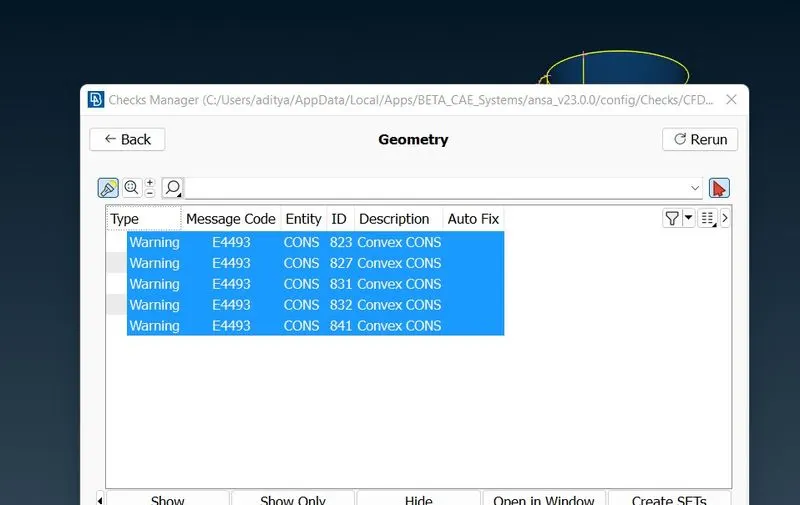
These are convex cons and are not able clear so we are ignoring.
Now lets see what is dead end perimeter
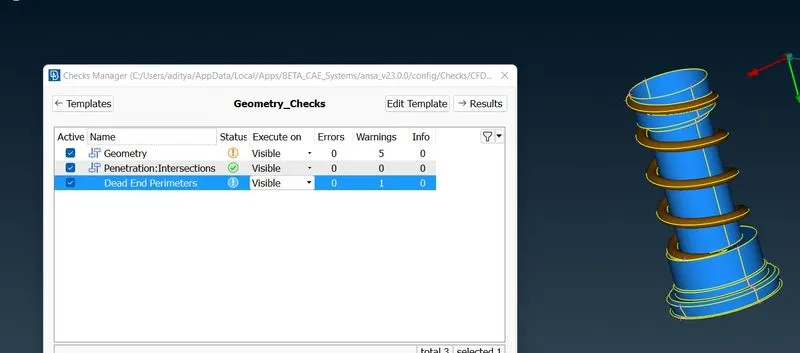
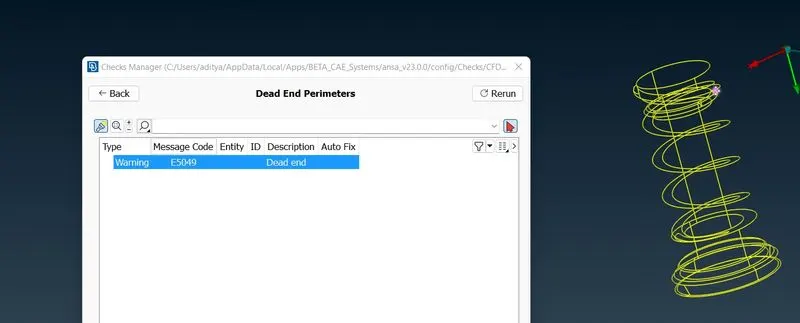
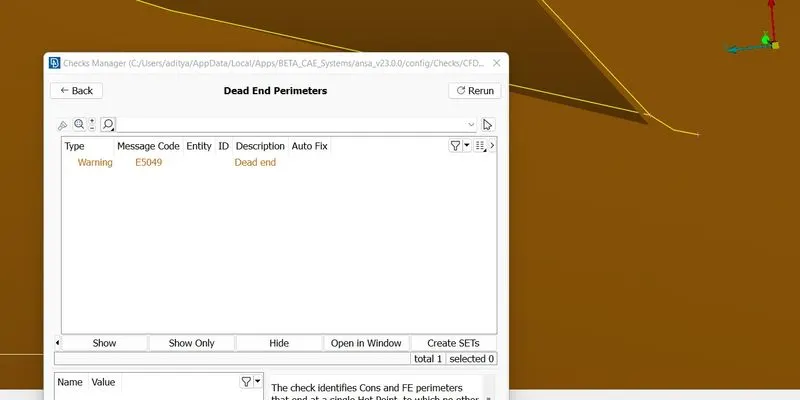
Its just a small cut so we are disableling this by using cut option.Go to this cut and right click on this cut to disable.
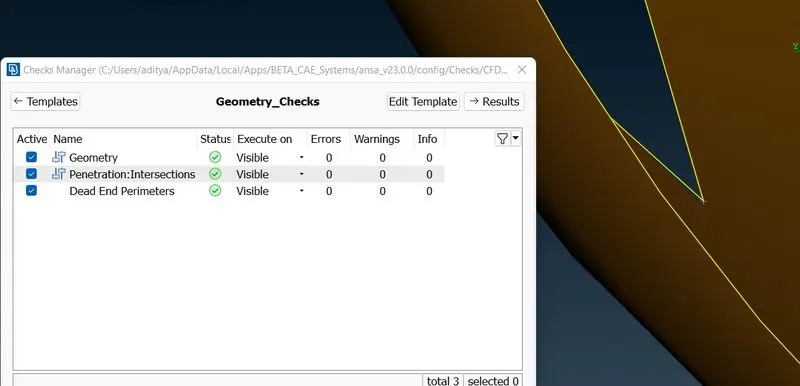
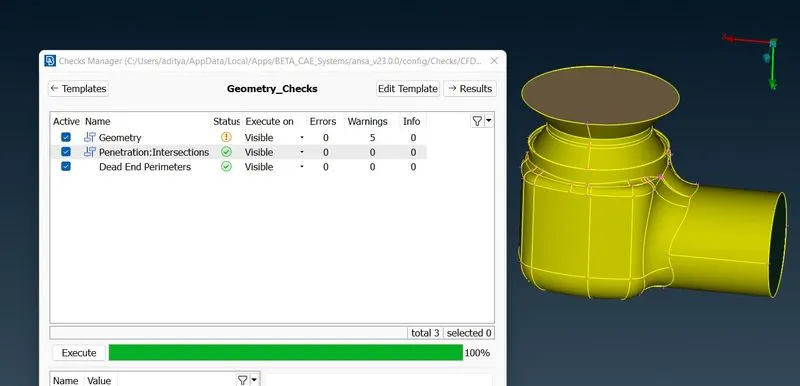
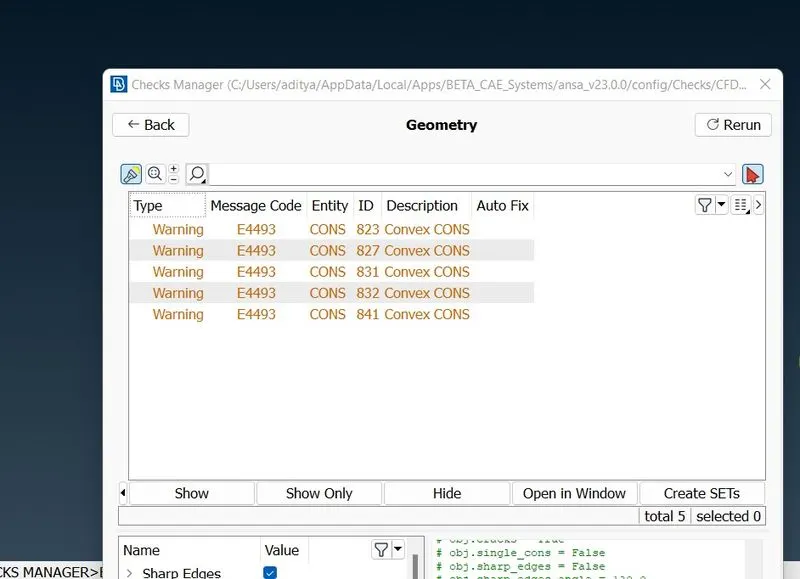
These are the concave/convex cons .so it can’t be removed.This is concluded all geometry cleanup.Now we are able to go for meshing.
Now before going for meshing a small opening is at bottom we have close all openings by creating a new surface.
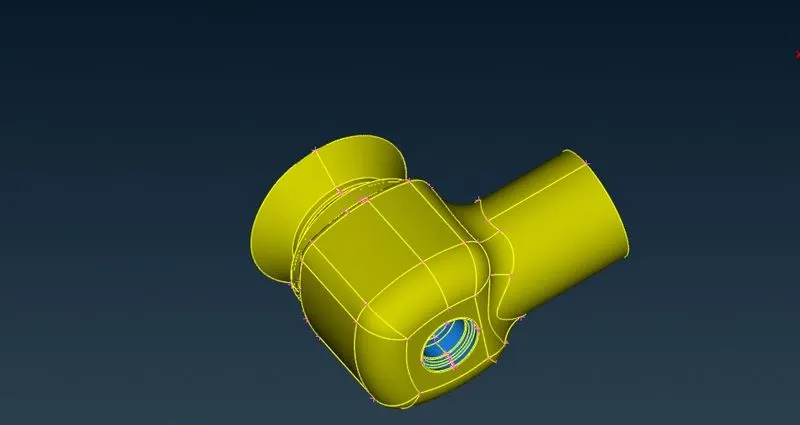
We will close that surface by using COONS options under Faces
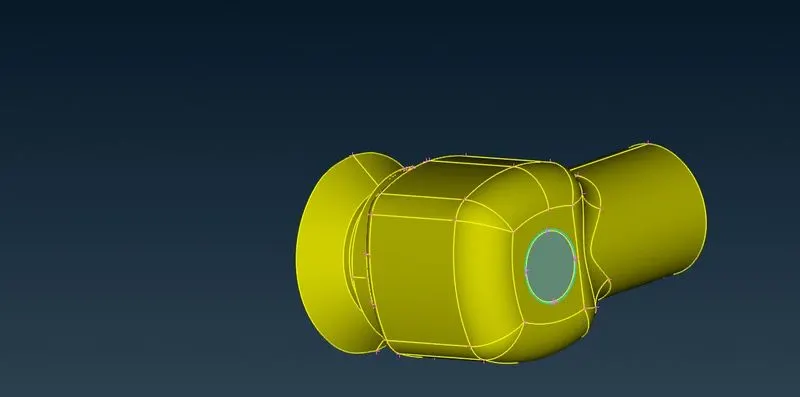
Now we will go for surface meshing for Target length of 5mm,3mm and 1mm,element tria
First we will go for 5mm
Now we will go to Mesh parameters,select CFD Mesh and for 5mm targer length we will give maximum and minimum length as 6mm and 2mm
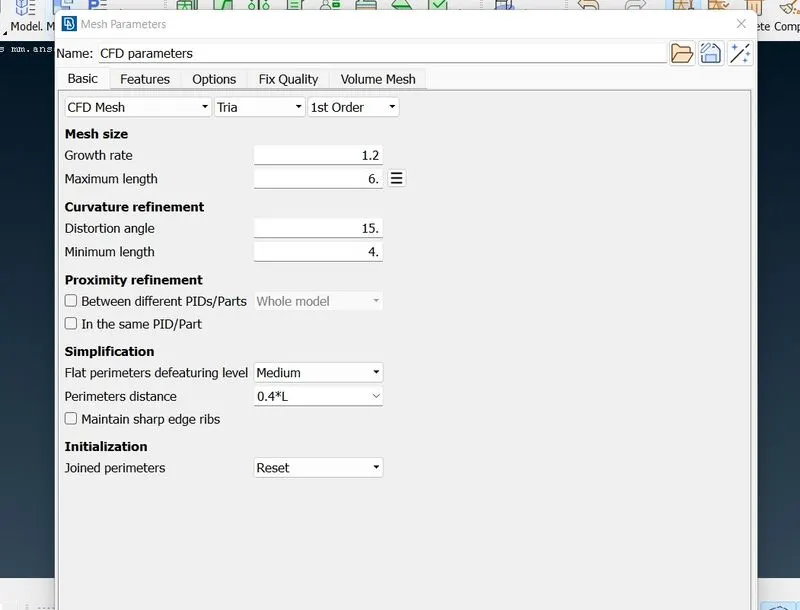
Now go to Auto CFD under Spacing in Perimeters and give perimeters and Macros
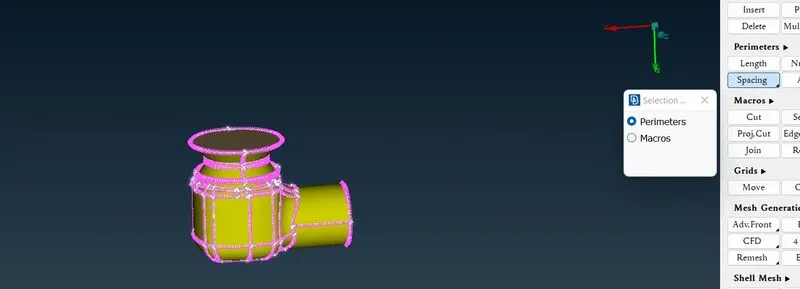
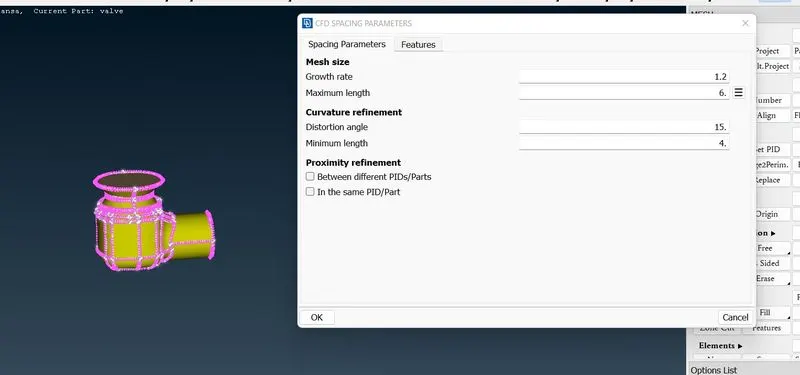
Similarly we will do for Macros and after go to visible under CFD in Mesh Generation.
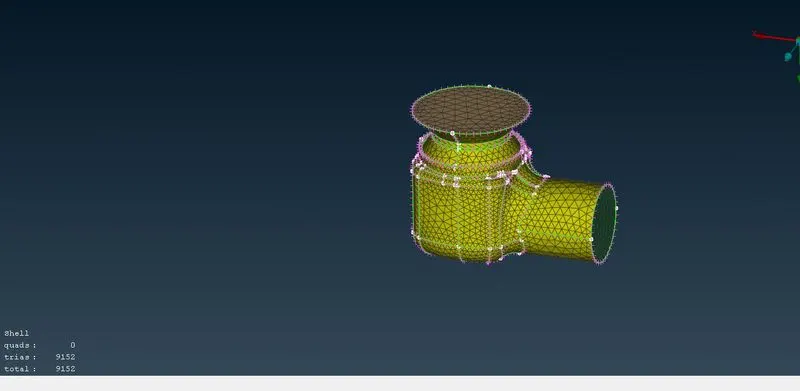
Mesh in entity mode
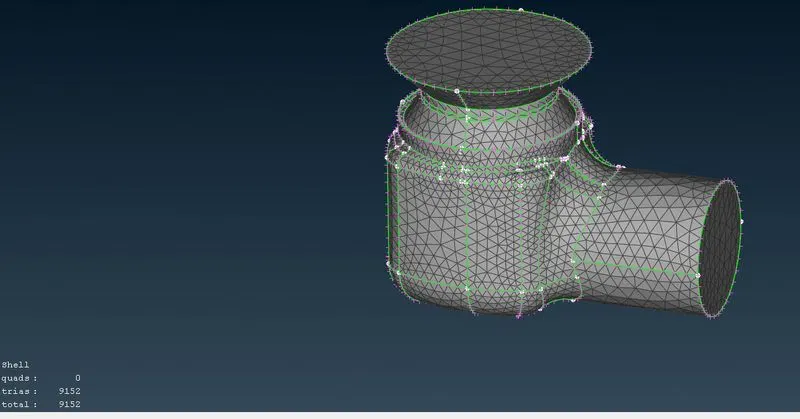
Now its meshing done.
Lets see spring resolution by hiding other parts.
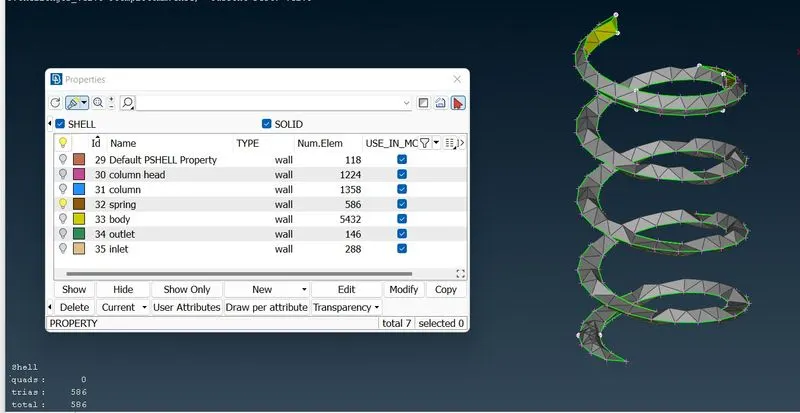
Friom the above spring not looking good,This mesh 5mm not capturing spring surface properly.
.........................................................................................................................................................................
Now we will go to Mesh parameters,select CFD Mesh and for 3mm targer length we will give maximum and minimum length as 2mm and 4mm
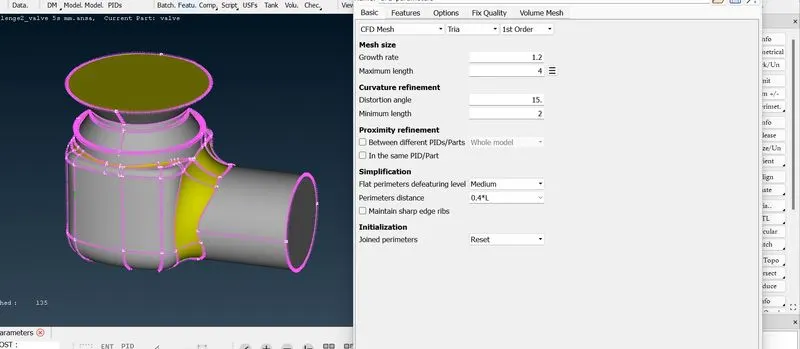
Now go to Auto CFD under Spacing in Perimeters and give perimeters and Macros,same procedure
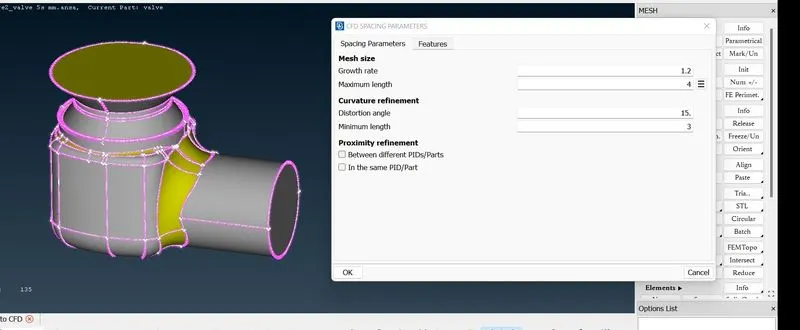
3mm mesh in entity mode
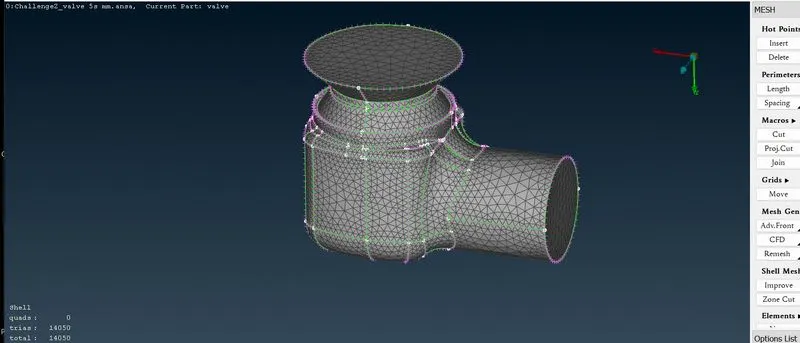
Now its meshing done.
Lets see spring resolution by hiding other parts.
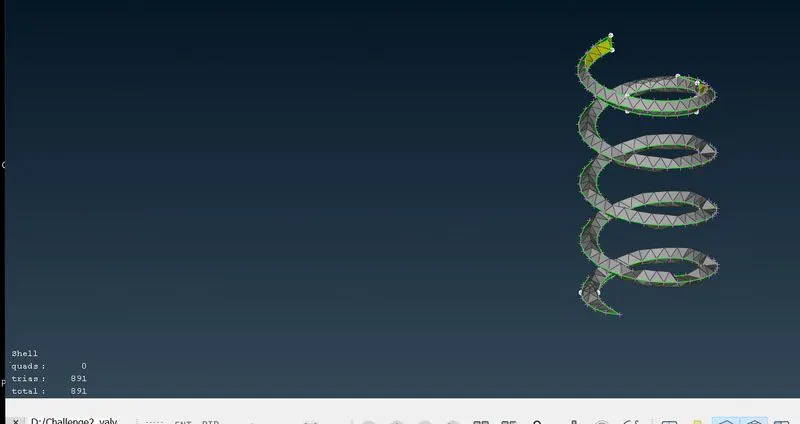
The above spring surface is also not properly captured.
........................................................................................................................................................................
Now we will go to Mesh parameters,select CFD Mesh and for 1mm targer length we will give maximum and minimum length as 0.5mm and 1.5mm
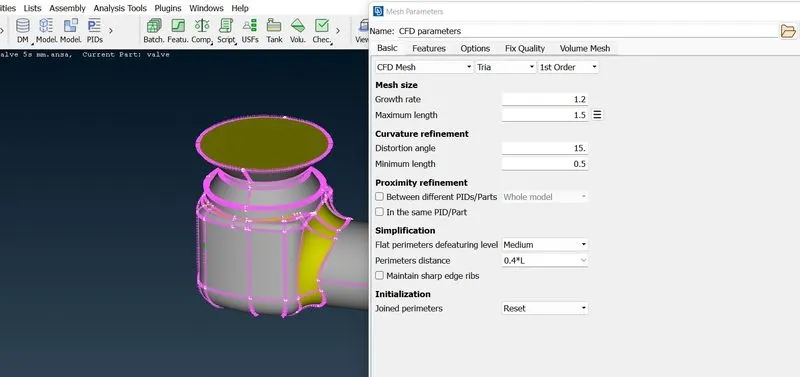
1mm mesh done
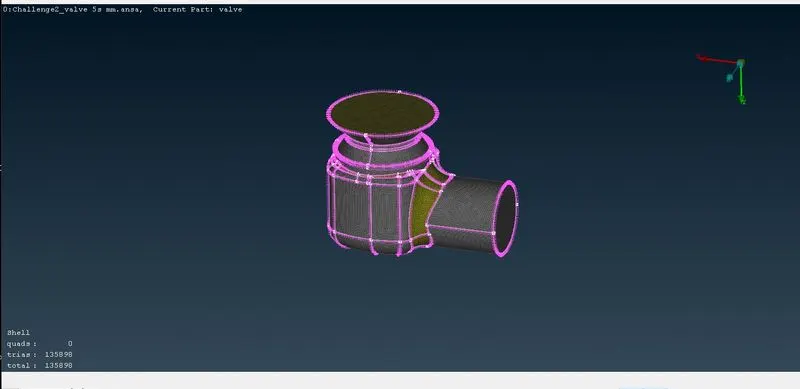
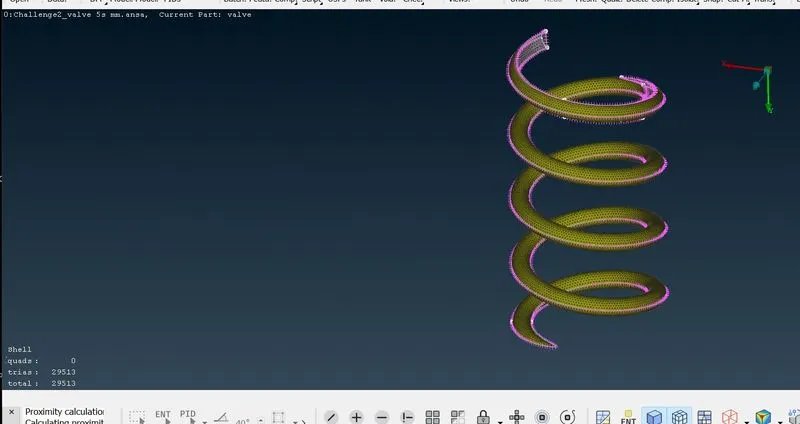
Above spring also looking good and 1mm target length captures spring surface perfectly
Conclusion:
1. As we decreases mesh size from 5mm and 3mm to 1mm,The computational time increases and mesh gets finer
2.1mm mesh captures all parts of pressure valve like spring compared to 5mm and 3mm
Output files:
Pressure valve with 5mm mesh
https://drive.google.com/file/d/1P6HKFaFcmmCgQgJKMVLruNWFR1zROTSY/view?usp=share_link
Pressure valve with 3mm mesh
https://drive.google.com/file/d/1g547XyqB-rN7S55Dq0vHxCBlRabN6vcG/view?usp=share_link
Pressure valve with 1mm mesh
https://drive.google.com/file/d/1GgKnd0FvVUAYQoKVtBKcGiQAPCjifq1f/view?usp=share_link