Week 2 Challenge : Surface meshing on a Pressure valve
AIM:
- To check for the geometrical errors and perform Topology cleanup accordingly. Set three different target lengths for different cases and mesh the model using Ansa.
OBJECTIVE:
- For the given model, check for the geometrical errors and perform Topology cleanup accordingly. Set three different target lengths as three different cases and mesh the model.
- Target length = 1mm, 3 mm and 5 mm (i.e. 3 cases)
- Element type = Tria
- Apply any one target length from the above at a time for the entire model as One case. Submit 3 different models for 3 cases.
INTRODUCTION:
- ANSA is a computer-aided engineering tool for Finite Element Analysis and CFD analysis widely used in the automotive industry. It is developed by BETA CAE Systems. ANSA maintains the association between CAD geometry and the FE mesh.
PROCEDURE:
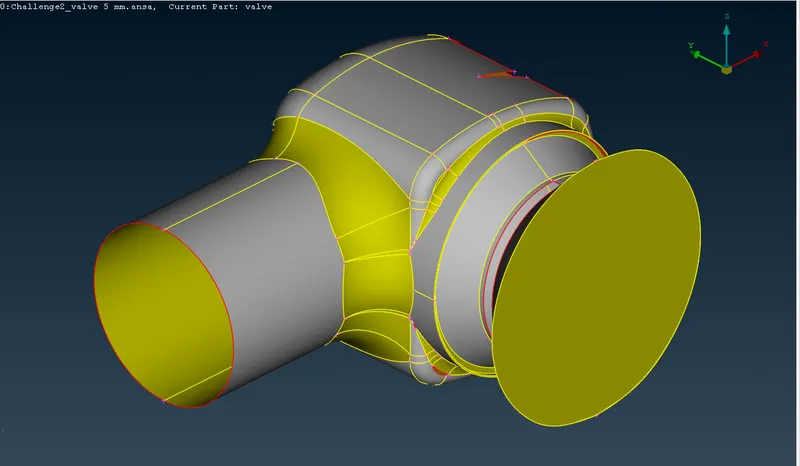
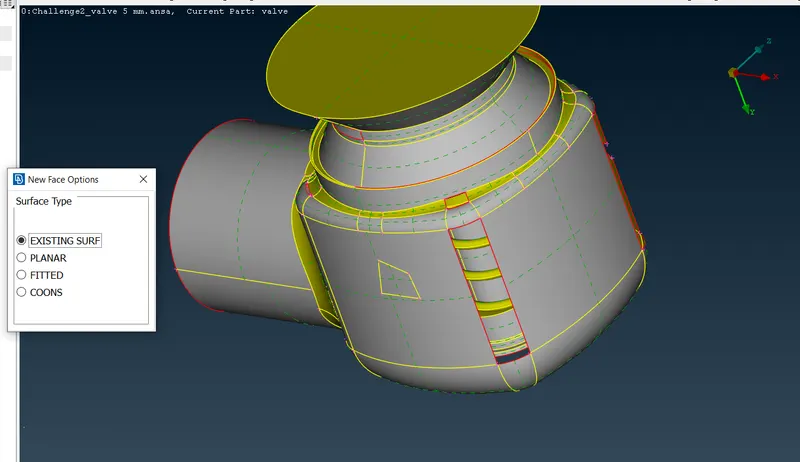
- OPEN THE MODEL: Open the model in ANSA as you see in the below image.
- Geometry clean up -> skin or mid surface generation -> shell or solid meshing -> element quality check
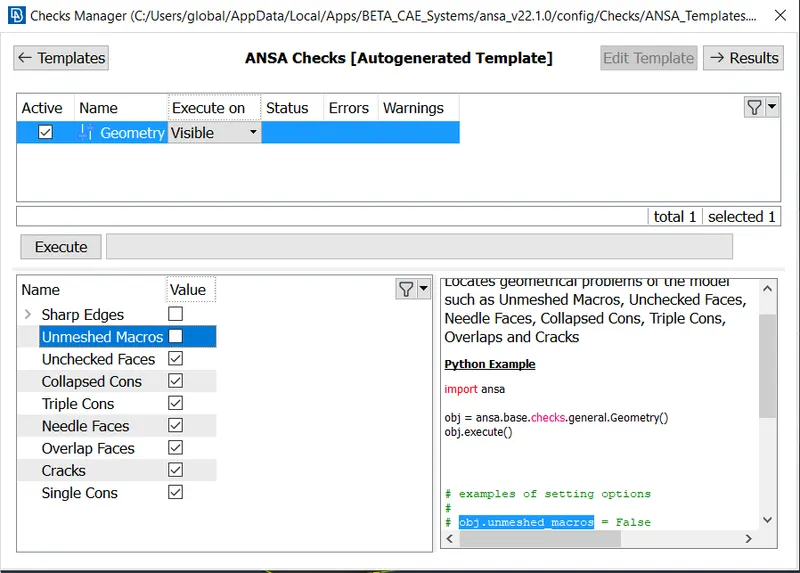
- Errors Observed,
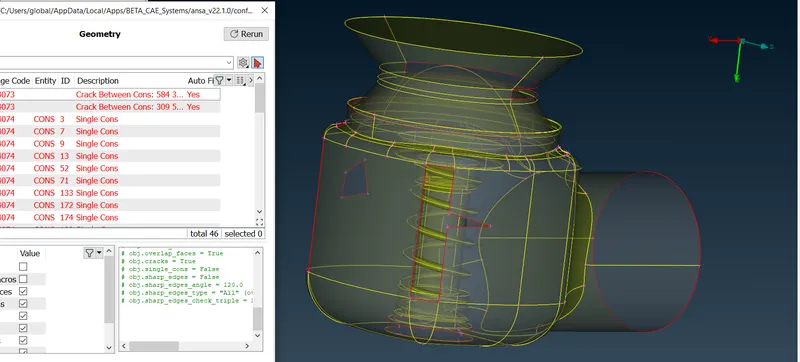
- Lots of single cons found in the quality check,
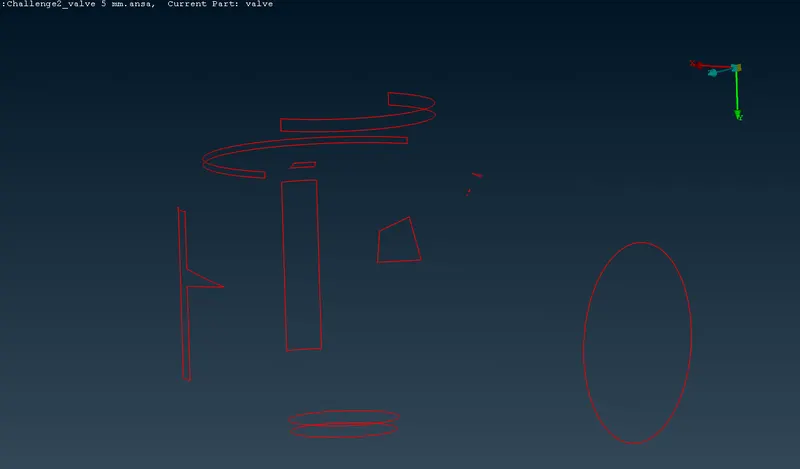
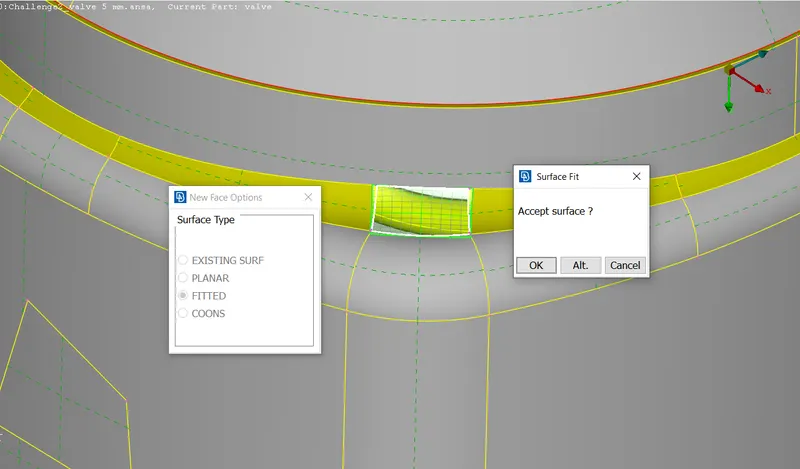
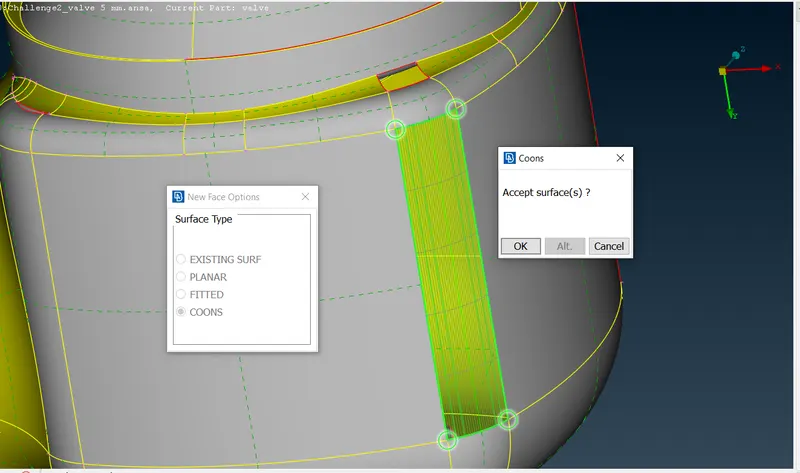
- Errors are cleared using topo clean-up tools by filling up the surfaces using different methods, namely using coons, fitted, and existing surf as shown in the below images.
- Surface type - FITTED,
- Surface type - COONS,
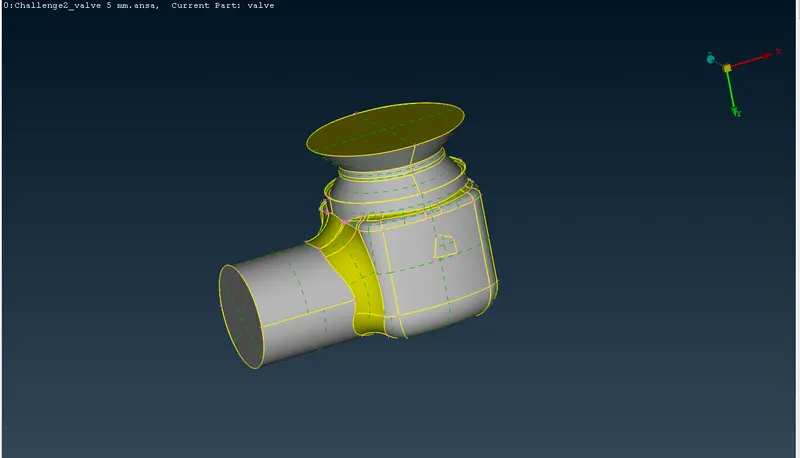
- Corrected topo Cleanup,
- Using Properties the various shell naming selection has been given.
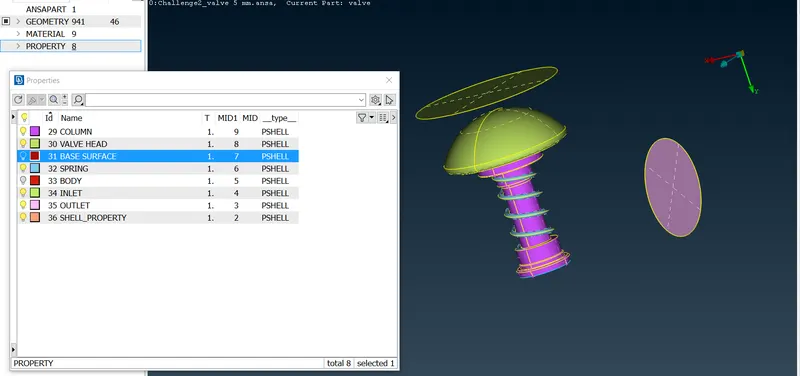
- Named Model.
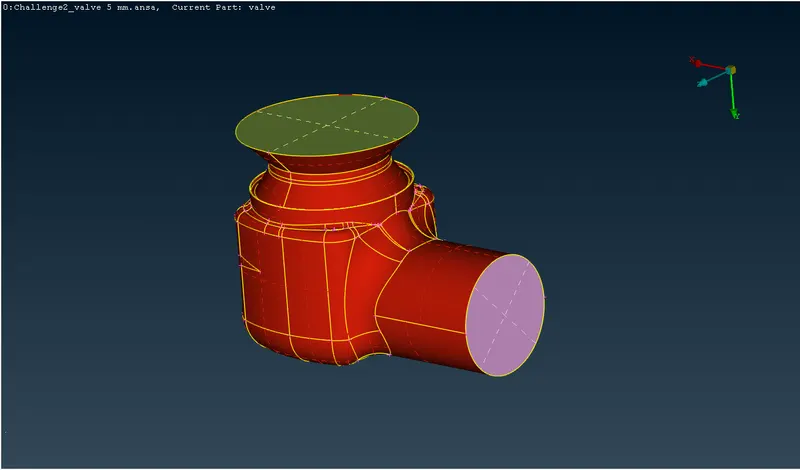
MESHING:
- Now going for the mesh option here we are considering the following terms,
CASE-1:
- Target length = 1 mm
- Element type = Tria
CASE-2:
- Target length = 3 mm
- Element type = Tria
CASE-3:
- Target length = 5 mm
- Element type = Tria
RESULT:
CASE-1:
- Target length = 1 mm
- Element type = Tria
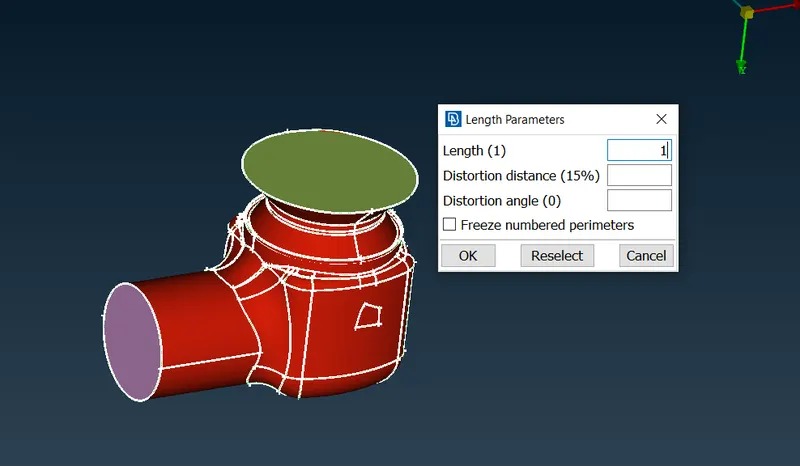
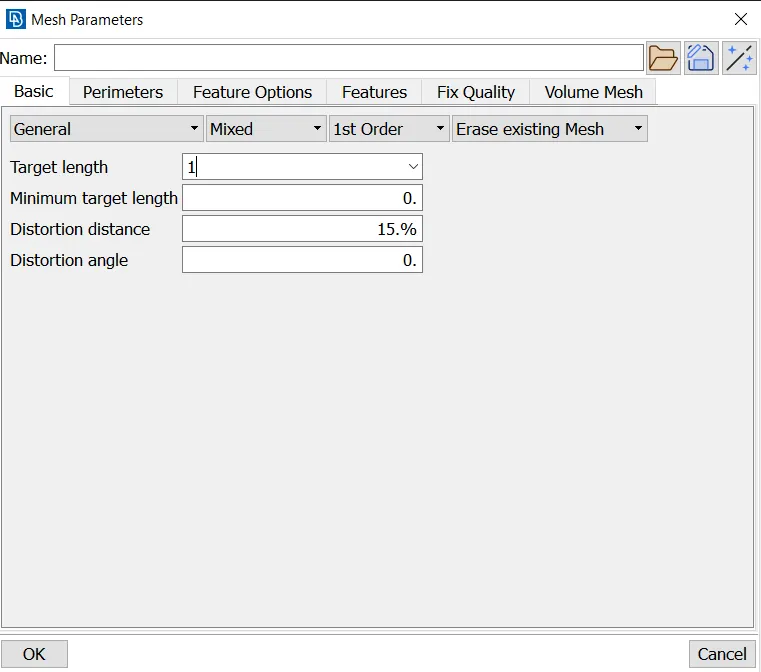
- Now in the perimeter, the length parameters have to be given as 1 as you see in the below image.
- Then we have to give mesh length by selecting the length under parameters and then select the whole model by drag and drop then click the middle mouse. and give the mesh length as required at present we give mesh length 1.
- Giving quality minimum size as 0.5 mm and maximum size of element as 2 mm.
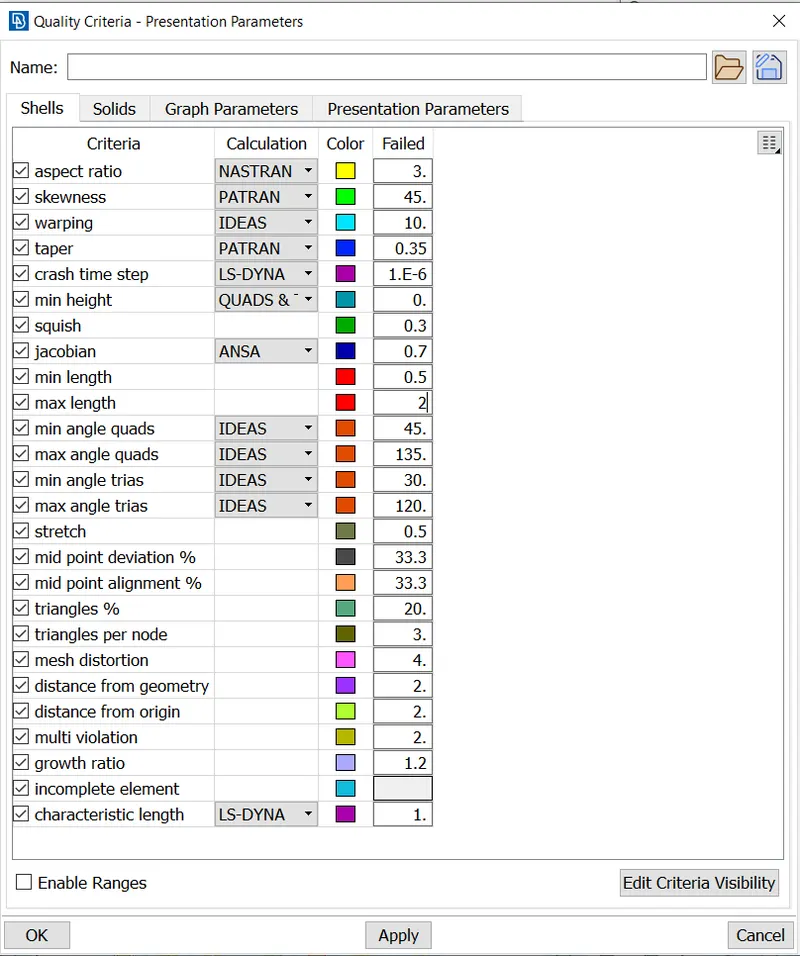
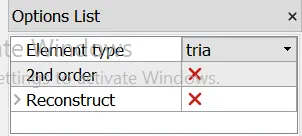
- Same as followed in the Mesh target size and providing the same minimum element quality and here we are using tria method for the element.
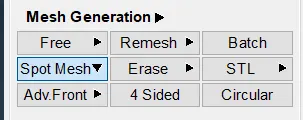
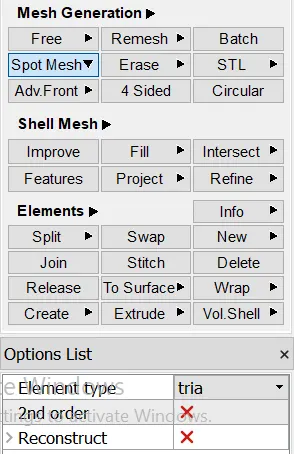
- Now using Spot mesh to provide the meshing for the given model.
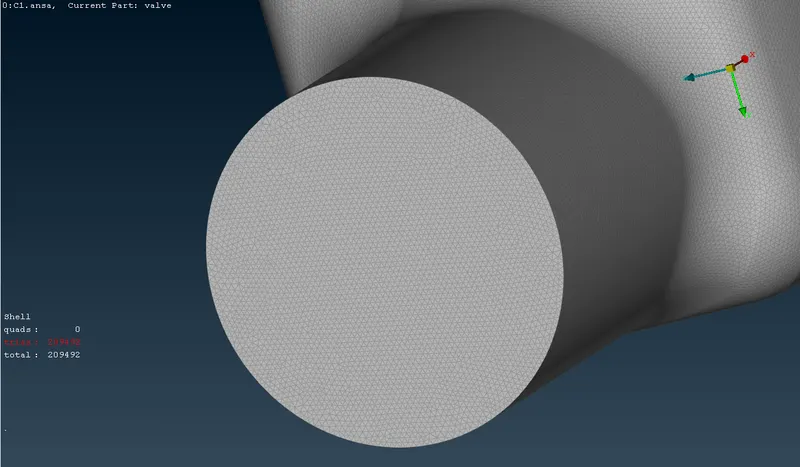
- Meshed Element with the target size of 1mm.
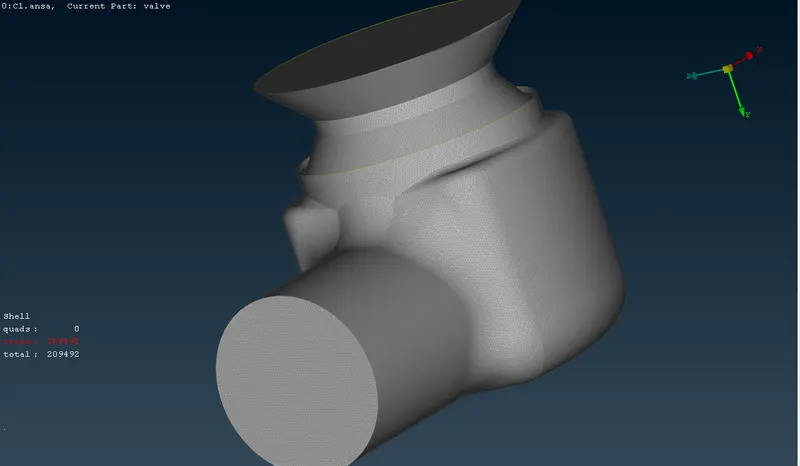
- The total no of elements under 1 mm is 209492.
CASE-2:
- Target length = 3 mm
- Element type = Tria
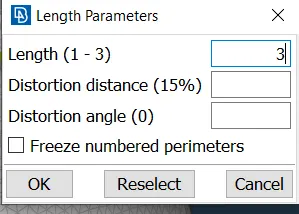
- Now in the perimeter, the length parameters have to be given as 3 as you see in the below image.
- Then we have to give mesh length by selecting the length under parameters and then select the whole model by drag and drop then click the middle mouse. and give the mesh length as required at present we give mesh length 3.
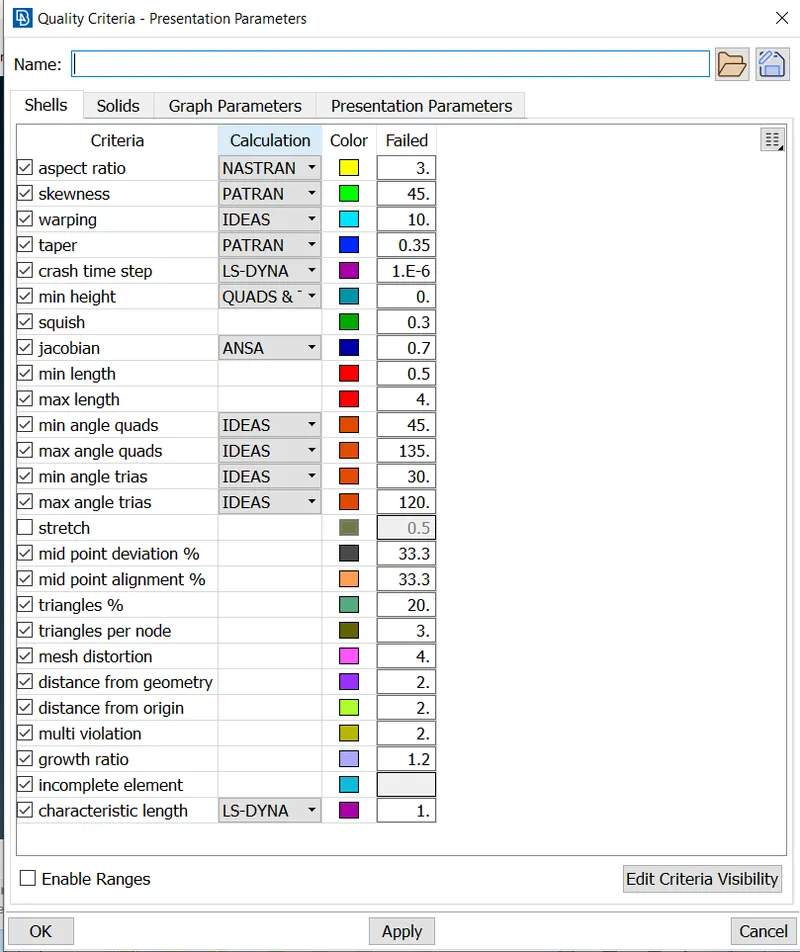
- Giving quality minimum size as 0.5 mm and maximum size of element as 4 mm.
- Same as followed in the Mesh target size and providing the same minimum element quality and here we are using tria method for the element.
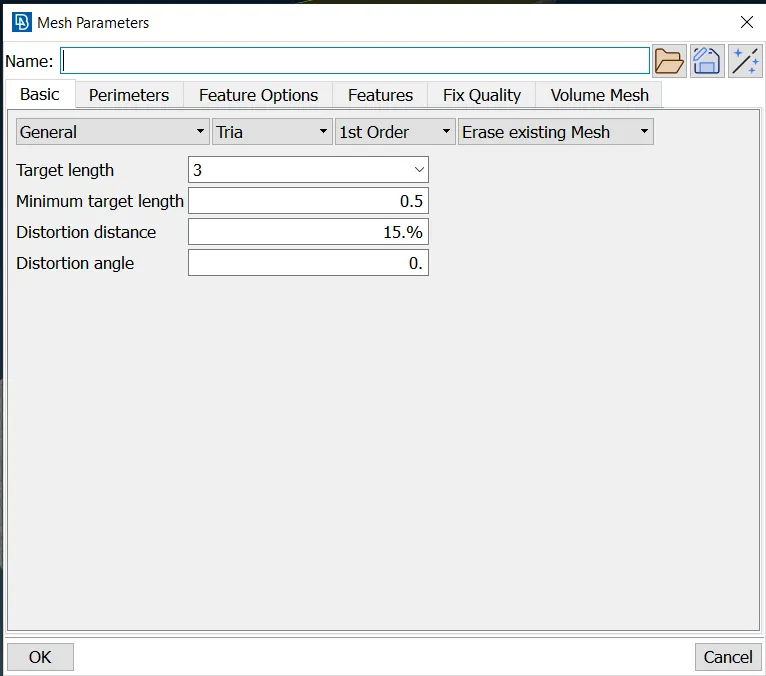
- Now using Spot mesh to provide the meshing for the given model.
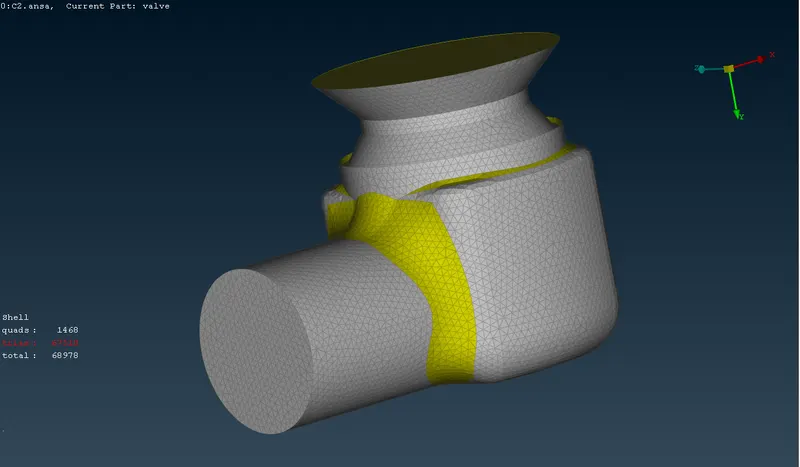
- Meshed Element with the target size of 3 mm.
- The total no of elements under 3 mm is 68978.
CASE-3:
- Target length = 5 mm
- Element type = Tria
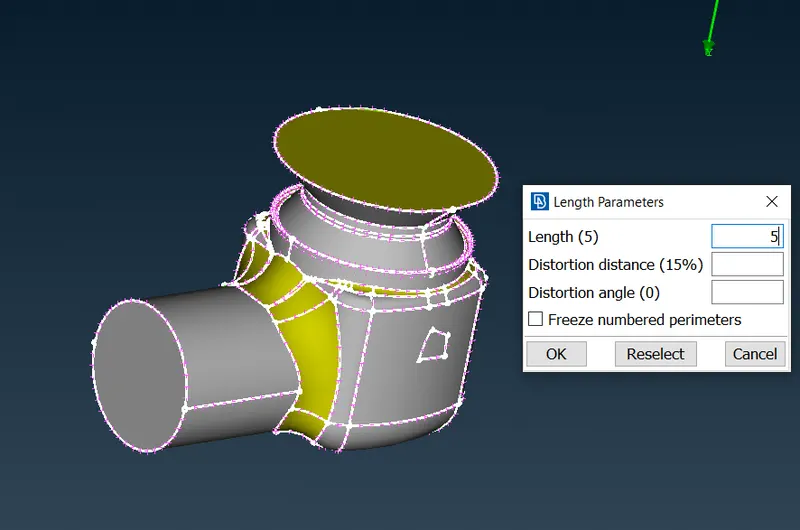
- Now in the perimeter, the length parameters have to be given as 5 as you see in the below image.
- Then we have to give mesh length by selecting the length under parameters and then select the whole model by drag and drop then click the middle mouse. and give the mesh length as required at present we give mesh length 5.
- Giving quality minimum size as 0.5 mm and maximum size of element as 7 mm.
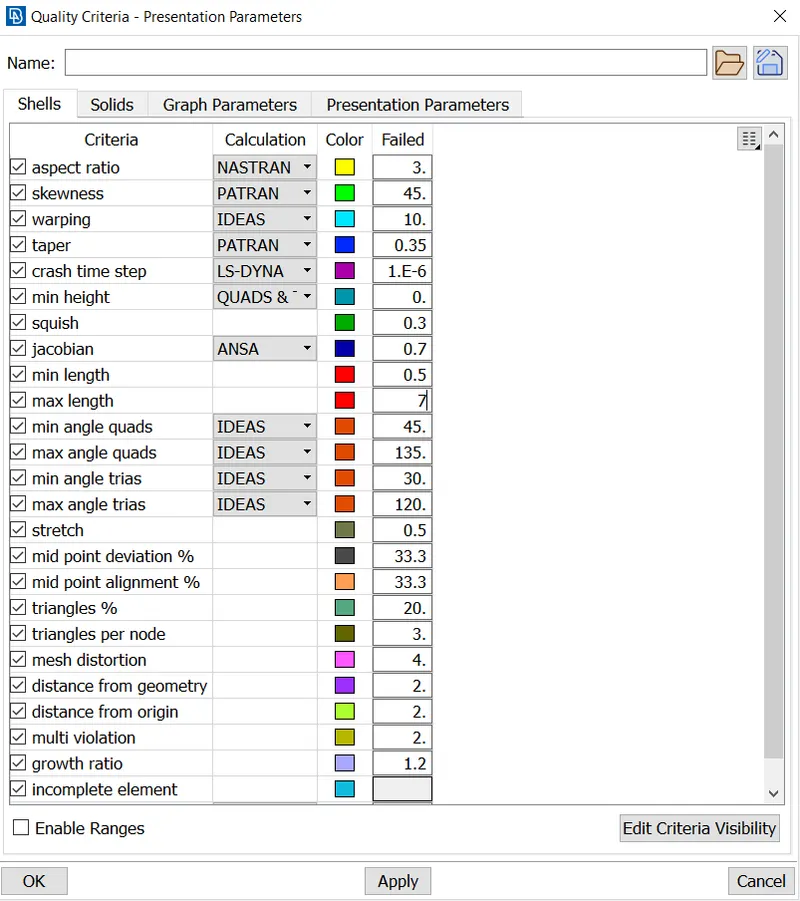
- Same as followed in the Mesh target size and providing the same minimum element quality and here we are using tria method for the element.
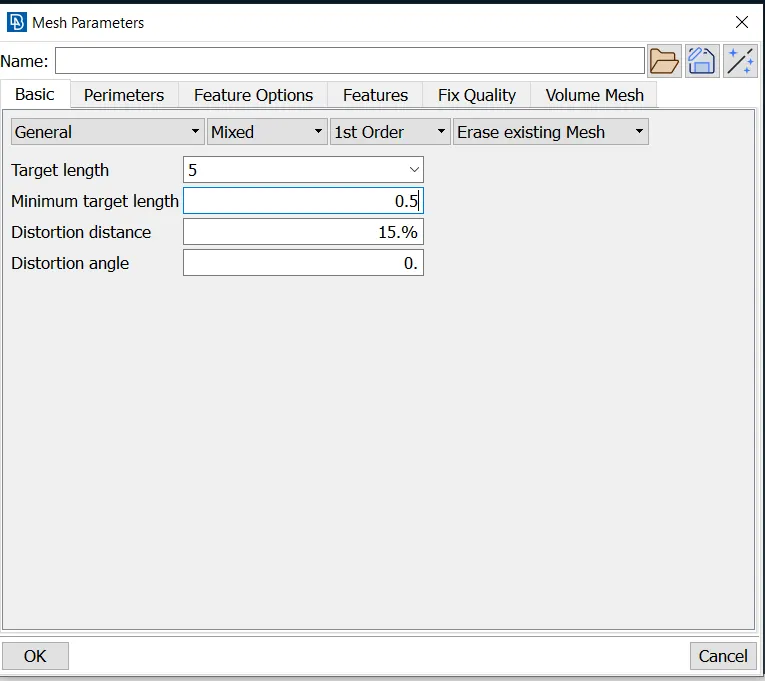
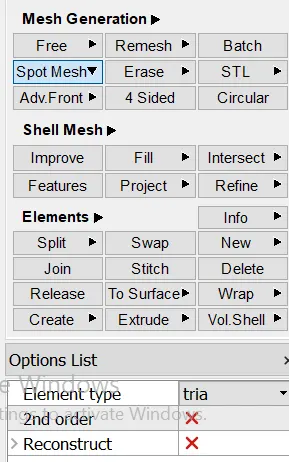
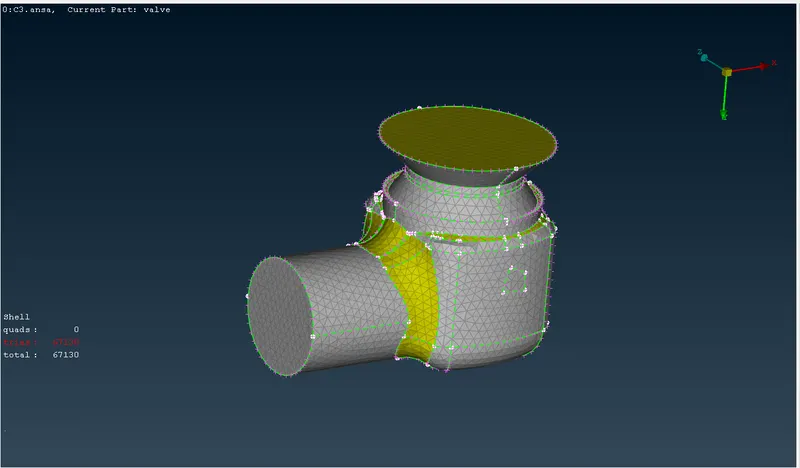
- Now using Spot mesh to provide the meshing for the given model.
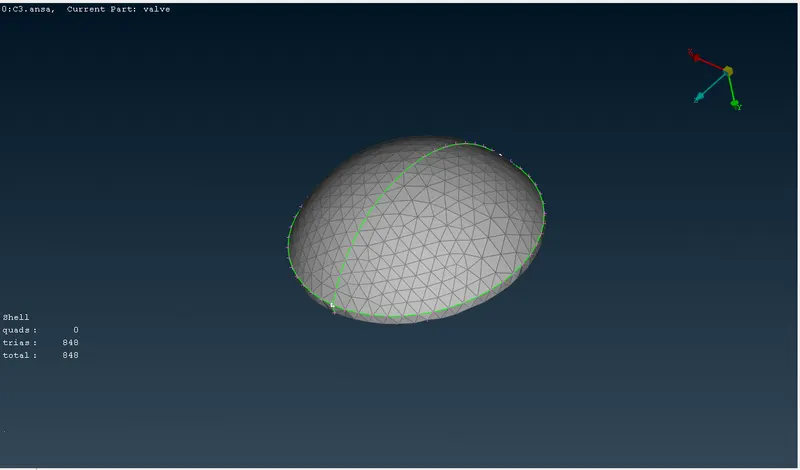
- Meshed Element with the target size of 5 mm. but here the inside of the model the element surfaces are not meshed properly so reducing the element size to 1 mm for the following parts,
- Re-meshed Model, element size 1 mm.
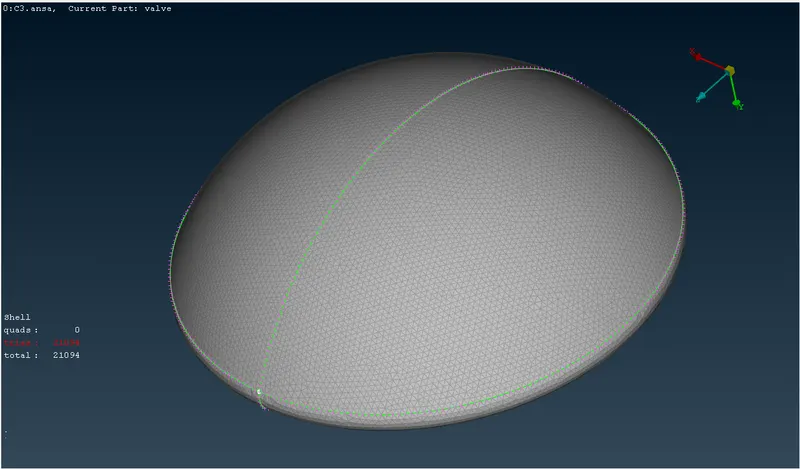
- Re-meshed Model, element size 1 mm.
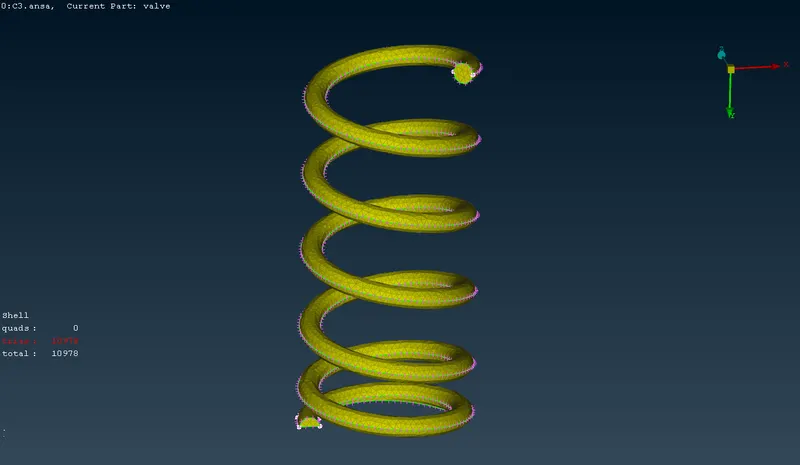
- Re-meshed Model, element size 1 mm.
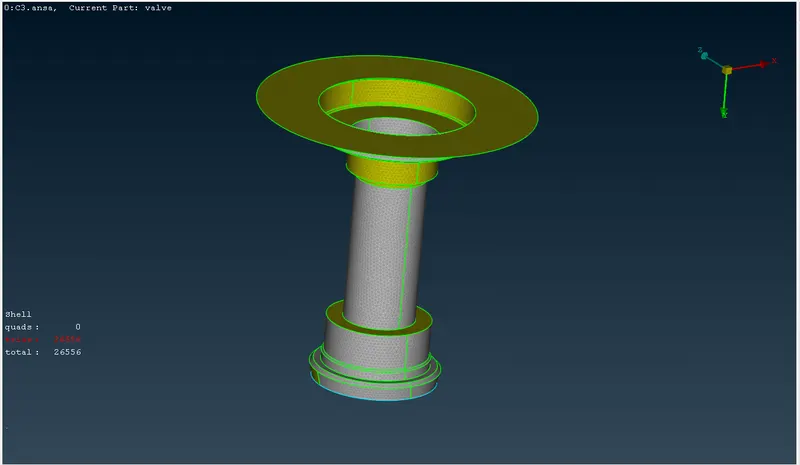
- The total no of elements under 5 mm is 67130.
LEARNING OUTCOME:
- In this process, I have learned how to rectify geometry errors and mesh of a model and how to rectify errors in mesh and how those errors are to be corrected. learned naming section, surface correction and various tools for meshing.
CONCLUSION:
- With fine mesh size, the accuracy increases but the time for calculation also increases
- We can make two different target lengths according to the size of parts and required accuracy, in this case, the outer casing mesh size can be 3mm which is not so large and not that fine earthier for a good and accurate result
- For the smaller parts like the spring and the column head, the mesh length can be 1mm so the accuracy for smaller parts increases too.