Week 2 Challenge : Surface meshing on a Pressure valve
Aim: Checking for geometrical errors and topology cleanups for "Pressure Valves". Meshing the same valve with three different 'target lengths = 1mm, 3mm & 5mm' along 'tria = element type'.
Procedure:
- The downloaded geometry has different geometrical errors with side cutout, face cutout, edge trims, hole trims and such errors. And these errors are shown as 'red cons' and 'blue cons' are also errors but with three surfaces overlapping. The 'yellow cons' are the corrected forms of any geometry.
- The geometry manipulation, correction & cleanups of these errors are only been done in 'Topo mode'.
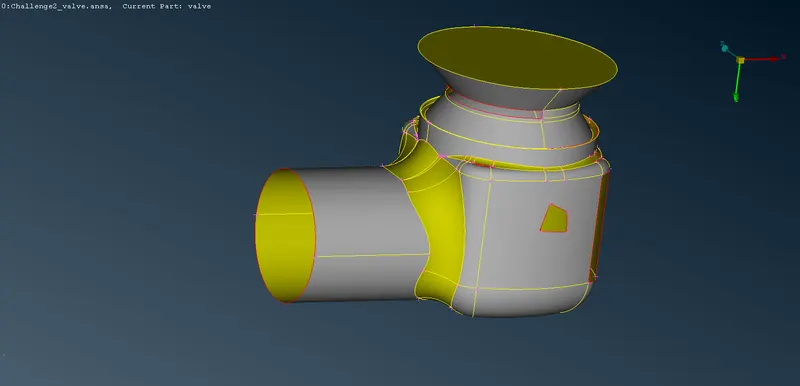
- With help of various tools like hot points, face & cons these geometrical errors are corrected.
- "Hot points" - To correct such geometry errors insertion of hot points may be needed either parametrical, project or insert method.
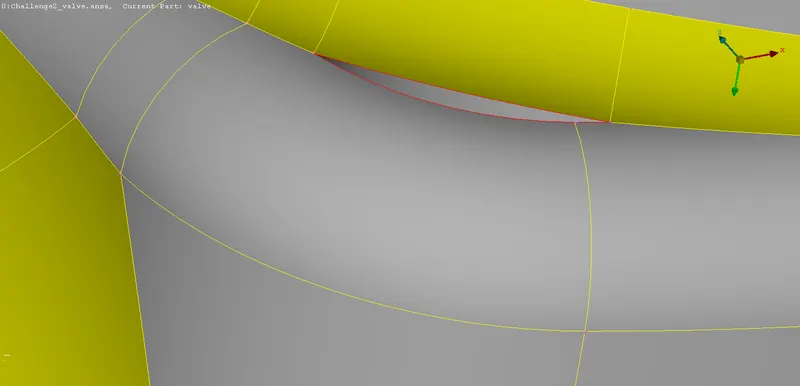
- "Cons" - To fill up such errors it's easier to use 'fill-hole' instead of face topology.
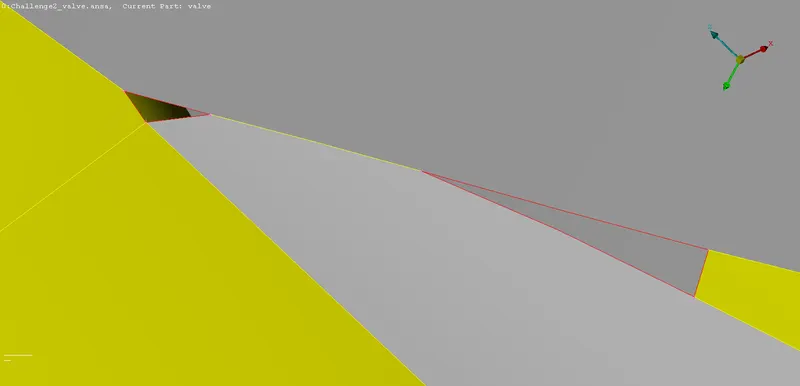
- "Faces" - Cutouts like these are filled with 'face topo' commands. Using under-over tools such as geometry cleanups is done.
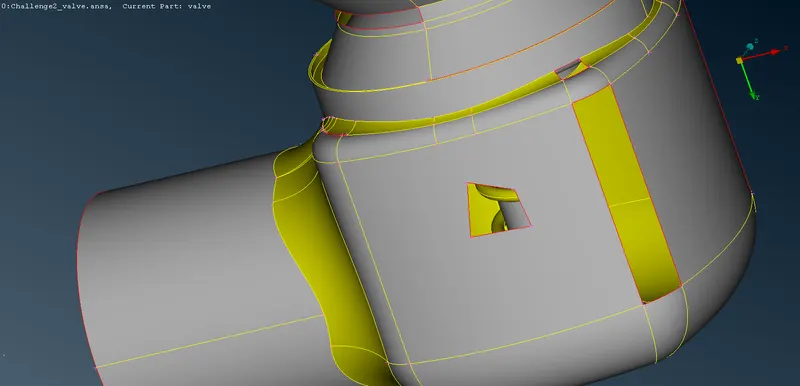
- Now all the geometry cleanup is done with the use of various topo tools with interact between 'ENT' & 'PID' modes.
- Before meshing, we provide 'Properties' to differentiate between various sub-parts of geometry.
- Meshing can be started by providing target lengths to Perimeter & Marcos along with providing mesh & quality criterion parameters.
- And for this challenge, we have three different mesh properties to work with having 1mm, 3mm & 5mm target lengths as follows.
Learning Outcomes:
- More advanced geometry cleanup using Topo.
- Different techniques of face-topo command are understood.
- The meshing of various sub-parts is a good learning process.
Results:
The meshed parts are completed with the required target lengths & element types.
- 1 mm - Target length :
The visual geometry with a 1mm mesh length in wireframe mode.
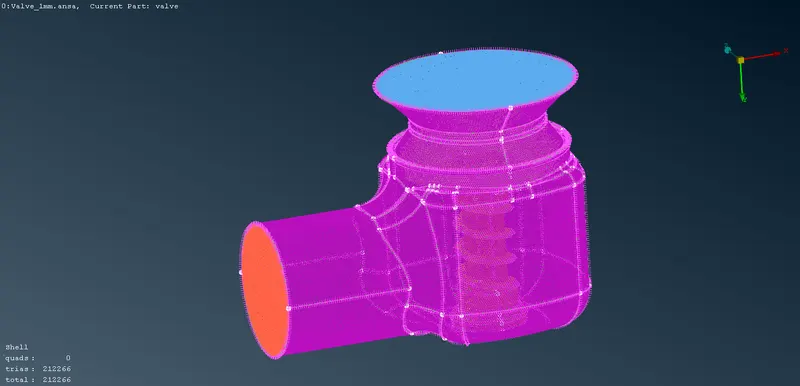
* Complete geometry.
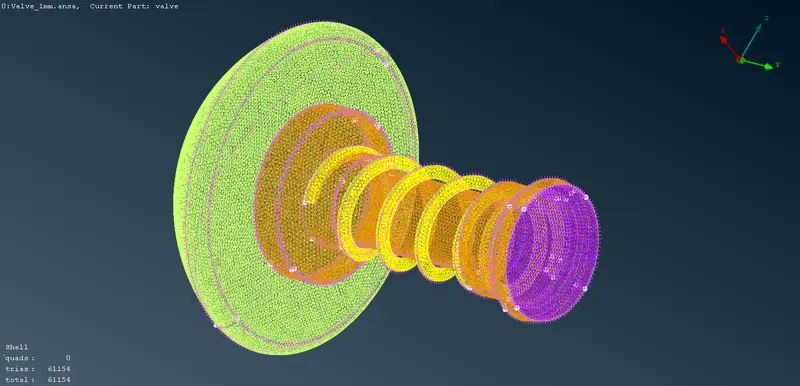
* Inner side of the part.
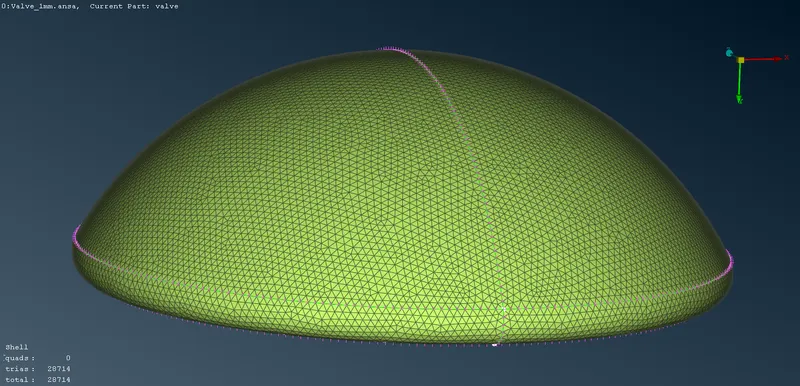
* Valve head - the curve nature at the edge side is perfect.
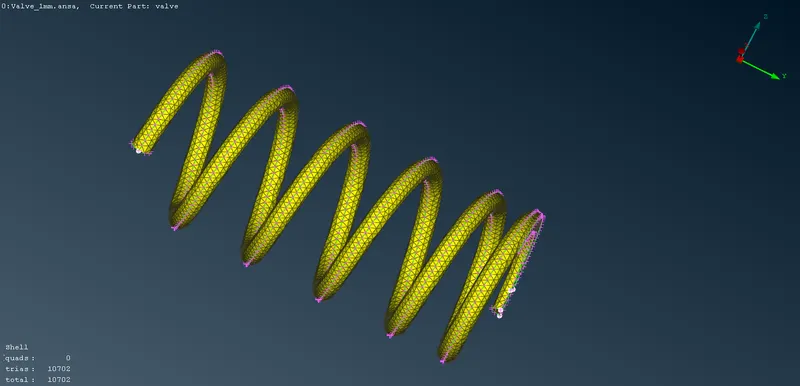
* Spring - with 1mm mesh spring depicts completely perfect.
- 3 mm - Target length :
The visual geometry with a 3mm mesh length in wireframe mode.
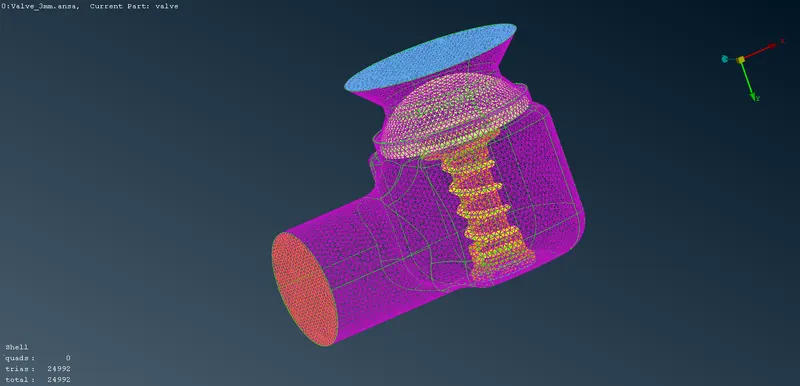
* Complete geometry.
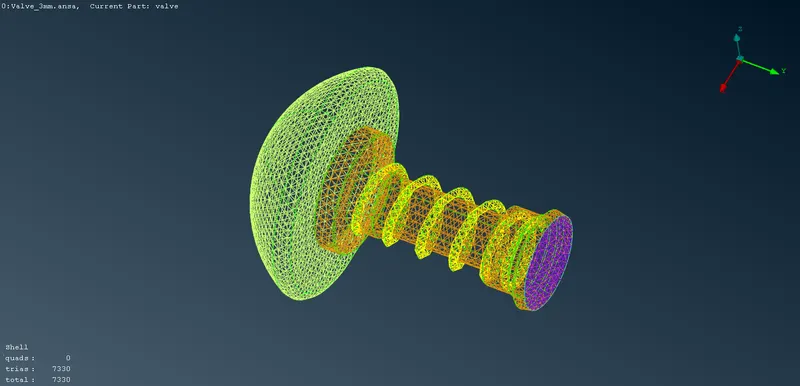
* Inner side of the part.
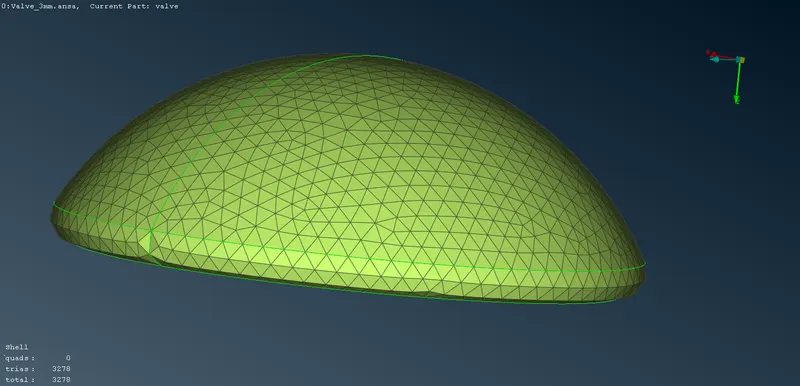
* Valve head - the curve nature at the edge side is slightly distorted.
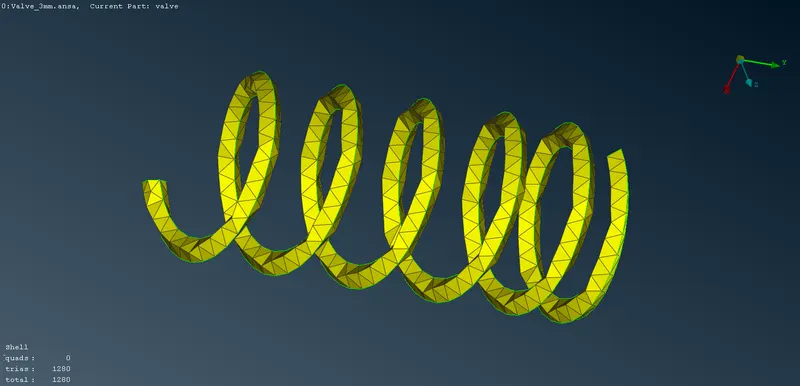
* Spring - with 3mm mesh spring seems to be distorted a bit.
- 5 mm - Target length :
The visual geometry with a 5mm mesh length in wireframe mode.
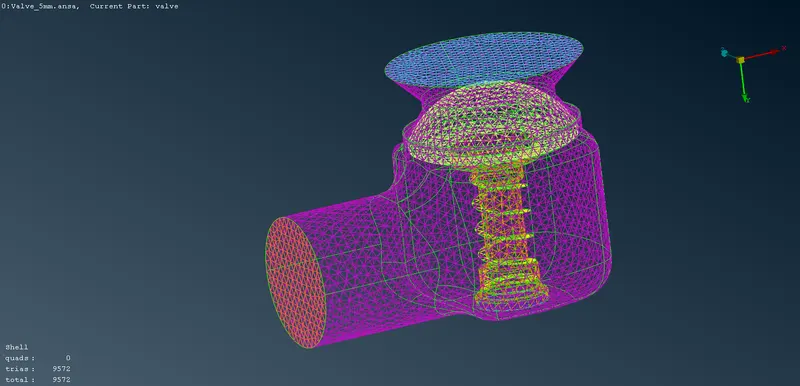
* Complete geometry.
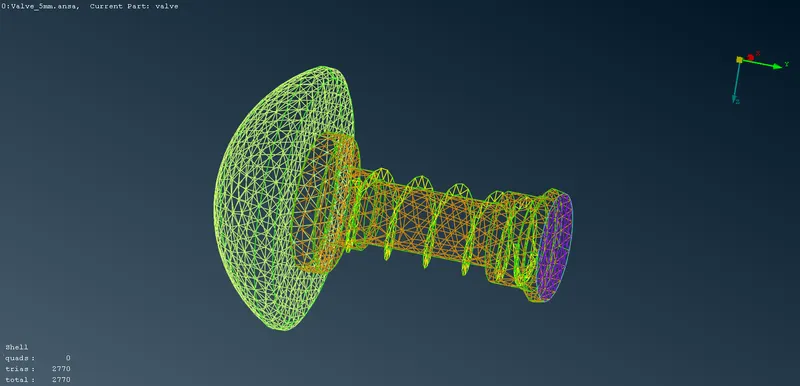
* Inner side of the part.
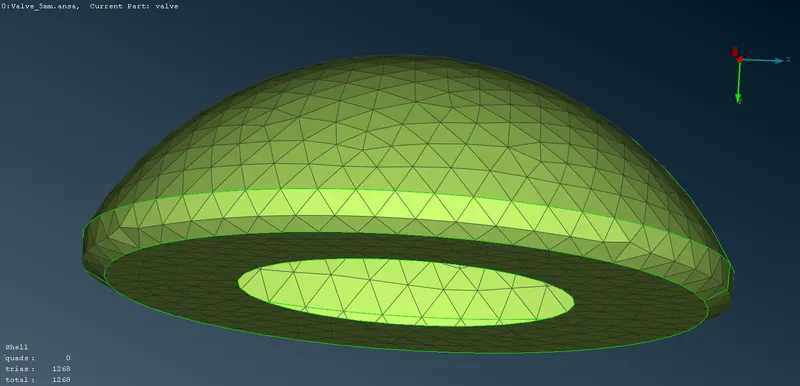
* Valve head - the curve nature at the edge side is very much distorted.
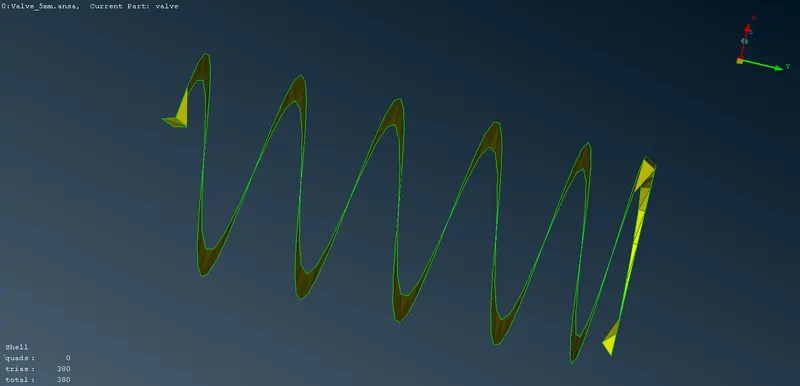
* Spring - with 5mm mesh spring seems to be distorted completely.
Conclusion:
The mesh length of small values meshes a part in a very small quantity with perfect curvature at the edges. While large values distort part at edges and small curvature areas. And here the 5mm mesh clearly depicts how distortion occurs in small curve areas.