Week 2 Challenge
1)
BIM stands for Building Information Modelling. It is a concept, rather than a concept it is a process of using a software like revit make a project as detailed as possible.
Features of BIM
Enables users to understand relationships between spaces, materials, and various details with in a physical structure.
Benfits of using BIM over 2D cad tools
Realtime changes are possible which is is not possible with 2D cad, therefore we can save time.
We can add objects like doors and windows directly which is not possible in 2D cad.
2)
Categories are properties that are already present and predefined by revit. For ex: doors,windows etc.
Families constitutes group of elements that show a common property.
Aim: To insert a element (door) by choosing from categories.
Commands Used:
- Insert
- Load family
- Architecture
- door
Procedure:
- Go to insert tab
- choose a category, pick a family and element
- Go to Architecture tab
- choose door and insert to the model
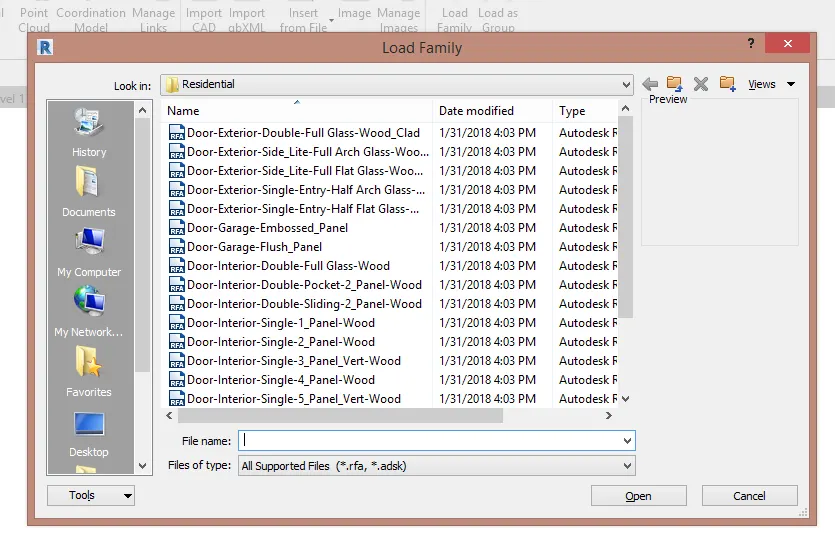
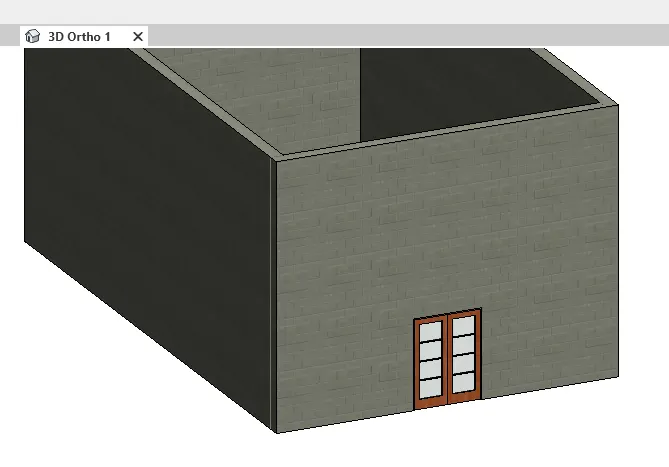
Result:
Inserting element from categories is shown.
3)
Aim: To setup a project
Commands Used:
- Open
- Save as
- Units
- Manage
- Project Information
Procedure:
- Open a new project with Architectural template
- Setup the maximum backups for project file to 3 and save the file with appropriate name
- Setup the project units
- Complete the project information from manage tab
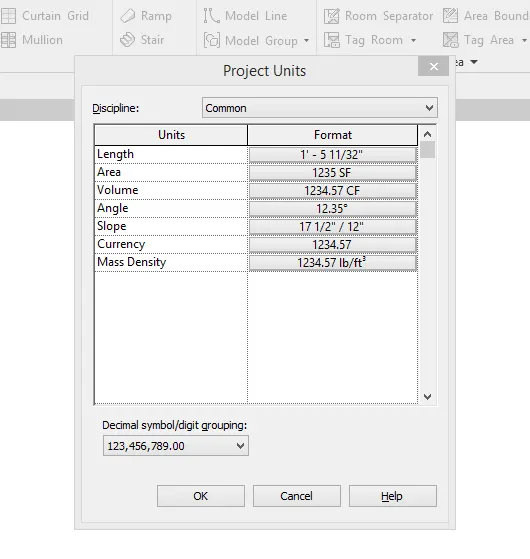
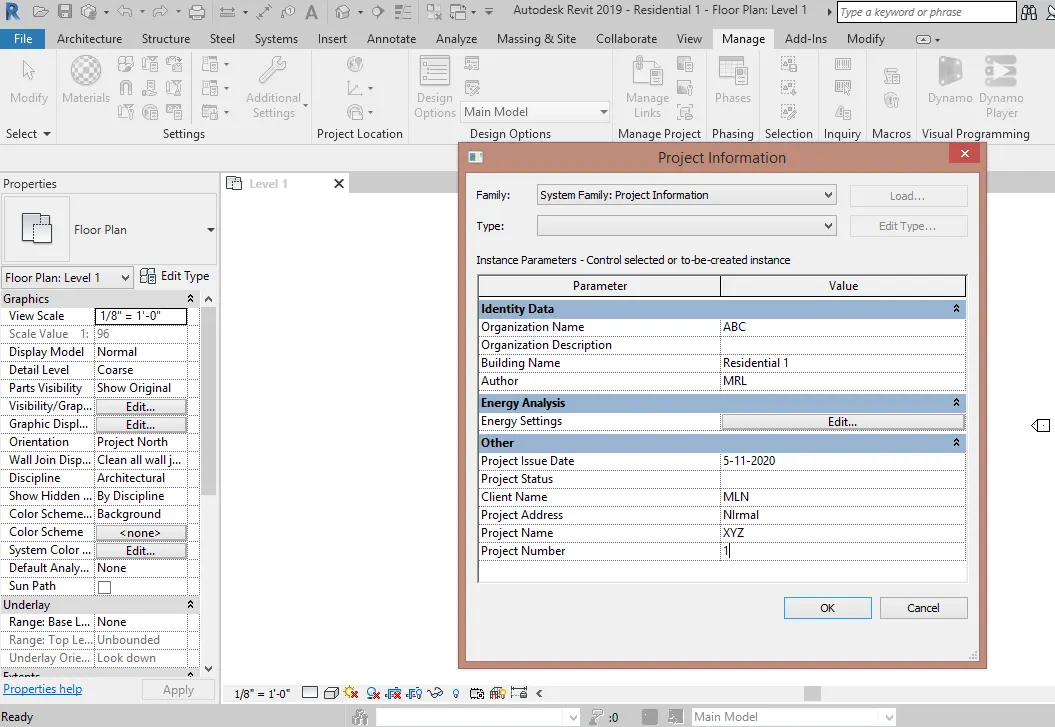
Result: Setting up a project is shown.
4)
Aim: To create Grids and Levels
Commands Used:
- Elevation (East)
- Levels (LL)
- Plans
- Grids (GR)
Procedure:
- In the project browser choose Elevations (East)
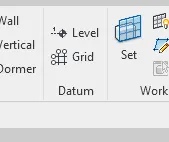
- We find 2 levels already created, create more required levels from level tab or type LL
- Place the levels at 10ft spacing and rename them as required(Ground,First floor,Second floor,roof)
- Now choose plan from project browser
- Create Grids as required from grids tab or type GR
- Place the longitudnal grids at 20ft spacing and rename them as required(1 to 10)
- Place the atransverse grids at 10ft spacing and rename them as required(A,B,C,D,E)
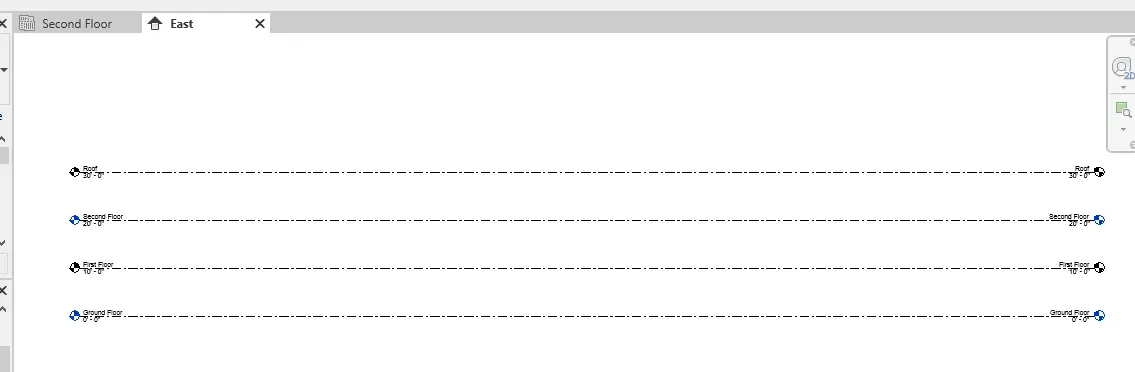
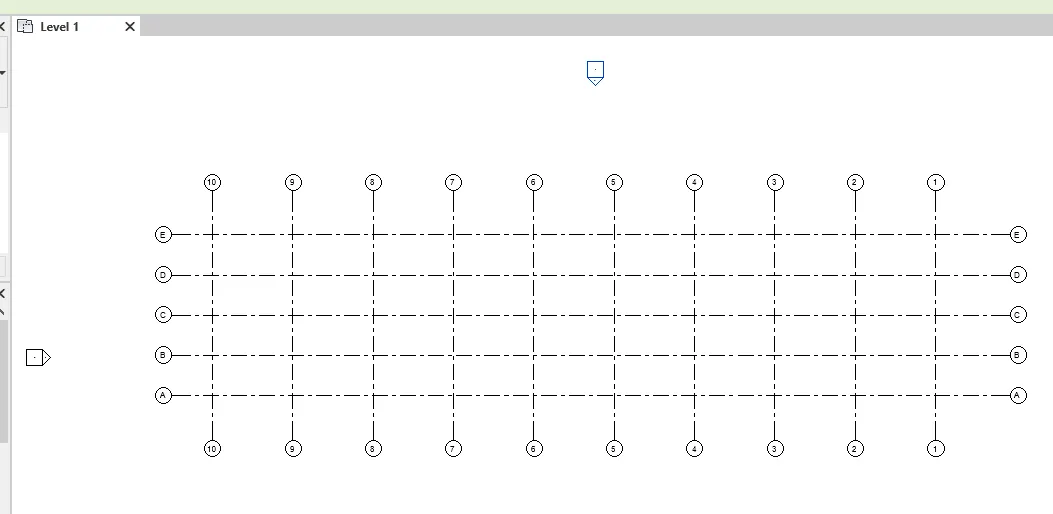
Result: Required creation of grids and levels is done.
5)
Aim: To create Resdential layout
Commands used:
- Architectural template
- Plan
- Architectural wall
- View(3D)
Procedure:
- Open architectural template
- choose plan view(Level 1) from project browser
- Select Architectural wall and place the walls as per the layout plan
- Go to view tab and choose 3D to see the layout in 3D
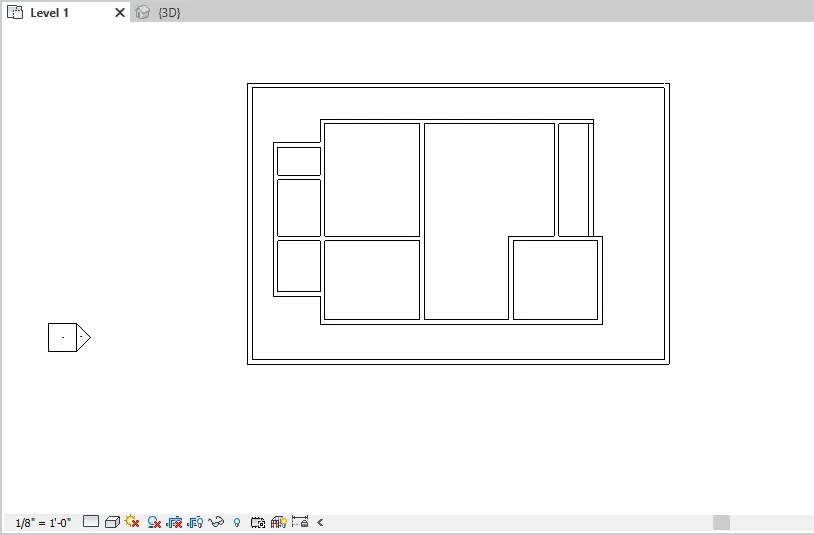
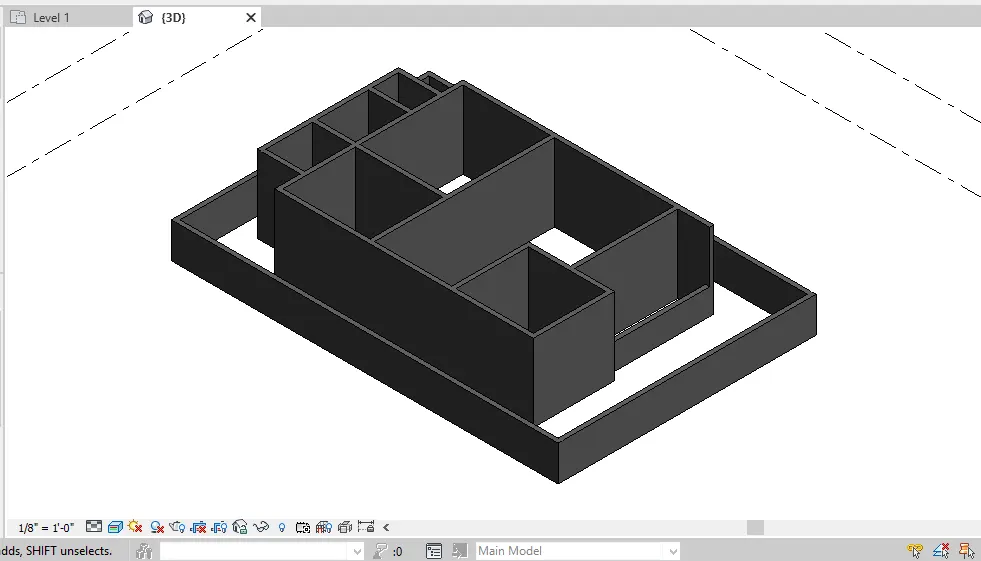
Result: Creation of layout is done
6)
Aim: To draft details like name,dimensions regarding layout and add components like doors,windows.
Commands used:
- floor Plan
- Annoate
- Text
- insert
- Load family
- Architecture component
- properties
Procedure:
- Open the project and choose floor plan (level 1) previously created.
- Go to annoate tab
- Choose Text option
- Align the text in every room like hall, kitchen etc and also the dimensions of room
- Go to insert tab
- Choose Load family and add components you required
- Then go to architecture tab and choose architecture components
- Choose the required component from properties and place it in plan wherever required
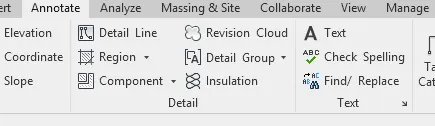
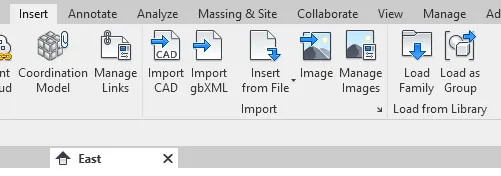
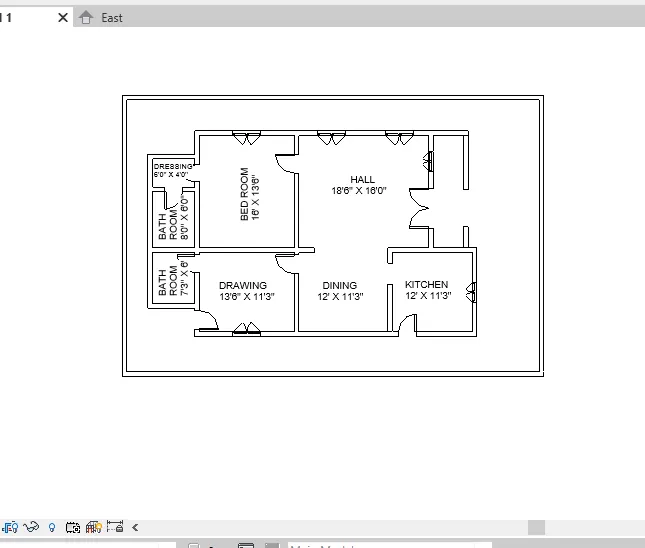
Result: Drafting details and adding components to plan is done sucessfully
7)
Aim: To insert model elements from the library into plan
Commands used:
- Floor plan
- Insert
- Load family
- Architectural component
- Properties
Procedure:
- Go to insert tab
- Choose Load family and add components you required
- Then go to architecture tab and choose architecture components
- Choose the required component from properties and place it in plan wherever required
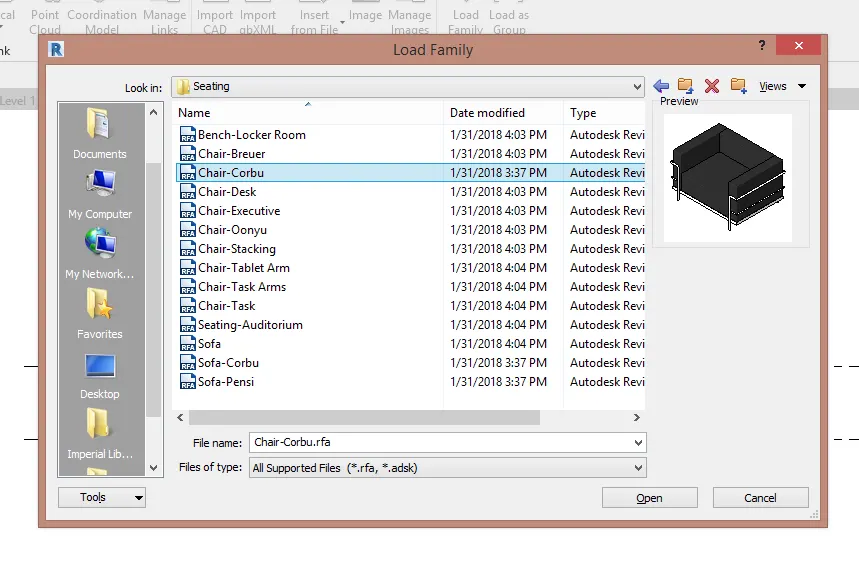
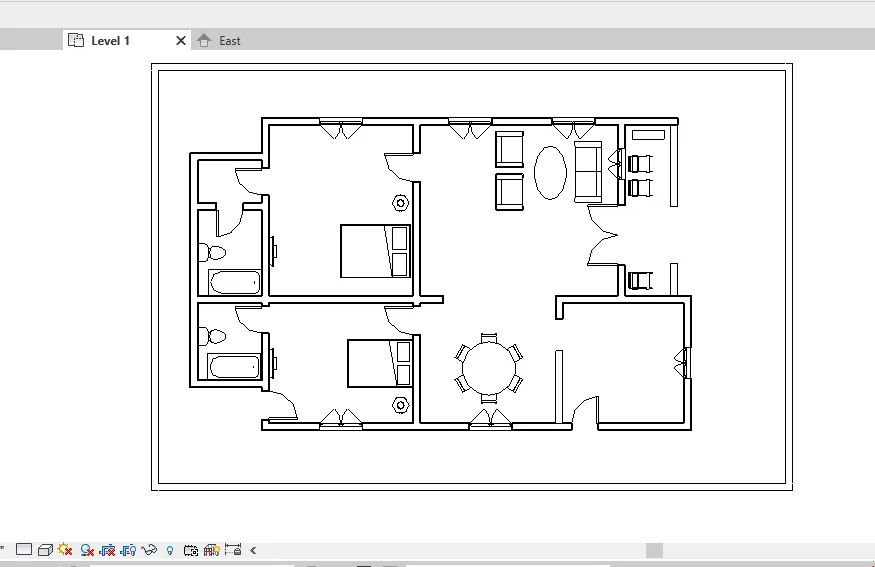
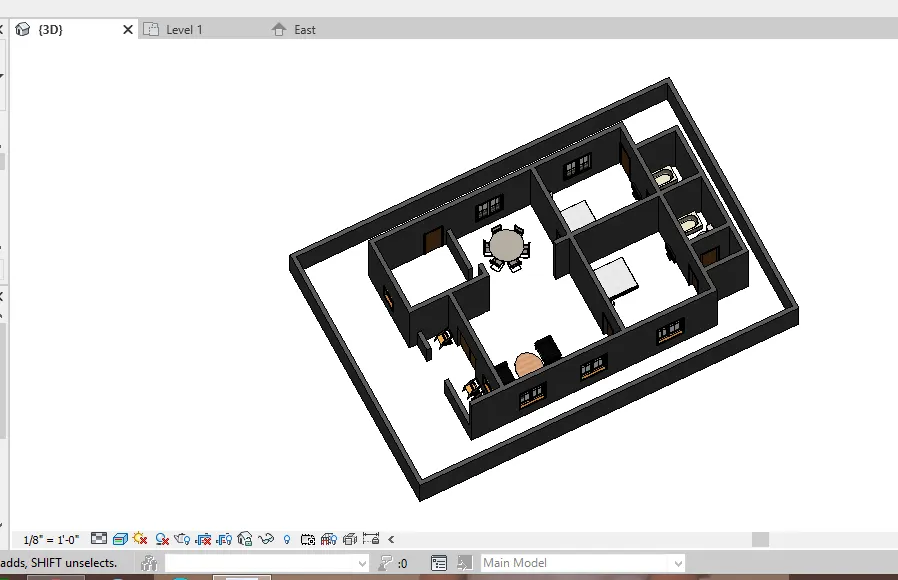
Result: Inserting model elements from library into plan is done .