Week 2 Challenge
Q1) What is BIM? Summarize the features of BIM and benefits of using BIM over 2D CAD tools.
A1)
BIM:
BIM is a new process and methodology by which a team of architects, engineers and contractors work collaboratively to design and build a commercial building utilizing the same database and computer model. This allows the team to analyse and visualize design decisions long before a project even breaks ground.
Features:
- Coordination:
- Computation:
Benefits of BIM over 2D CAD tools:
- Automated management of project documentation
- Capture reality
- Automated updates of construction drawing
- Minimized potential for human error
- BIM is much time saving as compared to 2D CAD
Q2) Understand the concept of Categories, Families, Elements, Instances in Revit. Go to Insert Tab, choose a category. Pick a family and element. Understand the instances and insert it to Revit model
A2)
Aim: Go to insert tab and select a category, pick a family and element
Tools used :
- Inset tab
- File name
- Load family
- Open
Procedure :
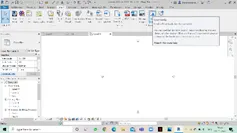
- Firstly you have to open revit and select architectural template
- Open the insert menu
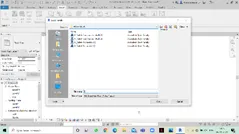
- There you find “load family option”
- Once you click on that open the family dialog box appears.
- Go to window in architecture menu and select the object
- Drag and click where u want to inset the components
Q3) Setting up a Project – Open a project file with architectural template. Save the file with appropriate name. Set up the project units to Imperial / Metric based on your convenience of modelling. Complete the project information under Manage tab. Set up the maximum backups for project file to 3
A3)
Aim: Setting up a project , opening and saving the file with appropriate name, and completing the project information under the manage tab with maximum backups for project file to 3
Tools used :
- Manage tab
- Project information
- Architectural template
- Save option
Procedure:
- Open the new project with architectural template .
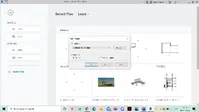
- Then once the project is open, click on the manage tab.
- Then click on the project units, to change the units according to the requirement.
- Once u change the units click on ok.
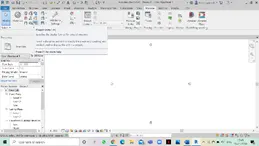
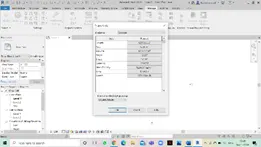
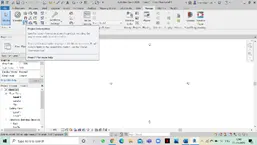
- Then in the manage tab you have the project information option.
- Click on the project information option and fill in with proper information regarding the project . once all the information is filled, press okay button .
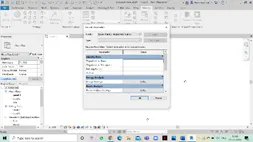
- To save the file press the file option. Once u go to the file option you have the option od save. Click on save . once you click on save you get an option to name your file. Name your file as desired. And then you see an option button. Click in the option button, where you are given an option for backup. Set up the maximum backups for project file to 3.
-
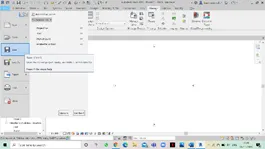
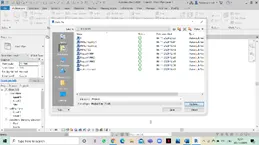
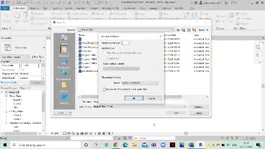
Result: The requirements in the question are completed using revit.
Q4) Understand the concept of Levels and Grids. Follow the naming and conventions. Create the following Levels: (Convert to metric equivalents if metric is your units)
Ground Floor @ 0’
First Floor @ 10’
Second Floor @ 20’
Roof @ 30’
A4)
Aim: Create the following Levels:
Ground Floor @ 0’
First Floor @ 10’
Second Floor @ 20’
Roof @ 30’
Tools used:
- Levels
- Grids
Procedure:
- From the architecture tab we have the datum containing level. We have to choose the level option to create levels.
- To create levels we should make sure that elevation view is open. Unless the elevation view is open we cant use levels.
- The desired distances between the levels are to be entered as per the information given in the question .
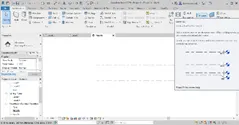
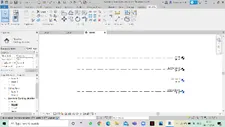
- After the levels are done we have to look into the grids.
- Under the levels option in architecture tab, we find the grids option.
- Once we choose the grids option, we can insert grids in the project according to our requirements.
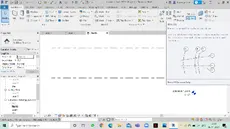
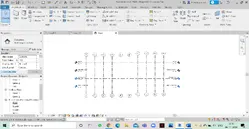
Result: the required grids and levels are made using revit.
Q5) 3D modelling of residential unit – From looking at your house / or a place you aspire. Create a conceptual layout of the residential unit. You can measure using a tape or
you can access your residential plan to create a similar layout.
A5)
Aim: 3D modelling of residential unit and to create a layout
Tools used :
- Architecture tab
- Wall
- View
- Default 3D view
Procedure :
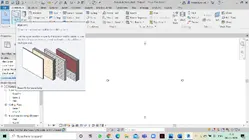
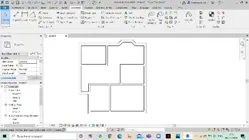
- Once you select the architectural template and click on it, you see an wall tool.
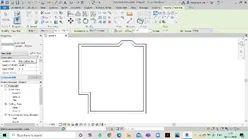
- Once you open the wall tool, draw the spaces you require and start the project as desired .
- Join the ends of the wall to form a closed layout.
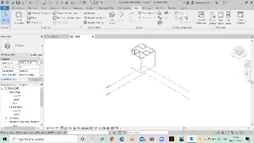
- Click on the view option, then you find 3D option
- Once you click on 3D option, the layout appears in 3D
Q6) In the layout created draft the level of details you are planning to include – Dimensions of room, components you plan to add in the residential unit.
A6)
Aim: In the layout created, draft the levels of details you would like to include.
Tools used:
- Insert
- Load family
- Architecture
- Windows
- Door
- View
- Default 3Dview
Procedure:
- After completing the layout. With the help of wall tool draw the remaining inner walls
- Click on insert menu and select load family to add components
- Use annotate menu to mark the dimensions
- Then click the view menu and select the 3d view option and look at the view of the project
-
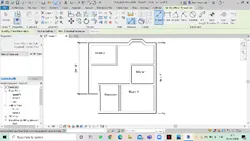
Result: following the above steps we are able to convert the project into a 3D view.
7Q) Identify the residential model elements such as Door, Windows, Tables, Chair, Couch, Bed, Lamps from the library and insert them to the model . Save the project for use
for Assignment 3
A7)
Aim: To add components to the project
Tools required:
- Insert
- Load family
- View
- Architecture
- Doors
- Windows
- Components
Procedure:
- After we complete the inner walls, we insert the components required like windows, doors, tables, etc.
- For the 3D view press the 3D view in insert
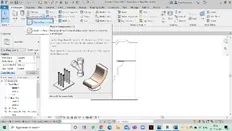
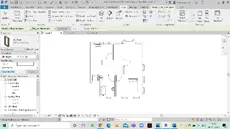
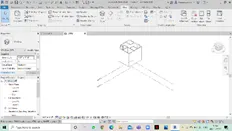
Result: Following the above steps we have sucessfully placed the compnents in place and got a 3D view.