Week 2- 2R Robotic Arm Challenge
Program in Matlab to simulate the forward kinematics of a 2R Robotic Arm:
% Forward kinematics of a 2R robotic arm
clear all
close all
clc

% inputs
% length of first arm
l1 = 1;
% length of second arm
l2 = 0.5;
% angle of the first arm
theta1 = linspace(0,90,10);
% angle of second arm
theta2 = linspace(0,90,10);

% the counter value
ct = 1;

for i = 1:length(theta1)
    THETA1 = theta1(i);
    for j = 1:length(theta2)
        THETA2 = theta2(j);
        x0 = 0;
        y0 = 0;

        x1 = l1*cosd(THETA1);
        y1 = l1*sind(THETA1);

        x2 = x1 + l2*cosd(THETA2);
        y2 = y1 + l2*sind(THETA2);

        % ploting
        plot([x0 x1],[y0 y1],[x1 x2],[y1 y2], 'linewidth',3)
        axis([-0.1 1.5 0 1.5])
        pause(0.03)
        M(ct) = getframe(gcf);
        ct = ct+1;

    end
end

movie(M)
videofile = VideoWriter("forward_kinematics.avi",'Uncompressed AVI');
open(videofile)
writeVideo(videofile,M)
close(videofile)
Output video file Link:
output of 2R ROBOTIC ARM video Link
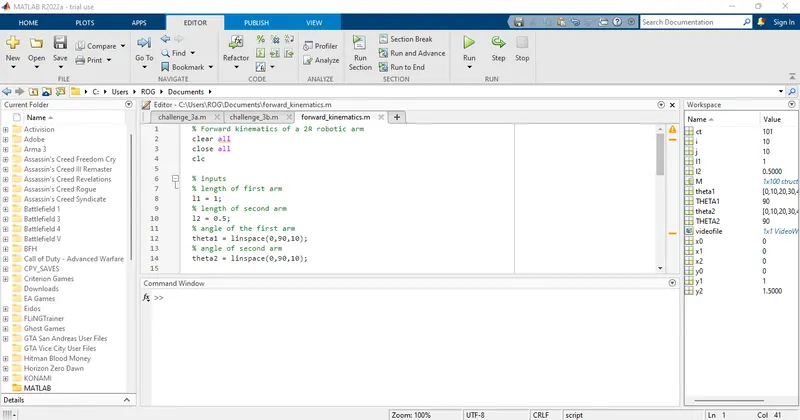
Screenshot of the program:
Code Explanation:
- Before writing the code, start with 'clear all', 'close all' and 'clc' commands.
Clear all - removes data from the workspace, freeing up system memory.
Close all- deletes the current figure or the specified figure.
clc - clears all input and output from the Command Window display, giving you a clear window. - Next step for the code is to define the inputs and its values. Length of arm 1 and arm 2 were both defined. both theta 1 and theta 2 were defined by using the 'linspace' command. The function of the linspace generates linearly spaced vectors. So in the case of theta 1 and theta 2, linspace(0,90,10) means that Matlab will generate a row vector 90 of 10 points linearly spaced between and including 0 and 90.
- The next step is to set up a counter. A counter is a variable that counts an event in a loop. A for loop was used for this project, a for loop is a repetition control structure that allows you to efficiently write a loop that needs to execute a specific number of times.
- Since theta 1 and theta 2 will contain multiple values of the angle within the x-axis, a new variable is needed inside the for loop for both x and y coordinates. THETA 1 and THETA 2 are added to the code, for THETA 2 the variable j was added instead of i as this will give THETA 2 its own respective angle. Calculate the values x1,x2,x3,x4.
- The next step is to plot the graph for all the x and y coordinates with axis. A 'pause' command was used for pausing the command for a certain time, for this project a pause of 0.03 s was used.
- The 'M' command was used to capture the current frame every time the for loop runs. The final step of the loop is to add a '+1' to the ct variable; this will increment the frame every time the for loop run. 'End' command was used for the plot and for the for loop to stop both from running.
- The final step of the code is to create a movie of the animation of the robotic arm, so the 'movie' command was used. The 'VideoWriter' command was used to assign the video format, for this project.avi was used as the format. The 'open' command was used to open the video. 'writevideo' command was used to write the video with plot frames. Finally, the 'close' command was used to close the video file.