Week 14 challenge
Butterfly Valve Assembly:
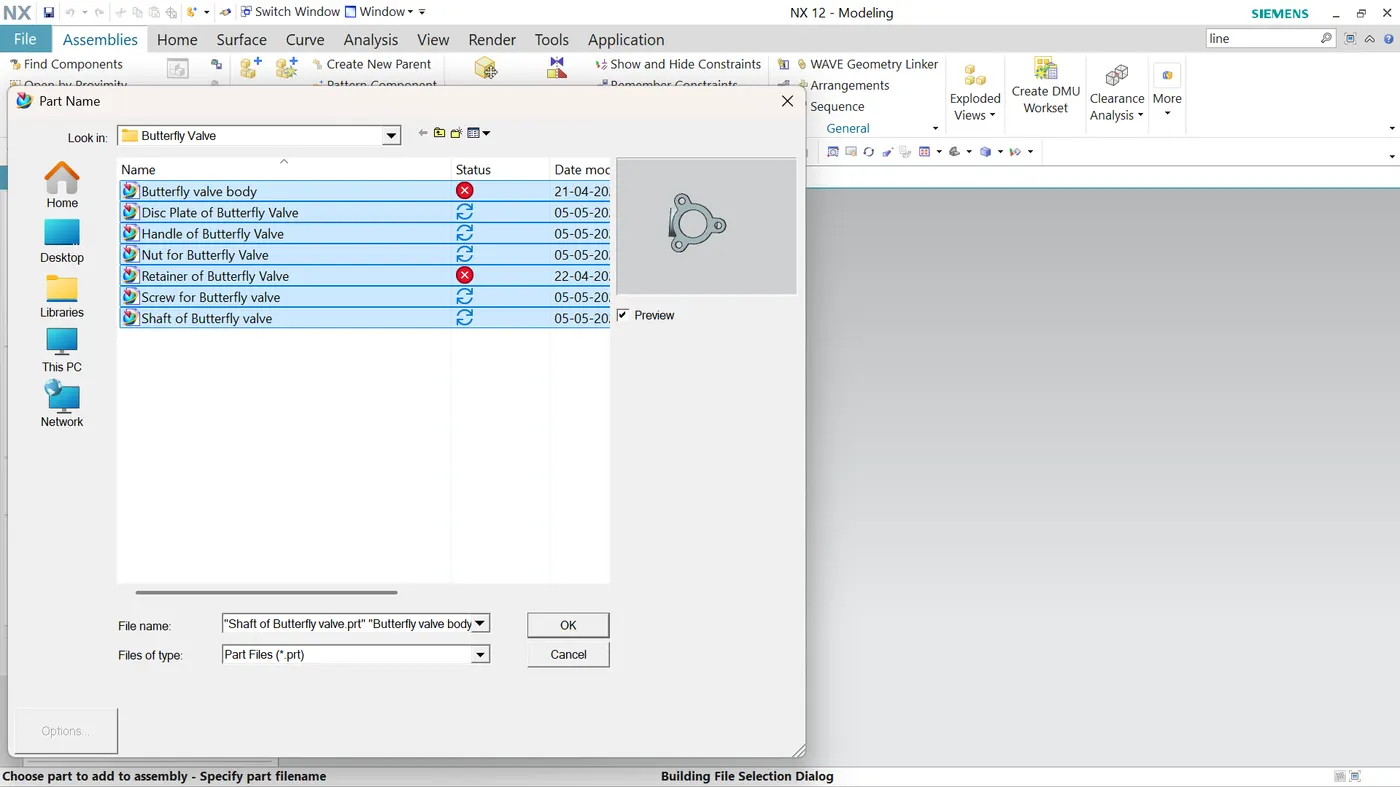
To create this assembly, we first click on New, then choose the assembly option, specify the location, and give it a name.
Now that we have done the first step, the add components pop-up will appear, here we have to add all the parts required for the assembly.
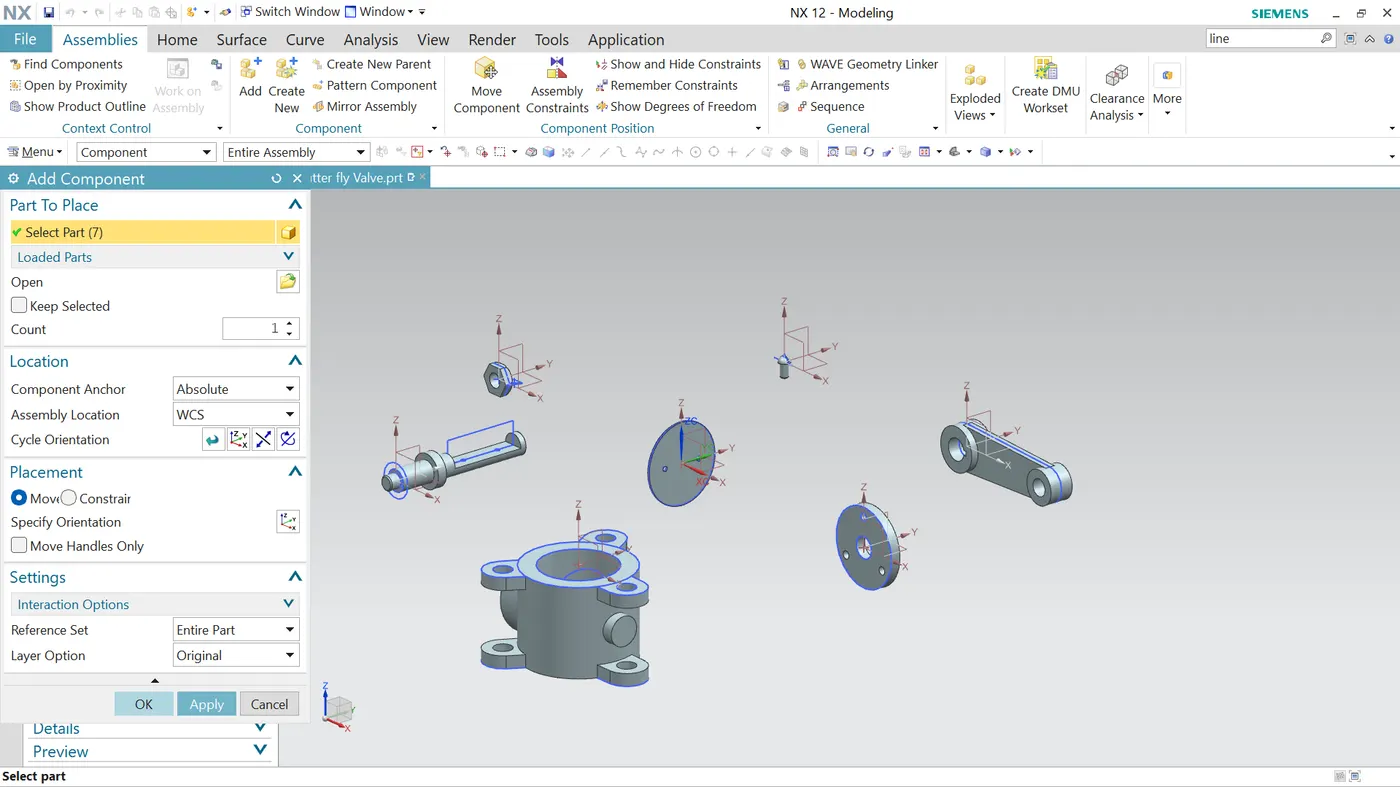
Now we scatter all the parts.
First, we create a sub-assembly. for that, we choose the plate and the shaft, we bring them close, and after giving them assembly constraints, we move on to the next part.
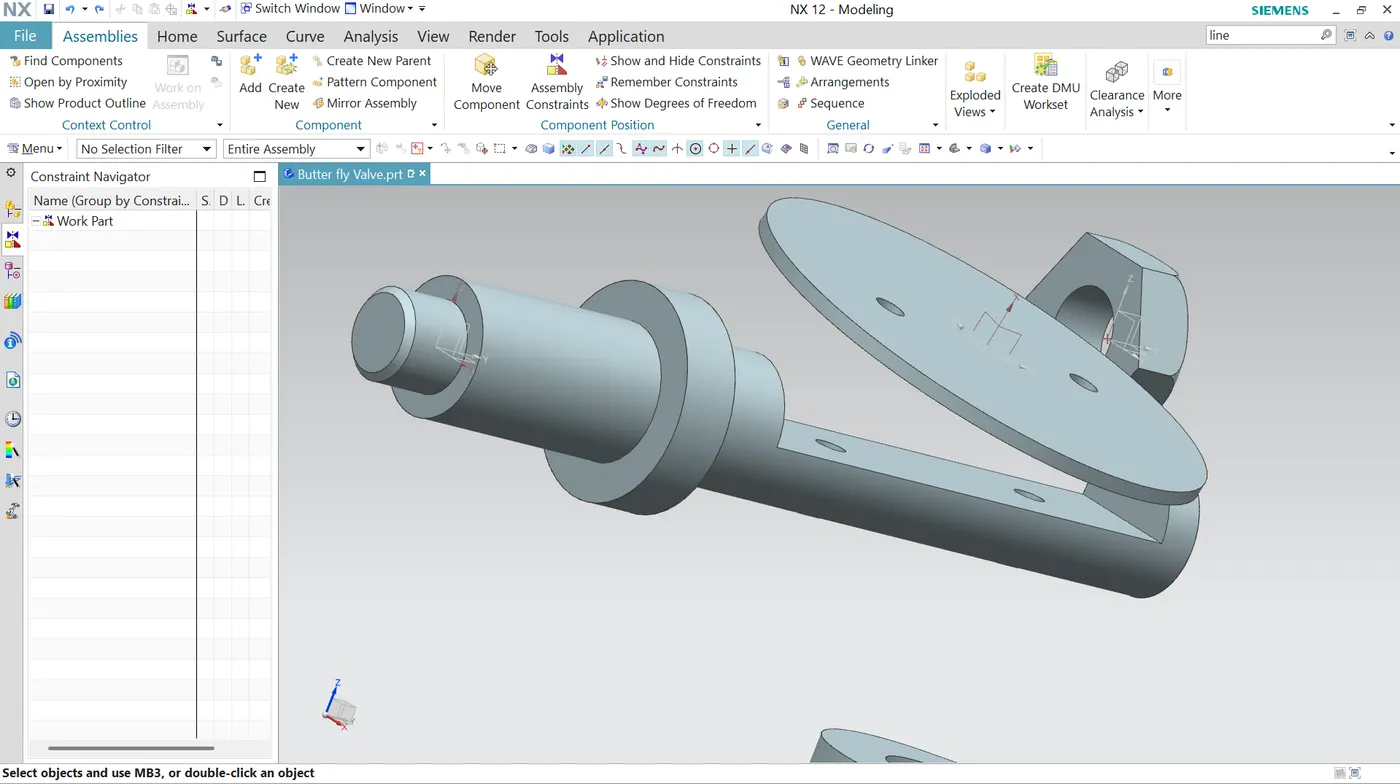
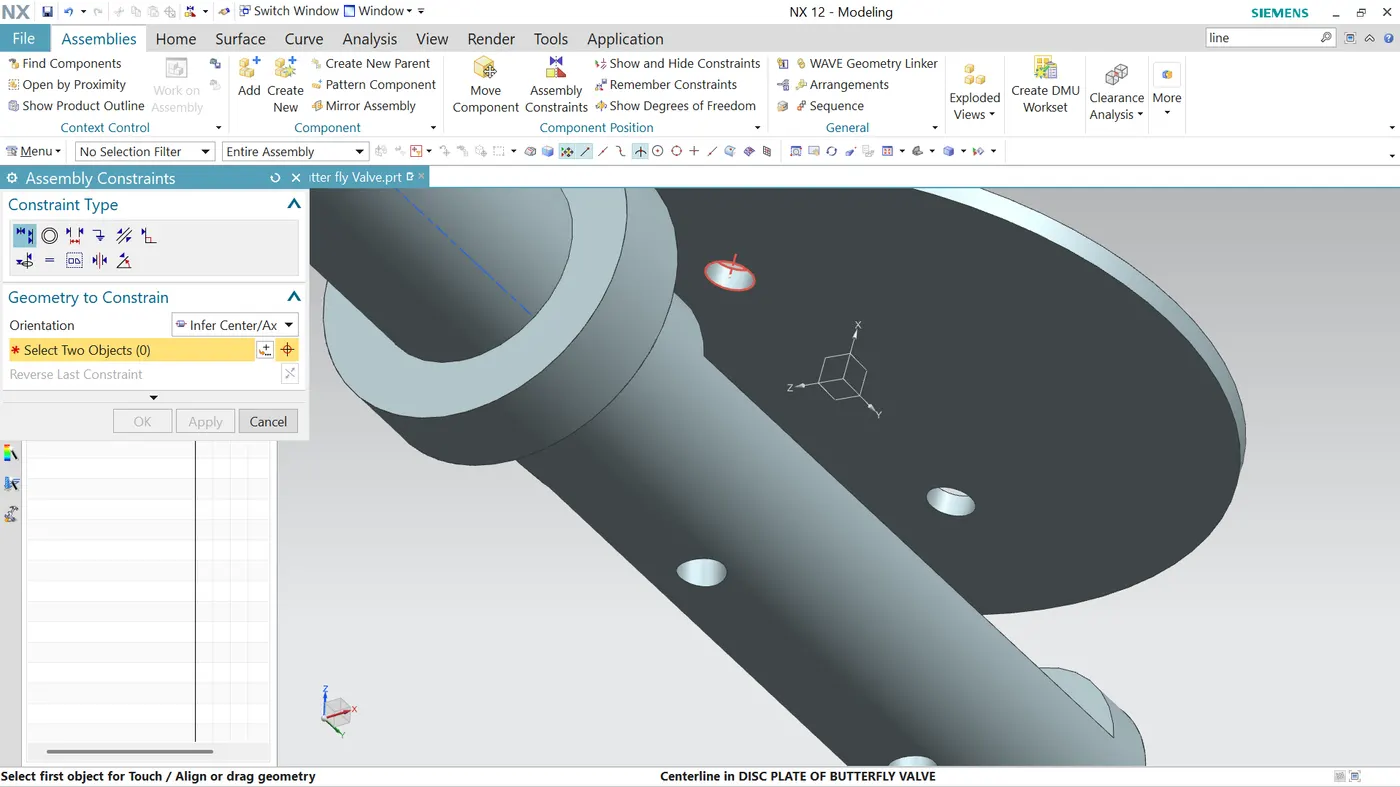
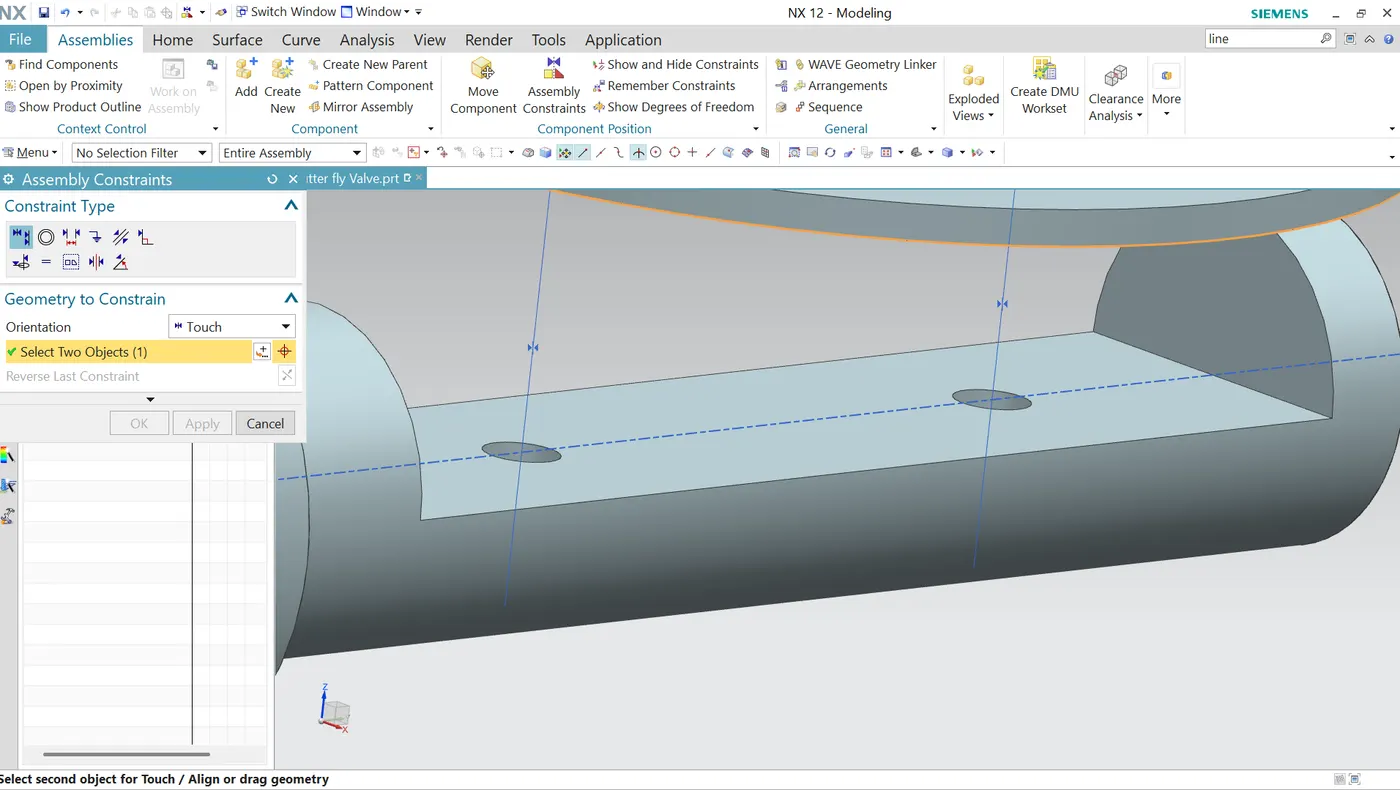
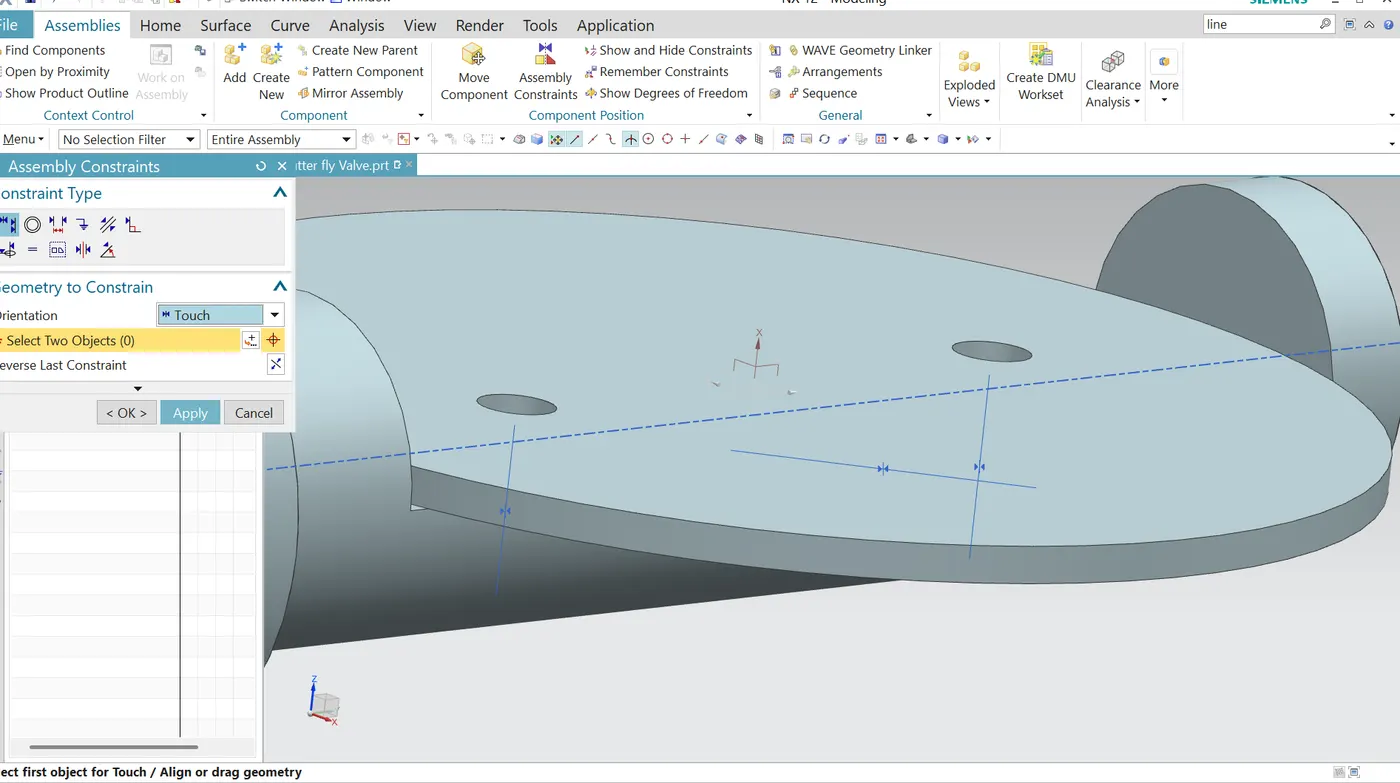
Now the shaft and plate are together we attach the screws on to the holes for that purpose we need 5 screws in total for the assembly so we use the move component command and choose make copy option which helps us to create the several copies within the assembly itself.
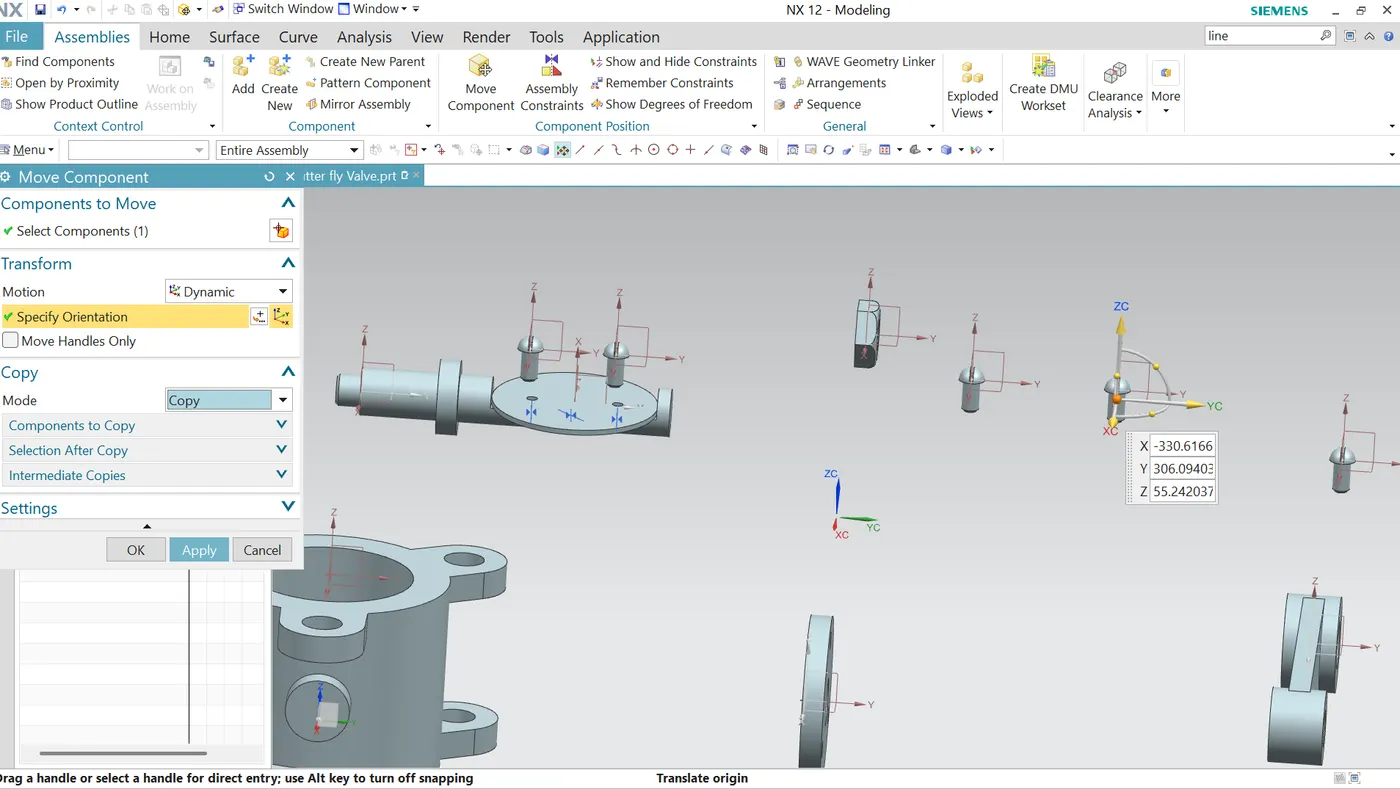
Now we align the screws with the holes by providing the constraints as shown:
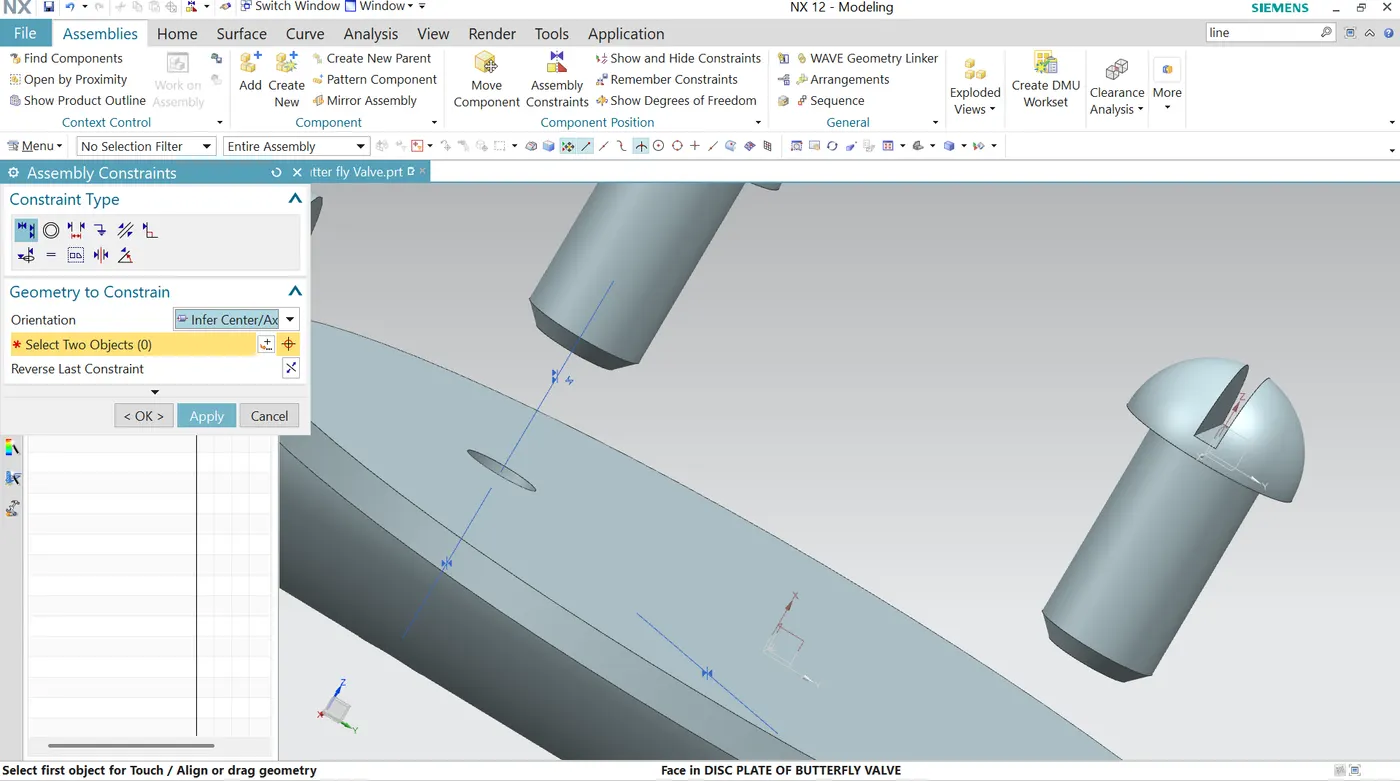
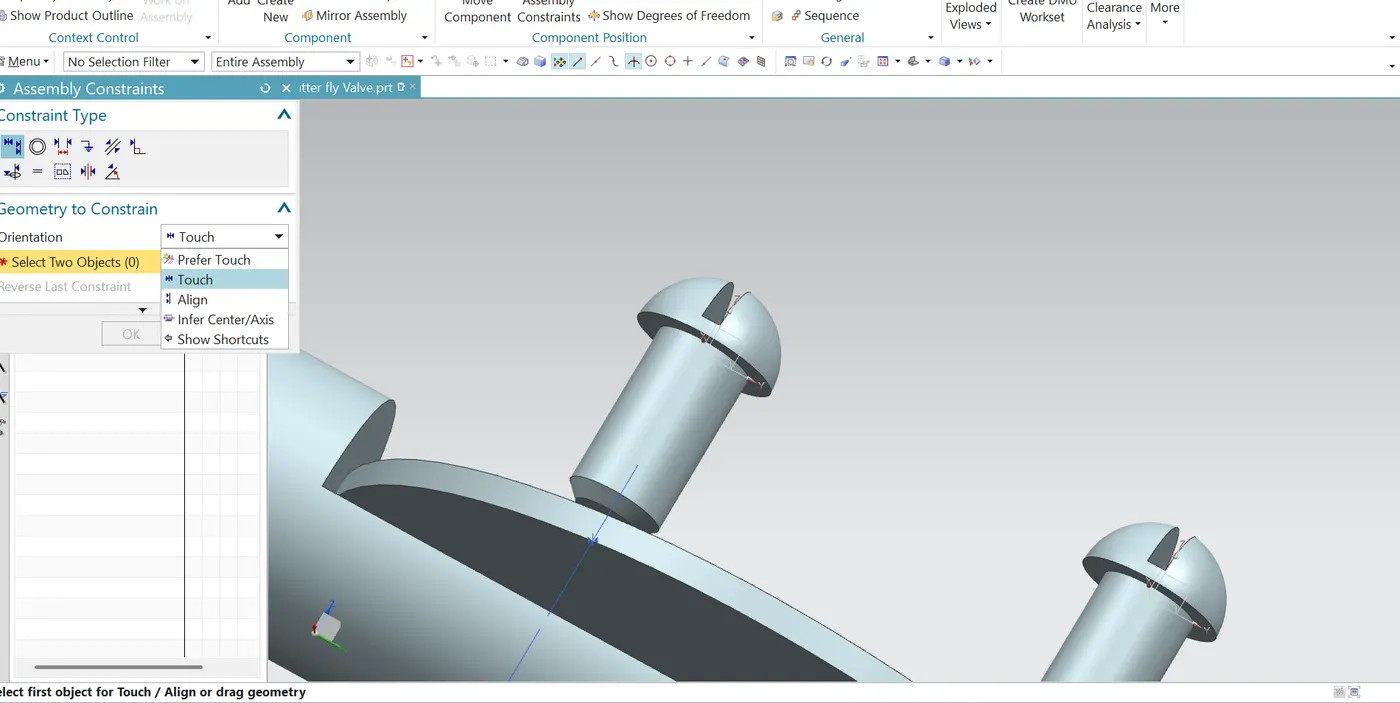
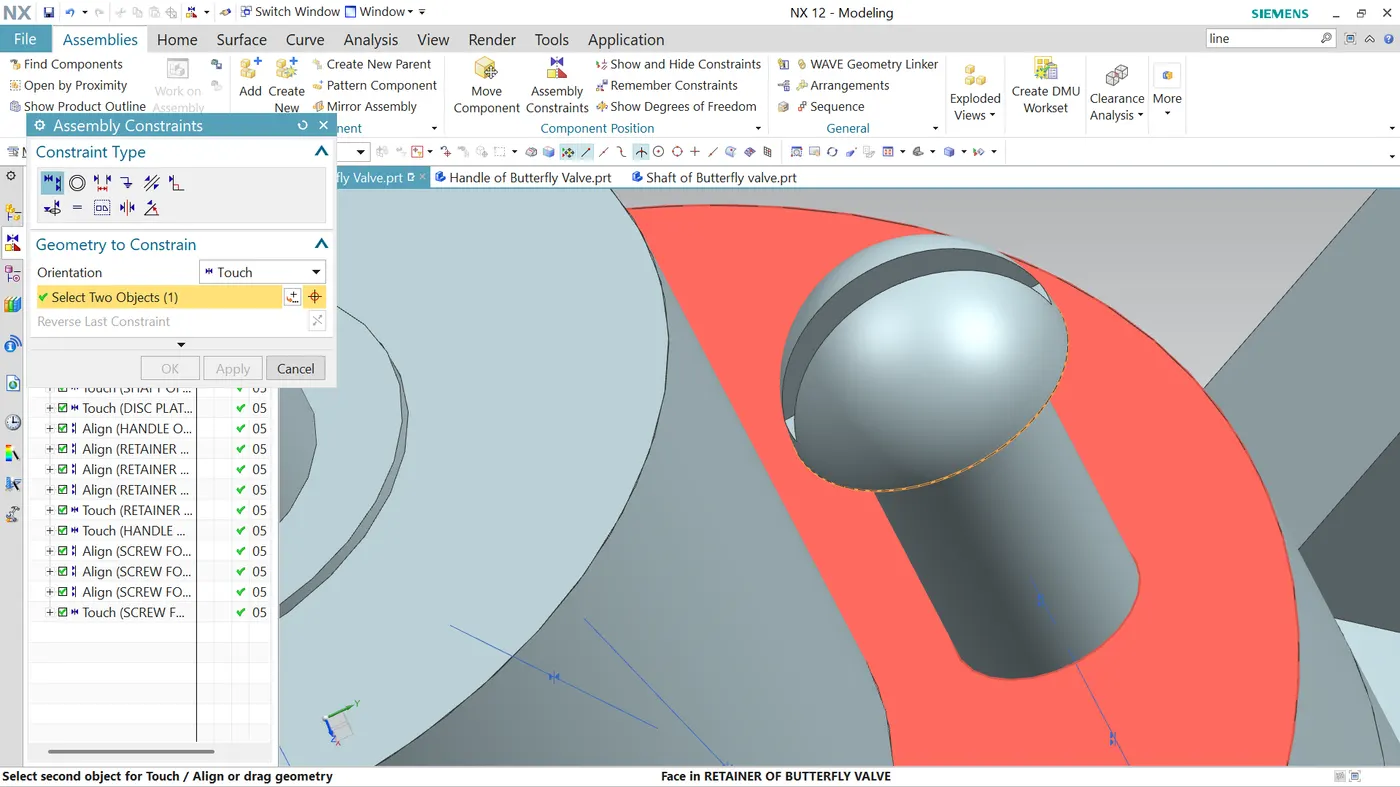
Now we use the touch constraints.
Now we move this sub-assembly to be placed within the main body:
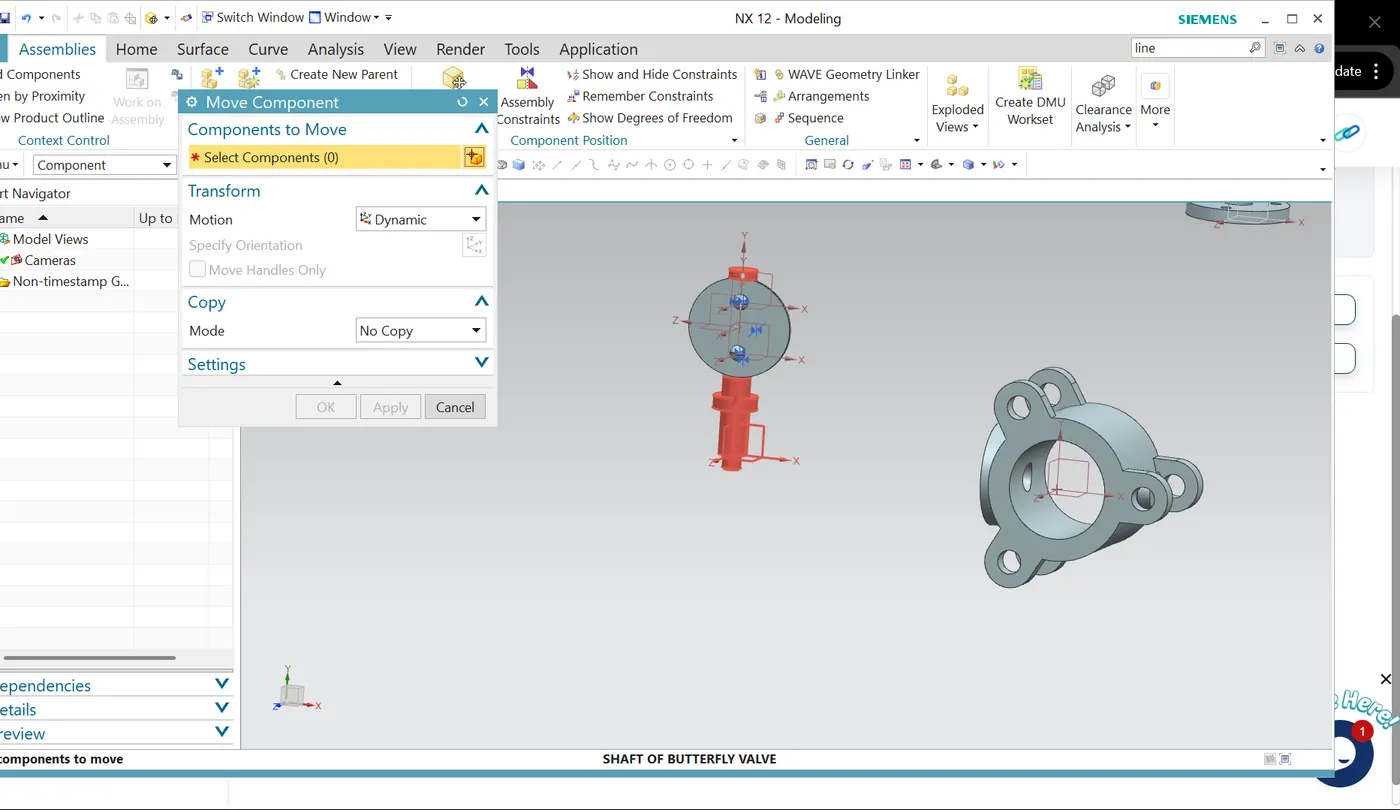
After bringing them closer, we apply the constraints
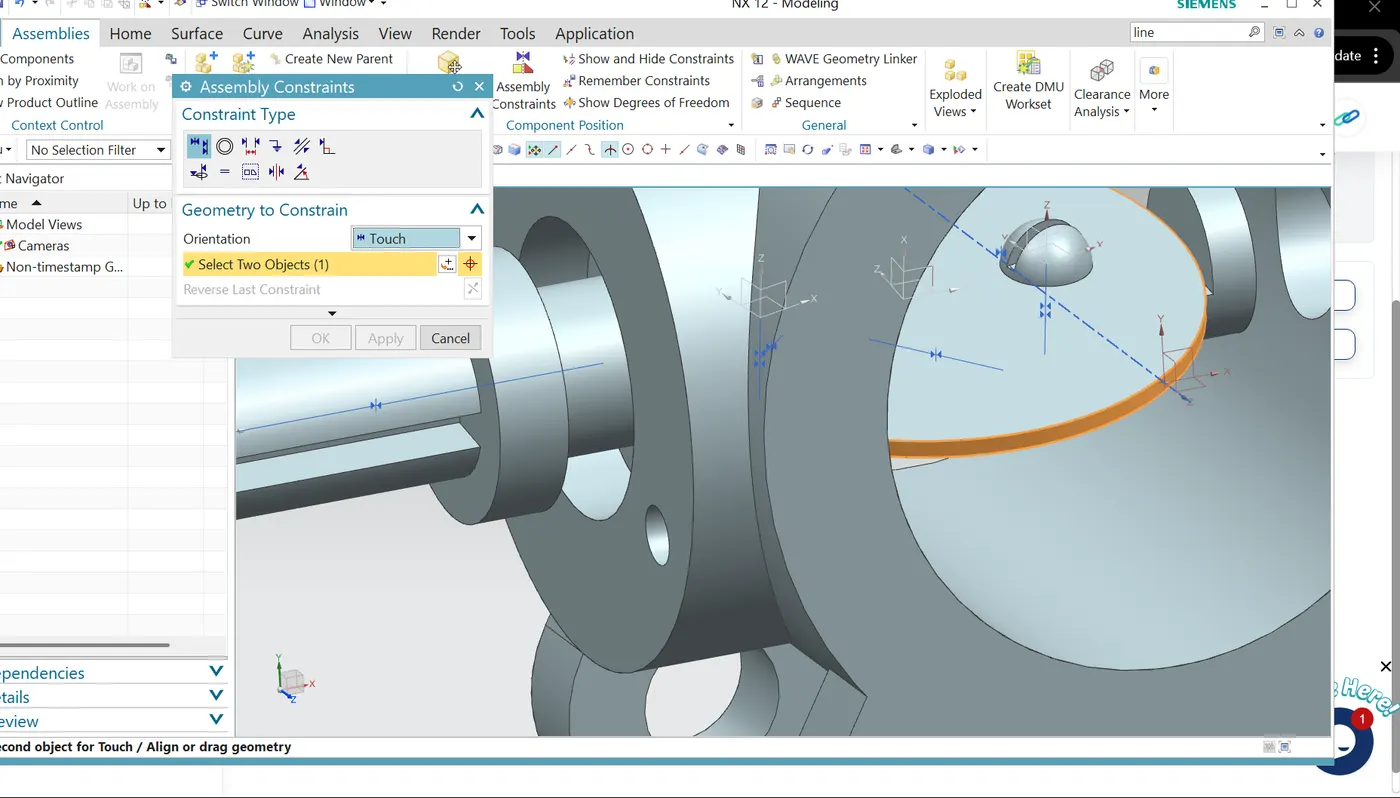
Now we attach the retainer onto the sub-assembly that we created by assembling the main body and shaft sub-assembly:
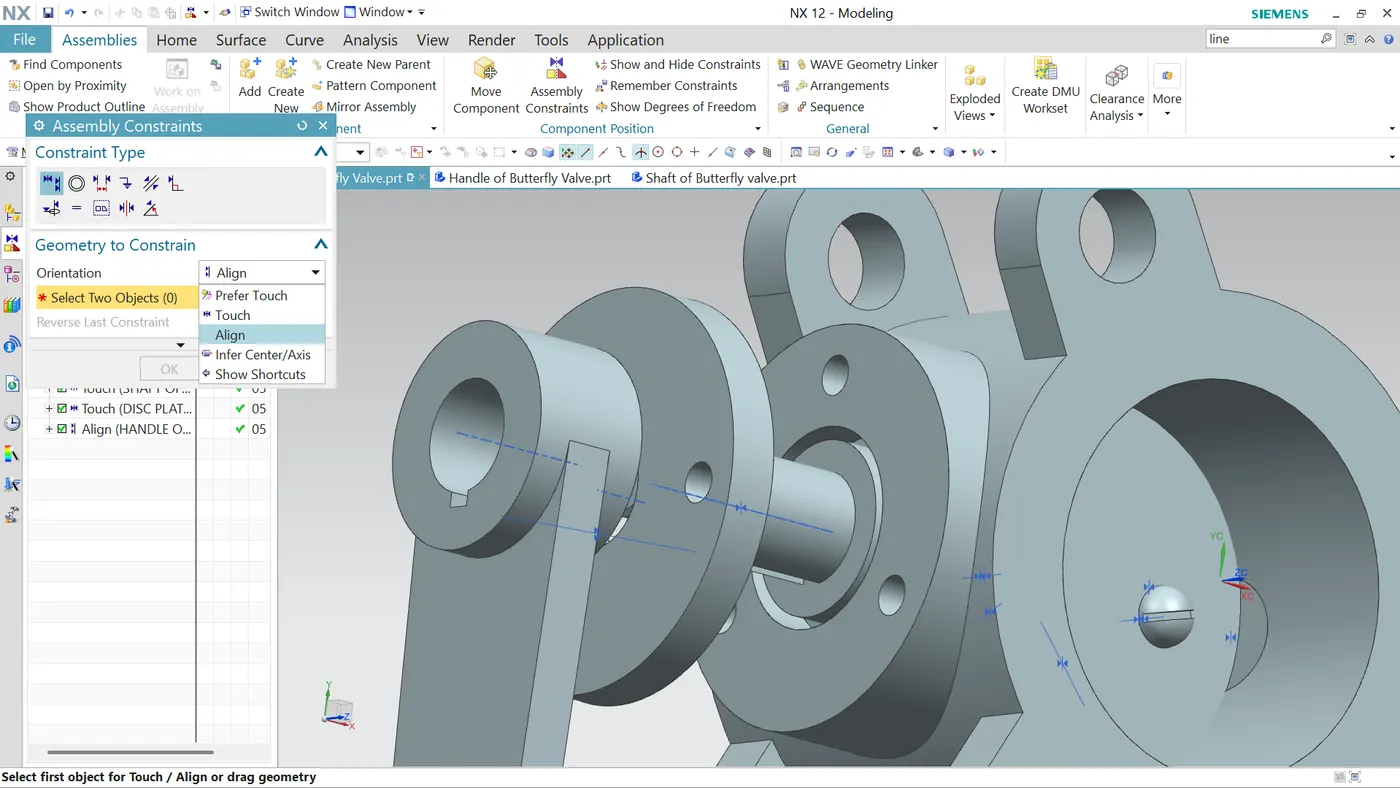
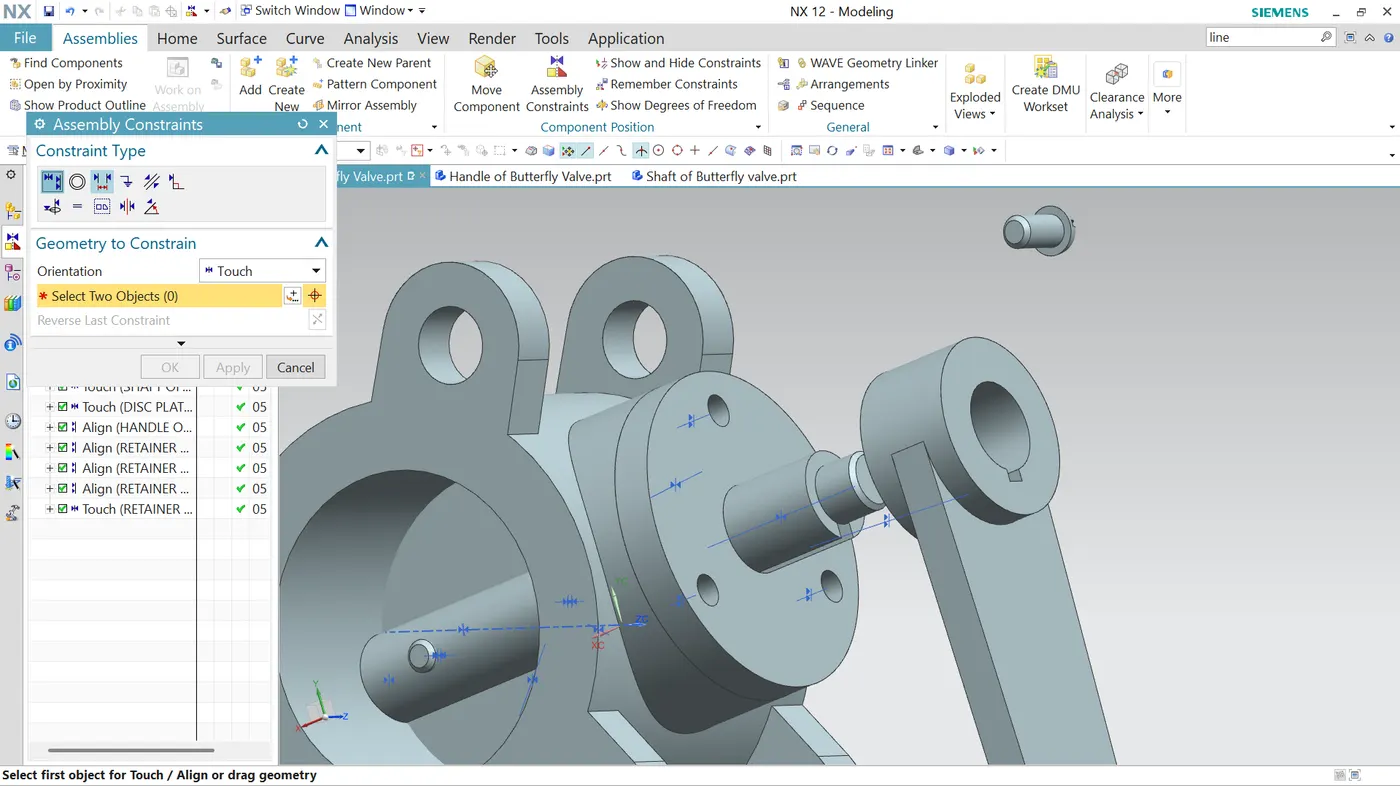
Now, attach the handle to the shaft:
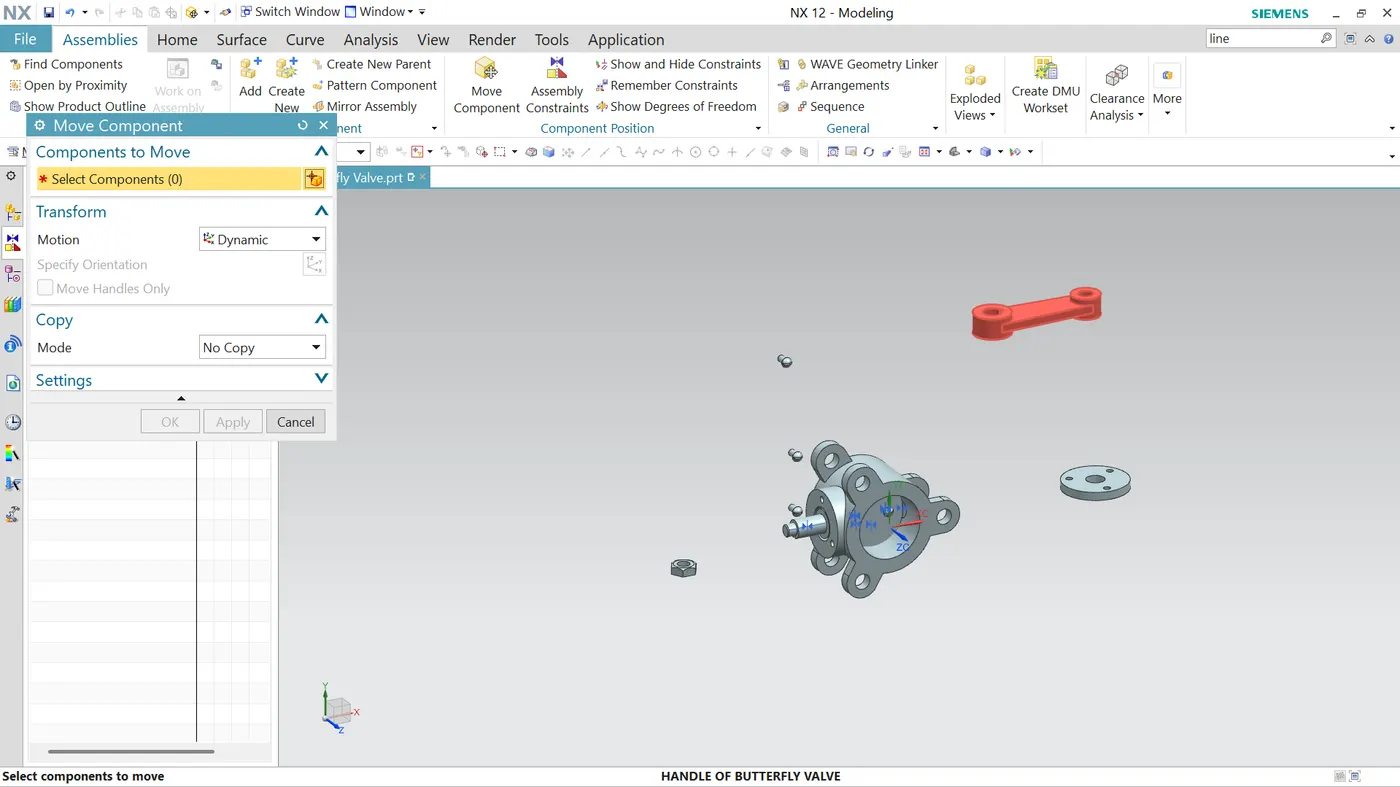
Now we bring them closer and then align the key areas of both parts together:
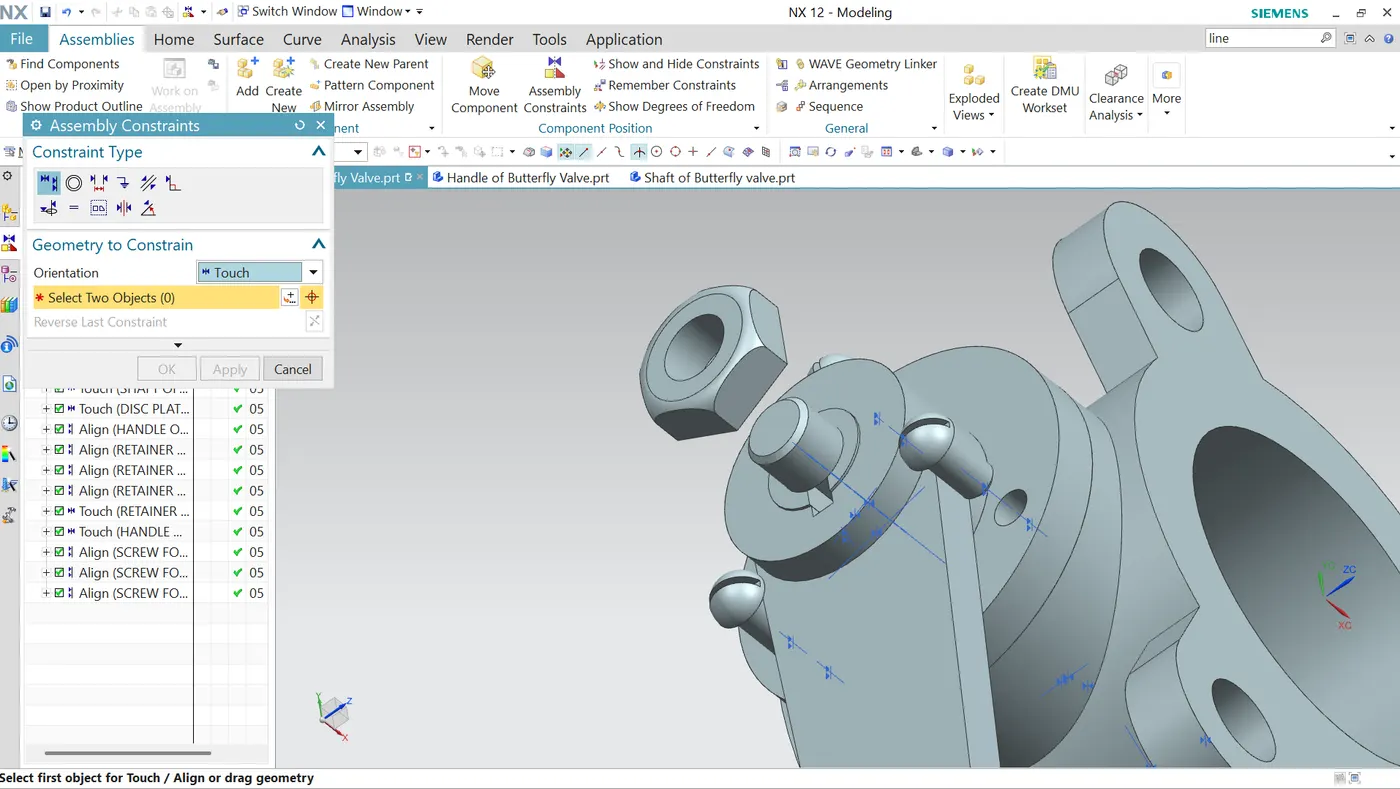
Now we assemble the remaining screws that we have created copy of to the retainer:
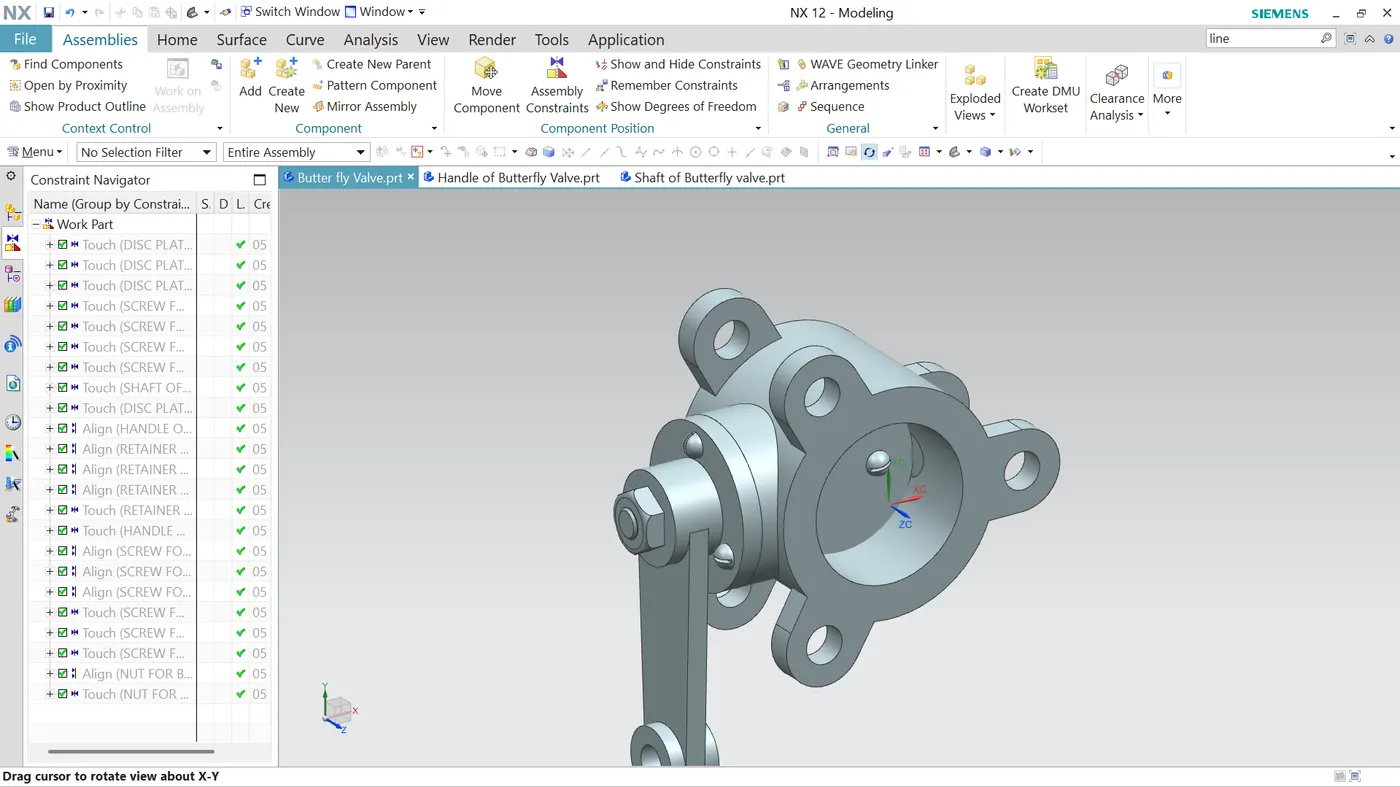
Now our assembly is ready, which will look like this:
Finally, our assembly is ready. Now, we apply the GD&T to the assembly:
Creating the datum target areas and then proving flatness to them:
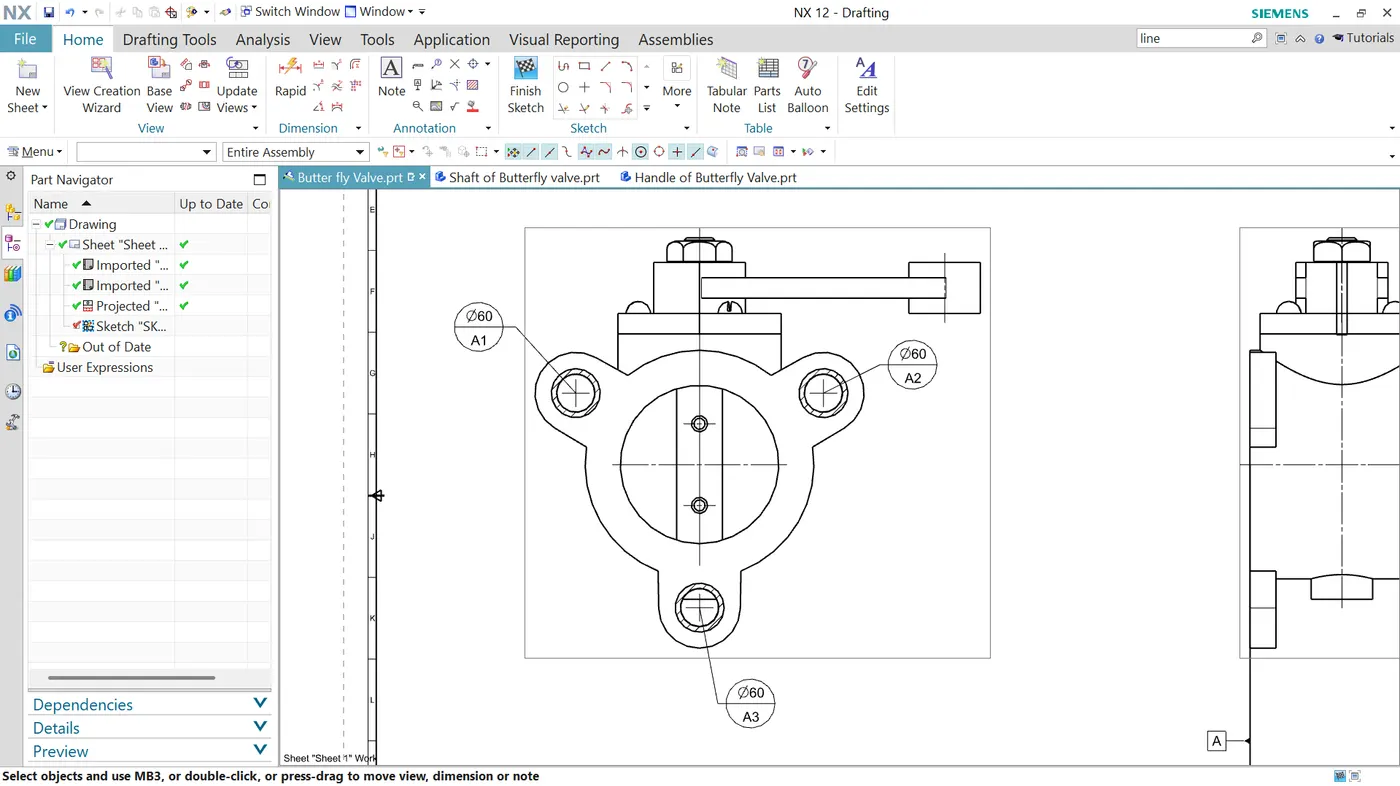
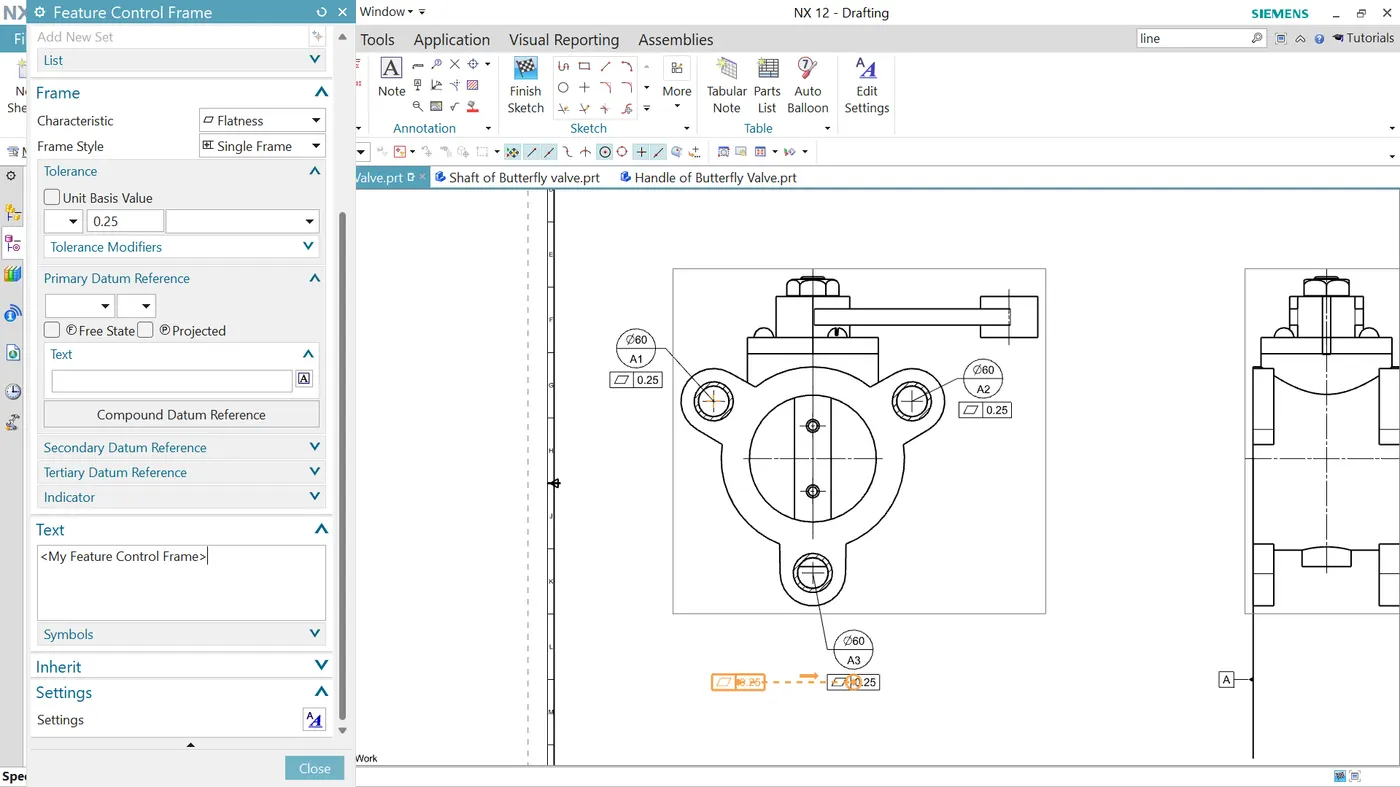
Providing position tolerance to the opposite side ears of the datum A with respect to their opposite datums
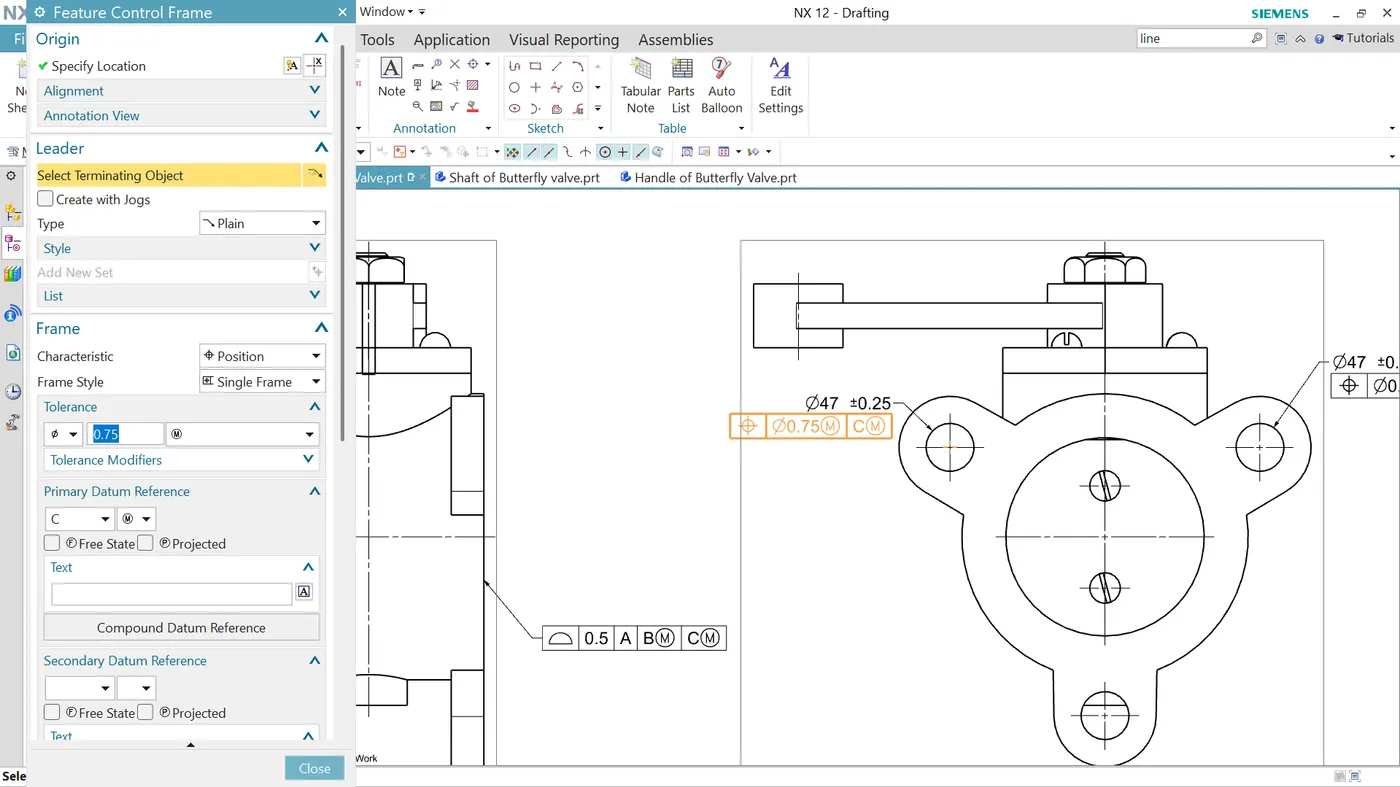
Applying profile tolerance to the surface shown below with respect to the datums A, B, and C
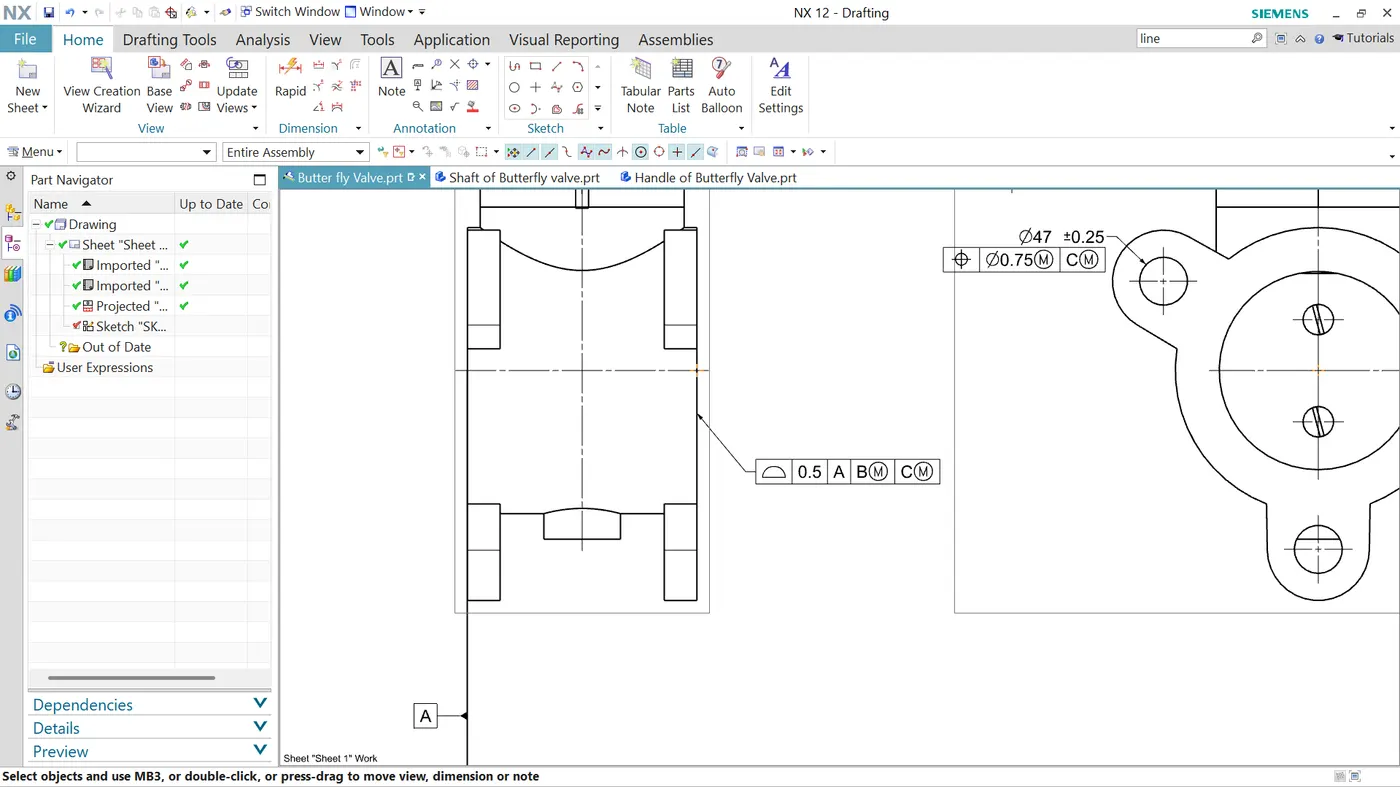
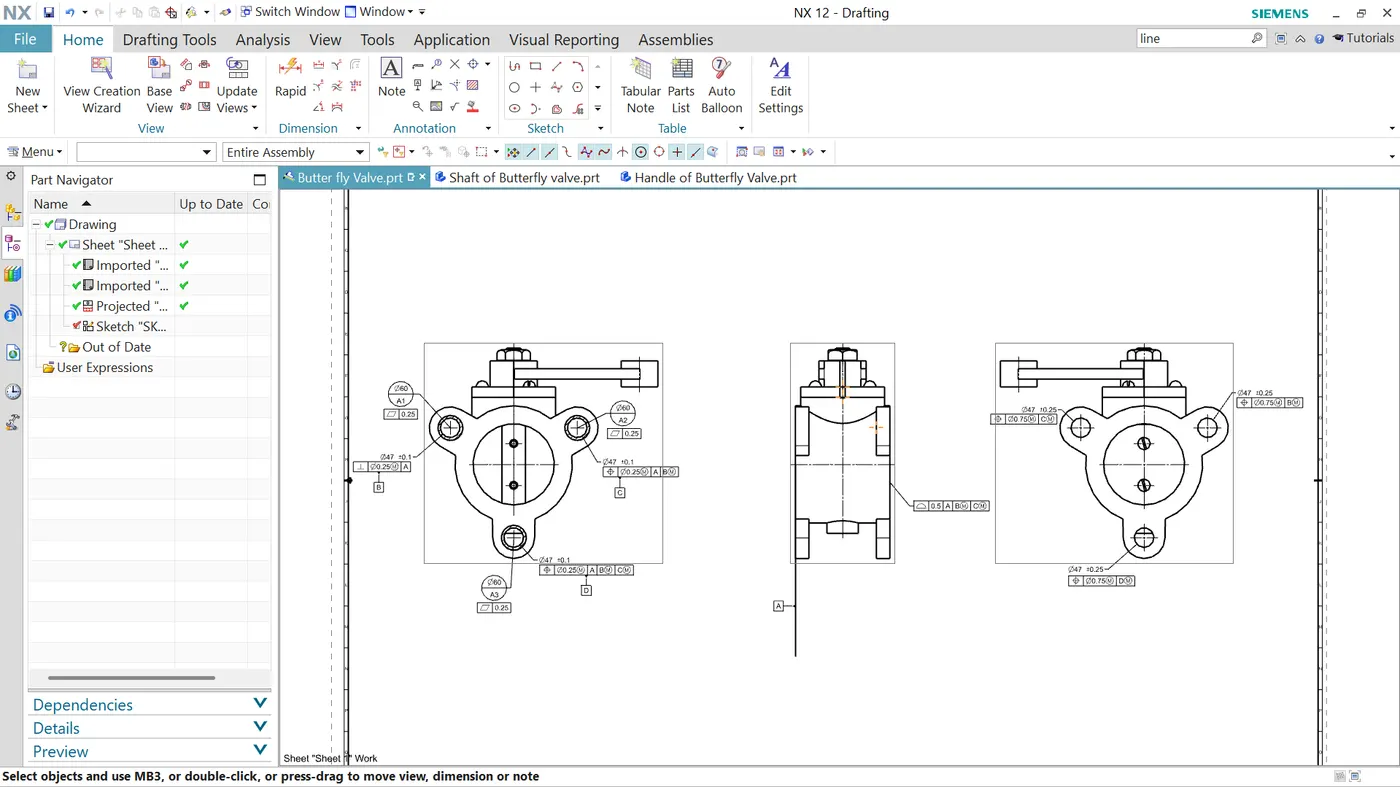
The final drawing will look like this.