Week 12:Project 2-Meshing of Rear Wheel Holder challenge
Aim:
To mesh the given rear wheel holder geometry of a car with the following given quality criteria and assign thickness.
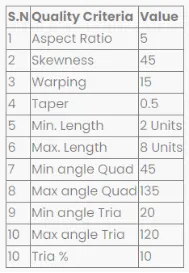
Procedure:
- Hypermesh is opened in Optistruct solver mode.
- The given rear wheel holder geometry is imported in Hyperworks using Import Solver deck
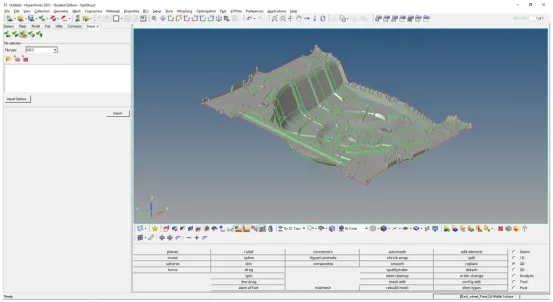
Figure 1 - Given hood model
- Midsurface generation
- The mid surface for the model is performed using “skin offset” method for extraction. The steps for mid surface extraction is as follows:
- Geometry --> Midsurface --> Select extraction option as “skin offset” --> in the auto extraction window, select the surfaces --> Extract
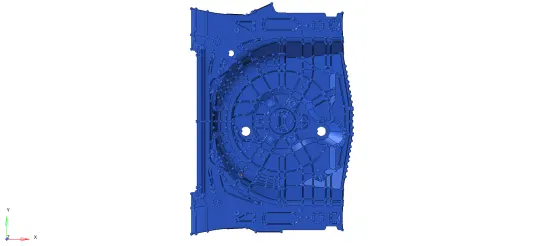
Figure 2 - Midsurface
- Geometry --> Midsurface --> Select extraction option as “skin offset” --> in the auto extraction window, select the surfaces --> Extract
- The mid surface for the model is performed using “skin offset” method for extraction. The steps for mid surface extraction is as follows:
- Assign quality criteria
- Select Preferences --> Criteria file settings --> Enter the quality criteria --> Apply --> OK
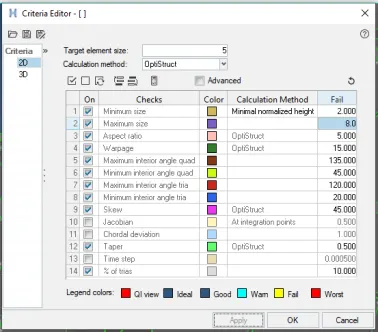
Figure 3 - Criteria editor
-
Select Preferences --> Parameter file settings --> Enter the target element size --> Apply --> OK
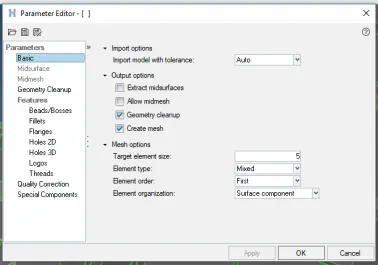
Figure 4 - Parameter editor
- Select Preferences --> Criteria file settings --> Enter the quality criteria --> Apply --> OK
- Geometry cleanup:
- Select Geometry --> Autocleanup --> select Surfaces --> Enter target elem size parameters as “5” in parameters --> Enter the given quality criteria in criteria --> select Autocleanup
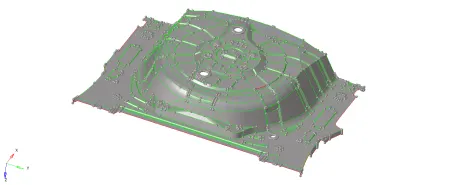
Figure 5 - Geometry after cleanup
- Select Geometry --> Autocleanup --> select Surfaces --> Enter target elem size parameters as “5” in parameters --> Enter the given quality criteria in criteria --> select Autocleanup
- Meshing:
- Select 2D --> Automesh --> Enter element size as 5 --> Mesh type as mixed--> select the surfaces to mesh --> Select mesh
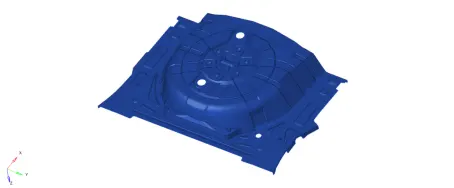
Figure 6 - Meshed geometry
By left or right clicking on the number on each edge of the model, the number of mesh points can be increased and decreased to achieve better mesh.
-
Next, it is checked if the mesh generated passes the quality criteria. This is checked in the “quality index” option in 2D Tab. This is done as follows:
-
The quality parameters entered during autocleanup is present in this option too. By toggling the “fail” option in display threshold, the failed elements are visualized

Figure 7 - Quality index toolbox
-
The elements are cleaned up by using one of the options in the cleanup tools. The tools available are
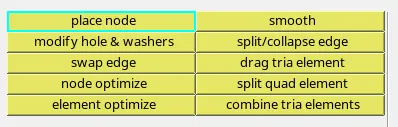
Figure 8 - Cleanup tools
-
-
- Select 2D --> Automesh --> Enter element size as 5 --> Mesh type as mixed--> select the surfaces to mesh --> Select mesh
-
Create property & assign thickness:
-
Model tab --> Right click --> Create --> Property --> Enter suitable name for the property --> Enter the shell thickness
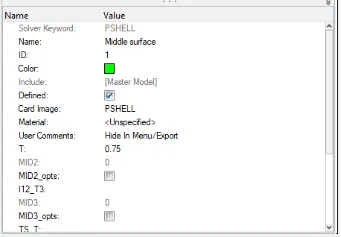
Figure 9 - Creating shell property and thickness
-
Create component for the mid surface using following steps:
-
Model tab --> Right click --> Create --> Components --> Enter suitable name for the component
-
-
In the Prop_Id section in the component card, the appropriate property is selected and they are linked
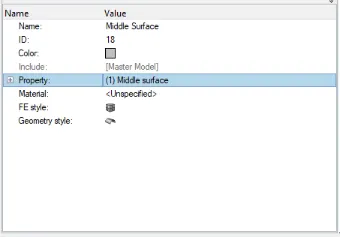
Figure 10 - Link component and property
Next, it is checked for quality criteria failures in the qualityindex option.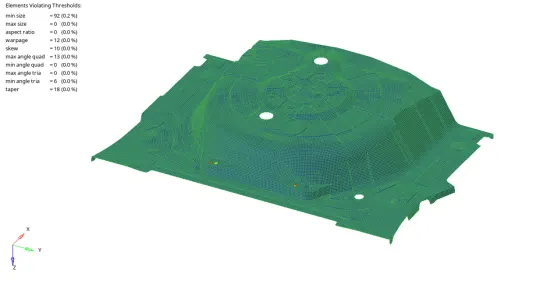
Figure 11 - Check mesh for given quality criteria
The model still has some failed elements which cannot be cleared. Even, when attempted to clear, it can cause improper feature capturing. So, these elements were left as such.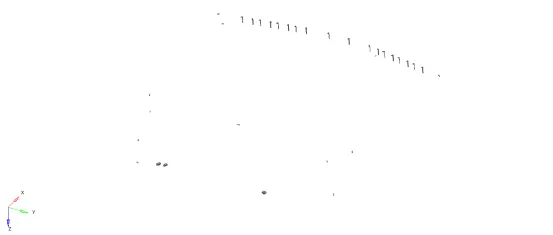
Figure 12 - Elements that failed quality index
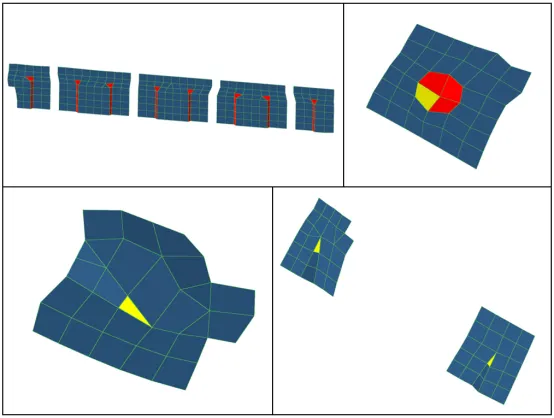
Figure 13 - Elements that fail quality index
The model can be toggled to detailed representation by using the 1D & 2D Detailed Element Representation.
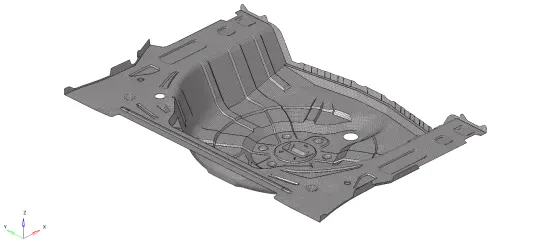
Figure 14 - Detailed representation view of the mesh model
-
Learning Outcomes:
- Auto Mid surface creation
- Meshing of components using automesh
- Correcting the components that fail for the given quality criteria using cleanup tools
- Assign properties in the model corresponding to its model thickness
Conclusion:
The given reat wheel holder geometry of a car with the following given quality criteria is meshed and thickness assigned.