Week 12:Project 2-Meshing of Rear Wheel Holder challenge
OBJECTIVE :
● Import the CAD geometry of door inner panel
● Clean up the geometry until no topological error is found
● Extract Mid-Surface for the geometry
● Meshing according to given quality criteria
● Improving mesh flow without any quality issues
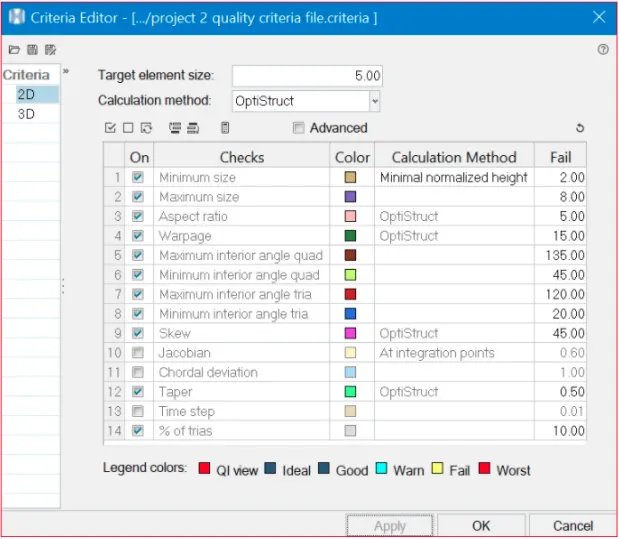
Quality Criteria Used:
PROCEDURE:
1. Import Geometry
● Go to FiIe »Import »Model/Geometry
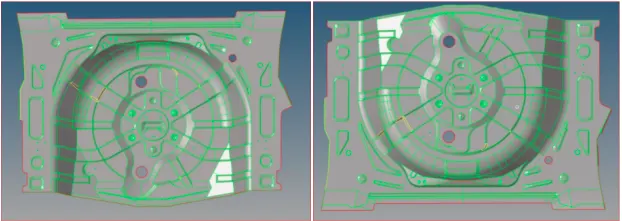
Imported CAD Geometry
2. Checking parent geometry:
● Scan the entire geometry. You need to rotate and check the hole surfaces of the geometry.
● Under visualization options we can see there are four types of edges which are
1) Red color for free edge
2) Green for shared edge
3) Blue for suppressed edge
4) Yellow for non-manifold(t-joints)
● We can also adjust the level of solid transparency in the visualization options
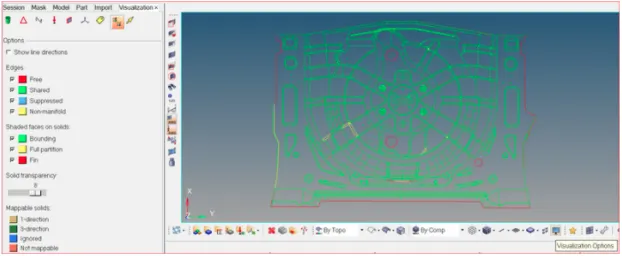
Visualization in wireframe mode
3. Framing Strategy or Preprocessing
● Finding symmetric surfaces is important because it saves a lot of time and effort
● If we have symmetric surfaces, we can do geometry clean up and mesh one set of surfaces and easily reflect the mesh on to the other set of surfaces
● This strategy saves us tot of time and we can also obtain better mesh flow as well
● Sometimes It is difficult for us to identify whether the geometry is symmetric or not by looking at it directly.
● At that moment we can use the find symmetric surfaces option. Go to geometry >> defeature »symmetry option
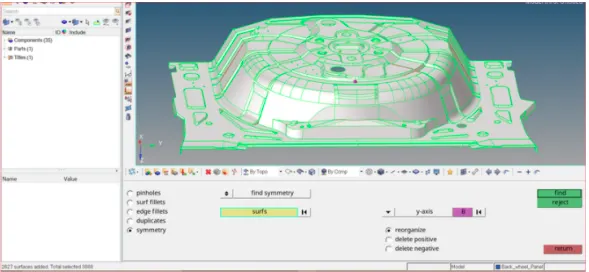
Finding symmetric surfaces
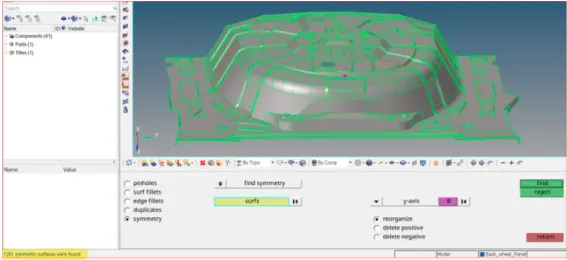
1261 symmetric surfaces found
4. Deleting duplicate surfaces
● Sometimes we can visually detect duplicates, there will be a glitch on the surface indicating that It is a duplicate surface.
● We can also check for duplicates from the defeat panel.
● Go to geometry » def >> Duplicates »Surfaces (Displayed) >> Clean-up Tot = 0.01 (Default) > Find > Delete o Delete all the duplicate surfaces.
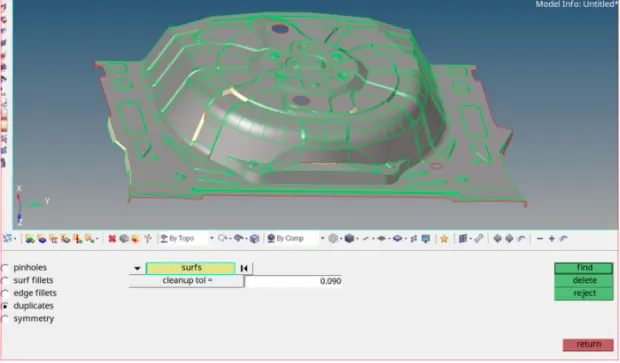
Finding Duplicate surfaces
5. Organizing
● This tool helps us to organize surfaces elements connectors etc
● Here I have moved all the surfaces into one component
● Make sure to check the destination component before organizing
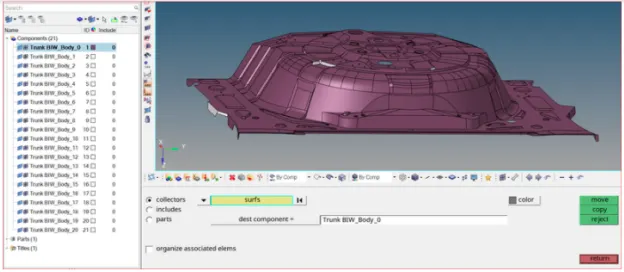
Surfaces are organized badly
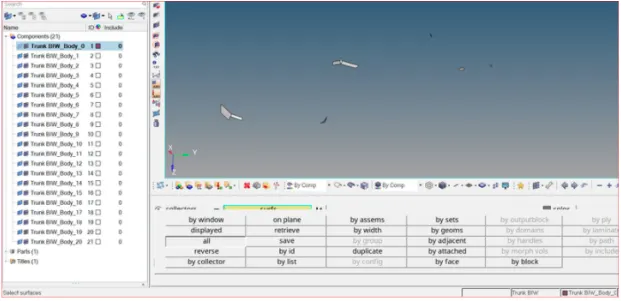
Isolated different surfaces for organizing
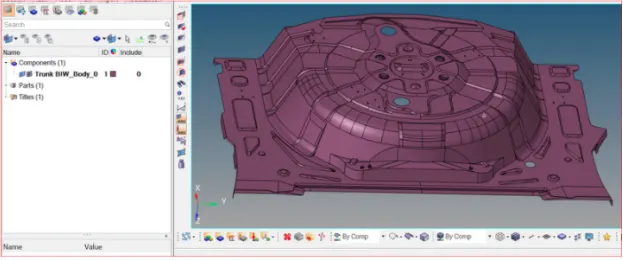
All surfaces are organised into one component
6. Mid-Surface Generation
● First we need to generate mid-surface
● Here the surface which was given to me consists of a single layer. Therefore the parent geometry will act as a mid surface
● If the geometry has some thickness we can generate mid surface using Geometry mid surface option
● We can use different extraction options depending on the type of geometry
● Select the required surfaces and click extract
● Sometimes it is difficult to extract mid surface manually to complex surfaces. Then we need to manually offset each surface and stitch all the individual surfaces to one mid surface.
7. Geometry dean-up
● As the mid surface is done We need to do geometry clean-up for mid-surface
● Geometry clean-up or Topology repo, consists of correcting connecholy errors between adjacent surfaces The errors Include unconnected adjacent surfaces duplicate surfaces missing surfaces
● The goal of topology clean-up is to restore the surface data to a perfectly clean representation of the part
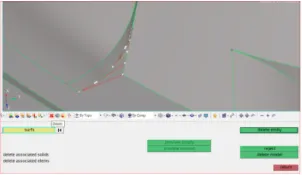
Deleting defected surfaces
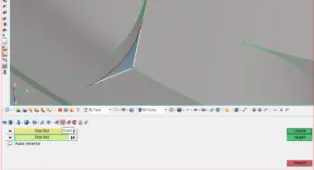
Creating new surface using Ruled option
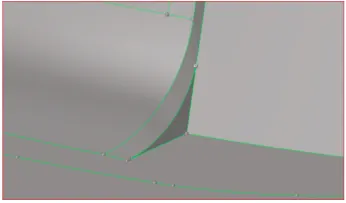
New surface created
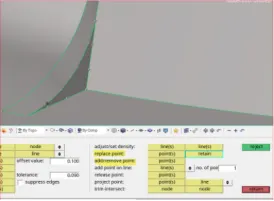
Creating and Replacing points
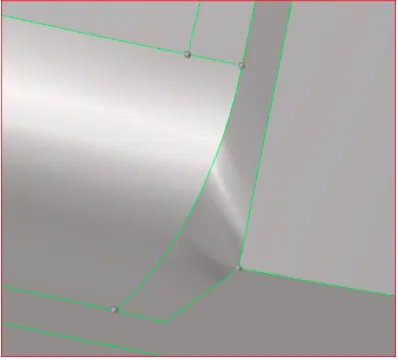
Sharp edges successfully removed
● You can see the above surface is created below has sharp edges The elements in this area will fail for minimum length error
● Therefore I will create points on either side and paste the surfaces in order to reduce minimum length errors
● Similarly remove all the other sharp edges and toggle small surfaces which will cause minimum length error
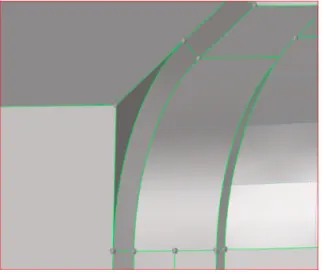
Sharp edge
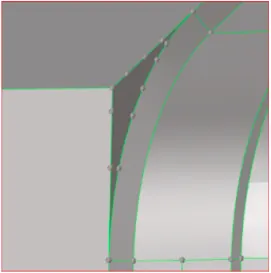
Creating Points
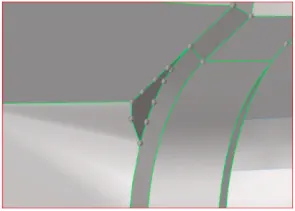
Replacing Points
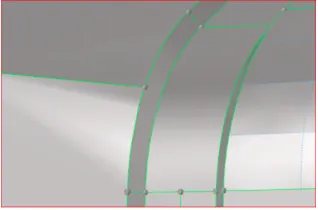
Sharp edge removed
● Toggle all the right tries. Geometry clean-up should be done in such a way that the mesh flow later should be smooth with a low tria count
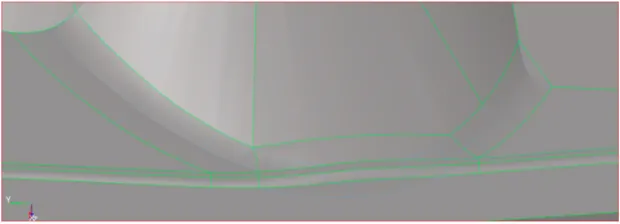
Geometry clean up
● Remove the buttons which are shown below because it will be difficult to capture that area as well mesh flow will not be proper.
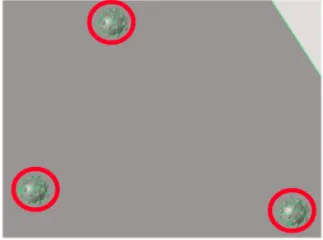
Buttons

Buttons Deleted
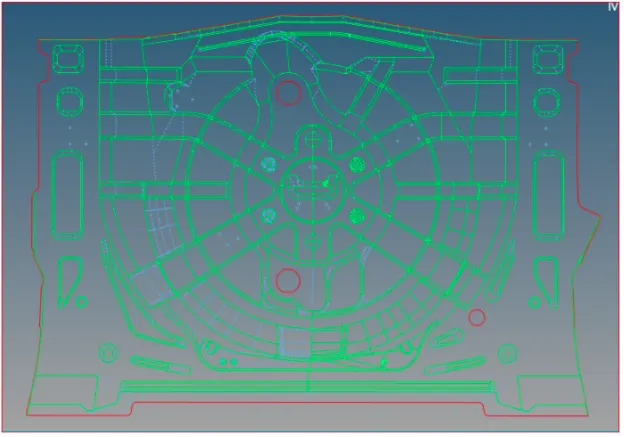
Geometry clean up done
● Geometry clean-up is done. can see that most of the surfaces on one side of the model are cleaned. this Is because we have symmetric surfaces
● I am going to mesh the cleaned surfaces first and then reflect the mesh on to the other side
8. MESHING AND IMPROVEMENT OF THE MESH
● Now mesh each surface separately to achieve better mesh
● 1st we need to input quality parameters Go to »Preferences gg Cntena file settings and enter the values or Import criteria file
● I have used the 'Mixed option to generate the mesh for this challenge because we are preparing the model for crash & safely simulations The quad-only mesh is preferred for durability and structural simulations
● We can also divide the retrons manually to achieve better mesh flow. Trios will be there in some areas. but the should be in the direction of mesh flow
● Meshing without geometry clean-up lead to bad mesh flow
● Therefore, I have divided the regions in a way that the mesh flow volt be good Usually this is done while doing geometry dean up on the mid surface
● You can see In the picture below that we got a better mesh after splitting the surfaces Follow this strategy for the entre geometry while meshing
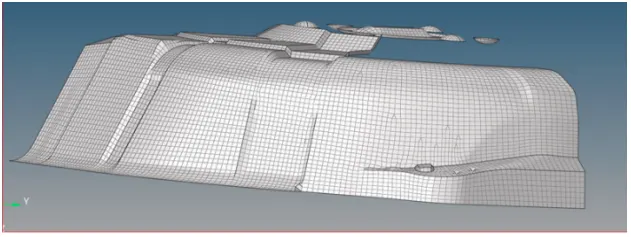
Perfect mesh flow as a result of good geometry clean up
9.Positioning Mesh
● We have the same features on both sides of the model. Therefore, we can mesh one feature and transfer that same mesh to the other feature using Tools >>Position option
● Select the elements along with the nodes of one feature and select nodes of other features where the mesh has to be transformed. Don't forget to duplicate elements before positioning.
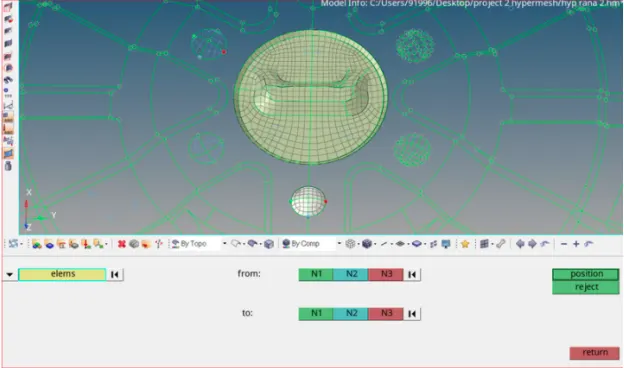
Position mesh to same feature
10. Reflecting mesh
● I have meshed one set of surfaces which are symmetric. Now we can use Tools >> reflect option to transform the mesh on the other side.
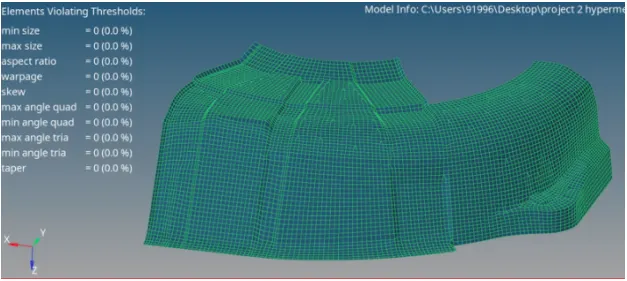
Checking mesh flow before reflection
● Only do reflection after clearing all the errors and removing all the opposite trios and rotating quads Always remember to duplicate the elements before reflection
● Selection the desired axis and base node for reflection Select base node in the center line of reflection
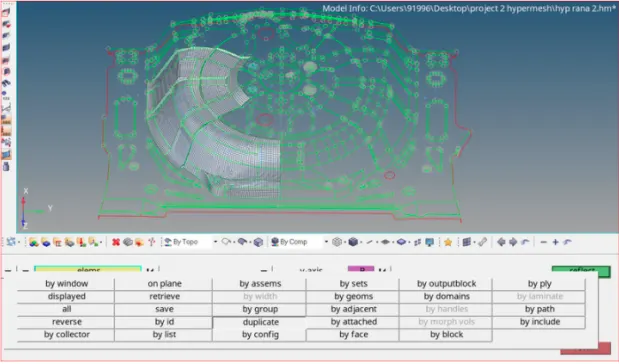
Selecting and Duplicating elements for reflection
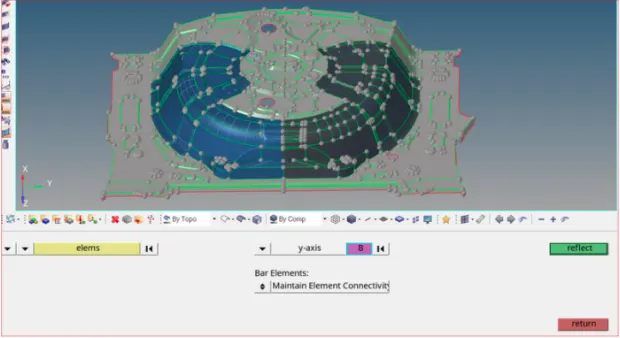
Elements not connected in the middle
11. Equivalence
● After meshing the whole geometry llse tools a> edges option to check whether there are any free edges in-between the elements
● Clear all the free edges using equantence
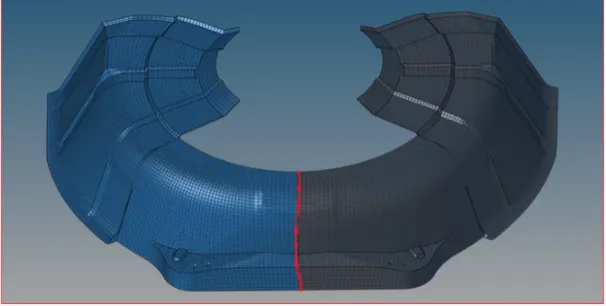
Elements not connected in the middle
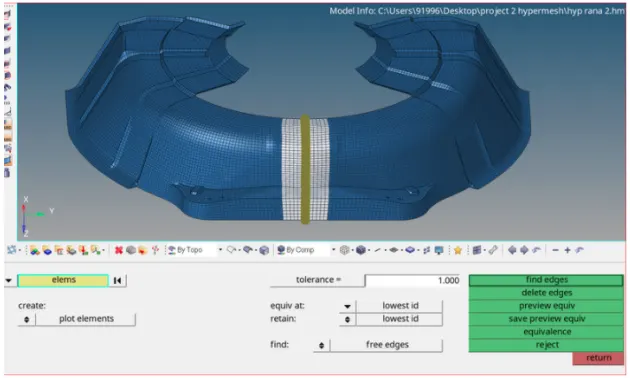
Connecting elements using equivalence
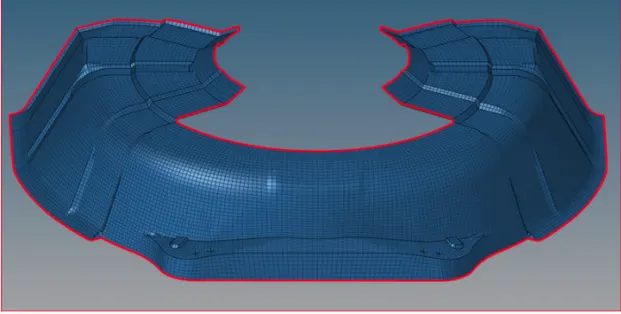
Equivalence done successfully
● Similarly mesh all the other surfaces and features and connect the mesh
● The connecting mesh will give us better load transformation white the simulation
● There Will be no use of the mesh if you do not connect them properly
● Connecting mesh is nothing but slashing 2 meshes has will affect mesh flow
● We need to ether smooth the mesh or align the nodes after connecting
● You can see in the picture below that I have connected the mesh perfectly without any edges in the middle
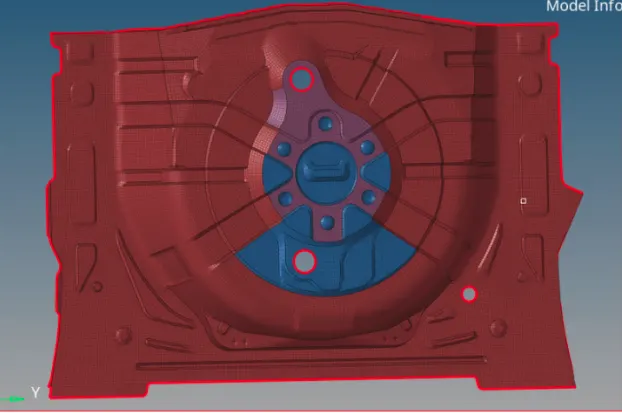
Mesh is connected perfectly without any free edges
● Since there are no unnecessary free edges we can proceed forward
12 Clean Up tools for clearing off elements and to achieve better mesh flow
● Use 2D>>Quality index tool >> Clean up tools (Smooth,drag tri elements, Element optimize, combine tria element Split quad element. Place node) to eliminate all off elements
● Smooth this option helps us to achieve better mesh flow. After clearing off elements, we usually use smooth in that area
● Drag Tria Element we can drag any Ma element out of the geometry easily The option helps us to remove trim easily
● Split Quad Element Splits one quad into two tom We use this to reduce rotating quads
● Combine Pm Elements Combines two Ma dements into one Quad element Miss In Reducing Ma percentage
● Element Optimize Smooths the quality by adjusting the neighboring deco,. Helps in Clearing elements for quality
● Place Node The option allows us to manually change the position of a single node Helps us to clear off elements
● We can use all the above options or if u want to remove quality issues automatically, use 2D >>Element clean-up option
● Have used all the clean up tools as these will give us better results than the etem ent clean-up opt on
● Mesh flow is good and all the trios are moving in same direction (no opposite trias)
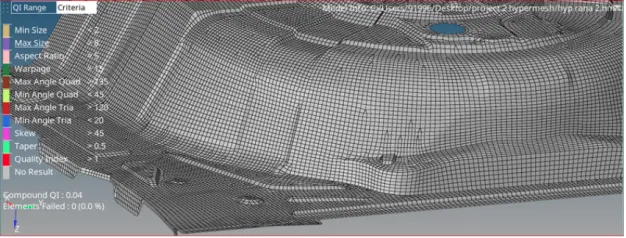
Checking Element Quality
Conclusion :
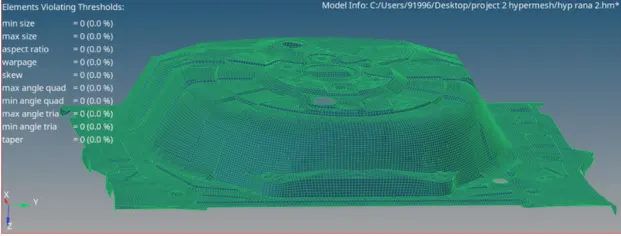
After completion there are no quality issues found in this rear door model Mesh flow is good. Trias percentage is 2.4