Week 12:Project-1-Meshing of Door Inner Panel Challenge
OBJECTIVES:
Target Element Length = 4mm
| Sl.No | Quality Criteria | Value |
| 1 | Aspect Rabe | 5 |
| 2 | Skewness | 45 |
| 3 | Warping | 15 |
| 4 | Taper | 0.5 |
| 5 | Min Length | 2mm |
| 6 | Max Length | 6mm |
| 7 | Min angle Quad | 45 |
| 8 | Max angle Quad | 135 |
| 9 | Min angle Tria | 20 |
| 10 | Max angle Tria | 120 |
| 11 | Tria % | 1O |
PROCEDURE:
● Import the side door geometry into hypermesh.
● Since the goNnety is complex when we generate auto-mdartace from georn — mdsurface — auto mdsurface. many surfaces fail.
● We have to divide the geometry into four halves by geom — surface edit—trim with surface / plane to separate the surface. reference to the node and plane.
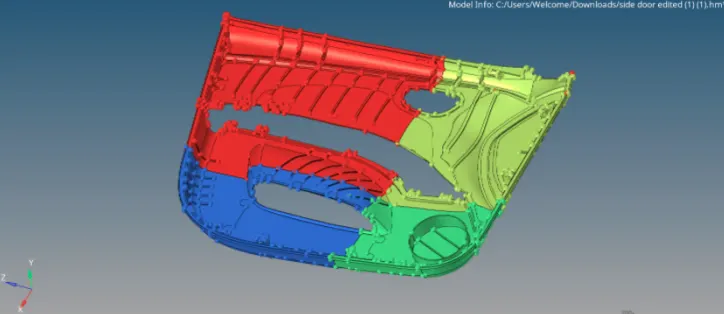
● Move the separated surface into different components by tool organize move make sure you have duplicated the surfaces.
● Then for the mid surface create a separate component and manual midsurface is done by geom surface edit offset to give the required direction value and make sure you have duplicated file surfaces.
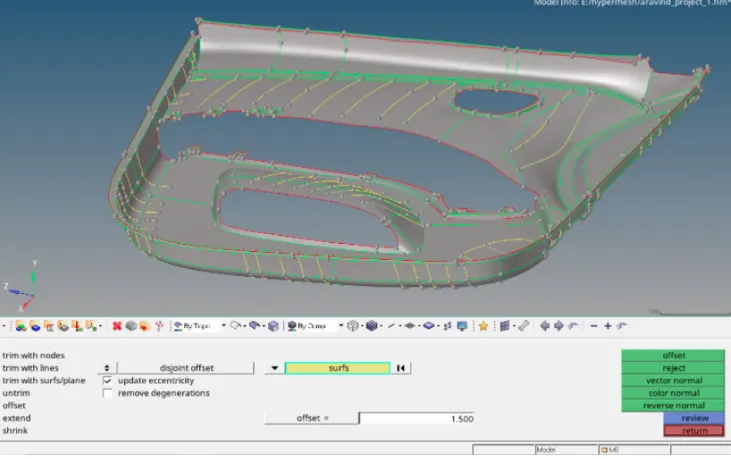
● To remove the fillets on the nips, go to geom defeature surf ace fillet surface .
● The nips mid surface is genera.d separately by worn midsurf ace final edit tool select two surfaces because rib have even thickness
● Then translate the mid surface of rib to the midartace of the side door by tool translate ● Then mesh surface by 2D automesh
● Then check the quality criteria by tool check elements 2D

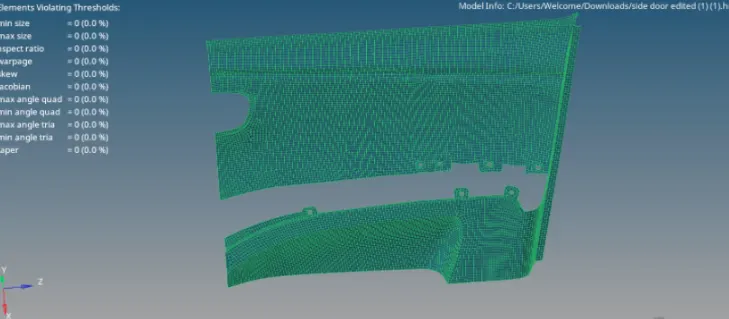
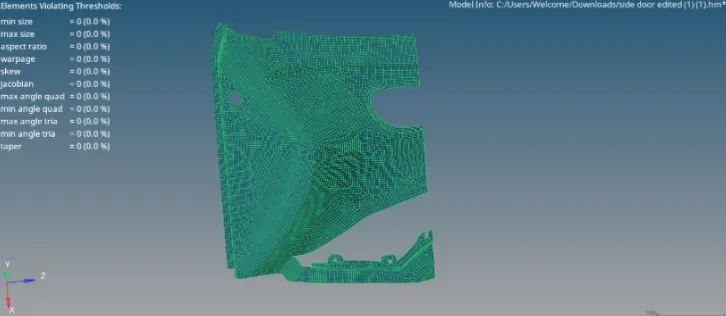
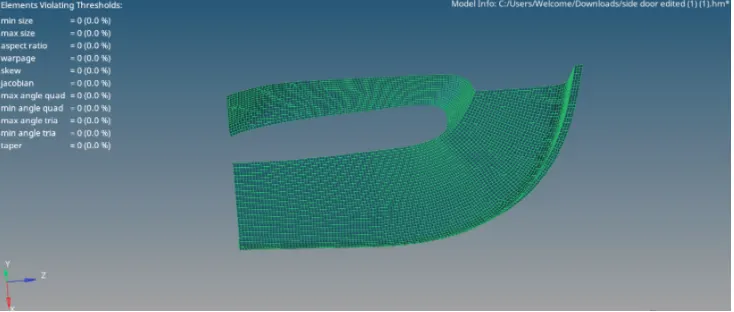
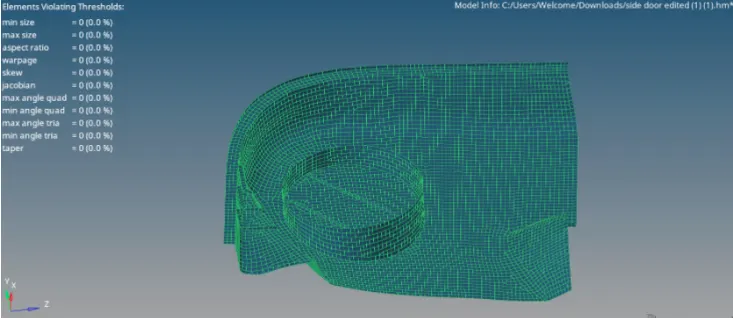
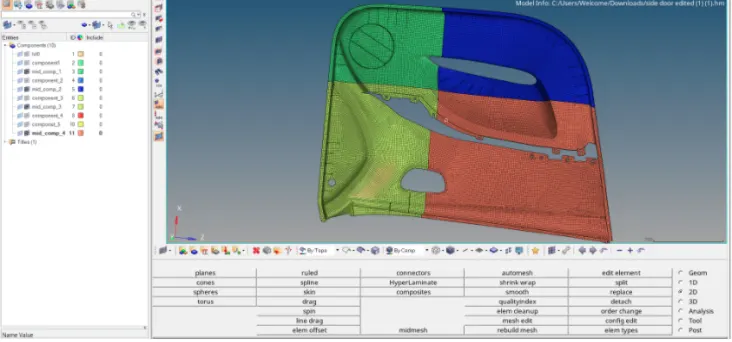
● Use the 2D replace option to connect the elements in different comp.
● Then toggle the edges between the surface of the comp geom quick edit toggle.
● Then create different comp and mcve the rnid surface and elements according to the thickness.
● Create property for different thickness and assign to the respective elements.
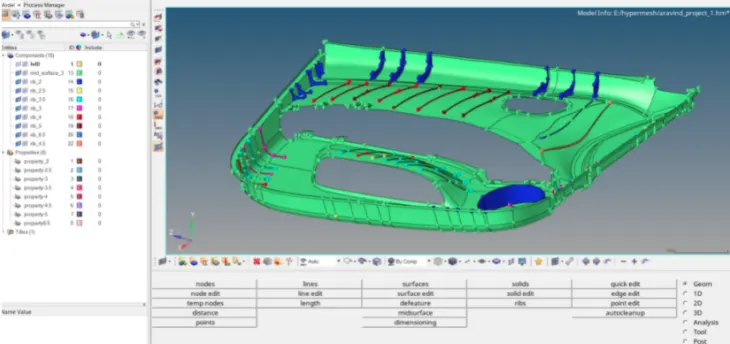
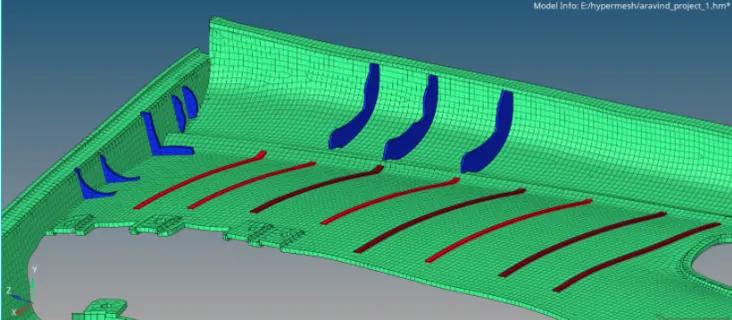
RESULT AND CONCLUSION:
Learned how to generate midsurface and assign thickness for complex plastic geometry in hypermesh.