Week 12:Project-1-Meshing of Door Inner Panel Challenge
AIM
To mesh the given plastic component under given quality criteria and assign thickness for it.
PROCEDURE
- The given component is imported as .stp file format and the component is viewed by topo mode.
- Create line for split components by using node to node or node to line option in quick edite panel.
- Split the given component into four by using trim with line option in the surface edit panel.
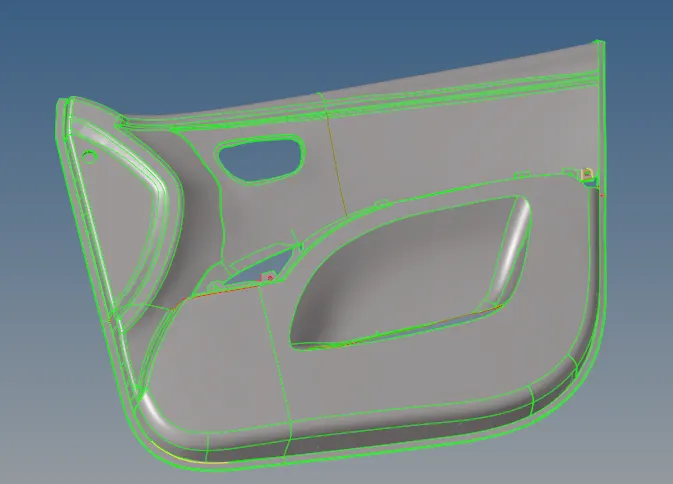
- Seperate four components in different collectors by using organize option in tools panel.
- The given component is checked for the uniformity in its thickness all over the geometry using
distance option. - Before extract midsurface defeature all fillets under 5mm.
- The component is extracted for midsurface using the manual midsurface method by using the offset
option in surface edit. The extracted midsurface is added in the new component section created and
named as manual midsurafce in this component. - After extracted midsurface the Ribs are not connected to the below surface.
- For connect use extend option in surface edit panel in that use extend to surface option.

- After that see the near by surface if there is any deflection in surface use extend by distance option and trim two surface and delete the extra surfaces.
- After the extraction of the midsurface, the geometry cleanup is carried out by manual cleanup
method using the toggle option in quick edit. On cleaning up the geometry the unwanted edges are
toggled and if any new edges are required they are created using the split-surface-node or split-
surface-line option. 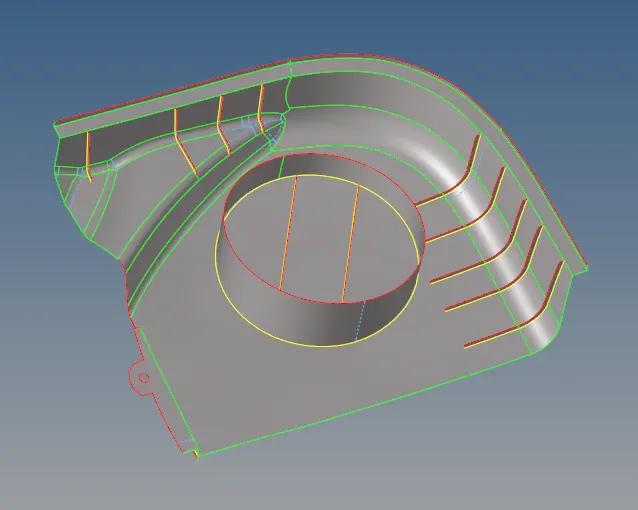
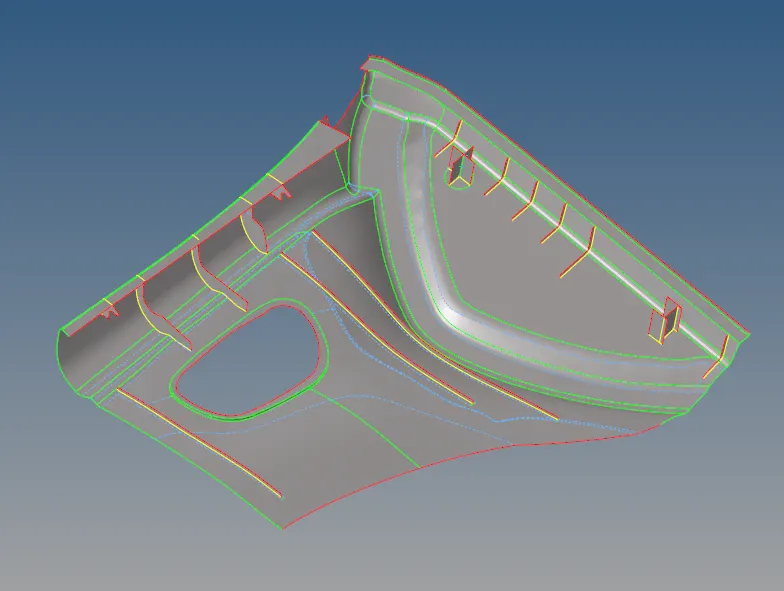
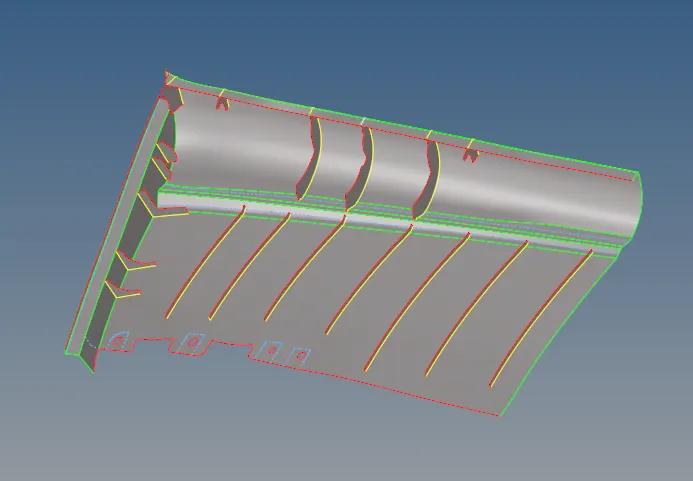
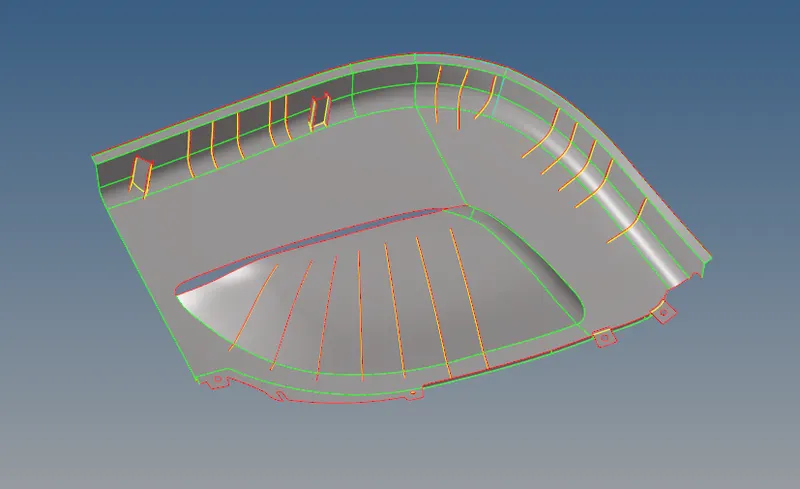
- Using the automesh option in the 2D panel, the given component is meshed under the given target
element size and the component is meshed following the quality criteria. - The above given qualiity criteria are given as input in the check elements option in the tools
section.On meshing the components are meshed with quads and trias and the mesh is made proper
by following various processes. - The mesh with the rotating quad elements are made proper by selecting the rotation quads along
with the nearby elements and remeshing them using the automesh option. 
- The elements are aligned in a line by aligning the nodes of the elements using the align node option
in node edit. 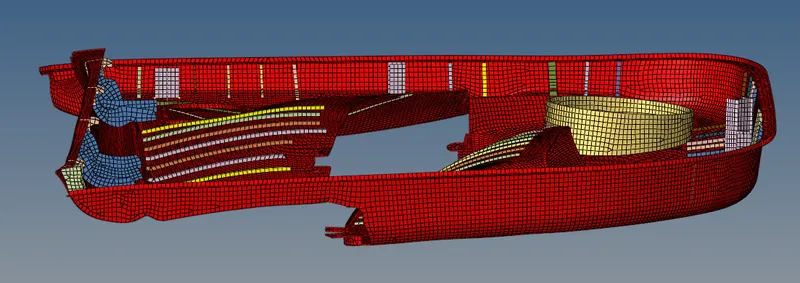
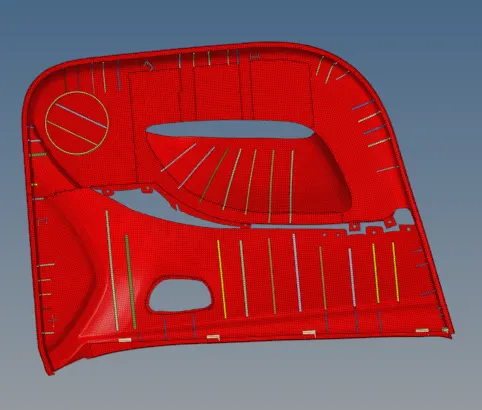
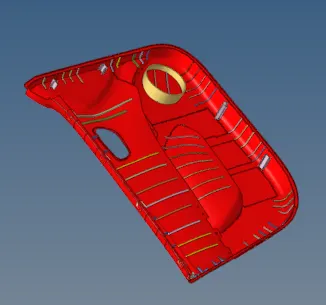
- The meshed elements are frequently checked for satisfying the quality criteria by using the check
elements option in which the warpage, skew, length etc are checked for failures in the elements. - The failed elements are then saved using the save failed option and are retrieved, masked and
reversed using the mask option to display only the failed elements. - Then the adjacent elements to the failed elements are unmasked using the unmask adjacent and the
optimizing process is carried out. - The failure of elements on quality criteria are made proper by various methods depending on the
element failure in the mesh. The various methods followed to remove the failed elements in the
mesh are - By using place node in qualiity index in which the node of an element can be moved to
optimize the element. - By using the element optimize option in quality index in which the element will be optimized
based on the given quality criteria. - By using the split & combine element in the edit element option in which a quad element
can either be splitted into two trias or vice-versa. - By using the smooth option in the 2D section, the elements can be selected and on
performing this option the selected are made smoother by aligning the elements in a proper
mesh flow with respect to the adjacent mesh flow. - In case of any failure, translate option can also be used to fix the nodes of the element and
the project option is used to place the misaligned nodes of the element over a surface
edge. 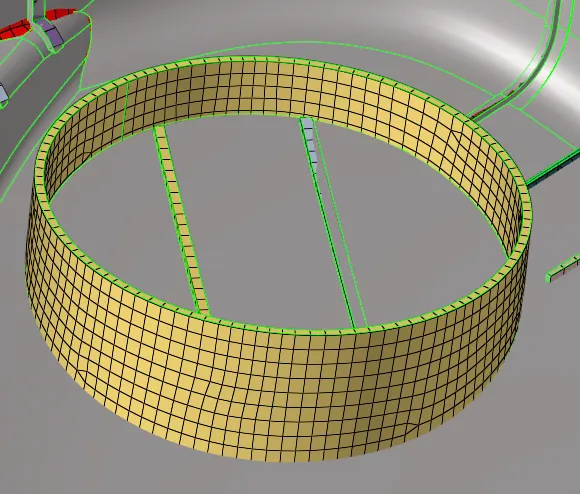
- In case of any 2 opposite trias are found in the mesh, the 2 trias are made closer by
using drag tria element in quality index and the trias are remeshed for removing them. - This process is done for all other component.
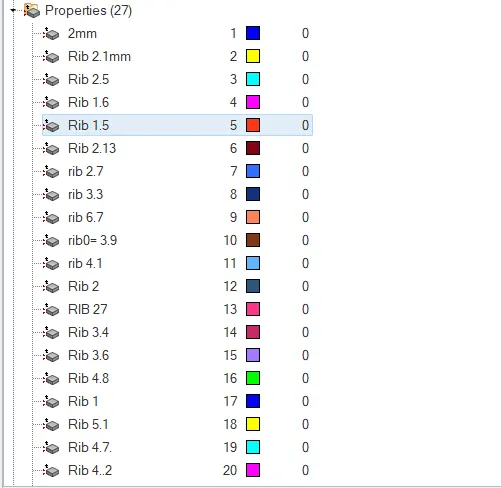
- After that assign thickness for all components by create property and assign to it.
- Use distance option and measure thickness and create new selector and move the mesh to it by using organize option in tool panel.
- And create property for that thickness and assign to that component.
- This process is done for all other components.
- And also create material as steel to all component by assign it.
CONCLUSION
Thus the given component is meshed completely under the given quality criteria and also by extracting midsurface manually and assign thickness for it.