Week 12:Project-1-Meshing of Door Inner Panel Challenge
Aim :- To midsurface given model along with proper mesh with better mesh flow within given quality criteria.
Procedure :-
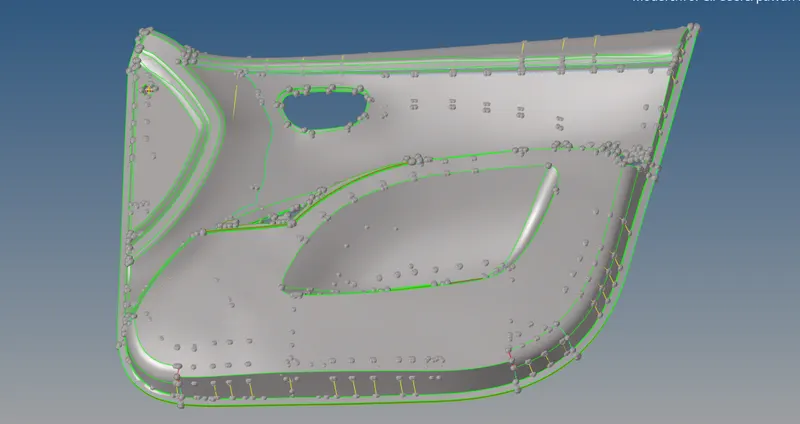
- We have to import given .IGES file to hypermesh GUI. Then we have to observe given model in Topo mode so that we can easily find any breake in given geometry.
- If their is any breake in given geometry then we have to toggle given edges to each other by using (Geometry - Quick edit - Toggle edge - Select the length).
- After clearing all the geometrical damage we will go for midsurface extraction, As given 80% model is of uniform thickness so we can use manual extraction method to extract midsurface.
- As given component has no. of different features in it so we can extract midsurface seperately.
- Initially we will focus on base part which is of thickness 2.8mm, To extract this we will go for offset method by using (Geometry - Surface edit - Offset method - Select the surface - Fill the offset value - make the duplicate surface).
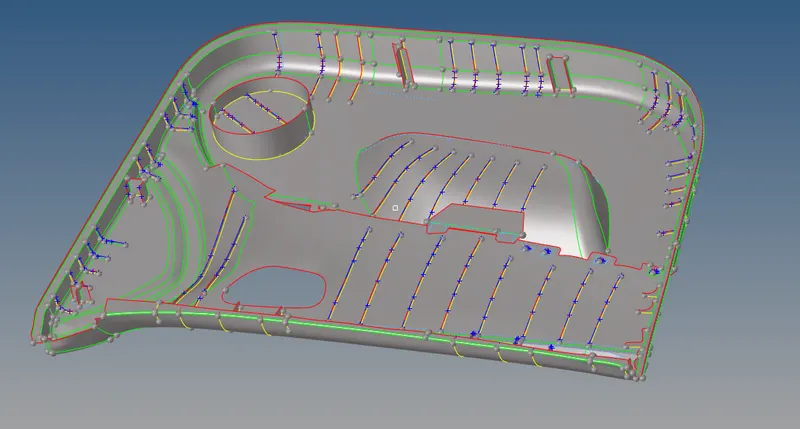
- Before going for manual offset method for midsurface we have to create new collector so that we will store all the midsurfaced part in it.
- After completing the midsurface of base part we will go for features to extract the midsurface as follows:
1) Dog house :-
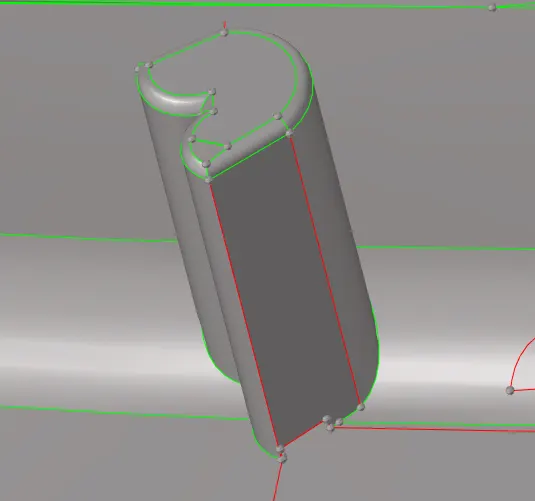
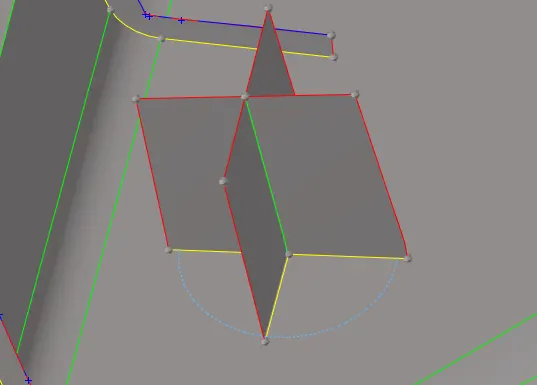
- To midsurface dog house portion we have represent it as cross section or c-section so we have to create surfaces by using ruled option (Geometry - Surface - Ruled - Select the lines).
- After creating the cross or c-section we have to extend that portion to base by using (Geometry - Surface edit - Extend - Select the surfaces).
2) Ribs :-
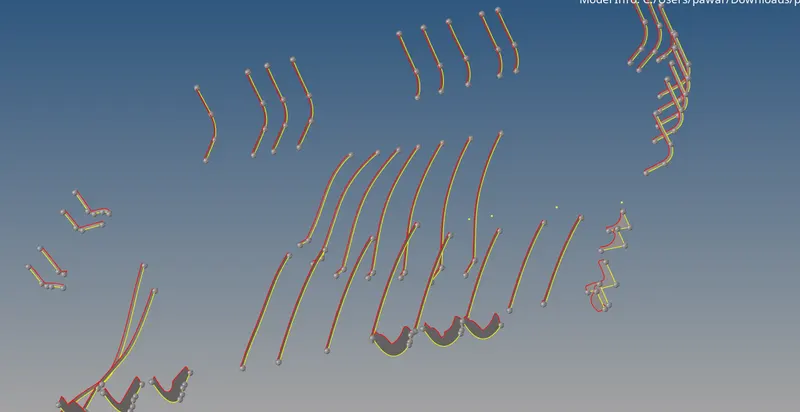
- To midsurface the ribs we have to use middle line option as (Geometry - Lines - Midlines - select the lines)
- Now we have to create the surface between two line by using ruled option as (Geometry - Surface - Ruled option - select the lines).
3) Connectors :-
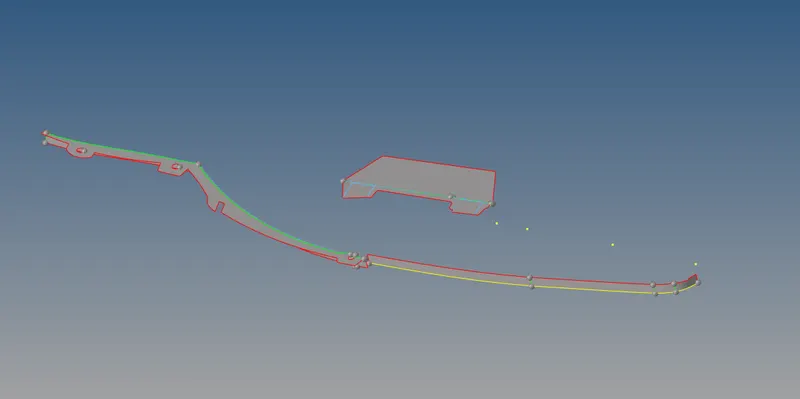
- As in this challenge we are only focus on midsurface and meshing so we will remove some connector part from the geometry and directly project the geometry to base by using trim option as (Geometry - Surface edit - Trim with surface - Select the surface).
- Now after completing the midsurface we will go for meshing by using (2d - Auto mesh - Select the mesh size - Select the mesh type - select the surface). We have to mesh the geometry step by step without meshing whole geometry directly.
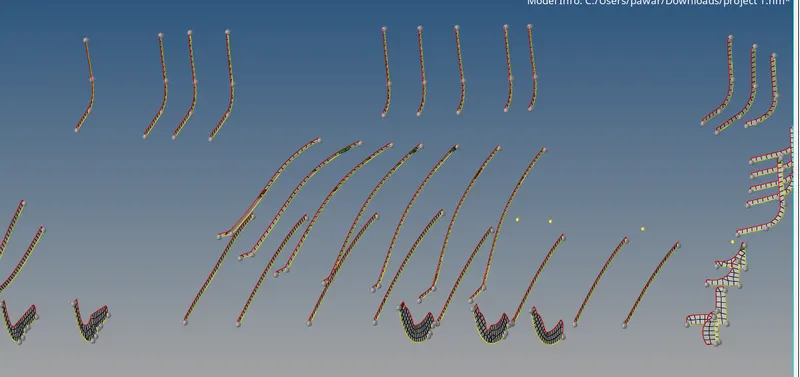
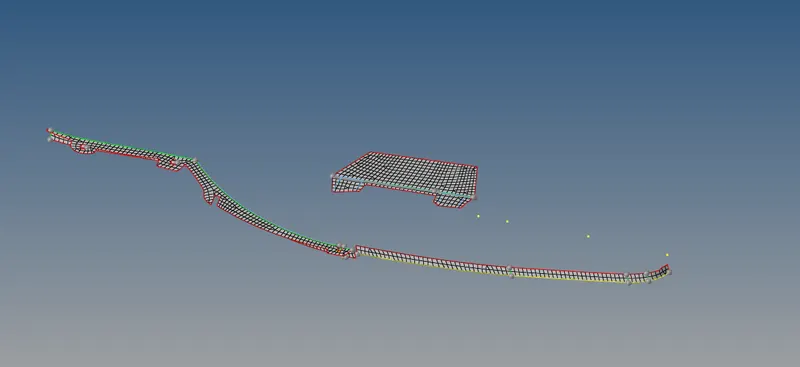
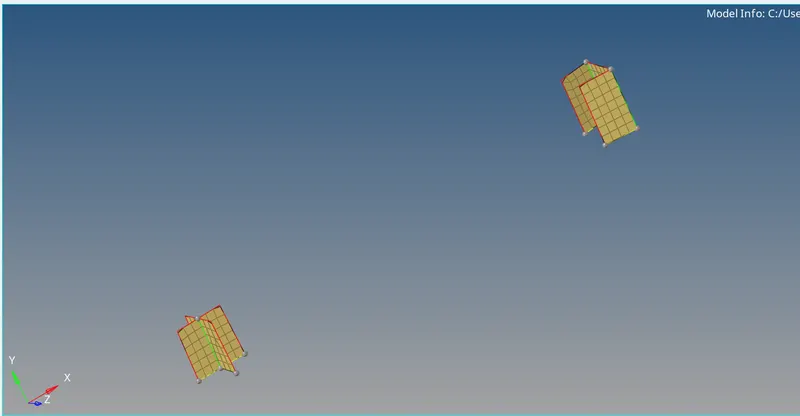
- We have to assign quality criteria file to the model by using (Prefernces - Criteria file - Fill all the values required).
- Now to check whether mesh elements failed withhin given quality criteria or not we will go for Element quality check option.
- We have to remove all the failed elements by using clean up tools like element optimization, Drag tria, Split the edge, etc.
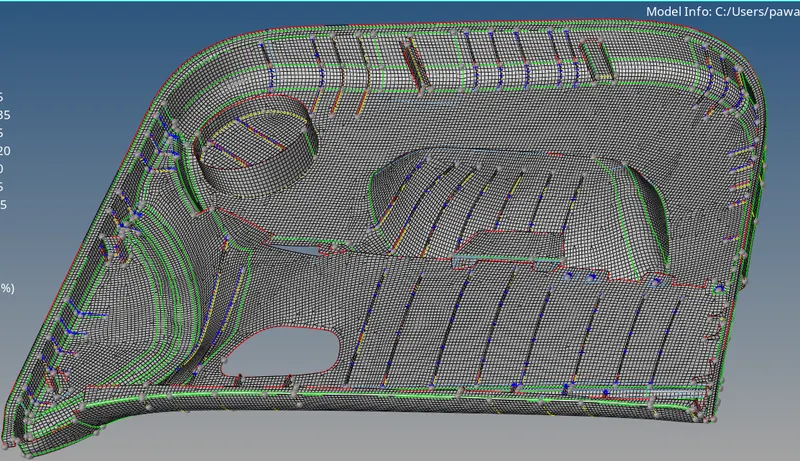
- After completing the mesh of whole model, we will make proper mesh flow throughout the model.
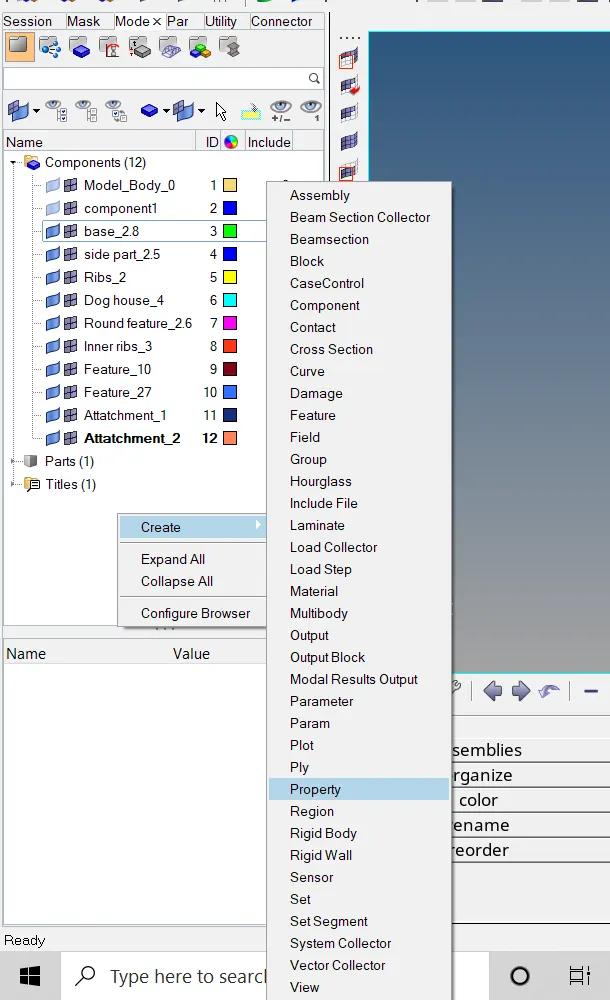
- Now we have to create property and assign the property to the components. As different parts have different thickness so we have to assign them seperately as per their thickness.
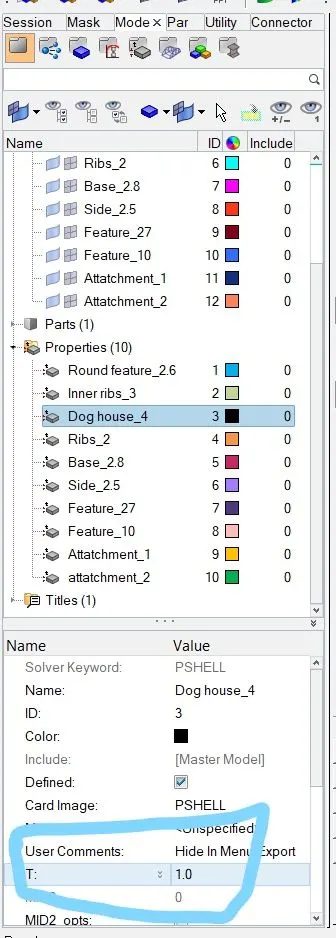
- In this way we have done midsurfacing and meshing within quality criteria and with proper mesh flow.
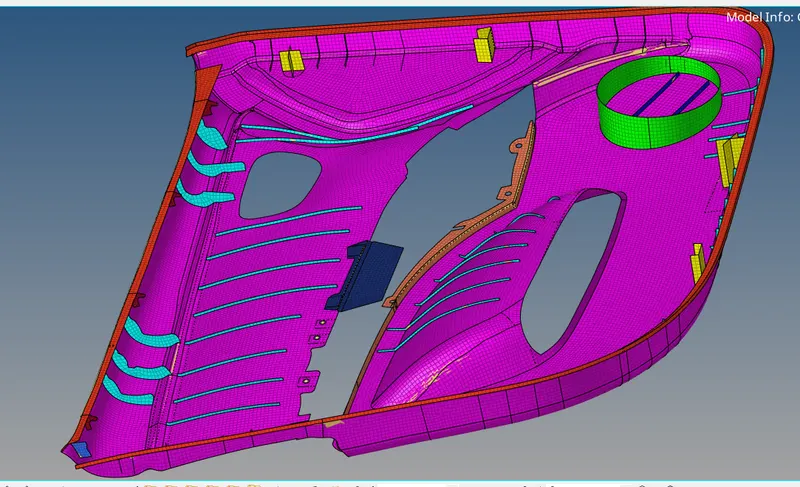
Conclusion :-
In this challenge I learn about how to extract midsurface and do mesh on different features like dog house, ribs, etc. Also how to assign thickness and property to the components.