Week 12 - Project-1
Objective:
Follow the Quality Criteria and mesh the following component and assign thickness:
Target Element Length = 4mm
|
S.No. |
Quality Criteria |
Value |
|
1 |
Aspect Ratio |
5 |
|
2 |
Skewness |
45 |
|
3 |
Warping |
15 |
|
4 |
Taper |
0.5 |
|
5 |
Min. Length |
2mm |
|
6 |
Max. Length |
6mm |
|
7 |
Min angle Quad |
45 |
|
8 |
Max angle Quad |
135 |
|
9 |
Min angle Tria |
20 |
|
10 |
Max angle Tria |
120 |
|
11 |
Tria % |
10 |
Procedure:
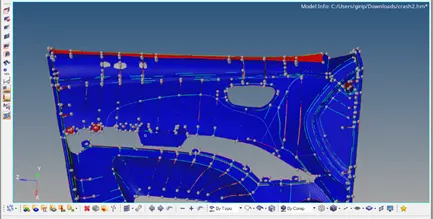
- Open the given file (side door edited.hm) in Hyper mesh.
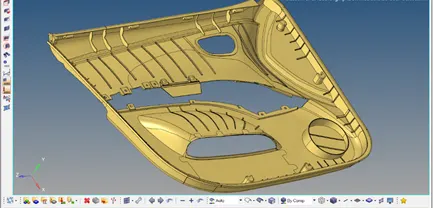
- Geometry Clean-up:
The topology of the given component is cleaned up using the following tools:
Toggle edge, Replace point, etc. in the Quick edit option of the Geometry panel.
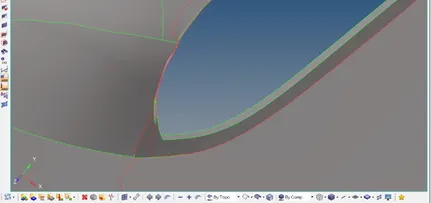
Fillets (1mm- 5mm) mainly for ribs are defeatured according to the given target length (4 mm) using the defeature option in the Geometry panel, by selecting the surfaces of the component.
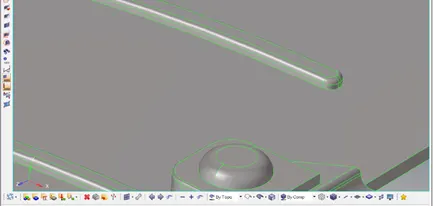
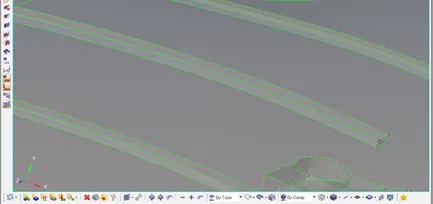
- Mid- Surface Extraction:
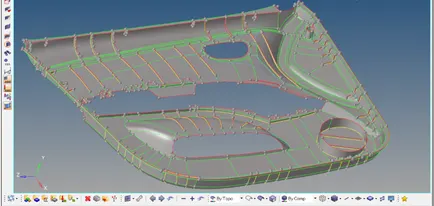
Extract the Mid Surface for the component, by auto extraction.
For those failed to create mid – surfaces by auto extraction, extract the mid surface using Offset in the surface edit option, by providing the correct thickness value of the surfaces and toggle the edges to join with the extracted mid surfaces
The mid surfaces of Ribs and locators are extracted using
Midline – to create the middle line of opposite edges
Trim with lines – to cut the mid surfaces with midline
Surface Ruled / Extend – to connect with the mid surface.
- Meshing
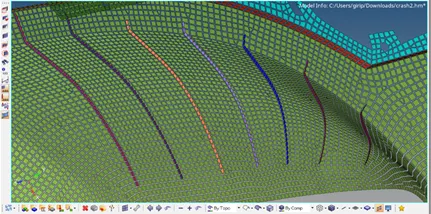
Auto mesh each surface, by selecting element size 4 mm and try to reduce the concentration of trias at the edges and fillets by remeshing the rotating quads.
Check the meshed elements using Check elems in the tool panel.
Clean up the failed elements using the tools like element optimization, drag tria elements, and remeshing the elements such that all elements satisfying the given Quality Criteria i.e., no elements failed.
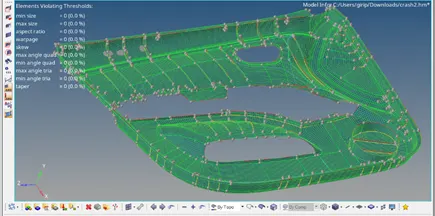
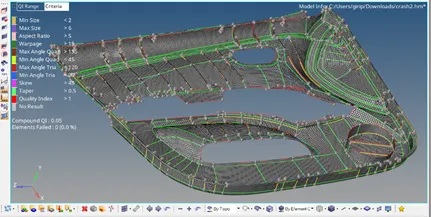
Check the free edges using the option edges in the Tool Panel, to make sure that there are no free edges between the surfaces.
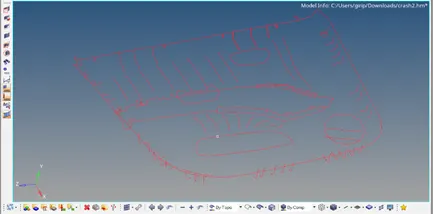
Check Normals for the elements, whether they are all in the same direction, using the normal option in the Tool panel.
Check for the duplicates using the split elements option in the toolbar.
- Assigning Thickness.
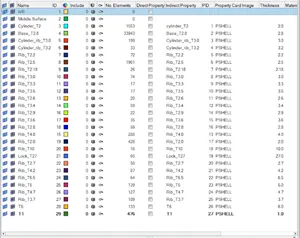
Create components and organize the elements to it according to the thickness and assign the properties by mentioning the thickness in the card edit.
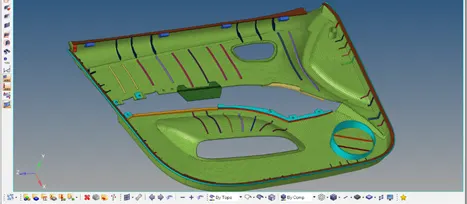
Switch on the 2D detailed elements representation for the final image.
Final Image:
Result:
Given component Side Door panel is successfully meshed satisfying all the Quality Criteria and the thickness for the elements is assigned.