Week 12- Final project
ARM REST
SURFACE A CLASS
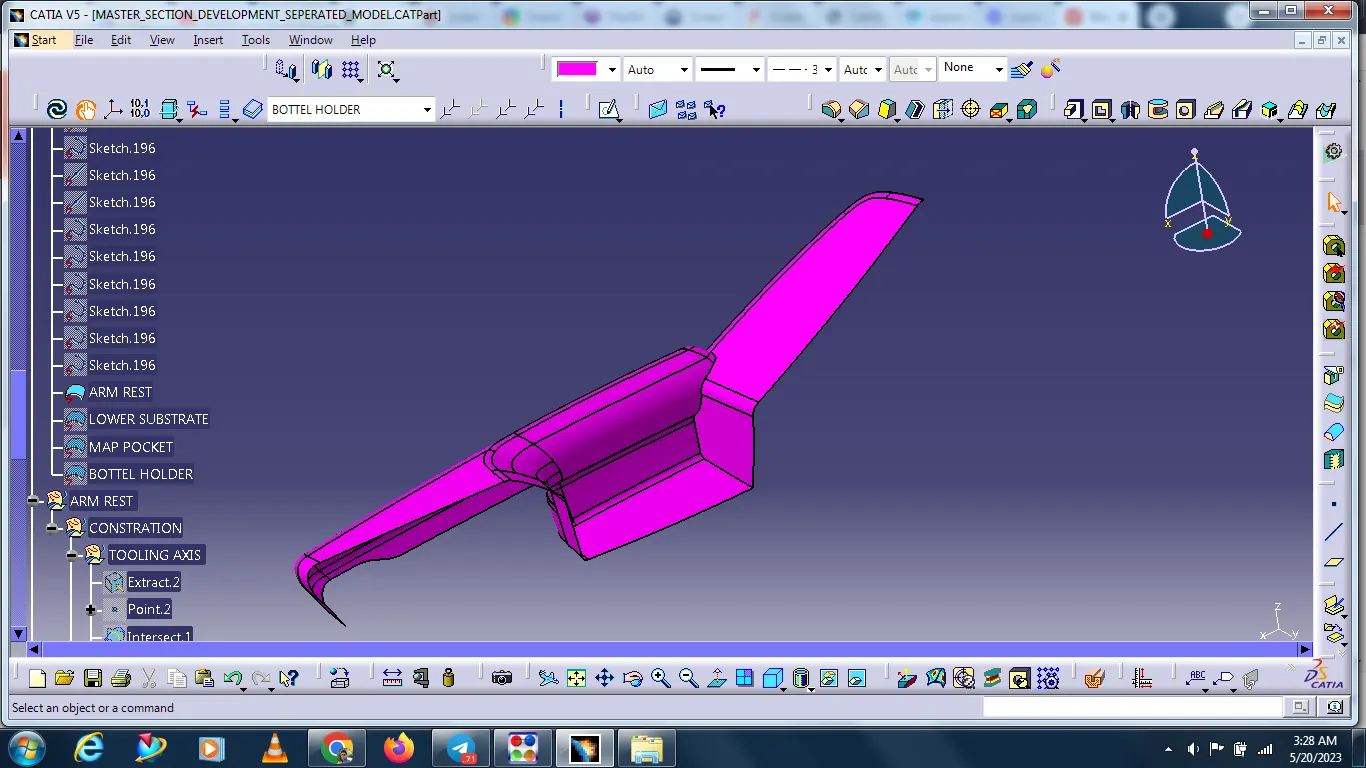
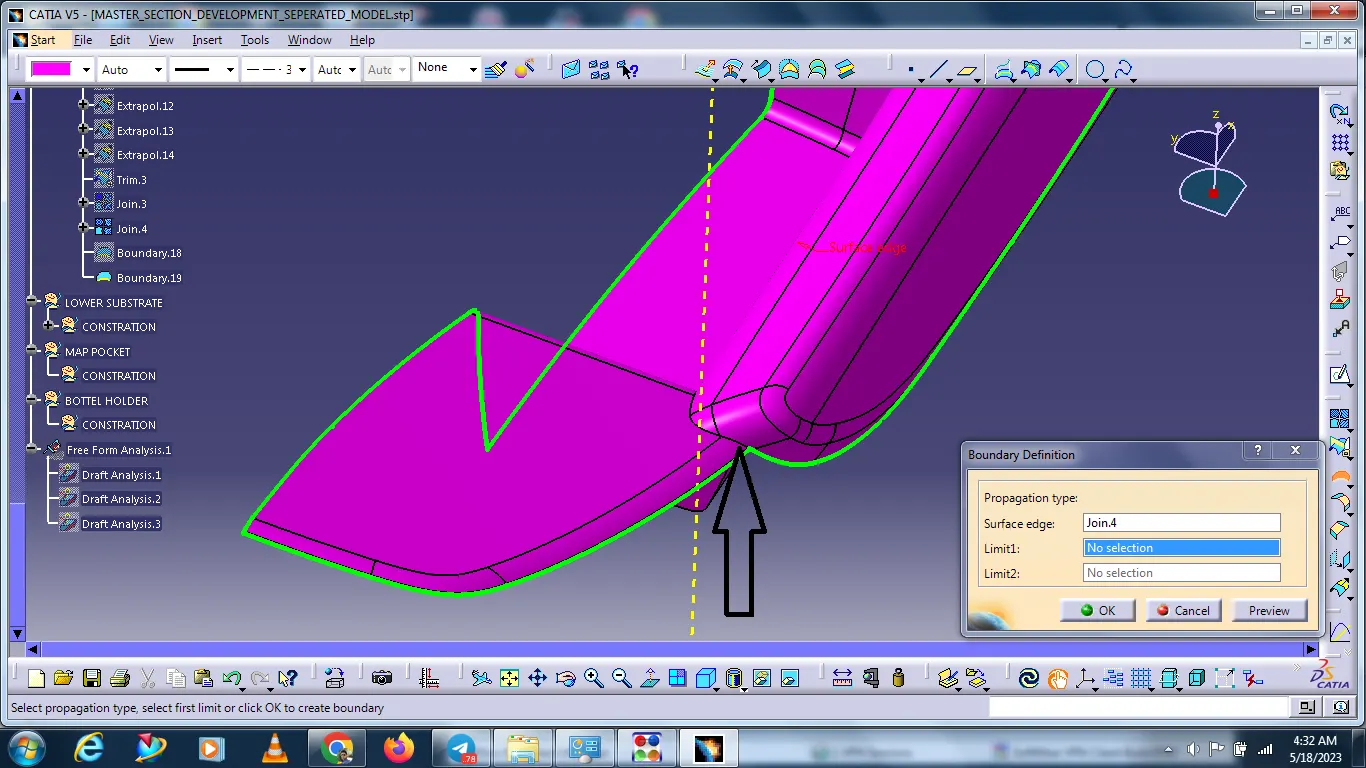
Class A surface boundary checkd the is some discontinuity absorbed.
Select the 2 surface with help of Multipal Extract and extrapolate the both 2 surface and trim it.
after A surface and 2 trimed surface joined.
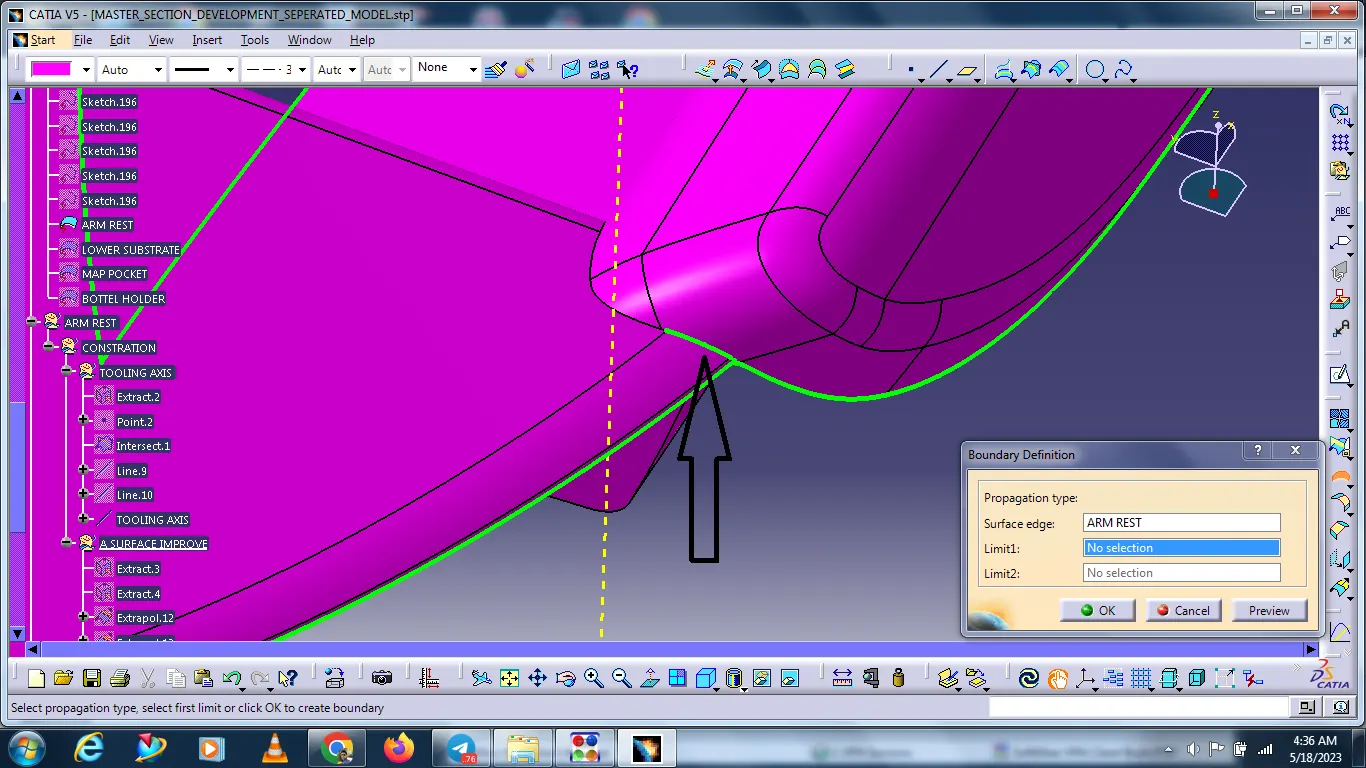
TOOLING AXIS
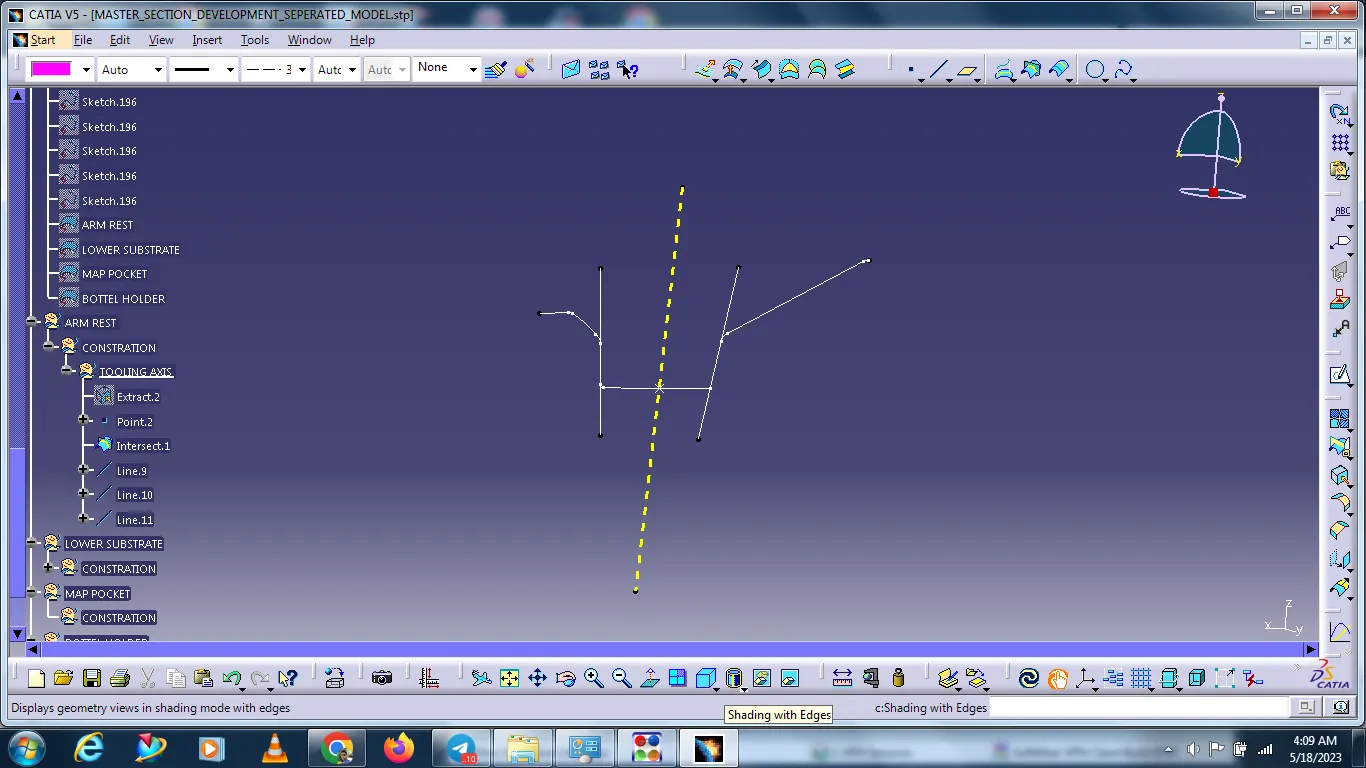
Creating the bisecting line to both intersection and creating bisect for that lines. Hence we get the final tooling axis for the Arm rest.
DRAFTING ANALYSIS:
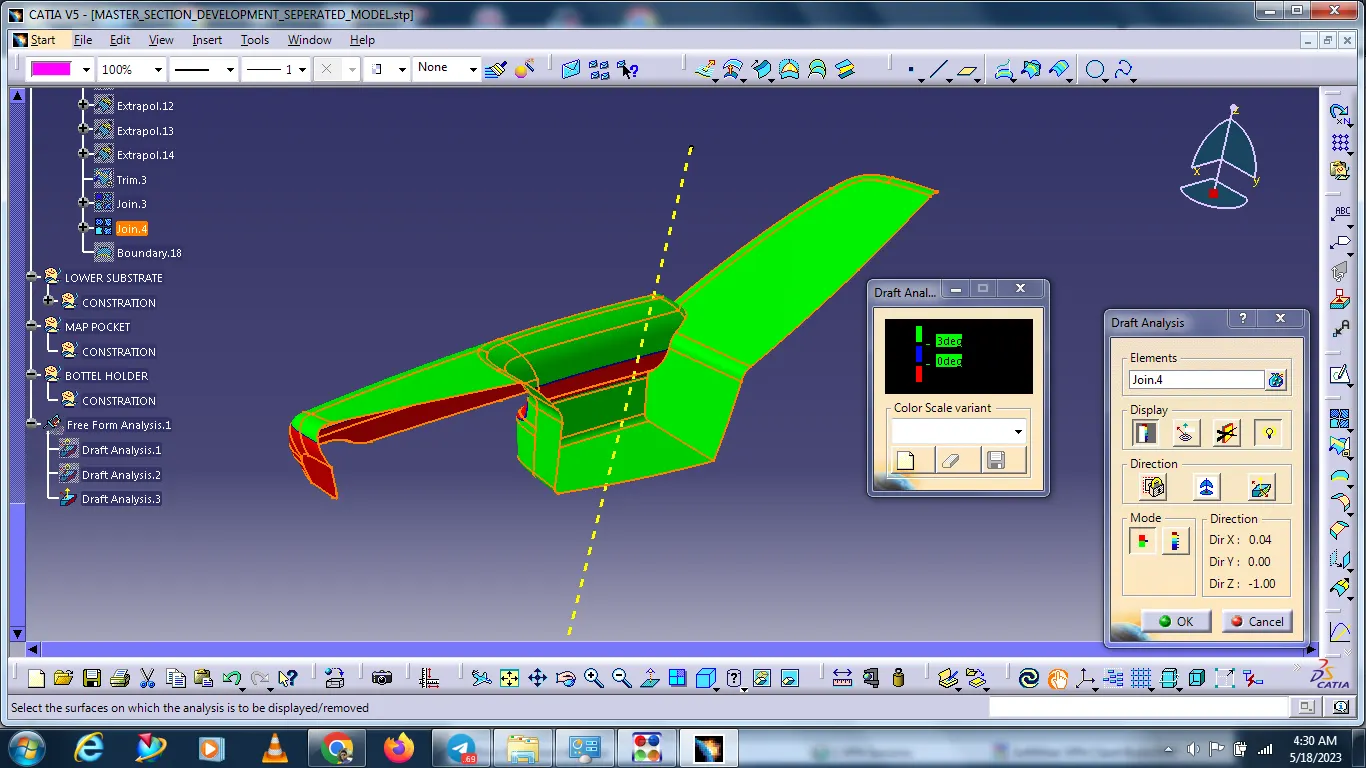
Go to insert < analysis< feature draft analysis.
The compass is fixed on the tooling axis.
Then we click on the surface it shows a different colour. This colour is used to analysis the drafting value of the surface with the help of an analysis table.
It will show the draft angle of the class A surface.
In the A surface some areas are showing in negetive angle.
SURFACE B CLASS CREATION:
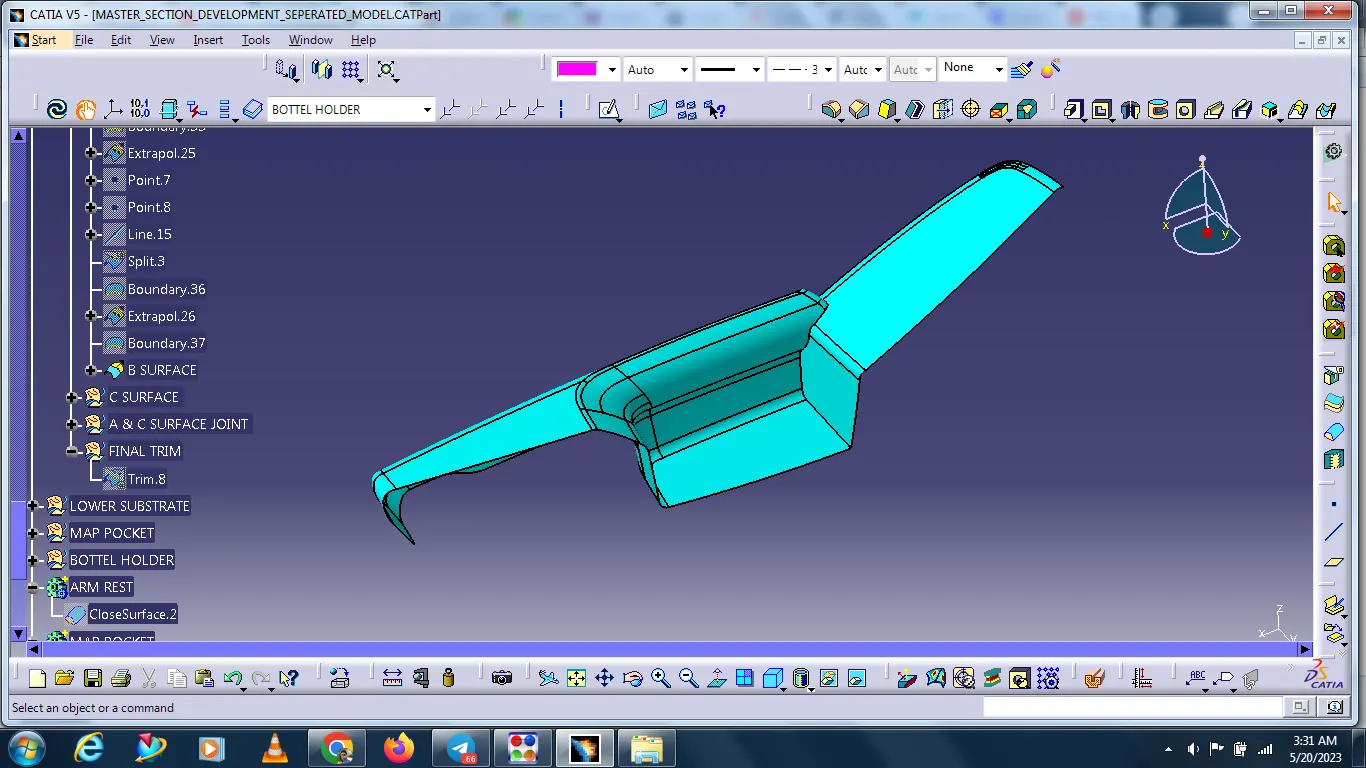
Following procedures are used to create surface B class.
We directly offset as per master section 2.5mm distance inside with the help of offset comment for b surface
Some discontinuous surface filled with some commands like extrapolated, Multi section etc.
If we need any boundary expand with the help of extrapolated commands.
Finally, we got surface B class.
SURFACE C CLASS CREATION:
Using boundary commond to create the boundary lines separately on side edges of class A surface
Reference surface option sweep comment is used to extrude the boundary lines.
Finally merge all sweep surface to get class C surface.
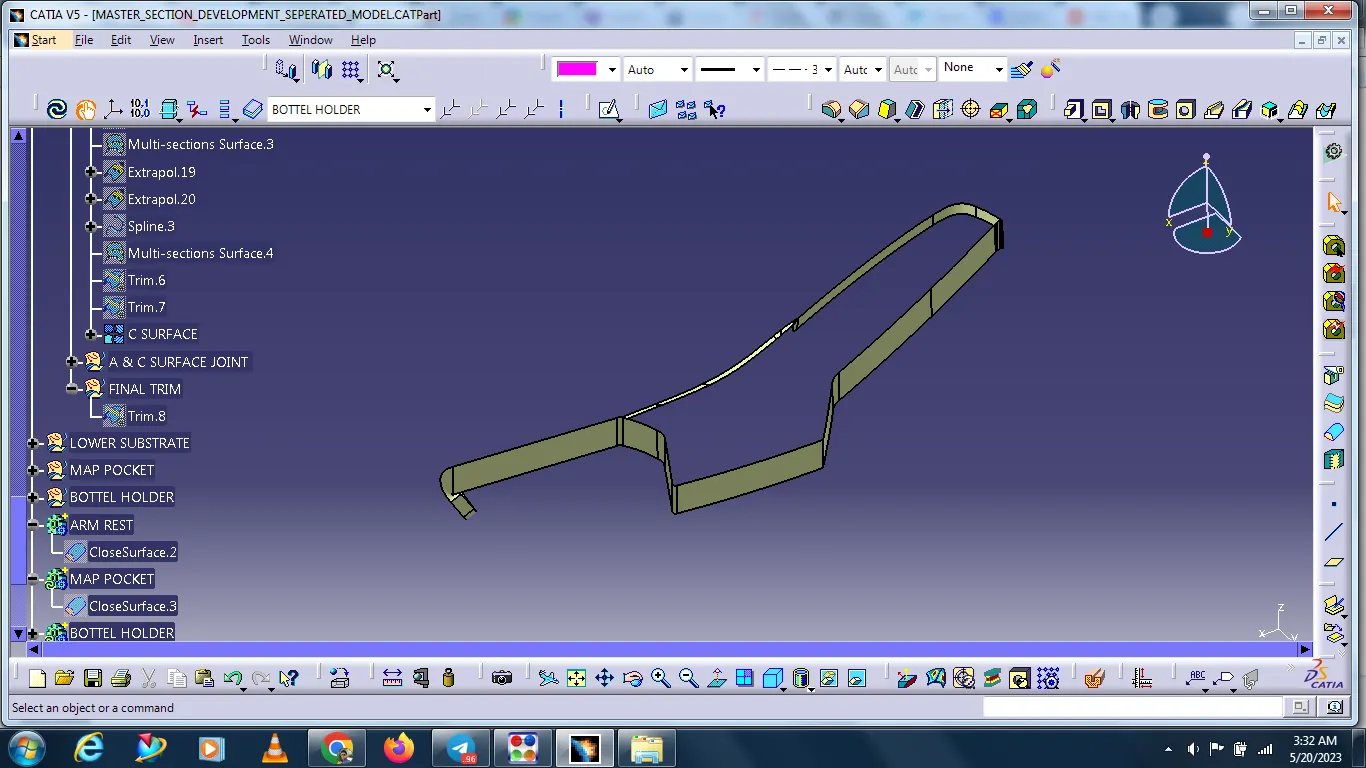
JOIN THE A & C SURFACE
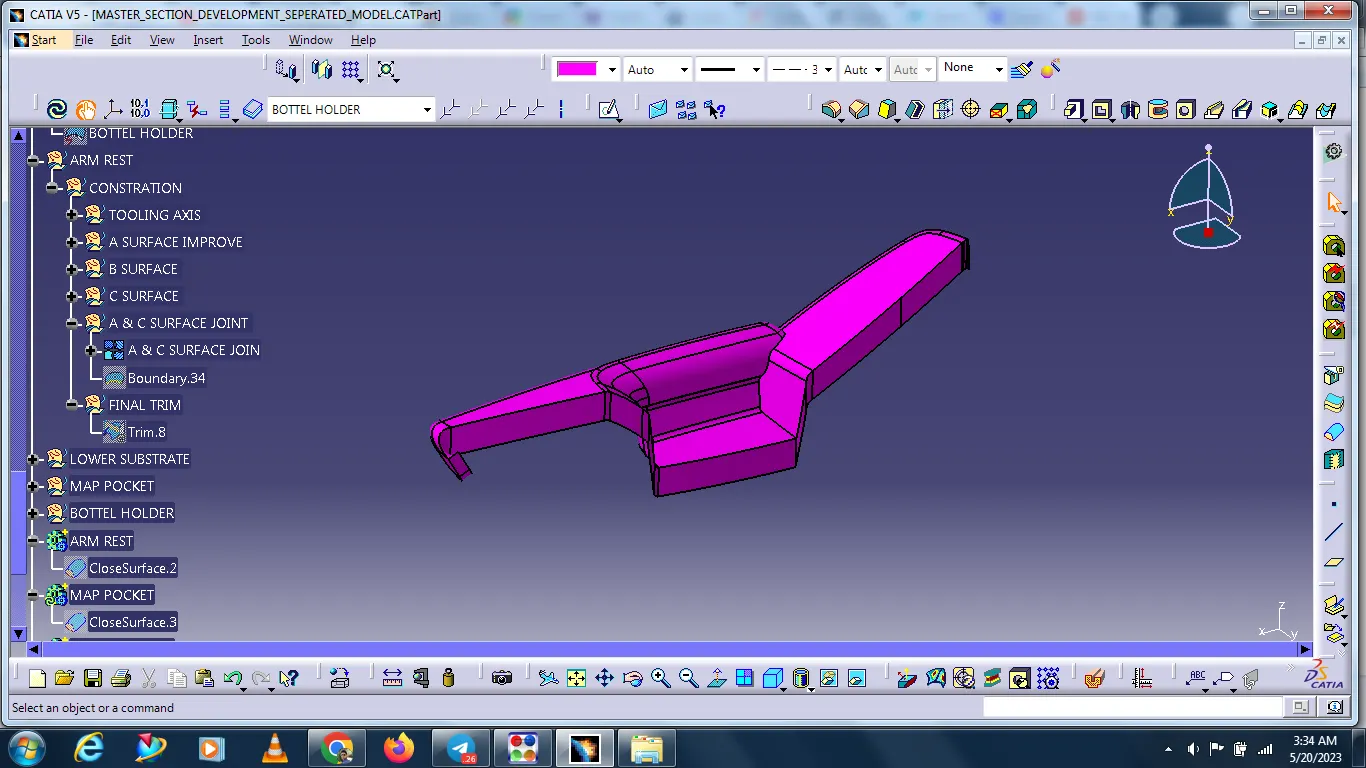
After joining the a&c surface doing next the final trim with the help of the B surface and create the solid body.
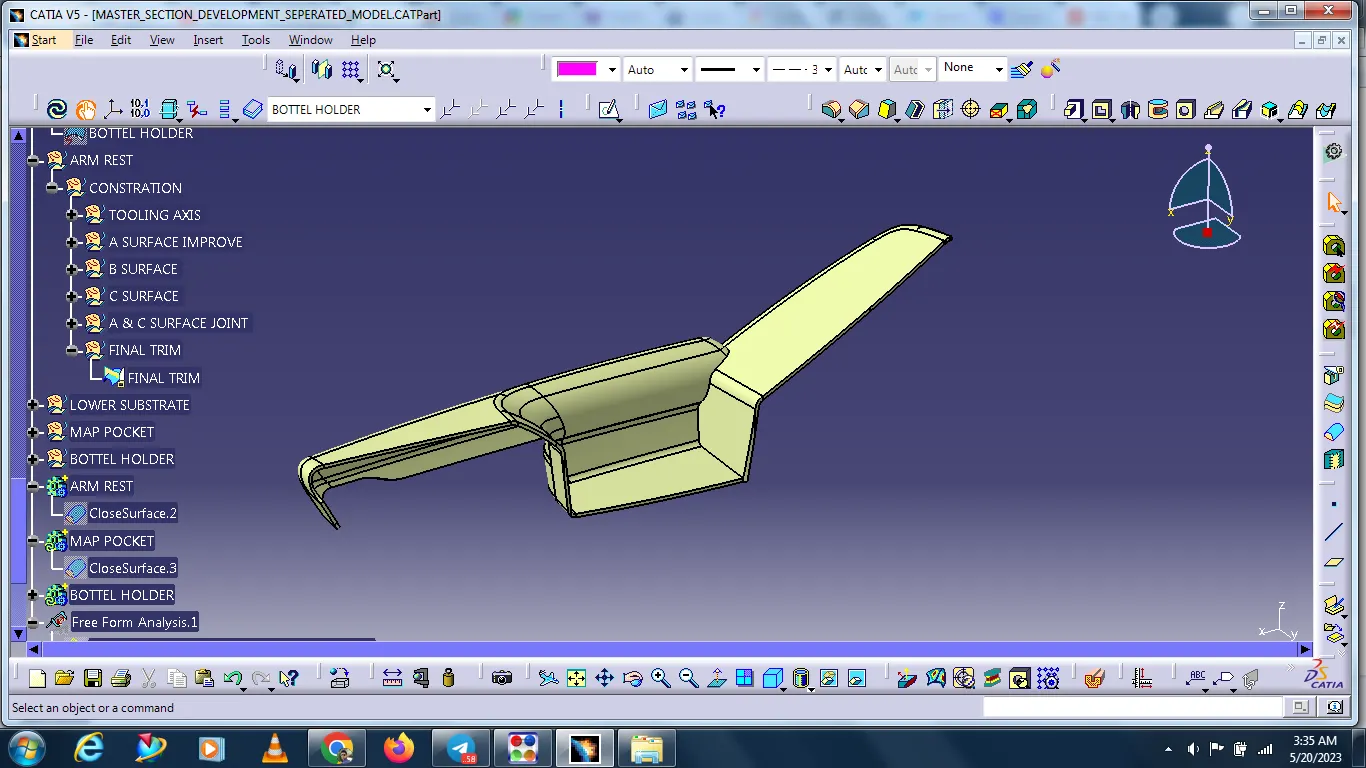
After completing the solid body doing next close surface.
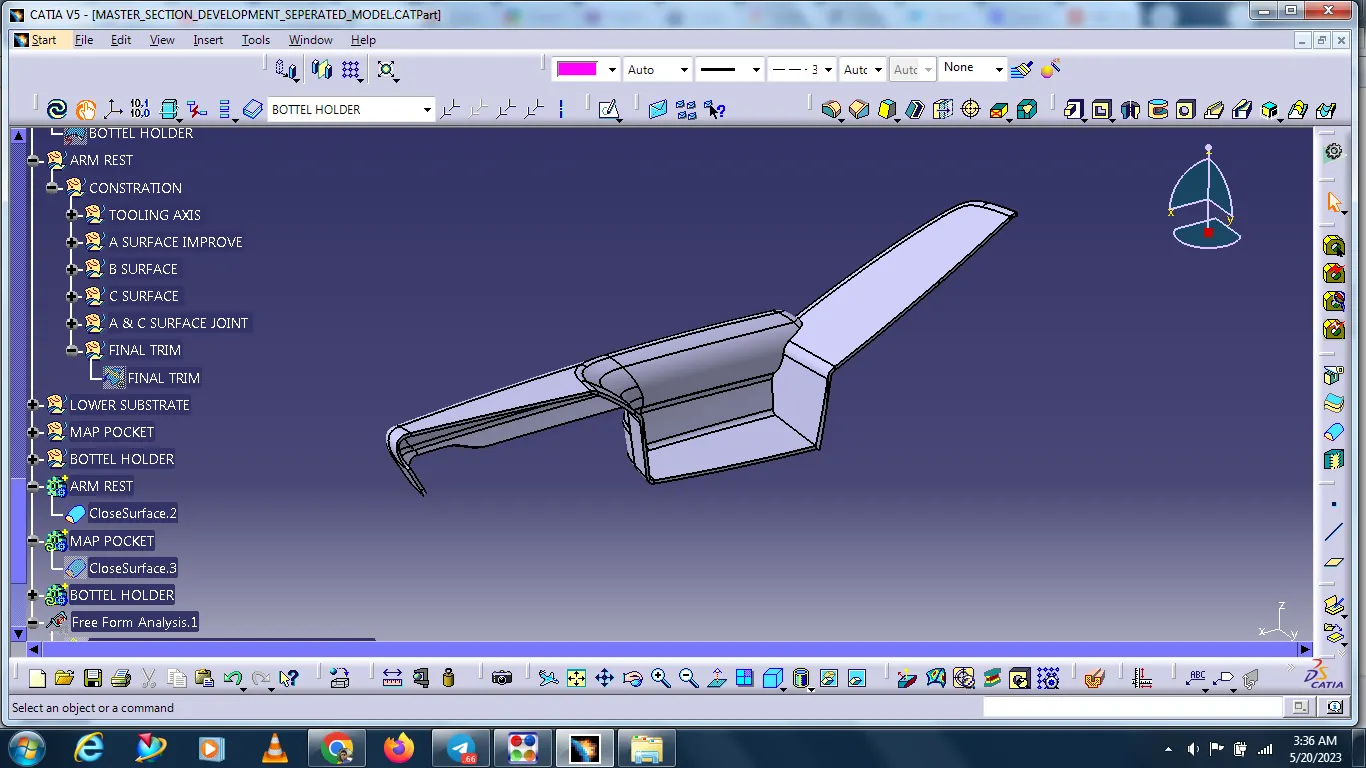
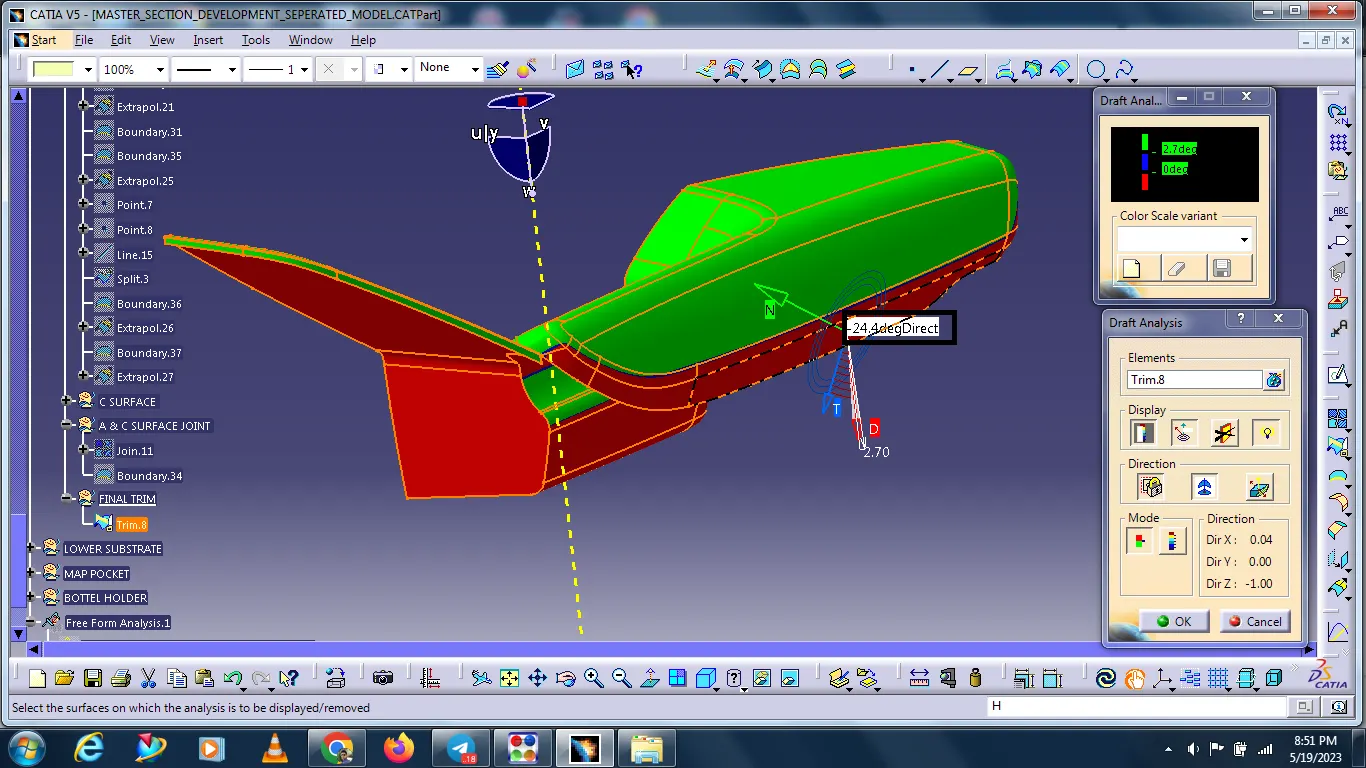
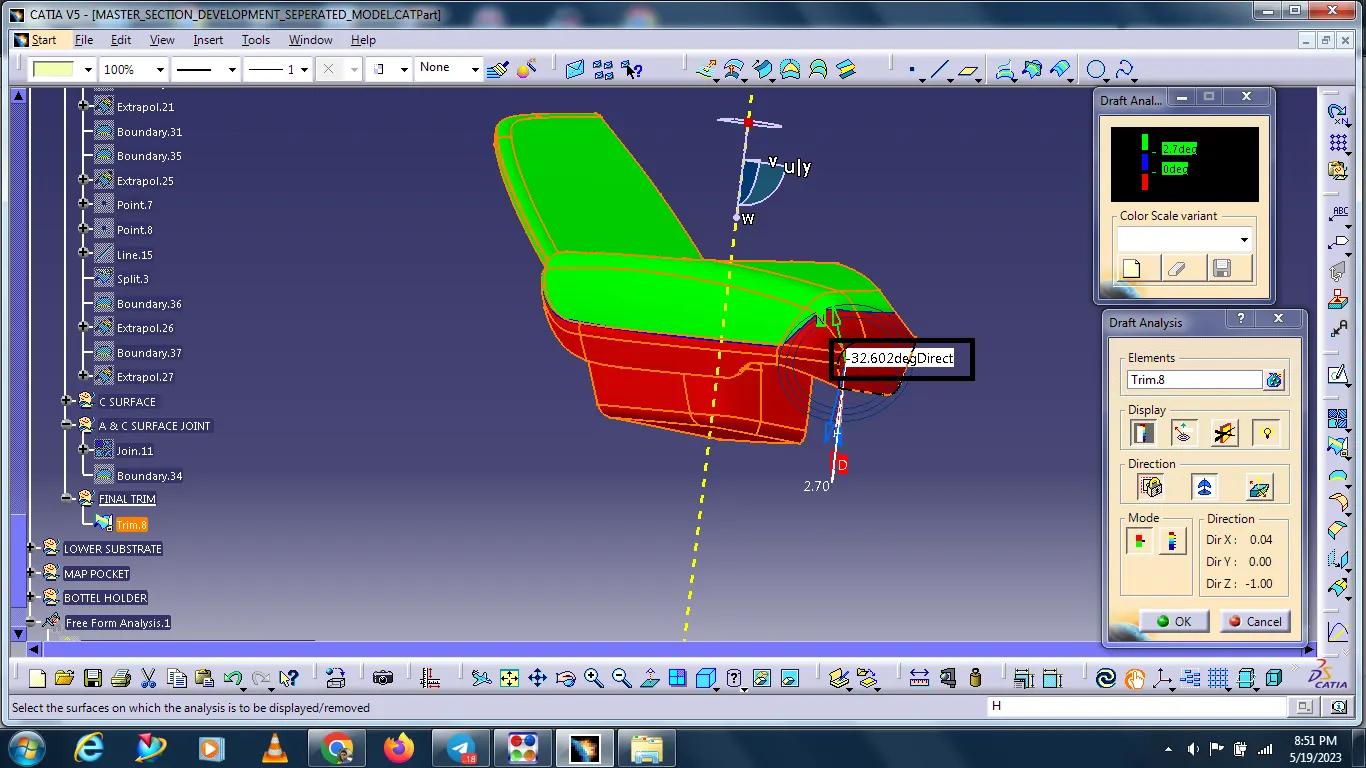
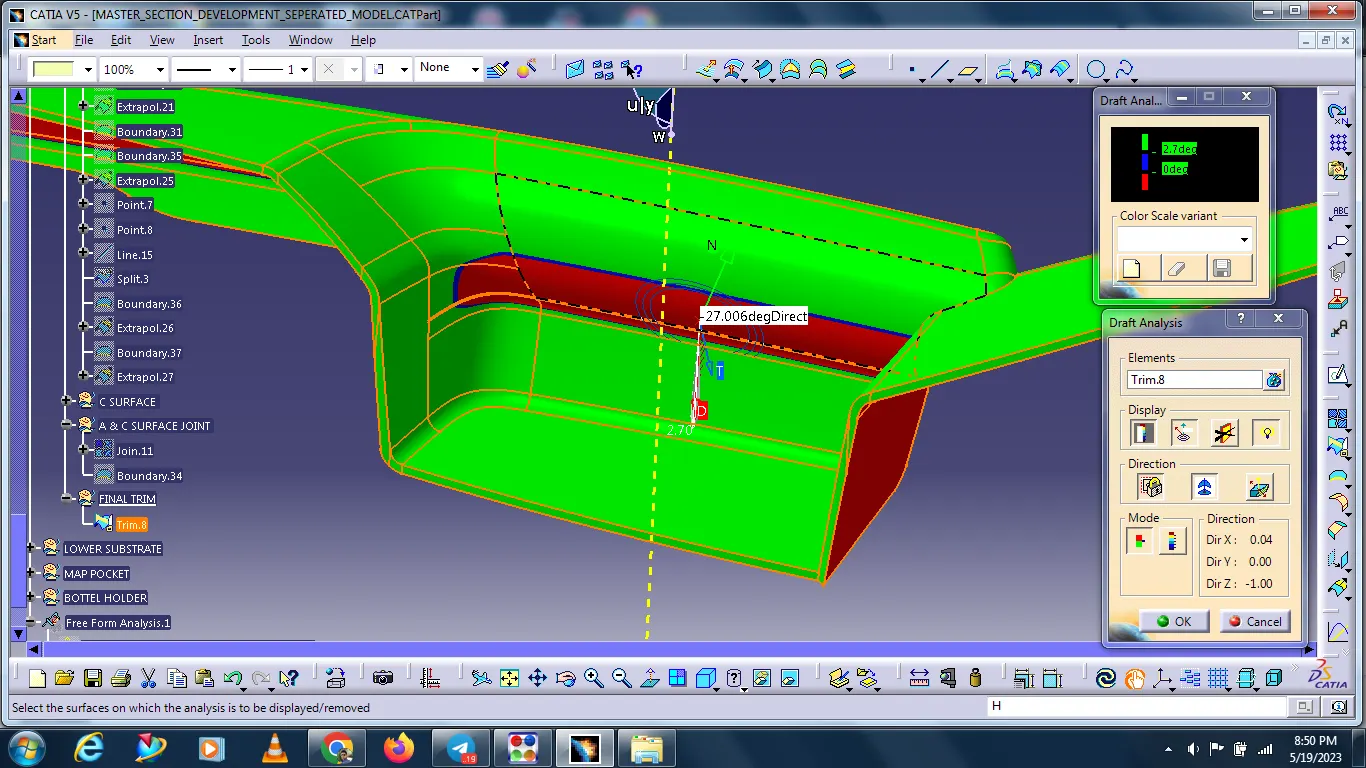
after close surface check draft analysis 2.7 deg and some surfaces showing negative.
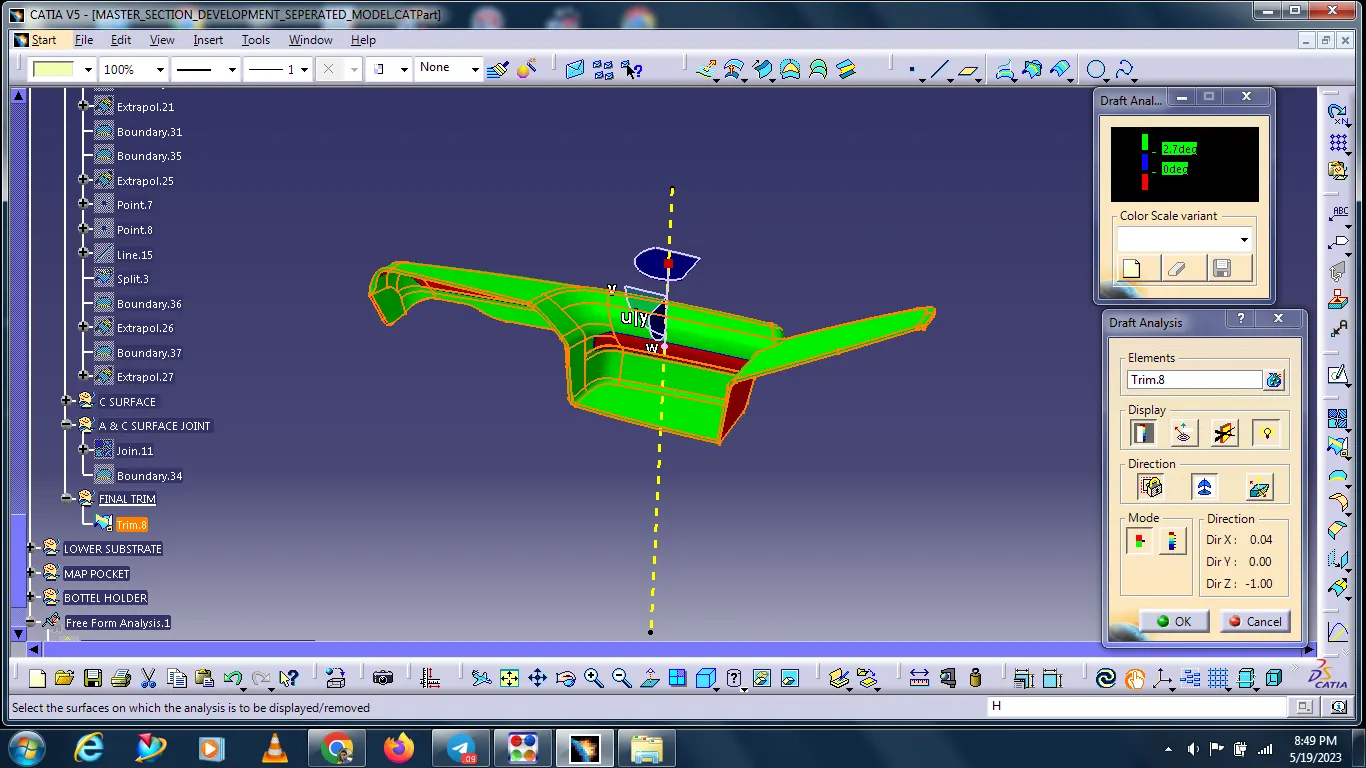
This area is showing -24.4 deg negative angle.
This area shows -32.6 deg negative angle.
This area shows -27 deg negative angle.
The flange area side also draft analysis checked 0.45 deg
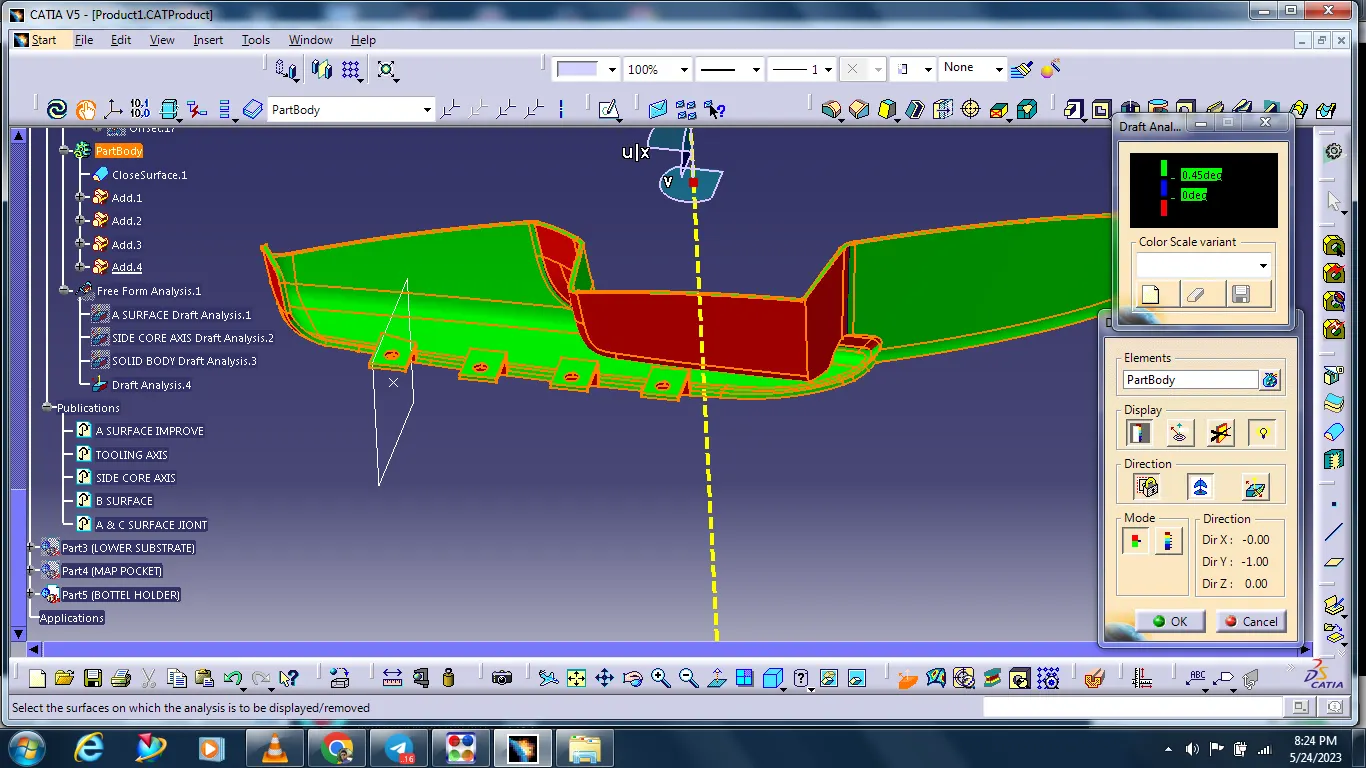
LOWER SUBSTRATE
SURFACE A CLASS
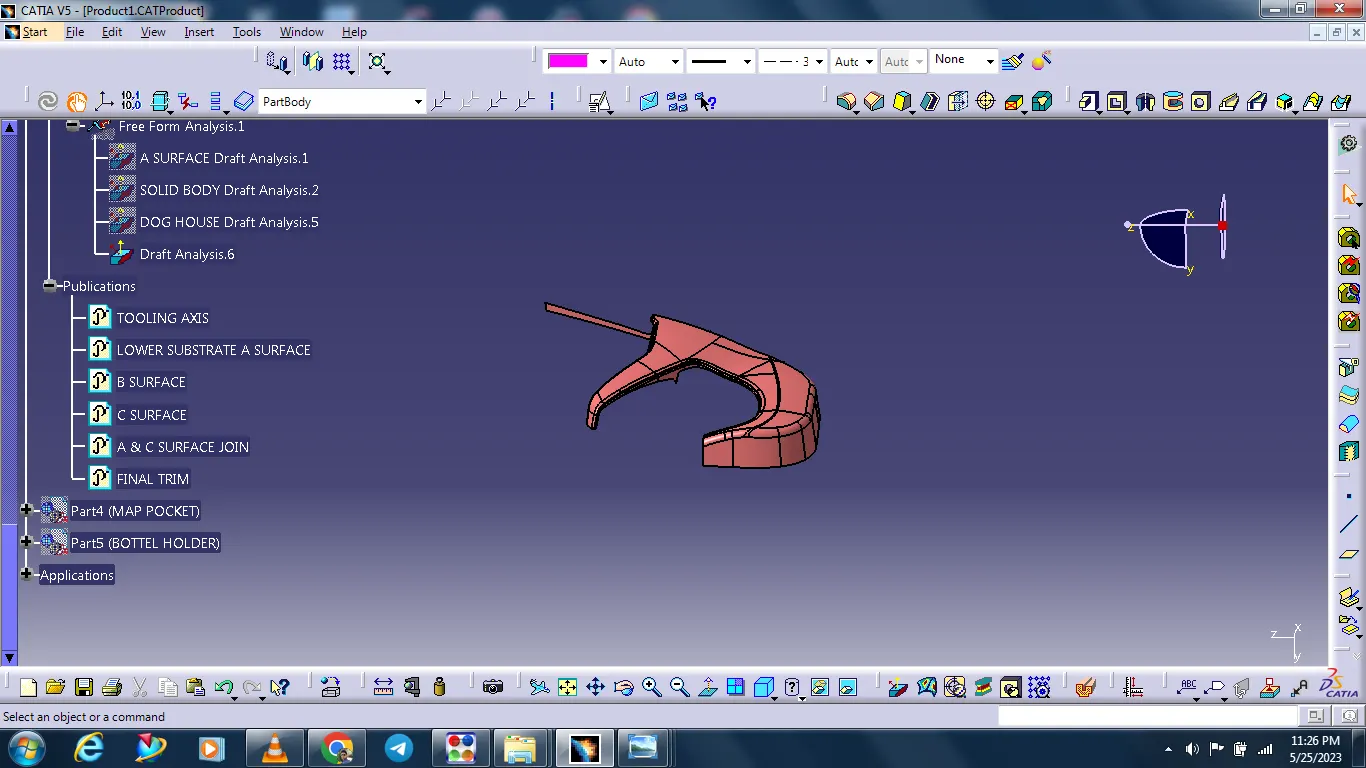
TOOLING AXIS
Extract the surface select the point and creat the line and given the direction
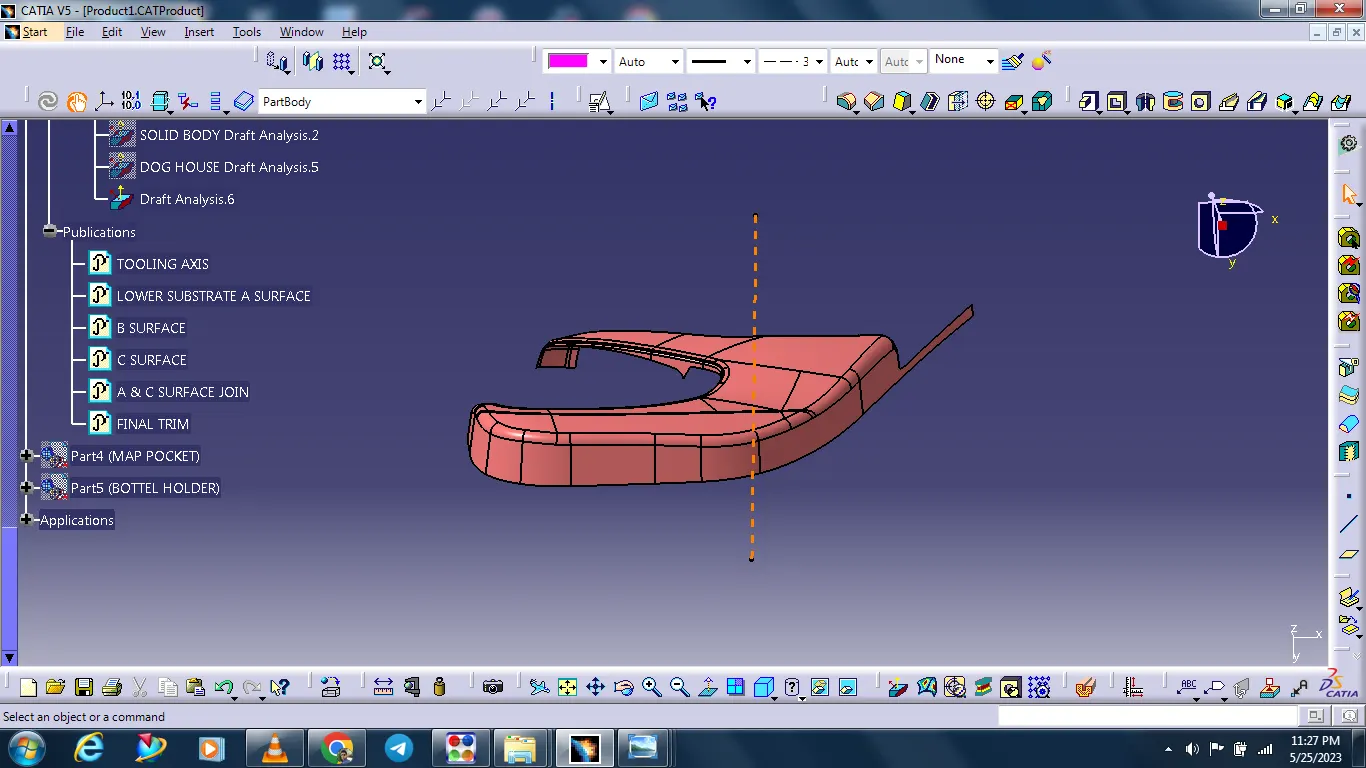
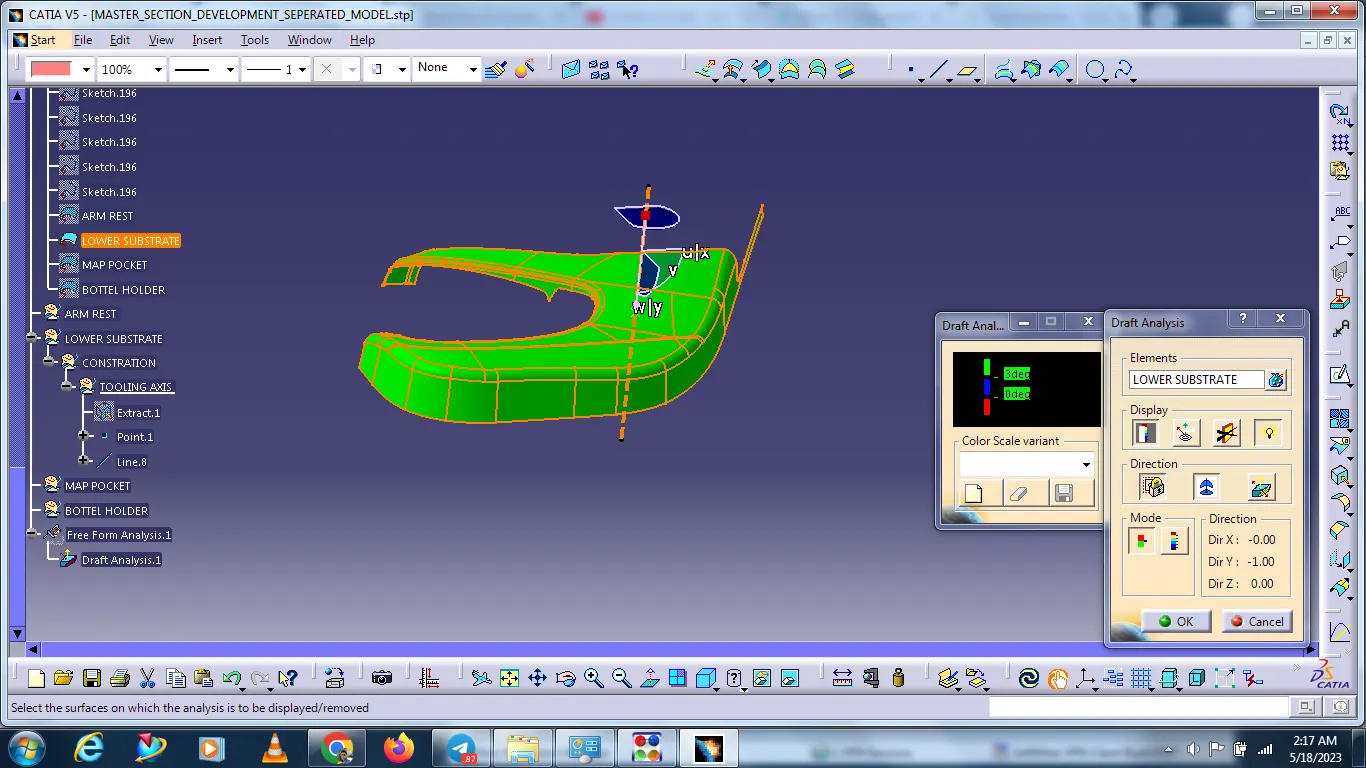
DRAFTING ANALYSIS:
Go to insert < analysis< feature draft analysis.
The compass is fixed on the tooling axis.
Then we click on the surface it shows a different colour. This colour is used to analysis the drafting value of the surface with the help of an analysis table.
It will show the draft angle of the class A surface.
SURFACE B CLASS CREATION:
Following procedures are used to create surface B class.
We directly offset as per master section 2.5mm distance inside with the help of offset comment for b surface
If we need any boundary expand with the help of extrapolated commands.
Finally, we got surface B class.
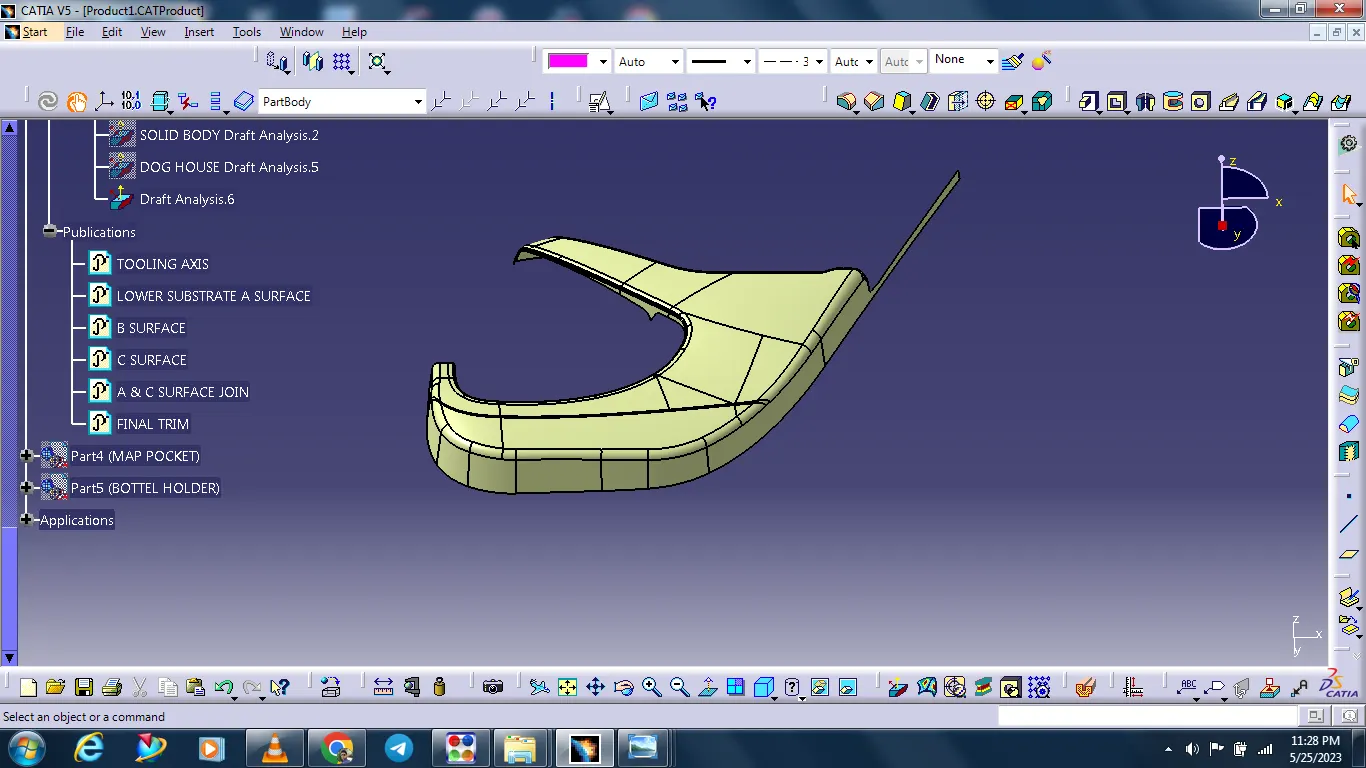
SURFACE C CLASS CREATION:
Using boundary commond to create the boundary lines separately on side edges of class A surface
Reference surface option sweep comment is used to extrude the boundary lines.
Finally merge all sweep surface to get class C surface.
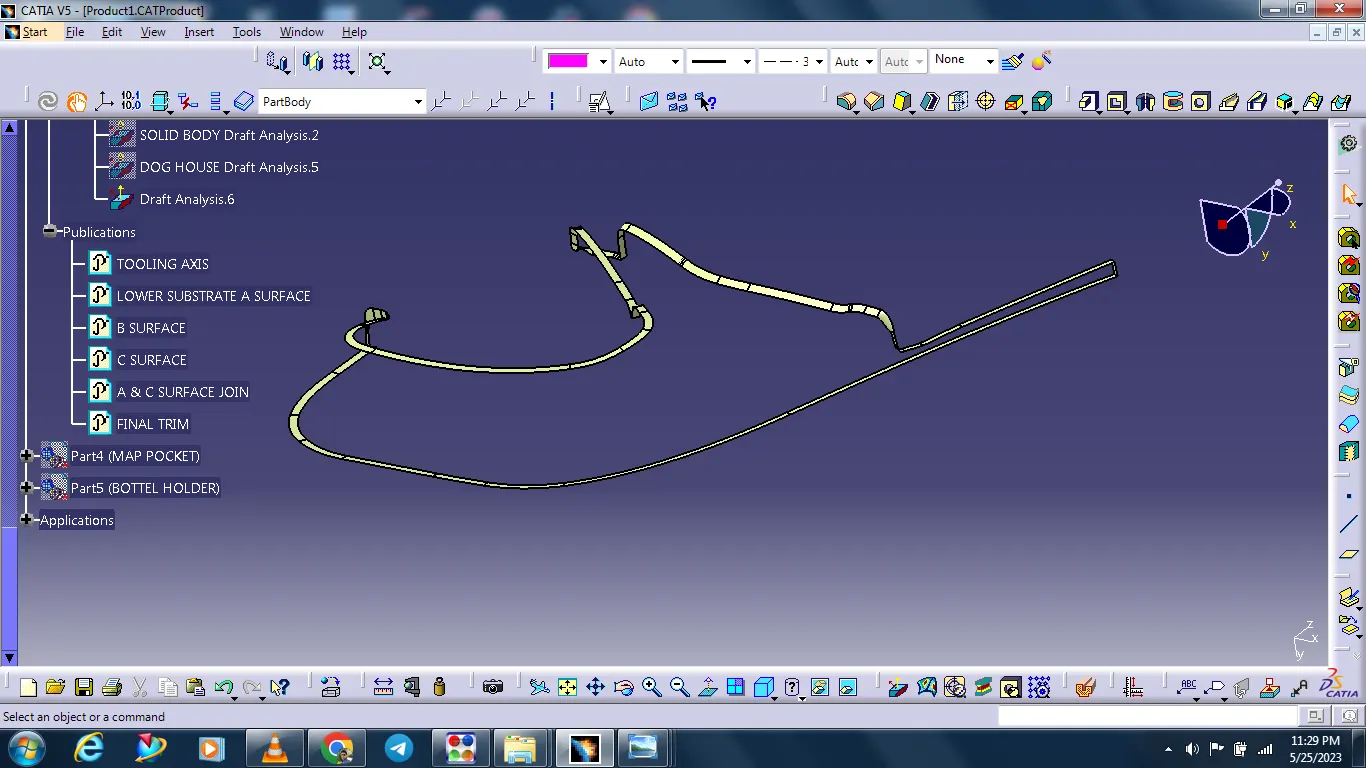
JOIN THE A & C SURFACE
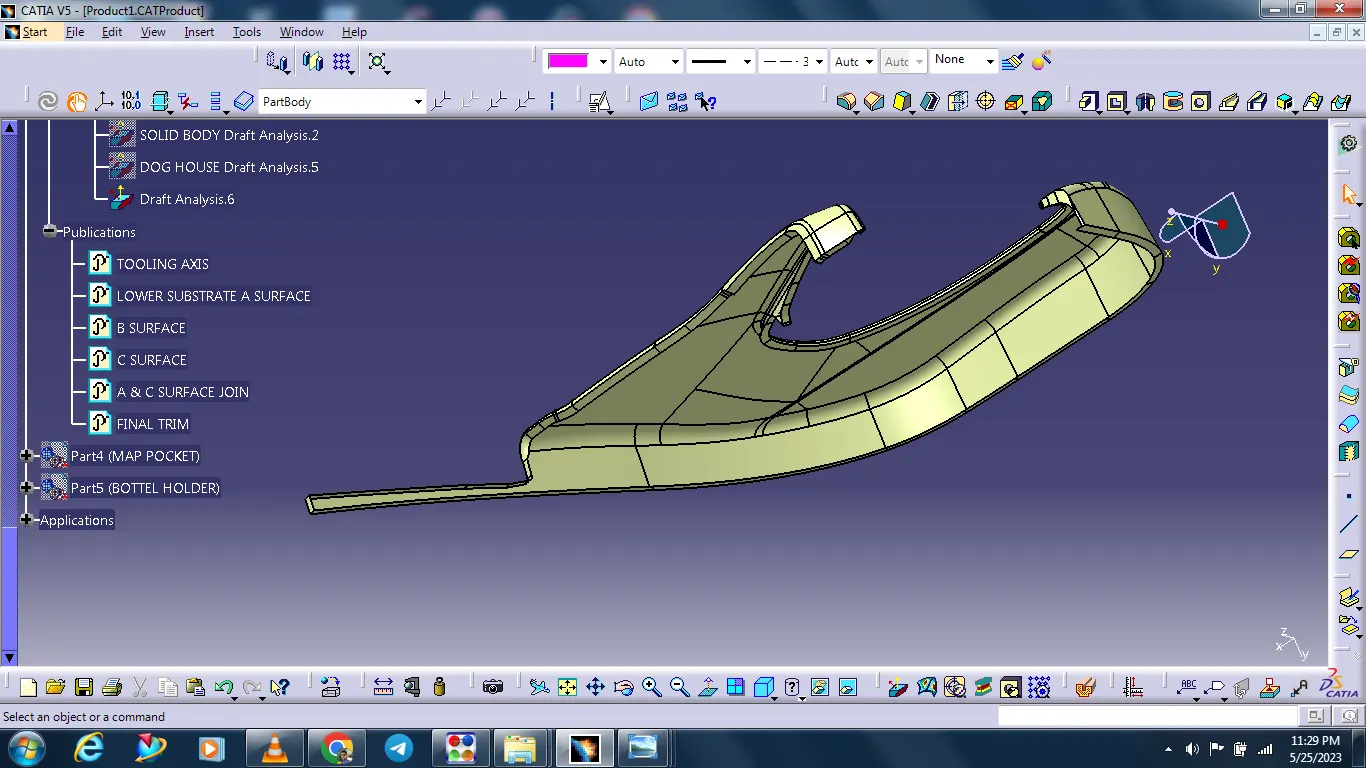
After joining the a&c surface doing next the final trim with the help of the B surface and create the solid body.
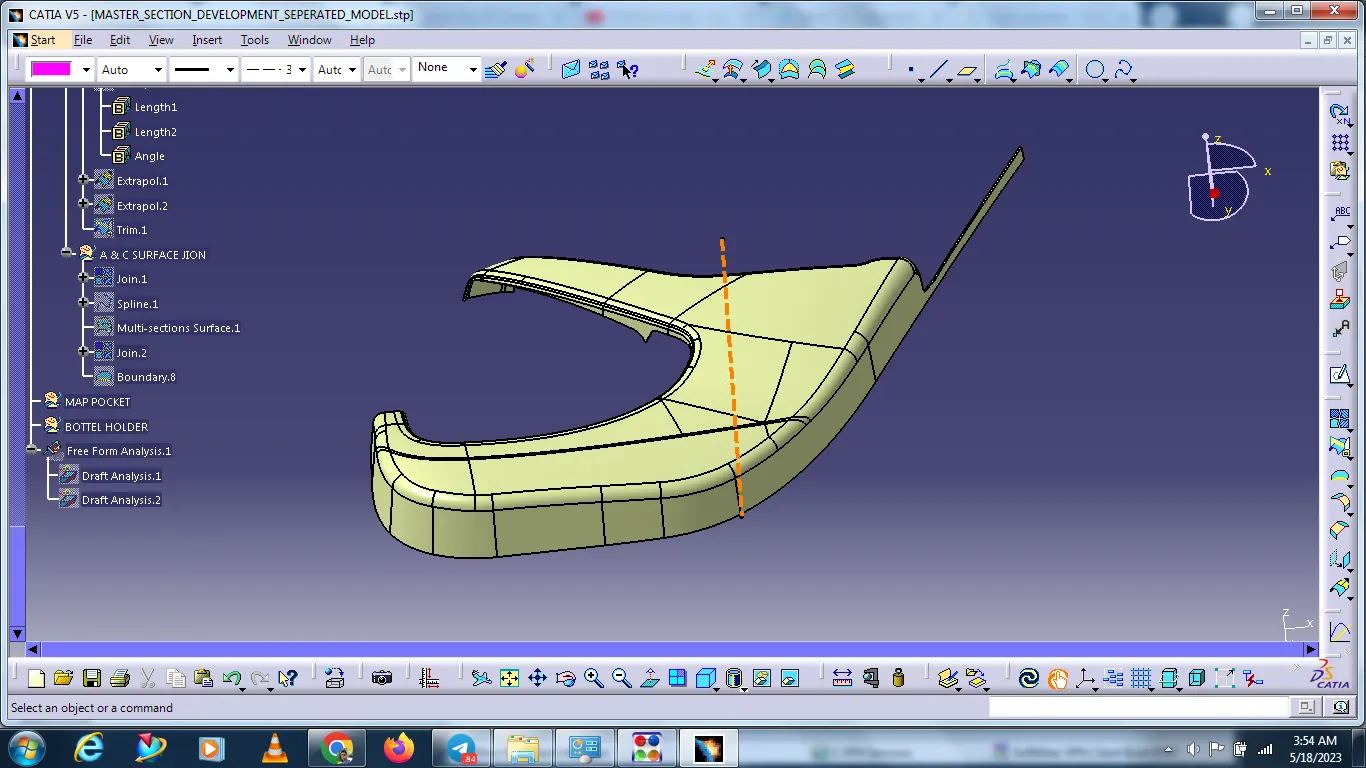
After completing the solid body doing next close surface.
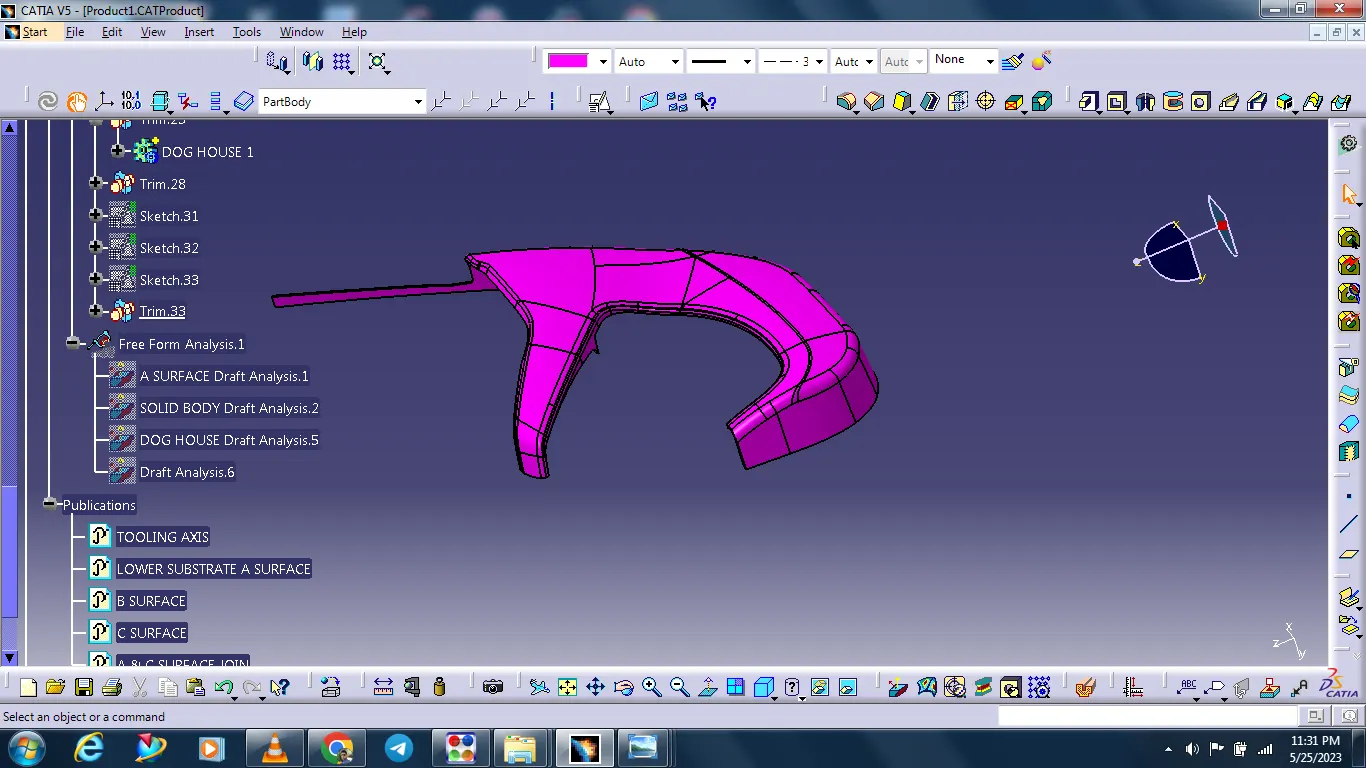
After close surface check the draft analysis 2.6 deg showing ok.
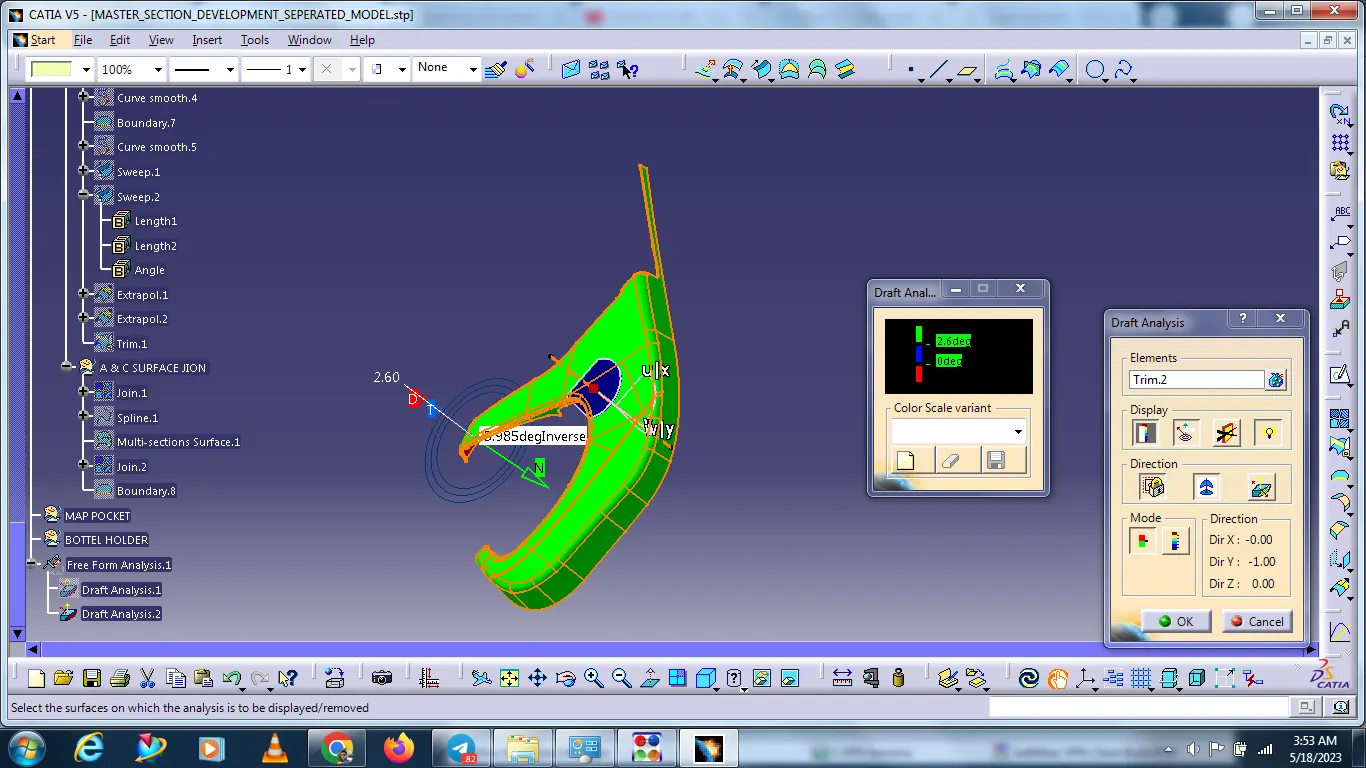
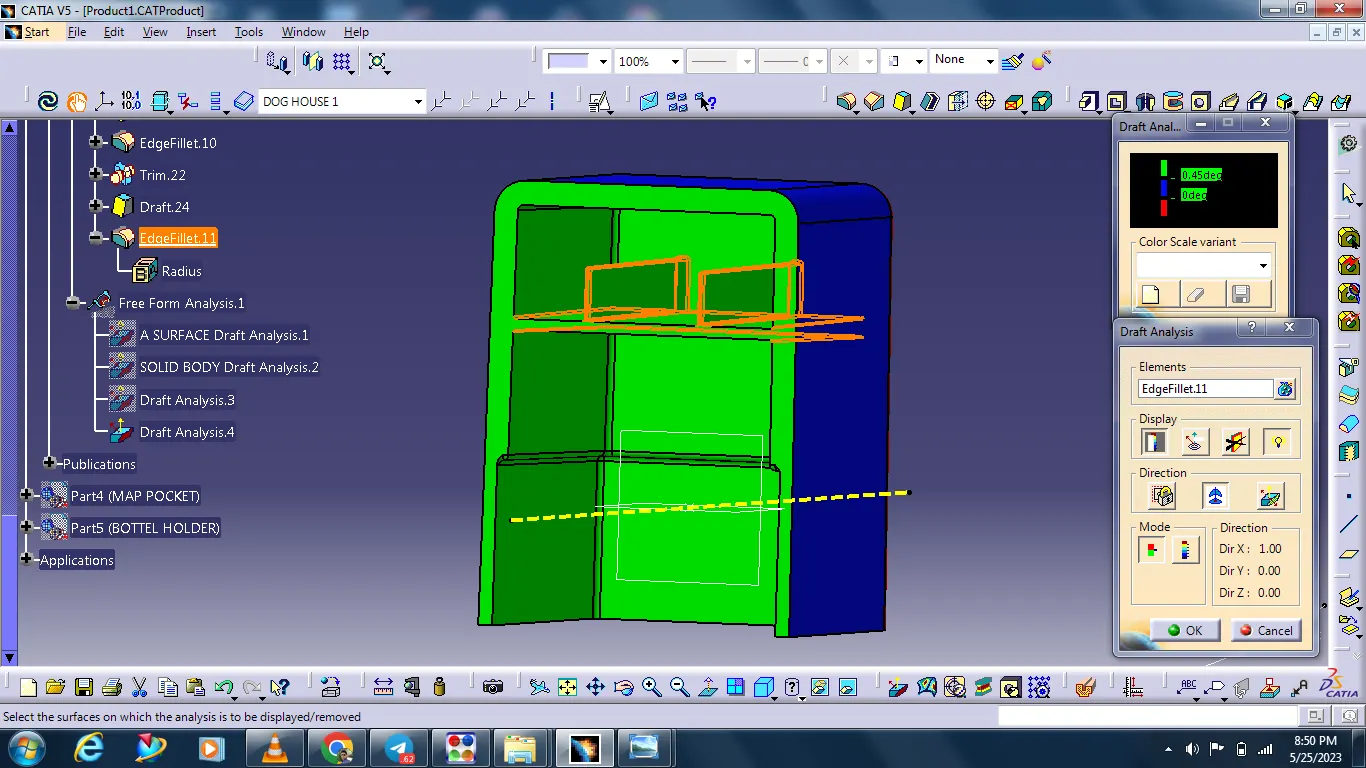
Create the dog house and check the draft analysis with the help of side core axis it is showing .45deg is ok.
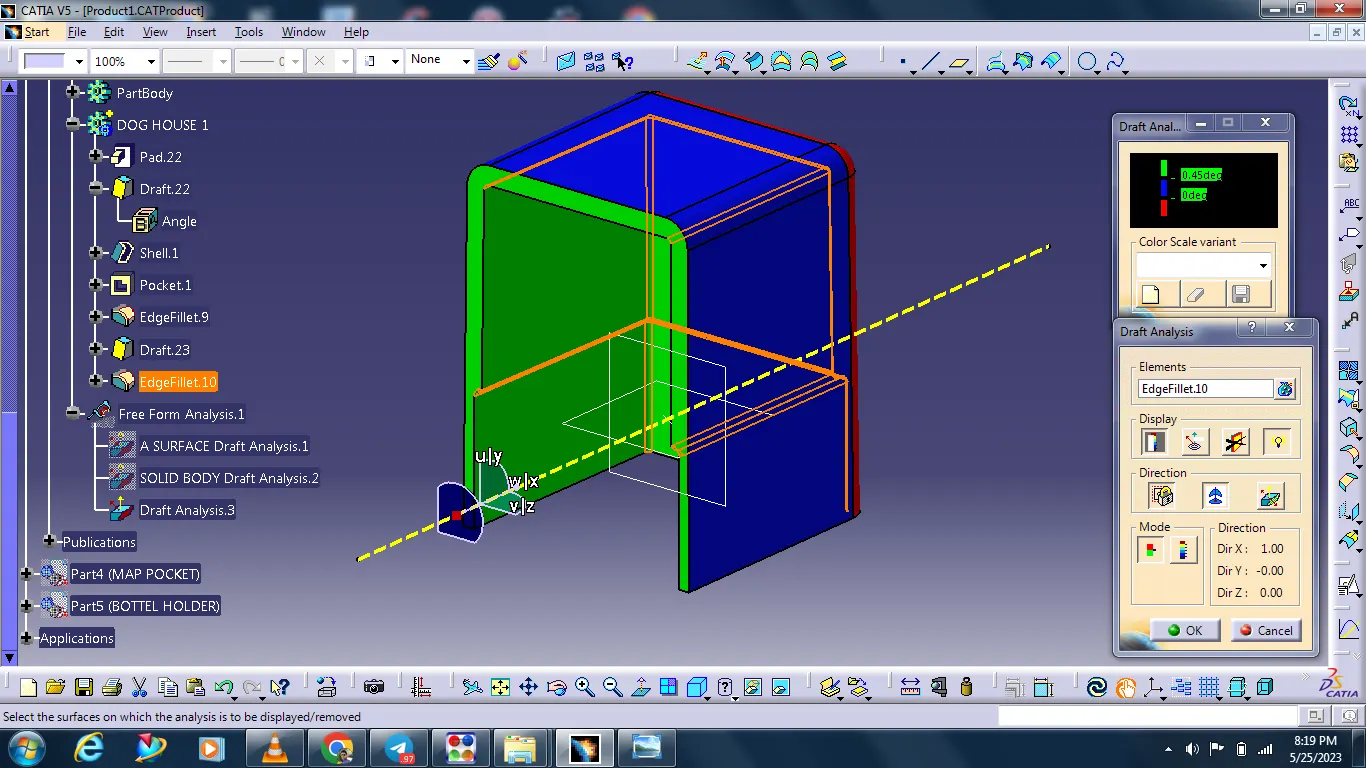
check the draft analysis with the help of tooling axis it is showing .45deg outer area ok.
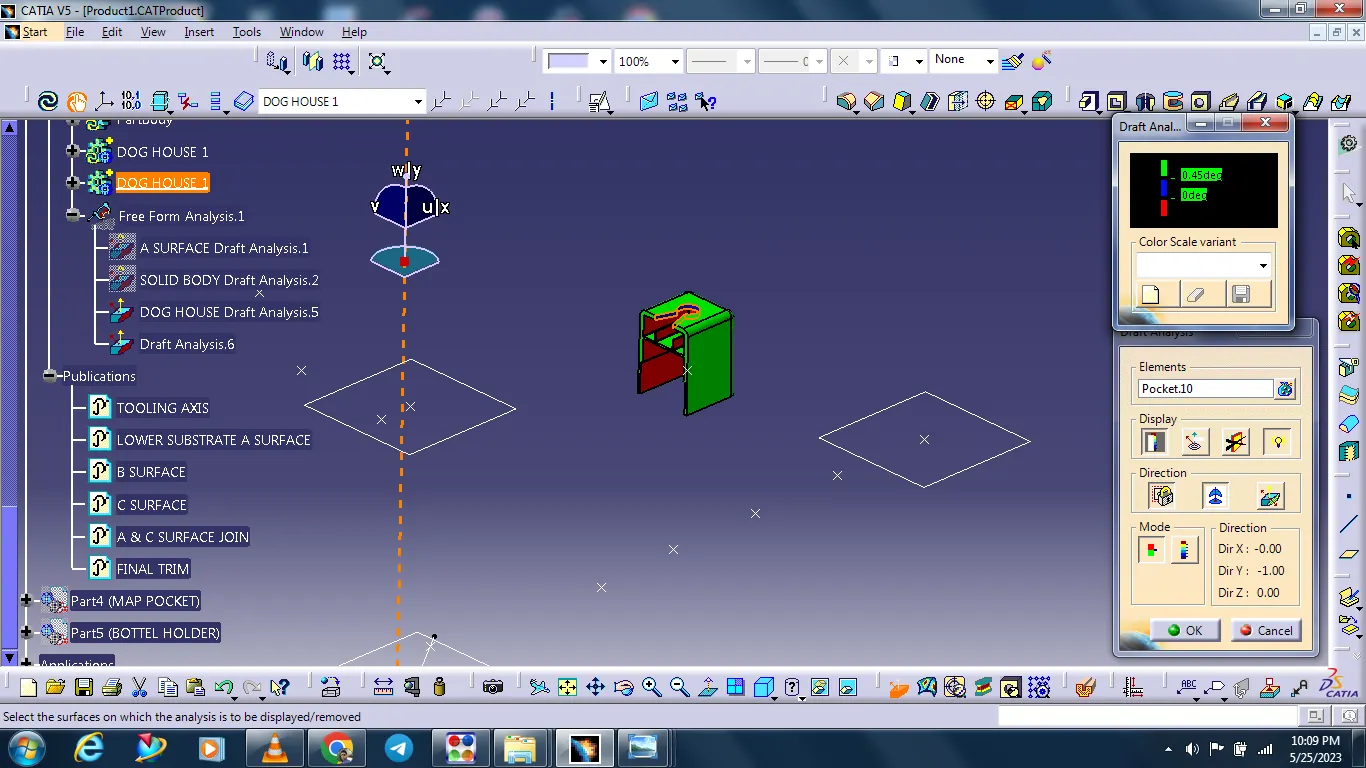
Check the draft analysis with the help of side core axis it is showing .45deg
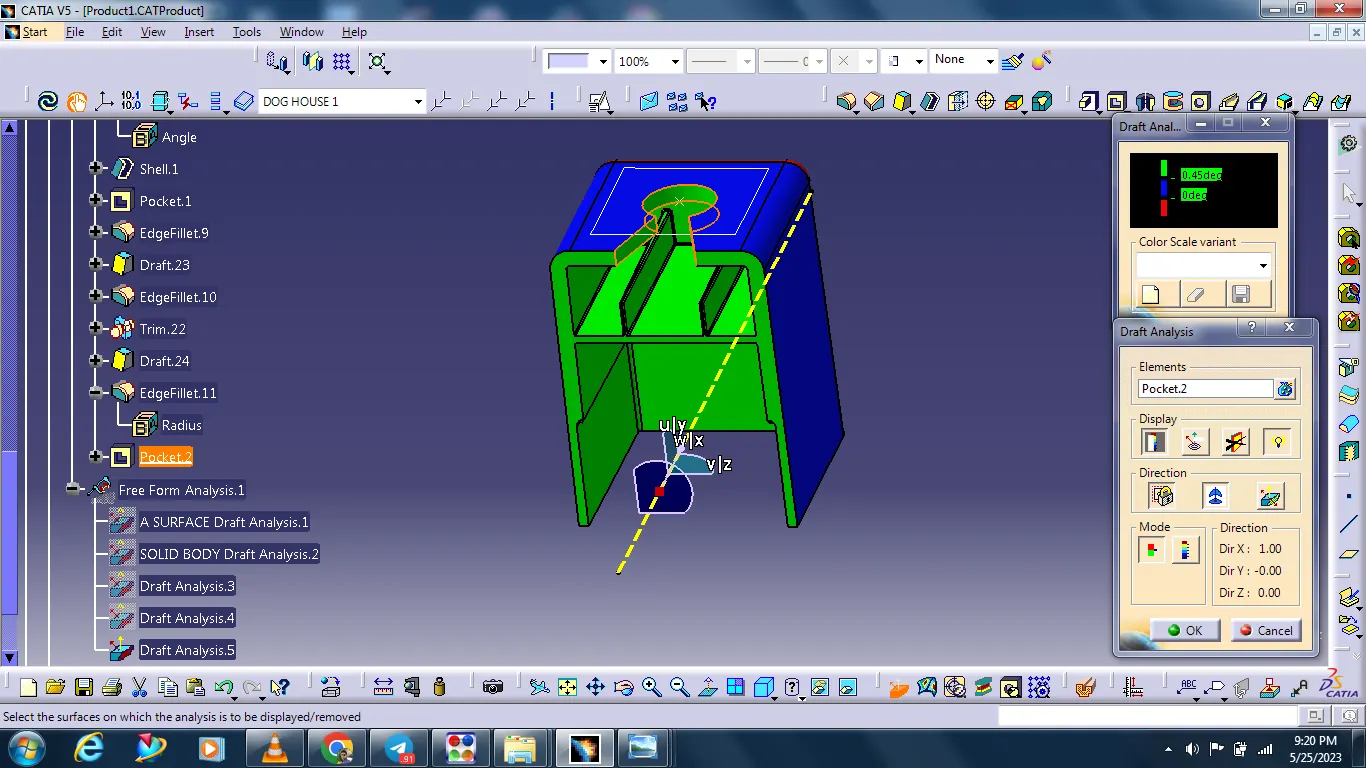
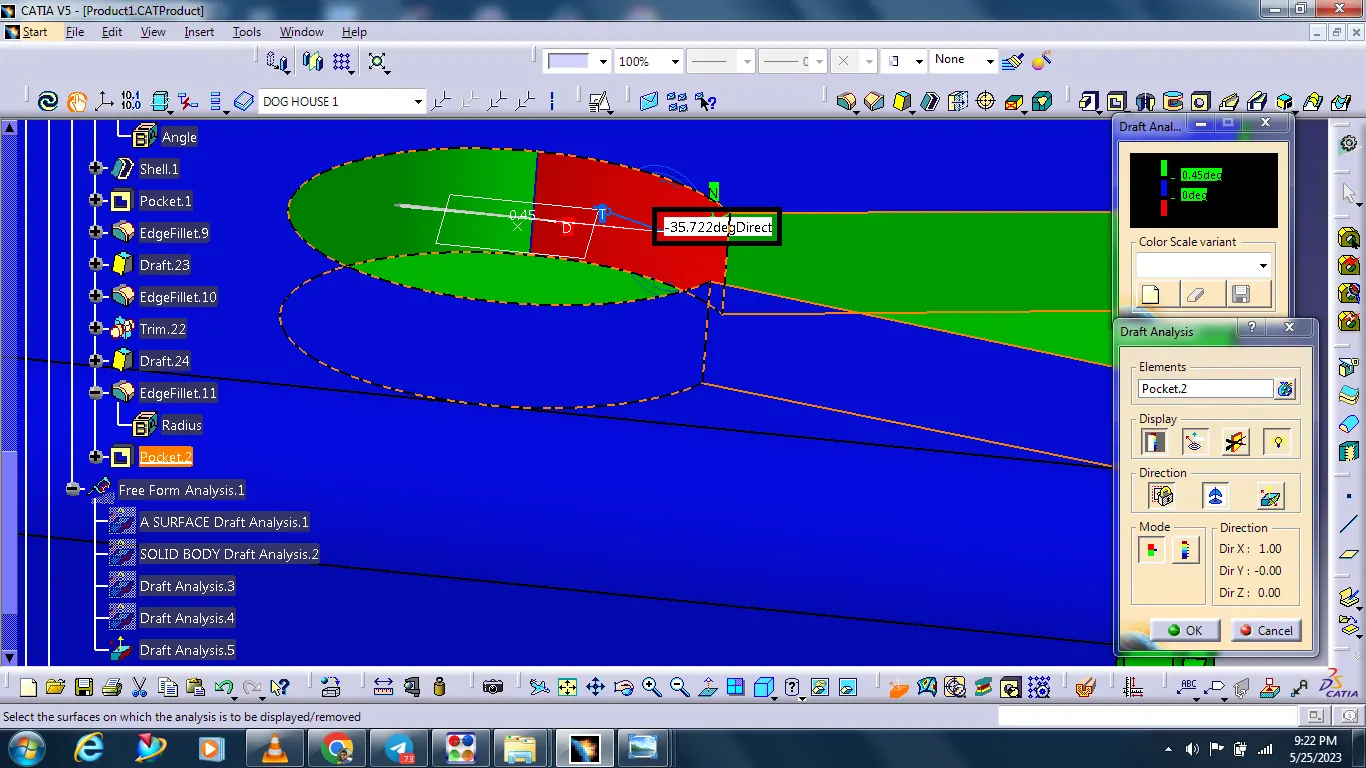
This area showing -35.72 deg.
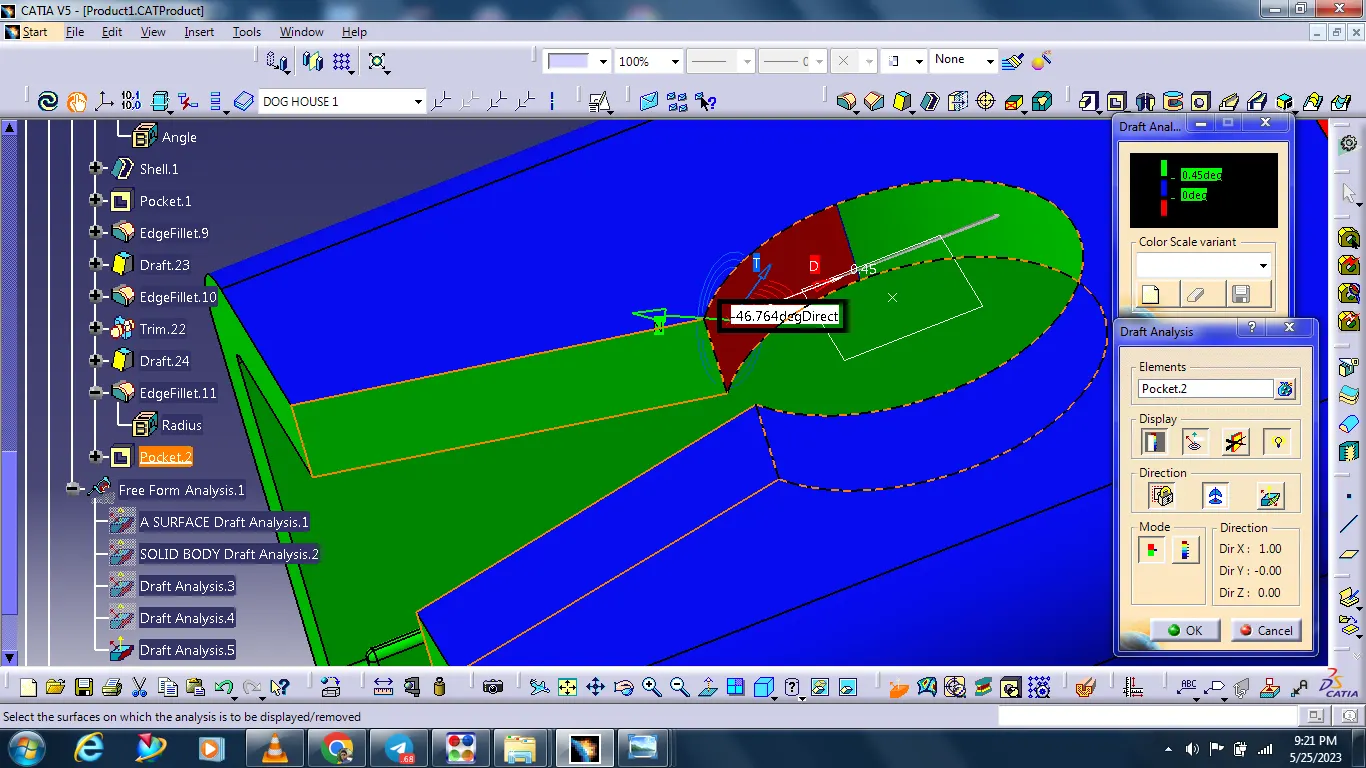
This area showing -46.76 deg.
Final assemble of lower substrates draft analysis checked 0.45deg.
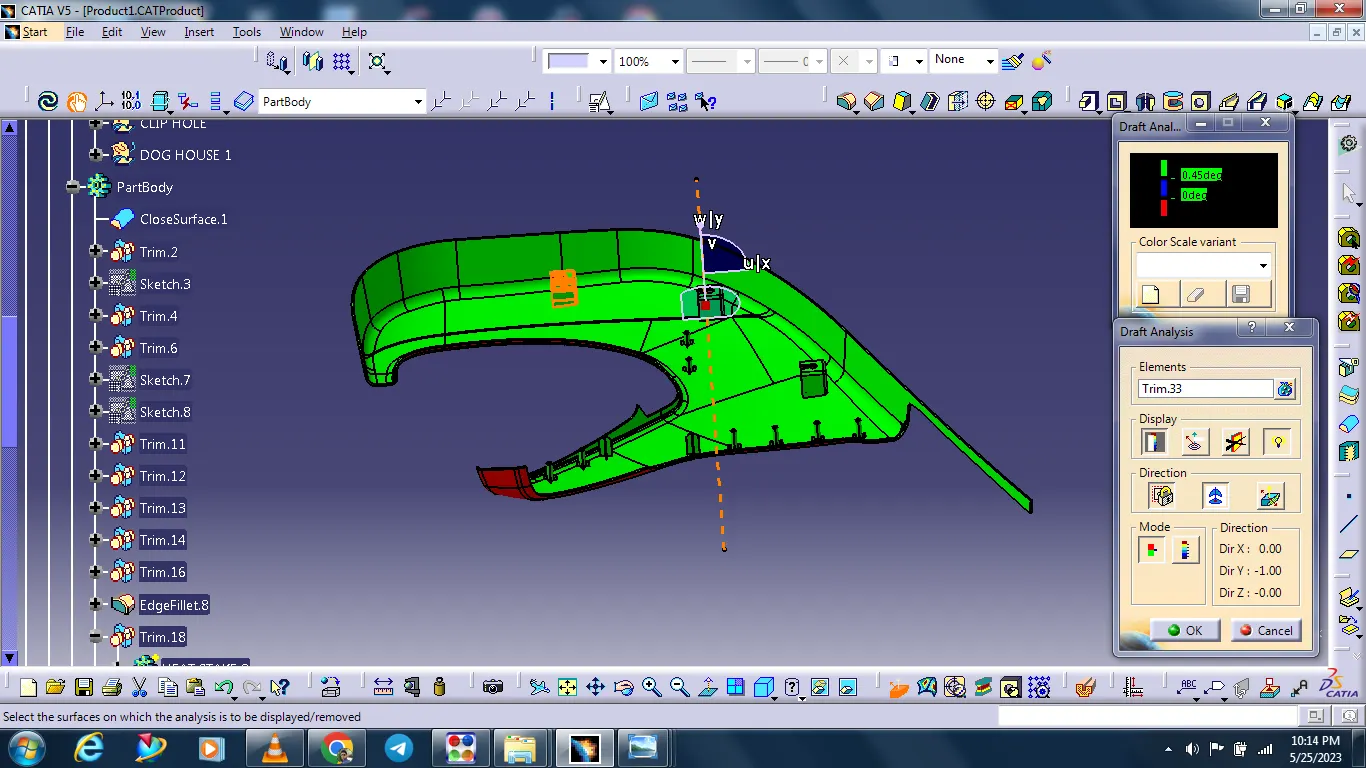
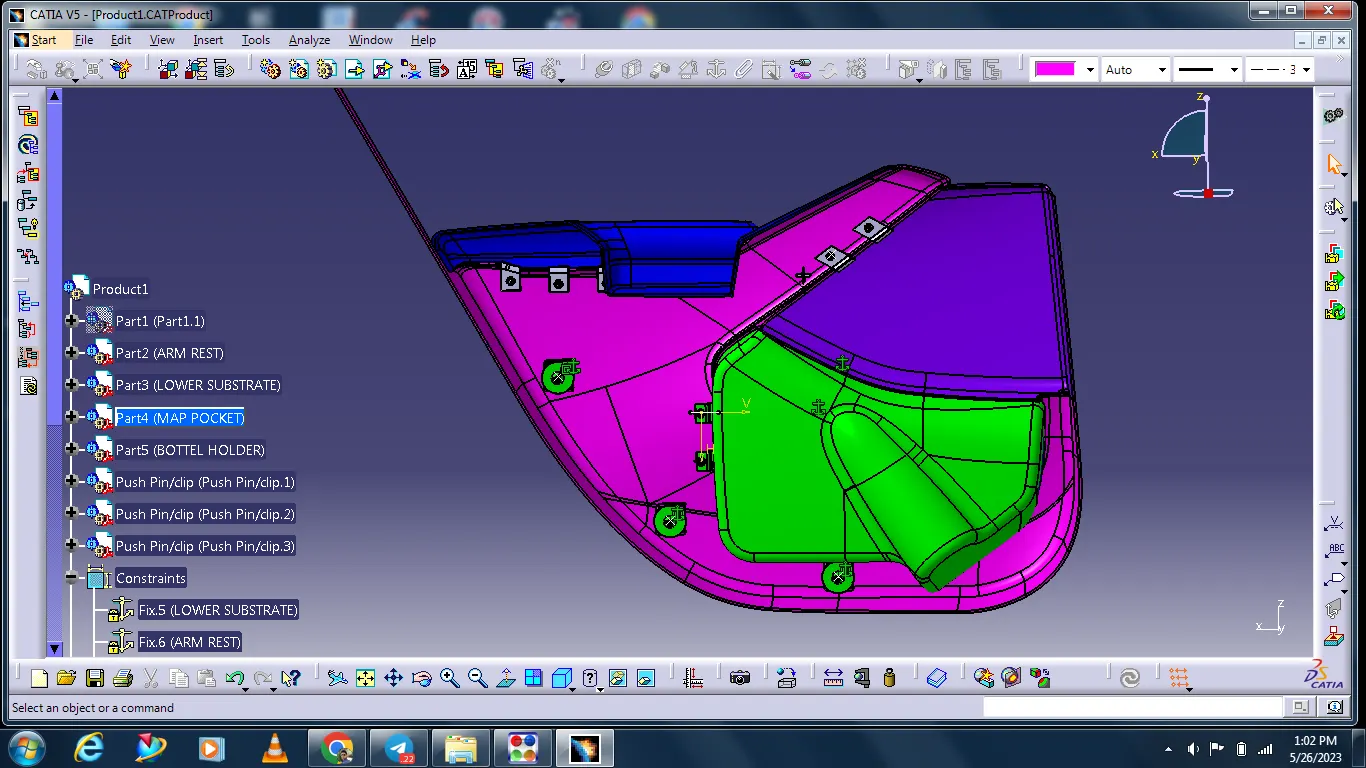
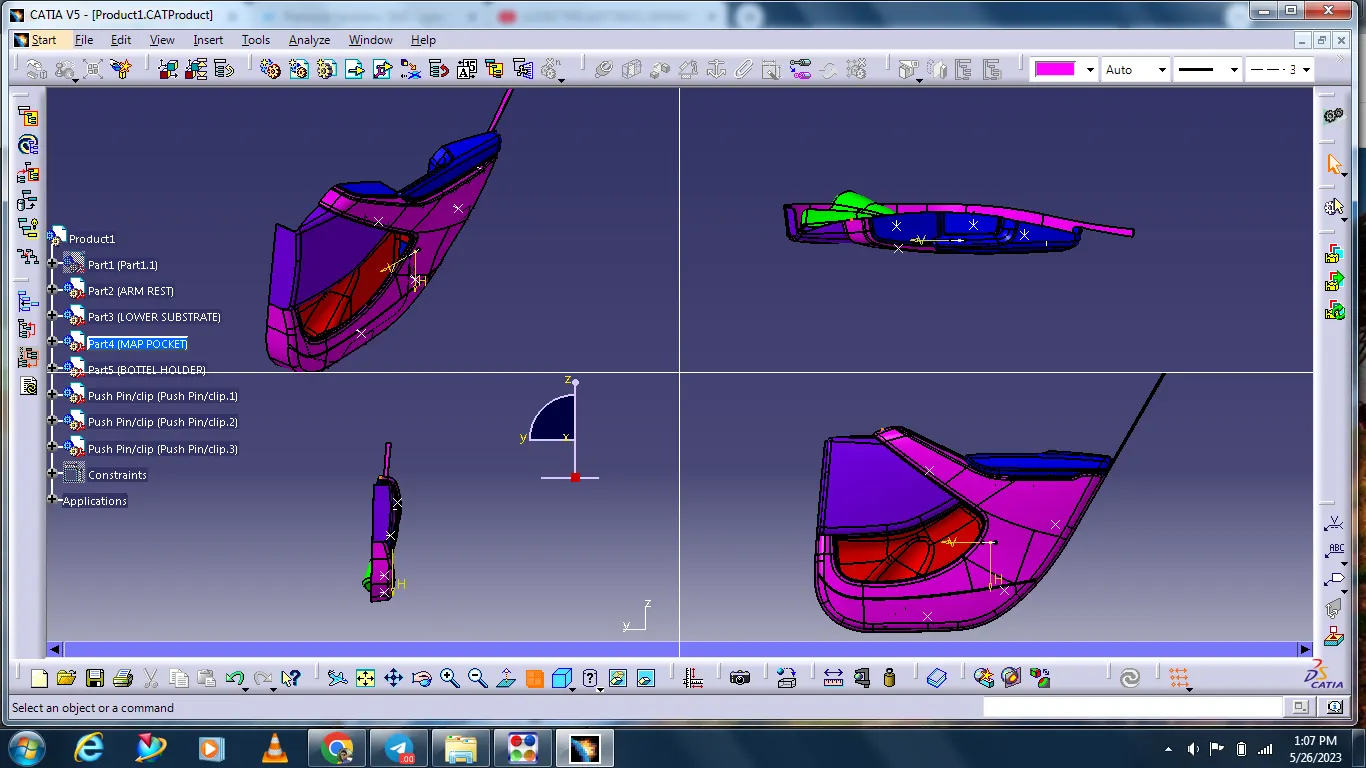
Assemble the clips.
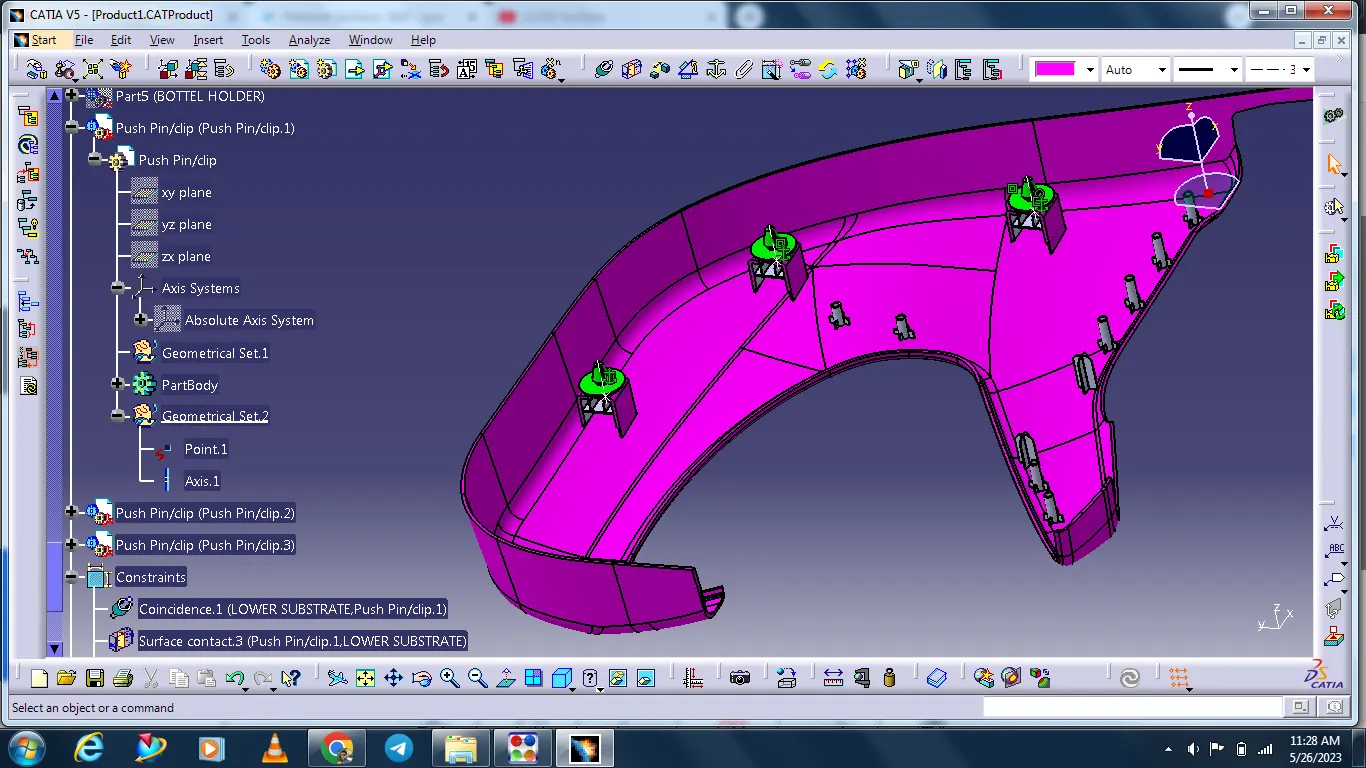
MAP POCKET
SURFACE A CLASS
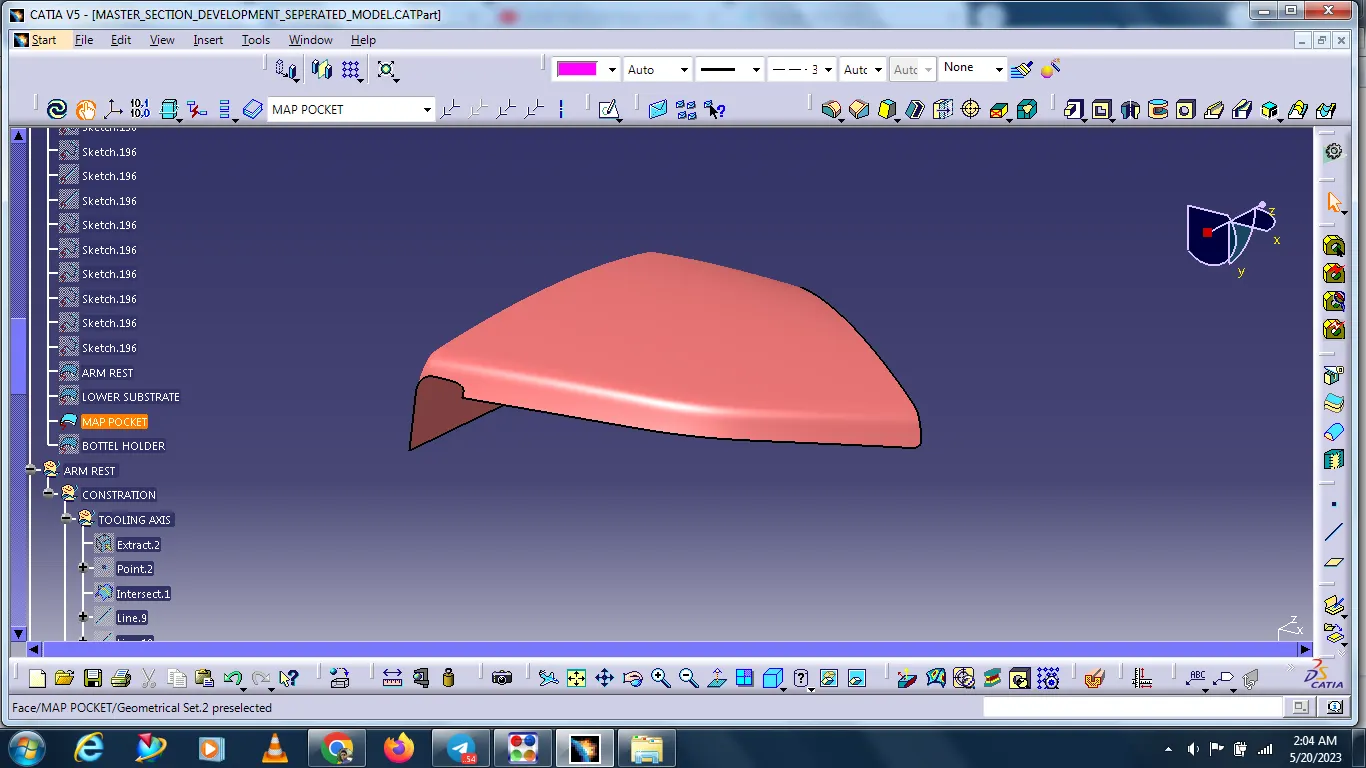
TOOLING AXIS
Extract the surface select the point and creat the line and given the direction.
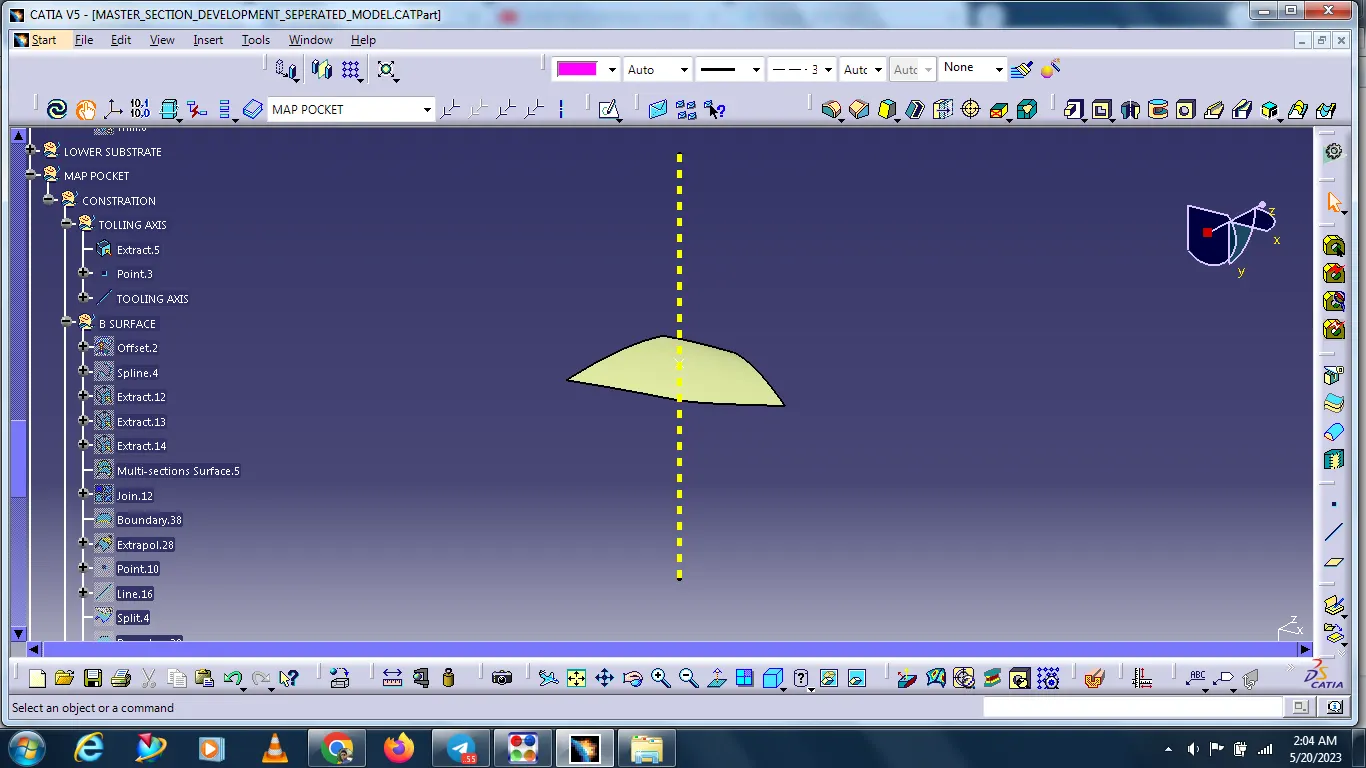
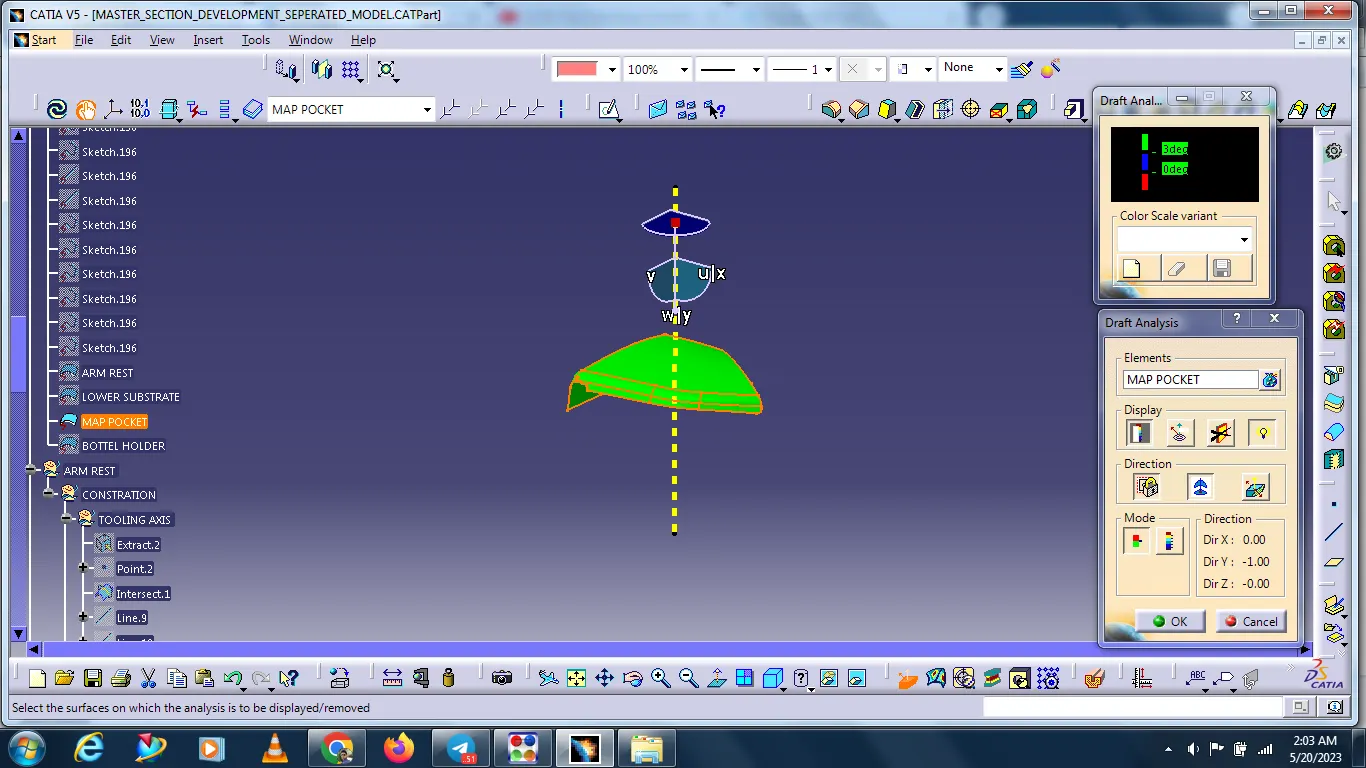
DRAFTING ANALYSIS:
Go to insert < analysis< feature draft analysis.
The compass is fixed on the tooling axis.
Then we click on the surface it shows a different colour. This colour is used to analysis the drafting value of the surface with the help of an analysis table.
It will show the draft angle of the class A surface.
SURFACE B CLASS CREATION:
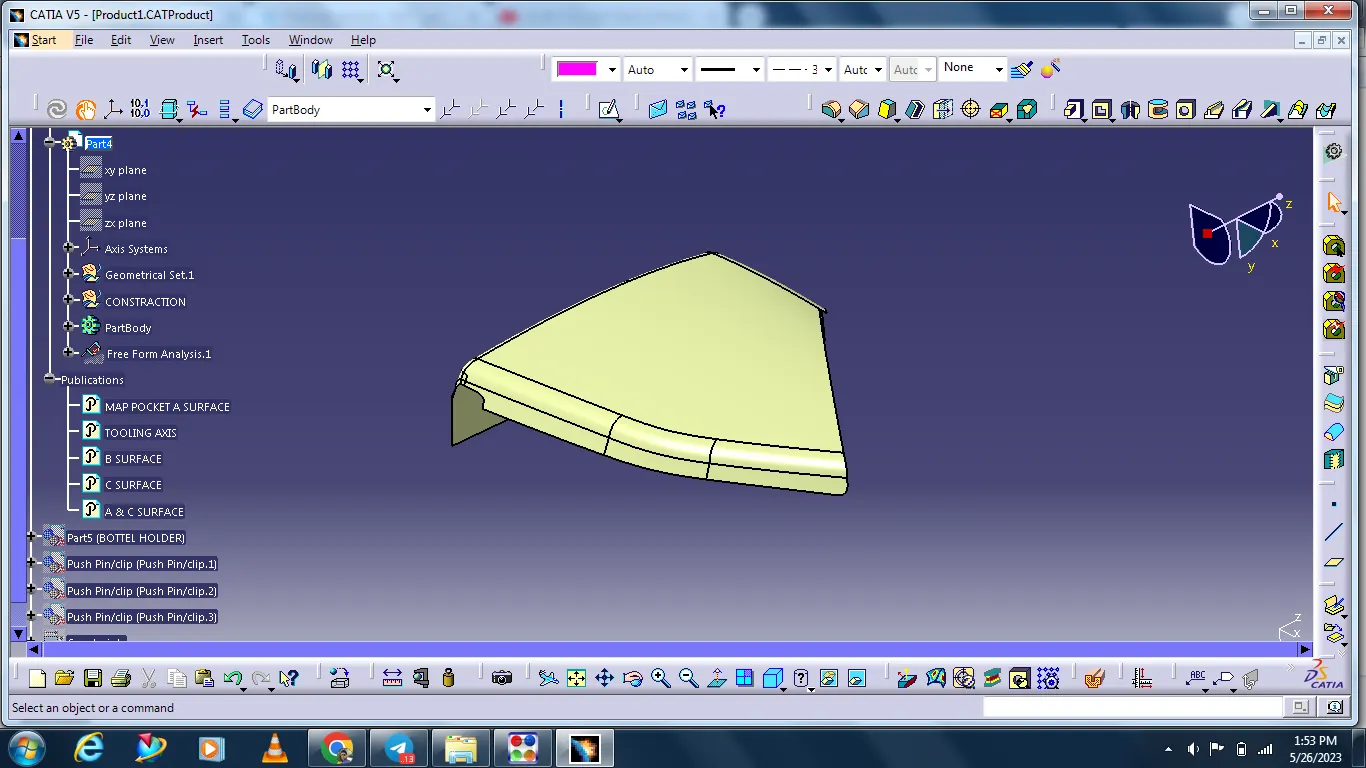
Following procedures are used to create surface B class.
We directly offset as per master section 2.5mm distance inside with the help of offset comment for b surface
Some discontinuous surface filled with commands like extrapolated, Multi section etc.
If we need any boundary expand with the help of extrapolated commands.
Finally, we got surface B class.
SURFACE C CLASS CREATION:
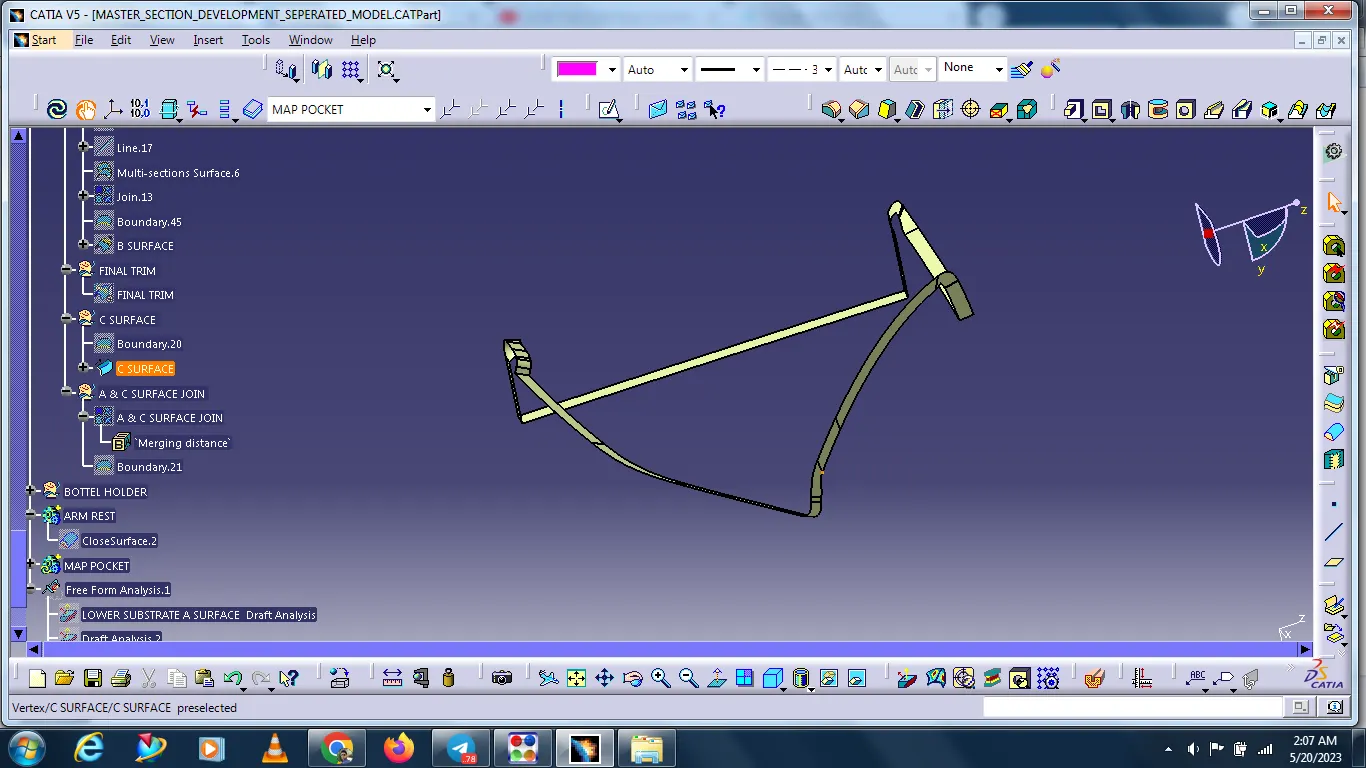
Using boundary commond to create the boundary lines separately on side edges of class A surface
Reference surface option sweep comment is used to extrude the boundary lines.
Finally merge all sweep surface to get class C surface.
JOIN THE A & C SURFACE
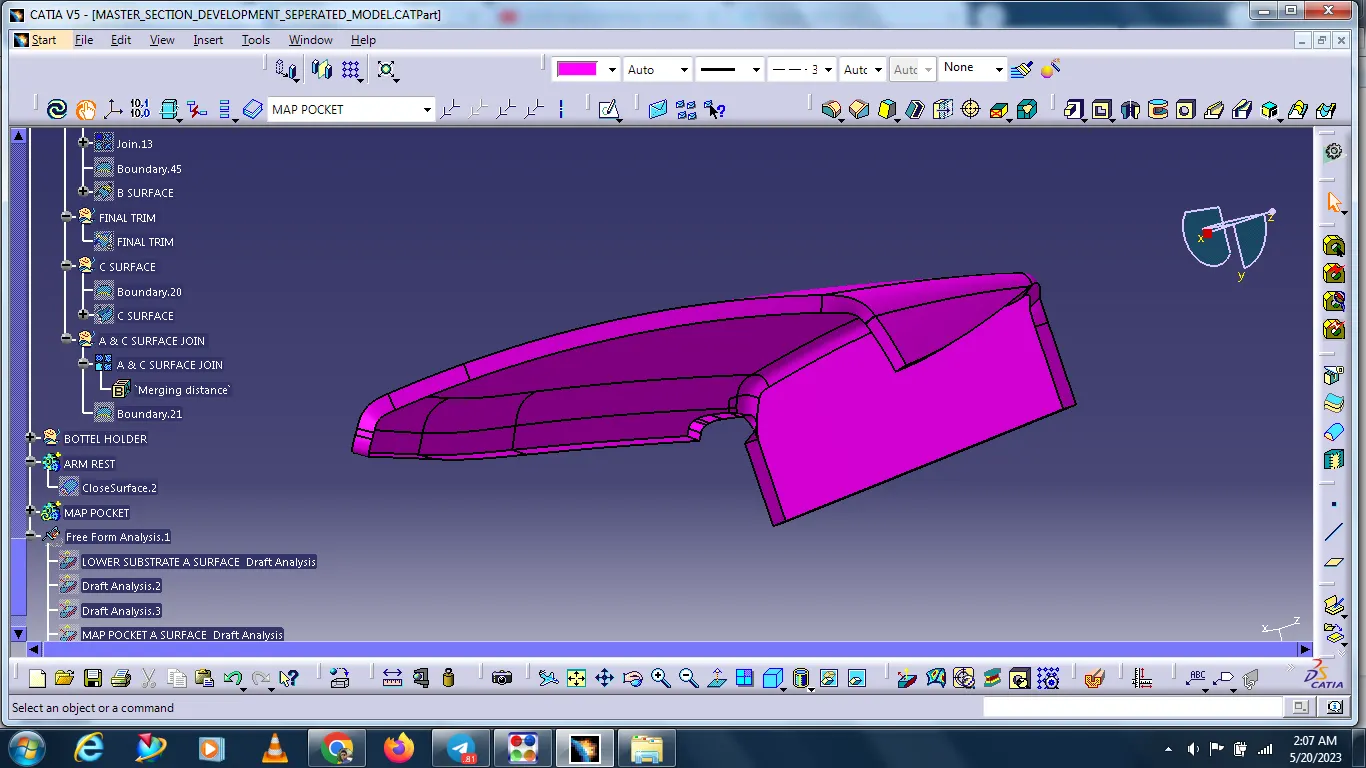
After joining the a&c surface doing next the final trim with the help of the B surface and create the solid body.
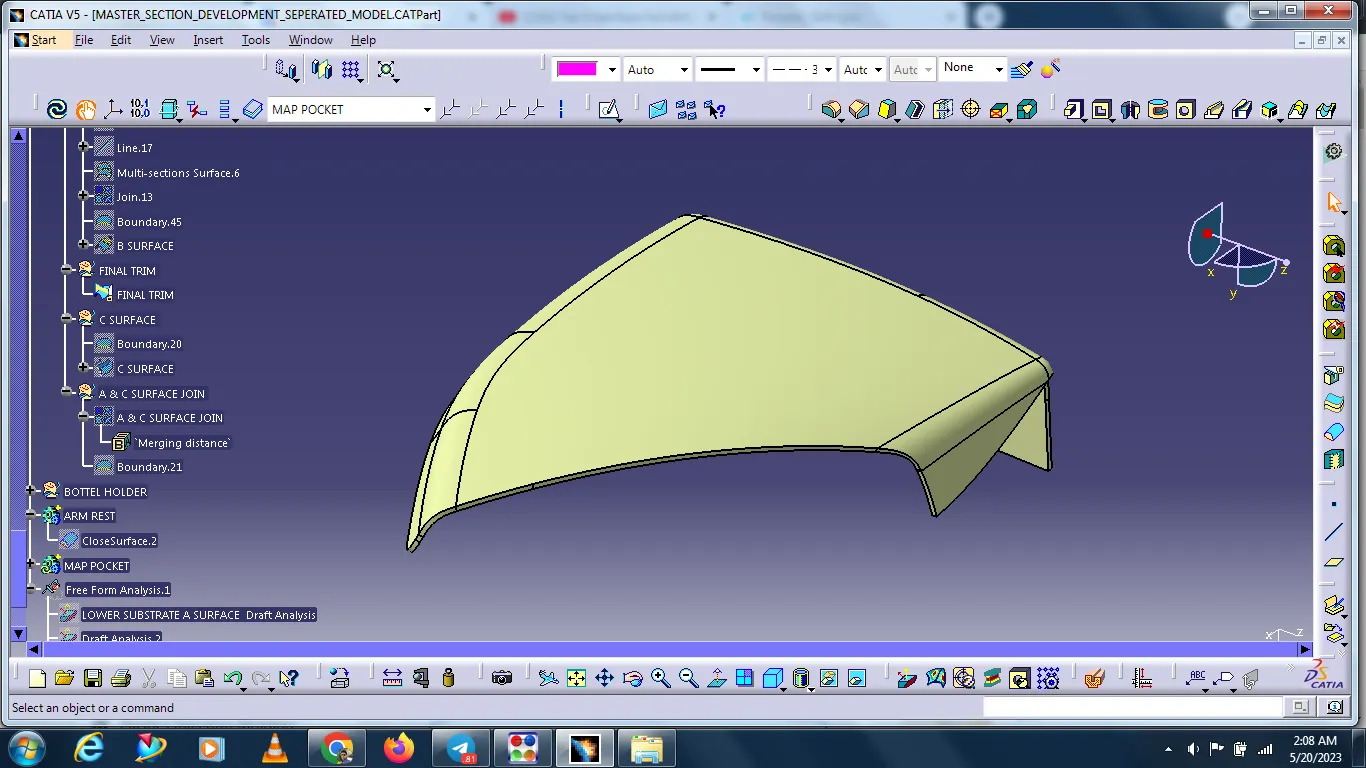
After completing the solid body doing next close surface.
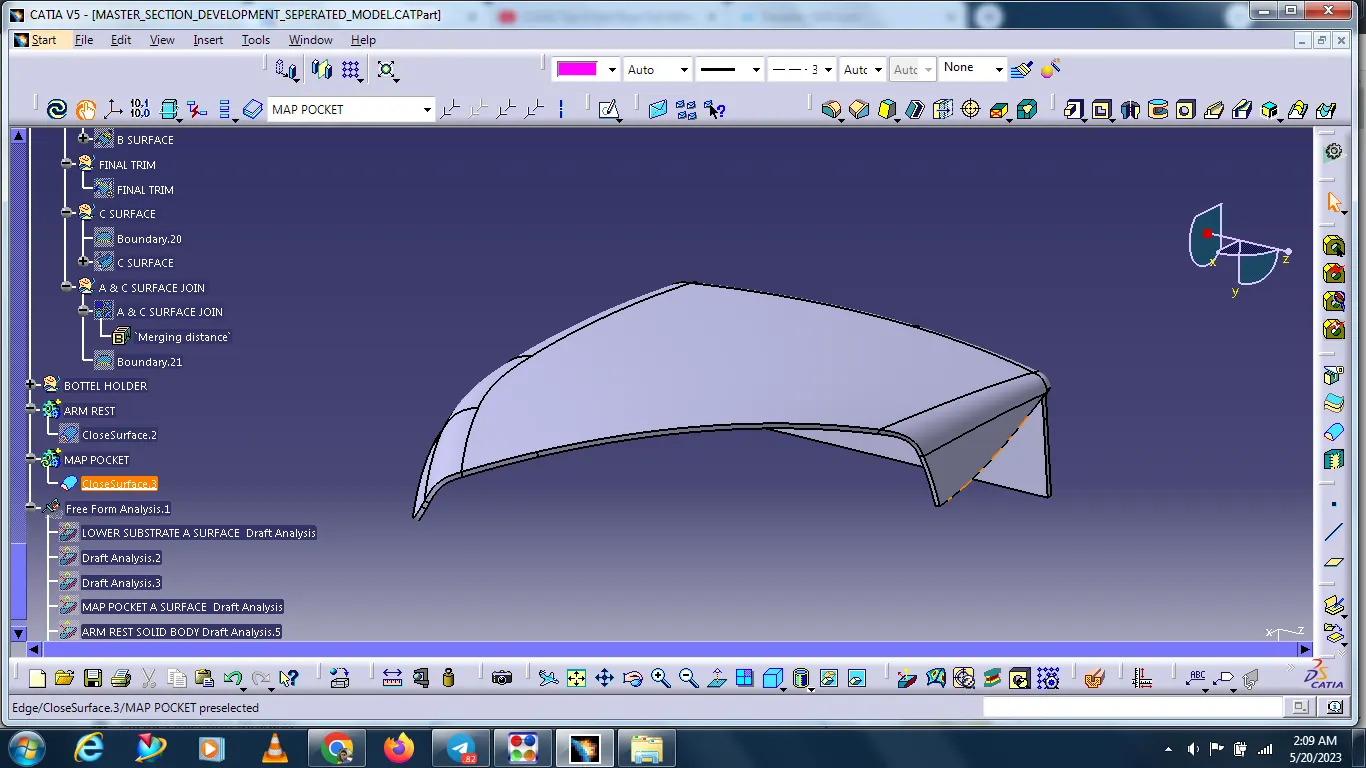
After close surface check the draft analysis 2.7 deg showing ok.
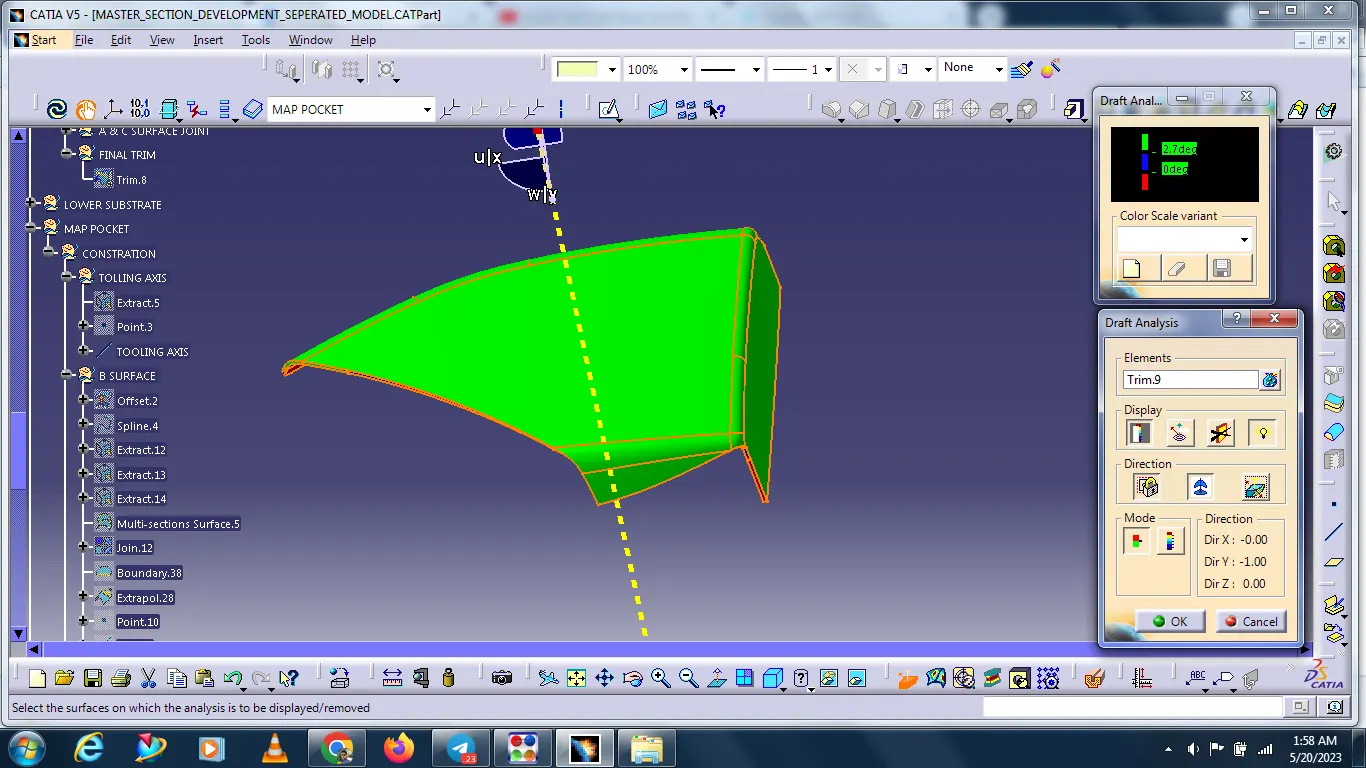
This area showing -.64 deg.
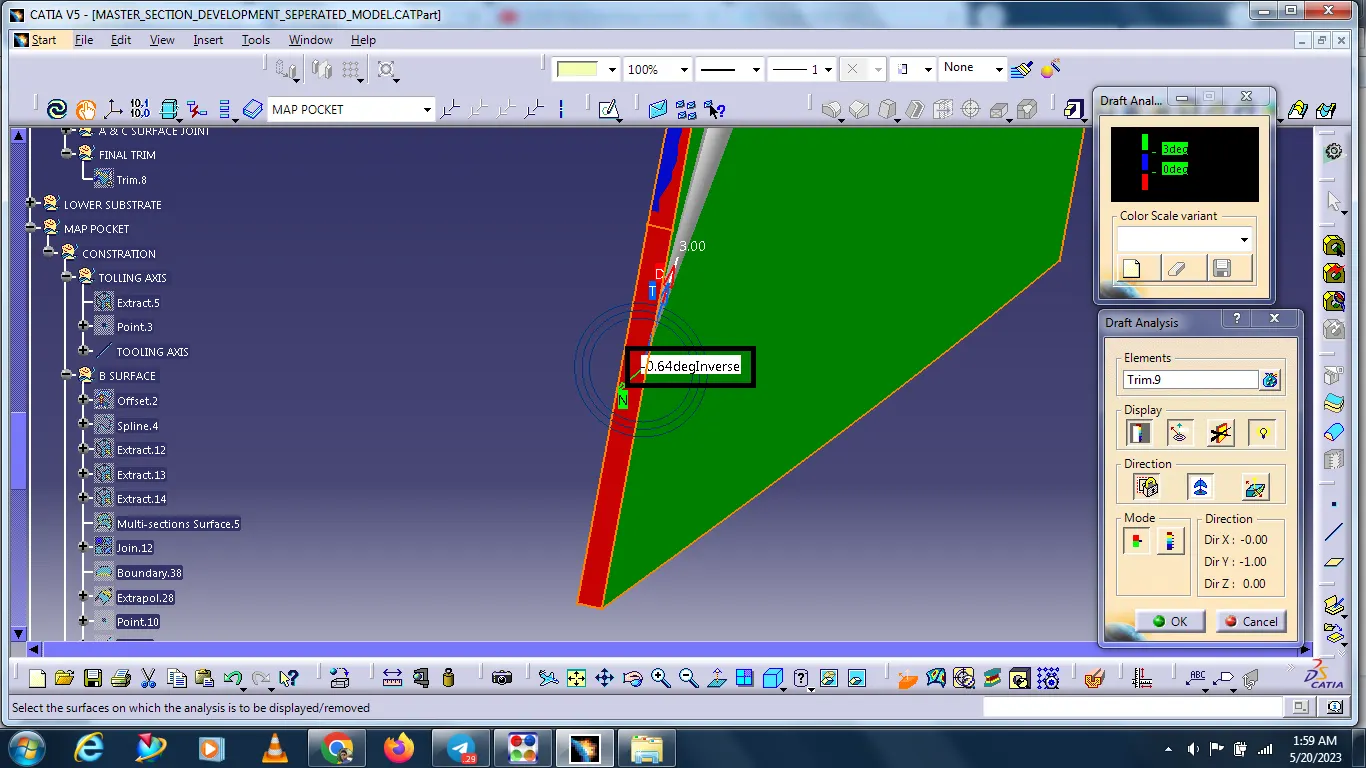
This area showing 0.44 deg.
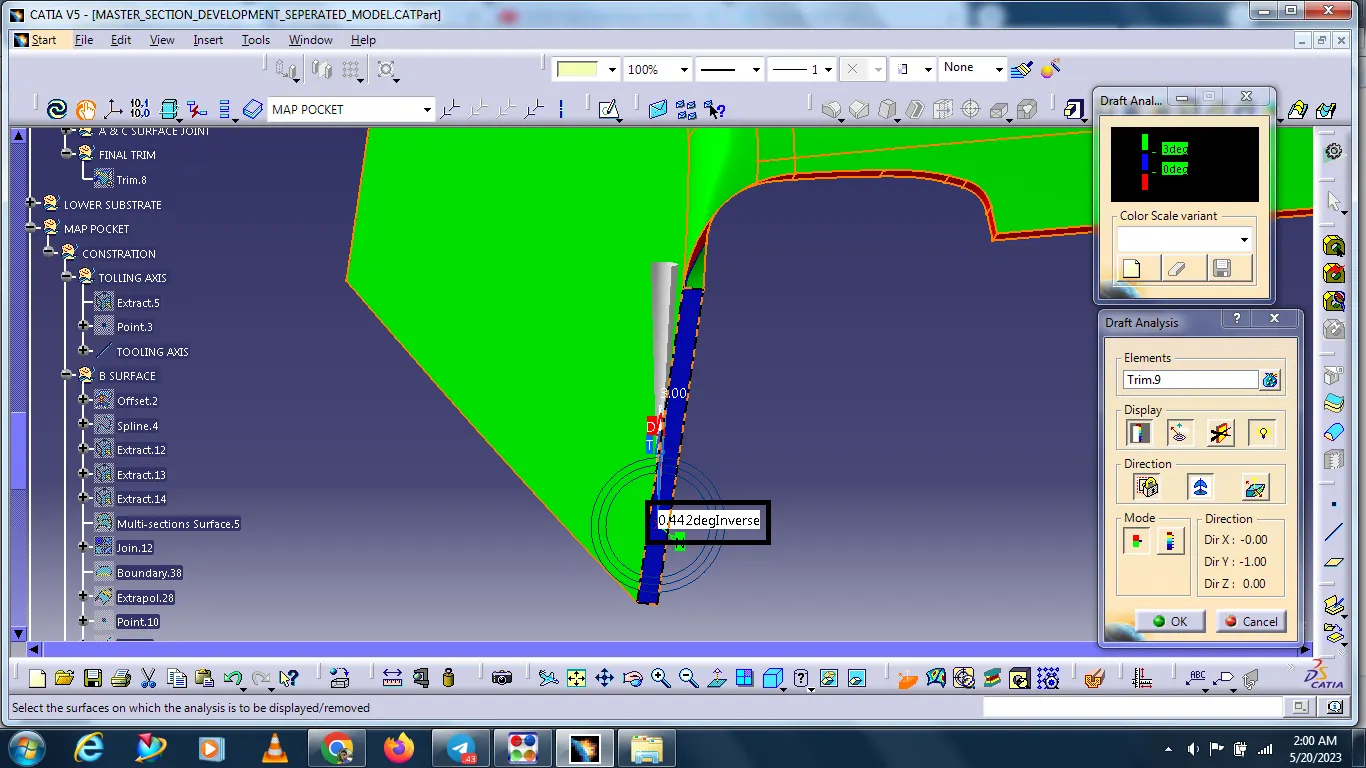
The flange area side also draft analysis checked 0.45 deg
BOTTEL HOLDER
SURFACE A CLASS
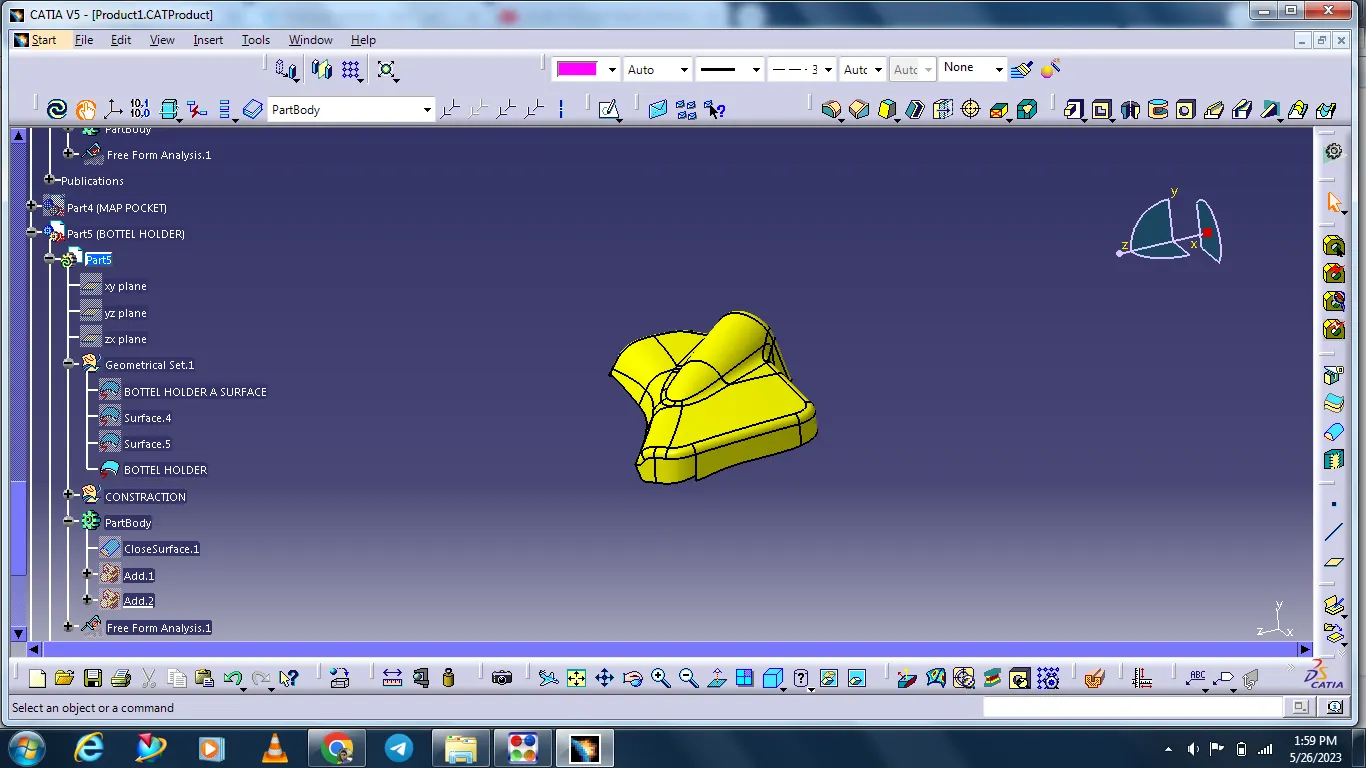
TOOLING AXIS
Extract the surface select the point and creat the line and given the direction.
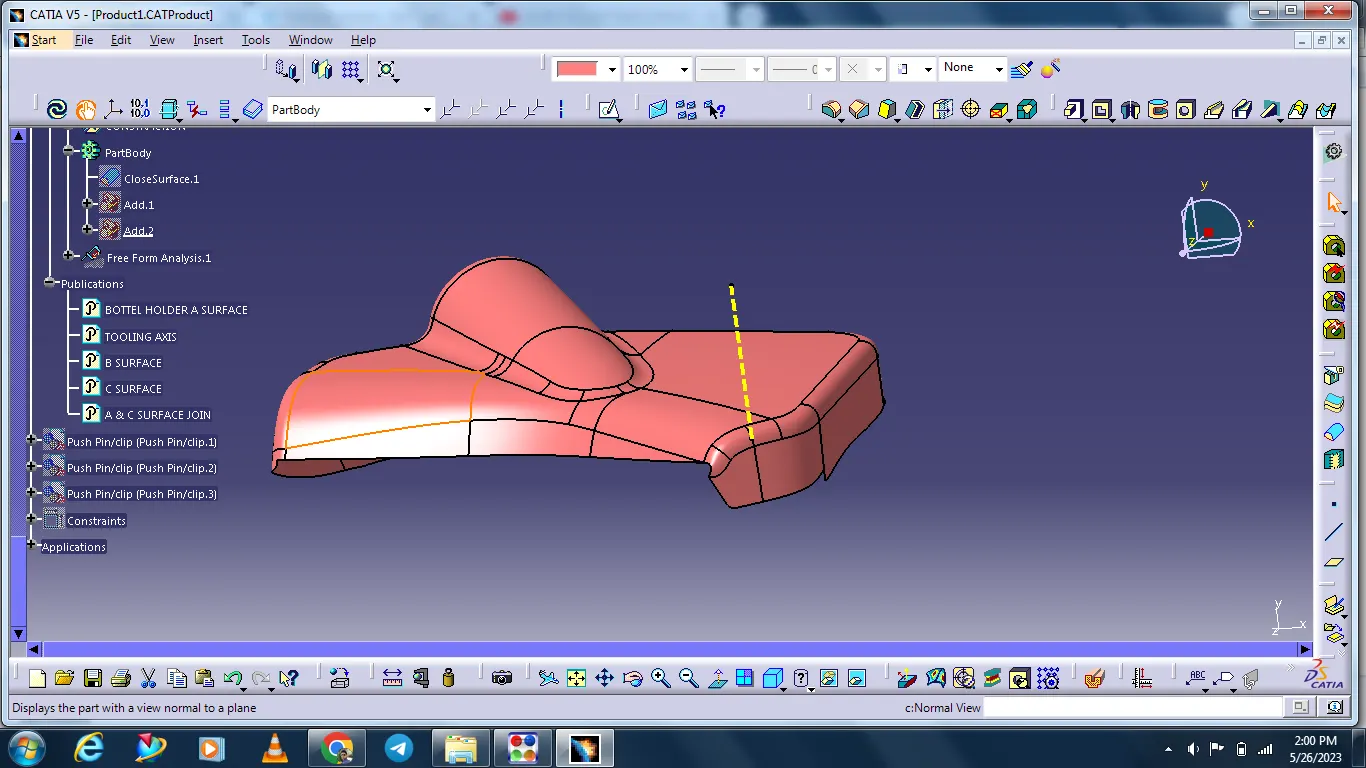
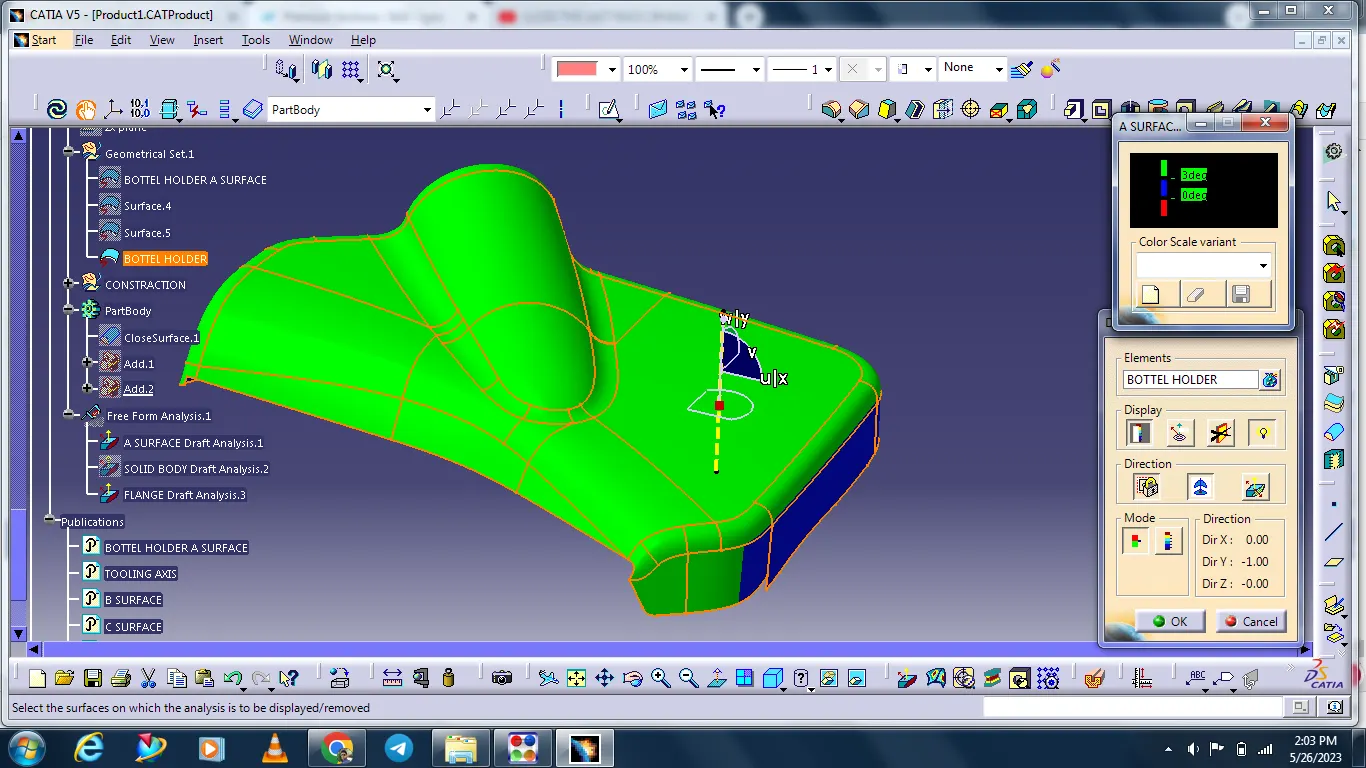
DRAFTING ANALYSIS:
Go to insert < analysis< feature draft analysis.
The compass is fixed on the tooling axis.
Then we click on the surface it shows a different colour. This colour is used to analysis the drafting value of the surface with the help of an analysis table.
It will show the draft angle of the class A surface.
SURFACE B CLASS CREATION:
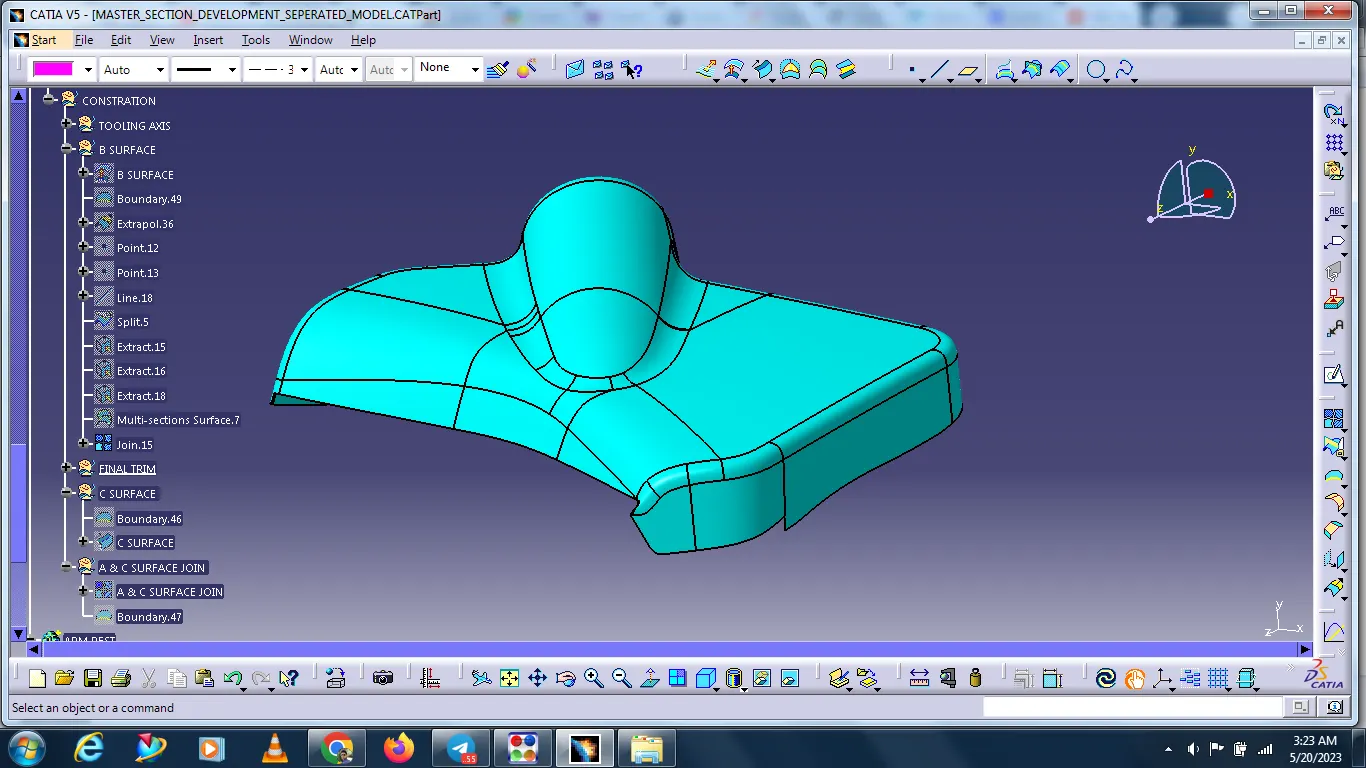
Following procedures are used to create surface B class.
We directly offset as per master section 2.5mm distance inside with the help of offset comment for b surface
If we need any boundary expand with the help of extrapolated commands.
Finally, we got surface B class.
SURFACE C CLASS CREATION:
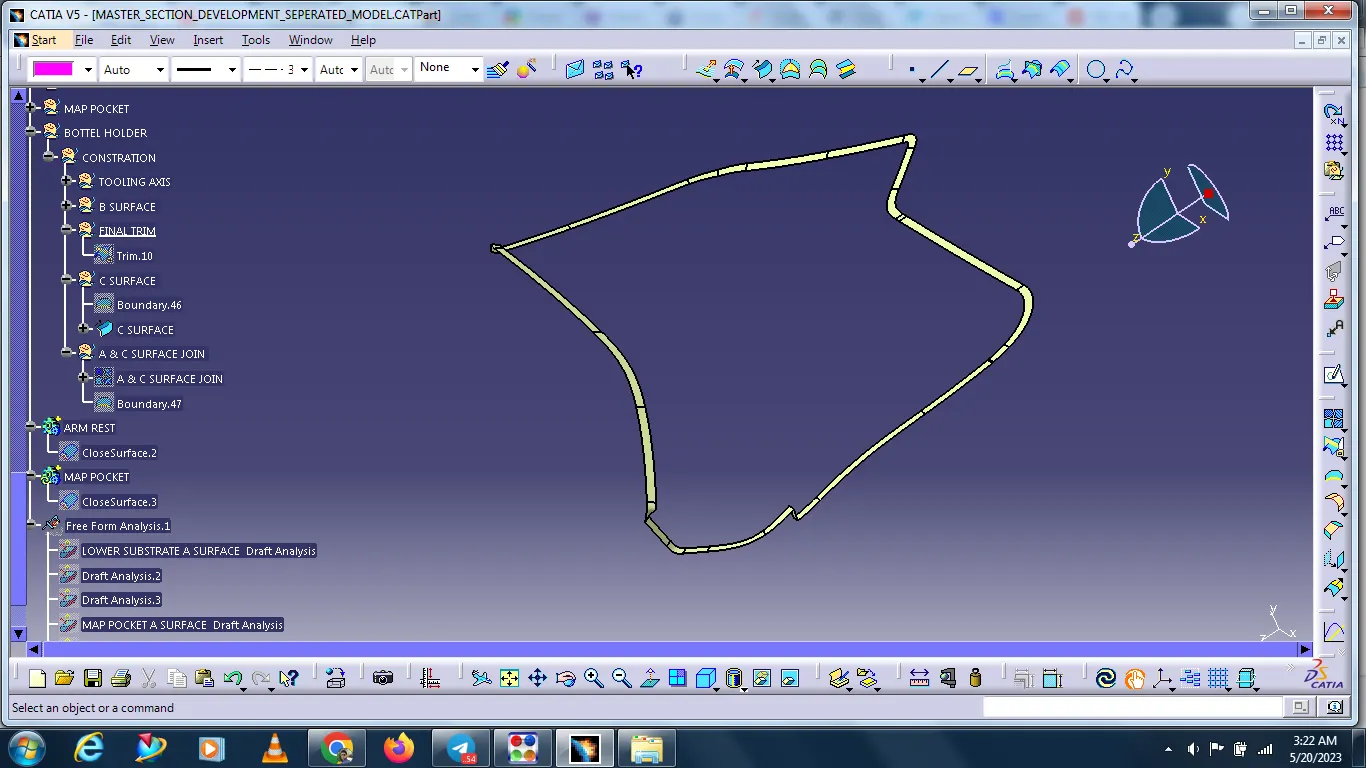
Using boundary commond to create the boundary lines separately on side edges of class A surface
Reference surface option sweep comment is used to extrude the boundary lines.
Finally merge all sweep surface to get class C surface.
JOIN THE A & C SURFACE
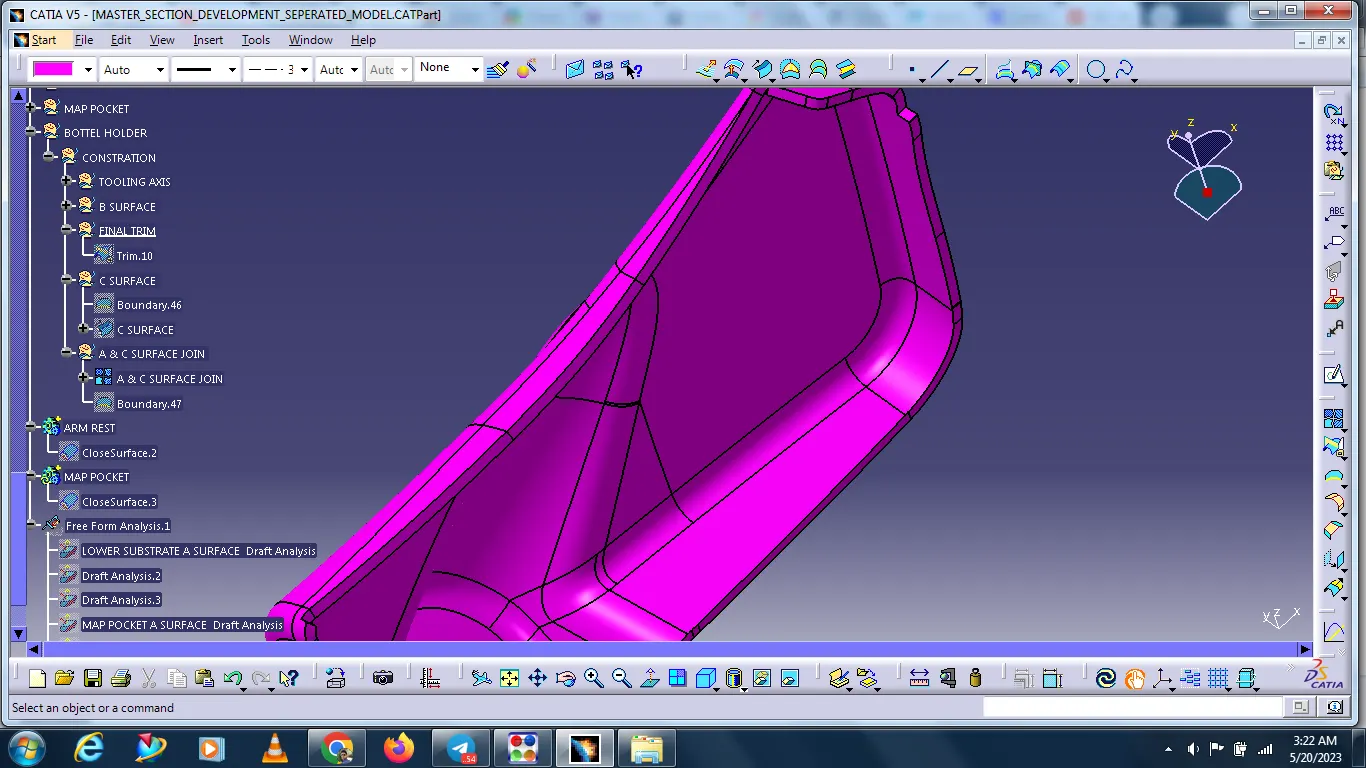
After joining the a&c surface doing next the final trim with the help of the B surface and create the solid body.
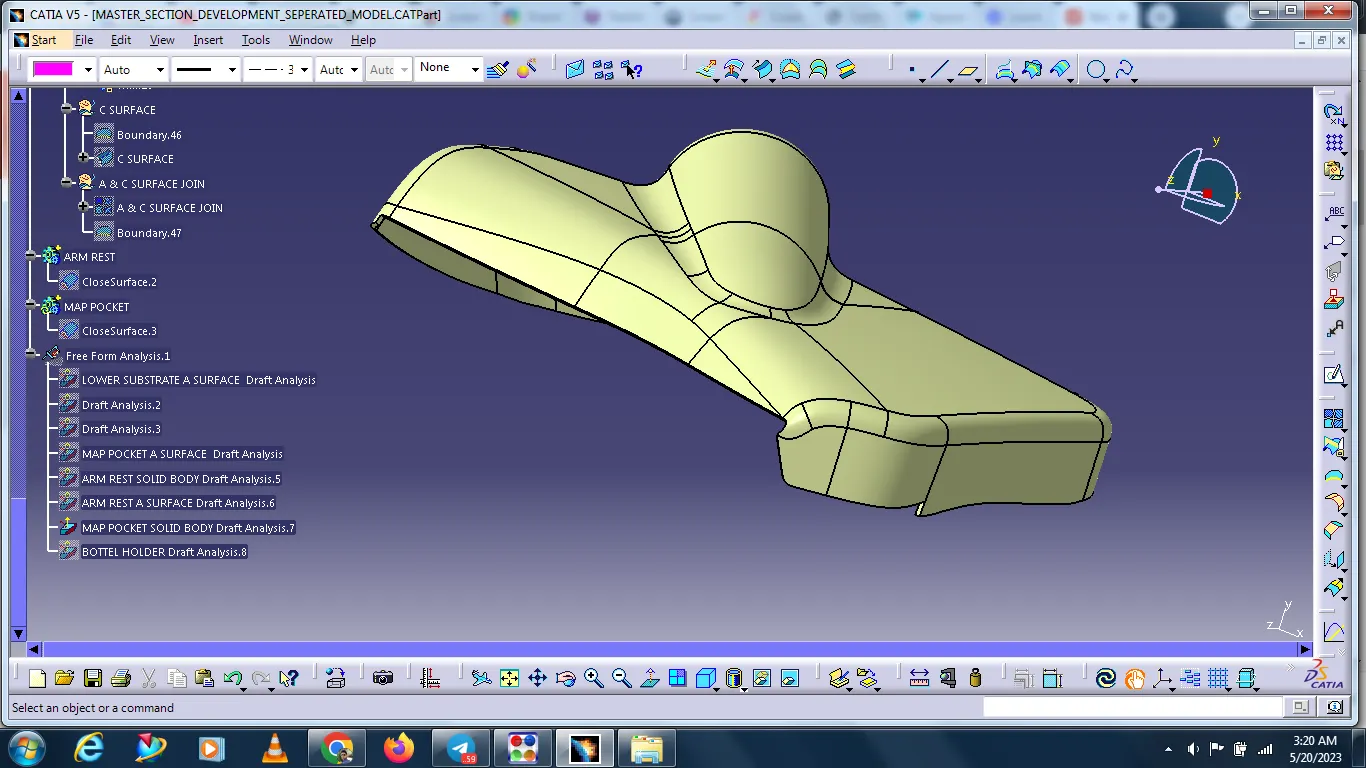
After completing the solid body doing next close surface.
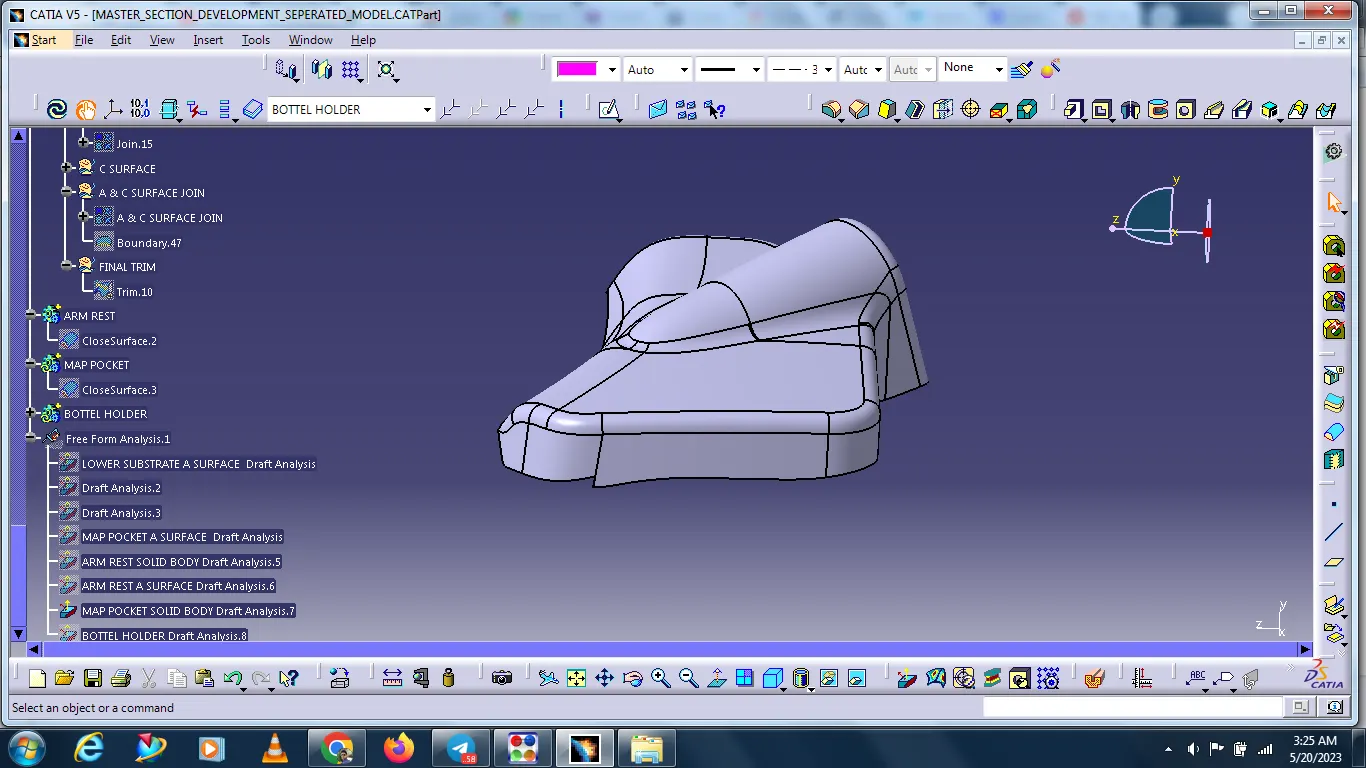
After close surface check the draft analysis 3 deg showing ok.
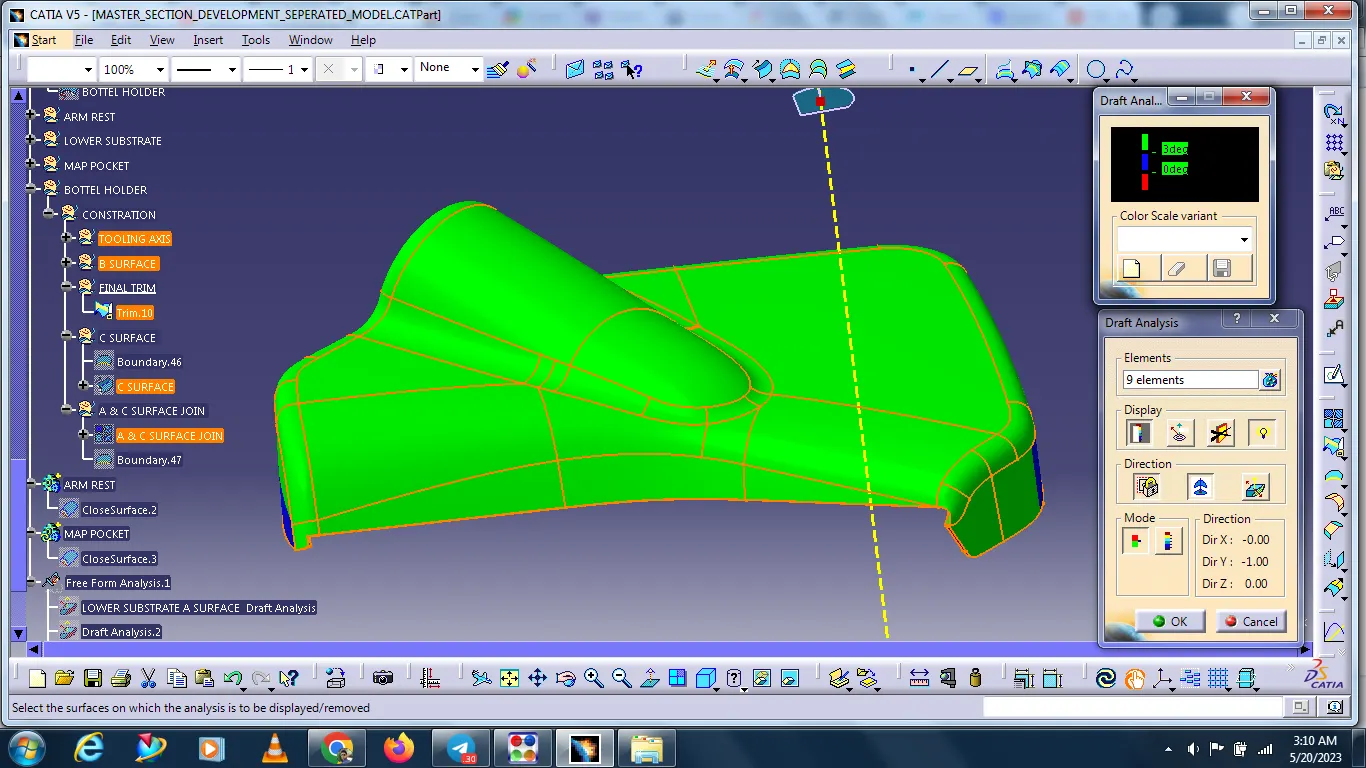
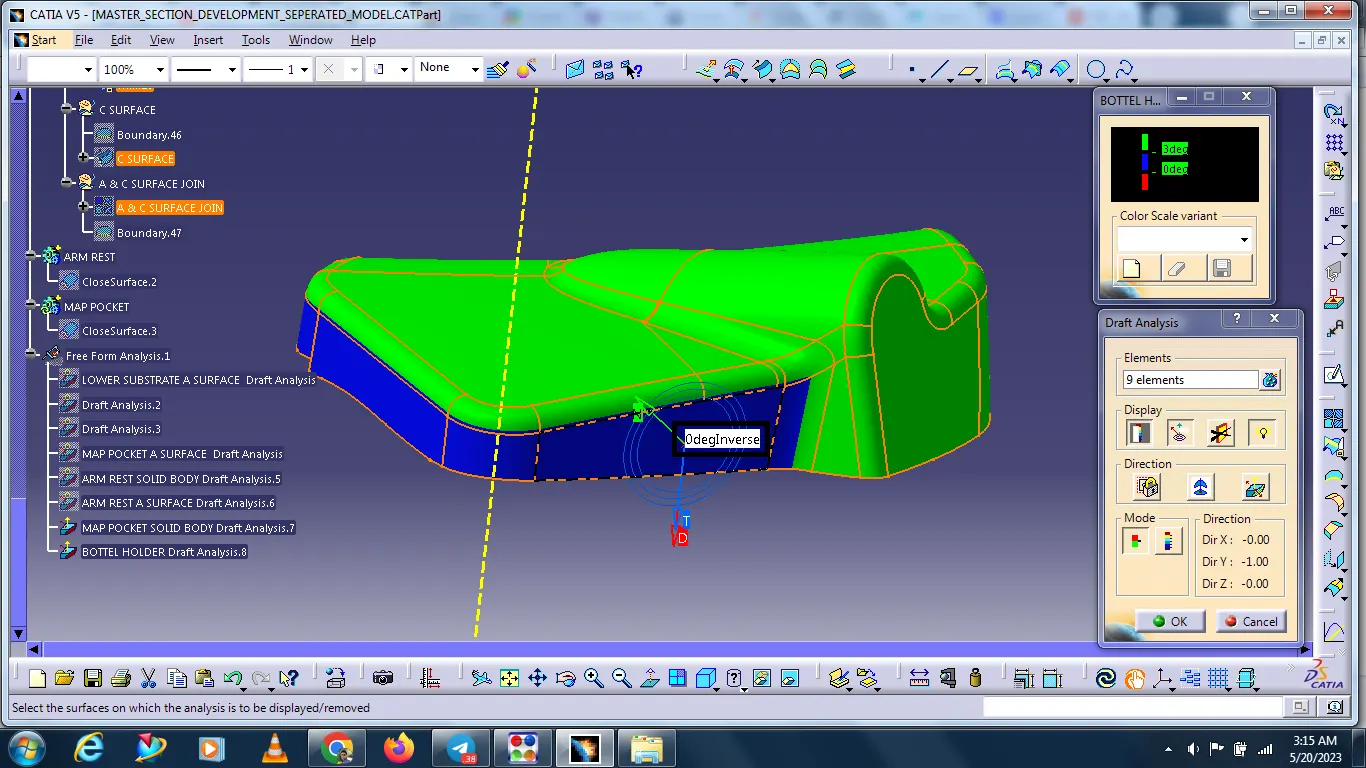
This area is showing 0 deg.
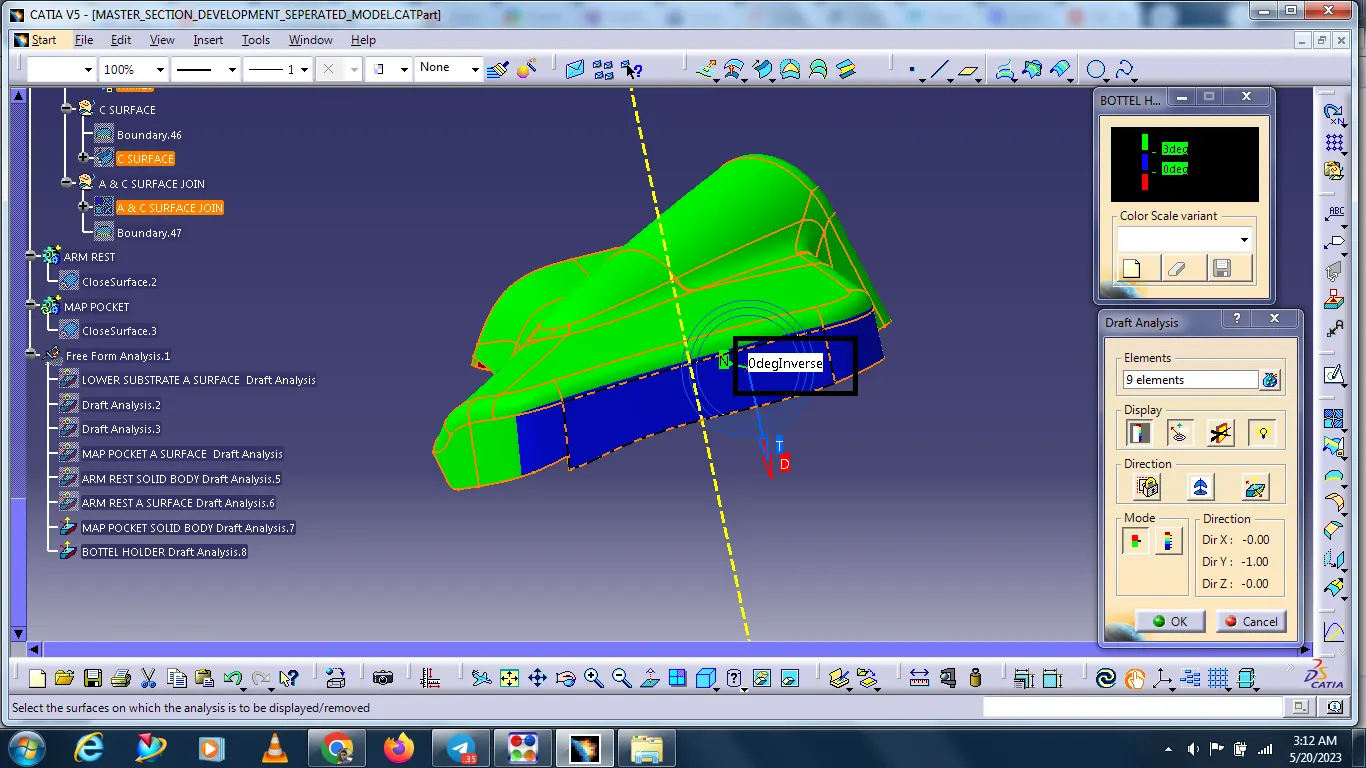
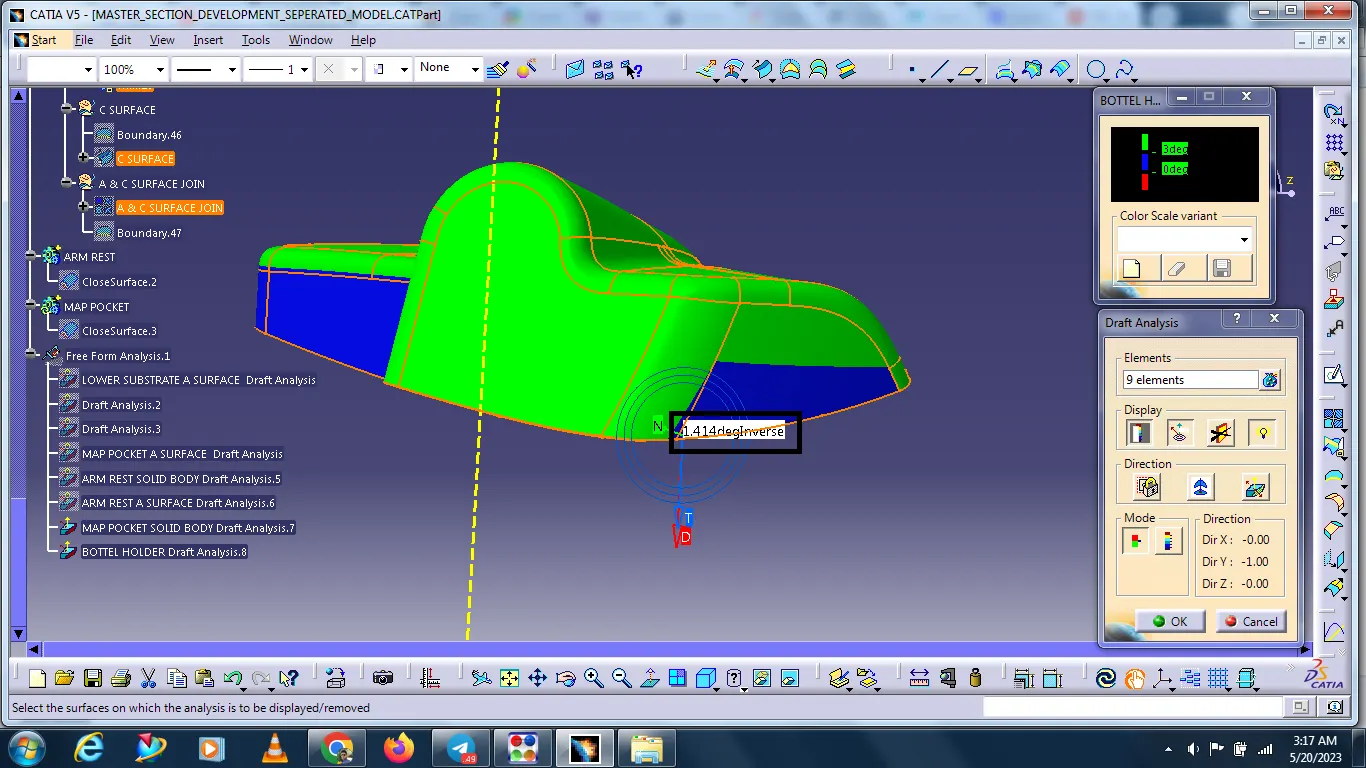
This area is showing 1.4deg.
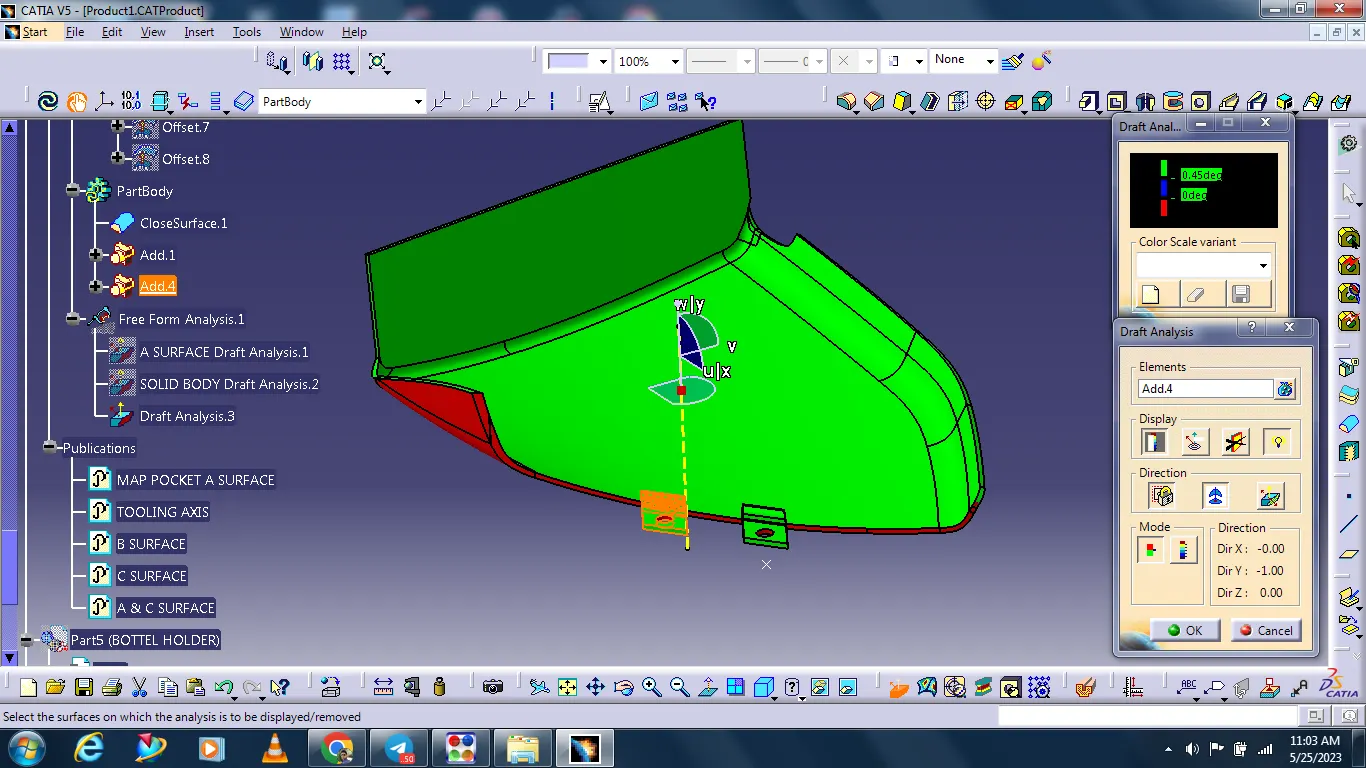
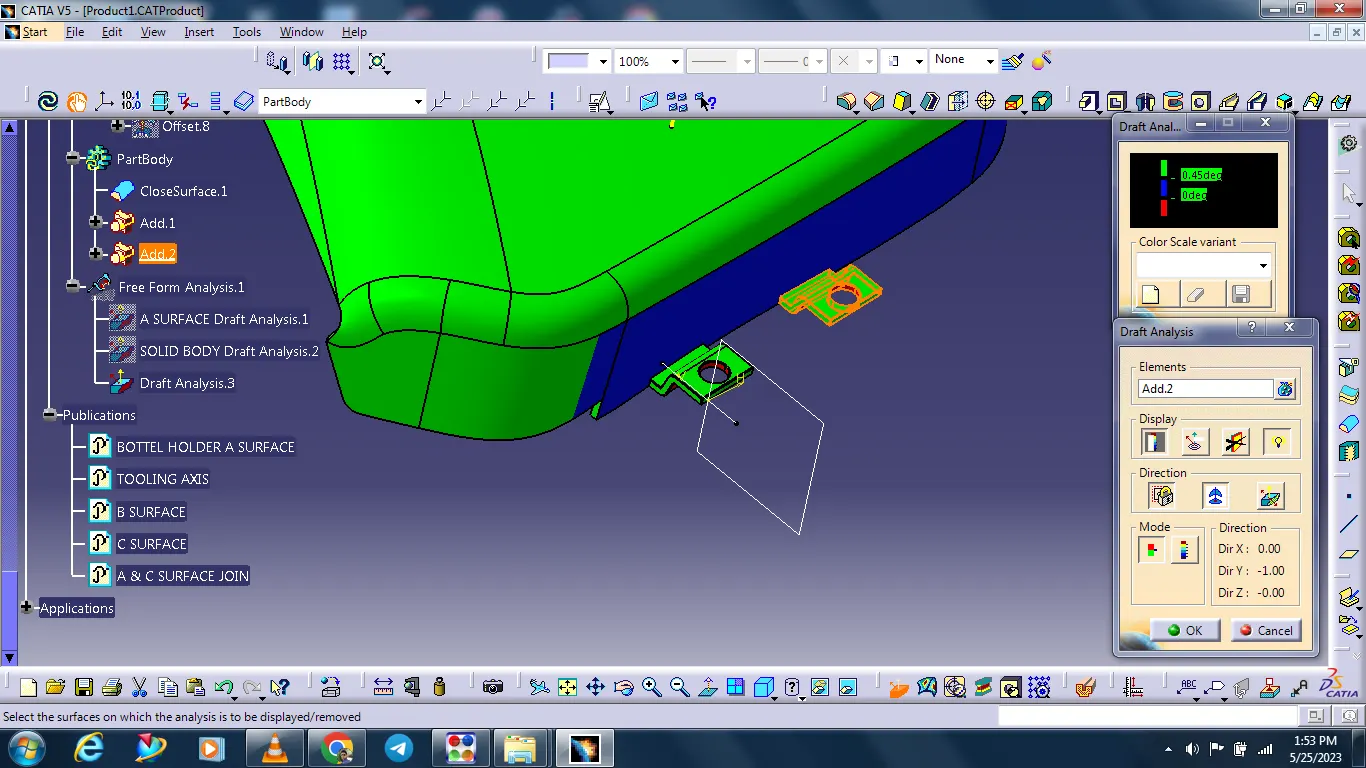
The flange area side also draft analysis checked 0.45 deg.
Complete the door assemble