Week 12- Final project
DEVELOPMENT OF A DOOR TRIM PANEL
Inputs given:
Class A Surface
Master Sections
Attachment Strategy (Push Pins)
Aim:
To develop the given class A surface into a completely manufacturable product. The nominal thickness of the component as per the master sections is 2.5mm, and the pushpins were provided. We need to find the attachment strategy for heat stakes and the locators as per the design rule of 50mm space between each heat stake and ribs should be provided for the heat stakes to strengthen them. Finally need to determine the position of the dog house for fixing the push pins.
Procedure:
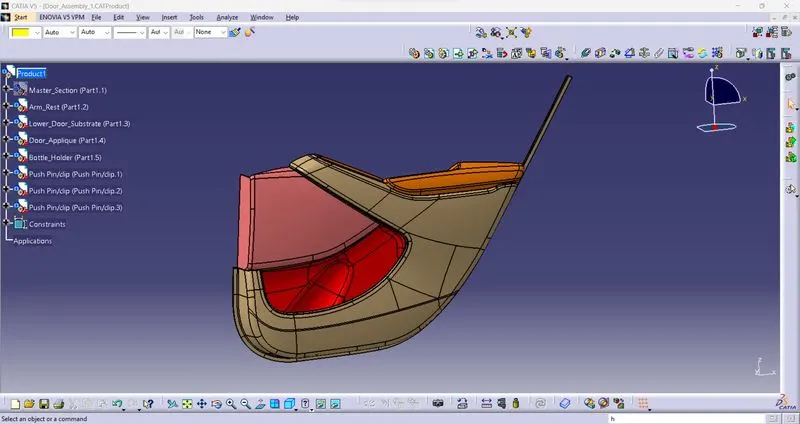
Starting from importing or copying the files to an assembly file and renaming the existing class A surface regarding the product like armrest, door lower substrate, door applique, and bottle holder respectively.
After renaming the parts in the assembly, select the specific part to edit the component. Starting with the creation of the main tooling axis, which is the primary part of the design. It determines the tooling direction of the component.
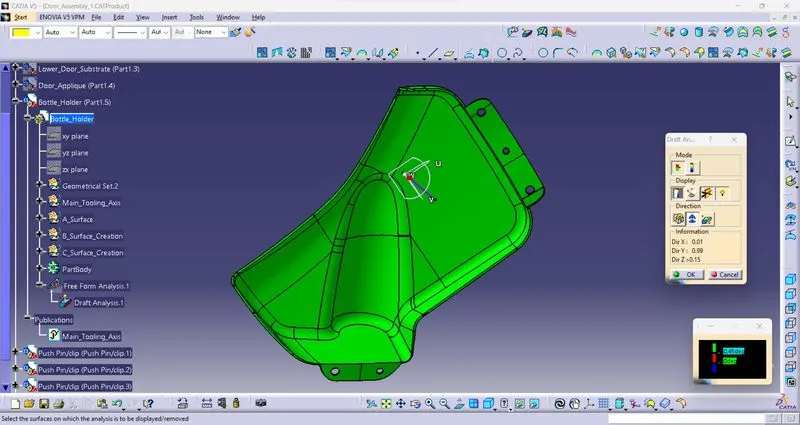
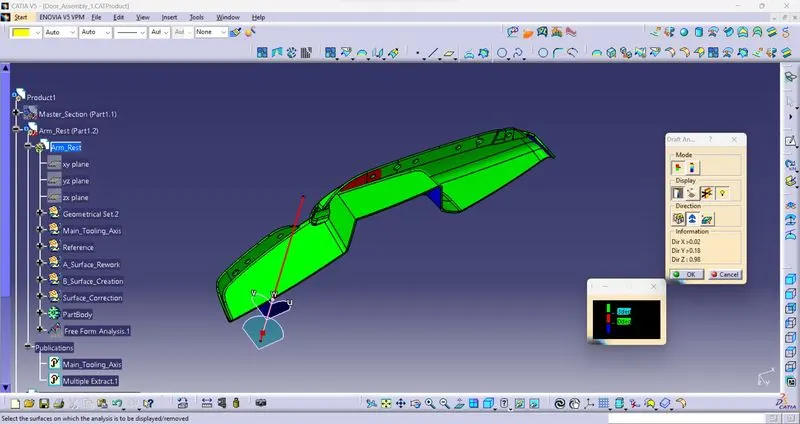
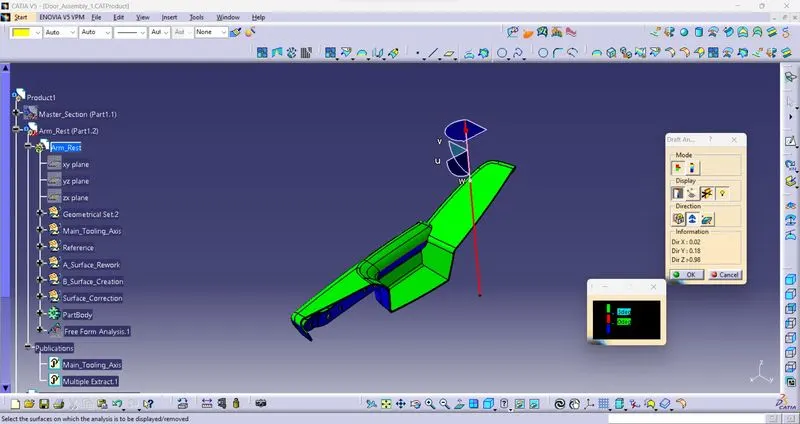
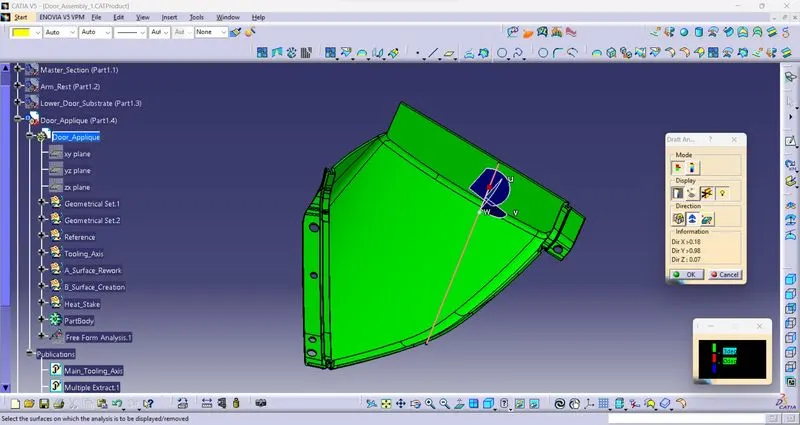
After creating the main tooling axis, we need to do a draft analysis for the class A surface to verify whether the tooling axis is correct or not. After verifying, start inserting a new geometrical set and start working on the surface by creating the class B surface. For each geometrical set, there should be a proper name.
Class B surface is created by offsetting the given class A surface for 2.5 mm, and need to work on the parts where there is any missing patch. Flange should be created wherever necessary according to the master sections.
For the class C surface, we can use 2 methods. we can extrapolate the class A surface and create the draft surface with the help of the sweep command or we can create additional surfaces between the class A and class B surfaces and then join all the surfaces using the join command.
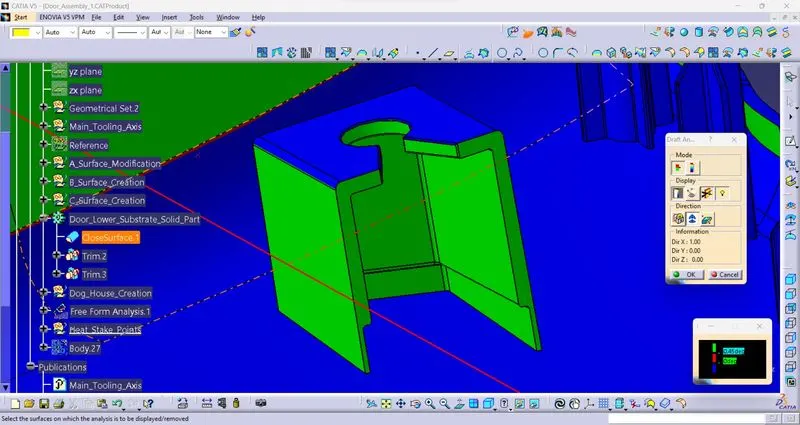
After creating the complete solid model check for any gaps, if there is any gap the solid model won't be formed. Go to the part workbench and use the close surface command on the closed surface model. thereby the complete solid model is created. Finally, check for any irregularities using draft analysis.
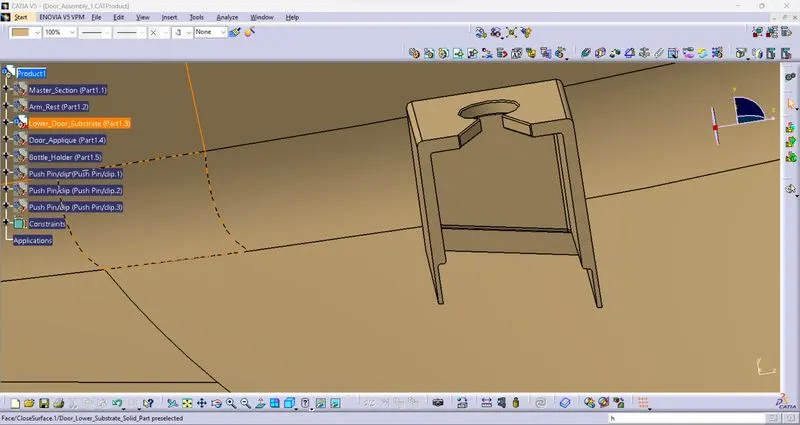
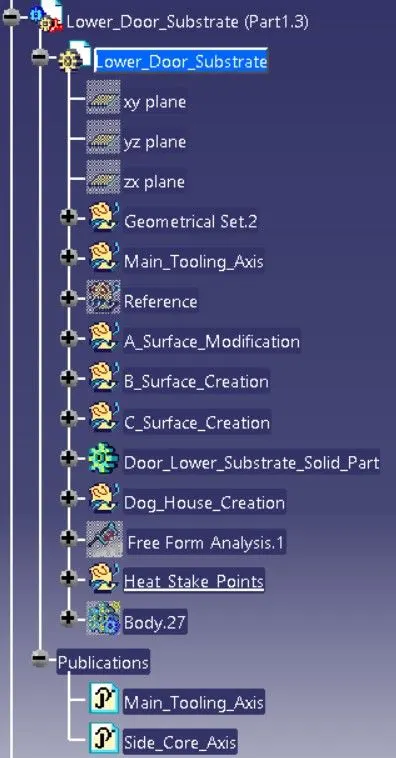
Determine the position of the heat stakes and the locators along the main tooling axis and determine the dog house positions and create the dog house in the respective places. Dog houses need a side core axis for manufacturing, so create a side core axis for the dog house.
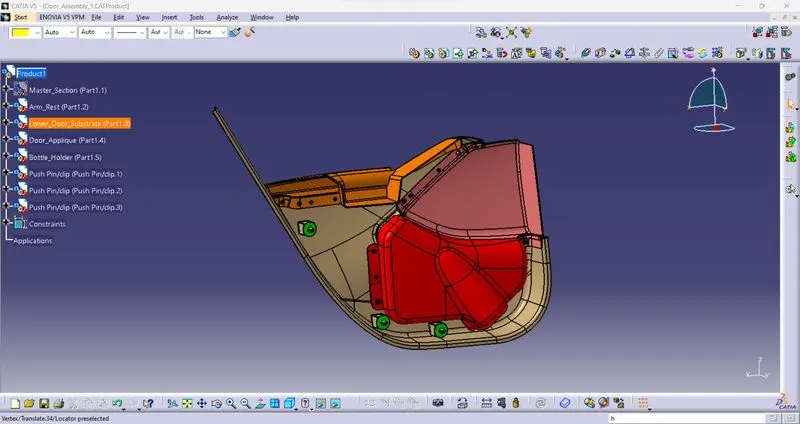
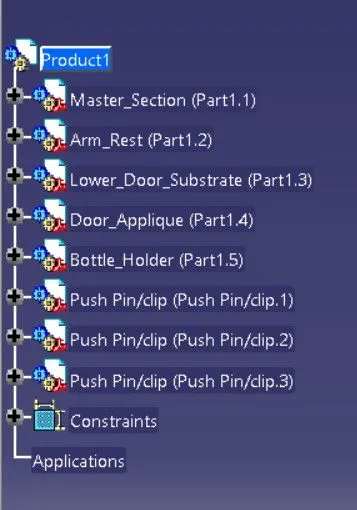
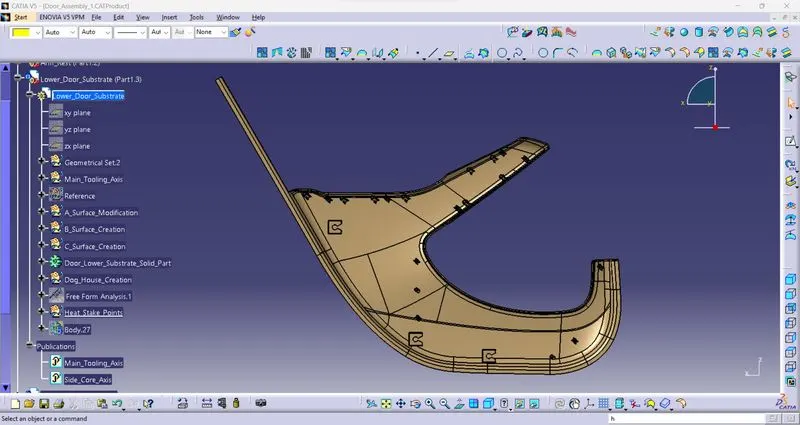
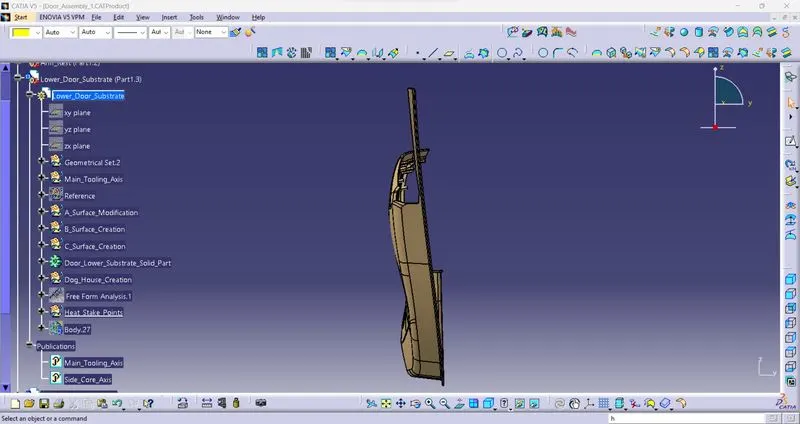
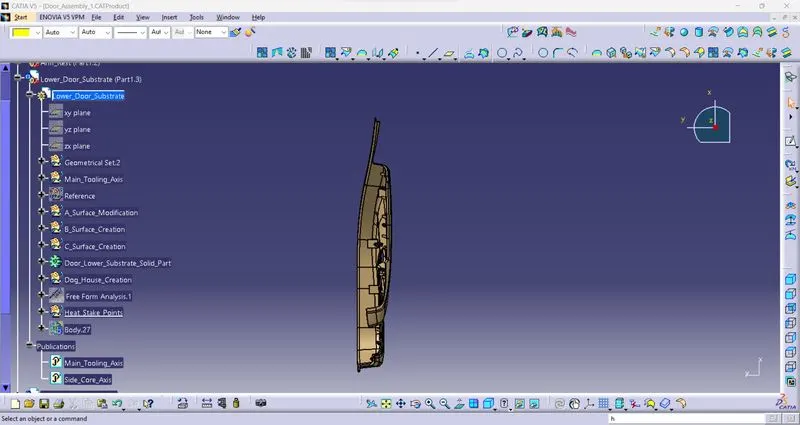
Door Lower Substrate:
The door lower substrate is the part where the other components are attached using the heat stakes and the locators. The size of the locators and the heat stakes may vary due to the irregular surface of the component.
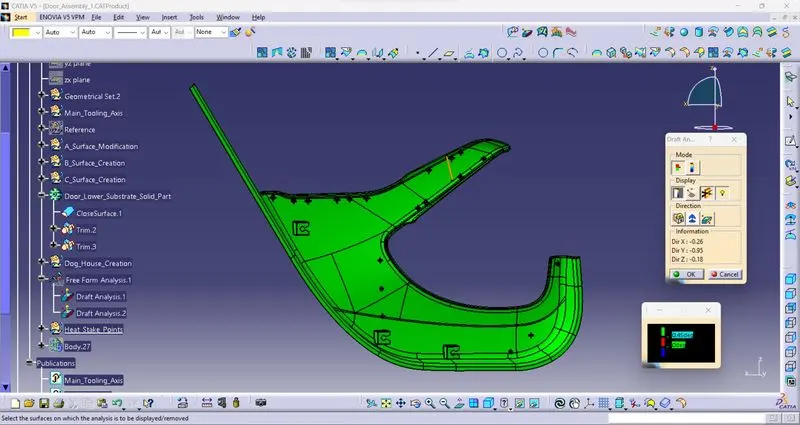
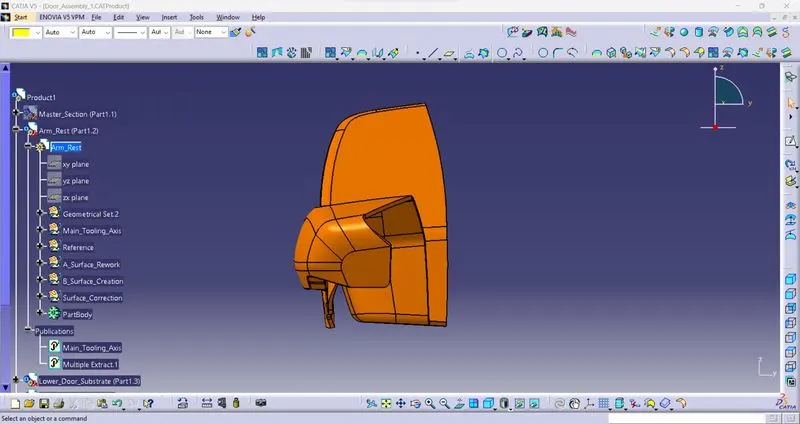
Armrest:
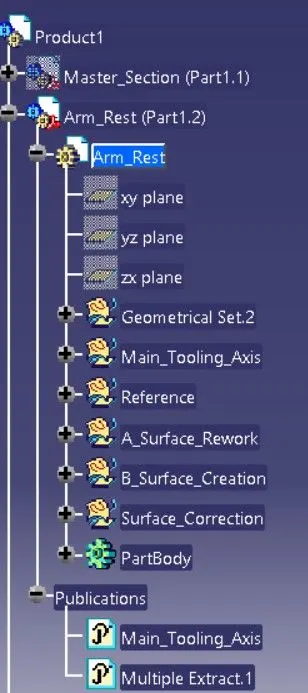
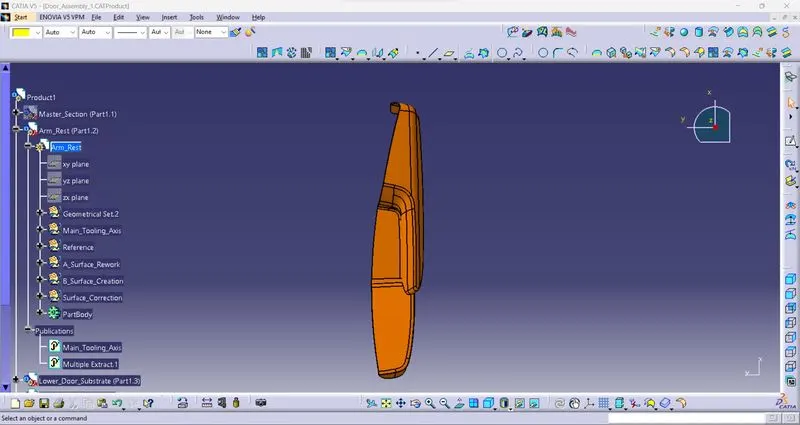
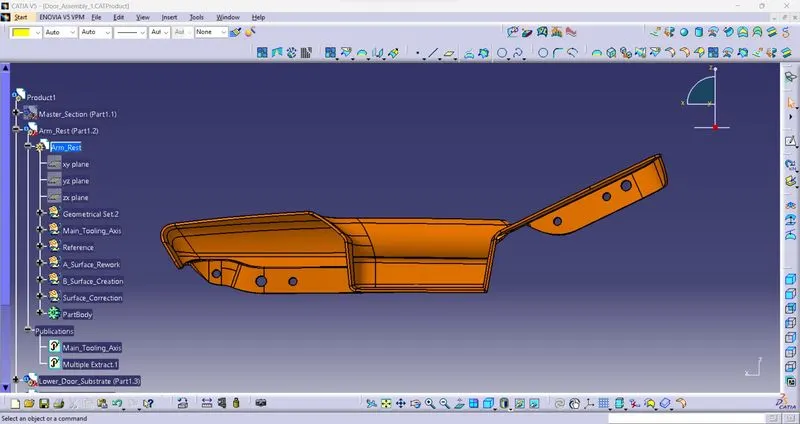
The armrest is the topmost part of the assembly. where the passenger places their arm while inside the car. Flanges should be added so that the plastic model would undergo bite characteristics with the other plastic components. Flanges should be given according to the master section data.
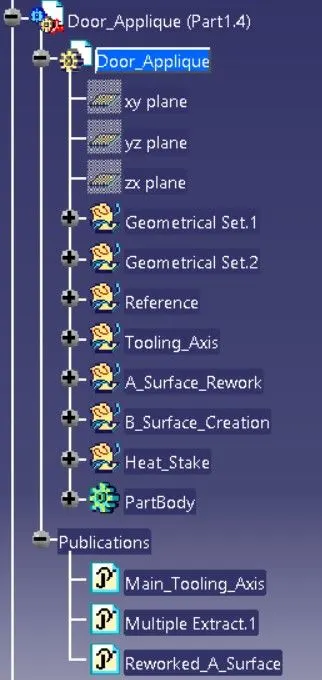
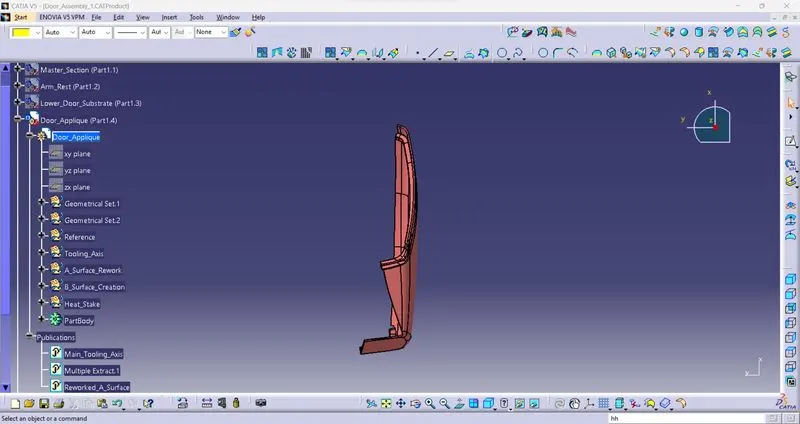
Door Applique:
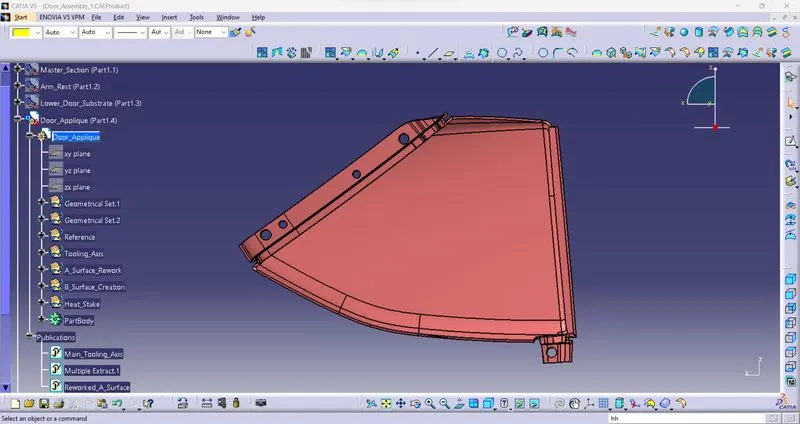
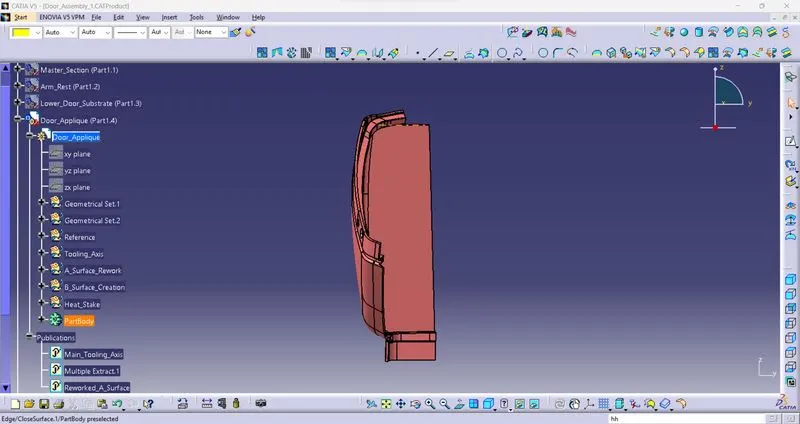
Door applique is the aesthetic part of the door. Similarly, like Armrest flanges should be added so that the plastic model would undergo bite condition with the other plastic components. Flanges should be given according to the master section data.
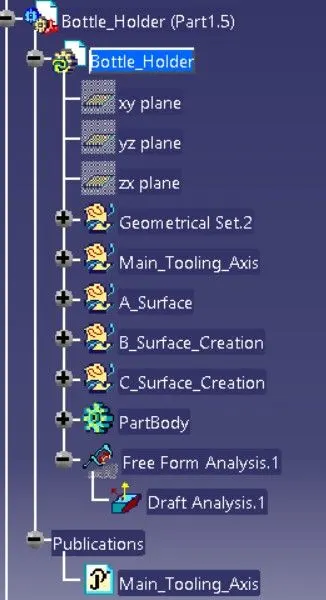
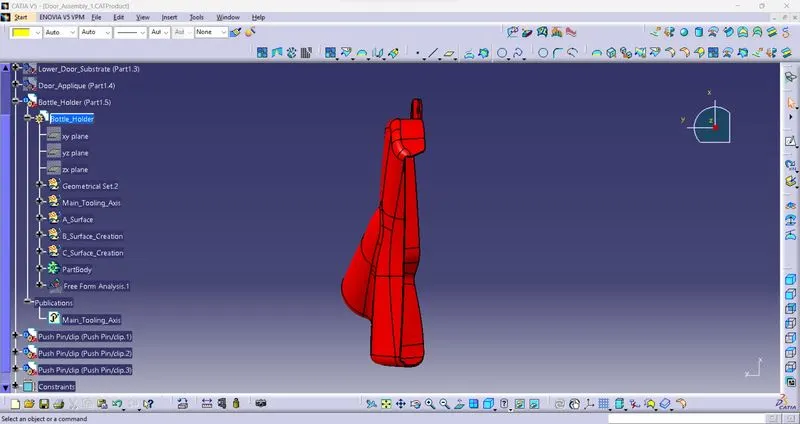
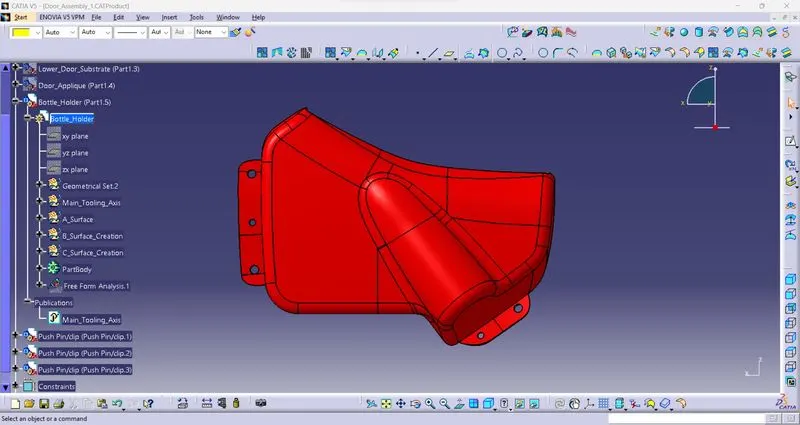
Bottle Holder:
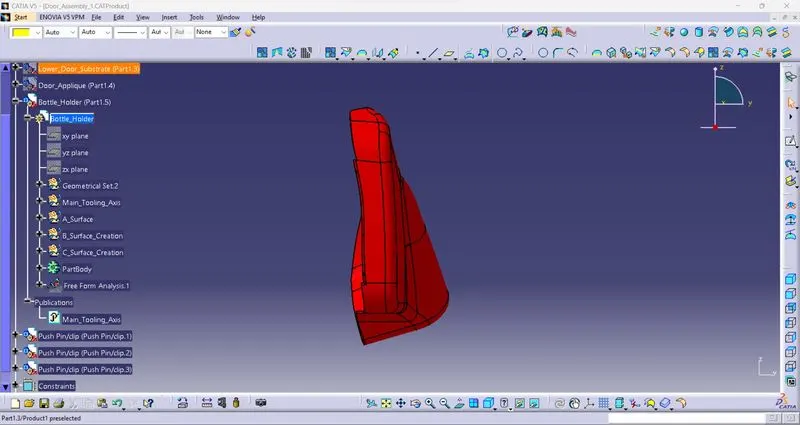
The bottle holder is the base part of the assembly, where the component has a cavity to hold a bottle and to have some things. The same flanges should be given to the bottle holder too to satisfy the bite condition. Finally, every component is in the position and the push pins are assembled to the dog houses.