Week 12- Final project
AIM – To create a Solid body of side door plastic trim with engineering features using the Class-A Surface and master section.
INTRODUCTION – The door trim panel is the interior plastic component attached to the sheet metal part of the Door. It contains engineering features like a doghouse, heat stakes and pushpins.
DOOR TRIM OF THE AUTOMOBILE:
- Door panels serve as an interface between the interior of the car and the inner workings of the door, and between vehicle occupants and the door.
- They are expected to meet a variety of design specifications regarding safety, aesthetics, and functionality. In addition, they are expected to continue the material theme of the dashboard and pillars while concealing intricate electrical and mechanical components for operating locks, windows, and other features.
- The door panel has evolved from a simple two-part system of latch and simple winding mechanism to a more sophisticated enclosure. Doors currently have an inner full-width panel consisting of electronic windows, central locking system, and speakers.
- These panels typically consist of a foamed core covered with either textiles or plastics.
- Plastics is the core and soul of the door trim interior, one must have knowlege about the plastic being used and its cost associated with the molding and manufacturing.
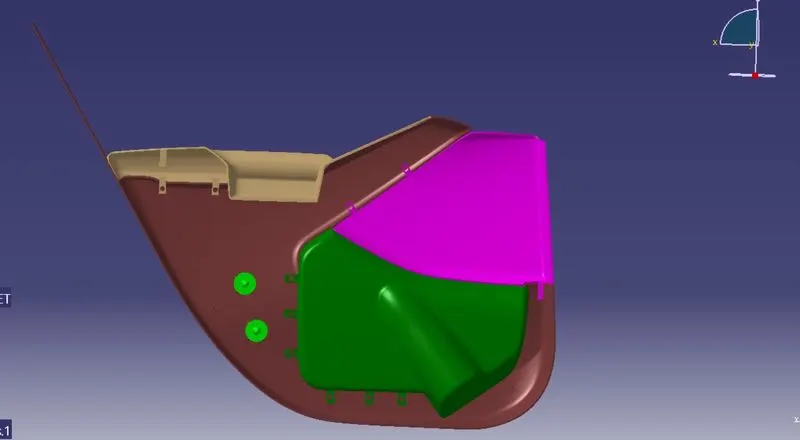
INTERIOR DOOR TRIM CONSISTS OF FOUR PARTS –
- Lower substrate
- Door armrest
- Upper map pocket
- Lower map pocket
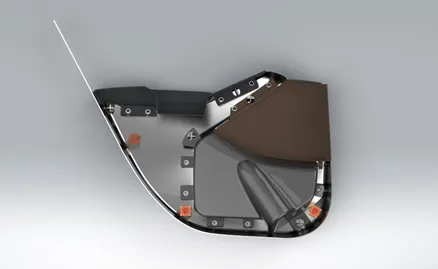
MASTER SECTION: The master section are the guides for the requirement of the design to follow.
TOOLING AXIS: The tooling axis is defined as the direction in which the mold or core and cavity opens is the tooling axis.
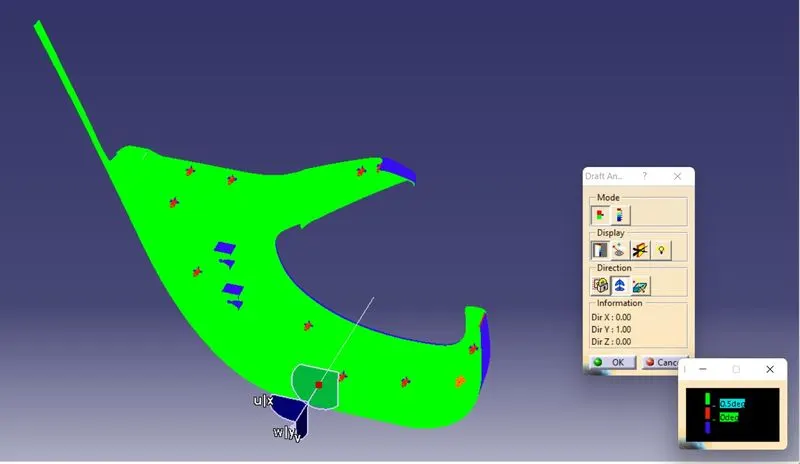
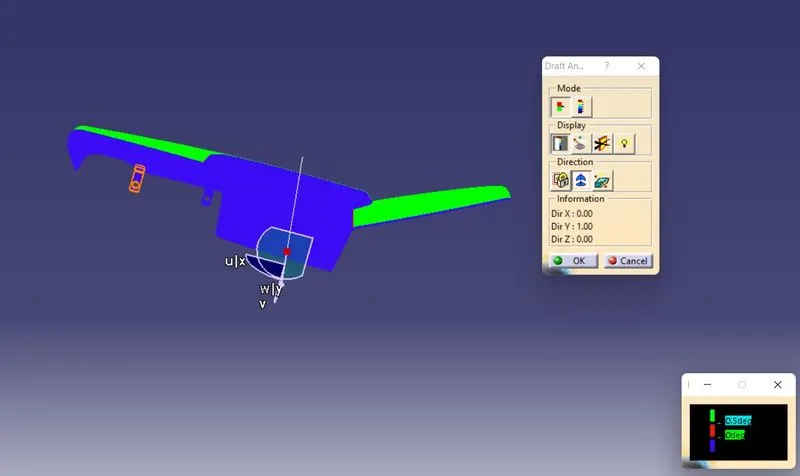
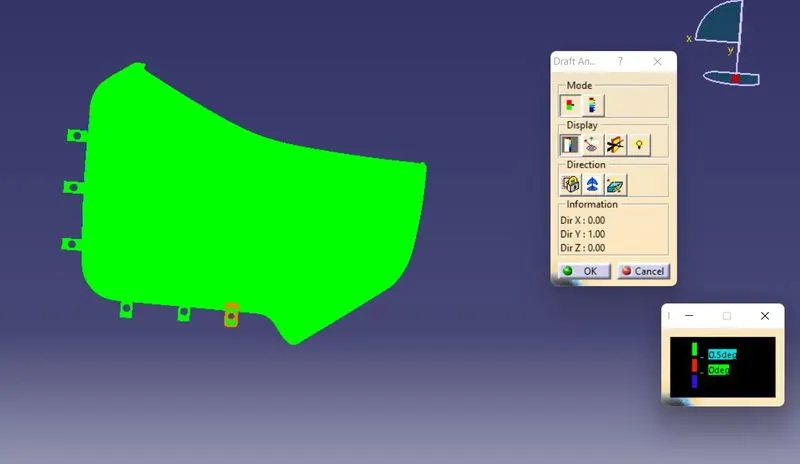
DRAFT ANALYSIS: The Draft Analysis command enables you to detect if the part you drafted will be easily removed. This type of analysis is performed based on color ranges identifying zones on the analyzed element where the deviation from the draft direction at any point, corresponds to specified values.
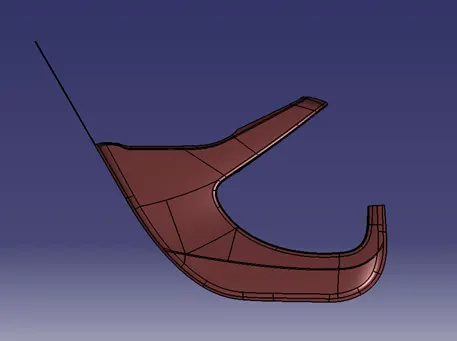
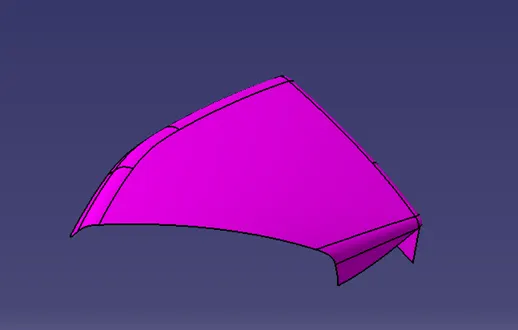
CLASS A SURFACE: A class A surface is any of a set of freeform surfaces of high efficiency and quality. Although, strictly, it is nothing more than saying the surfaces have curvature and tangency alignment – to ideal aesthetical reflection quality,
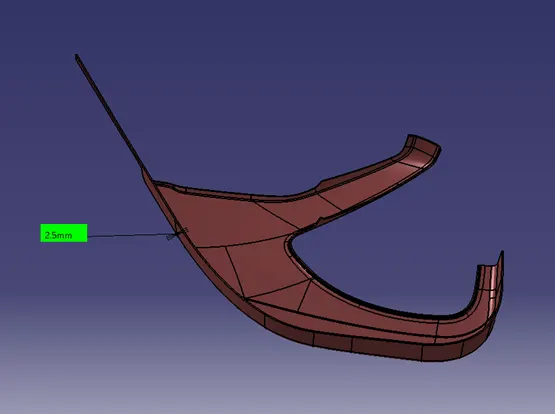
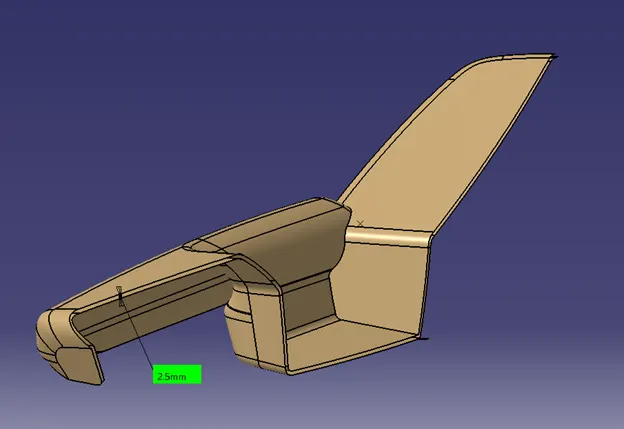
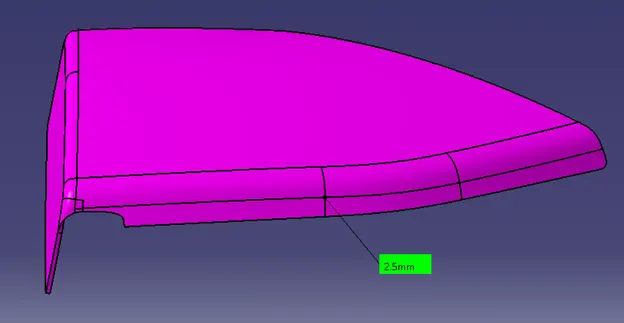
CLASS B SURFACE: B surface is the thick wall of the component. The B surface is created by Class A surface reference of an offset of 2.5mm is used to create a Class B surface.
CLASS C SURFACE : The C surface is the boundary of the component and it also joins the class A & B Surfaces.
ATTACHMENT FEATURES
- DOG HOUSE
- RIBS
DOG HOUSE: Dog house is an engineering feature used in the plastic trim design. Dog houses are used as supporting features. Sometimes other engineering features like snaps; locators etc. are mounded on them to increase their strength.
Design Rules for Dog Houses:
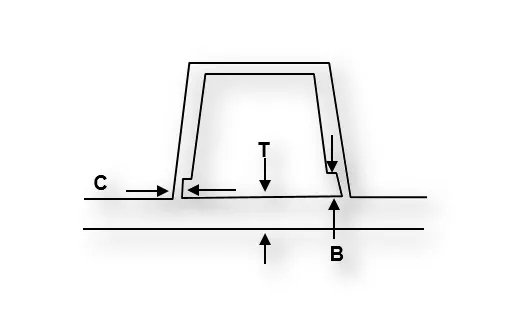
- "C" is where the doghouse contacts the backside of the surface.
- Doghouse wall thickness at the intersection of the part wall ( C ) should be 40% or less than the main wall stock ( T ).
- The height of ( B ) should be between 3.0 – 6.0 mm.
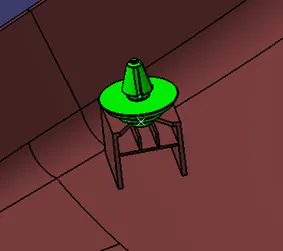
DOG HOUSE WITH PUSH PIN
RESULT
- The Green colour is Drafted walls above 3 degree
- The Blue colour is Drafted walls from 0-3 degree
- The Red surface are Negative Degree
FLANGES: The Flanges have created both sides of the b-pillar at the class A and B surface. And the surface of the flange should match the master section.
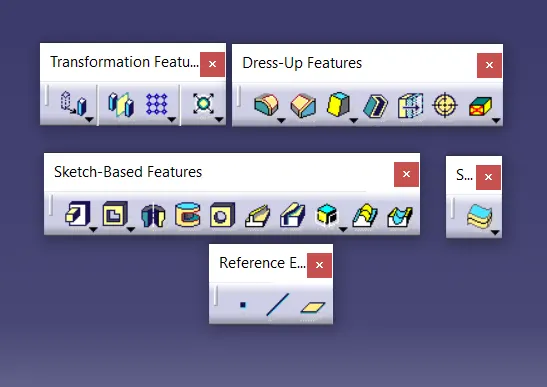
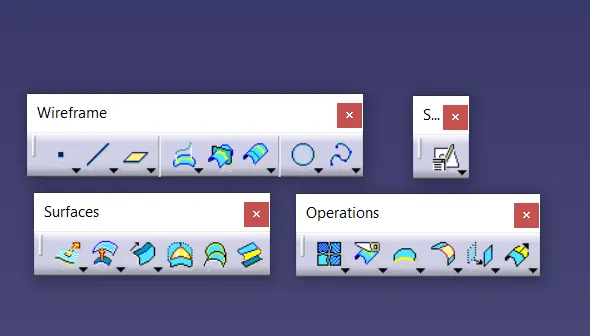
TOOLS REQUIRED:
SKETCH TOOLS:
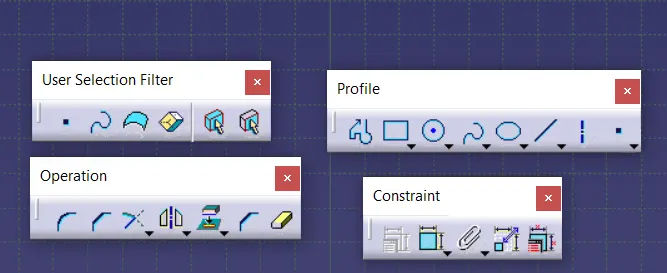
PART WORKBENCH TOOLS:
SURFACE WORKBENCH TOOLS:
PROCEDURE:
The lower substrate of Class A and B
Class A
Class B with 2.5mm thickness
Final closed body with Engineering Features
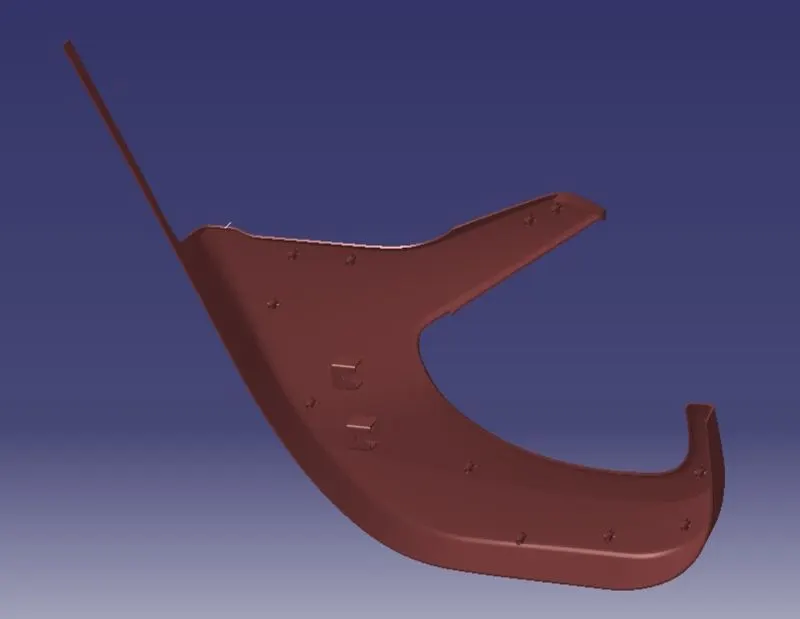
Draft Analysis of the Final body
Door armrest Class A and B
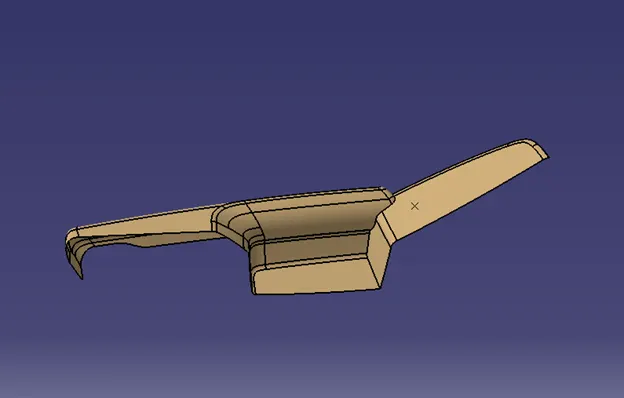
Class B with 2.5mm
Final closed body with Engineering Features
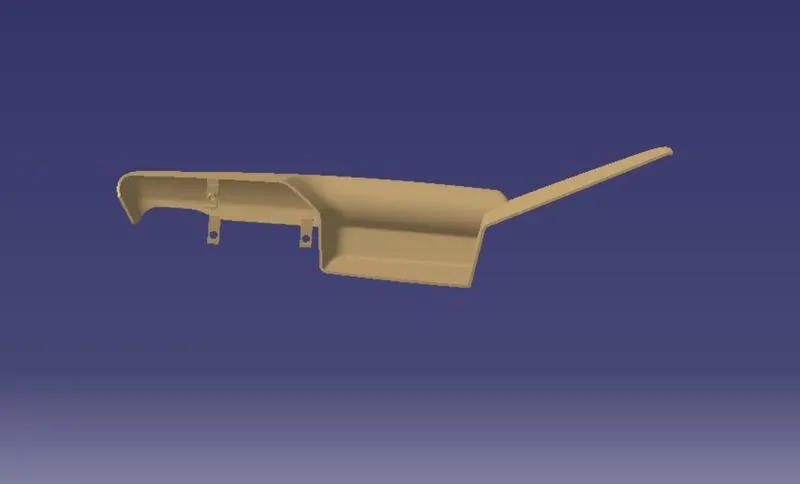
Draft Analysis of the Final body
Upper Map pocket Class – A and B
Class B and C final TRIM
Final closed body with Engineering Features
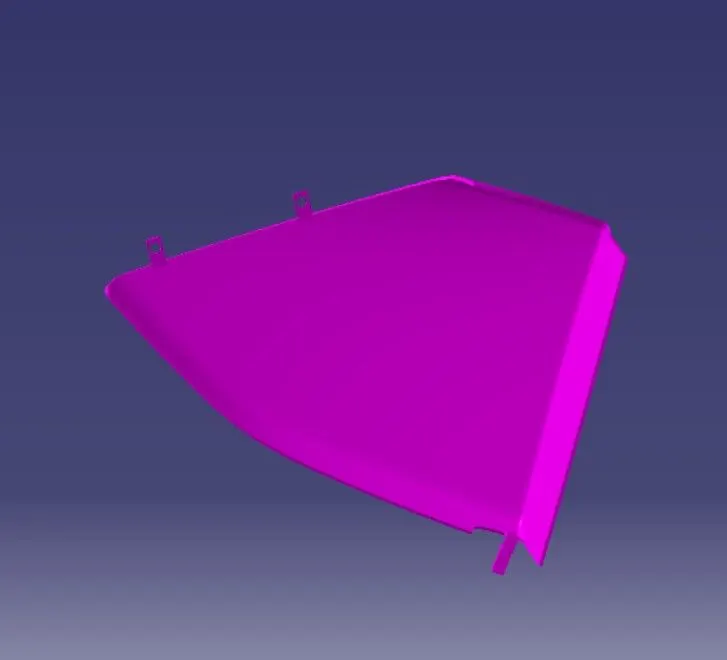
Draft Analysis of the Final body
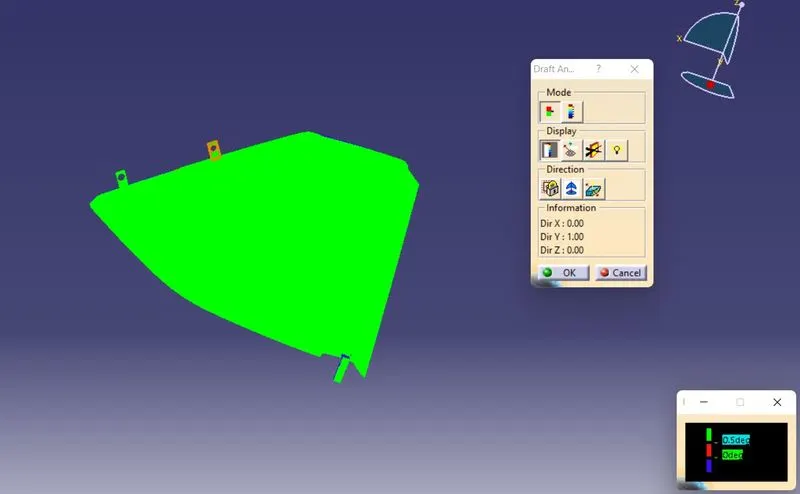
Lower map pocket Class-A and B
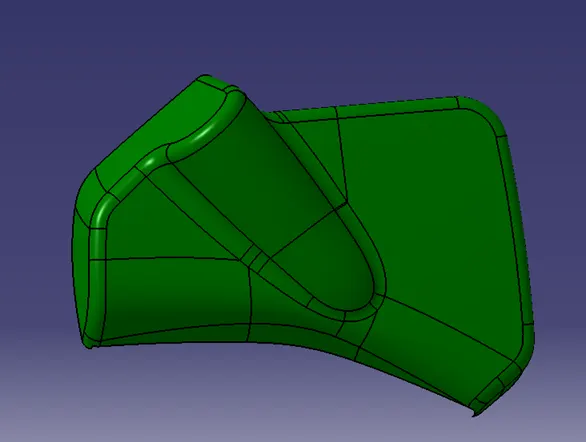
Class B and C final TRIM
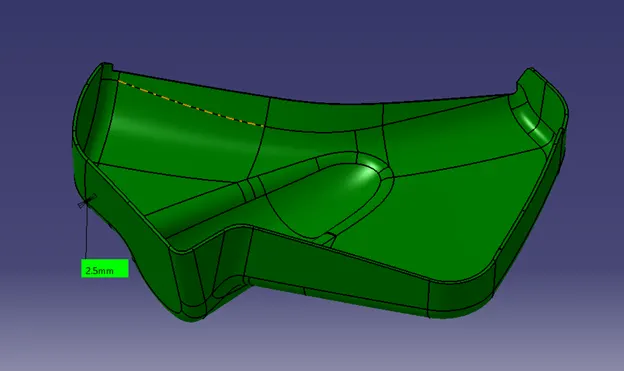
Final closed body with Engineering Features
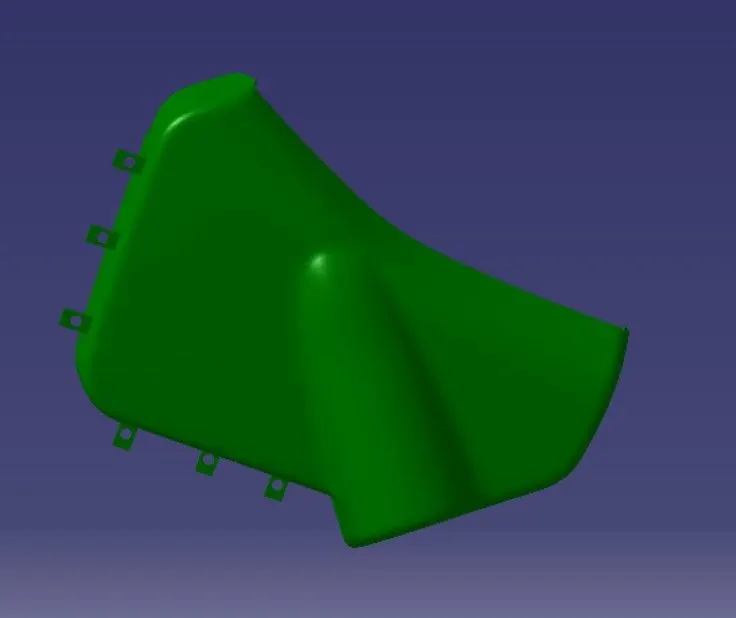
Draft Analysis of the Final body
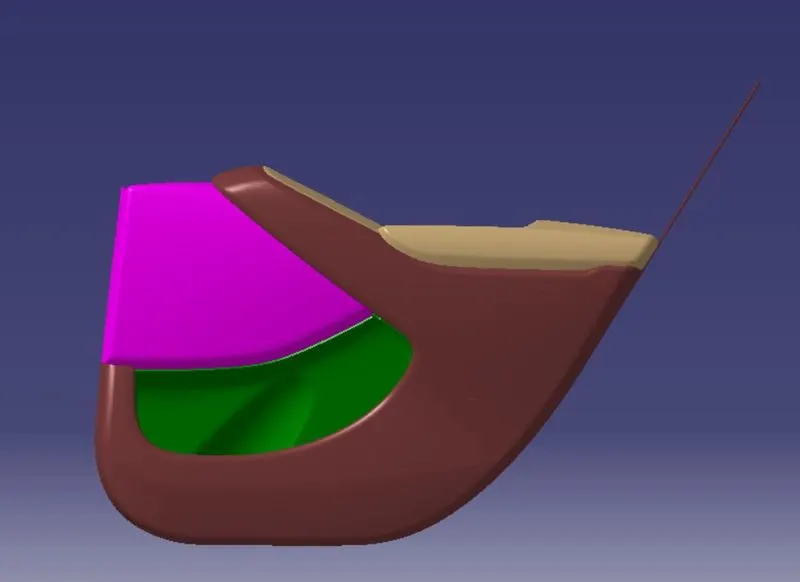
Final door trim with a push pin :
Conclusion
Door Trim was made with OEM guidelines using Part Workbench and Generative Shape Design Workbench using CATIA V5.