Week 11 - Project - A pillar Design with Master Section
SURFACE A CLASS
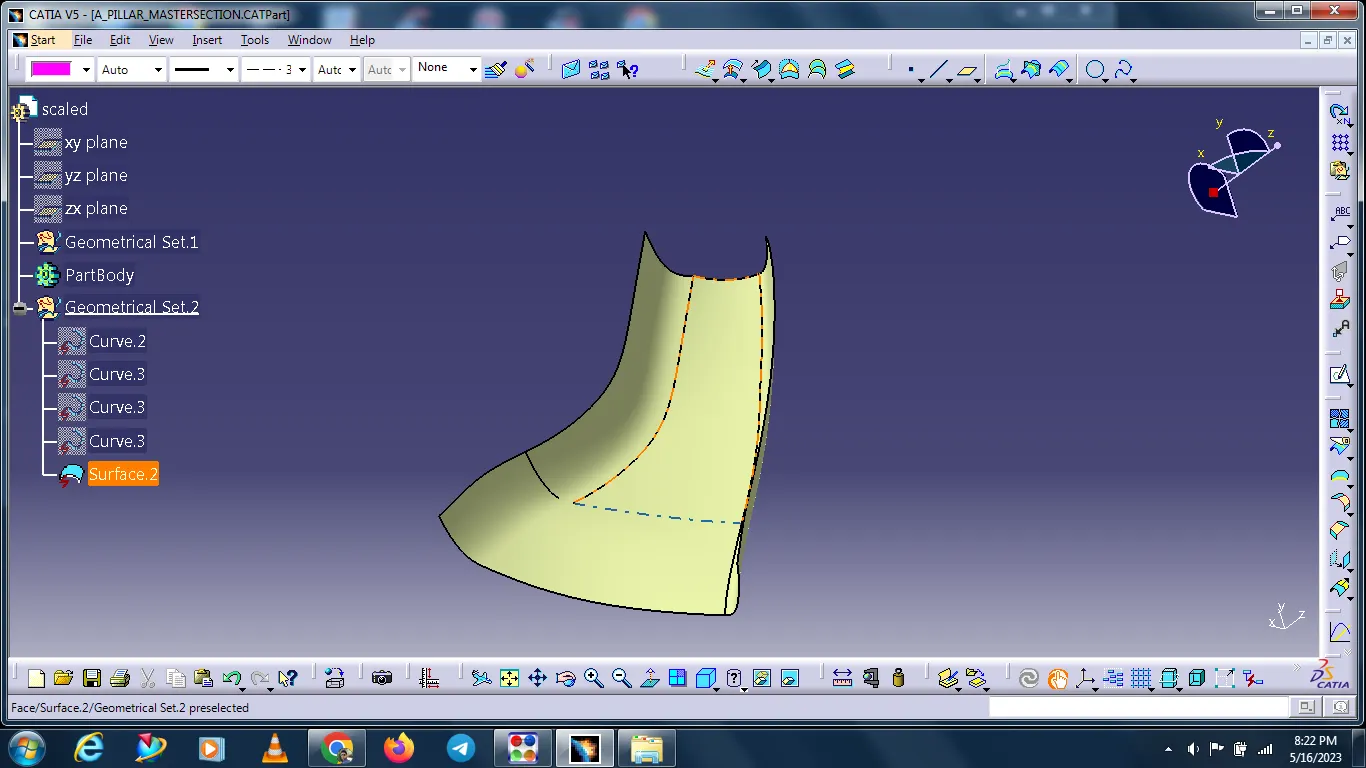
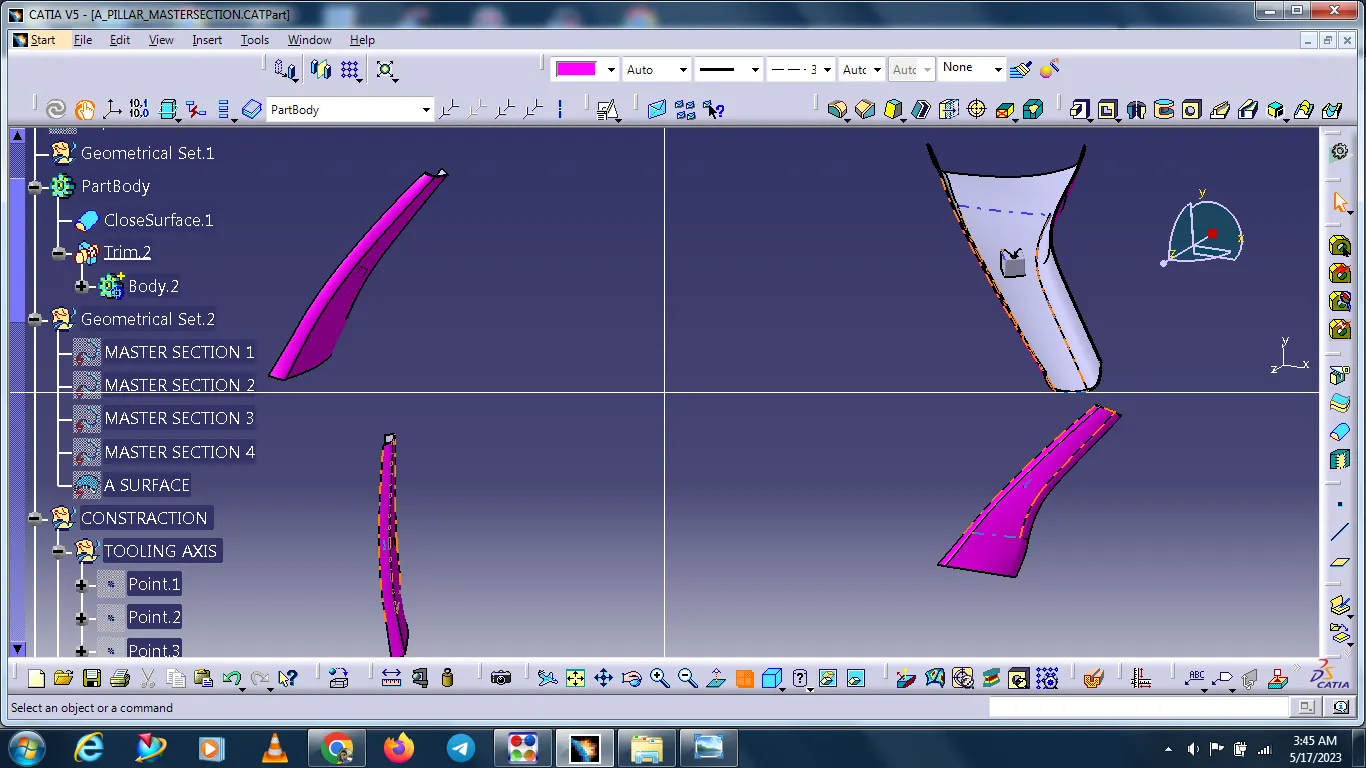
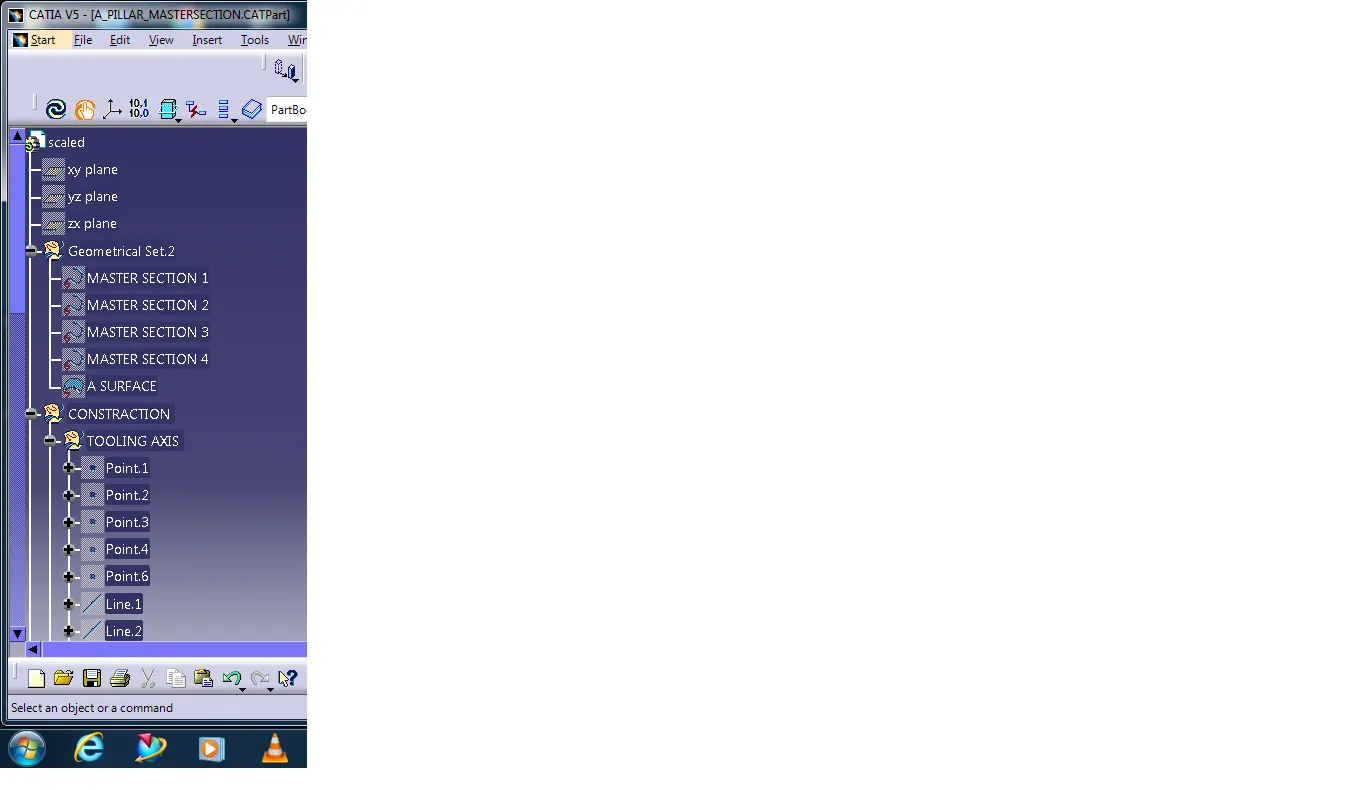
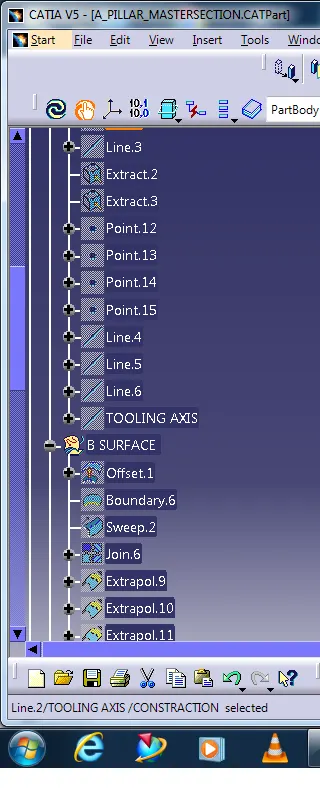
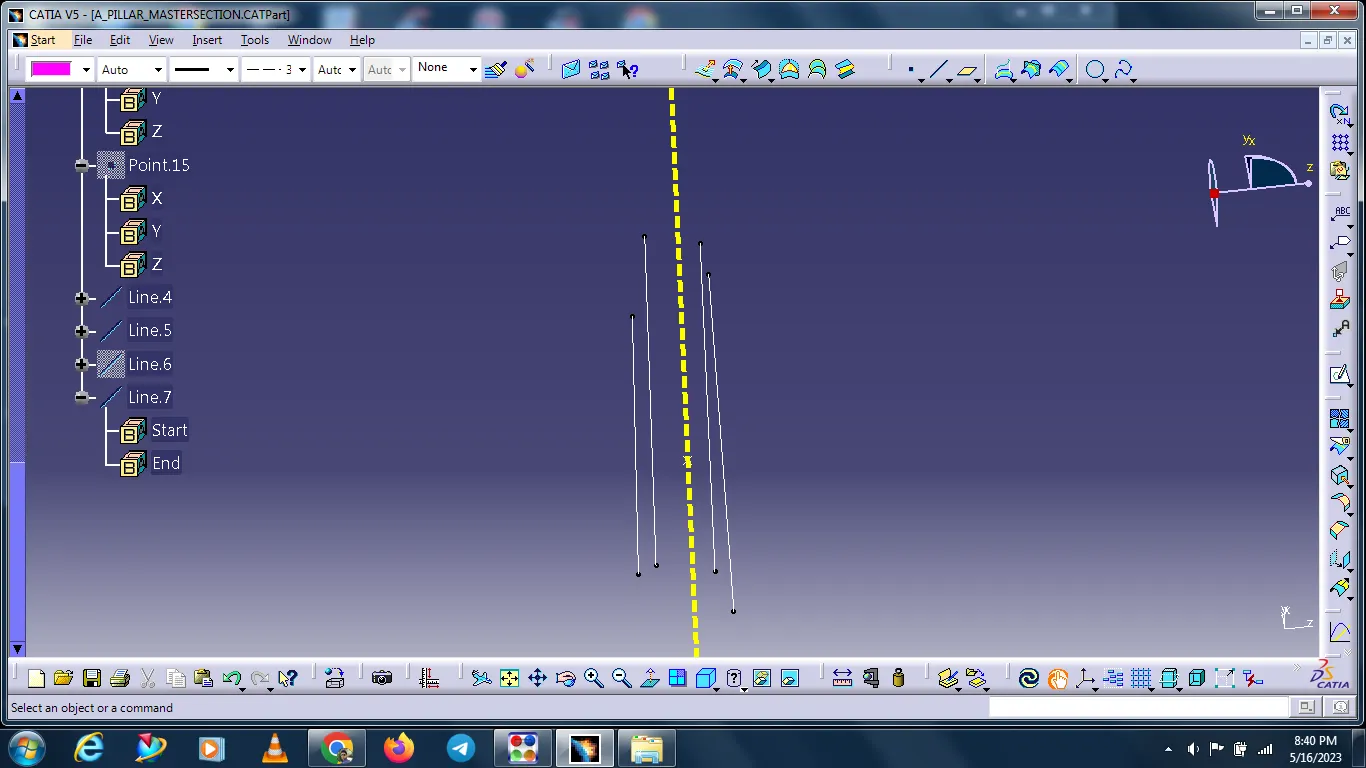
TOOLING AXIS CREATION:
- First, create the class A surface and manually analysis and fix the direction of the tooling.
- In this part two hole on the surface. So, we can directly take its perpendicular as the tooling axis because its most suitable for the tooling axis. Carefully watch and take this axis with the help of all types of views.
- First created the point on the surface and create a new axis system.
- Then this intersecting line is used to create the new lines on both wall lines. Then both lines are used to create a bisecting line in the tooling direction or it is zero degree drafting part, so we directly draw the line through the line to form the tooling axis.
- Change some appearance to this line like thickness, color, and dot lines. Finally, it is called the tooling axis. It is published for frequent use.
- The dog house is created by a side core. So, we created a separate tooling axis for the dog house. The same method is used to create a tooling axis parapedicular to the main axis.
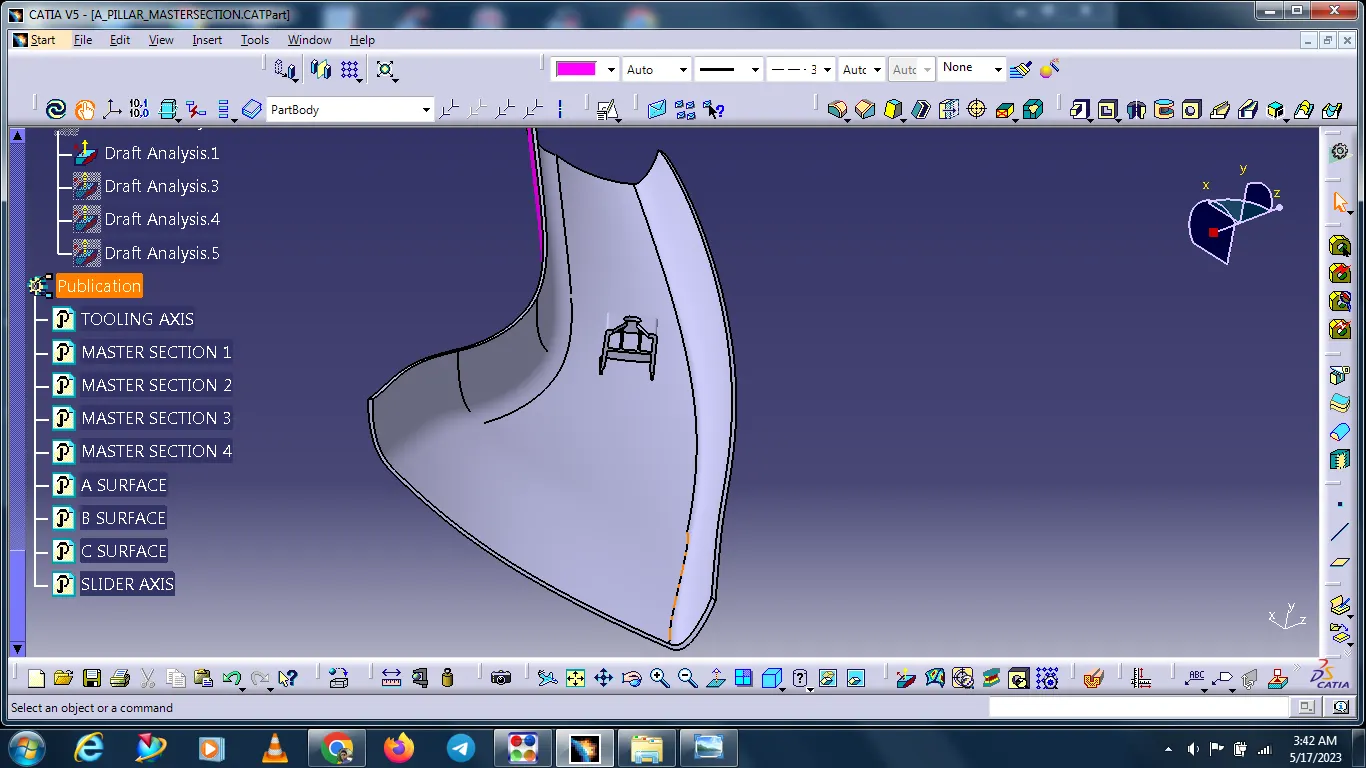
DRAFTING ANALYSIS:
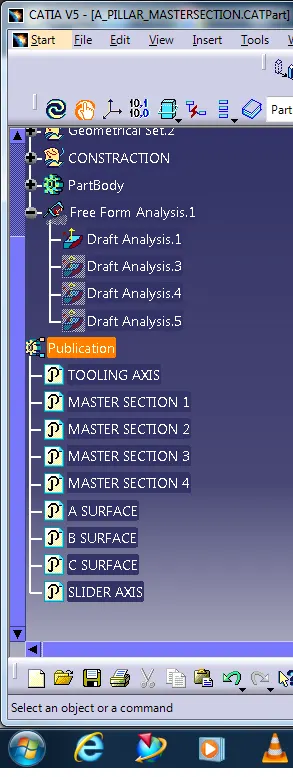
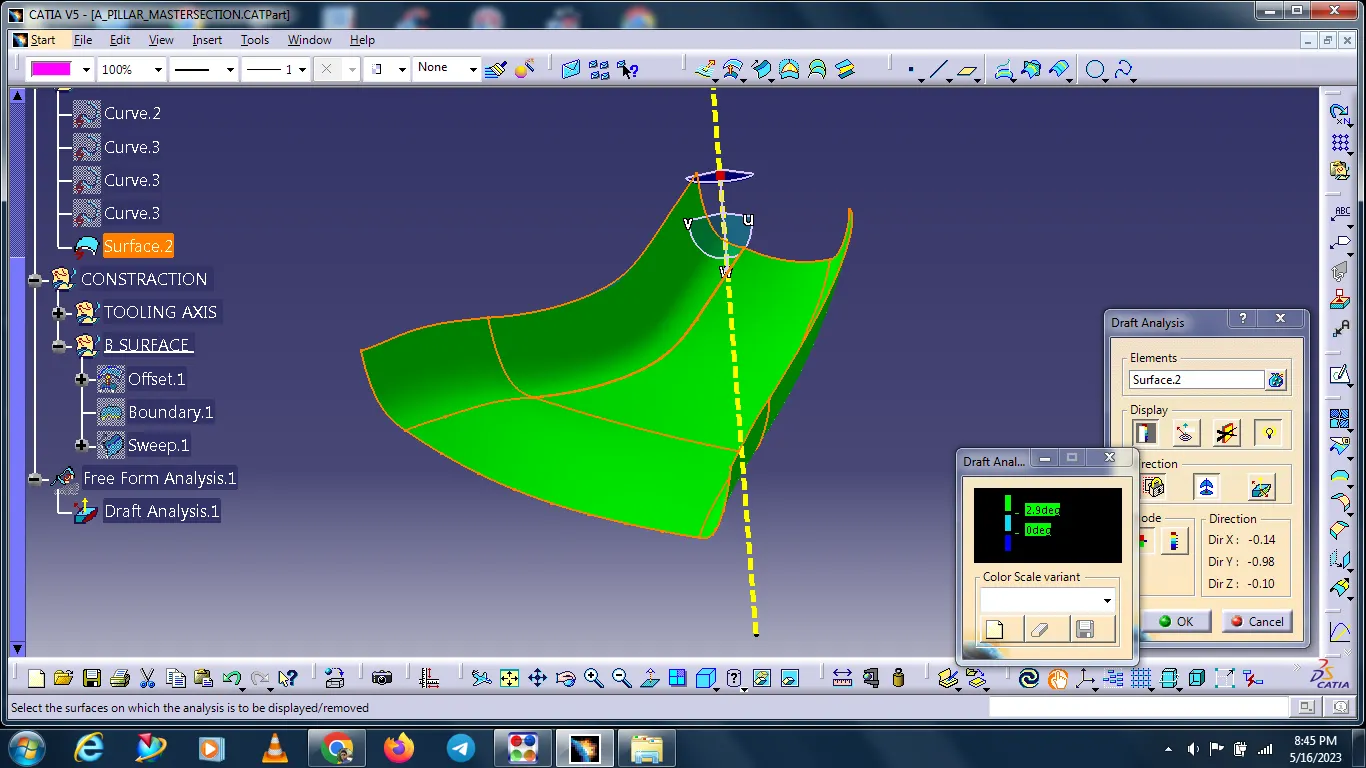
- Go to insert < analysis< feature draft analysis.
- The compass is fixed on the tooling axis.
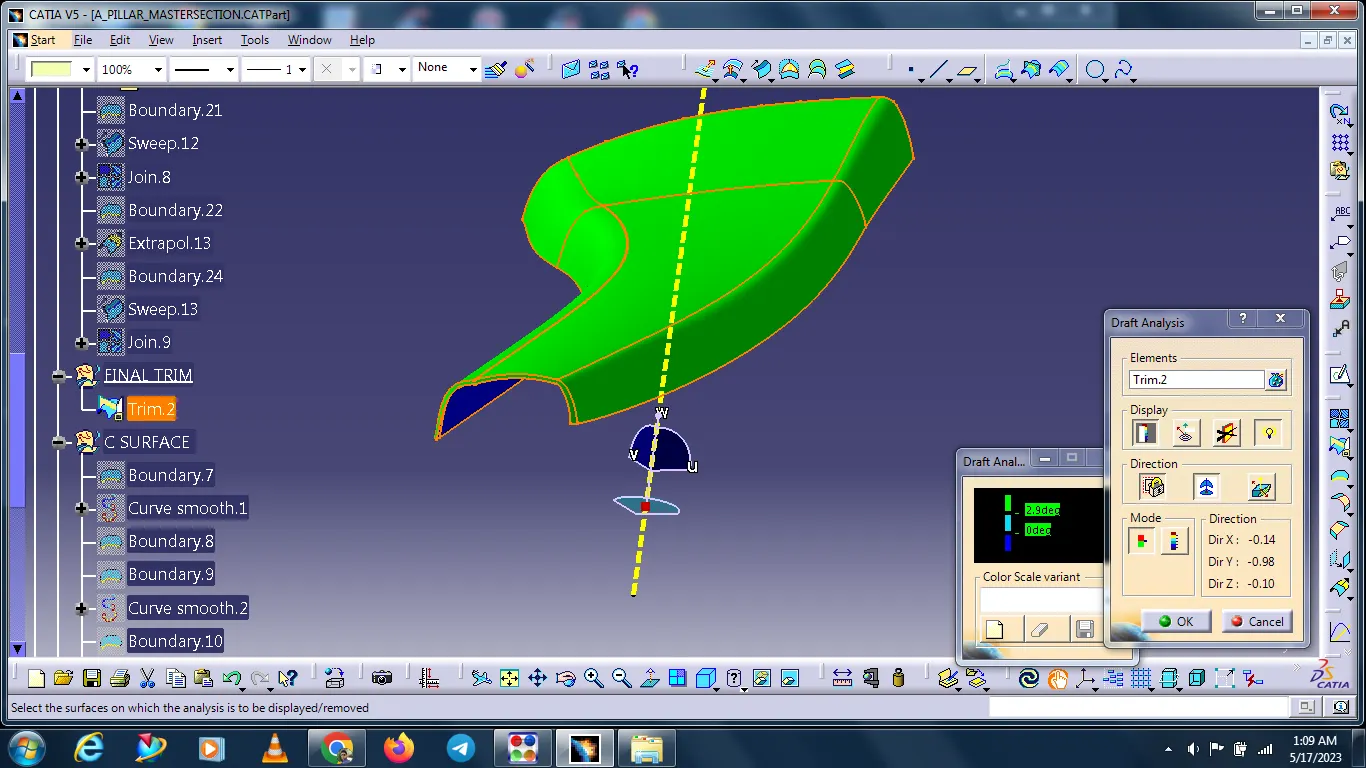
- Then we click on the surface it shows a different color. This color is used to analysis the drafting value of the surface with the help of an analysis table.
- It will show the draft angle of the class A surface.
- The draft angle is 3Deg.
SURFACE B CLASS CREATION:
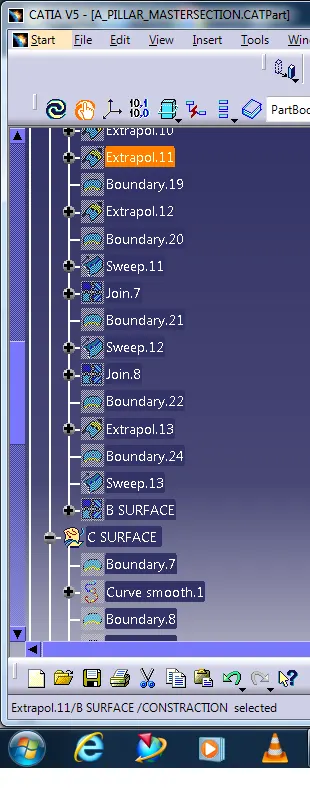
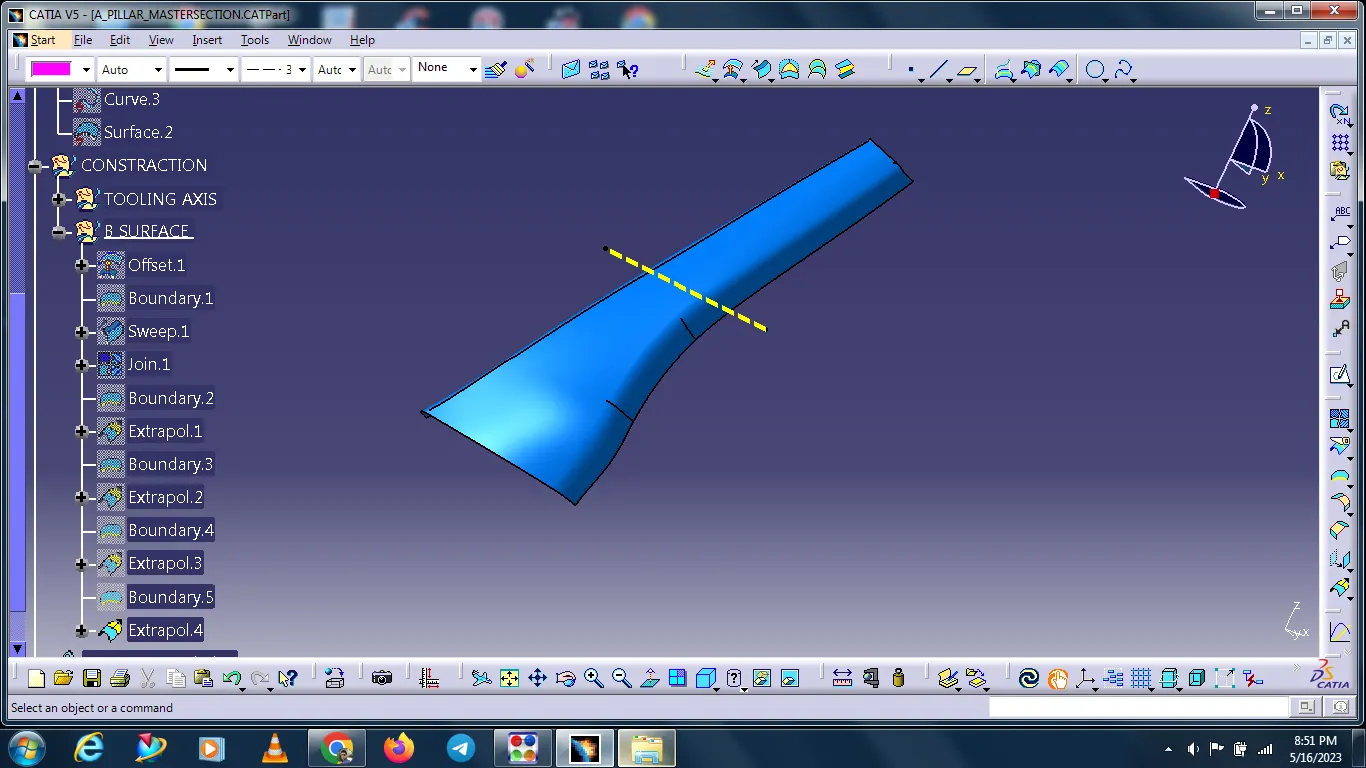
Offset the class A surface to form a B surface, and then you can create a surface with the help of a sweep. (profile - explicit, with reference surface)
SURFACE C CLASS CREATION:
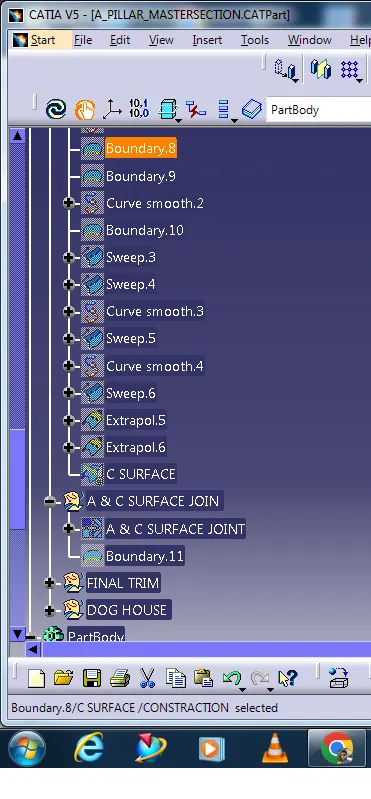
- Using boundary command to create the boundary lines separately on side edges of class A surface
- Reference surface option sweep comment is used to extrude the boundary lines.
- Finally, merge all sweep surfaces to get a class C surface.
JOIN THE A & C SURFACE
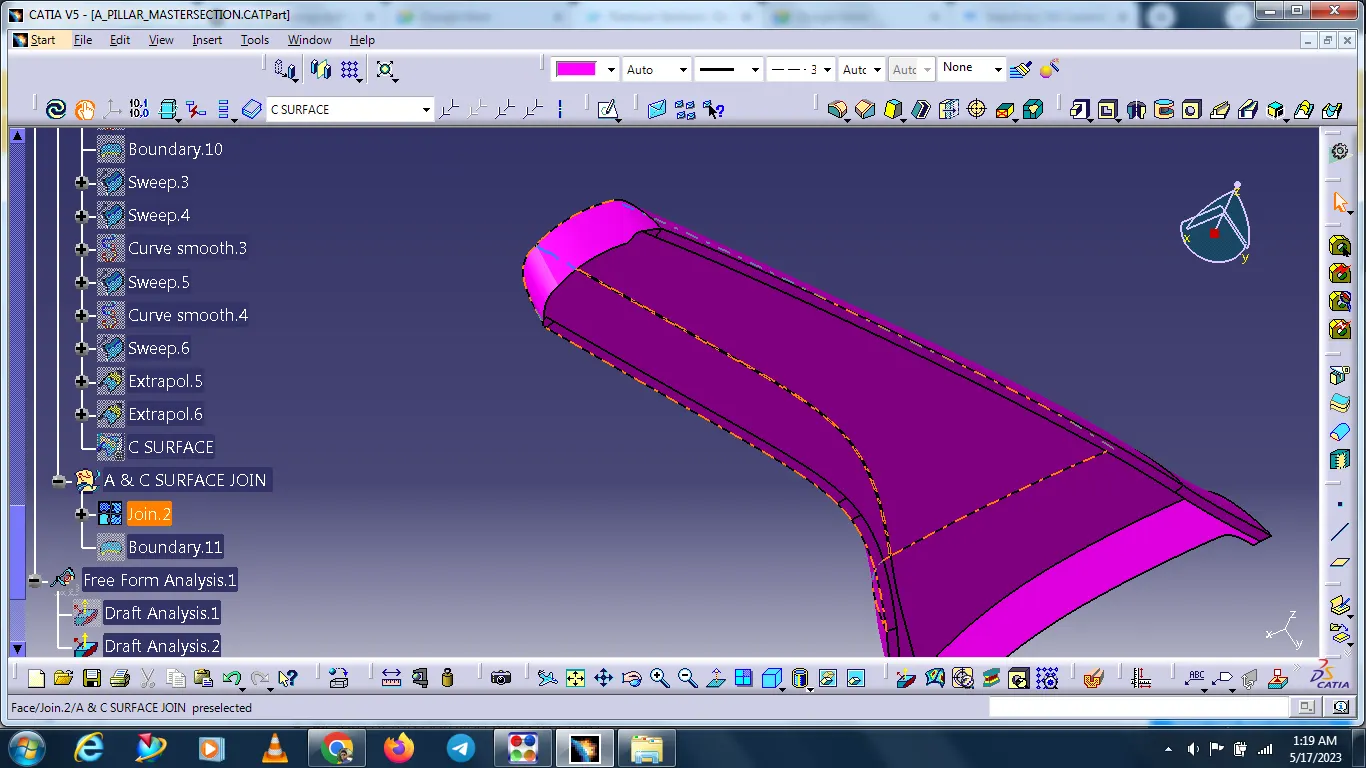
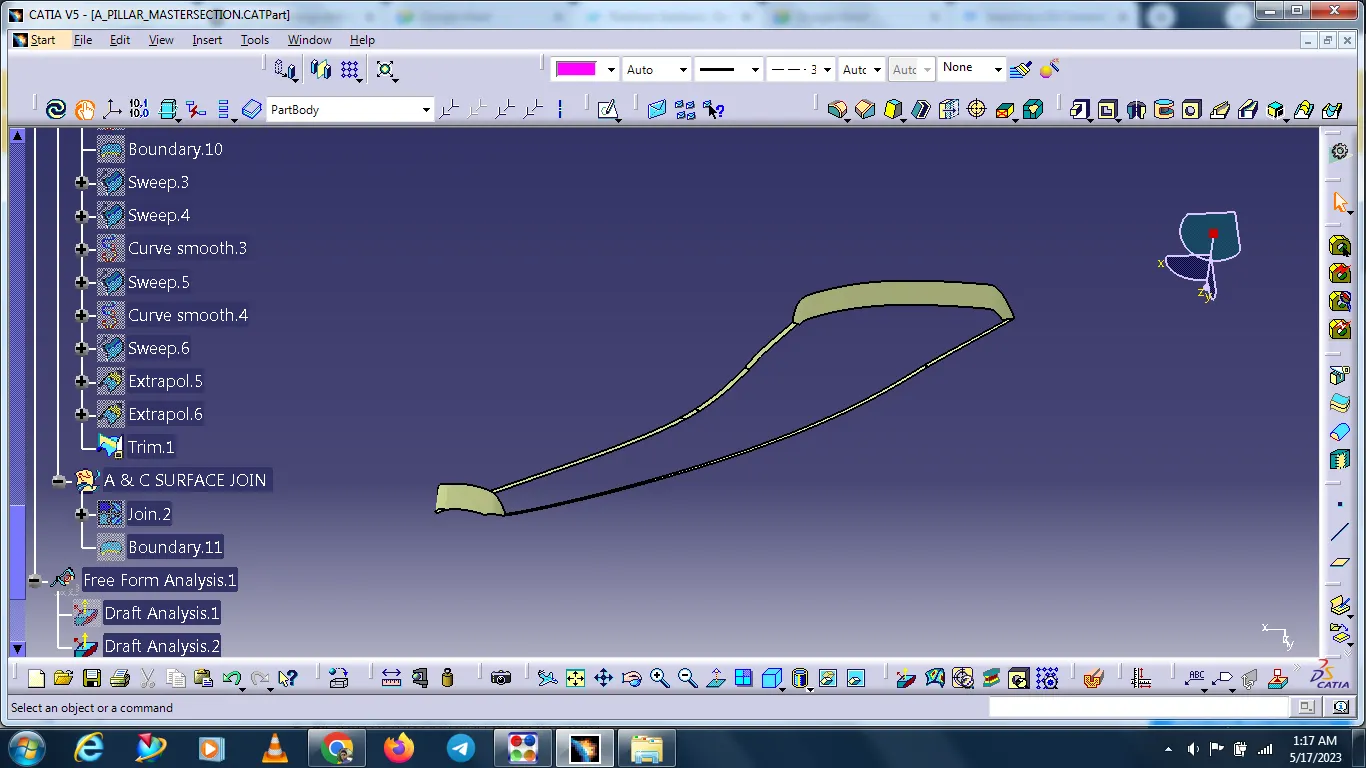
After joining the a&c surface doing next the final trim with the help of the B surface and create the solid body.
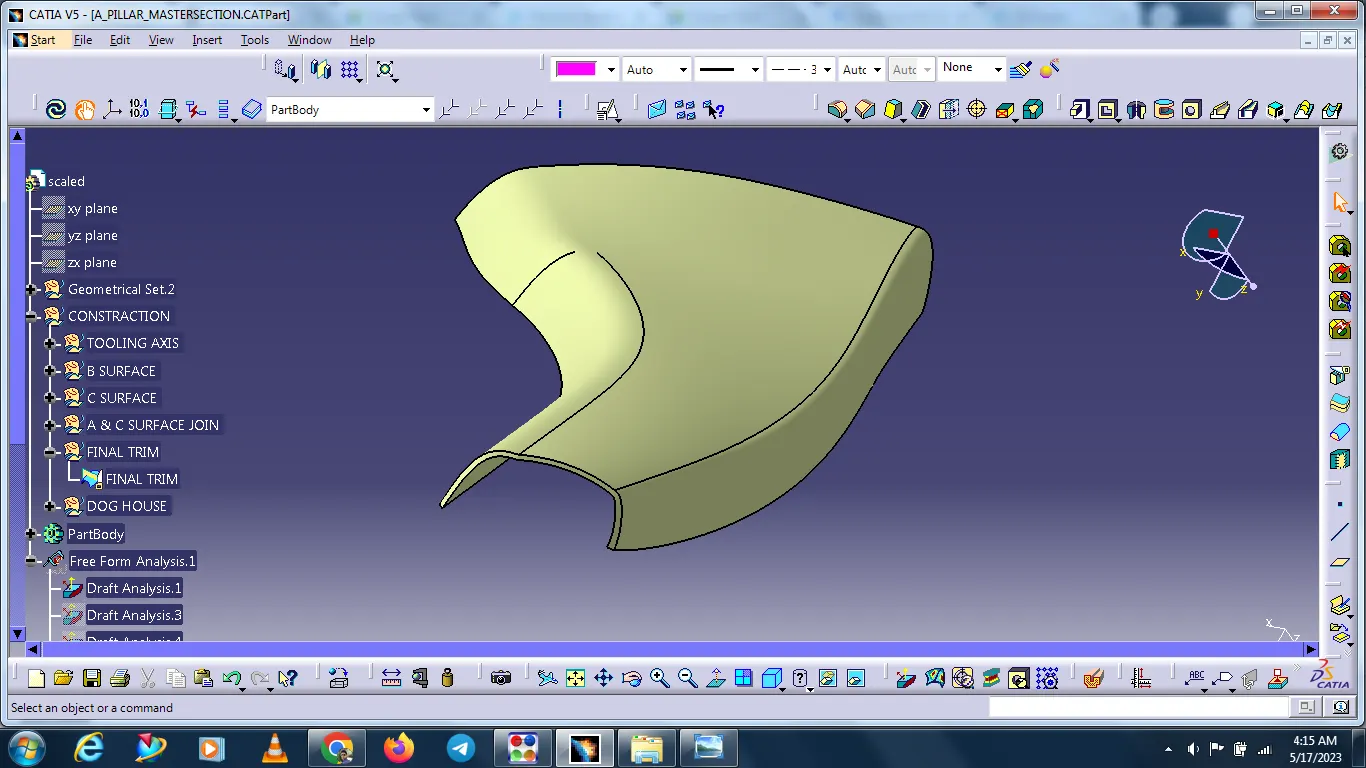
After joining the a&c surface doing next the final trim with the help of the B surface and create the solid body.
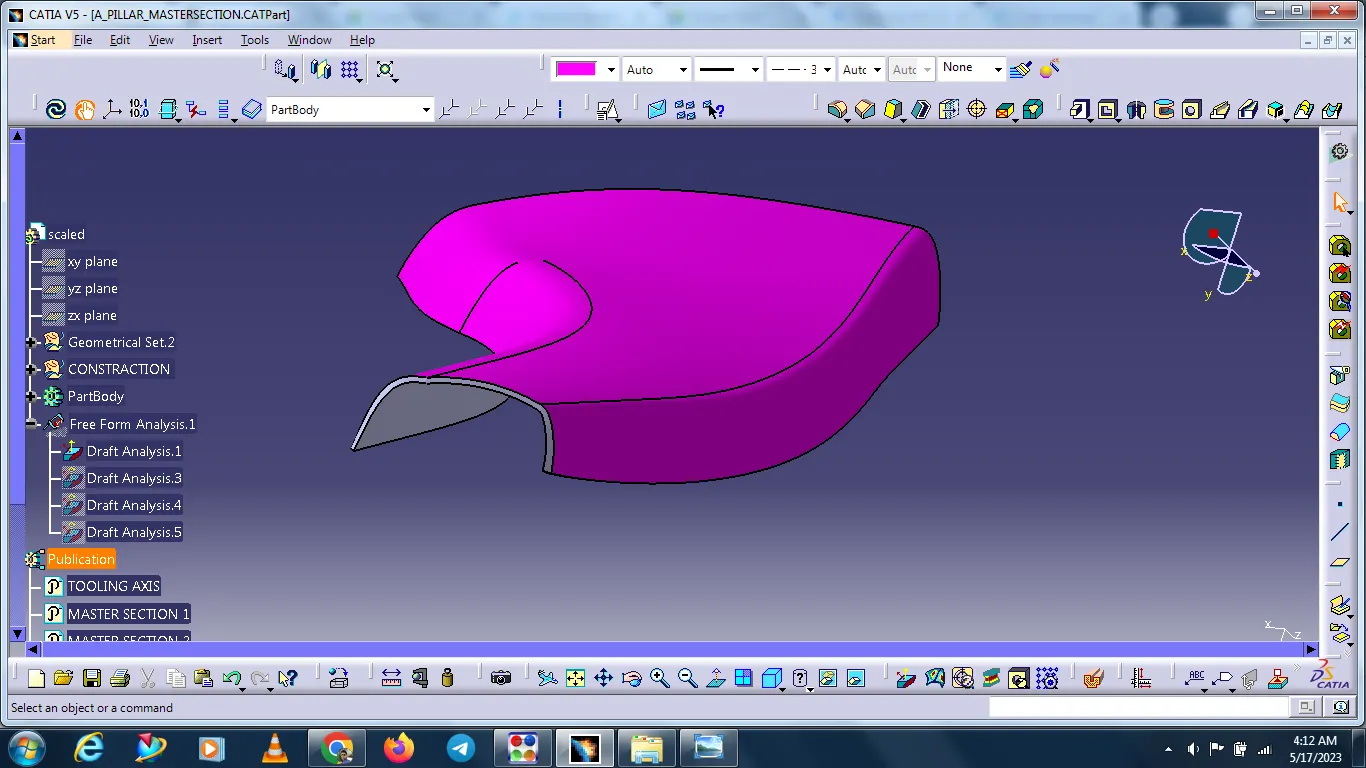
after close surface check draft analysis 2.9 deg all surfaces showing ok.
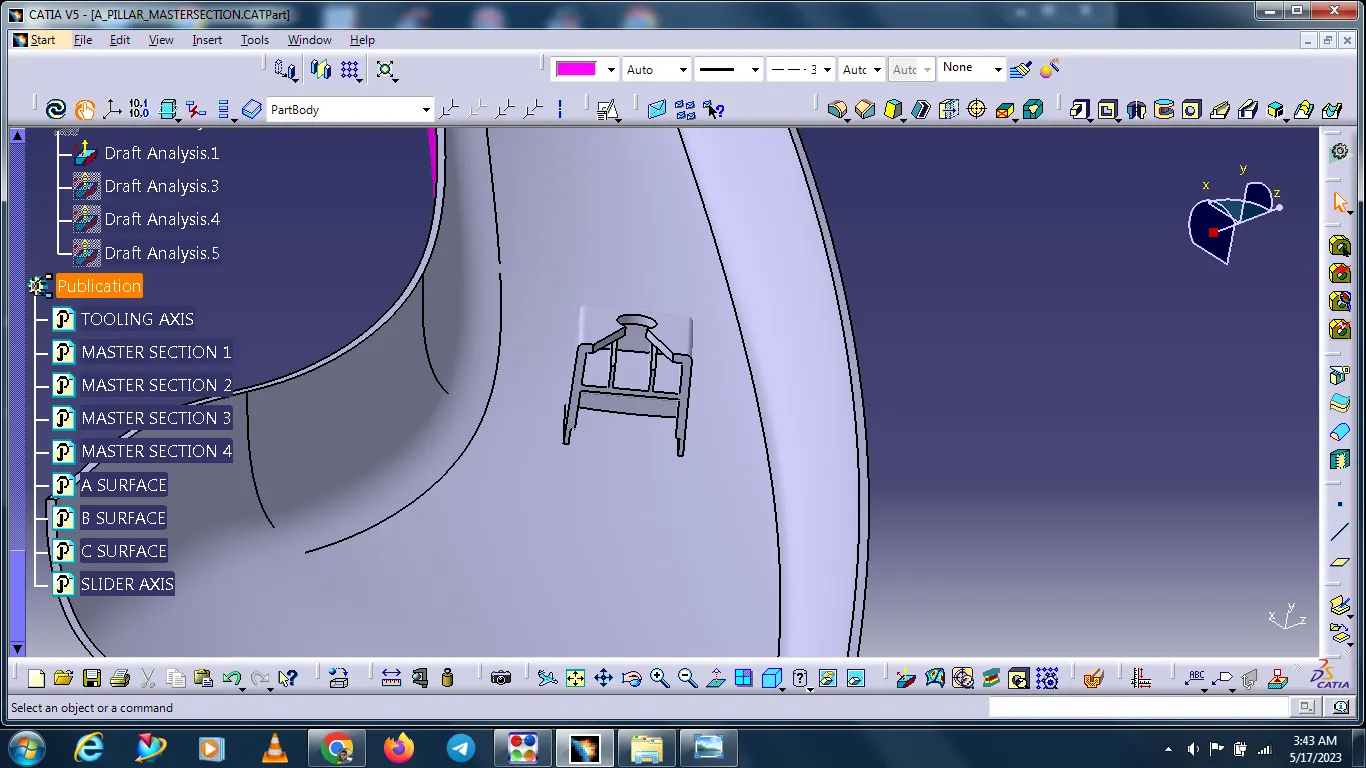
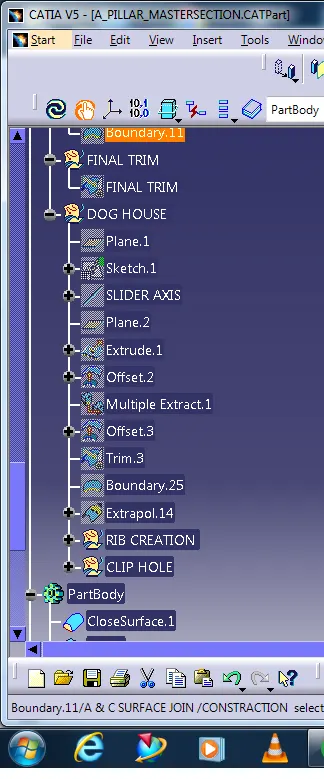
DOG HOUSE CREATION
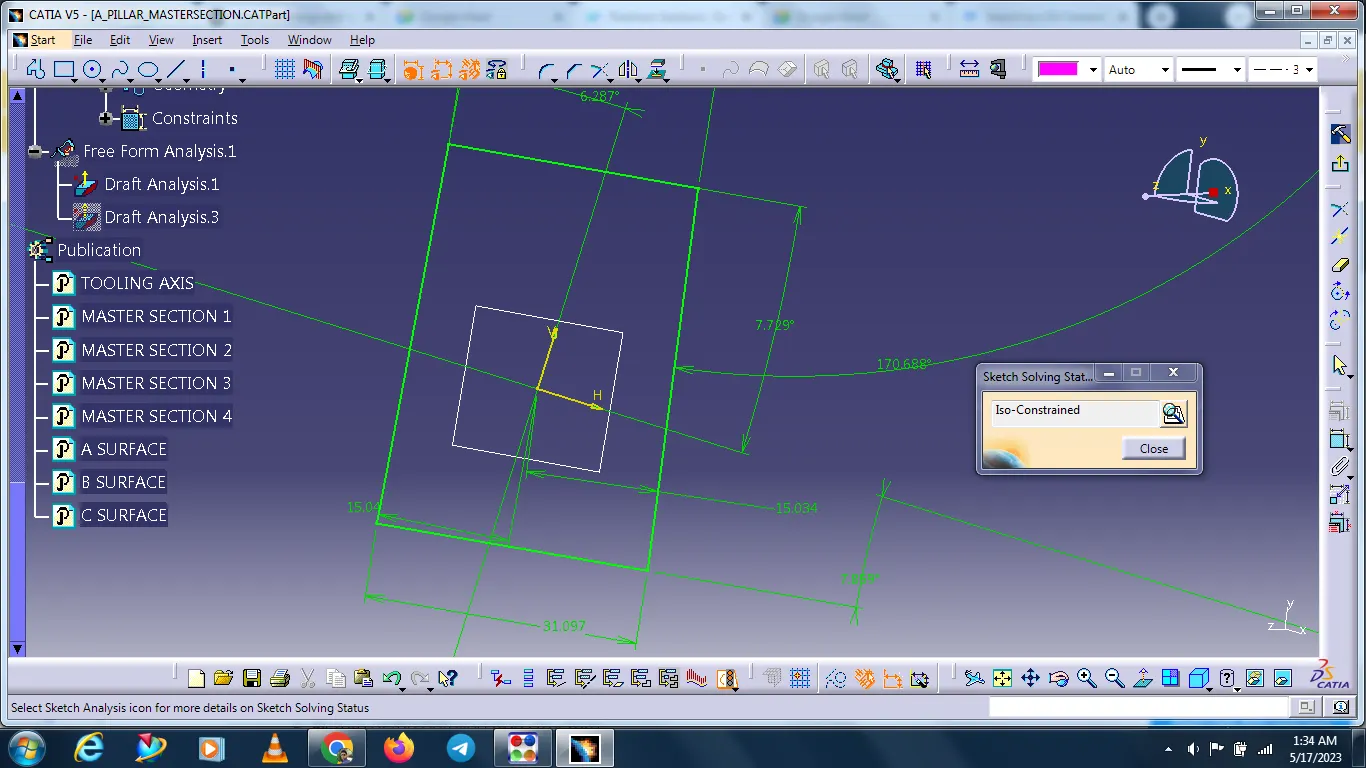
The taking master section in project 3D element.
consider the iso constrained.
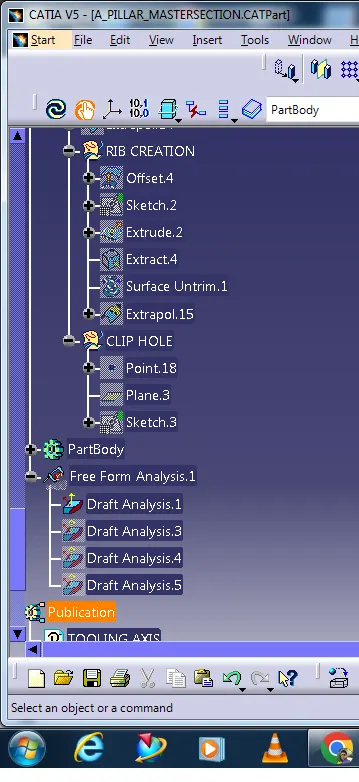
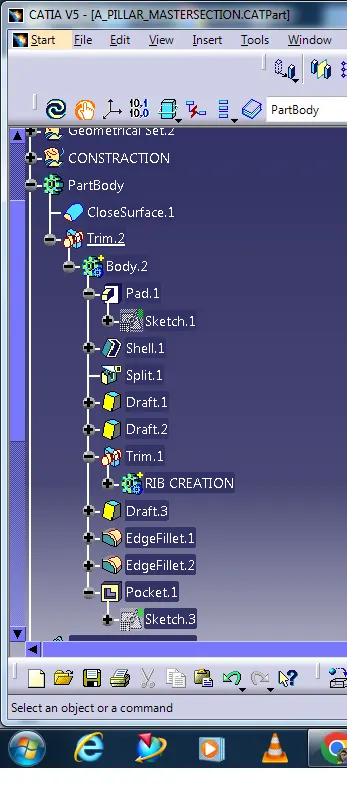
insert the new body and next pad it, and next shell it and create rib also.
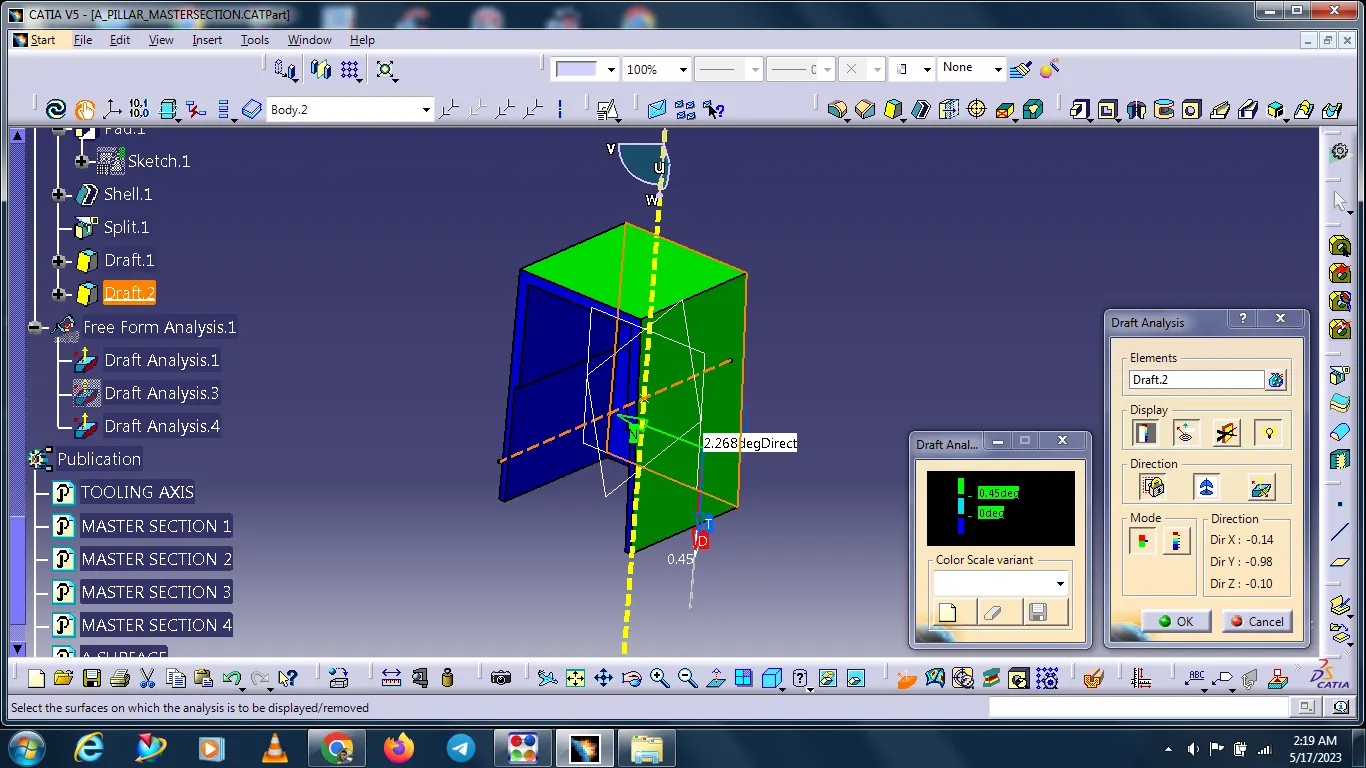
In the dog house, outer draft analysis was checked and it is in .45deg.
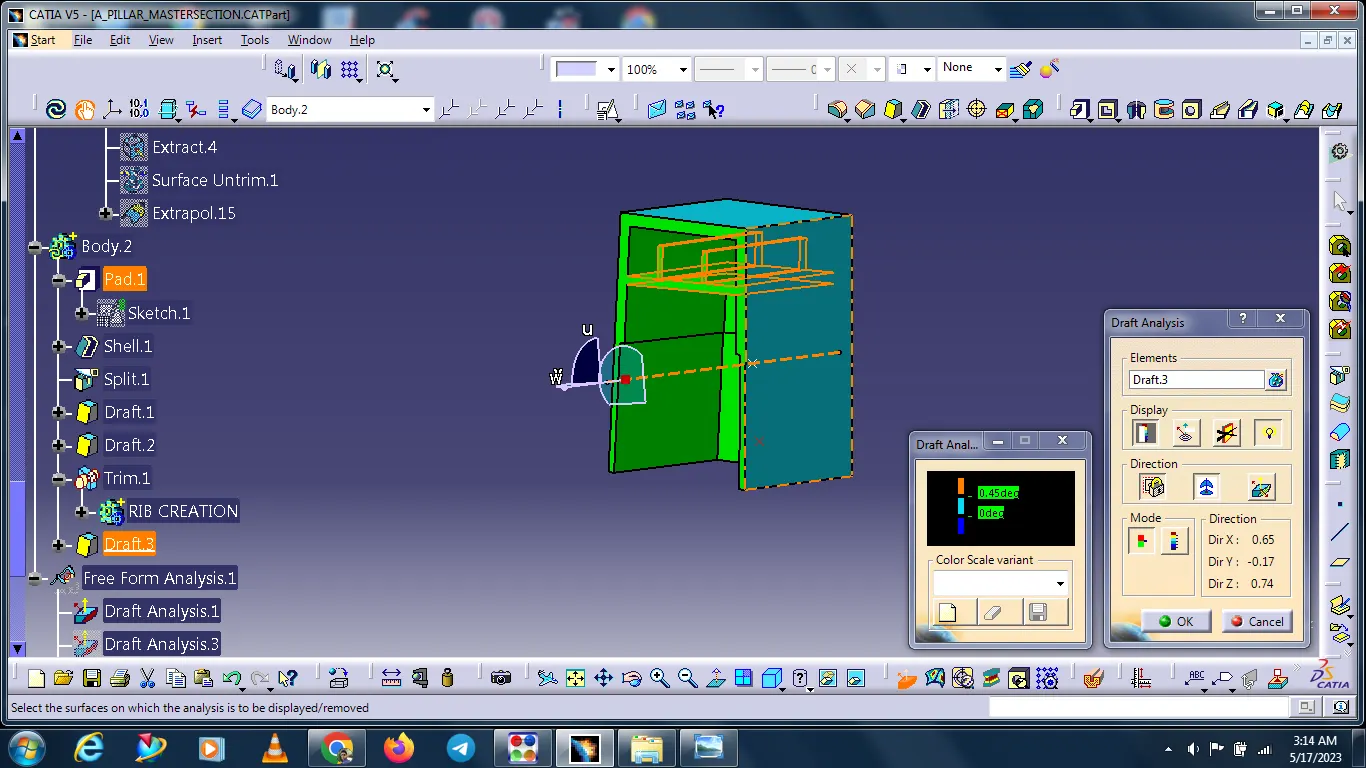
In the dog house, the inner draft analysis was checked and it is in .45deg.
CLIP HOLE
Draw the clip hole in 2D and consider the iso constrained.
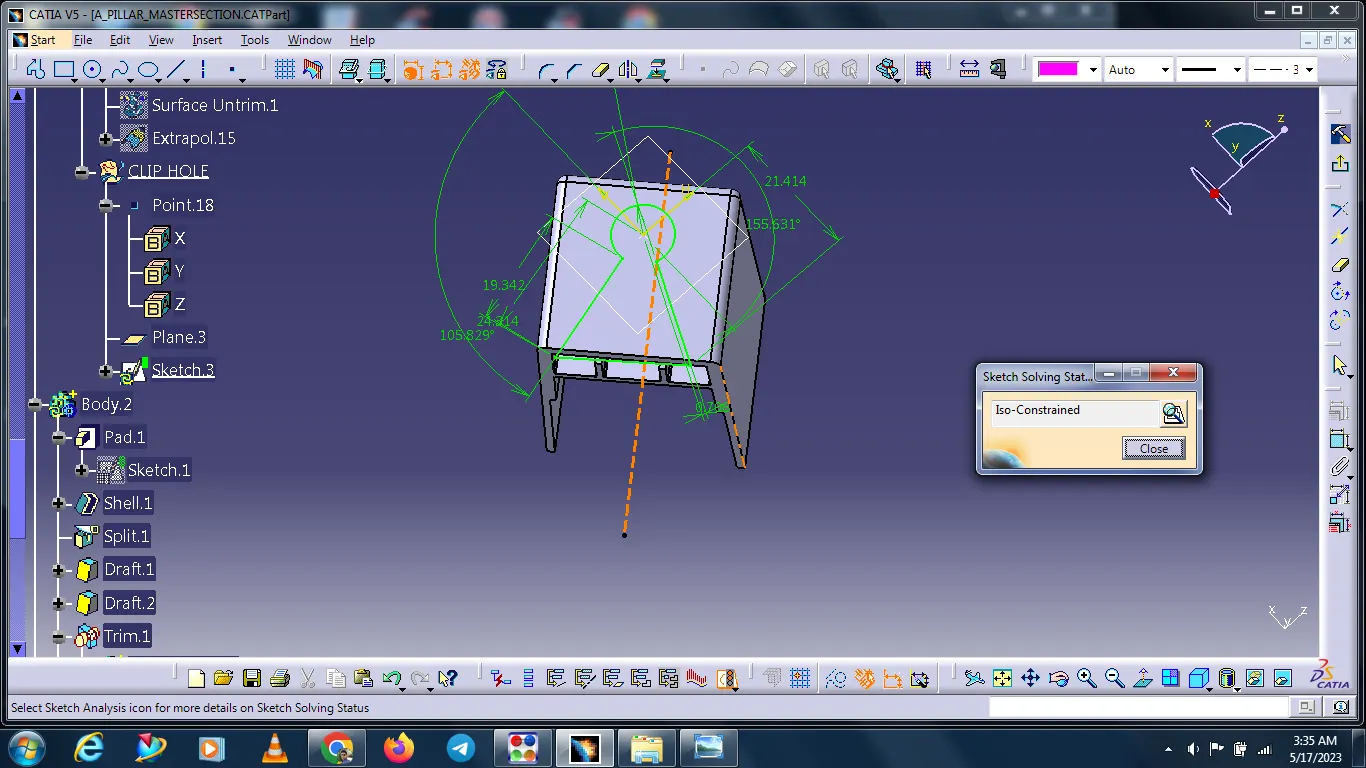
After completing the sketch create the pocket.
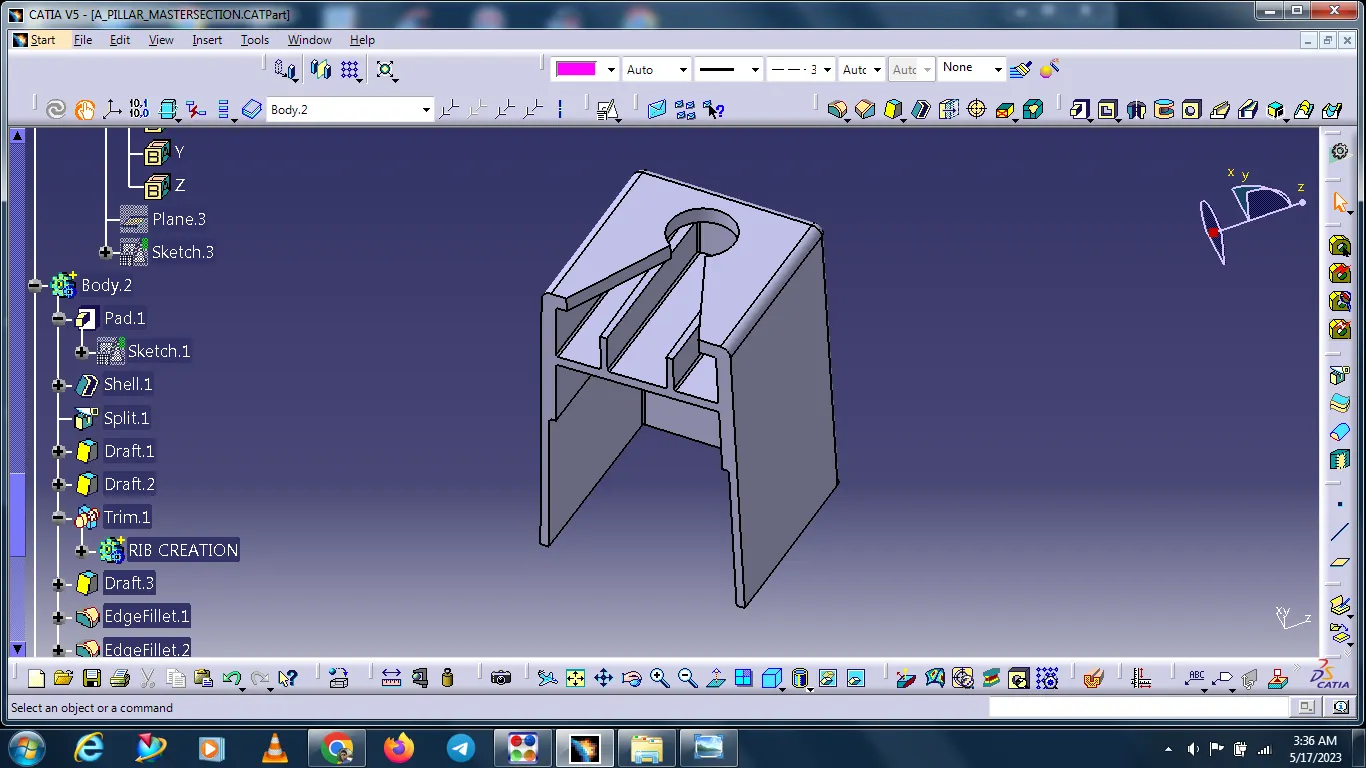
The completed dog house assembles in A pillar with the help of Union trim.