Week 11 - Final project
AIM
To design and development of vehicle interior door trim using Catia V5 with given class A surface along with Master section.
create the Side Attachment features as per design rules.
OBJECTIVE:
To create thickened part using master section for reference.
To create the mounting features as per design guidelines in the industry and with master sections.
To perform Draft analysis & Tooling analysis.
INTRODUCTION:
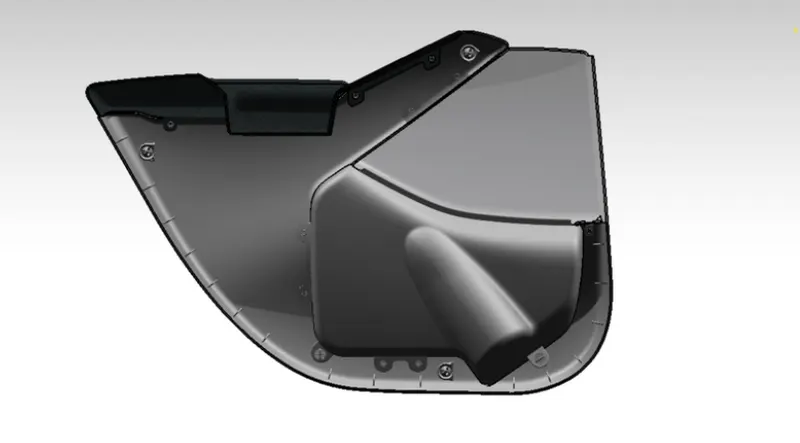
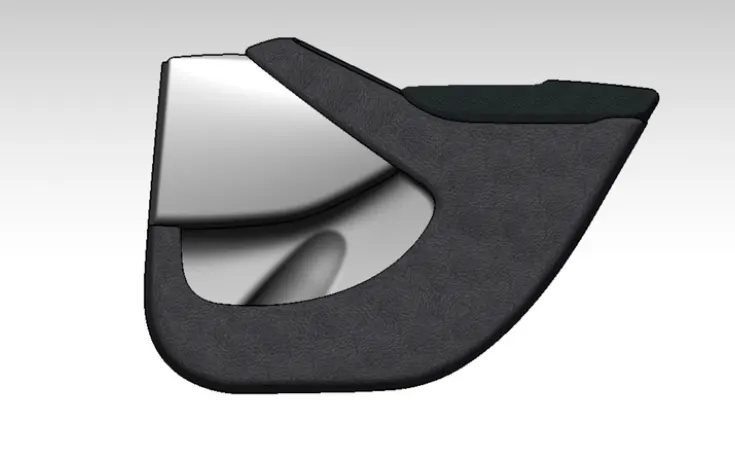
CATIA:
It means Computer-Aided Three-Dimensional Interactive Application. It is computer aided designing software. This is software which is used to design 3D models with different workbenches.
CLASS A SURFACE:
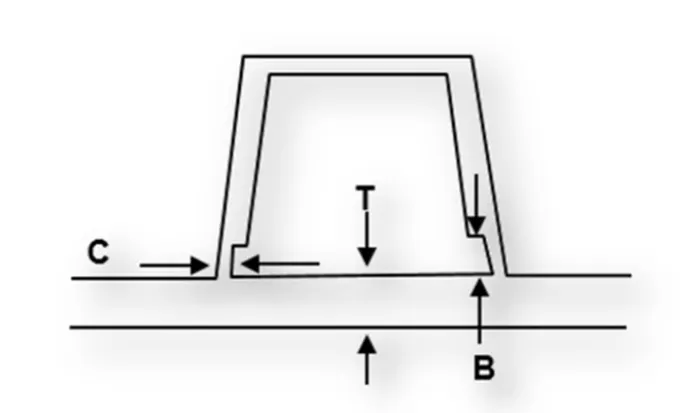
It is surface which is made by the designer. It is aesthetic surface and usable outside futures are on this surface.
CLASS B SURFACE:
It is bottom side surface of class A surface. It is made by class A surface. It is formed with thickness distance from class A surface.
CLASS C SURFACE:
It joins the both class A and class B surfaces. This surface is equal to the thickness of the component.
TOOLING AXIS:
- Class A surface or part is used to manually analysis which is best for tooling and create the axis perpendicular to the product. It is called tooling axis. Mould is open and closed by this axis.
DOG HOUSE:
It is used mainly for three functions.
- To eliminate the sink marks
- To lift the bosses for hight
- To give outside bosses from B surface
RIBS:
Ribs give strength to the model. It is made by some guidelines like draft, fillets etc.
MASTER SECTION:
They check and give new alteration model in 2D with class A surface which is used make 3D model for next step designing.
TOOLS:
- Extract:
This comment is used to create the required surface again. Which means copy the surface again for next operations.
- Un trim:
This tool is used to un trim the surface which means create the full surface of previous surface from current surface.
- Trim:
This tool is used to cut and eliminate the unwanted surface.
- Extrapolated:
This tool is used to increase the length of surface or area with the help of different option.
- Offset:
It is used to create the same surface again in required distance.
- Edge Fillet:
It is used to create sharp edges to round edges.
- Boundary:
It is used to form the boundary lines on opened surface.
- Sweep:
It is used to create the surface in required length from the profile.
- Join:
It is used to join the separate surfaces and create the single surface.
- Close (Part command)
It is used to create the solid part from closed hollow part.
- Curve smooth:
It is used to change the smooth curve from tangency curve.
- Fill:
Fill some gaps portion with this comment
- Blend:
Two bounty lines used to fill the gaps by this comment.
14.Split:
It is used separate the surface with the help of another surface as cutting tool.
- Pad:
It is used to extrude to create 3D part from 2D sketch.
16.Thicken:
It is used to give thickness of the surface model. It is one of the part bench comments.
TOOLING AXIS CREATION
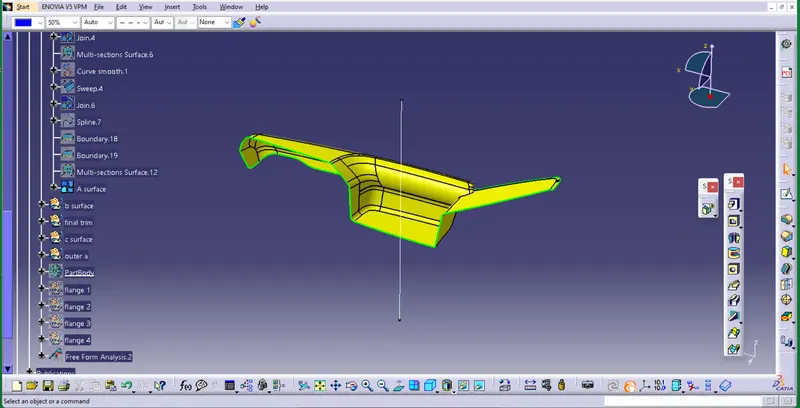
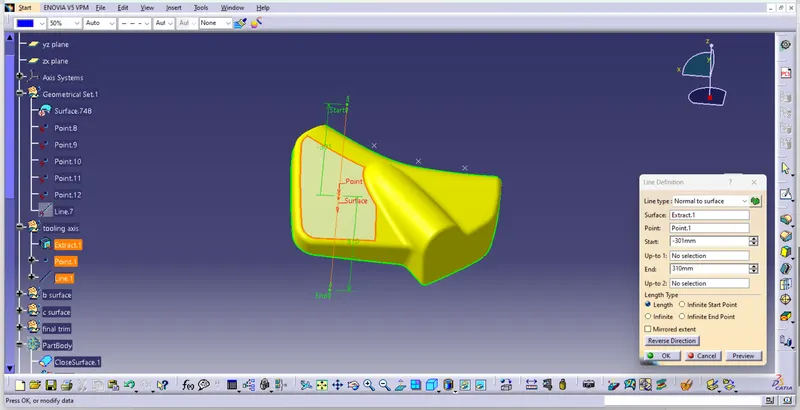
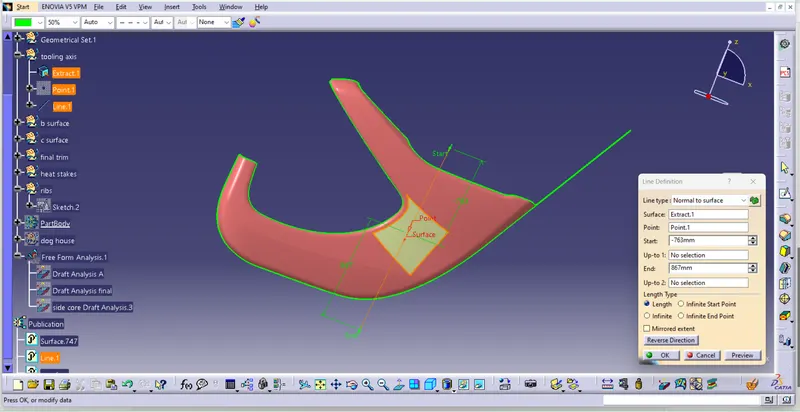
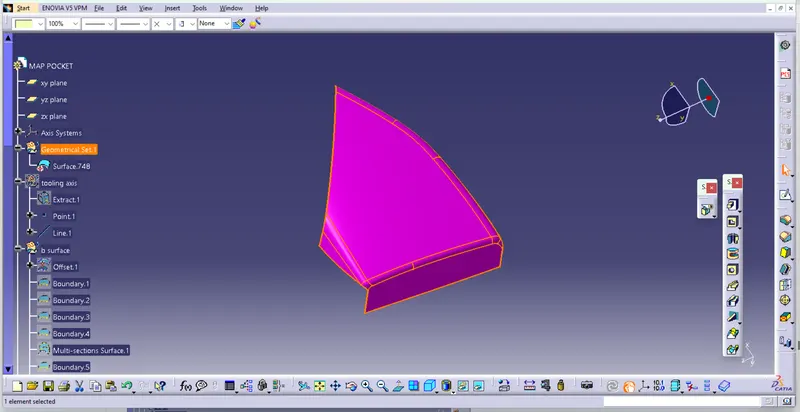
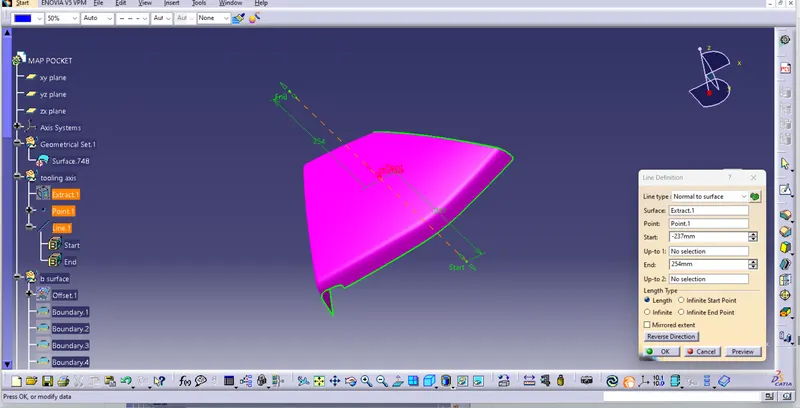
- First create the class A surface and manually analysis and fix the direction of tooling.
- In this part two hole on the surface. So, we can directly take its perpendicular as the tooling axis because its most suitable for tooling axis. Carefully watch and take this axis with the help of all types of views.
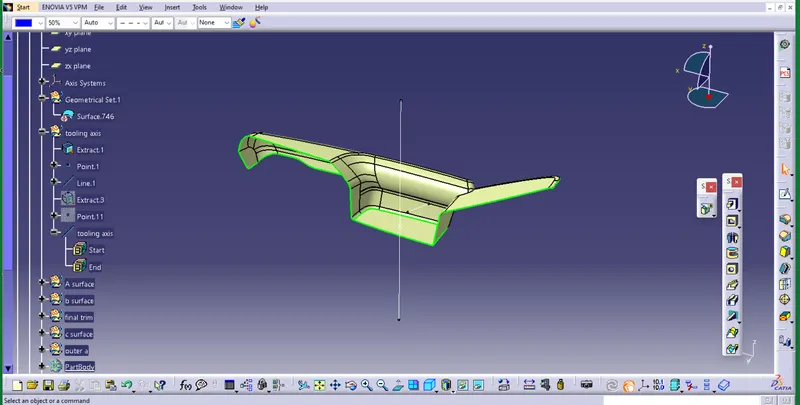
- First created the point on the surface and create new axis system.
- Then this intersect line is used to create the new lines on both wall lines. Then the both lines are used to create a bisecting line in tooling direction or it is zero degree drafting part, so we directly draw line through the line to form tooling axis.
- Change some appearance to this line like thickness, colour, dot lines. Finally, it is called tooling axis. It is published for frequent uses.
- Dog house is created by side core. So, we created separate tooling axis for dog house. Same method is used to create a tooling axis parapedicular to the main axis.
CLASS B CREATION
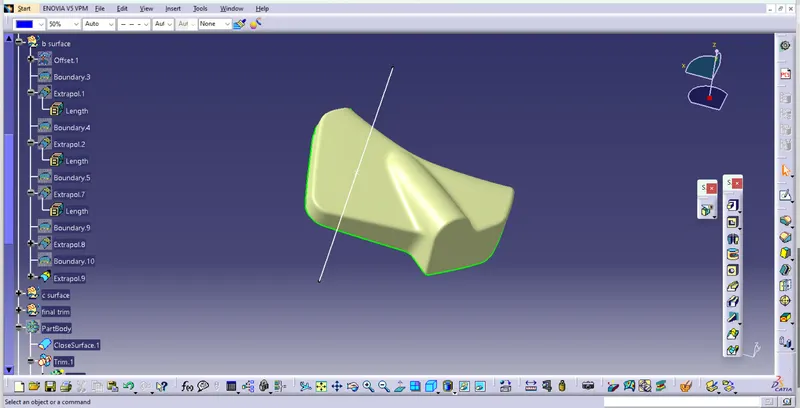
Following procedures are used to create surface B class.
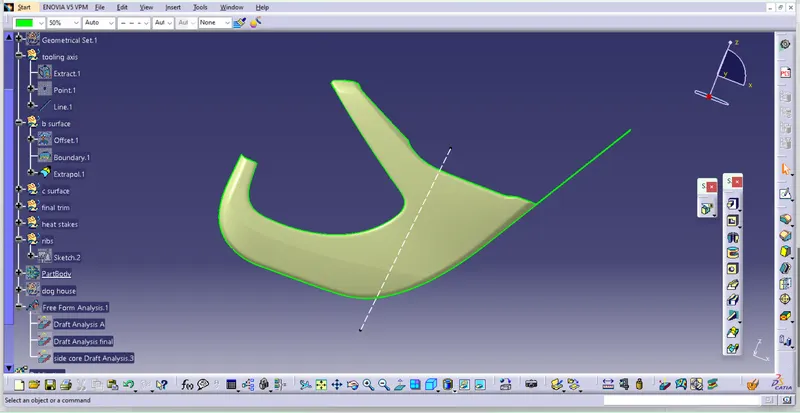
- We directly offset the given bumper surface at 3mm distance inside with the help of offset comment fore b surface
- Some discontinuous surface filled with some comment like blend, fill, Mss etc.
- If we need any bounty expand with the help of extrapolated comment.
- Trim unwanted surface
- Finally, we got surface B class.
CLASS C CREATION
Step: 1
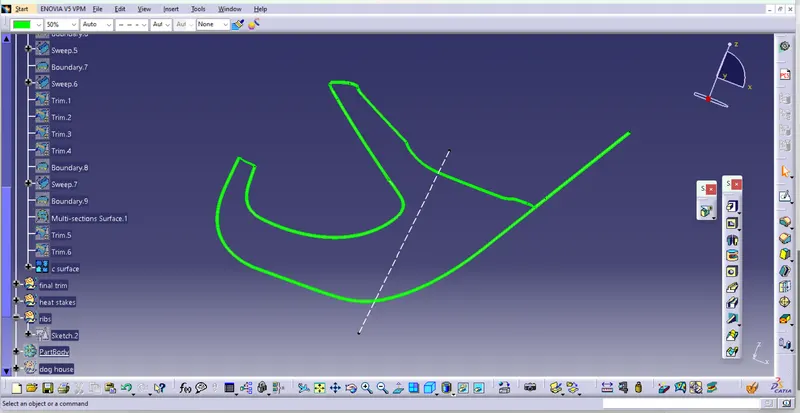
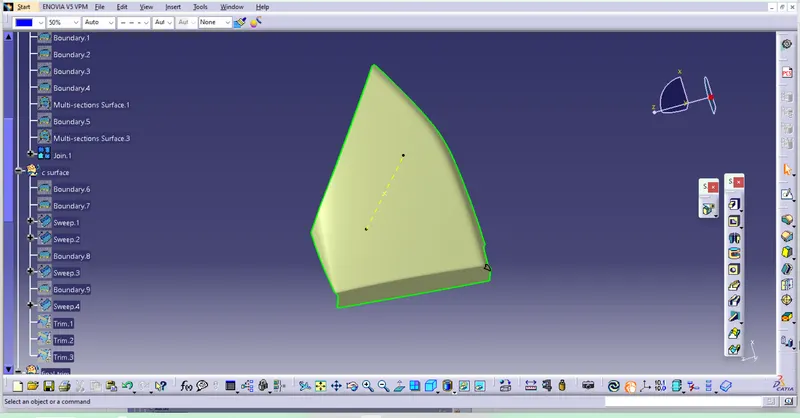
Extracting the boundary of Class A surface and it is make into smooth curves to sweep the curves by using support surface to the 90,87 and 3 degree respectively.
Step: 2
Once the all surface joined together it extrapolated to certain distance to trim with A Class surface to C surface. Finally we createdN Class C surface.
DRAFT ANALYSISS
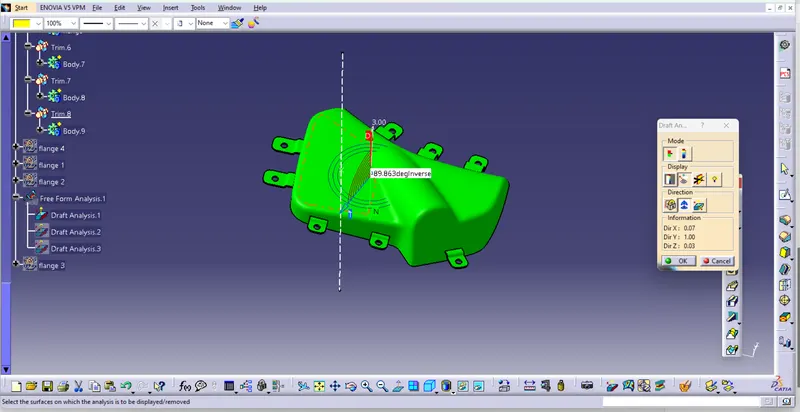
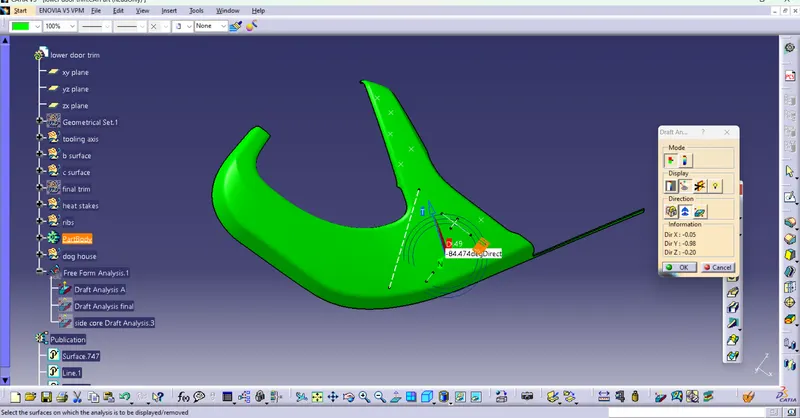
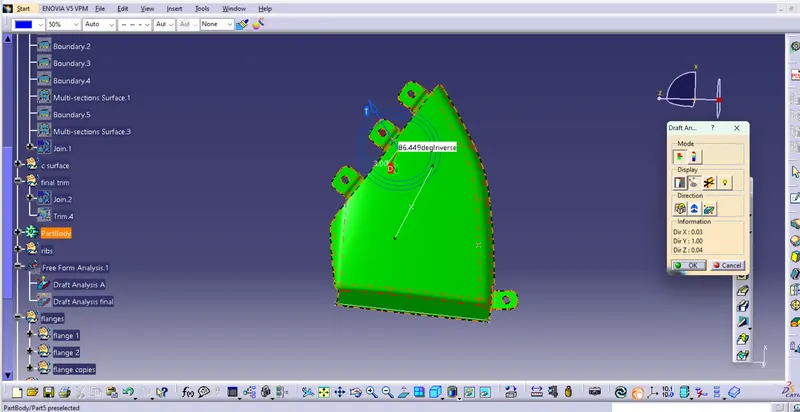
- Go to insert < analysis< feature draft analysis.
- Compass is fixed on the tooling axis.
- Then we click on the surface it showing different colour. This colour is used to analysis the drafting value of surface with the help of analysis table.
- It is zero-degree draft component. So, we no need to take drafting analysis. If we take it will show zero-degree draft angle.
ARM REST
CLASS A SURFACE
TOOLING AXIS
CLASS B CREATION
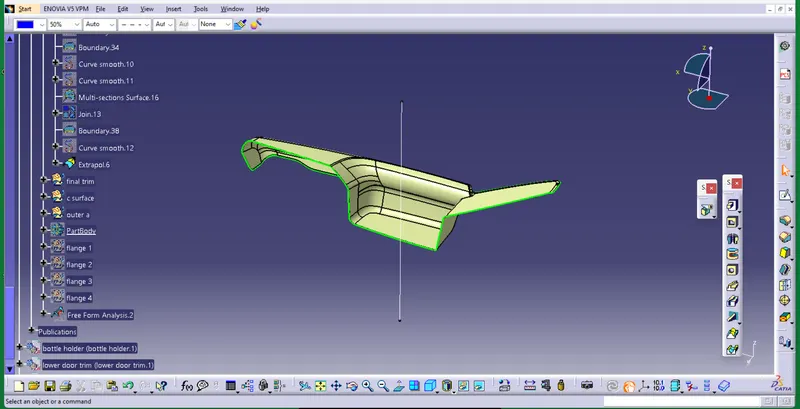
CLASS C CREATION
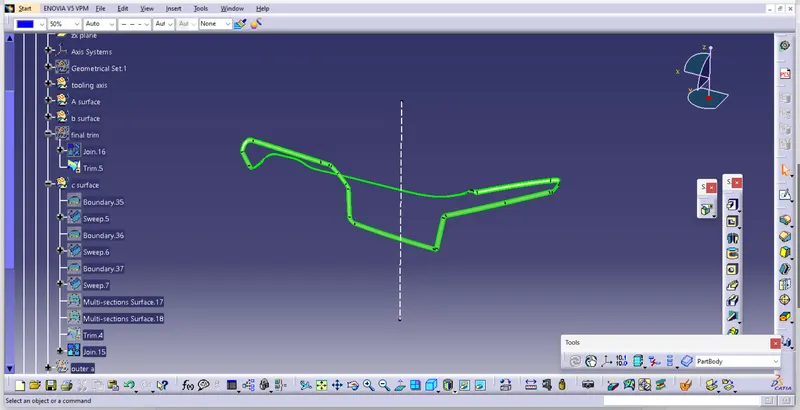
DRAFT ANALYSIS
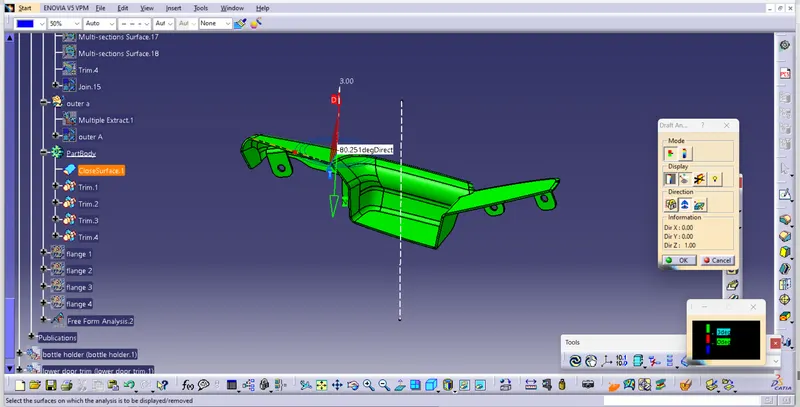
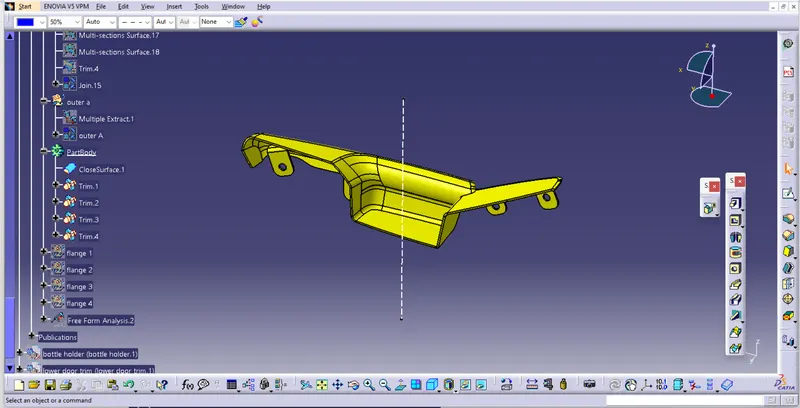
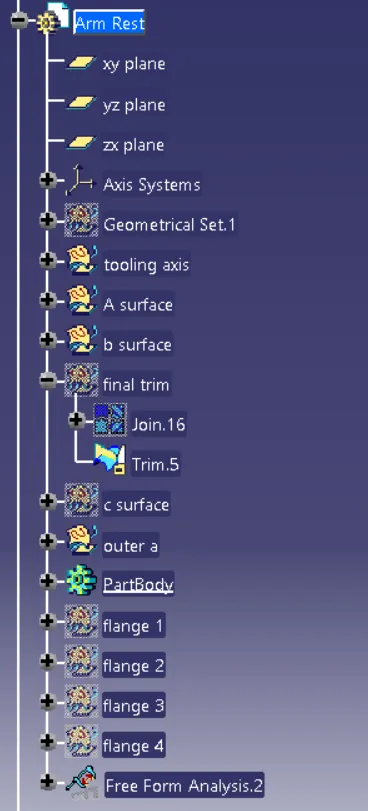
TREE STRUCTURE OF ARM REST
BOTTLE HOLDER
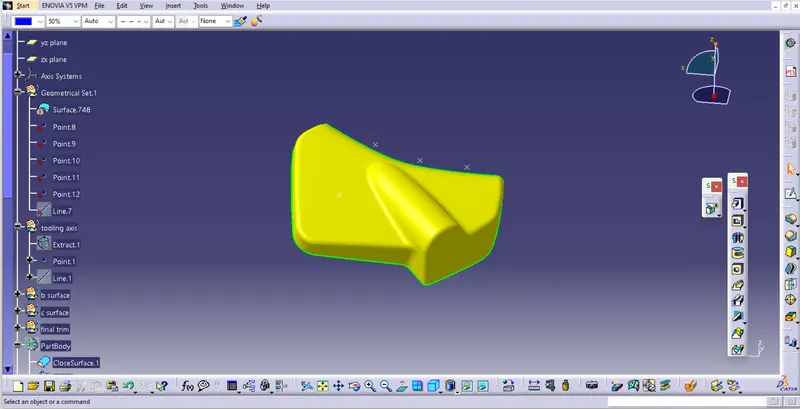
CLASS A SURFACE
TOOLING AXIS CREATION
CLASS B CREATION
CLASS C CREATION
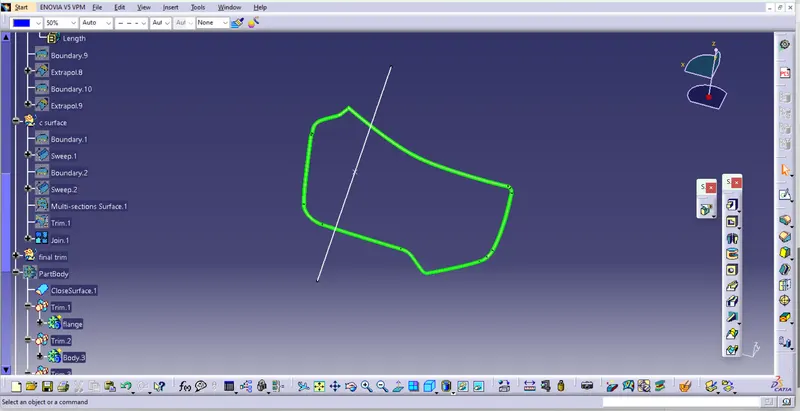
DRAFT ANALYSIS
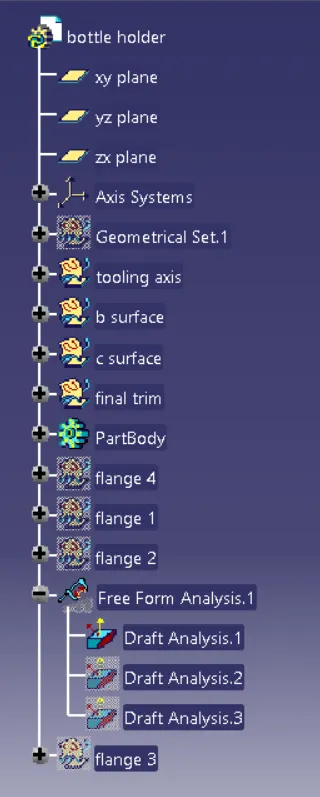
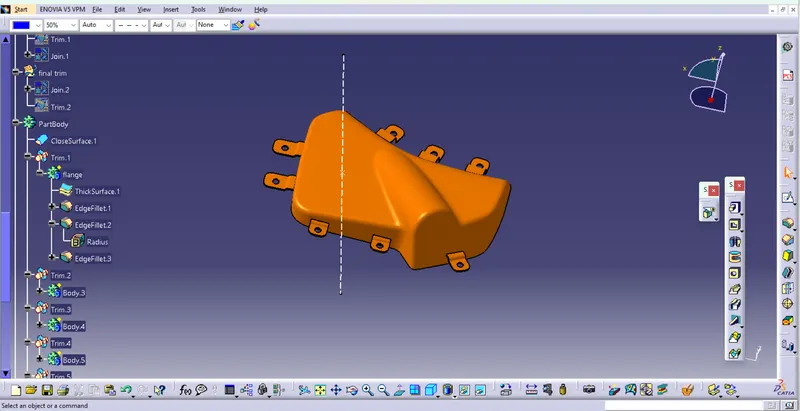
TREE STRUTCURE
LOWER SUBSTANCE
CLASS A CREATION
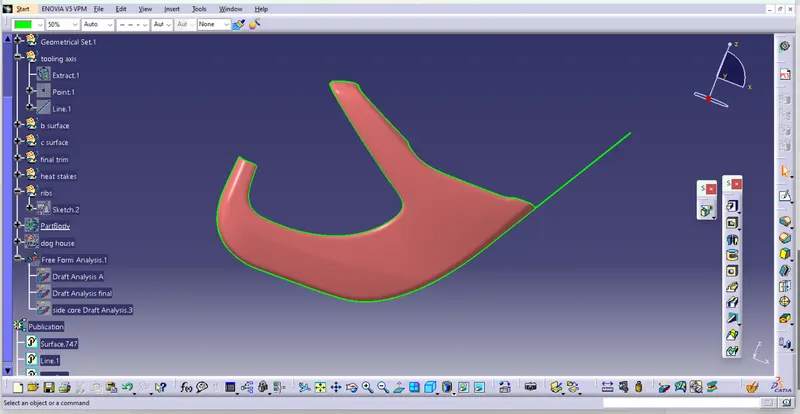
TOOING AXIS CREATION
CLASS B CREATION
CLASS C CREATION
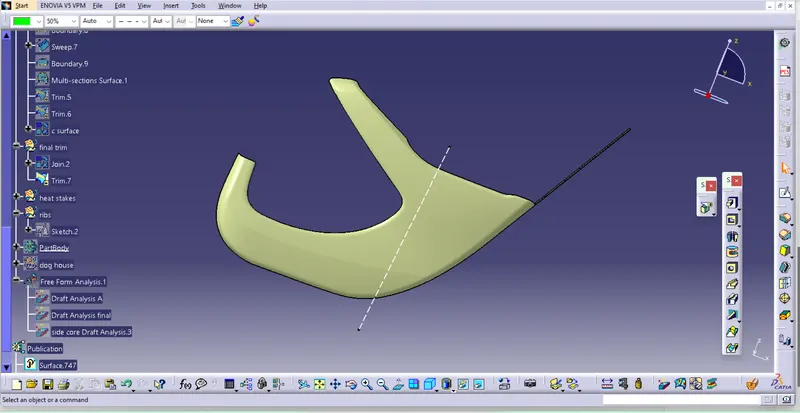
DOG HOUSE CREATION
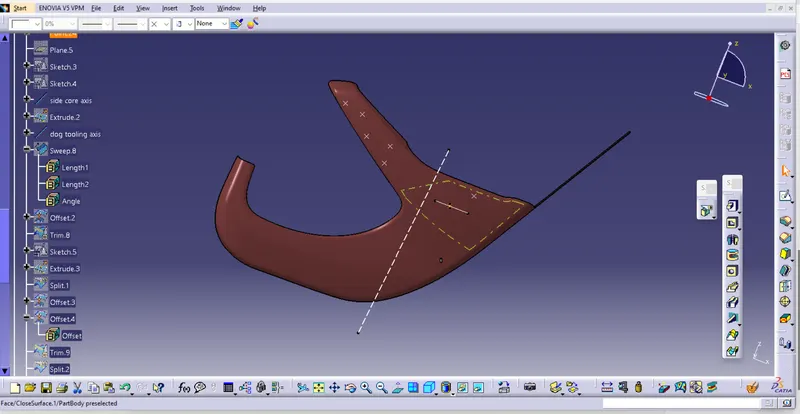
HEAT STAKES CREATIONS
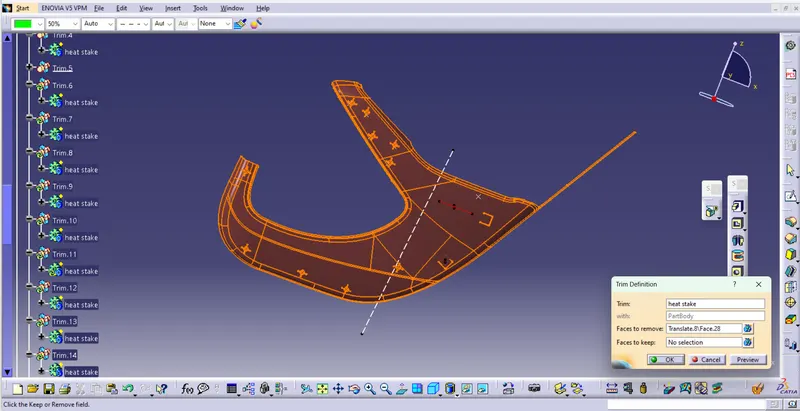
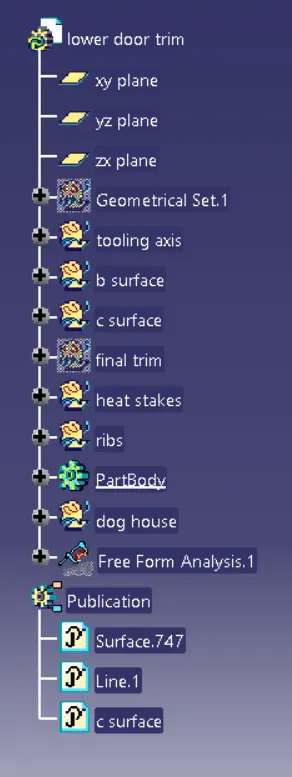
MAP POCKET
CLASS A CREATION
TOOLING AXIS CREATION
CLASS B CREATION
CLASS C CREATION
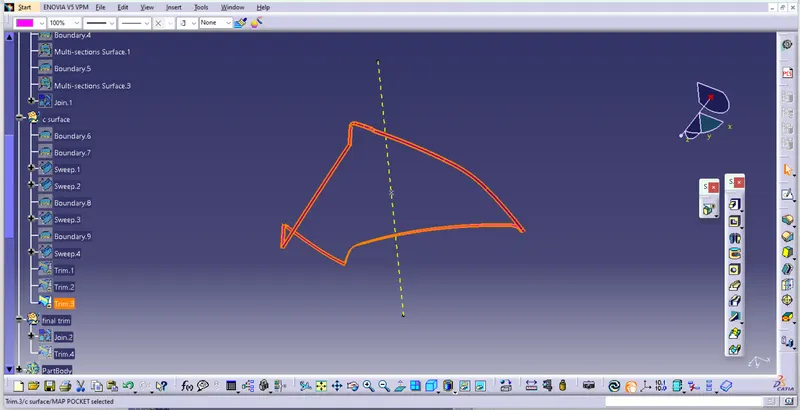
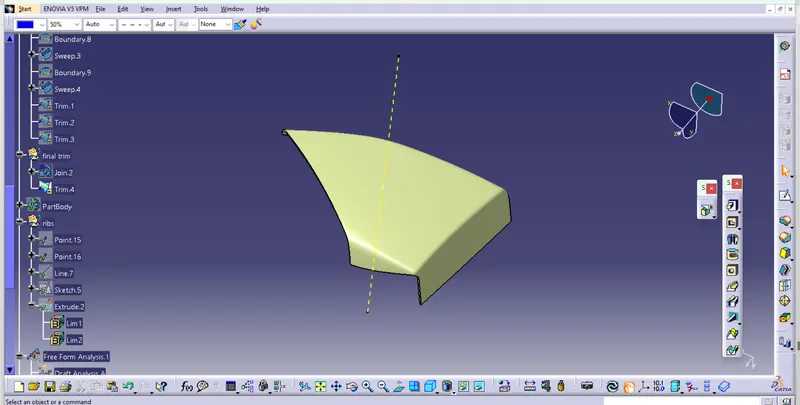
RIBS CREATION
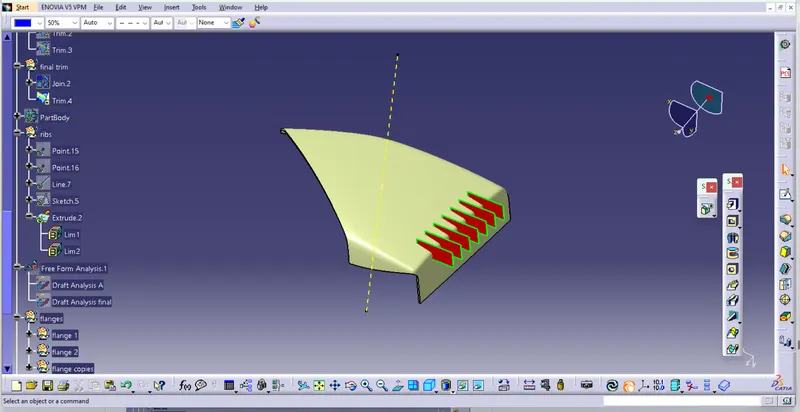
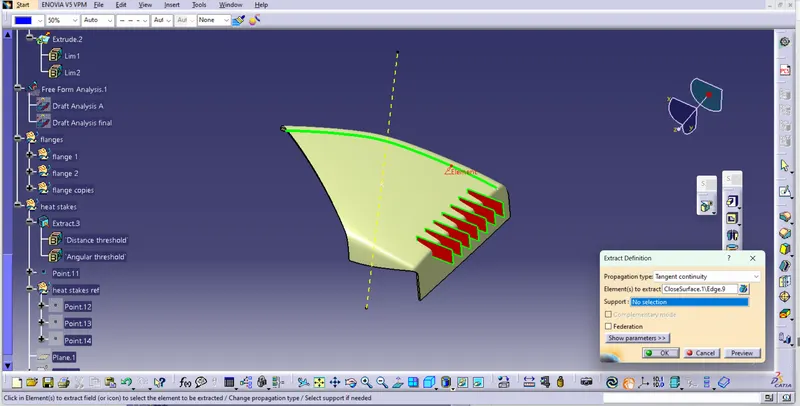
HEAT STAKES CREATION
FLANGES CREATION
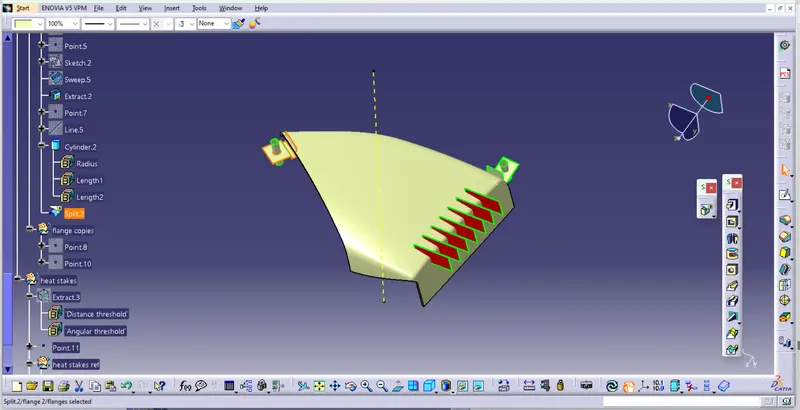
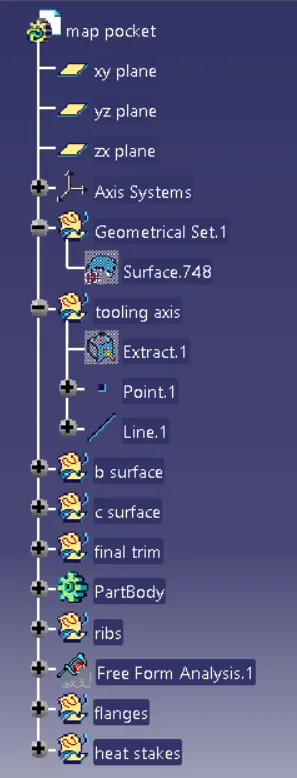
TREE STRUCTURE
DRAFT ANALYSIS
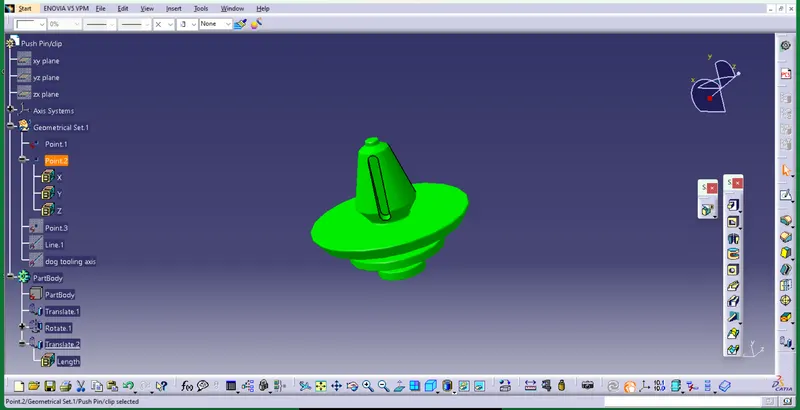
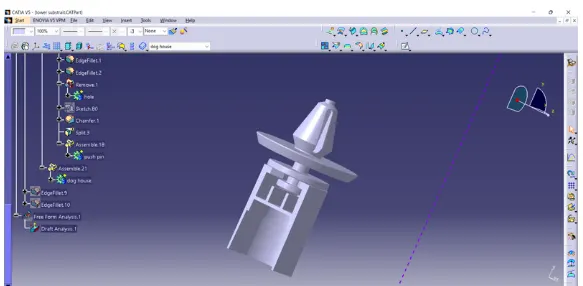
PUSH PINS CREATION
Step: 1
The push pin clip has been sketched for the required dimension. It is revolved to make solid component as shown below.
It is mounted on the top of Dog House to the lower substrate assembled body as shown below.
DOG HOUSE CREATION
Step: 1
Creating the sketch by extracting the class A surface, by each surfaces separately, point and axis . Using positioned sketch making as shown below.
Step: 2
sweep the surface with 1.5 degree and the extract surface from Class A has been offset to make side trimming it.
Step: 3
The extruded surface is converted into solid by thickening the surface for 2mm and it is extrapolated and to make close body it is split
into equal distance has shown below.
Step: 3
The extruded surface is converted into solid by thickening the surface for 2mm and it is extrapolate.
It is drafted for 0.5 deg to perpendicular to the sidling axis as shown below. The edges where chamfer
CREATING HEAT STAKES
Heat stalking is a pulsed- heat process to join two or more parts out of which one at least is madeof plastic .the plastic material using the heat and foam at a set process time. The bond is made by partially deforming the plastic part in order to fix the other. Heat stakes makes it easily to bond metal to plastic is commonly used in high volume and low cost application such as Automotive, IT and consumer appliances.
Step: 1
Creating the sketch by extracting the class A surface, by each surfaces separately, point and axis system created simultaneously on
the surface. Using positioned sketch.
Step: 2
The sketch feature is then extracted to the required dimension. And it is drafted for the 0.5 deg to the sliding tooling axis, it is filleted for
radius 0.25 of smooth edges as shown below.
The support rib as created, where the flange will come and sits to get arrested to the heat stake.
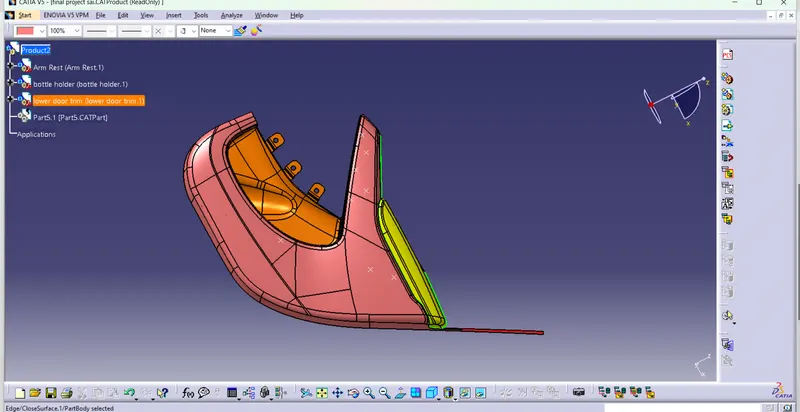
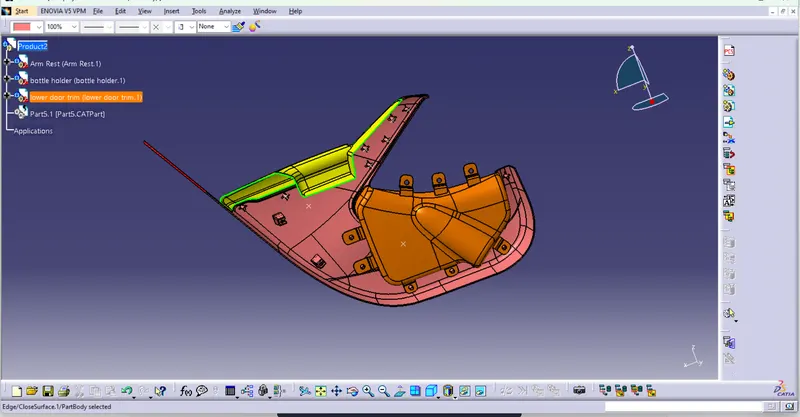
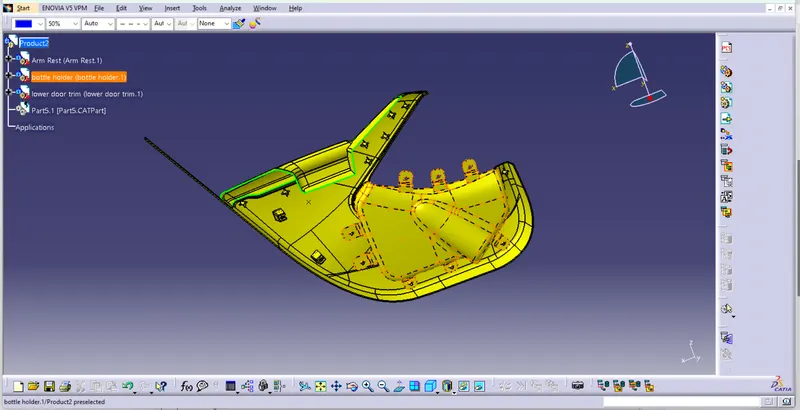
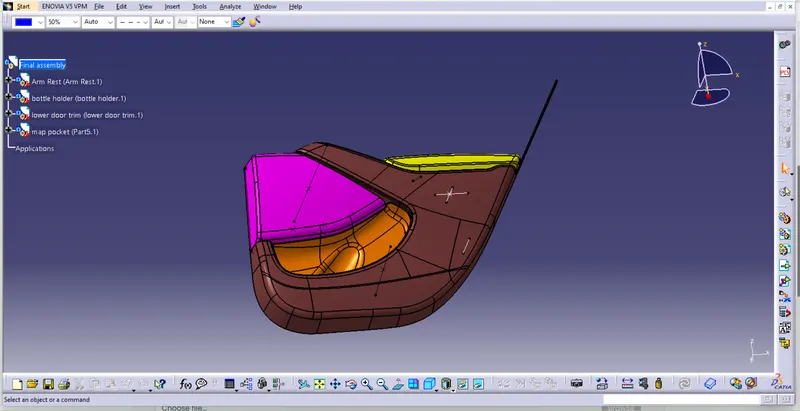
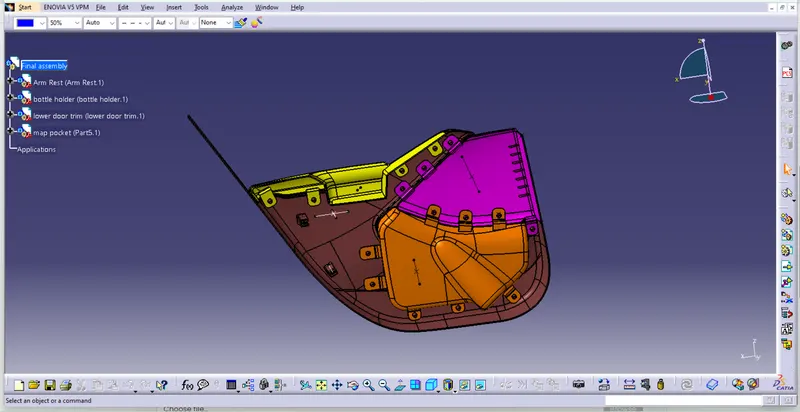
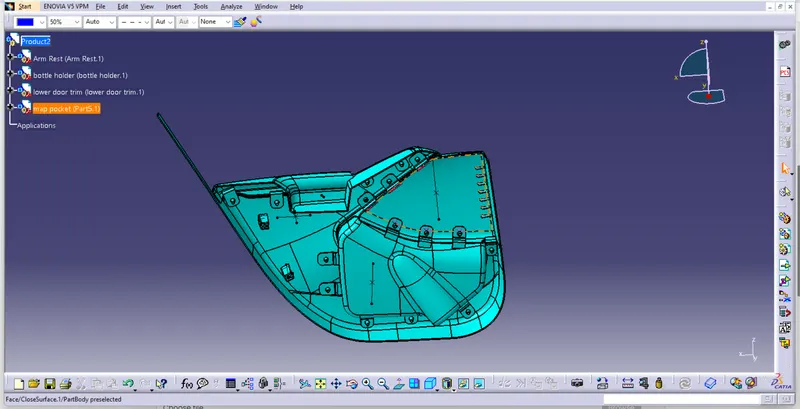
FINAL ASSEMBLY
CONCLUSION:
Different commends are used to create the surface A class, B class, C class. Then join and convert the solid. Finally, B surface and solid part of door trim are created from provided class A surface. Dog house with ribs are created by standard guide lines. Full model is successfully created by master section and draft is analysed by CATIA software.