Week 11 - Final project
Aim : To create a CAD model of a side door trim panel from given class A surface .
Objective:
a) Creation of side door trim panle from given class A surface . Apply thickness to it and use attachment features .
b) Creation of flanges and heat stakes from given master sections .
c) Creation of dog house and various attachment features using industry standards
d) Performing draft analysis and ensuring the features and surfaces clear it .
Introduction :
The ten stages in automotive product life cycle developement are listed below .
1)Concept sketch
2) Styling class A
3)Feasilbility check
4)Concept validation
5)New product design
6)Product developement
7) Prototyping
8)Design validation
9)Pilot production
10)Mass production
From the above stages , it isin stage 5 that new product is developed and validated from class A surface . The objective is to design class B and class C surface from given class A surface and create a solid body from it using softwares like CATIA V5, solidworks or solidedge taking into consideration the draft analysis which makes the component suitable for production using injection molding process .
Given below is the procedure to create a new plastic component from given class A surface .
1) Creation of tooling axis
2) Creation of class b surface
3) Creation of class C surface
4) Creation of closed body
5) Draft Analysis .
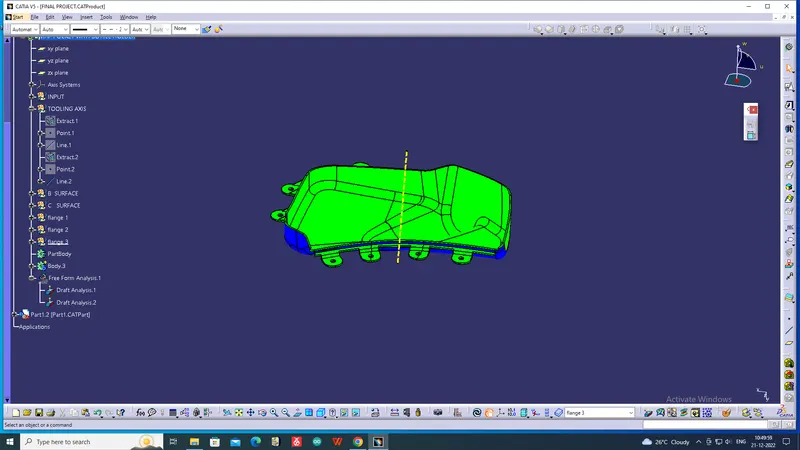
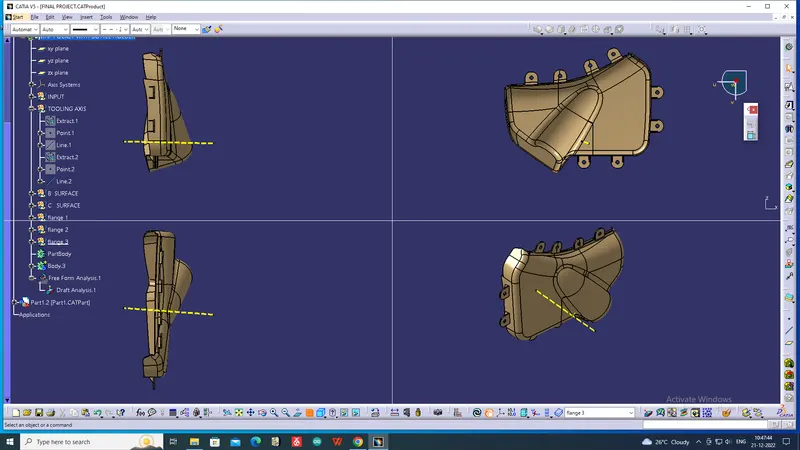
Draft analysis is done to ensure that the designed part is manufacturable based on the draft conditions applied. It is done to ensure the proper ejection of the component from dies(for metals) or molds(for plastics). The basic idea is to ensure that the tooling axis has to be created in such a wat that it has no parallel surface profiles of the component so that the ejection of the components can be ensured . Tooling axis is the axis along which cavity and core are closed and opened .
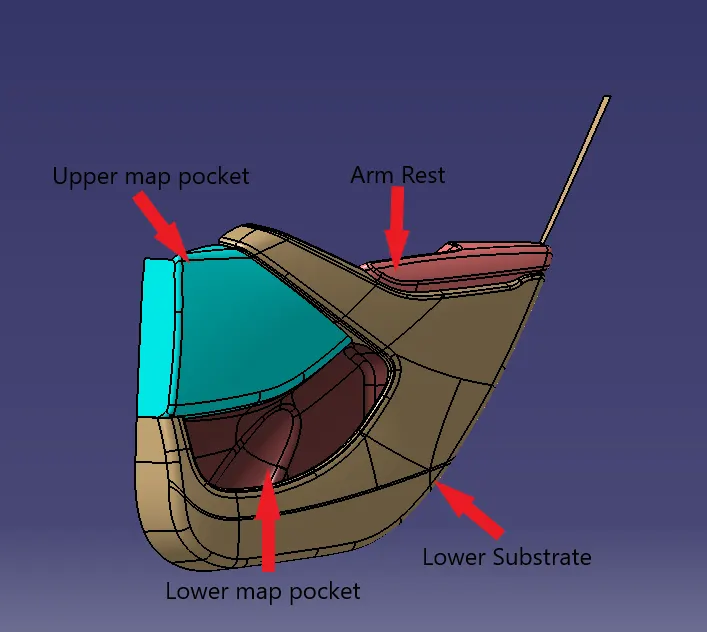
The main components of interior door panel of a car consists of the following parts .
1) Arm rest
2) Map pocket (Consists of upper and lower part)
3) Upper substrate (Not given in the current model)
4) Lower substrate .
Step by step procedure
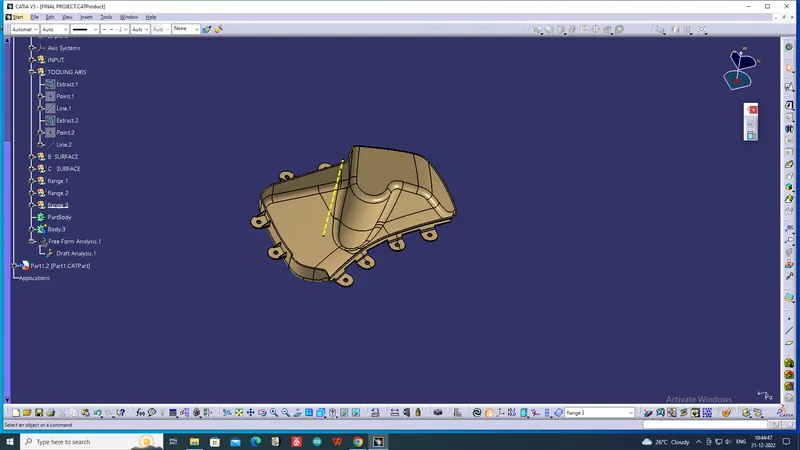
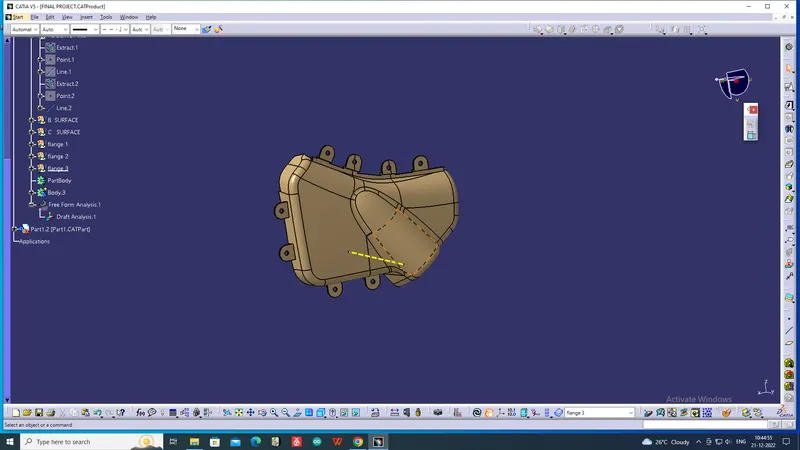
1) Creation of tooling axis
To create tooling axis , we must import the model into catia as a product ..
Given class A surface
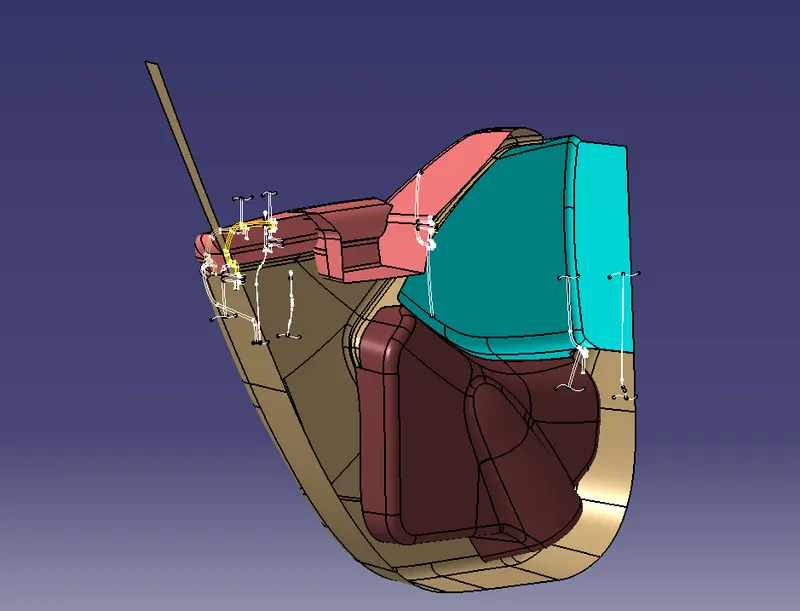
Rear side of the class A with master section
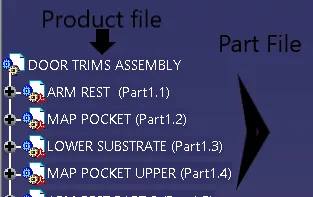
Create a product file and copy each component into different part files and name the accordingly .
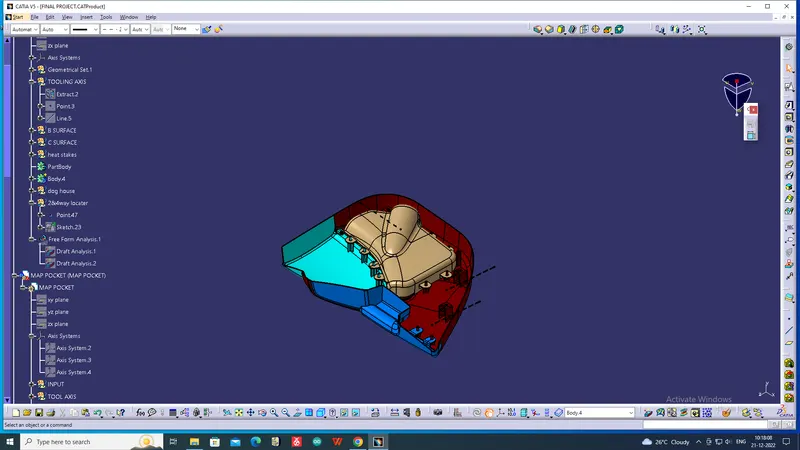
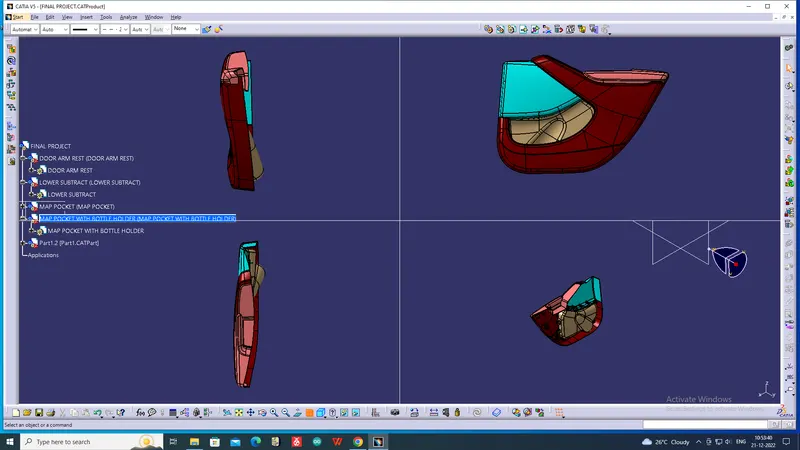
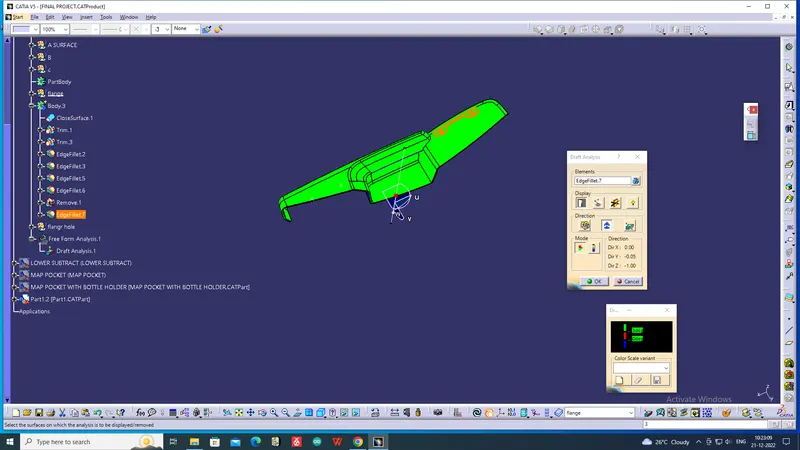
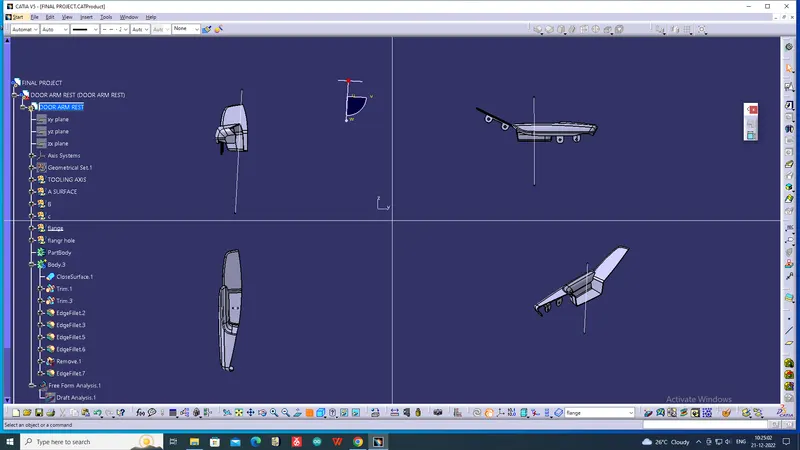
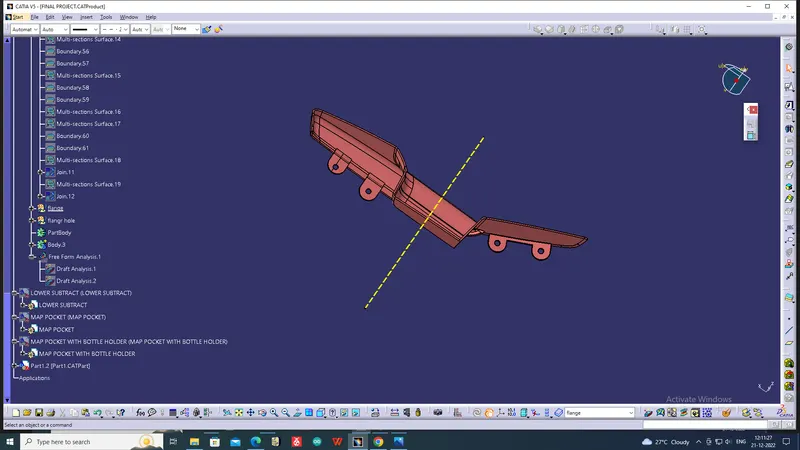
Creation of Tooling axis for Arm Rest
Tooling axis for Arm rest
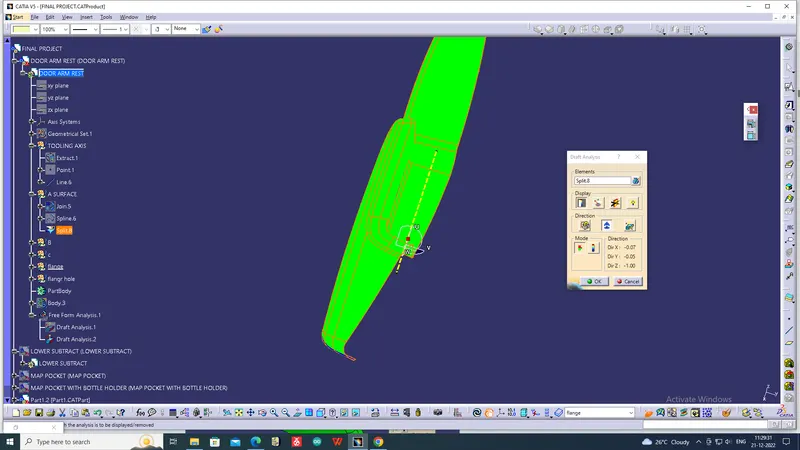
2) Creation of class B surface
Procedure to create class B surface
Step 1: Use offset tool with a distance value of 2.5mm to create offset of class A surface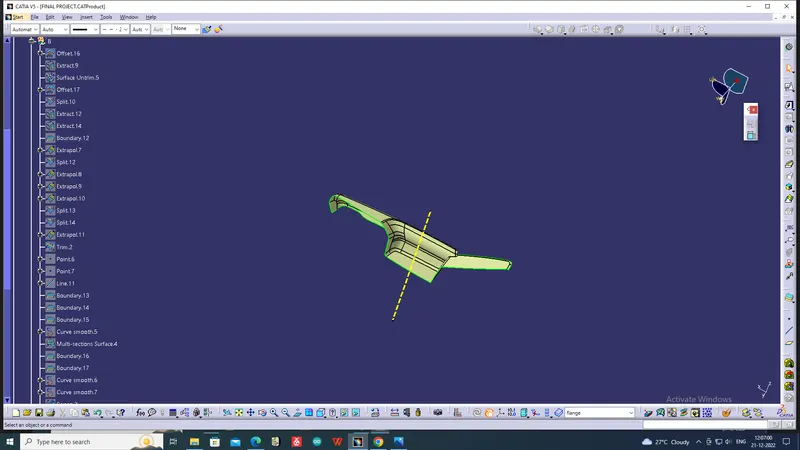
3) Creation of Class C surface
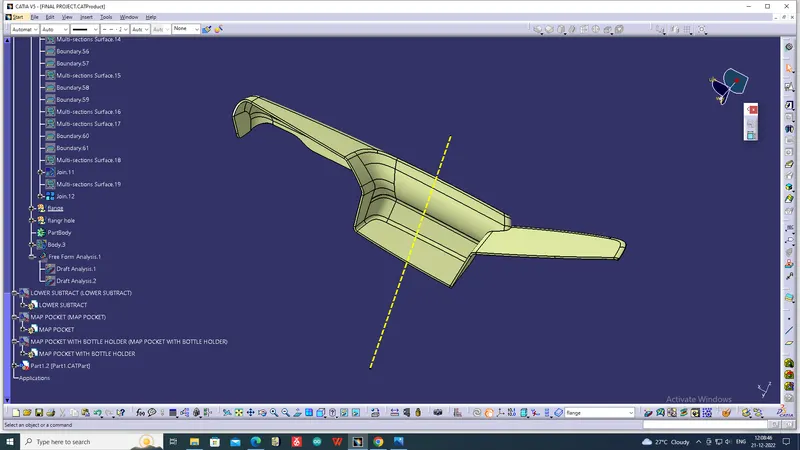
5) Draft Analysis
Procedure to check Draft analysis
1)Once the tooling axis is created , publish it and the component using Publication from tool option .
2)Insert Feature draft analysis option from insert tool bar
3) Change the view option to customize view parameters and click om material option under shading .
4) Now click on the axis option from Draft analysis tools , allign it with tooling axis and click on lock option to lock it .
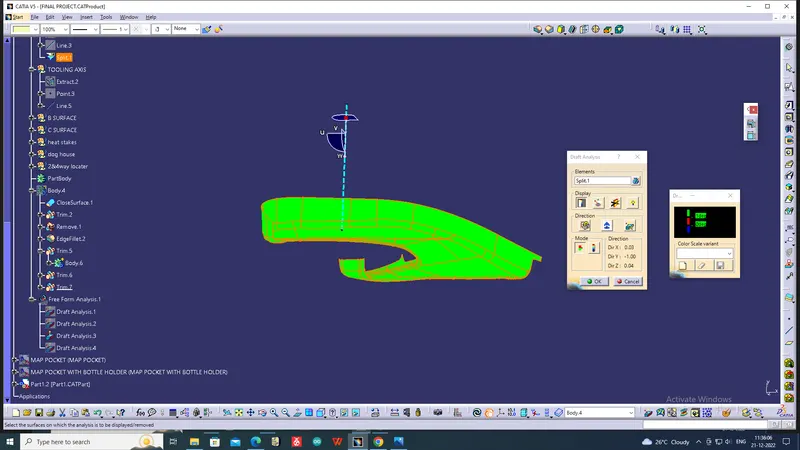
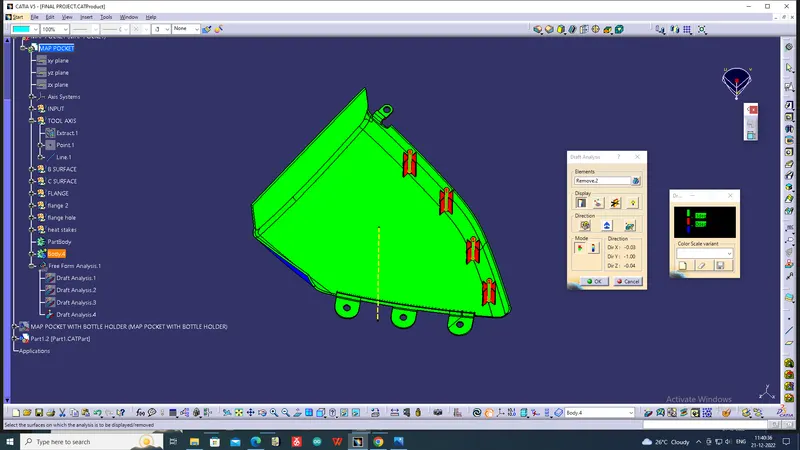
5) Change draft angle value to 3 degree . Click on quick analysis mode to display feature according to given color scale . Check from all views to ensure the draft analysis is cleared . Click ok to complete the Draft analysis mode.
Tooling axis for lower substrate
2) Creation of class B surface
Procedure to create class B surface
Step 1: Use offset tool with a distance value of 2.5mm to create offset of class A surface
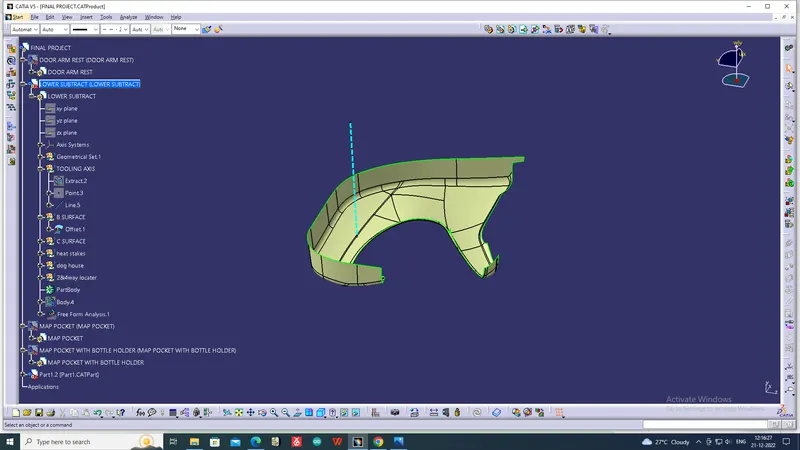
3) Creation of Class C surface
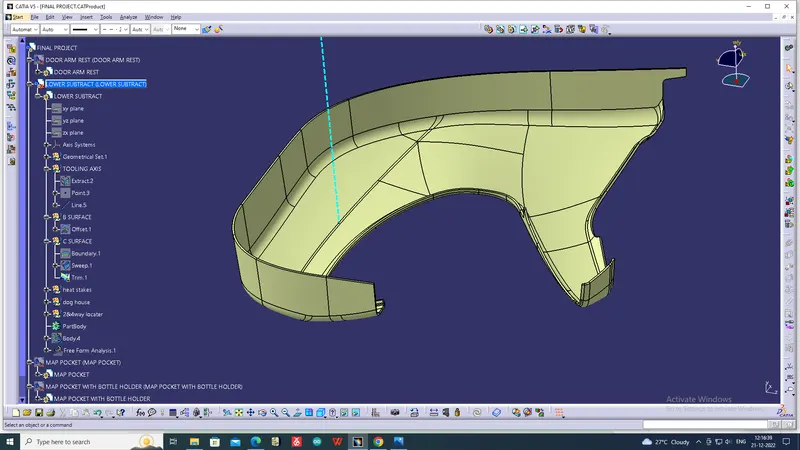
5) Draft Analysis
Procedure to check Draft analysis
1)Once the tooling axis is created , publish it and the component using Publication from tool option .
2)Insert Feature draft analysis option from insert tool bar
3) Change the view option to customize view parameters and click om material option under shading .
4) Now click on the axis option from Draft analysis tools , allign it with tooling axis and click on lock option to lock it .
5) Change draft angle value to 3 degree . Click on quick analysis mode to display feature according to given color scale . Check from all views to ensure the draft analysis is cleared . Click ok to complete the Draft analysis mode. 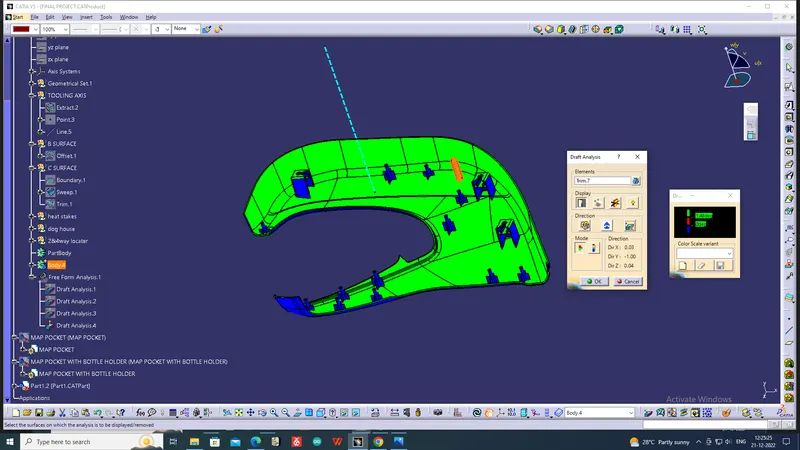
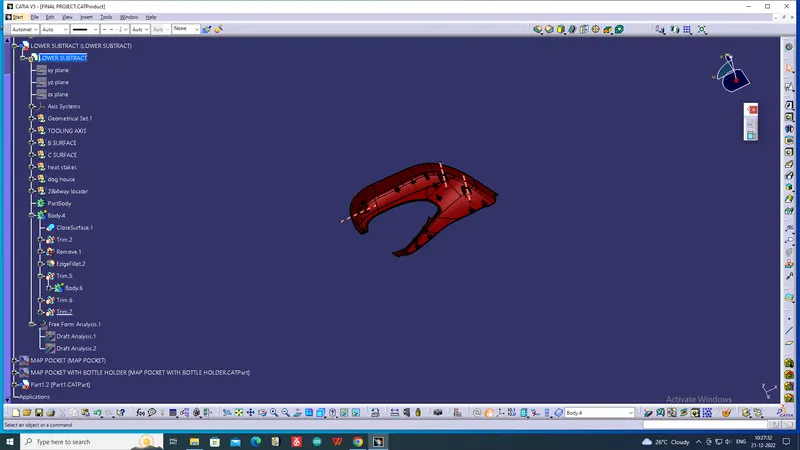
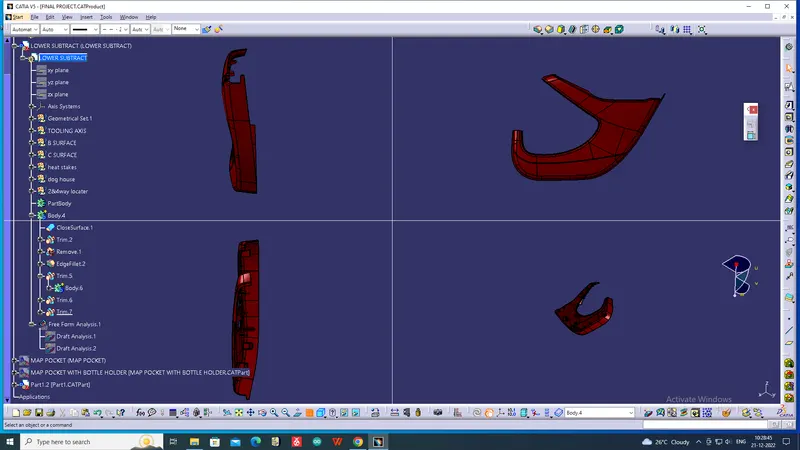
Tooling axis for Map pocket upper
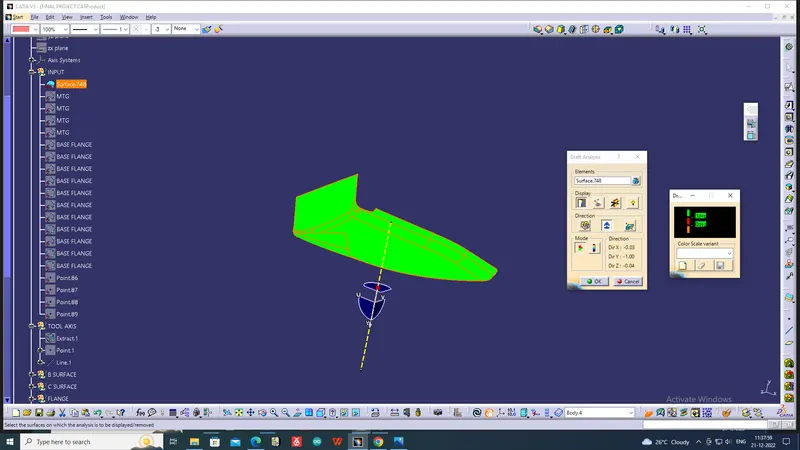
2) Creation of class B surface
Procedure to create class B surface
Step 1: Use offset tool with a distance value of 2.5mm to create offset of class A surface
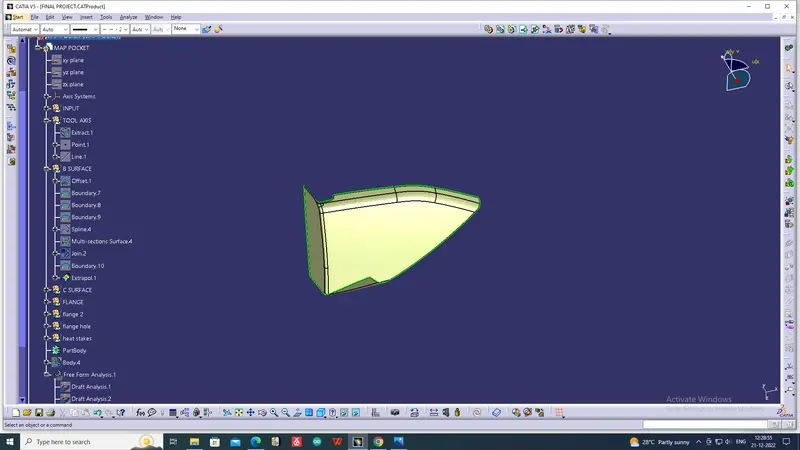
3) Creation of Class C surface
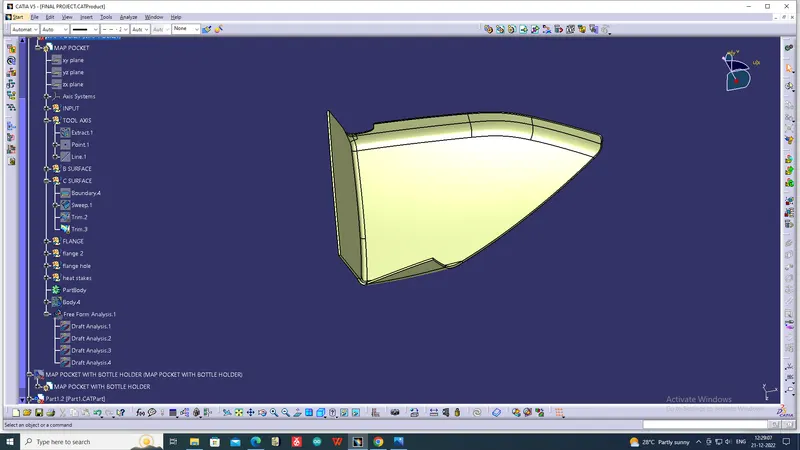
5) Draft Analysis
Procedure to check Draft analysis
1)Once the tooling axis is created , publish it and the component using Publication from tool option .
2)Insert Feature draft analysis option from insert tool bar
3) Change the view option to customize view parameters and click om material option under shading .
4) Now click on the axis option from Draft analysis tools , allign it with tooling axis and click on lock option to lock it .
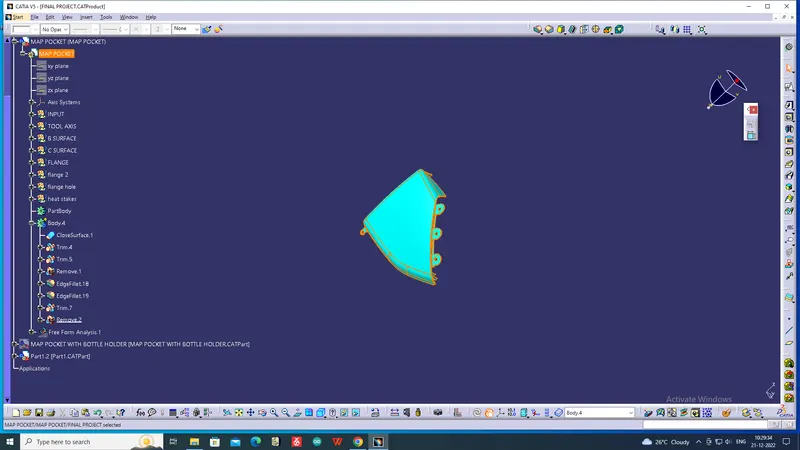
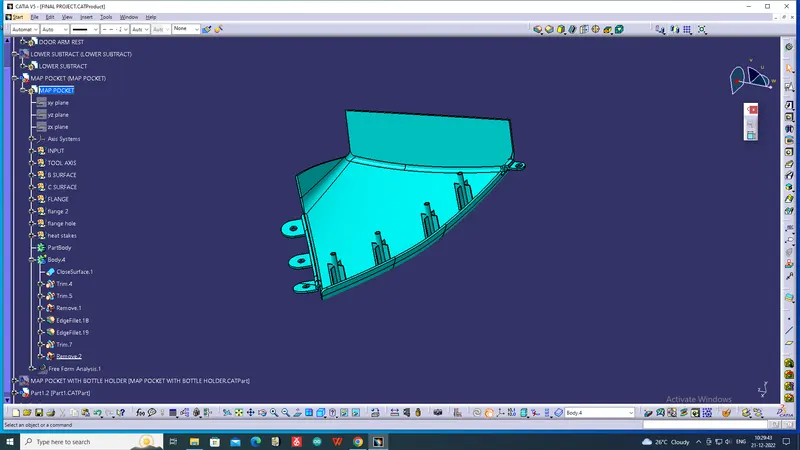
5) Change draft angle value to 3 degree . Click on quick analysis mode to display feature according to given color scale . Check from all views to ensure the draft analysis is cleared . Click ok to complete the Draft analysis mode. 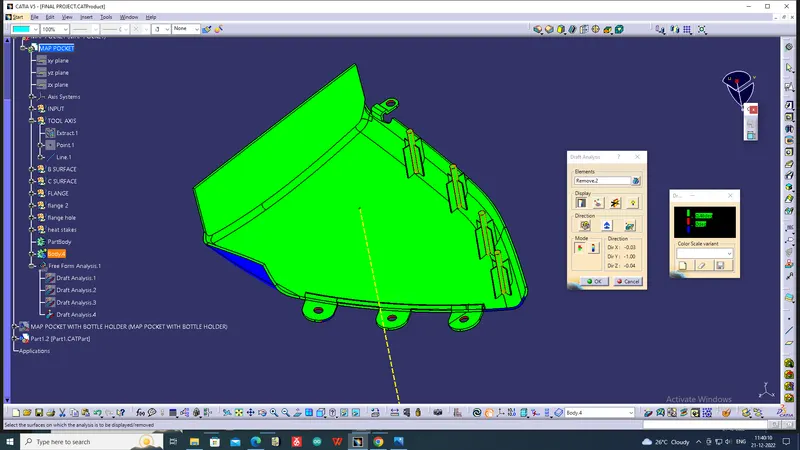
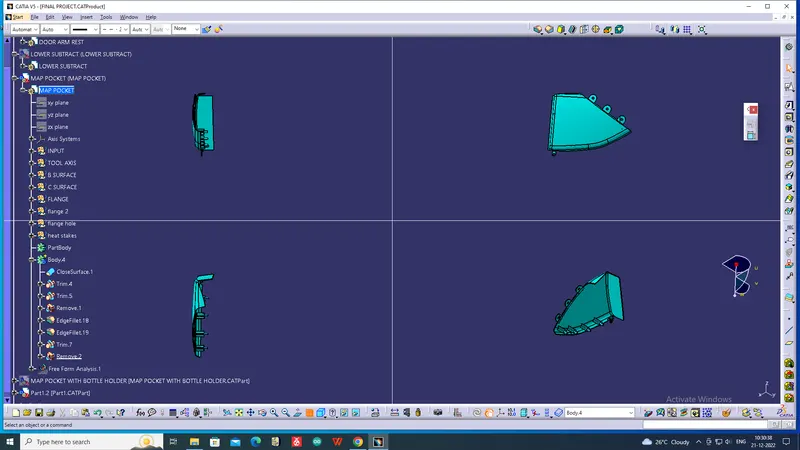
Tooling axis for map pocket withe bottel holder
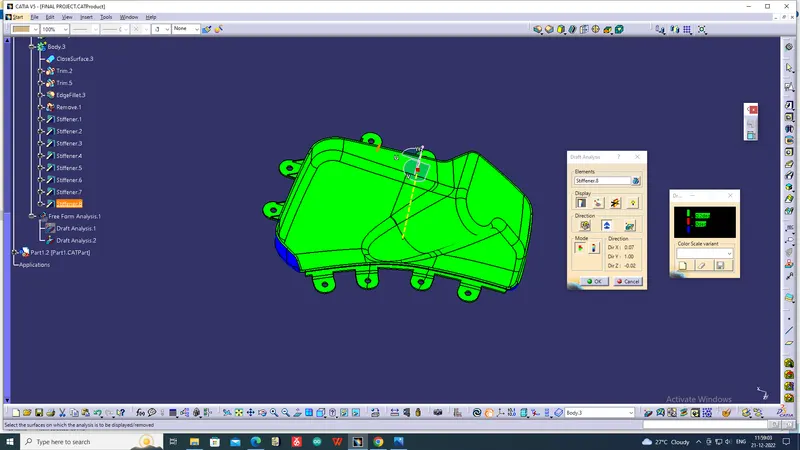
2) Creation of class B surface
Procedure to create class B surface
Step 1: Use offset tool with a distance value of 2.5mm to create offset of class A surface
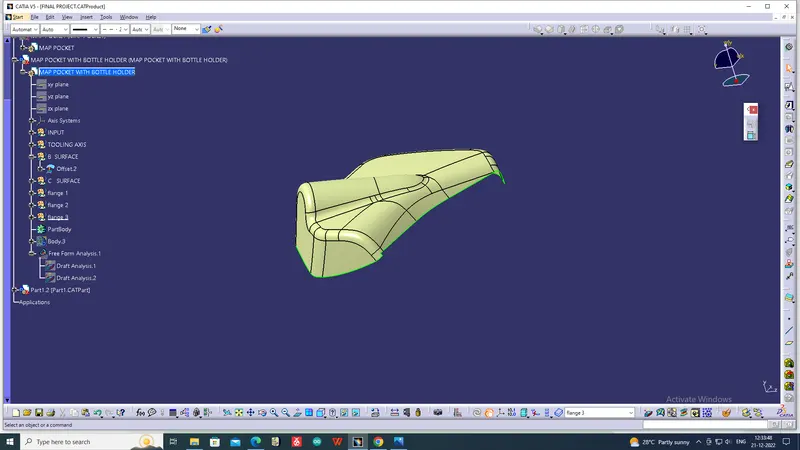
3) Creation of Class C surface
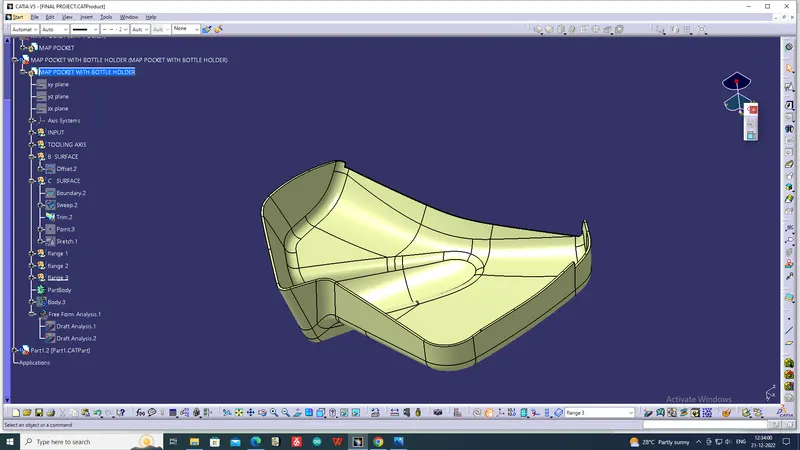
5) Draft Analysis
Procedure to check Draft analysis
1)Once the tooling axis is created , publish it and the component using Publication from tool option .
2)Insert Feature draft analysis option from insert tool bar
3) Change the view option to customize view parameters and click om material option under shading .
4) Now click on the axis option from Draft analysis tools , allign it with tooling axis and click on lock option to lock it .
5) Change draft angle value to 3 degree . Click on quick analysis mode to display feature according to given color scale . Check from all views to ensure the draft analysis is cleared . Click ok to complete the Draft analysis mode.