Week 11 - Final project
Aim: To design and development interior door trim using catia v5 with given class A surface with master section. And create the side attachment feature like dog house heat stakes.
Objective:
- To create thickened part using master section
- To create attachment feature
- To perform draft analysis
Introduction
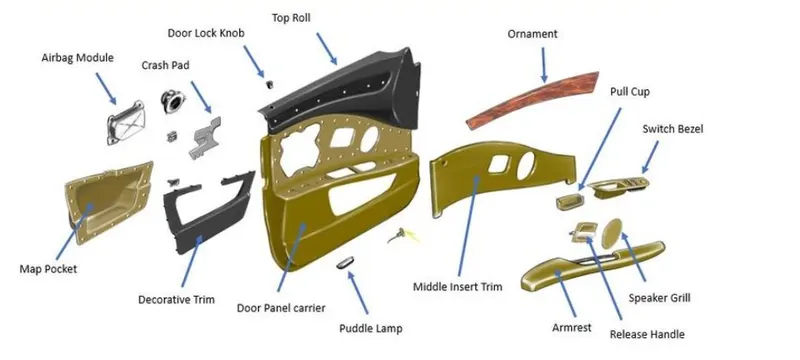
Door panels serve as an interface between the interior of the car and the inner workings of the door, and between vehicle occupants and the door. They are expected to meet a variety of design specifications regarding safety, aesthetics, and functionality. In addition, they are expected to continue the material theme of the dashboard and pillars while concealing intricate electrical and mechanical components for operating locks, windows, and other features. The door panel has evolved from a simple two-part system of latch and simple winding mechanism to a more sophisticated enclosure. Doors currently have an inner full-width panel consisting of electronic windows, central locking system, and speakers. These panels typically consist of a foamed core covered with either textiles or plastics.
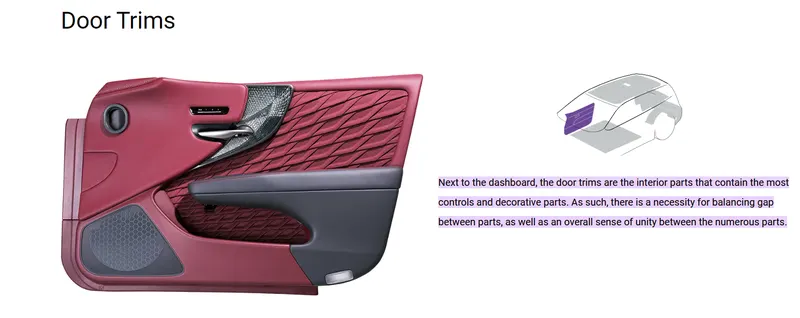
Door panels are expected to meet one of the toughest sets of requirements among interior car components. These panels should be designed to withstand and channel loads into the body of the car while being thin (<2 mm). These loads could be horizontal and vertical in nature, like the force applied on opening or closing doors while leaning/resting on them or when stepping on the armrest to access the roof. An additional consideration is their ability to protect occupants from injury during a side collision, where most injuries are inflicted on the chest and pelvis as a result of crushing force of the door. Federal Motor Vehicle Safety Standard No. 214 therefore sets forth directives to manufacturers in order to limit this injury. It states that the Thoracic Trauma Index (TTI) should not exceed 85 g for a four-door or 90 g for a two-door passenger car. This test is performed at impact velocity of 53 km/h, which accounts for 90% of side impacts.
What is master section?
Master sections are the guides for design requirements which decide the component packaging after technical (Styling, Concept or Class-A) surfaces.
Method followed in creation of door trim
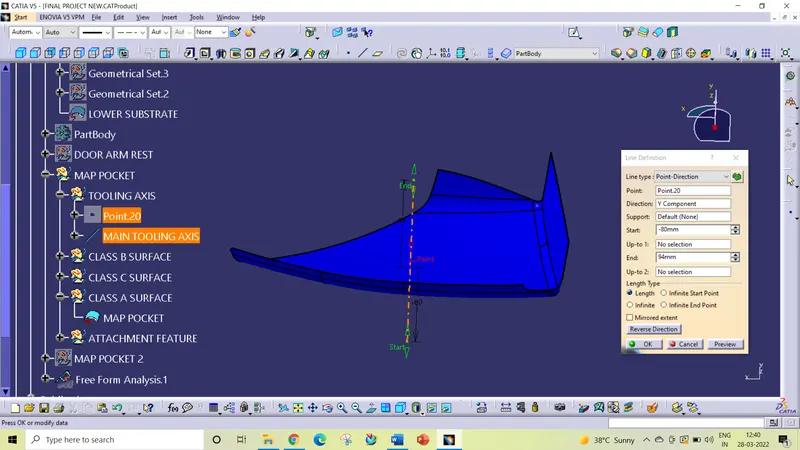
- Tooling axis creation
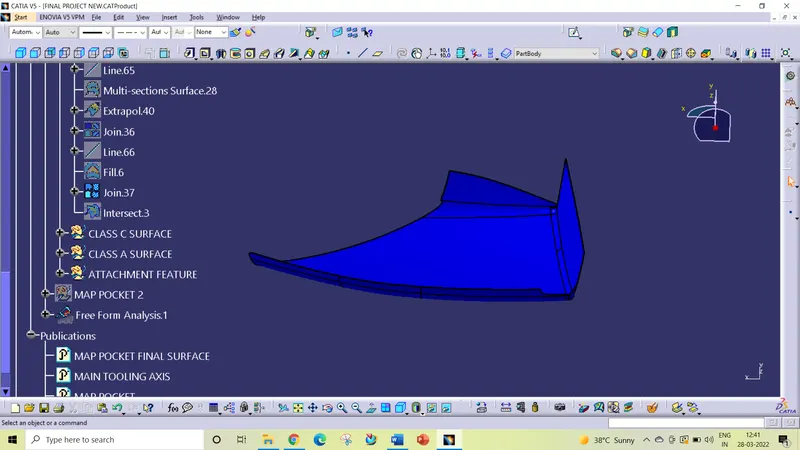
- Creation of class b surface using class a surface
- Creation of class c surface
- Closed body creation
- Draft analysis
Procedure of part creation
- Door arm rest
- Map pocket-1
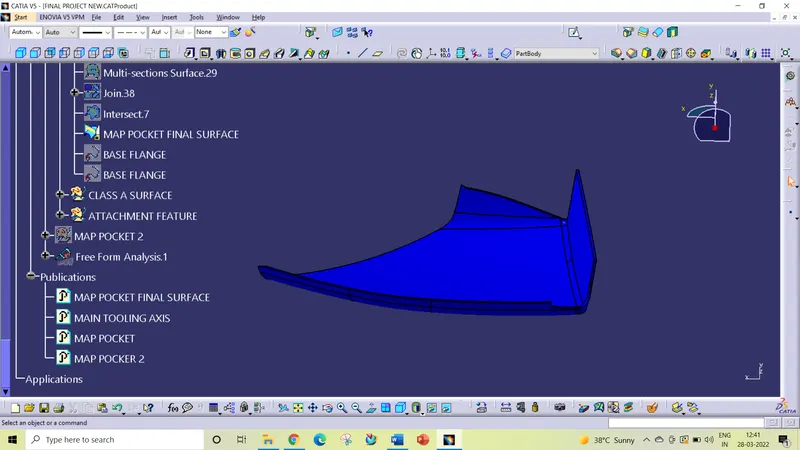
- Map pocket -2
- Lower substrate
PROCEDURE FOLLOWED
- Door arm rest
TOOLING AXIS CREATION
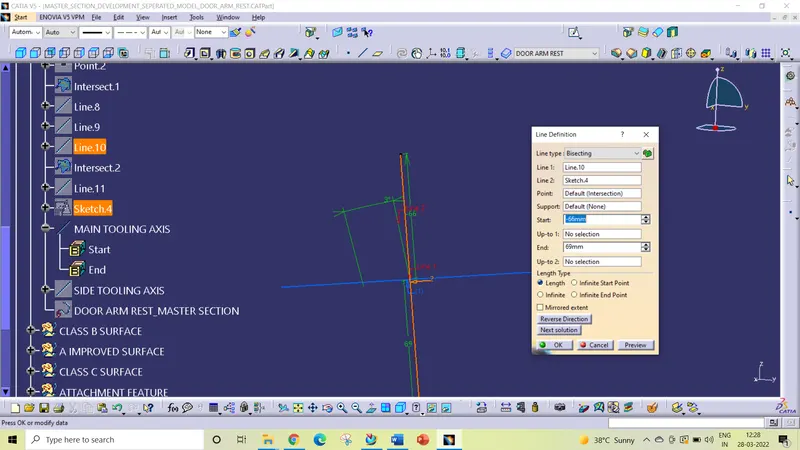
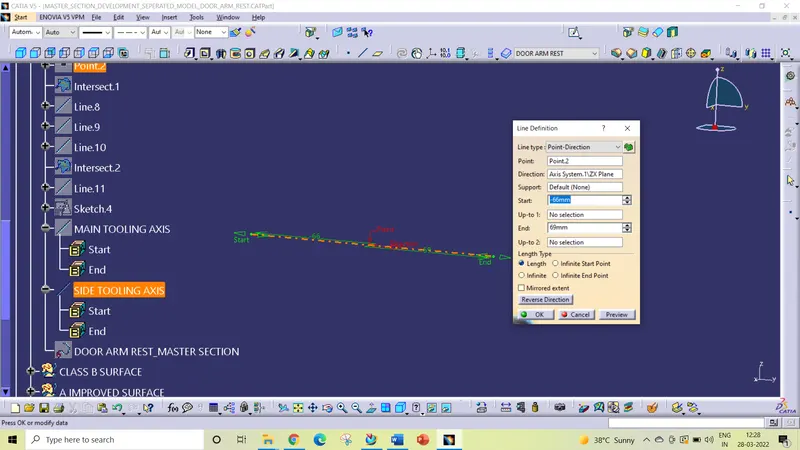
OFFSET CLASS A SURFACE
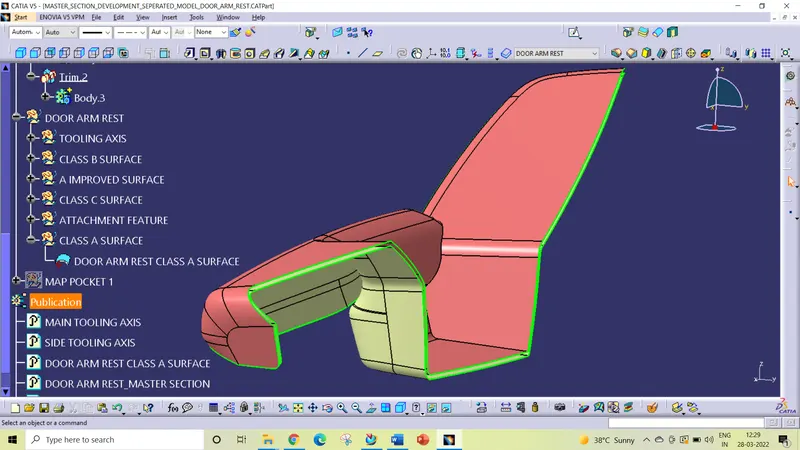
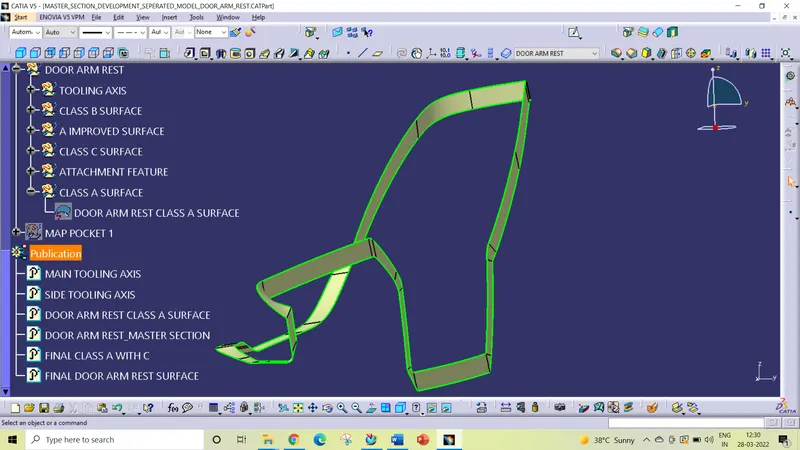
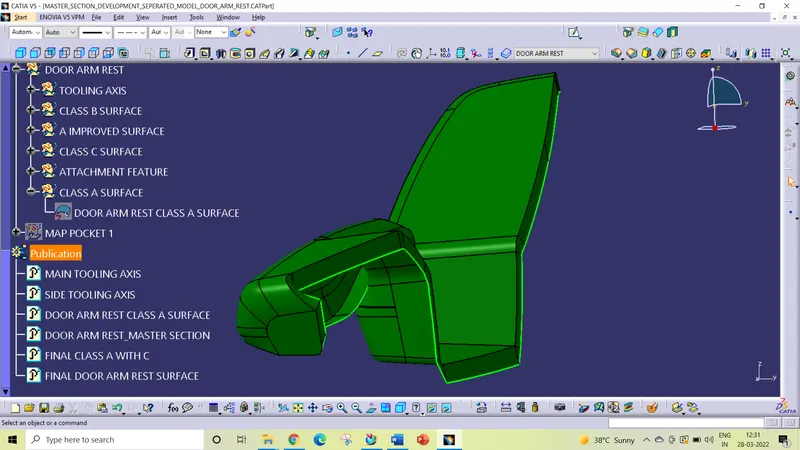
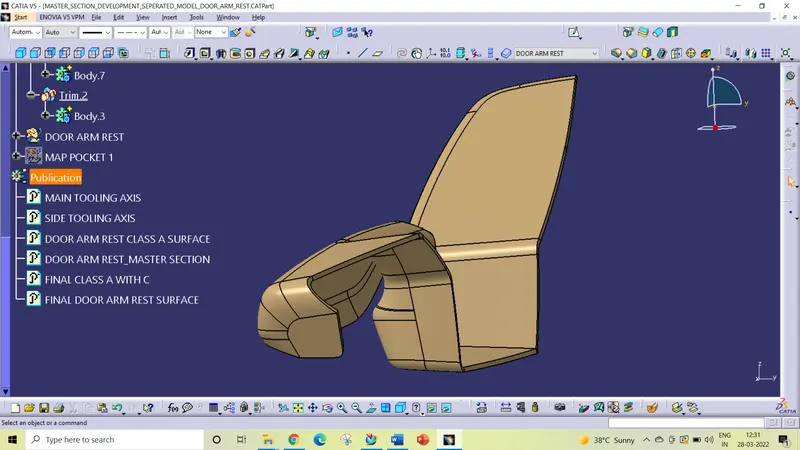
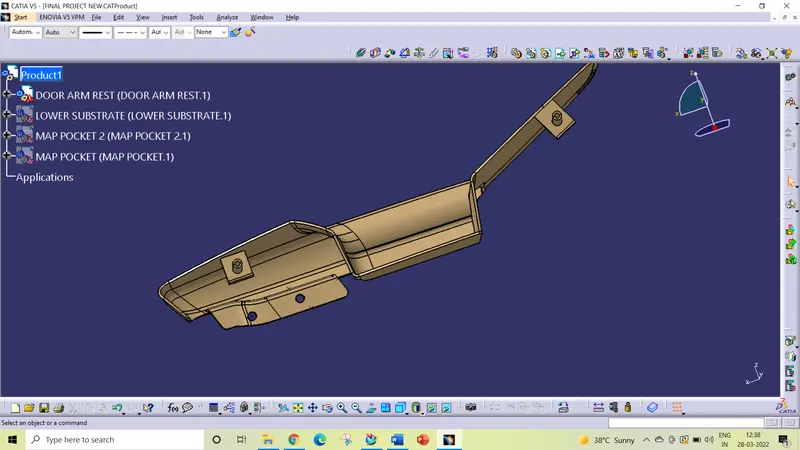
2.Map pocket-1
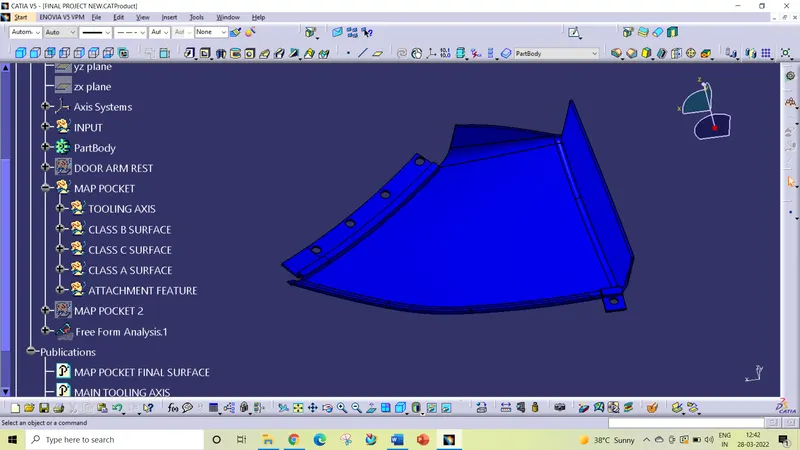
3.Map pocket -2
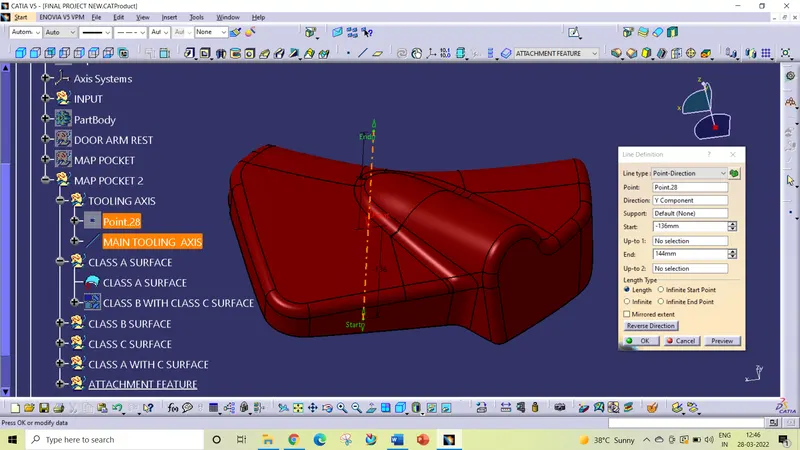
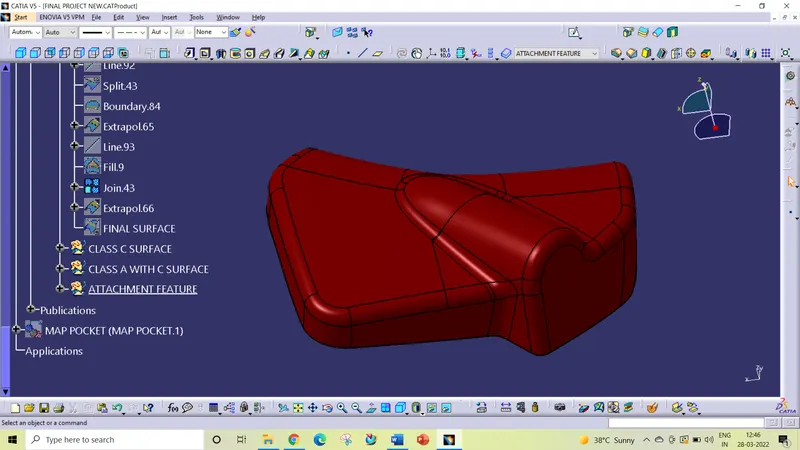
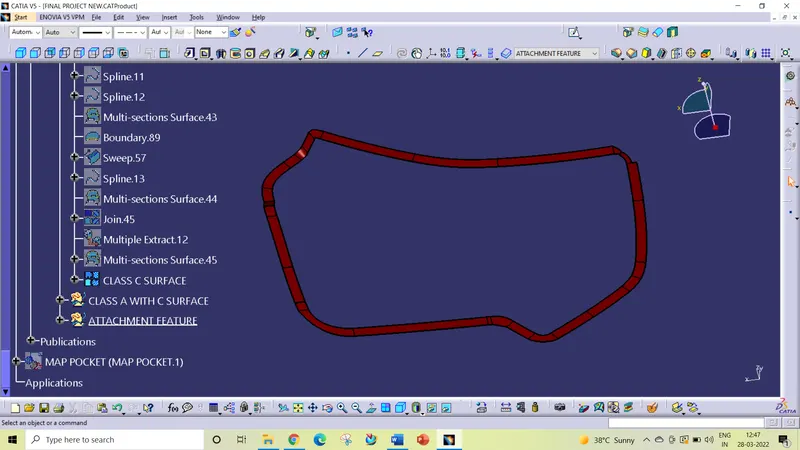
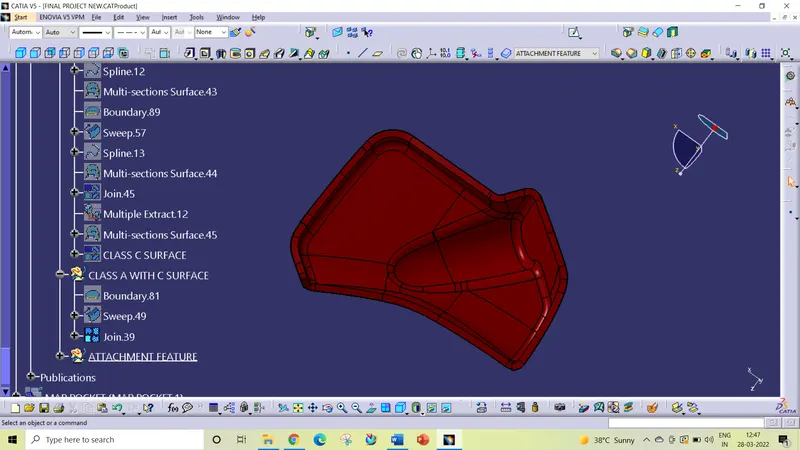
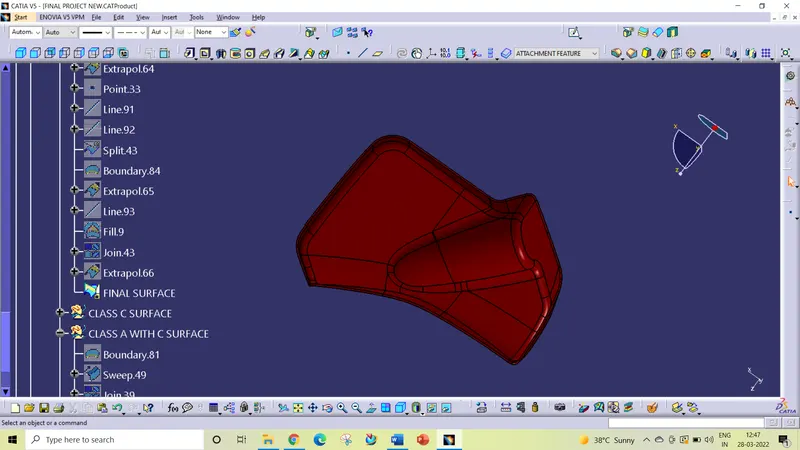
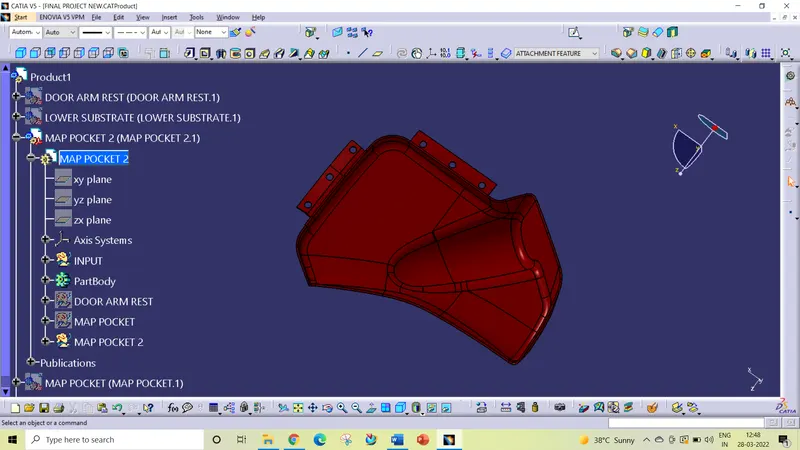
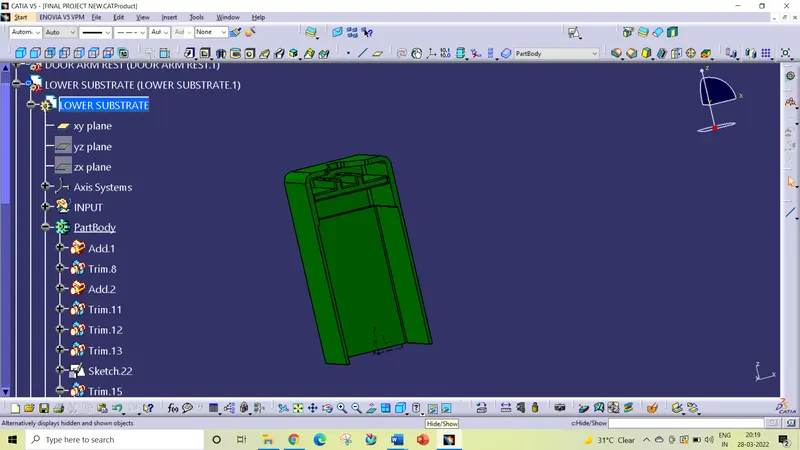
4.Lower substrate
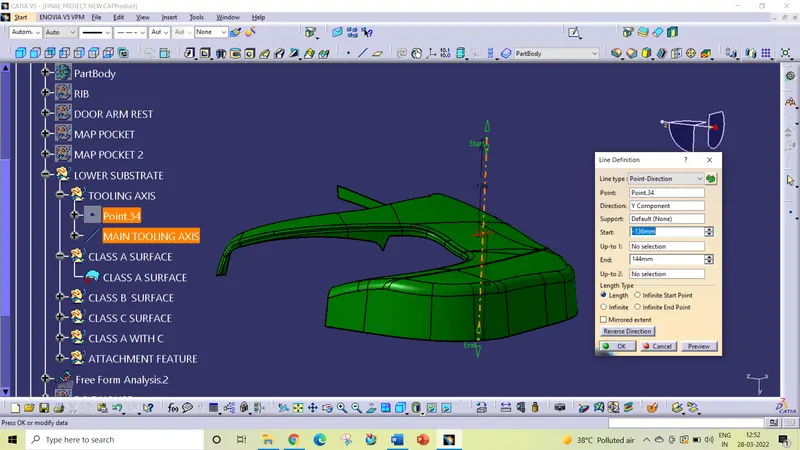
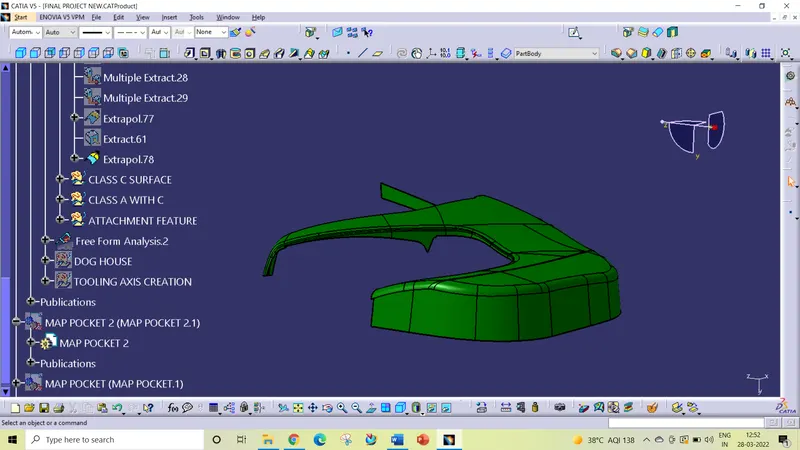
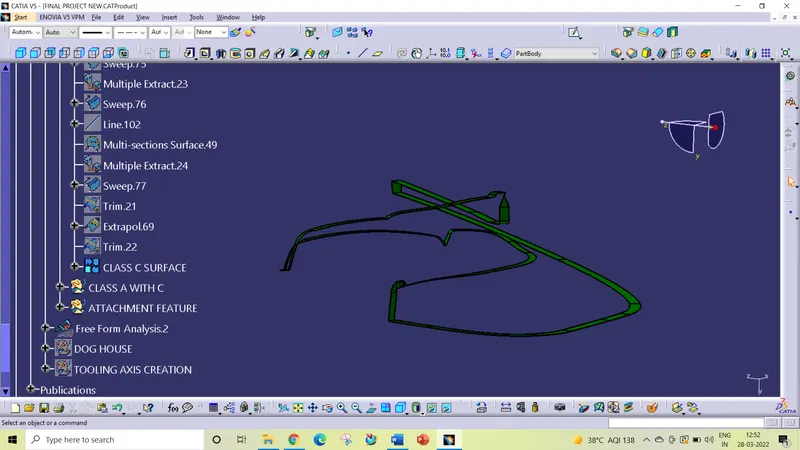
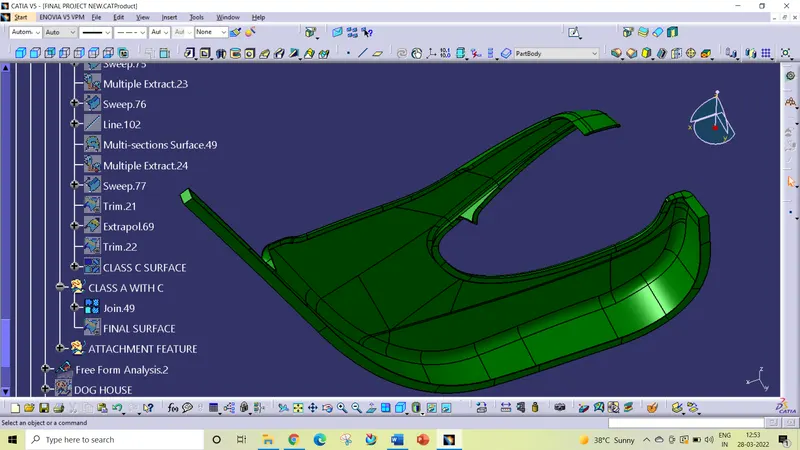
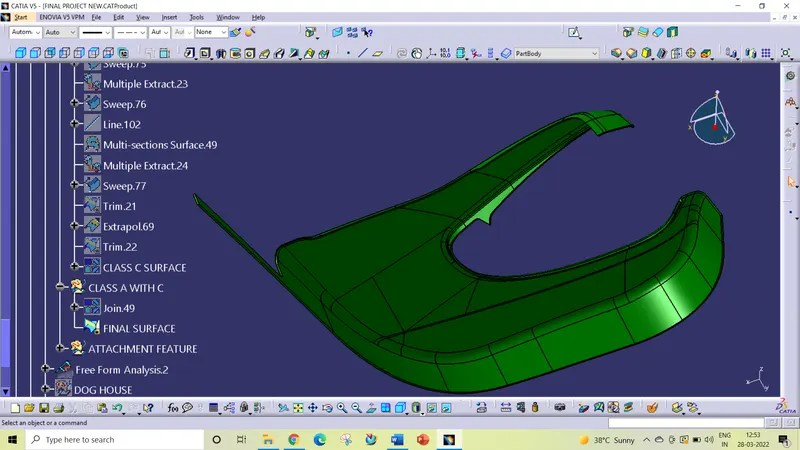
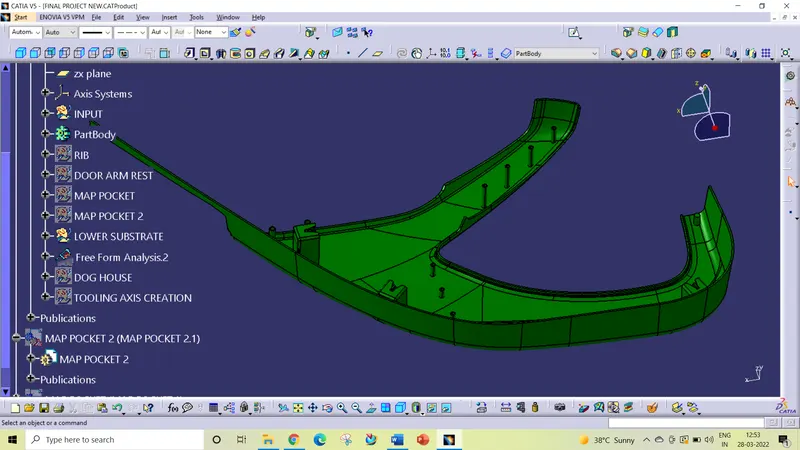
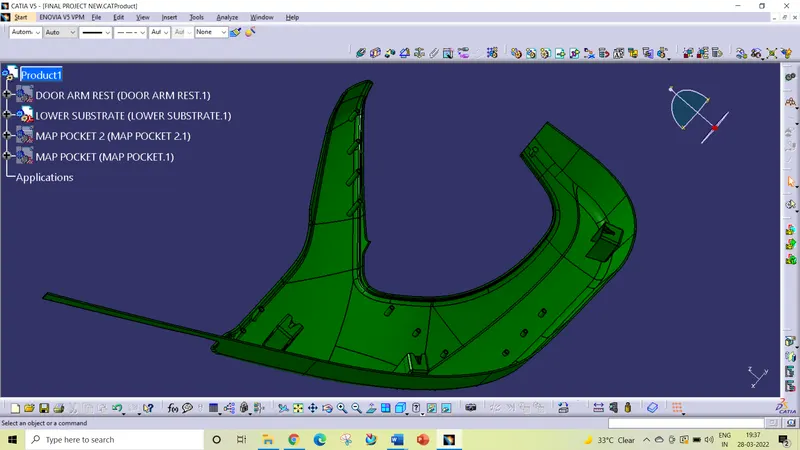
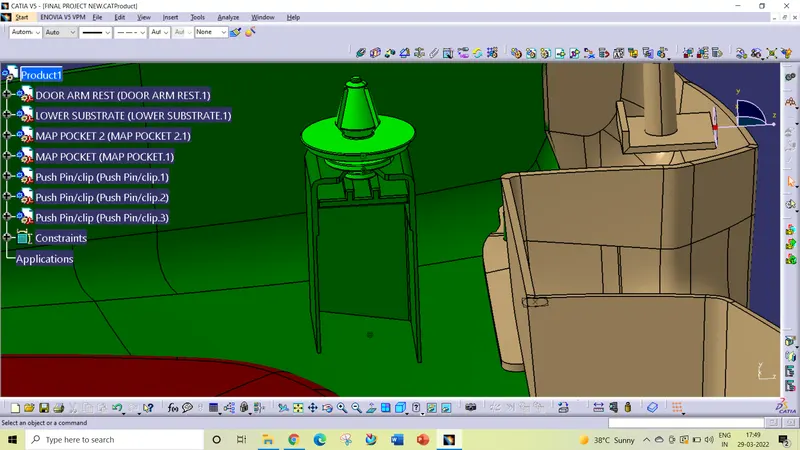
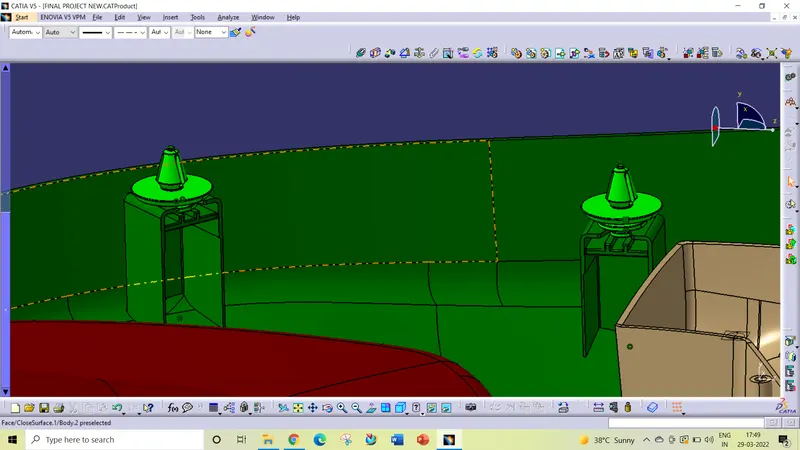
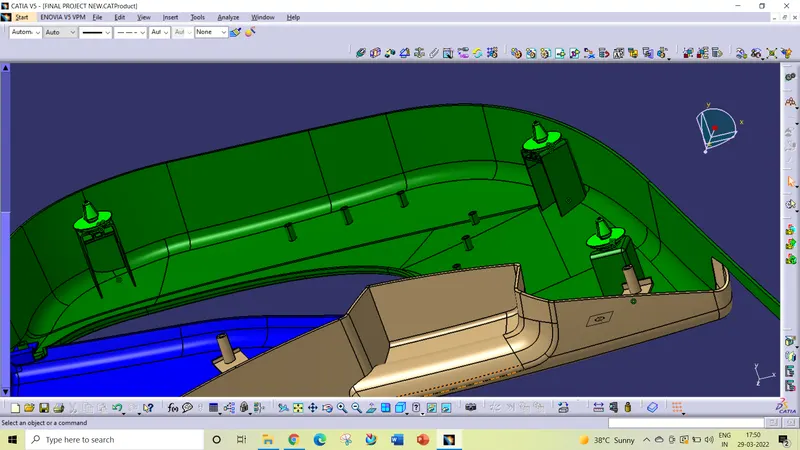
attachment feature
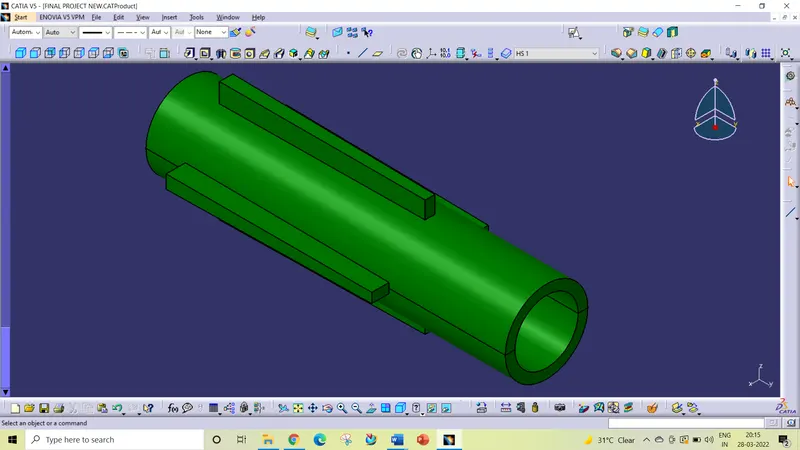
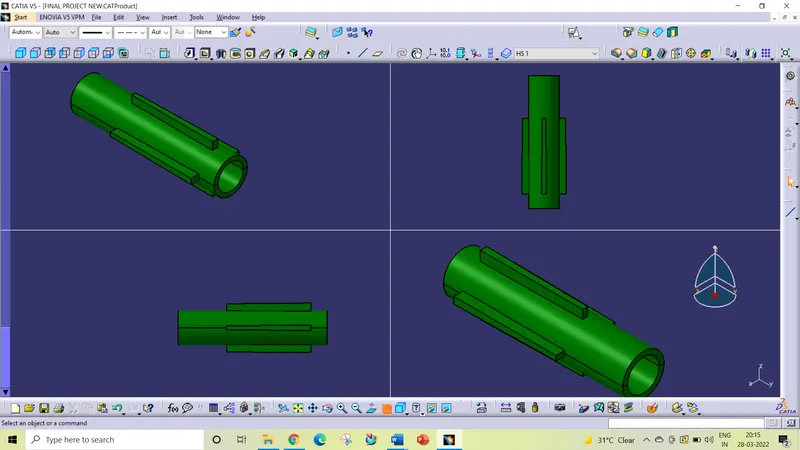
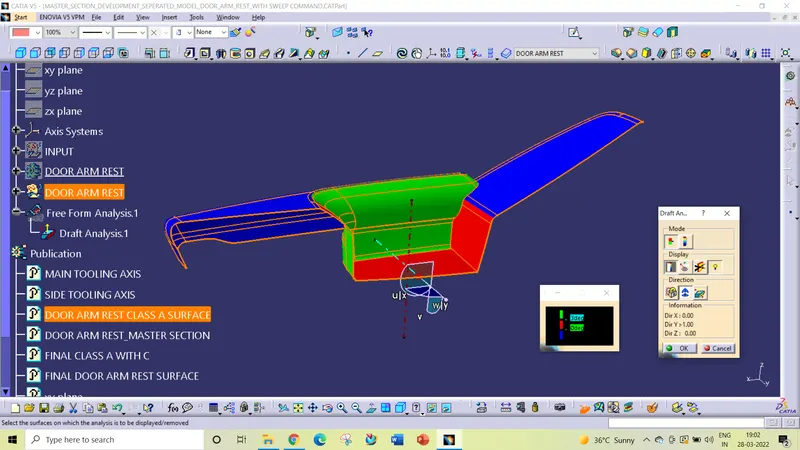
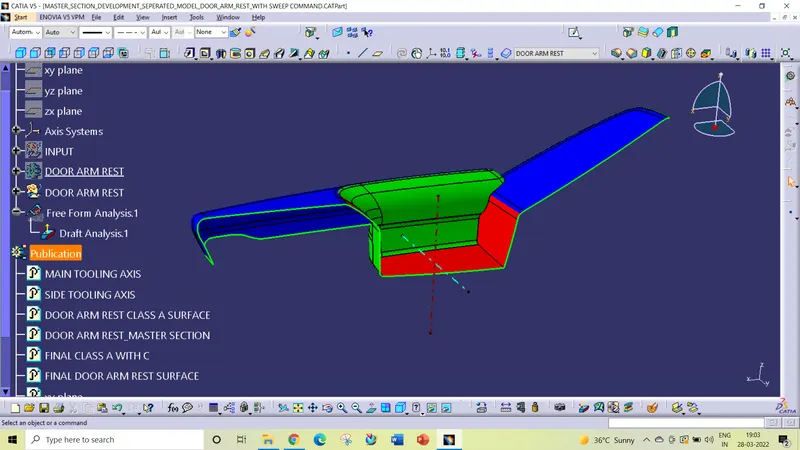
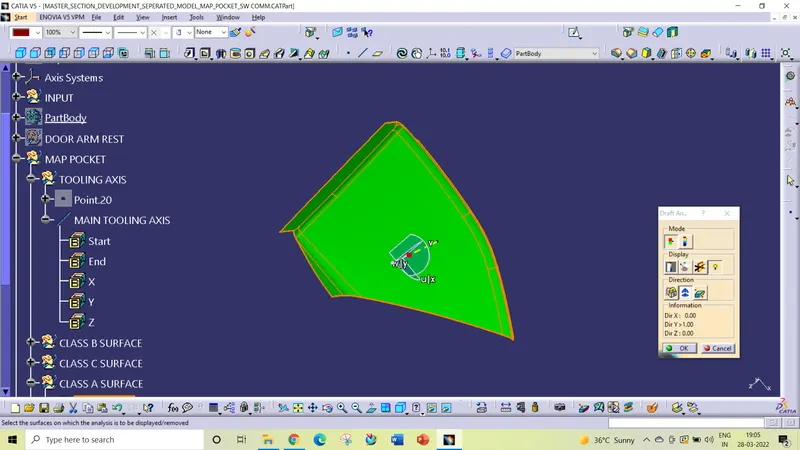
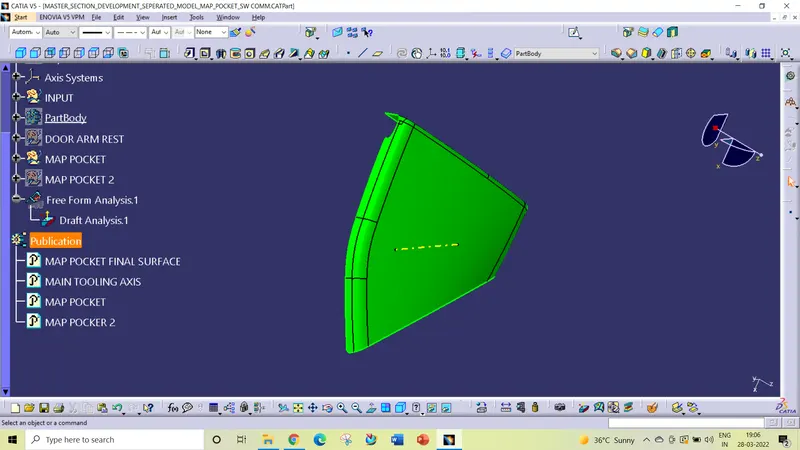
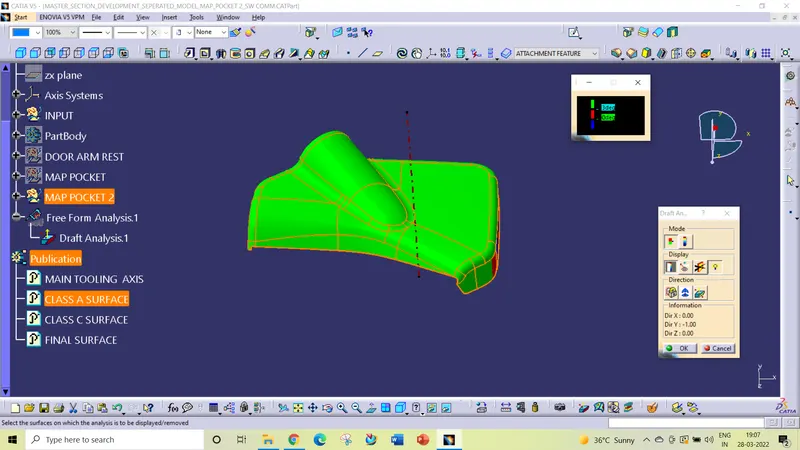
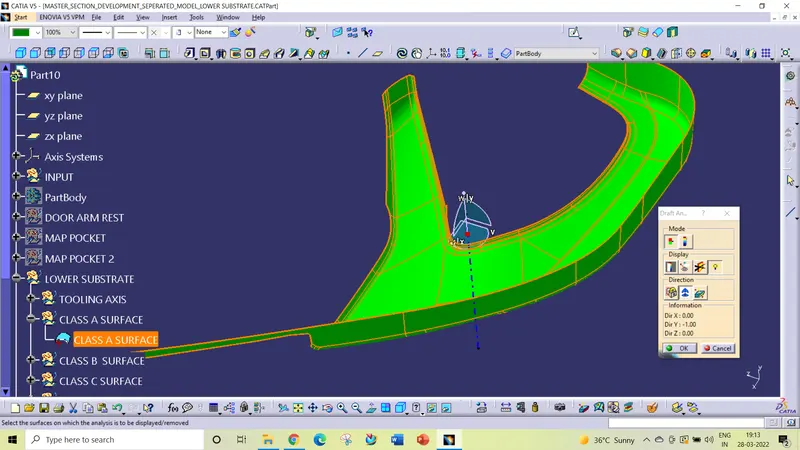
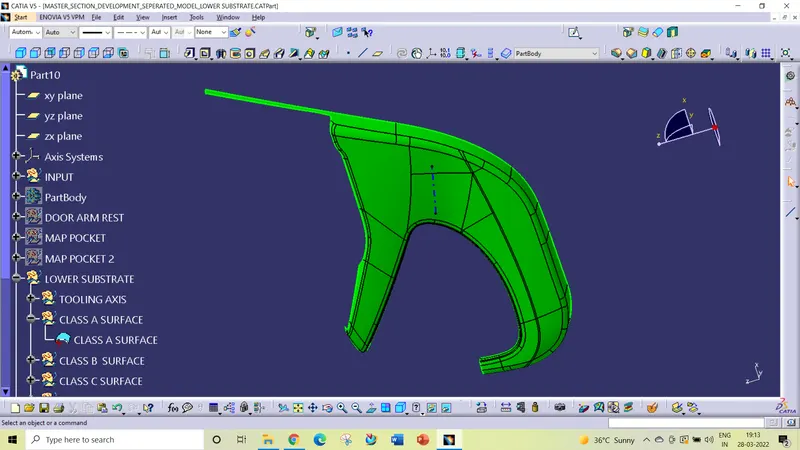
DRAFT ANALYSIS
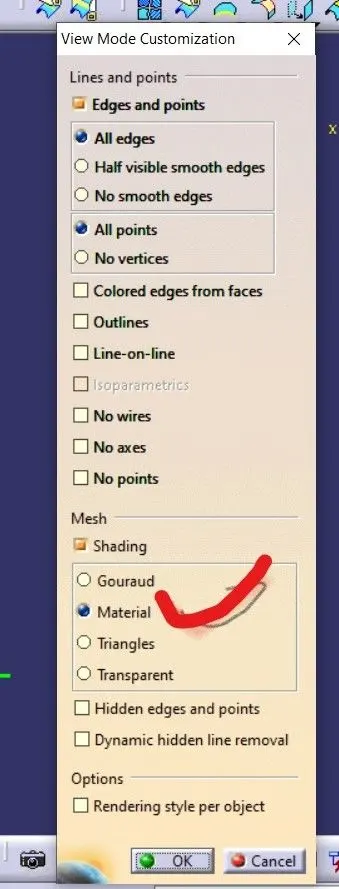
first set the view parameters to material mode.
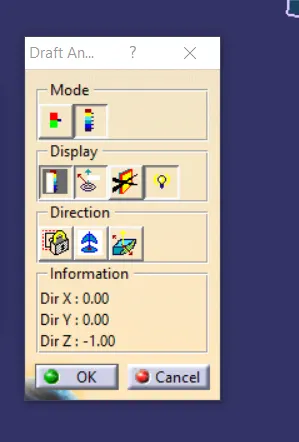
Then go to menu bar select insert analysis feature draft analysis
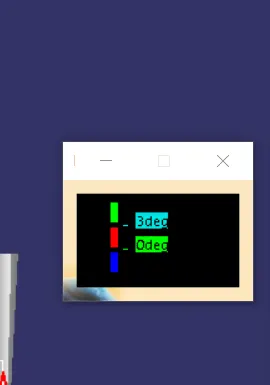
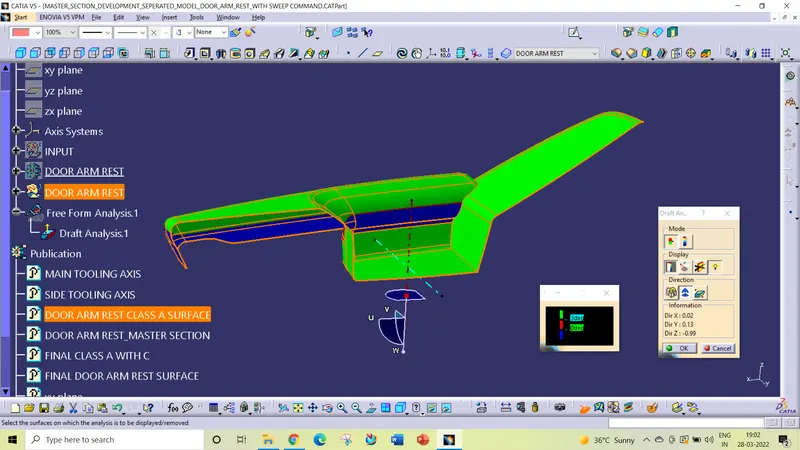
To give the draft direction, use compass and align Z axis of it with the final tooling axis. Once it is properly aligned, lock the draft direction. Select current draft angle of the model, set the draft value 3 degree under the color scale variant and press ok.
Using the draft analysis option we can perform draft analysis on Class A surface.
To publish the tooling axis and Class A, Class B and Class C surfaces first select the them and go to menu bar tools publication. This will publication tooling axis and Class A, Class Band Class C surfaces which will be available in tree structure.
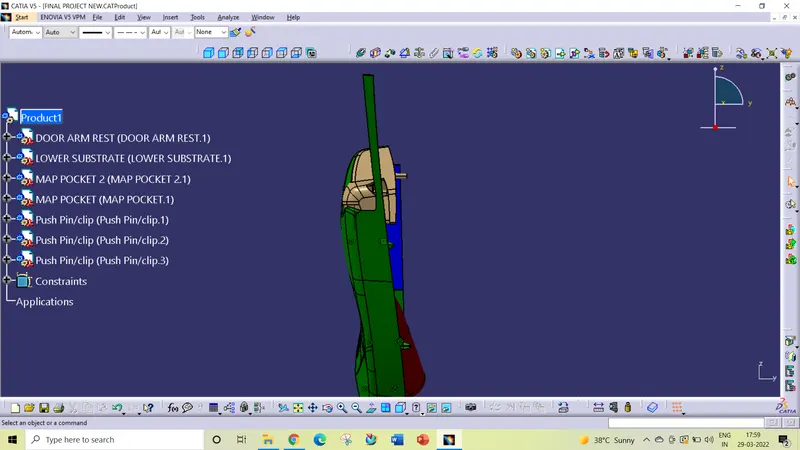
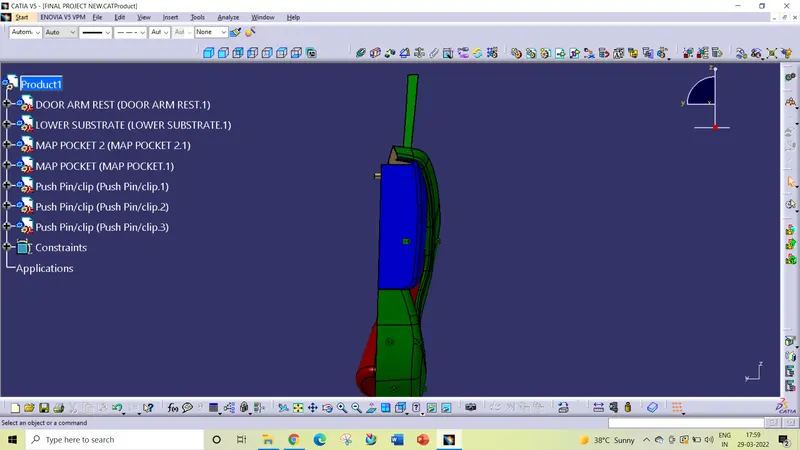
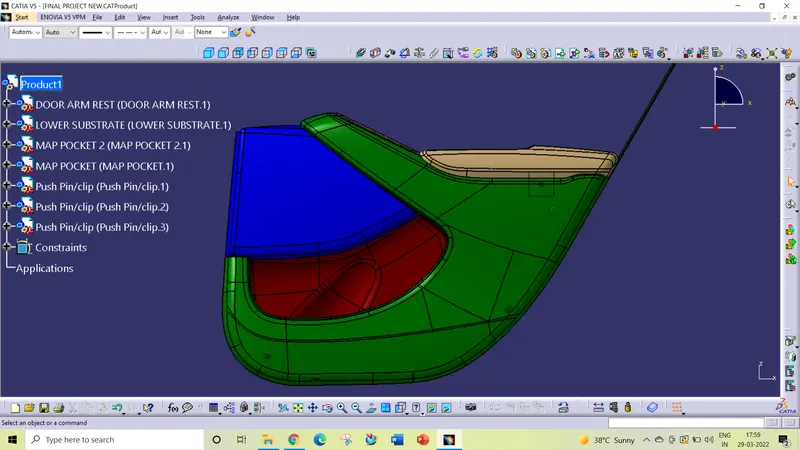
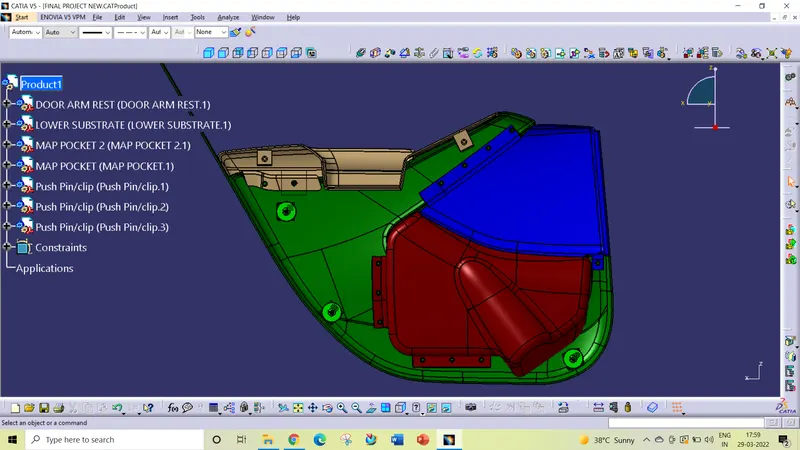
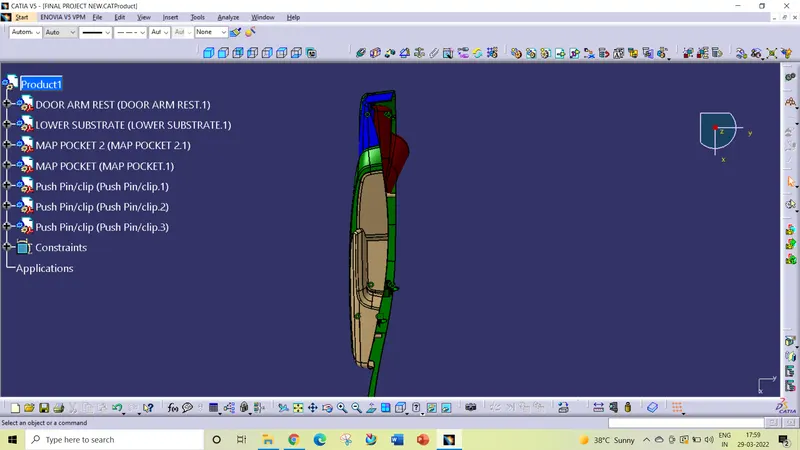
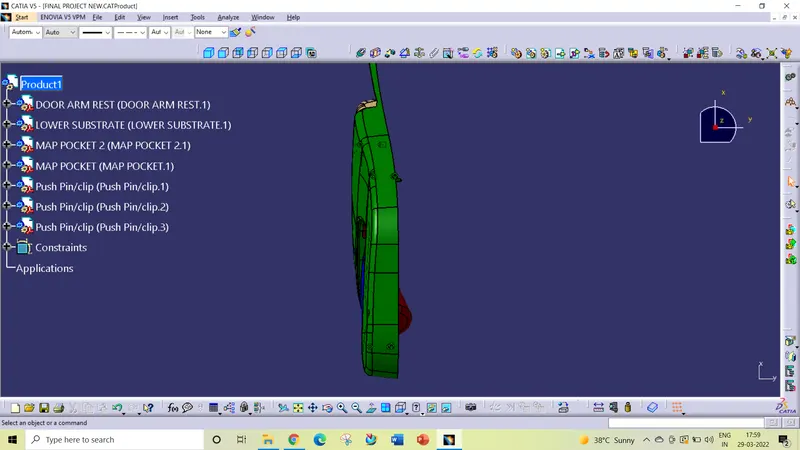
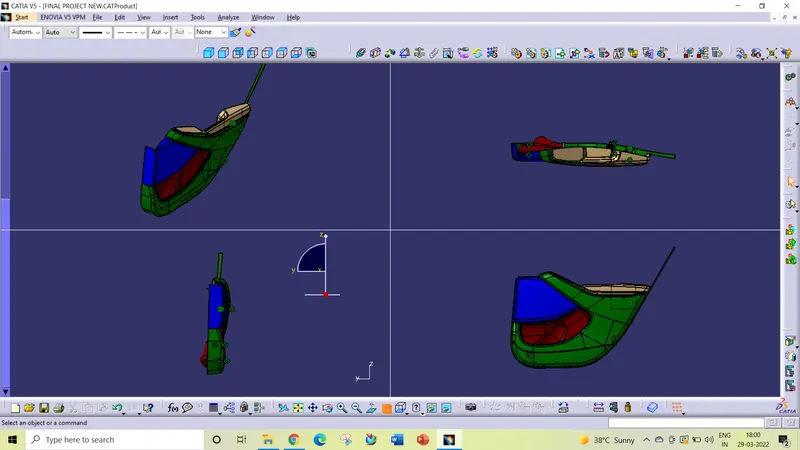
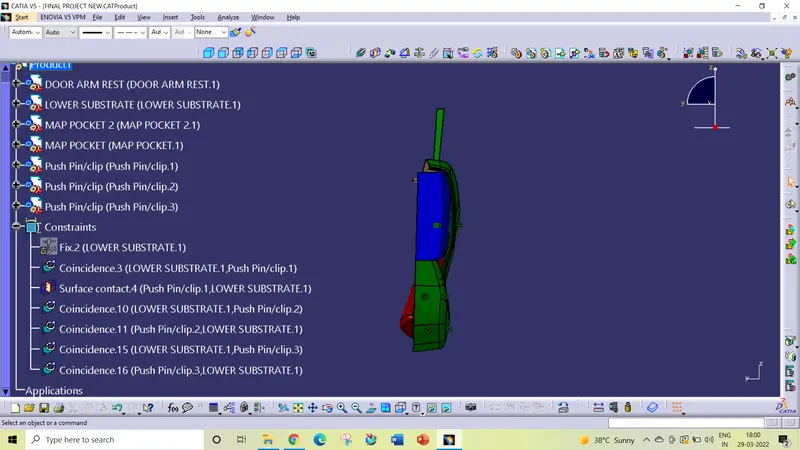
Assembly
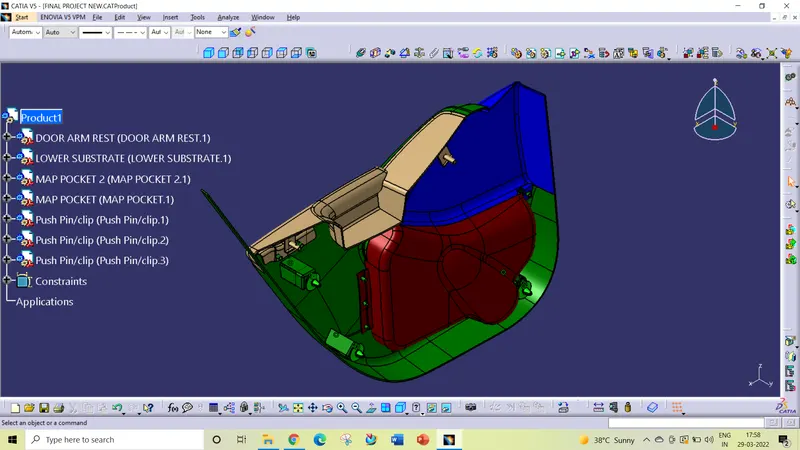
CONCLUSION: Created interior door trim using catia v5 with given class A surface with master section. And create the side attachment feature like dog house heat stakes successfully.