Week 11 - Final project
AIM: To Creation of CAD model considering Class A surface, Nominal thickness, and Attachment strategy.
OBJECTIVE:
1. To Creation of CAD model considering Class A surface, Nominal thickness, and Attachment strategy.
2. Create thickened part using the master section for reference.
3. Create the mounting features as per design guidelines in the industry and with master sections
4. Apply material details.
INTRODUCTION:
Ten Stages of the Product life cycle of the automotive Industry are
1. Concept sketch
2. Styling class A
3. Feasibility check
4. Concept validation
5. New Product Design
6. Product Development
7. Proto Build
8. Design Validation
9. Pilot Production
10. Mass production
PROCEDURE:
1. Import the file: File > open > browse file and select the given file (MASTER_SECTION_DEVELOPMENT.igs)
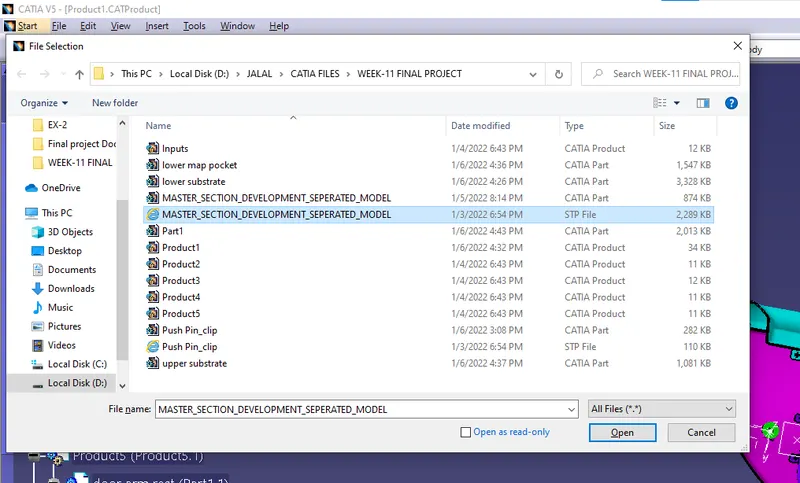
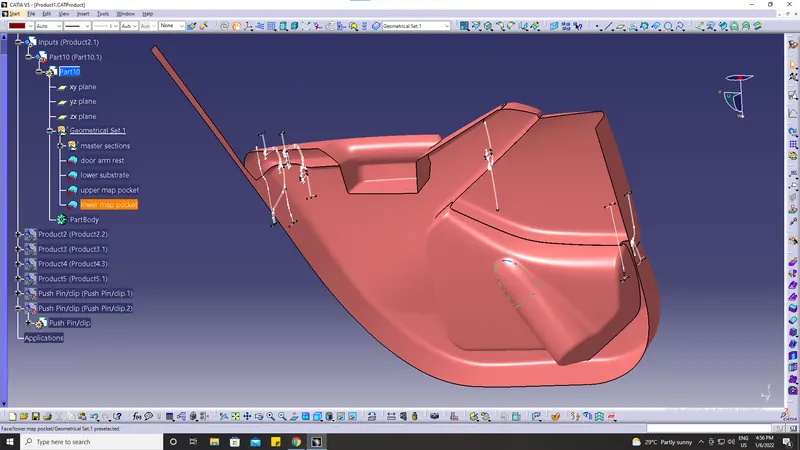
2. Class A surface modification as per master section: From the given data we have to do a cad model for Lower Substrate, Arm Rest, and Map
Pocket & upper substrate.
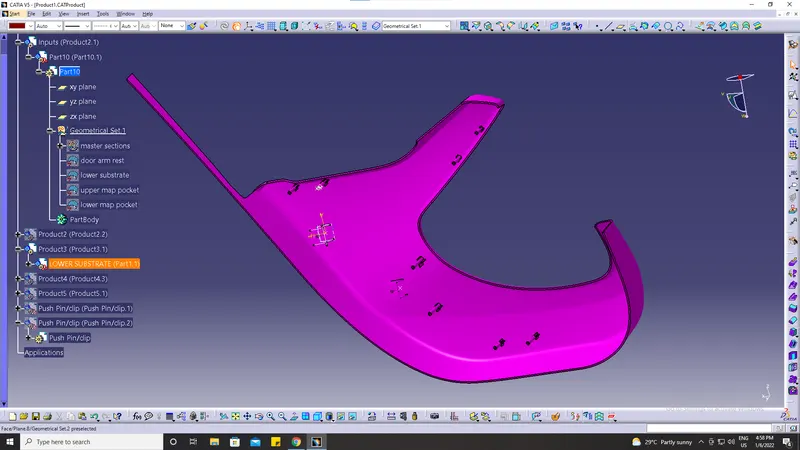
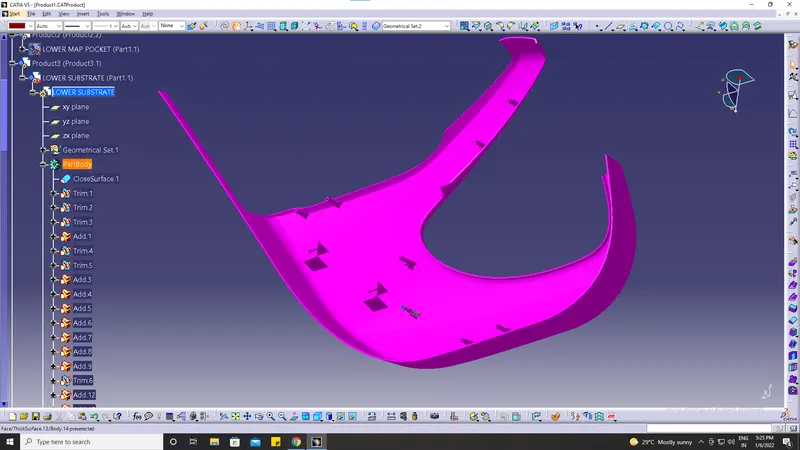
A. LOWER SUBSTRATE: Given lower substrate class A surface is shown in below fig.
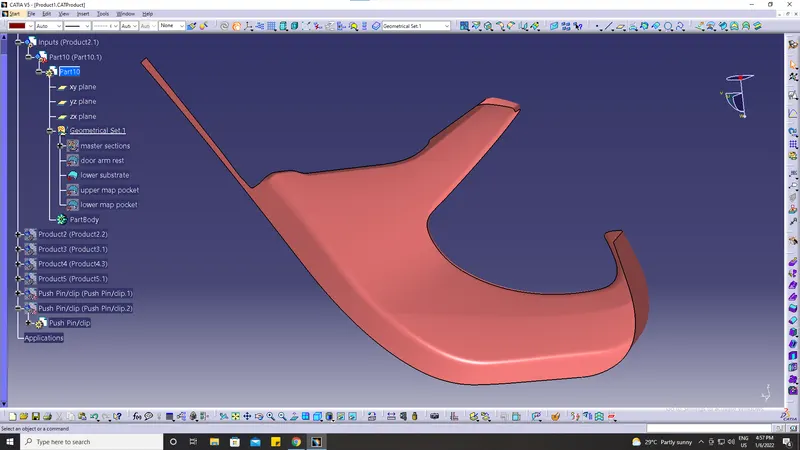
Now, we want A closed body from this class A surface.
So that we offset the class A surface by 2.5 mm thickness according to the master section.
After that, I create a class C surface And join Class A with the C surface.
Then trim the joined class A with c surface with Class B.
we got a closed surface.
Now go to part workbench & make a Closed Body.
B. LOWER MAP POCKET:
This is a class A surface for map pocket.
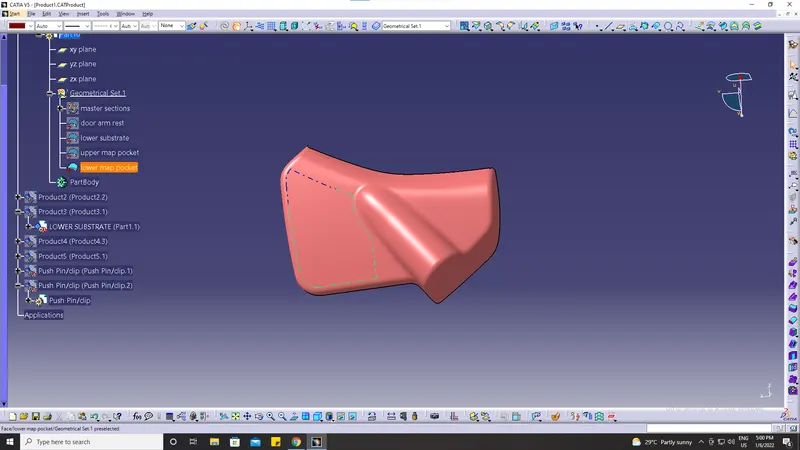
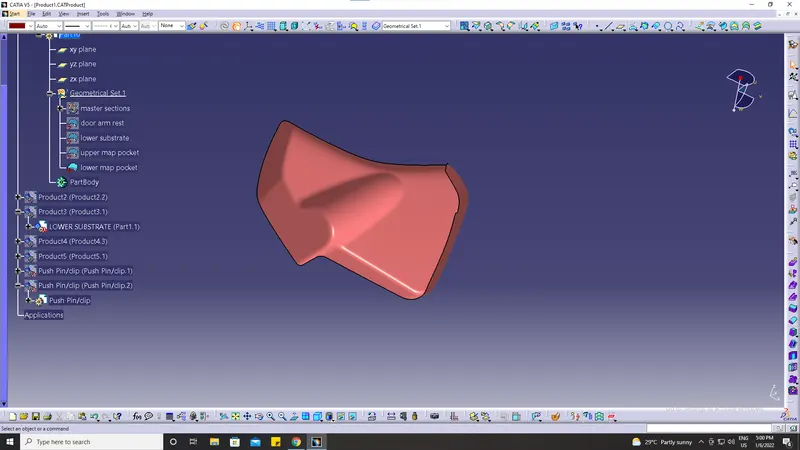
Then to make a closed body again do the same procedure as we did previously for the Lower substrate.
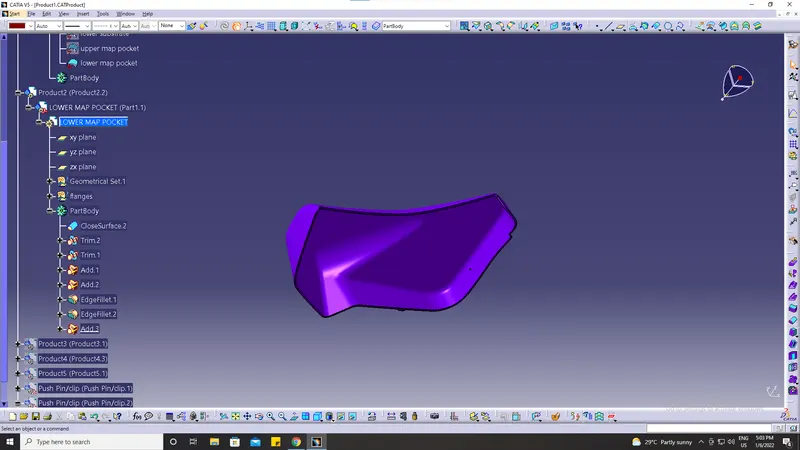
Offset class A surface by 2.5 mm. Then creates a class c surface then joins class C with A.then trim that surface.
C.Arm rest:
Class A surface for the armrest.
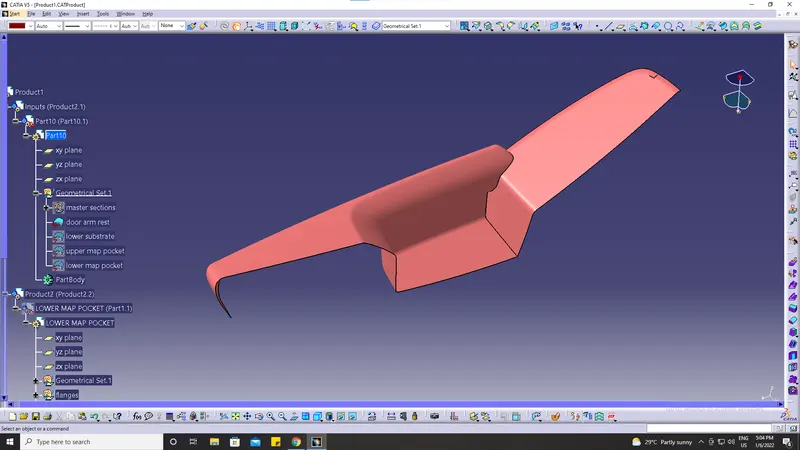
Then to make, a closed body again do the same procedure as we did previously for the Lower substrate.
Offset class A surface by 2.5 mm. Then create a class c surface then join class C with A. Then trim that surface.
Make A close body & do draft analysis.
That's our closed body.
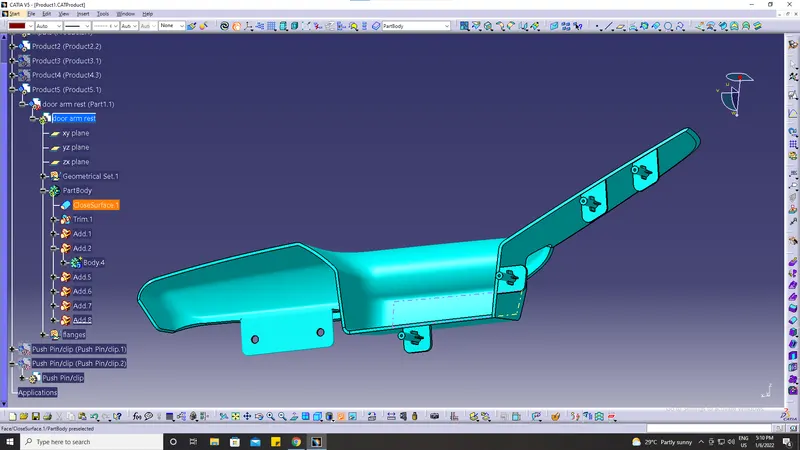
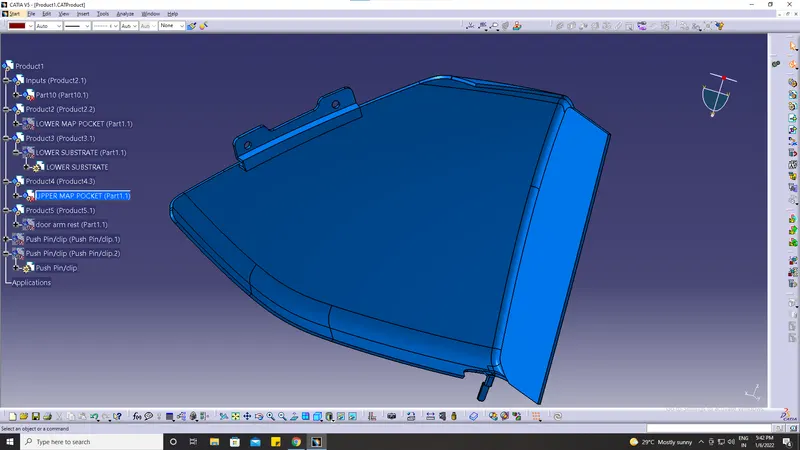
D.UPPER MAP POCKET:
Then to make a closed body again do the same procedure as we did previously for the Lower substrate.
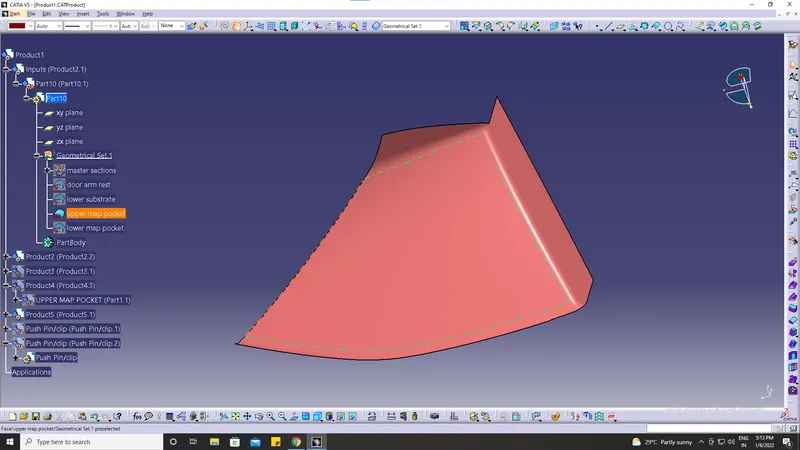
Offset class A surface by 2.5 mm. then creates a class c surface then joins class C with A.then trim that surface.
Make A close body.
Below is our closed body.
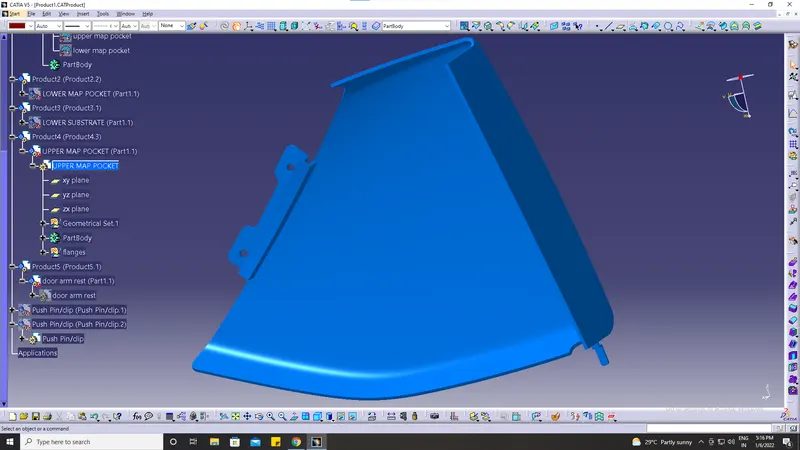
Now our main 4 parts are created. Now we have to create b side features like Flanges, Dog house & Heat stakes.
let's start with flanges.
FLANGES:
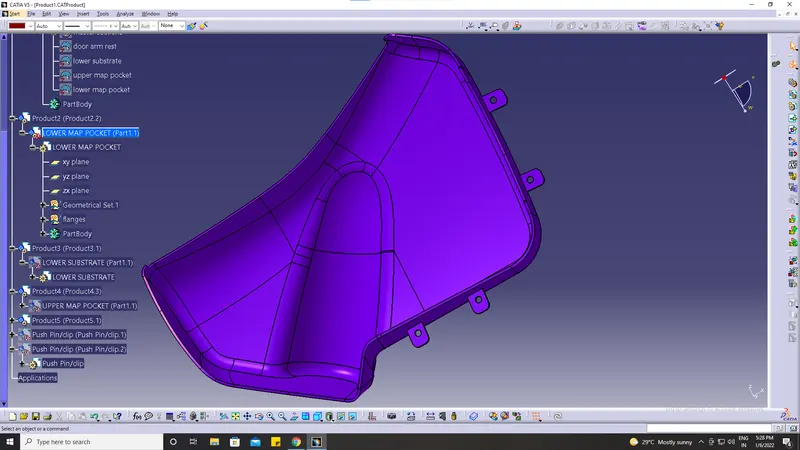
I created a Surface by using the master section & with the help of the master section I created this flange on the armrest, lower substrate, and lower map pocket.
It attaches the armrest, lower substrate, and lower map pocket.
later I created a hole & give fillets to it.
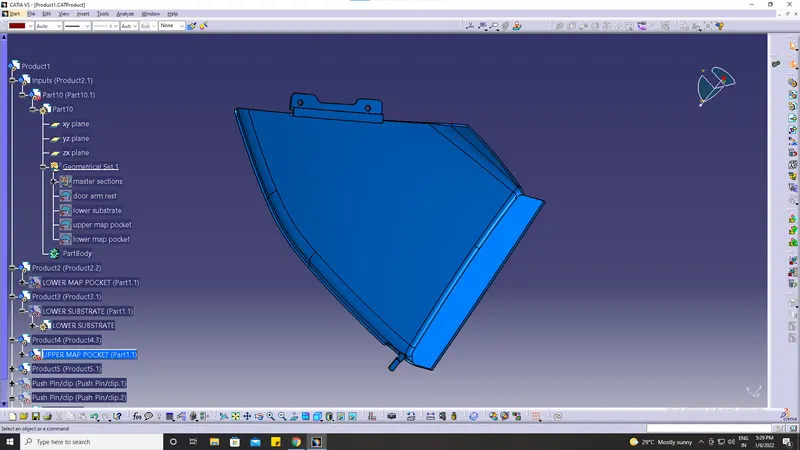
Similarly, we create another flange on the upper substrate.
It attaches the upper substrate & lower substrate.
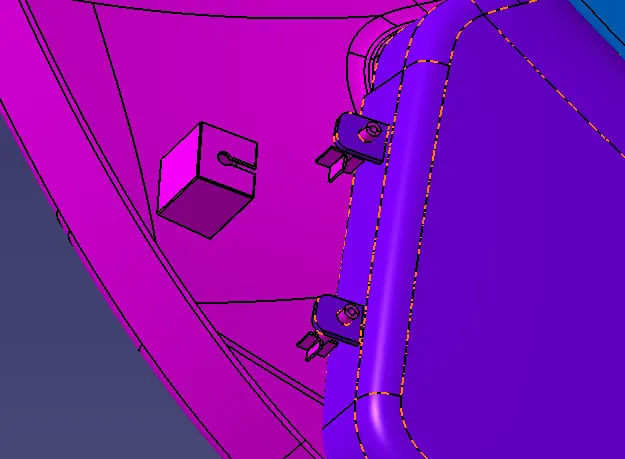
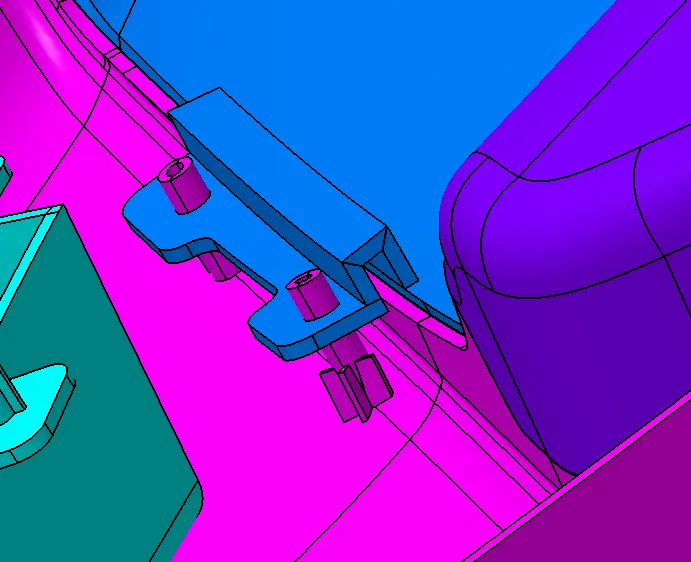
DOG HOUSE:
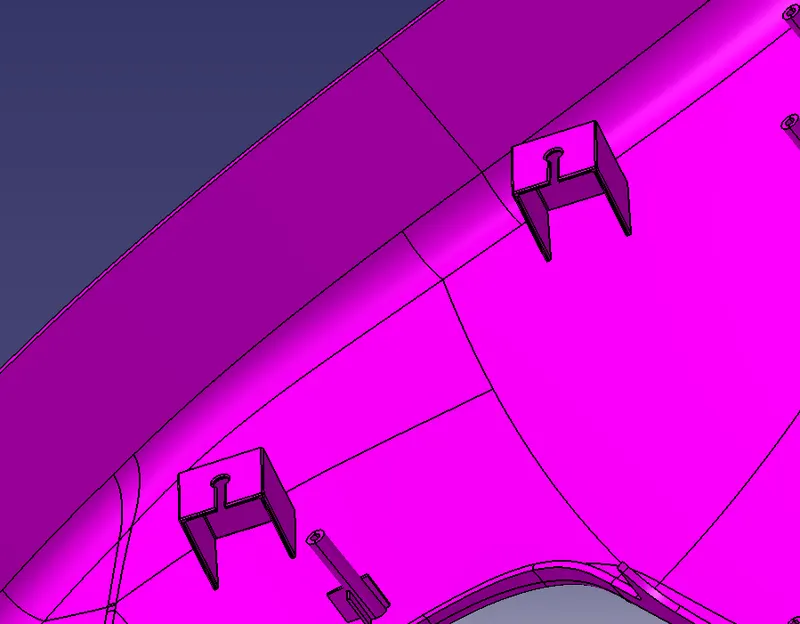
Now we create a dog house.
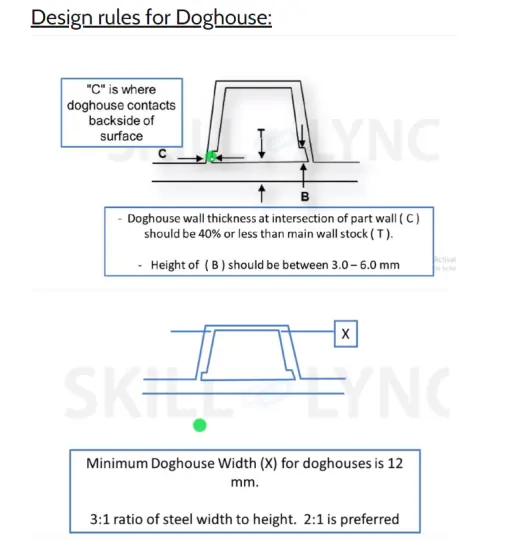
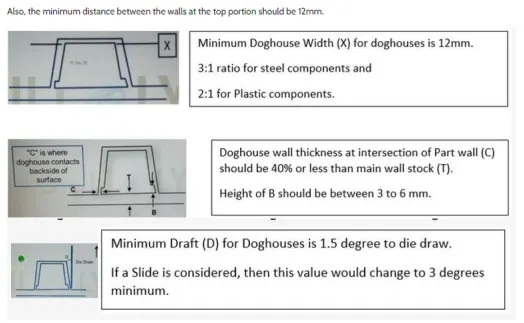
Here there are some rules for the creation of a dog house.
CREATION OF HEAT STAKES:
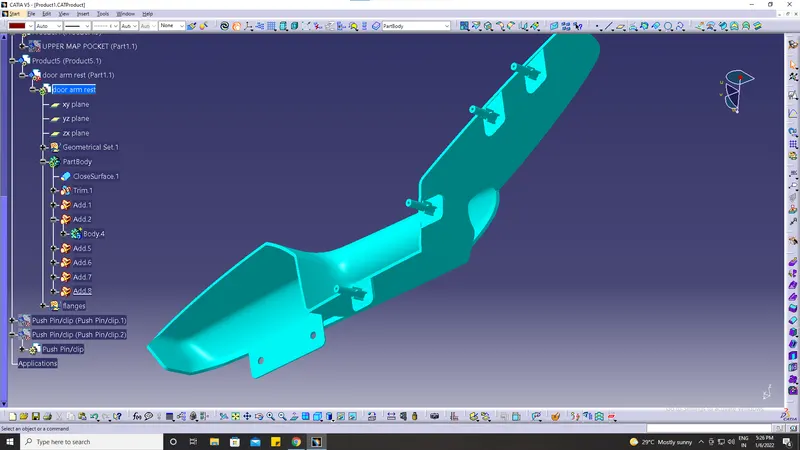
Heat Staking is a pulsed-heat process to join two or more parts out of which one at least is made of plastic. The process is to deform the plastic
material using heat and force at a set process time. The bond is made by partially de-forming the plastic part in order to fix the other.
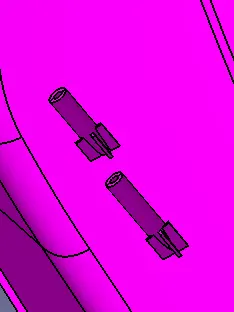
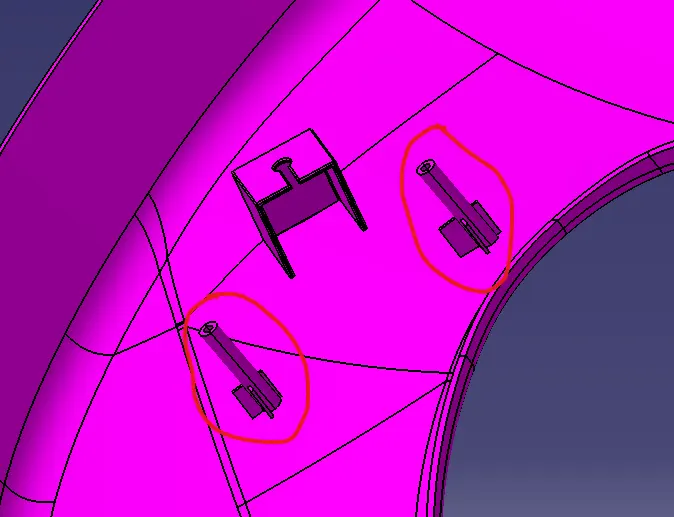
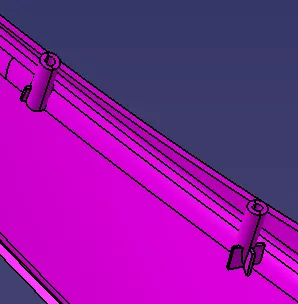
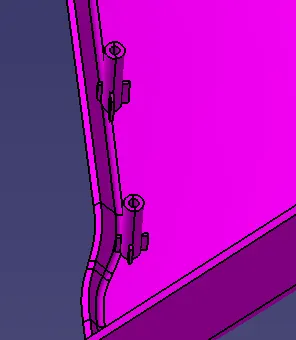
In the above figures, all Components are heat stakes.
now they have a push pin now we have to translate it on the dog house.
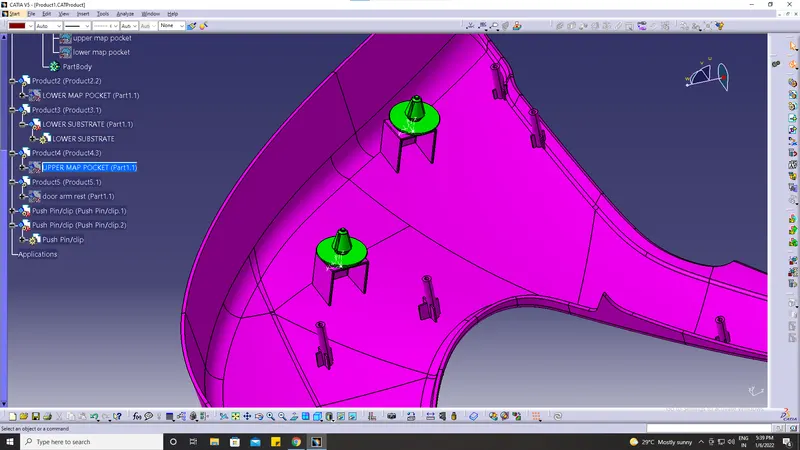
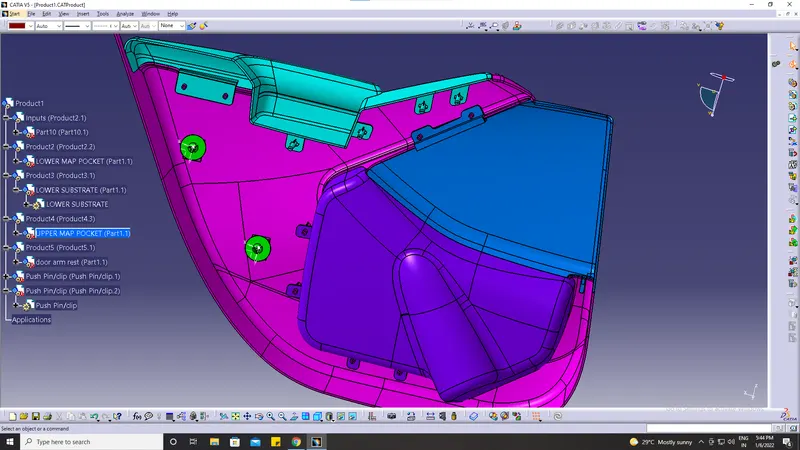
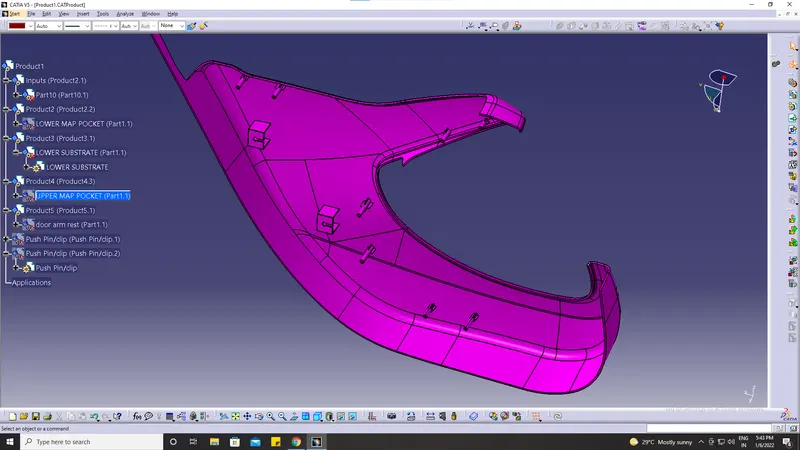
Now our Final component is ready.
The lower substrate with Heat stakes & Dog house.
The upper substrate with Flange.
Map pocket with flanges.
Armrest with Heat stakes.
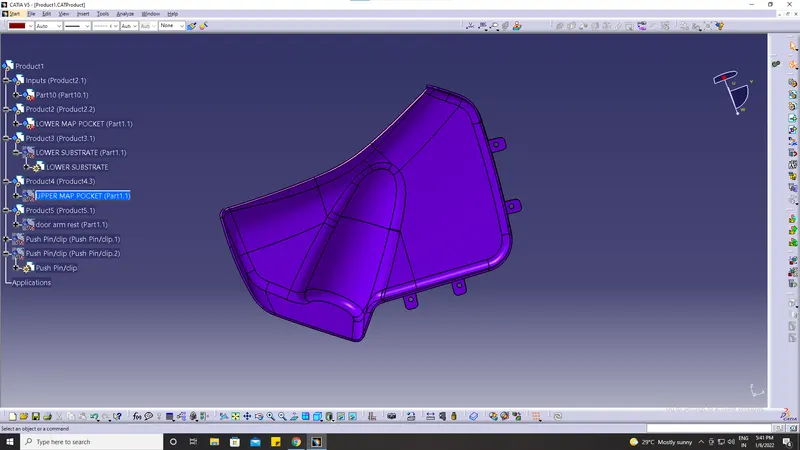
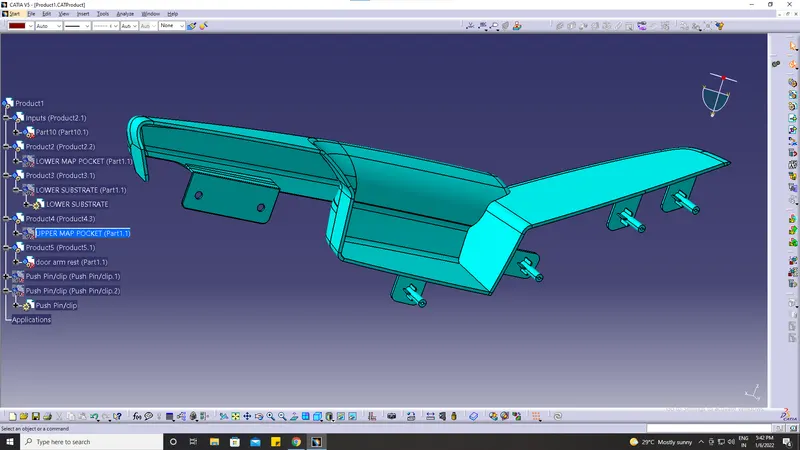
OUR FINAL PART: