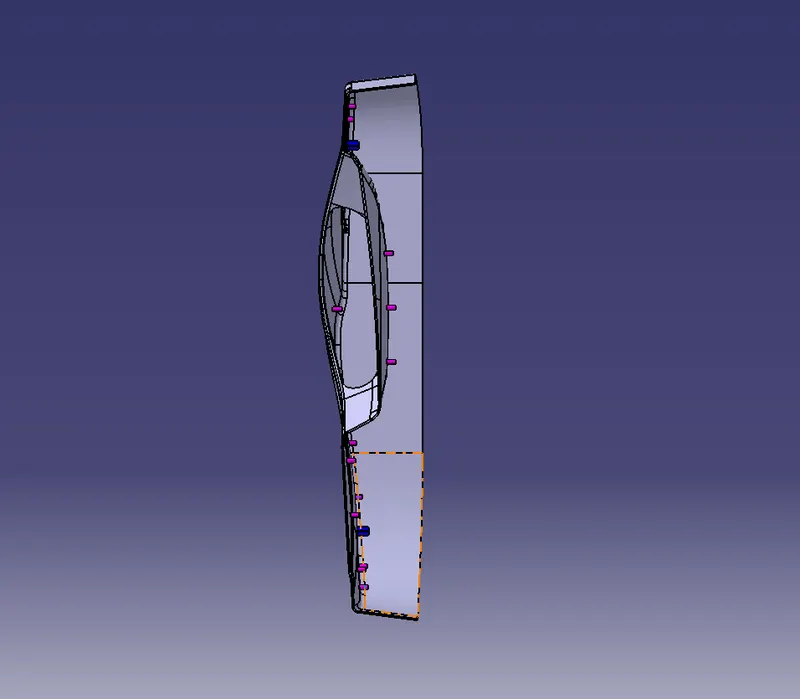
Week 10 - Challenge 3 - Door Trim Lower with Engineering Features
GIVEN CLASS A -
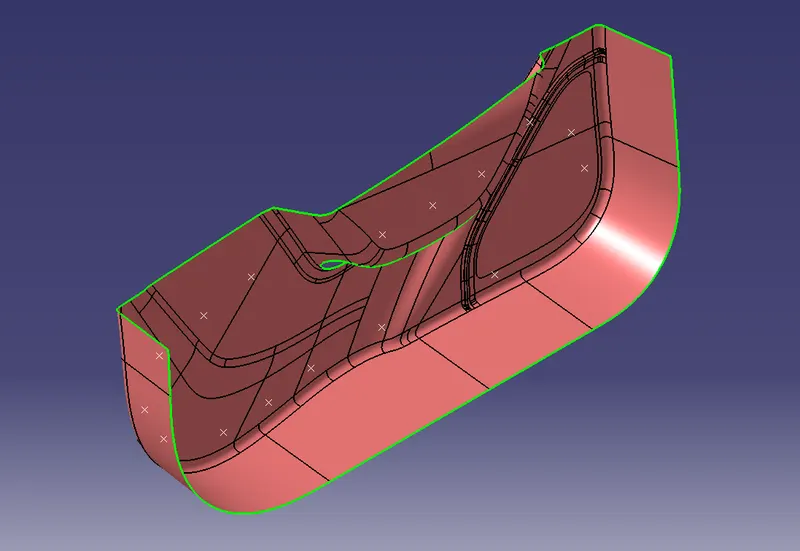
TOOLING AXIS PREPRATION
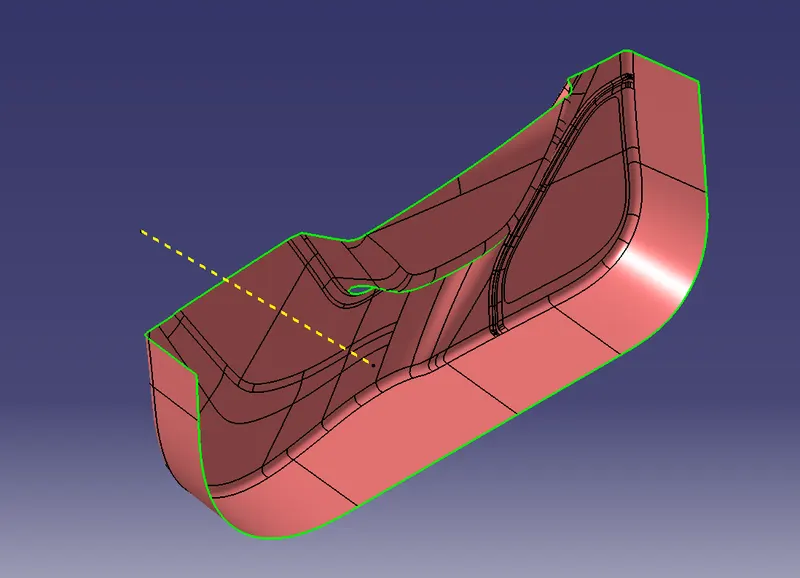
To create the 'Tooling Axis', the given class A should be observed thoroughly, Here we have taken an approch of extracting the base face of the class A and Intersecting it, and then taking a point to the center of the extracted surface that lies on the intersection line, and then making a line perpendicular to that point and the base i.e., Y-axis.
Tooling axis -
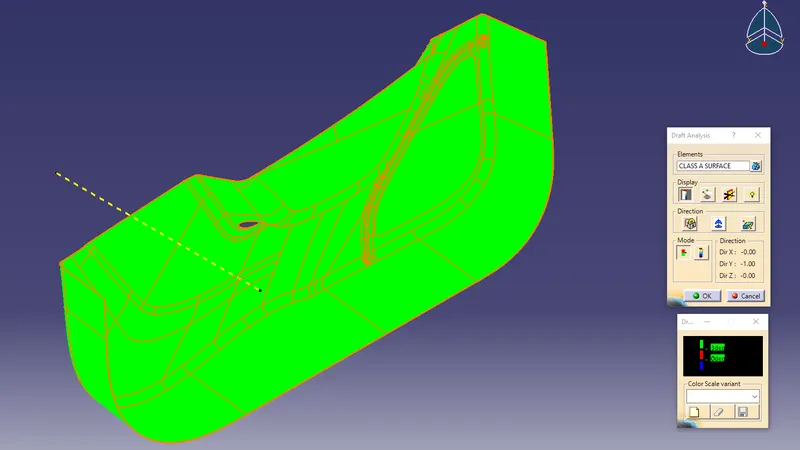
DRAFT ANALYSIS OF CLASS A
To perform the draft analysis of class A surface, click on Insert >Analysis > Feature Draft Analysis
Once the draft analysis toolbar is opened, The compass was selected and placed on the tooling axis, Then go to the display block and select the 'Analysis under the running point' command to check the angle for different sides on the class A surface. The color scale on the bottom visualizes, whether the draft angle meets the requirements or not (3 deg) by indicating the colors Green, Blue and Red.
Class A Analysis -
Class B Surface -
To create class B surface I have to extract the walls and untrim them then extrapolated them and then use the trim feature to join them together after that I made the base and then the top wall using similar features after all these were made, I made the outer flange and the top flange together and trim them with the base that created earlier. and then use the fillet feature to fillet the edges of the b surface.
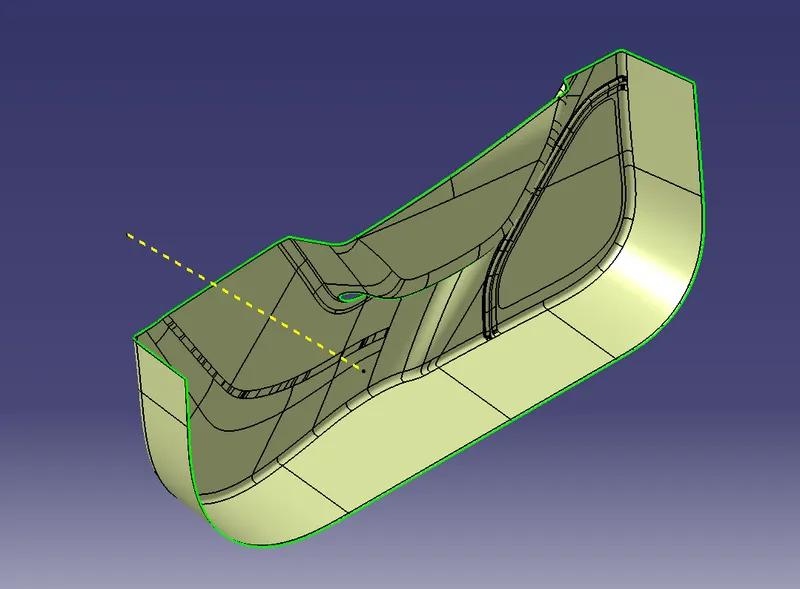
Class C Surface -
To create the Class c Surface, Divided the class A boundry into several small boundries then used the swipe and extrapolate to create multiple surfaces and then trmied them together, But the class c surface cannot be made in a one shot in this design So, we have to make to different surfaces for class c the outer one in one suface and the inner curve in one surface.
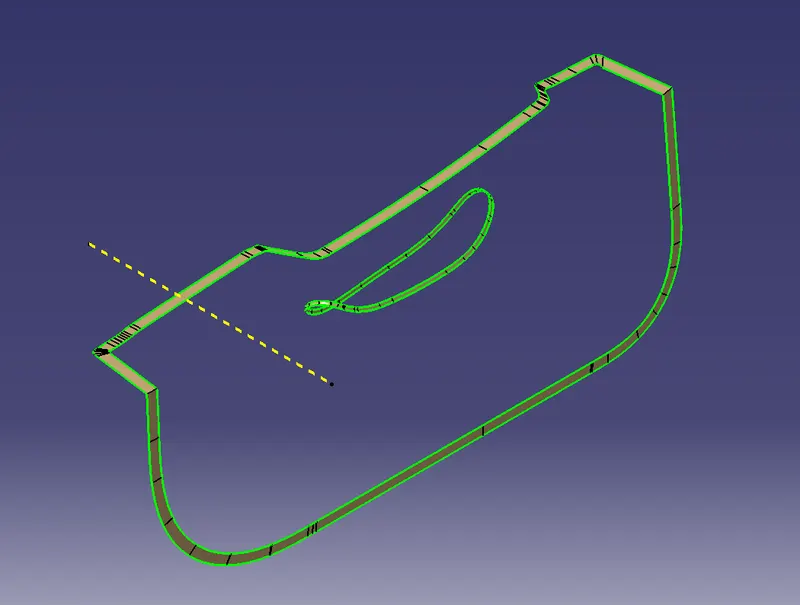
Class A + C Surface -
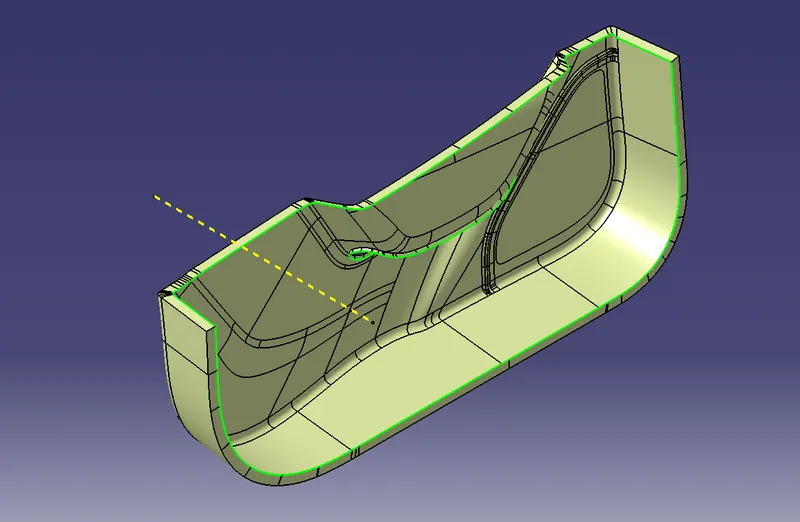
Final Trim -
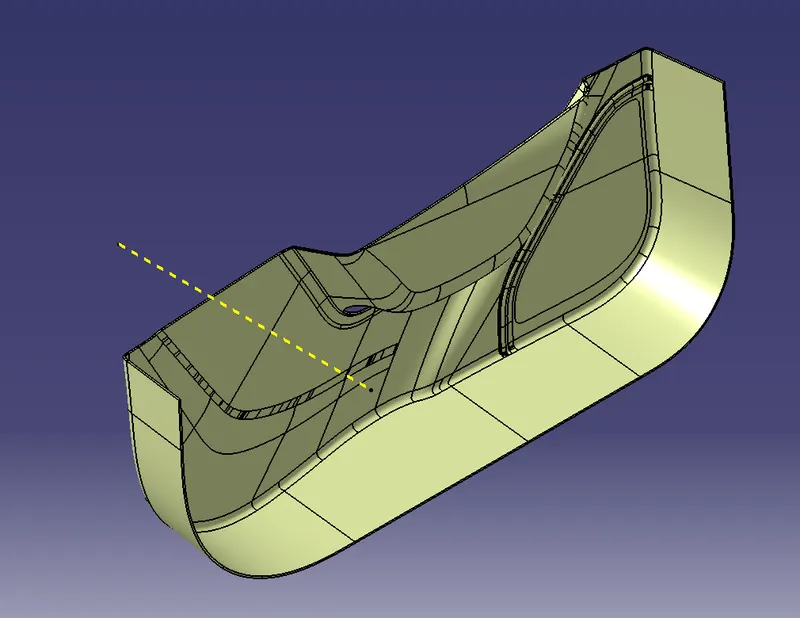
Final Trim Analysis -
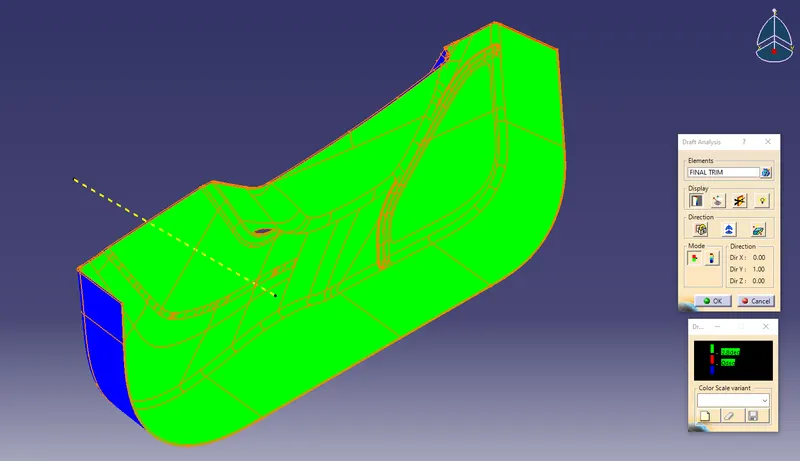
Closed Body -
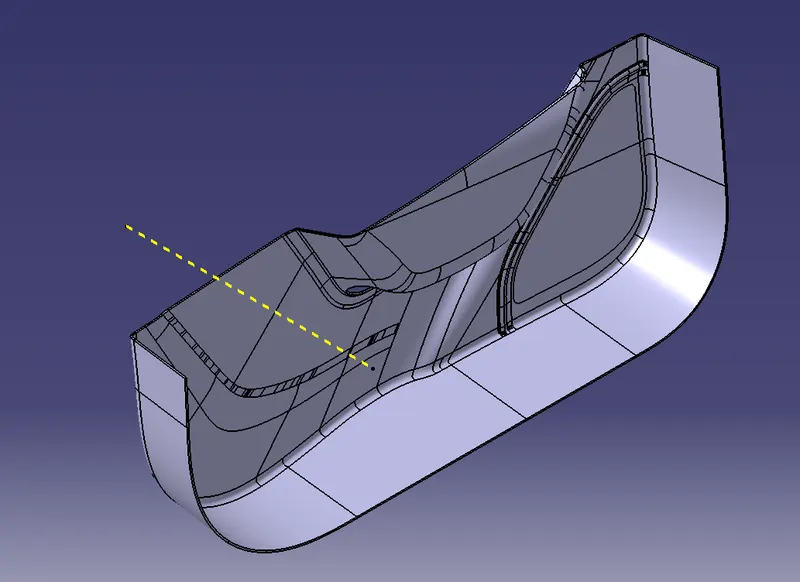
Heat Stake And Locaters -
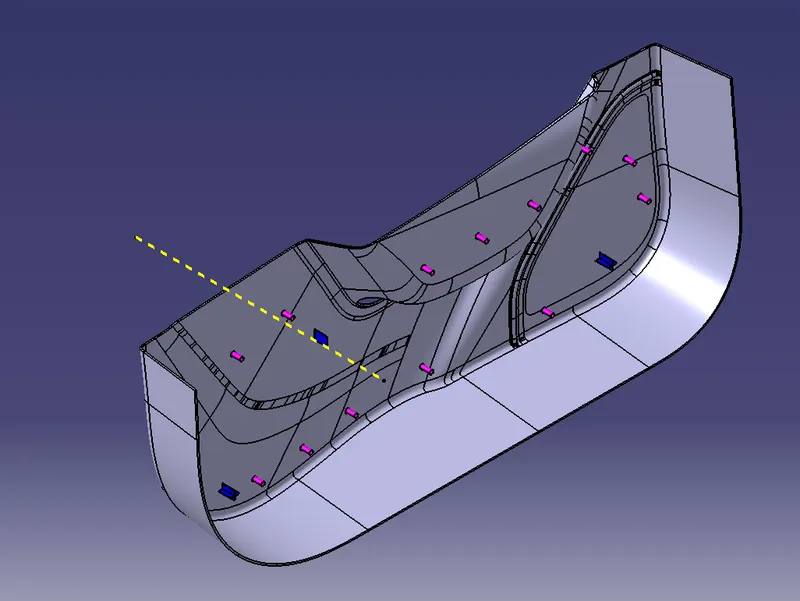
Final Analysis -
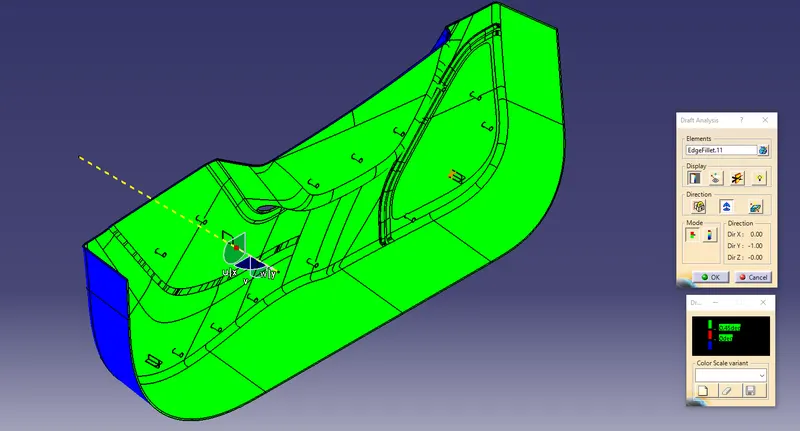
TREE -
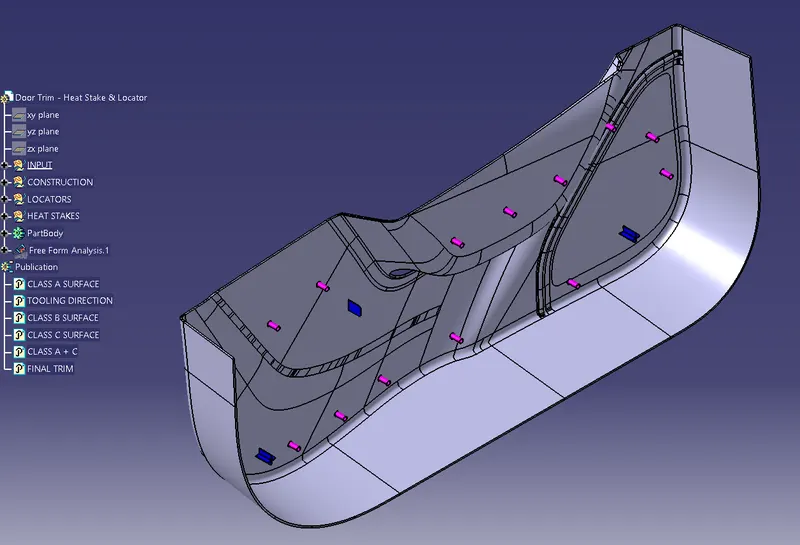
ISO -
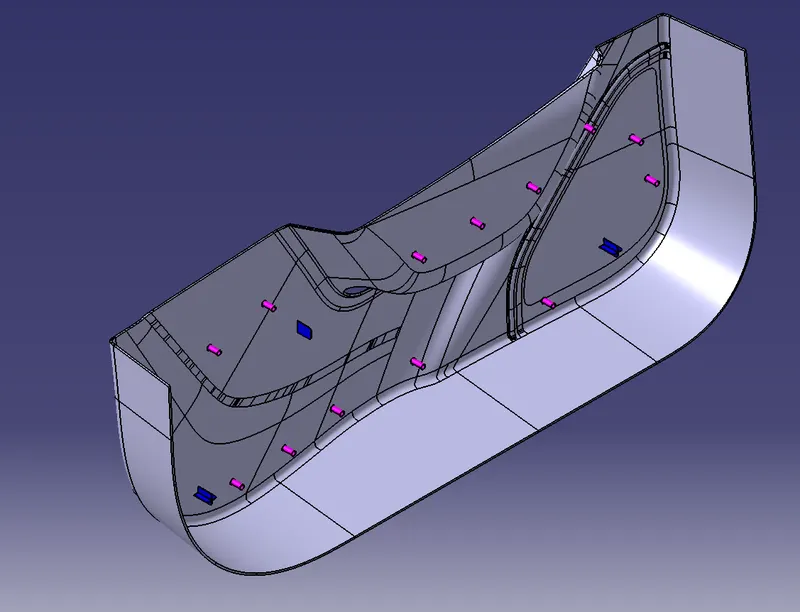
FRONT -
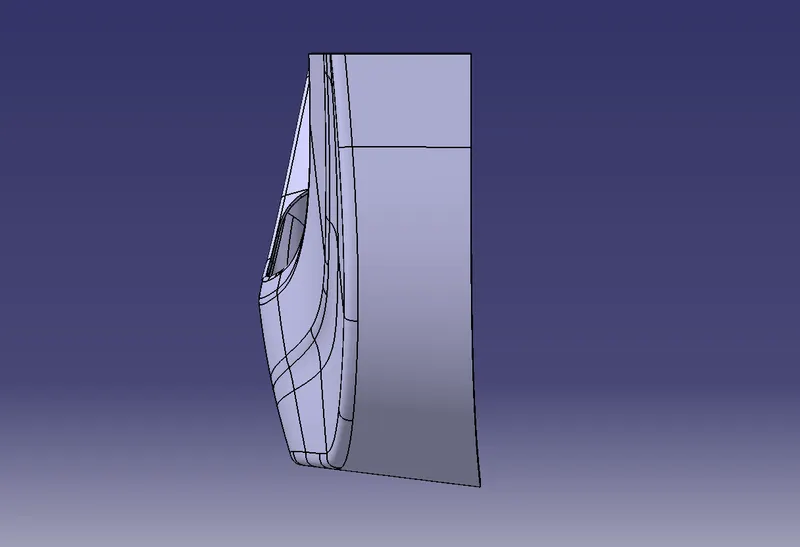
SIDE -
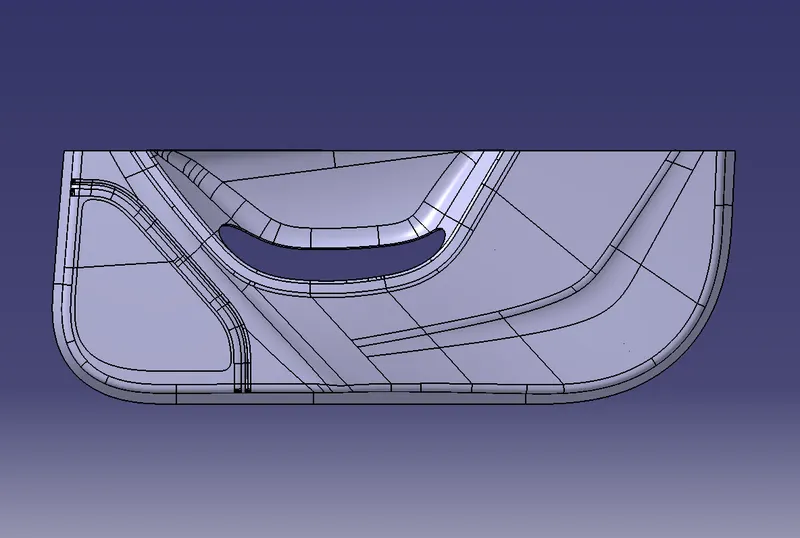
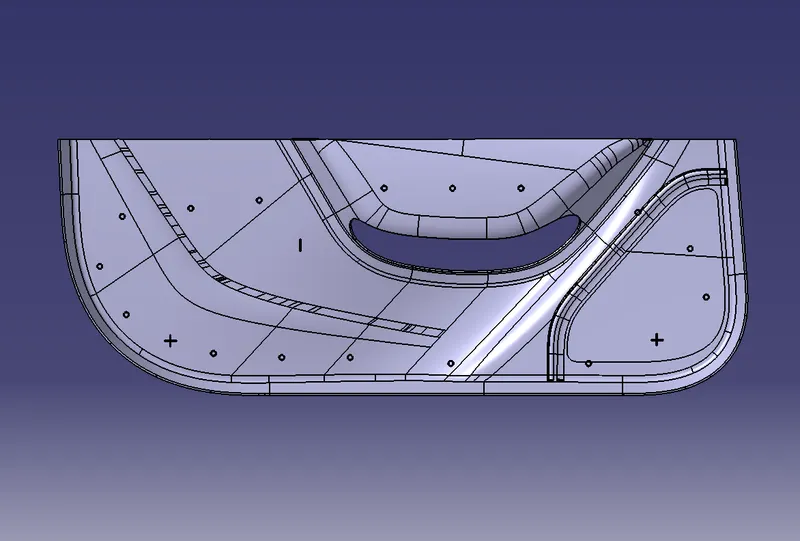
TOP -