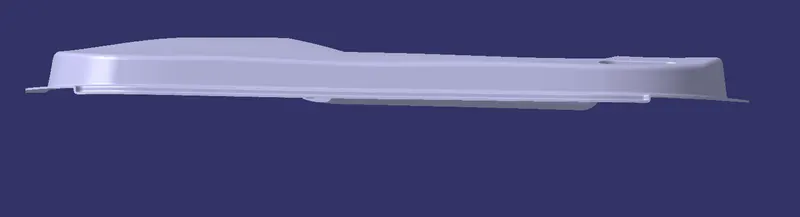
Week 10 - Challenge 2- Attachment Feature Creation (Dog House)
DOG HOUSE - DOOR TRIM
TOOLING AXIS CREATION
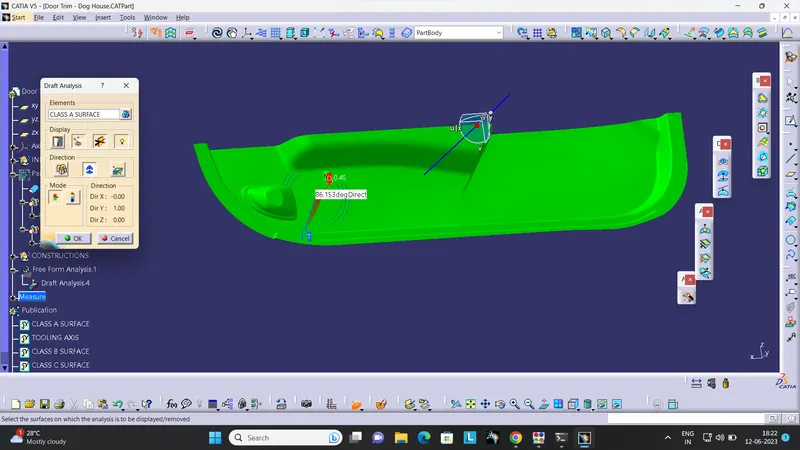
- add a new geometrical set for tooling axis
- Initially create a point on the surface
- then make a line that is on the y direction of the input axis
- then check with draft analysis that the class a surface clears the tooling axis
- publish tooling axis as well as class a surface
CLASS B SURFACE CREATION
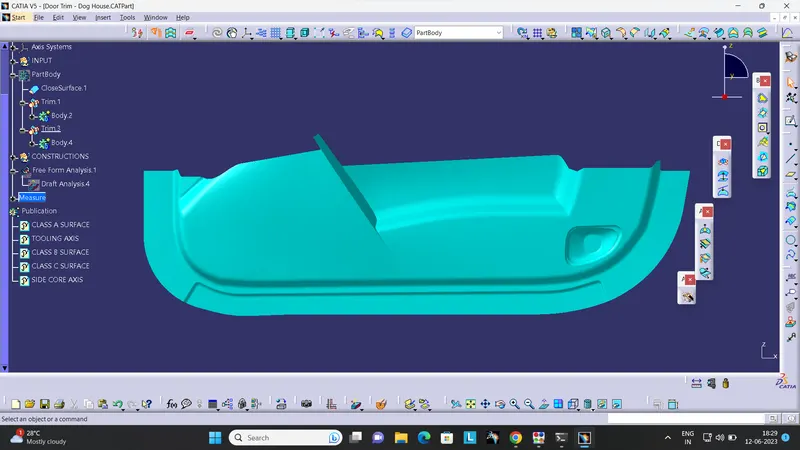
- add a new geometrical set for surface
- offset the class a surface to 2.5mm
- then find out the missing surfaces and remove those adjacent surfaces to make it 3 components
- then extract, untrim and extrapolate each part and trim together to make it a whole final surface
- when extrapolating do point continuity, and leave a excess surface for final trims
- add a new geometrical set for fillets inside b surface
- then find out the fillets for each and every connections so made and add those fillets acconding to the offset value
- that will be our class b surface and publish those
CLASS C SURFACE CREATION
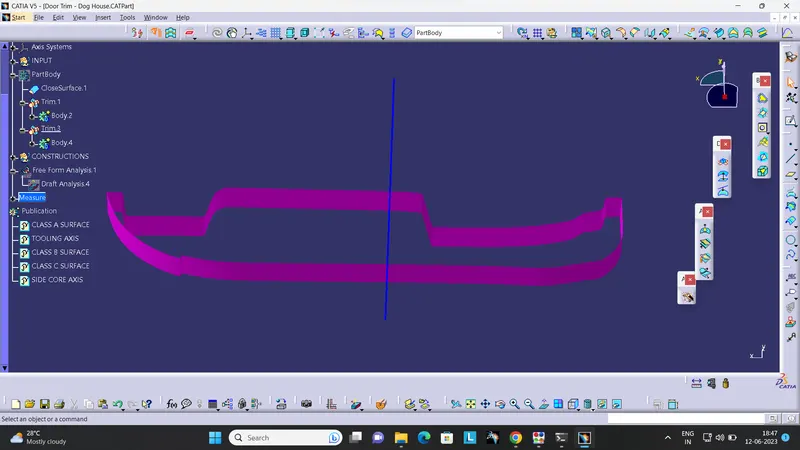
- unhide the class A and take the boundary of the class a with 2 sections
- then sweep the boundary to 20mm front and back with draft direction of tooling axis with draft of 3 deg outward
- then extrapolate the the 2 ends and trim them to create a class c surface
CLASS A + C SURFACE
- extrapolate the class a to a 20mm point continuity
- then trim that with the c surface
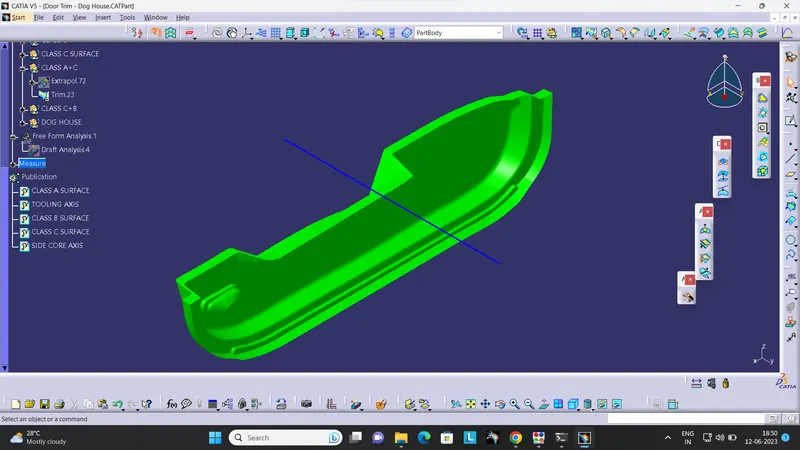
THE FINAL TRIM WITH B SURFACE
- Trim the last trim with class b surface
- becuase we had extrapolated the b surface to about max we can easily trim that with the class and c without any error
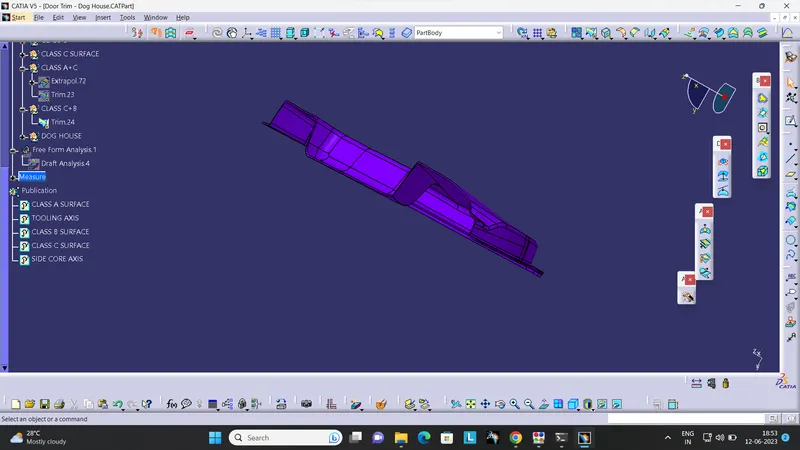
FINAL PART
- close the final trim on the part body
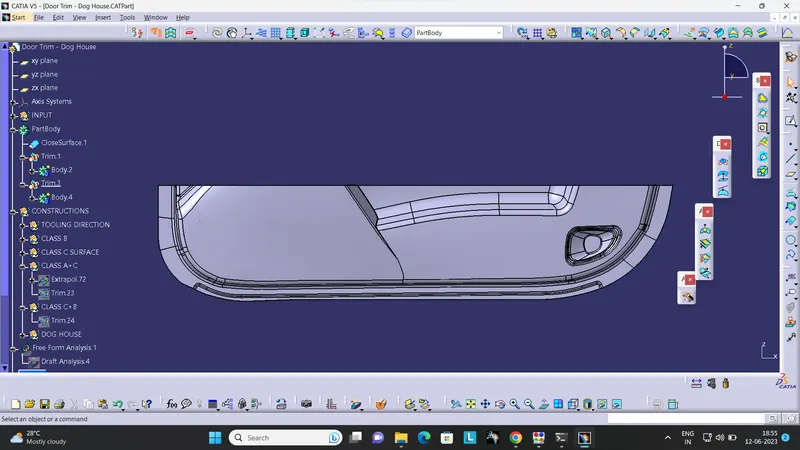
DOG HOUSE CREATION
- make a point on the surface
- create a axis system on the point
- create a line parellel to the point wrt to the axis system
- extract the line that will be our base
- make a rectangle on another sketch for the frame of the dog house and open one end
- then sweep that skectch wrt the tooling axis with 1.5 deg draft
- then close the top with offset of the extrude we made first and trim that to make one component
- thicken the trimmed surface outside with 2 mm on a new body
- make a side core tooling axis with the same point used for main tooling axis but with the direction corresponding to the side core tooling direction
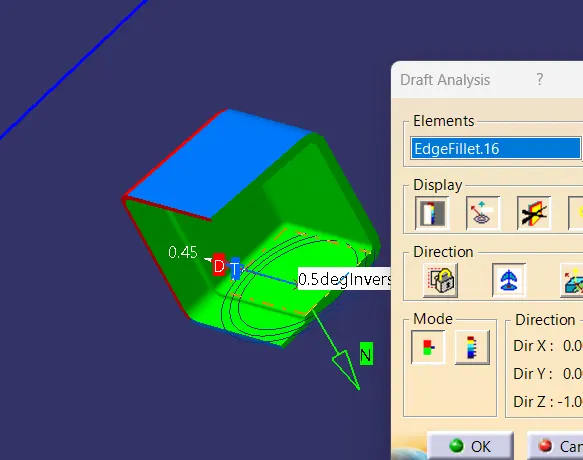
- then draft the inner surfaces of the dog house with .5 deg facing face as the neutral element and side core axis as the pulling direction
- then add fillets to the inner surface
- then extract the inner surface with tangent continuity
- and offset the initrial extract to 3-6 mm
- and inner surface inward direction of 1mm that is 40% of the total thickness
- then trim that two surface and extrapolate them to exceed the part
- and split that with the part
- then add the draft for the cut portion of .5 mm likewise the other inner draft and add resp fillets
- then do the draft analysis that inner surface clears with the side tooling axis
- check the orientation of the dog house and rotate that wrt the required position
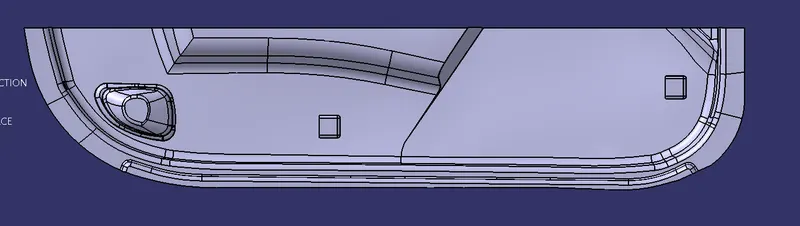
- then make a copy of the body and paste special with attachment as a link then translate that to the required point
- trim those two with the main part
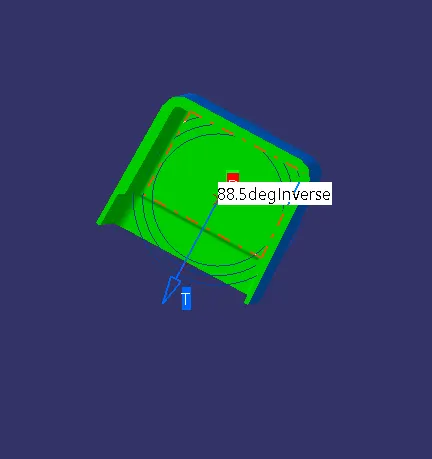
FINAL DRAFT ANALYSIS
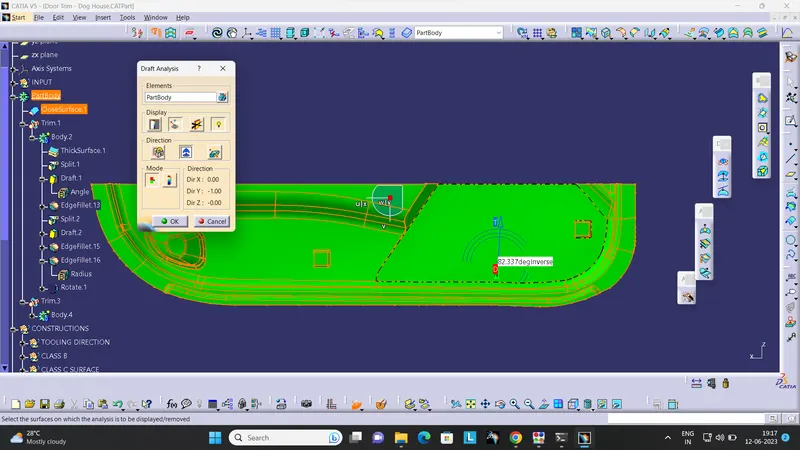
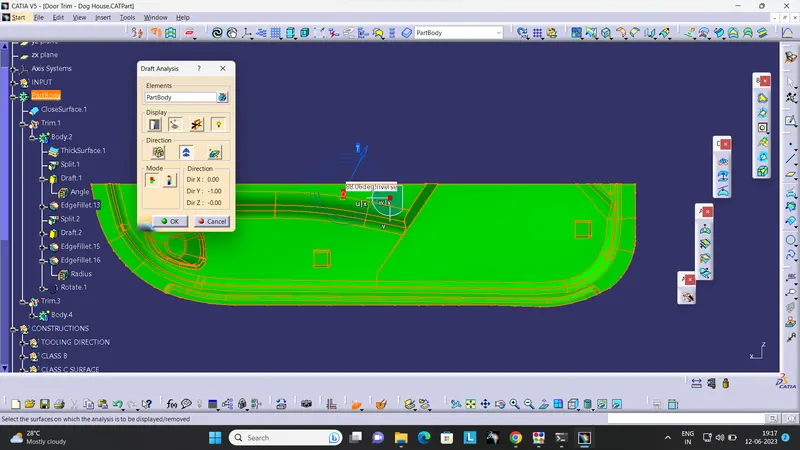
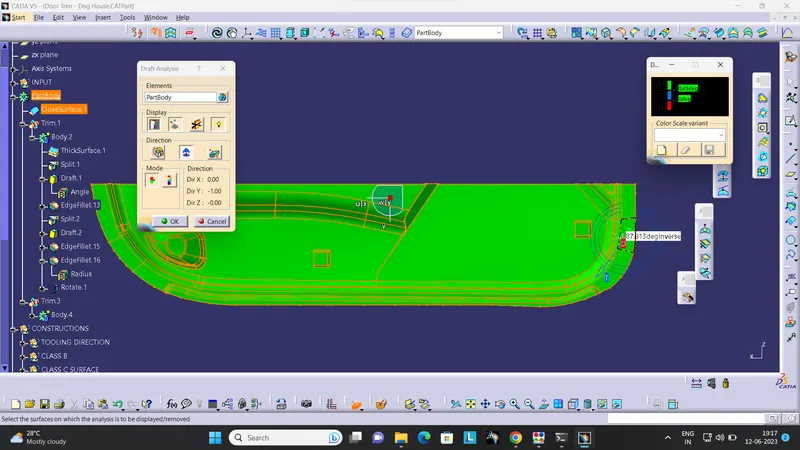
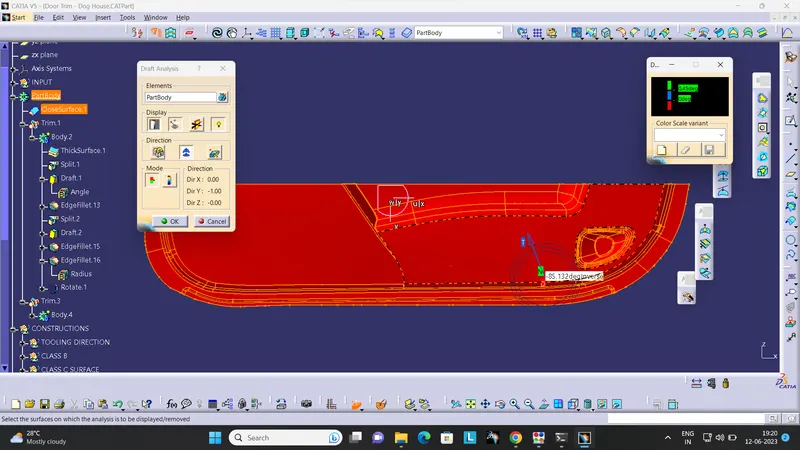
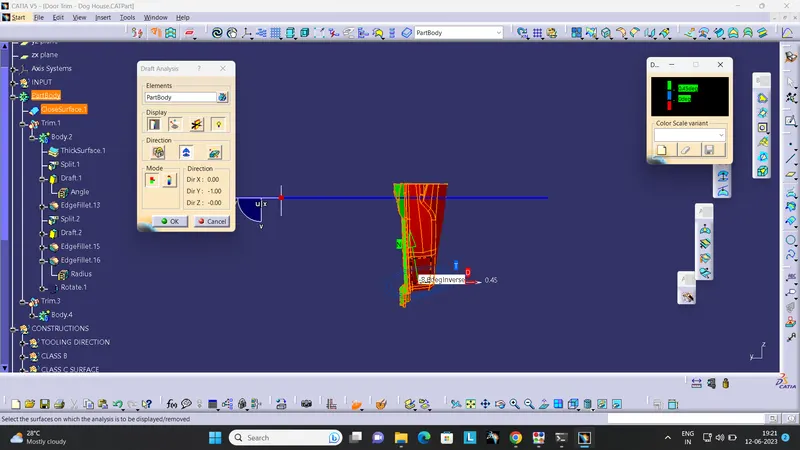
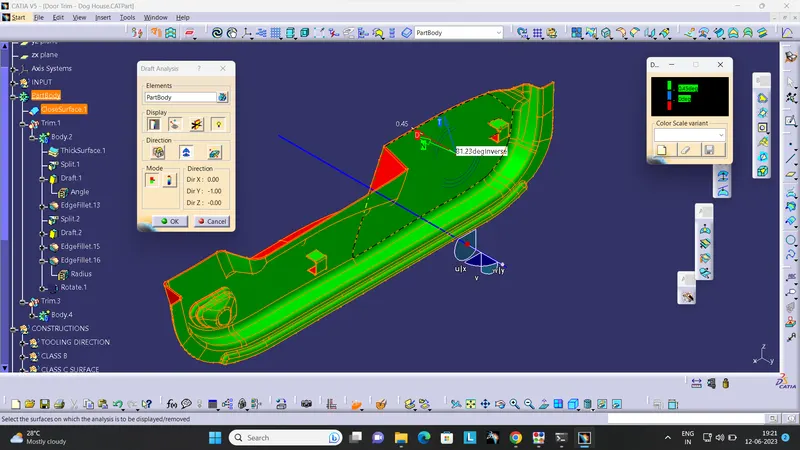
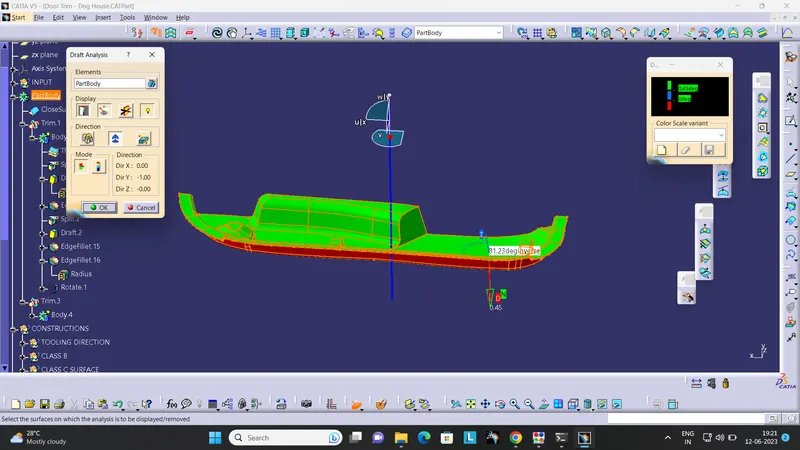
- do the final draft analysis with the final part body wrt to main tooling axis
- drag the axis on to the tooling axis
- click on the anchor and drag the anchor once more to the tooling axis
- and note the values
- change the positive draft angle to .45deg
3D VIEWS OF THE PART BODY
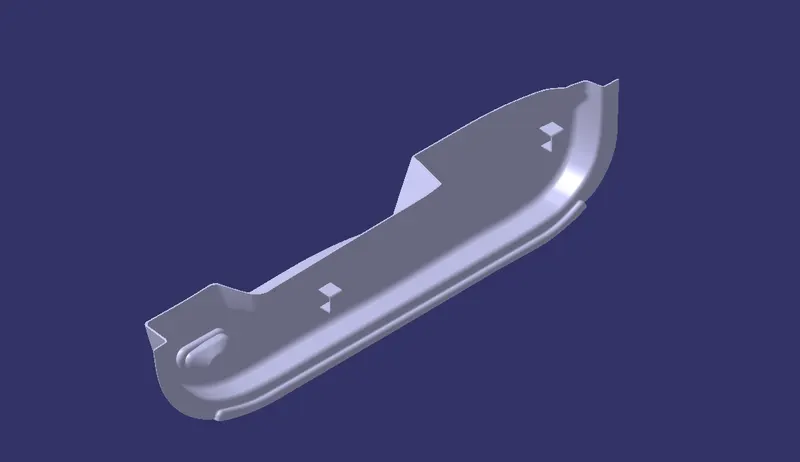
ISOMETRIC
FRONT
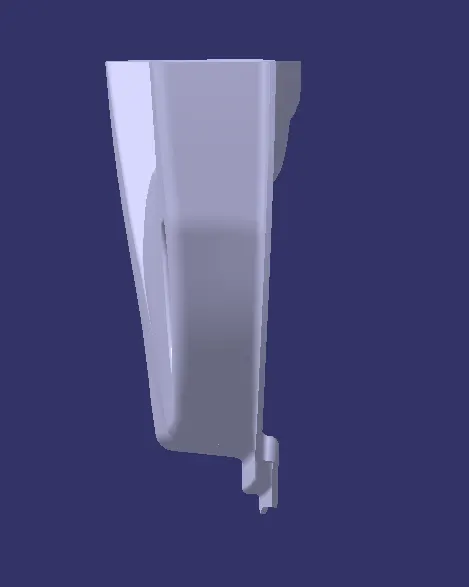
BACK
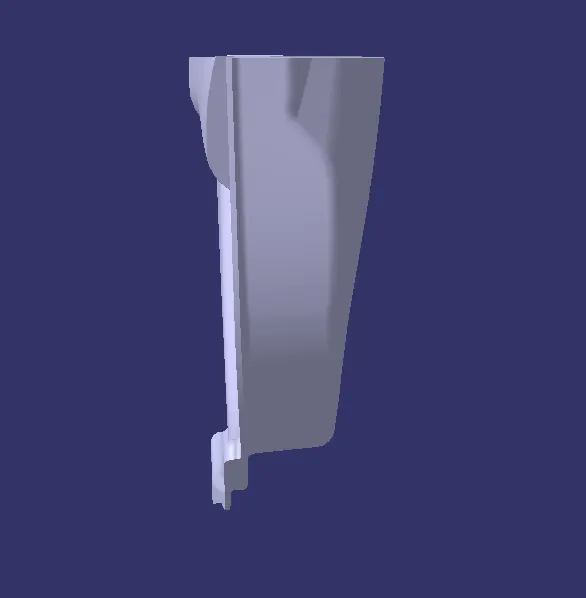
LEFT SIDE
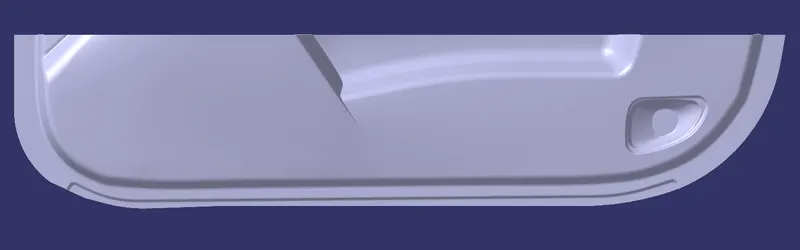
RIGHT SIDE
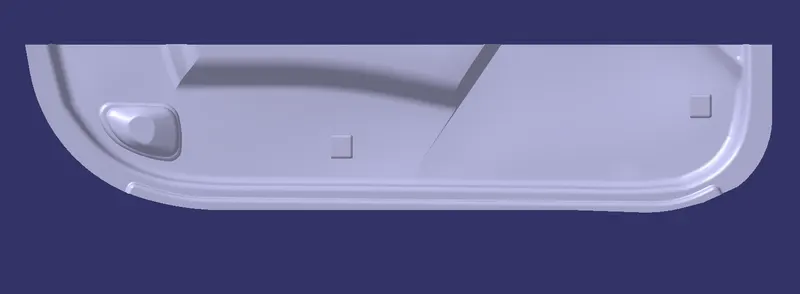
TOP SIDE
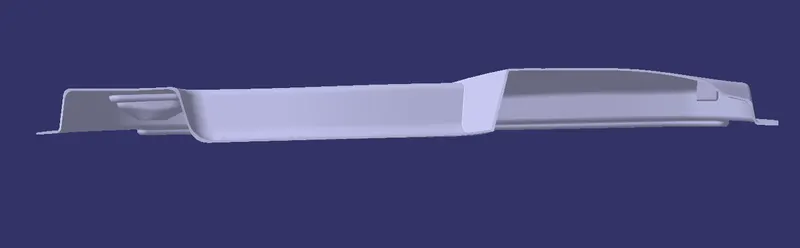
BOTTOM SIDE