Week 10 - Challenge 2- Attachment Feature Creation (Dog House)
Week 10 - Challenge 2- Attachment Feature Creation (Dog House)
Dog House
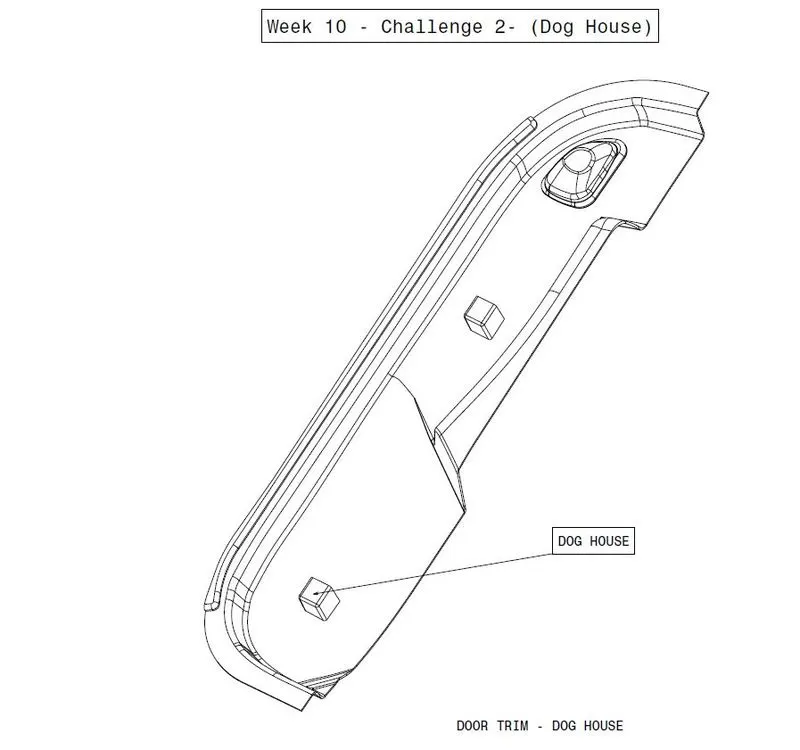
It is given that Create the Dog House for the Door Trim considering the design rules.Consider the thickness of the part to be 2.5 mm.
Given Class A Surface
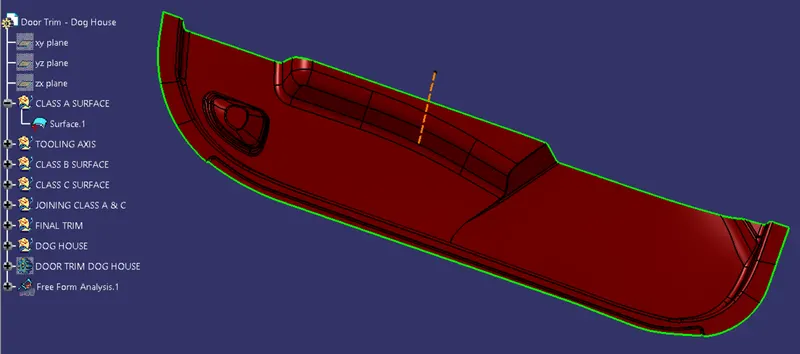
Creating Tooling Axis :-
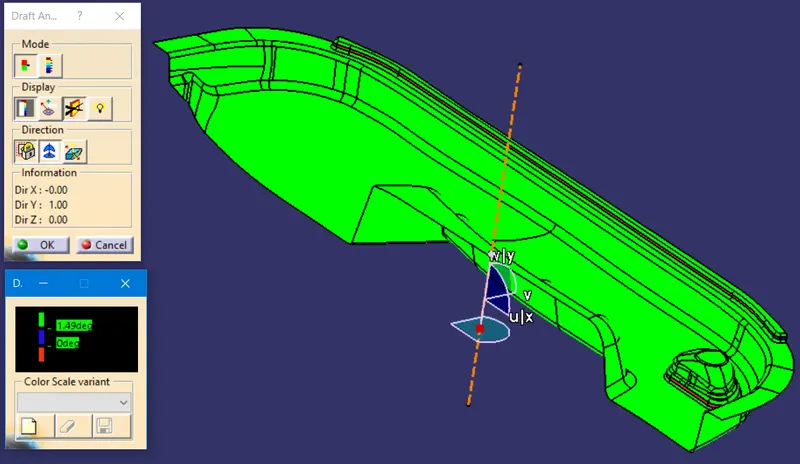
Extract one the flat Surface from the Class A Surface . Put a point in the middle of it .Using Line command , Point -Direct option extend the two start and end points of the created line that is Tooling Axis For the part. Now do Draft Analysis for Class A Surface to check weather the created tooling axis is on the proper Surface and position . There are error in this class A surface so the draft analysis could not be that perfect with green in the both side.some of portion the area will show red in color as per color scale.
Class B Surface:-
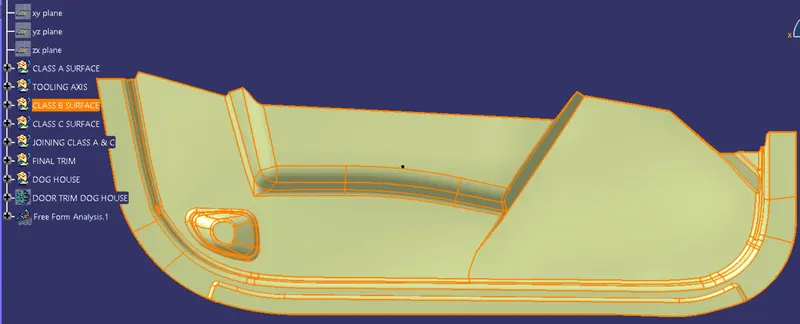
For starting with the class B Surface Select offset command select surface of Class A surface .Give 2.5mm value for offset.Now after Offseting their Will be patchs created .As Show in below figure.
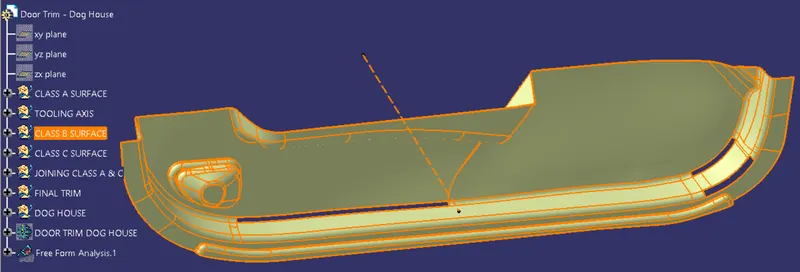
Final Class B Surface Will look Like this .
Class C Surface :
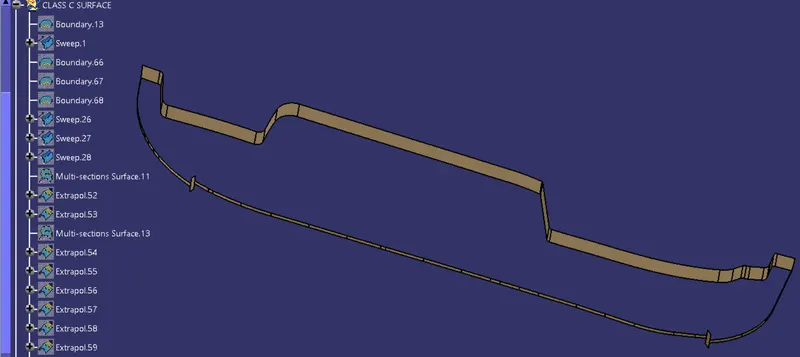
For Creating the C Surface Take Class A Surface for the reference.And make use of Draft and reference Surface option in sweep Command.
Closed Surface (solid part ):-
After Creating C Surface trim C surface with Class B surface For the final Surface . Then Use Closed Surface command in Part Drawing for Solid Surface.
Dog House Creation :
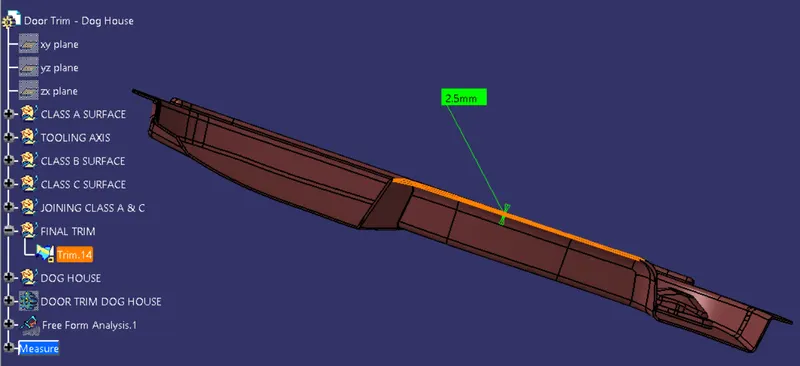
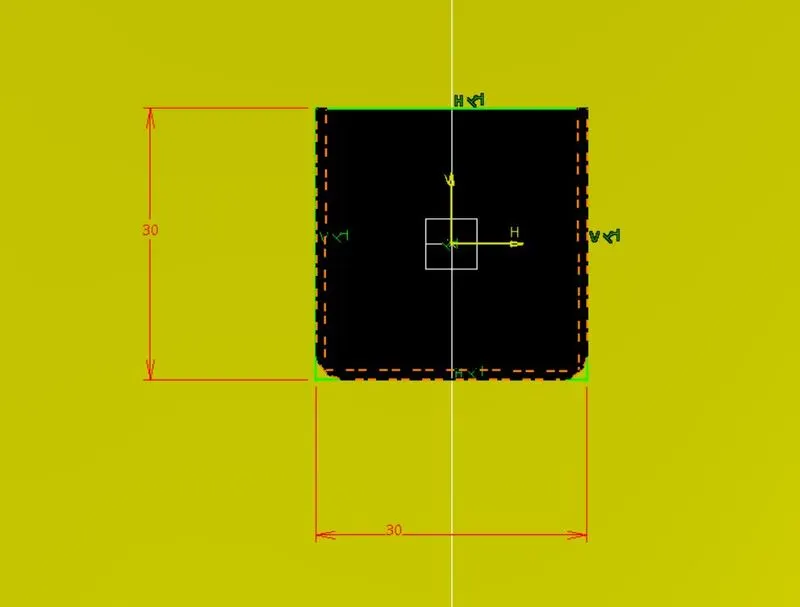
For Dog House Creation take Point on Flat Surface , Create new plane with respect to (Normal to Curve) Sketch the dog house Using Design rules of Dog House.Also Create another tooling axis Parallel to surface for Side Coreing
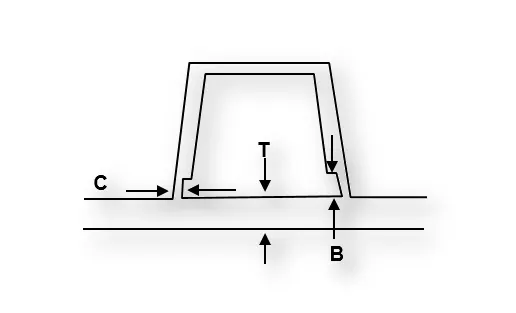
"C" is where the doghouse contacts the backside of the surface.
Draft Used for the following dog house are 1.5 deg (Out side) and 0.5 deg (Inner side).Use Tooling Axis For pulling Direction.
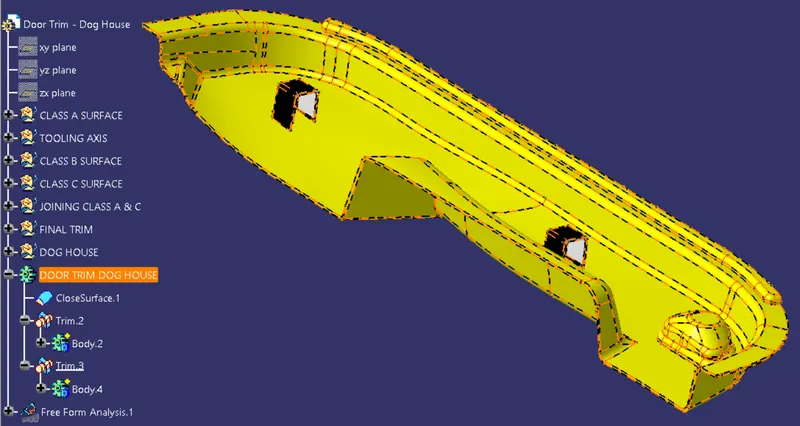
For Final Part Just Untrim and Unkeep parts of the Dog house.
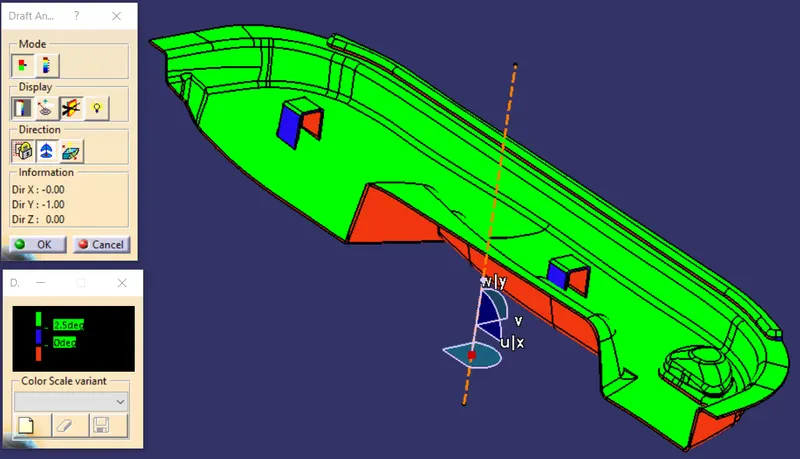
Draft Analysis :
For this Select Command Draft Analysis ,Pick Compass Put it on tooling Axis and Lock It and Click Draft . Also Select Degree check pointer and Colour Scale .Doing this Steps part will change Colours as per colour scale.This Colour depends upon the Draft degree Angle of particular surface.
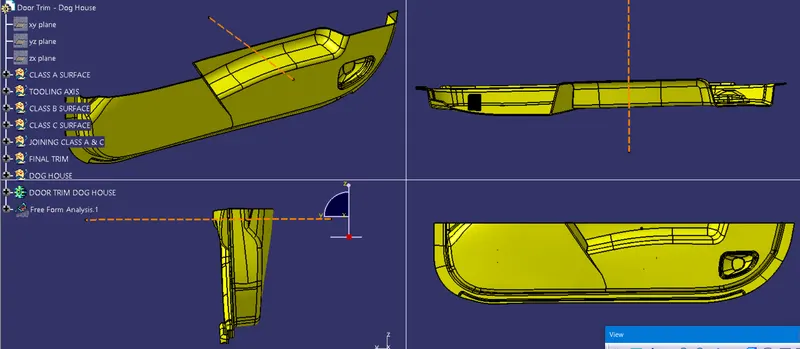
View :
Isometric : Side : Front : Top
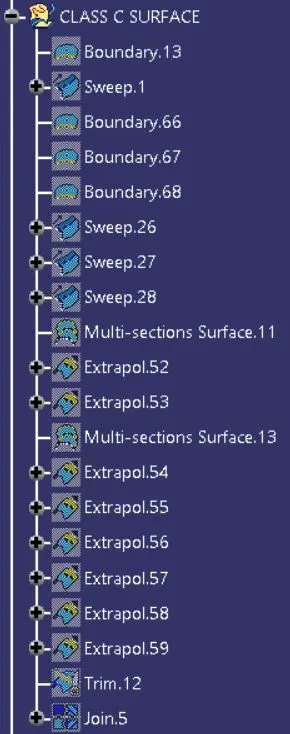
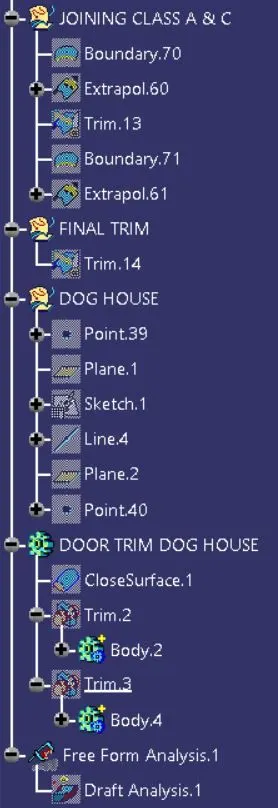
Tree Structure :
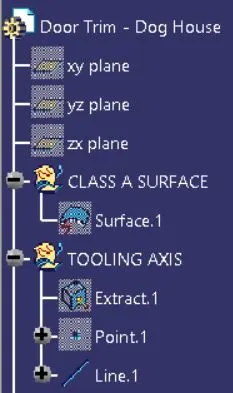
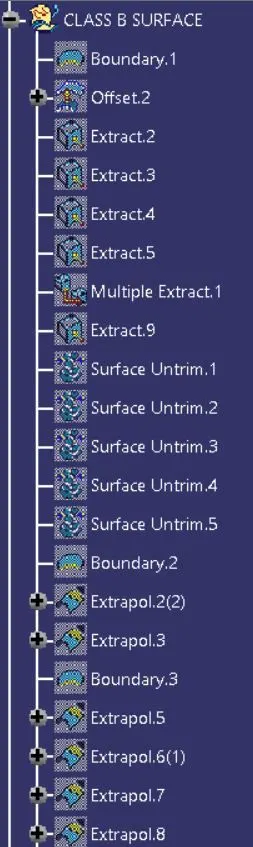
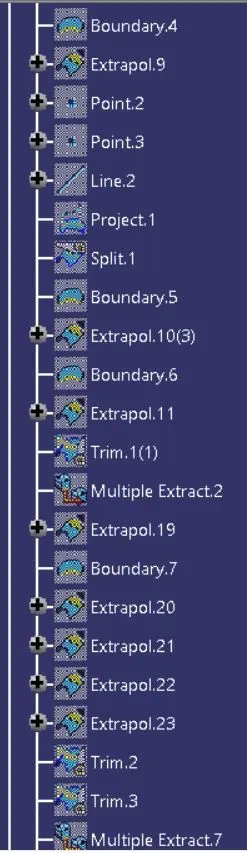
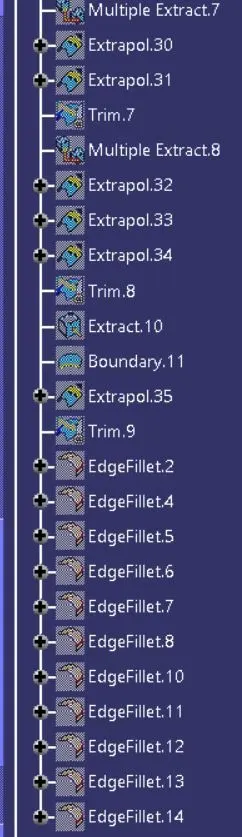
Conclusion :
From this part Challenge ,Creation of Class B & C Surface from Class A surface and also Tooling Axis , Dog House