Week 10 - Challenge 1- Attachment Feature Creation (Ribs & Screw Boss)
AIM
To create the door handle component from the given class-A surface
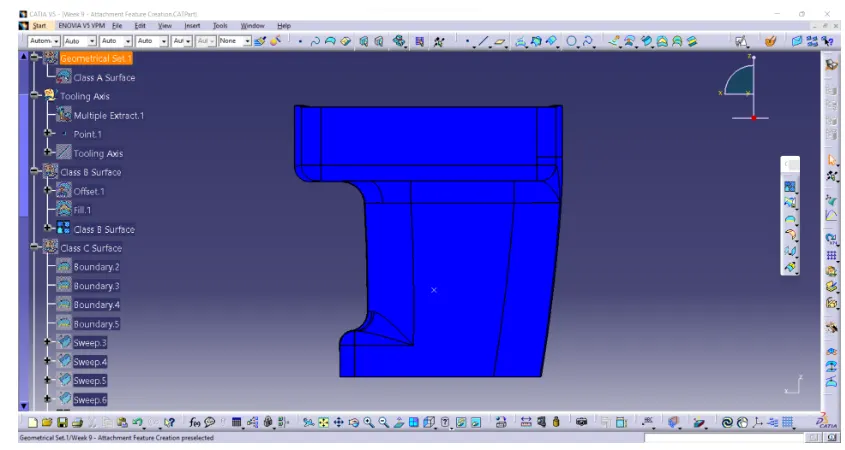
To create the tooling axis for the given class-A surface meeting the requirements of the draft angle
To attach B side features in the component
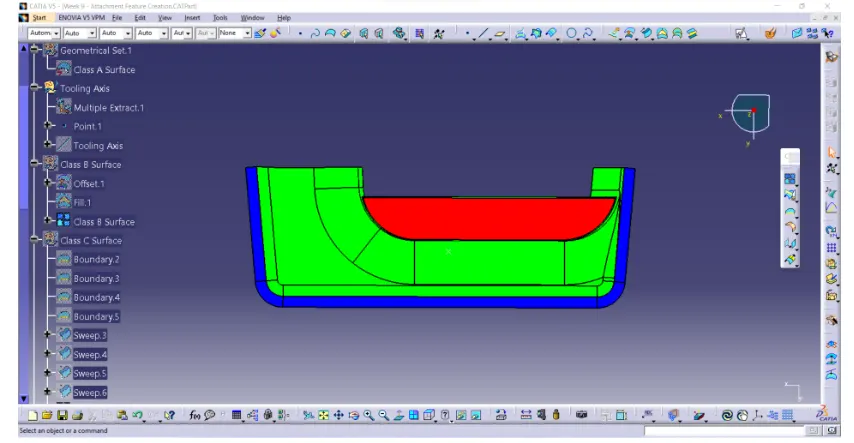
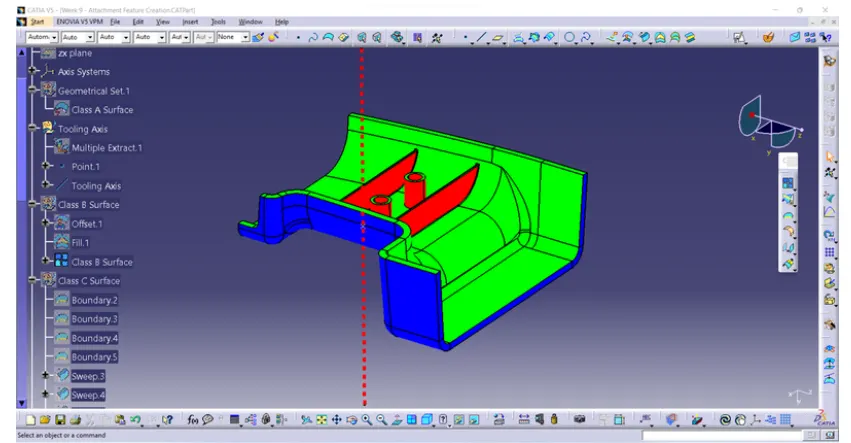
To perform the draft analysis on the model
CREATING TOOLING AXIS
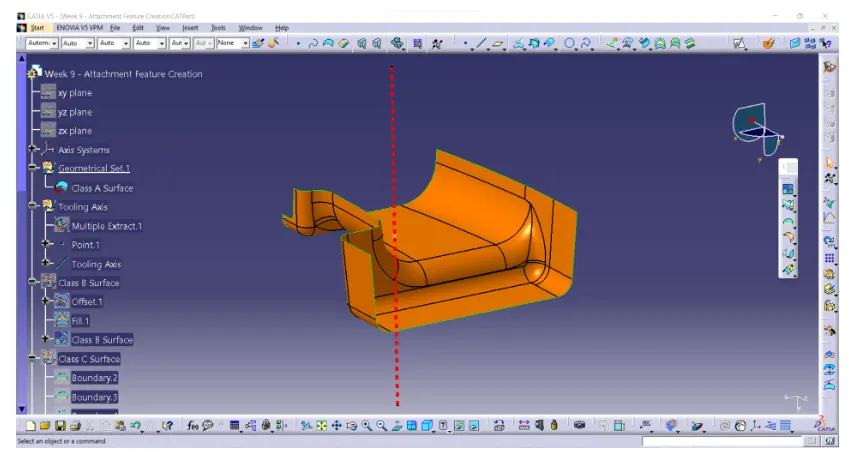
The Tooling direction is basically the direction that the mold pulls a part. the mold is built in two separate pieces basically.
The Tooling direction is basically the direction that the mold pulls a part. The mold is built in two separate pieces. basically, you have a cavity side and you have the core side. the core pulls apart from the cavity and that's the dye line or the Tooling direction.
open the given CAT part file.
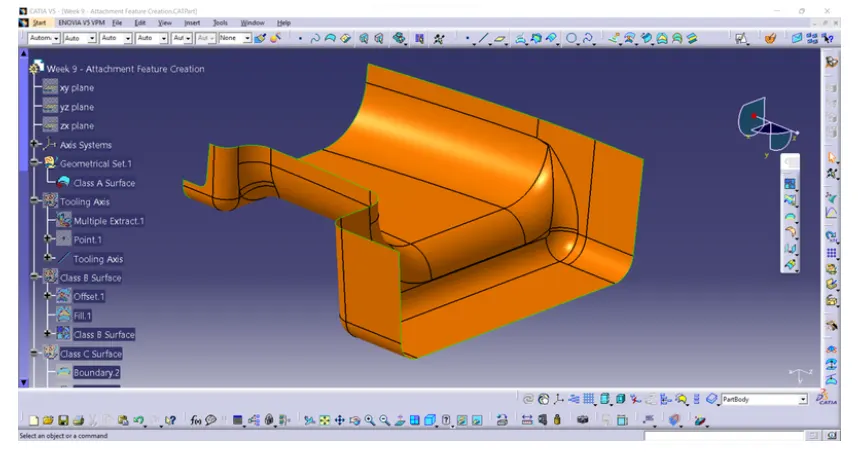
check for gaps between surfaces for that click on join and then preview
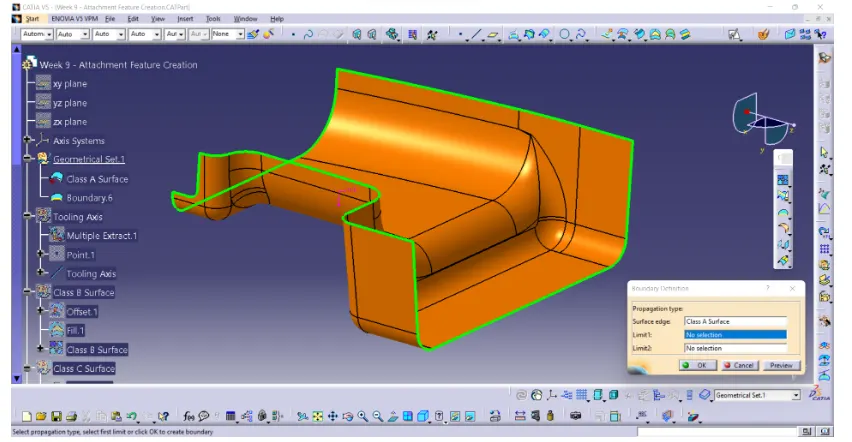
find the correct tooling axis where the material doesn't interfere with the tooling axis and all the elements can be created
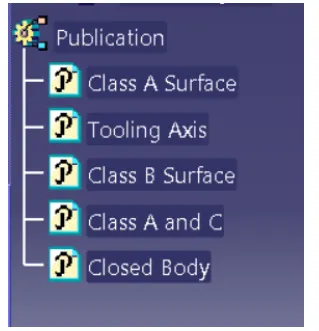
PUBLICATION
Publication is done to the component to make it visible and navigate easily.
A separate tree structure is formed under the main part'
CREATING CLASS-B SURFACE
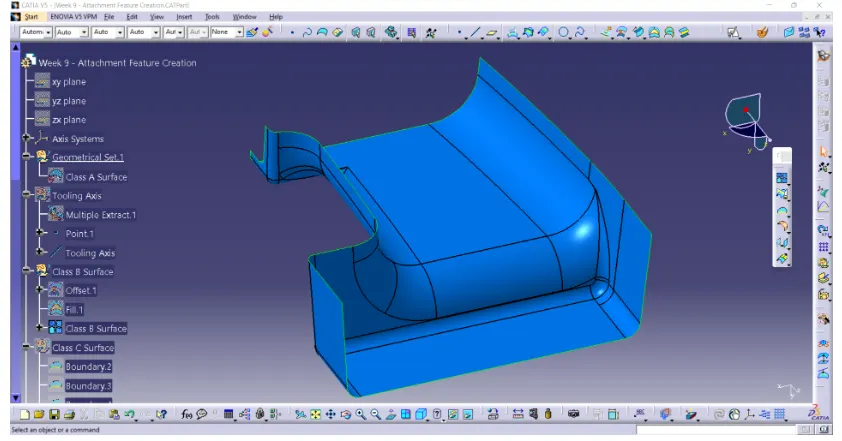
Extract the surfaces from the class A using multiple extract and untrim them. use Extrapolate to make sure that all the untrims are properly intersected to trim and offset the surfaces to 2.5mm to create the thickness. Trim the extra surfaces using trim command. Insert them into new geometrical set and name it with respective part names. perform trims one at a time so that it will be clear to understand.
CREATING CLASS-C SURFACE
Extract the boundary from the class A surface using boundary command. using disassemble tool to divide the boundary as the boundary contains domains. use sweep command> choose profile type line> subtype as with draft direction> choose guide curve and draft direction> draft angle as 90 degree > preview.
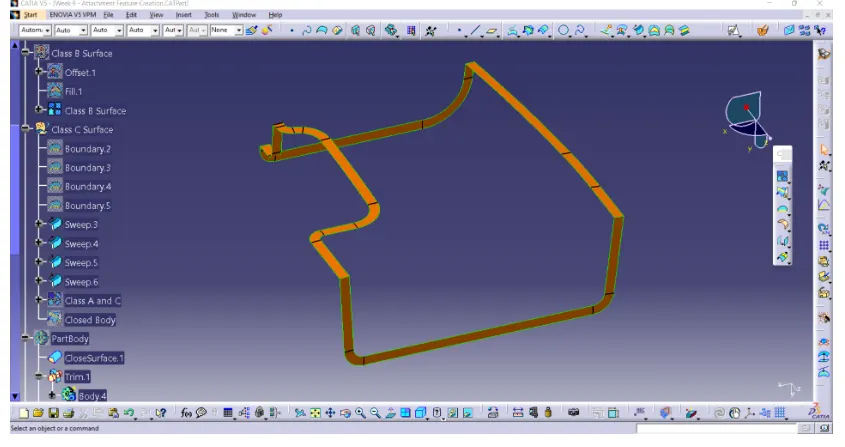
join both class A-C and class B
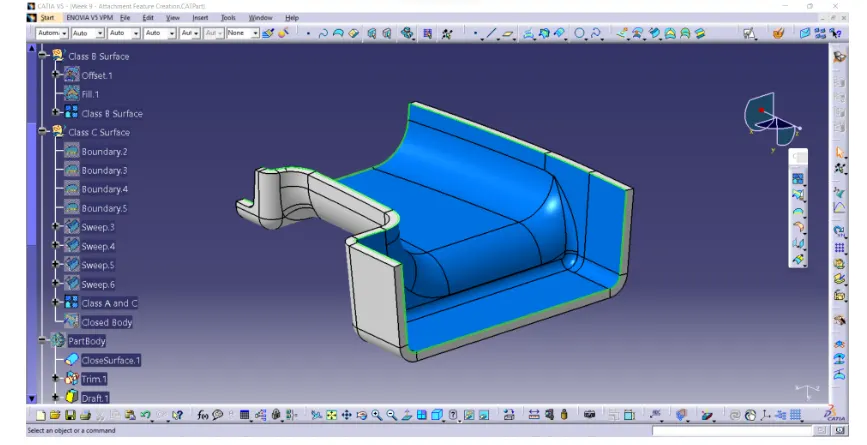
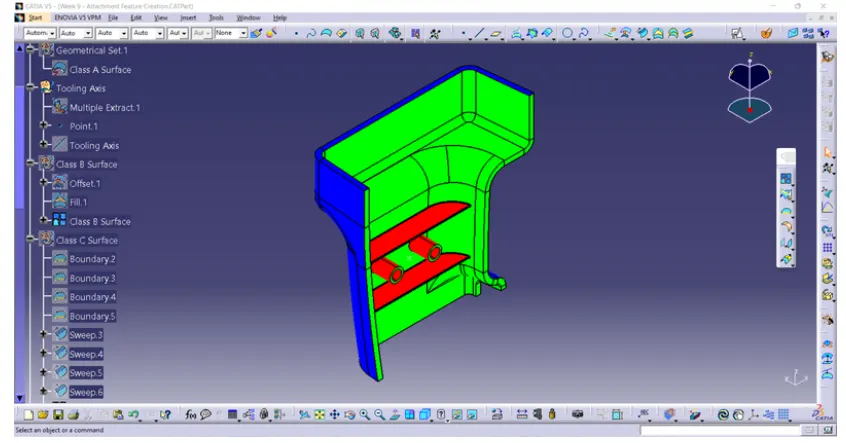
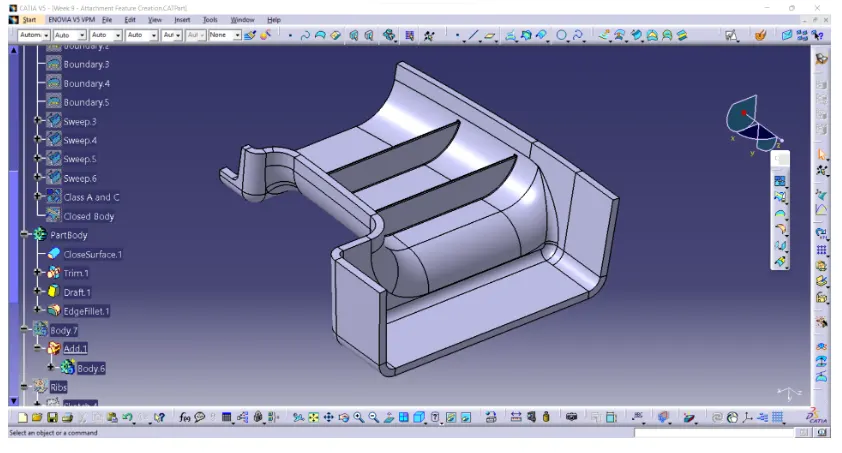
RIB FEATURE CREATION
RIB creation
DRAFT ANALYSIS
VIEWS