Week 10- Assembly Workbench
Assembly Workbench
Objective
To create the individual part files and assemblie those parts in the assembly workbench with the help of 2D diagrams of the components and to create the drafting for the parts and assembly.
1)Procedure to create the Quick Return Mechanism
- Create the QRM parts separately in the part workbench.
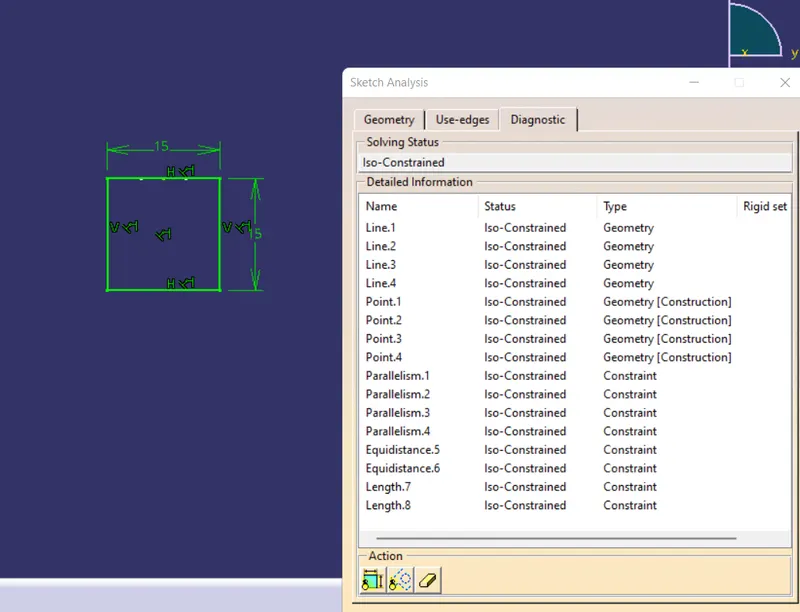
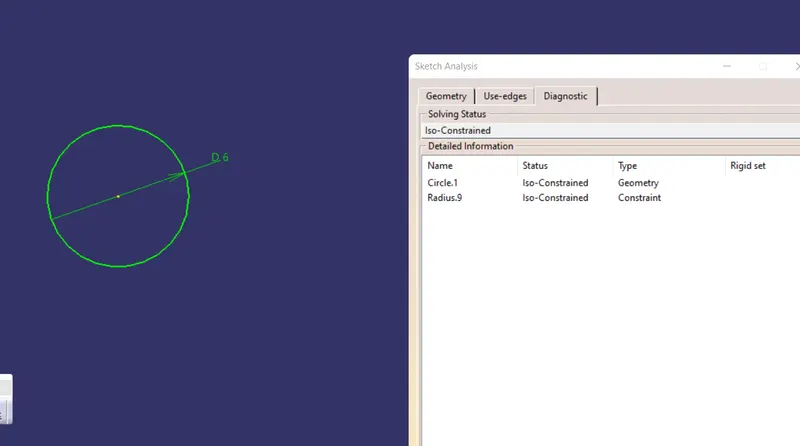
- Create the sketch with proper dimention as given in the 2D Drawings , check the sketch is iso constraint or not.
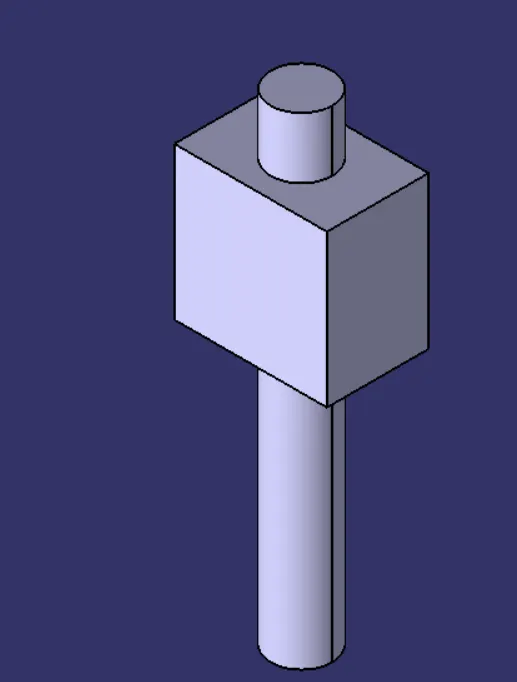
- Convert the sketches into solid by pad feature and Boolean operation.
Part 1
Part 2
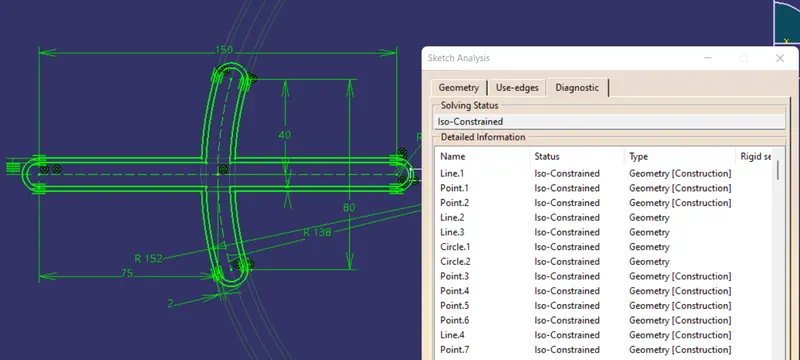
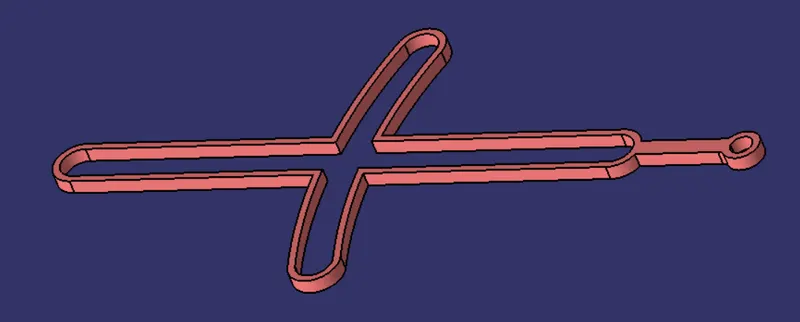
Part 3
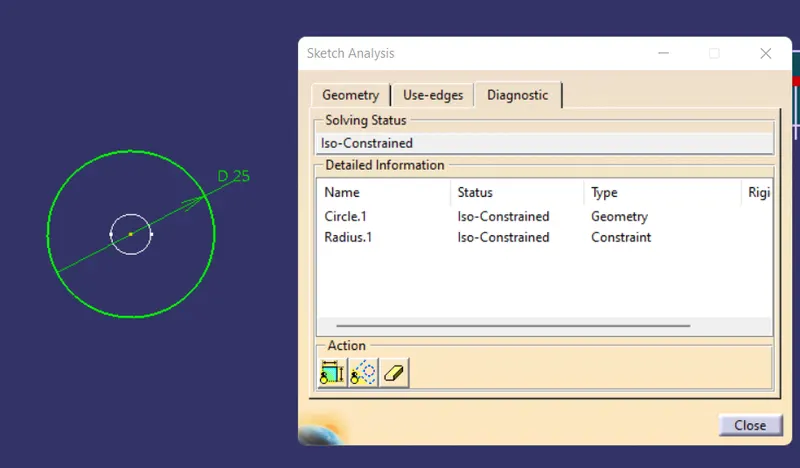
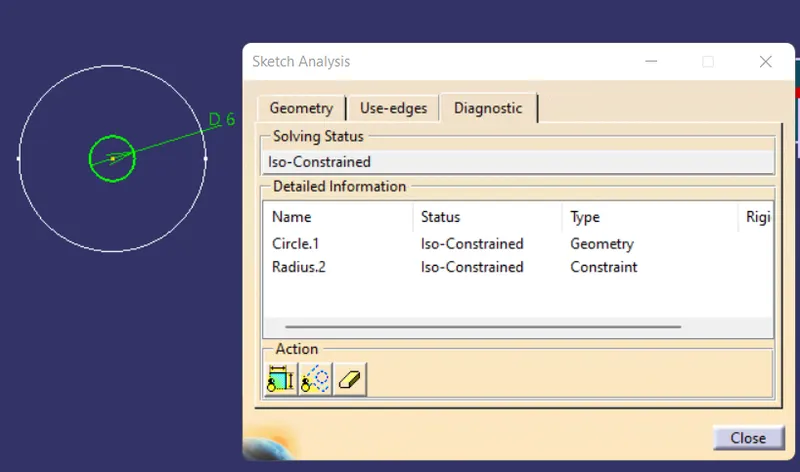
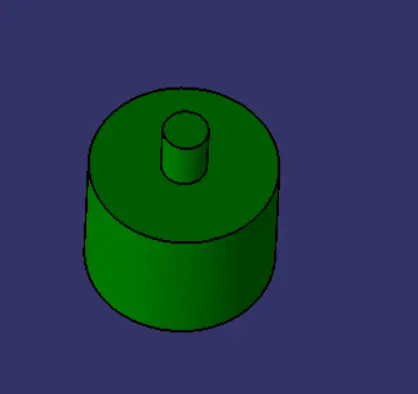
Part 4
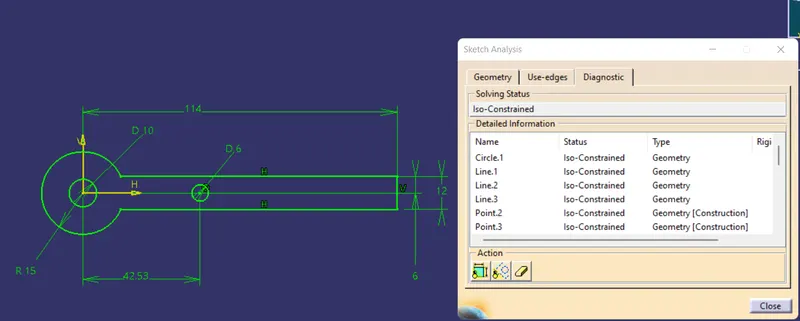
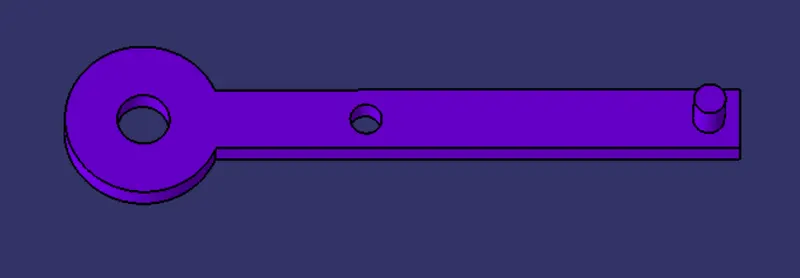
Part 5
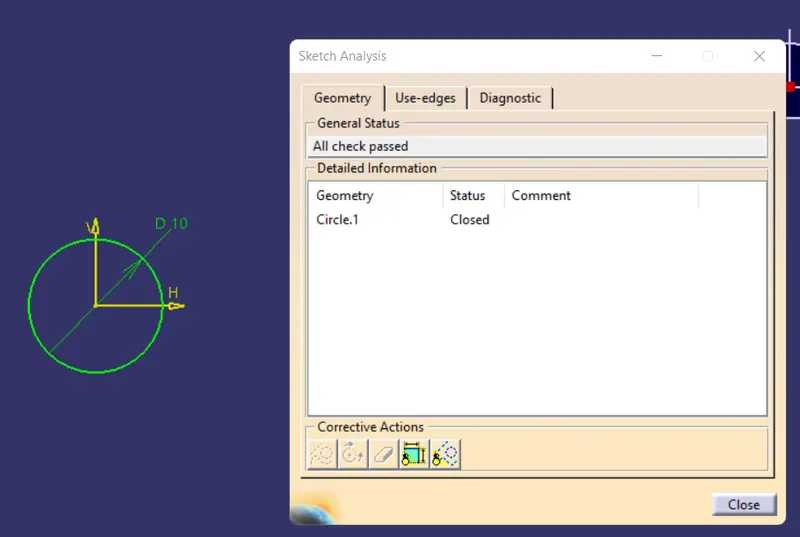
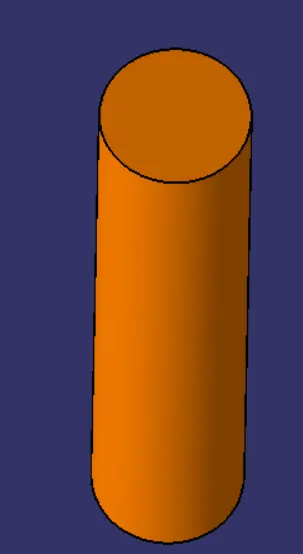
Assembly of QRM
- Create a new Product and insert all the parts in the assembly workbench using component command.
- Create Skeleton Reference as a point to fix the parts.
- Create a required reference axis, planes and points in all parts and publish them. Useing Constrain and offset command assemble the parts.
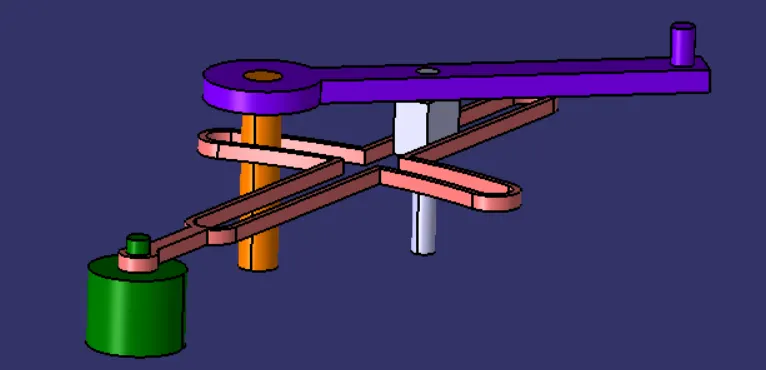
Drawings
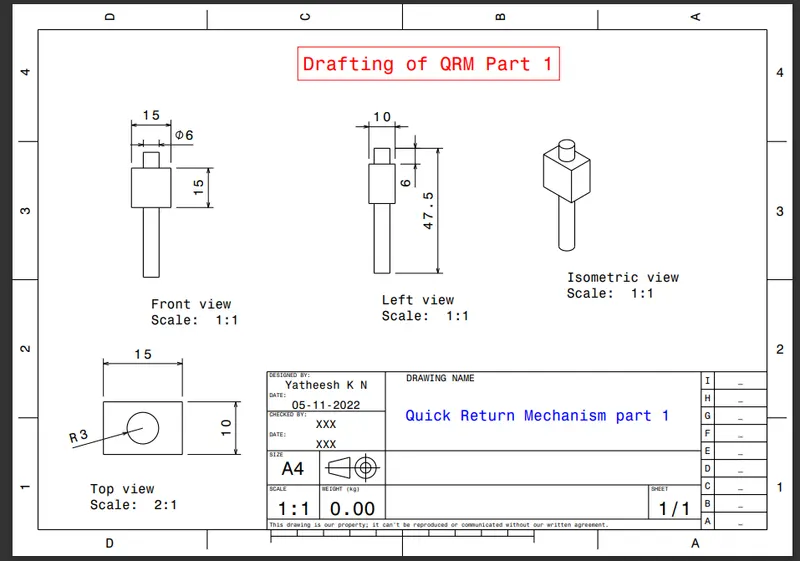
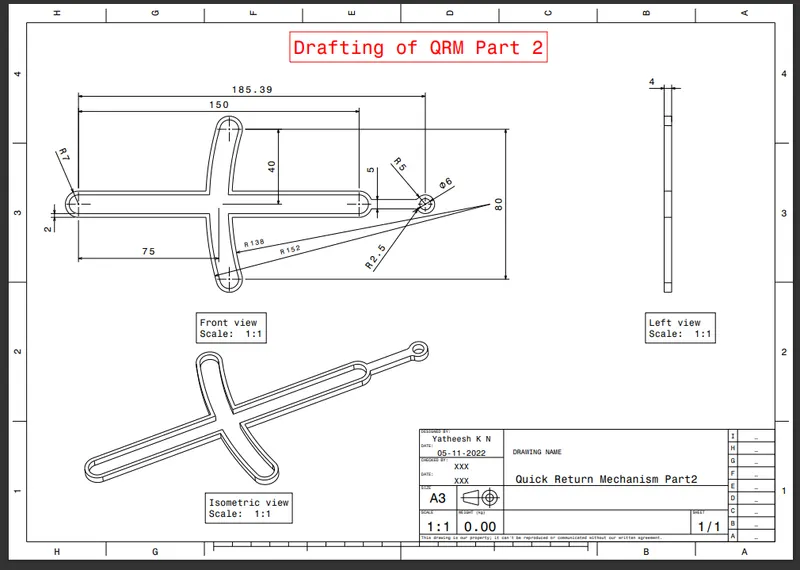
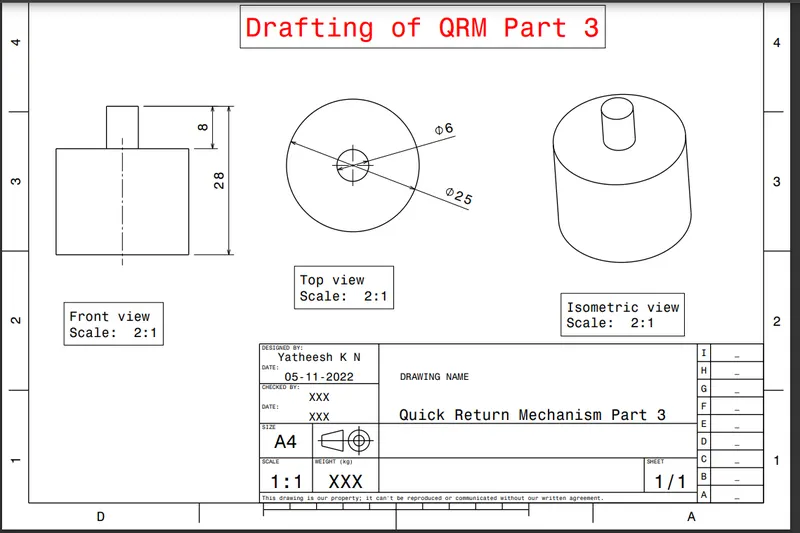
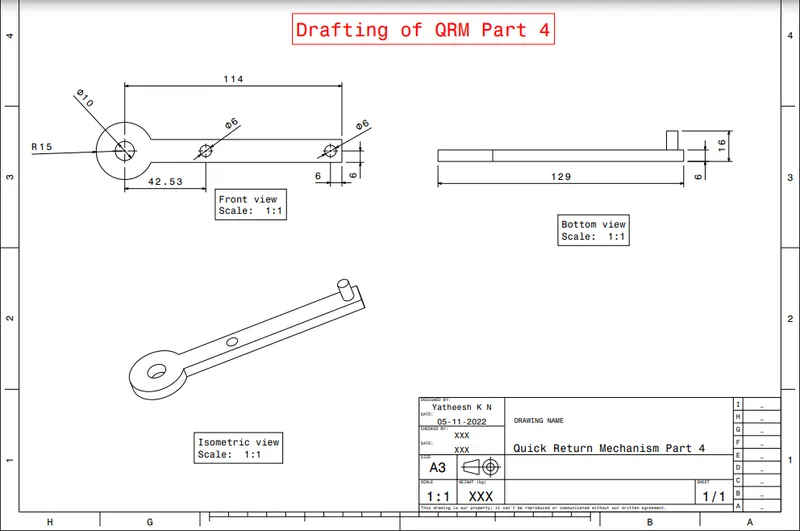
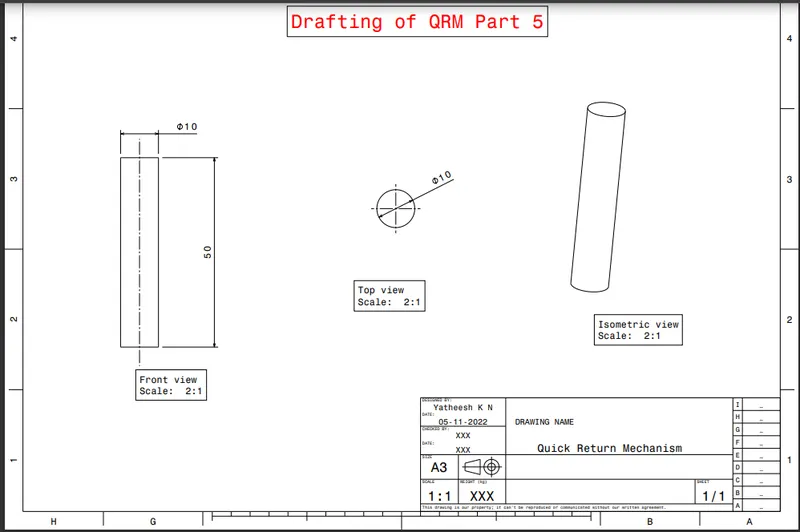
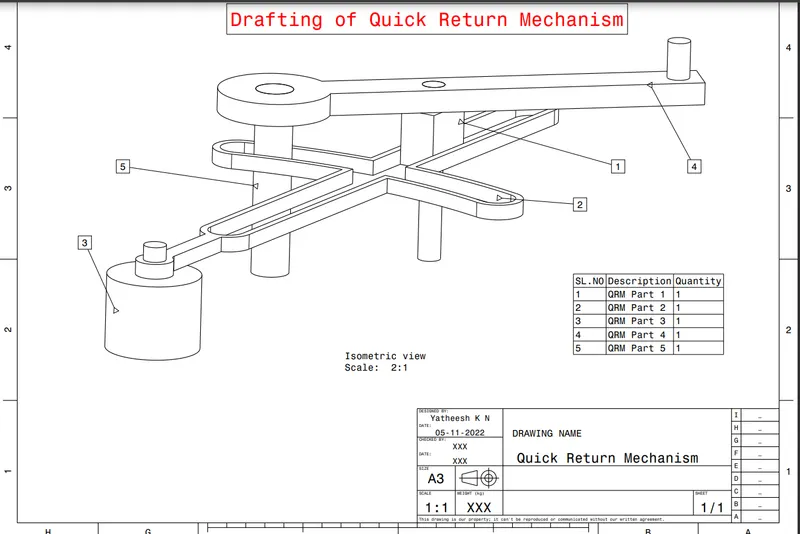
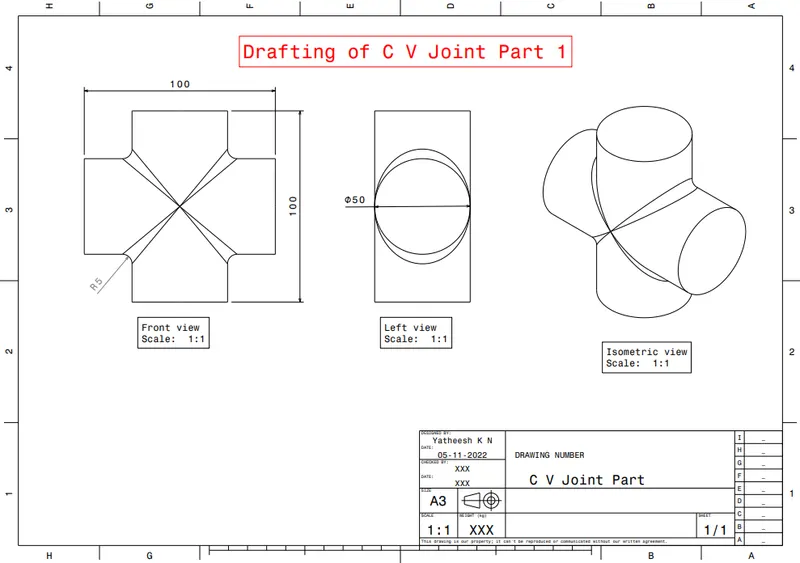
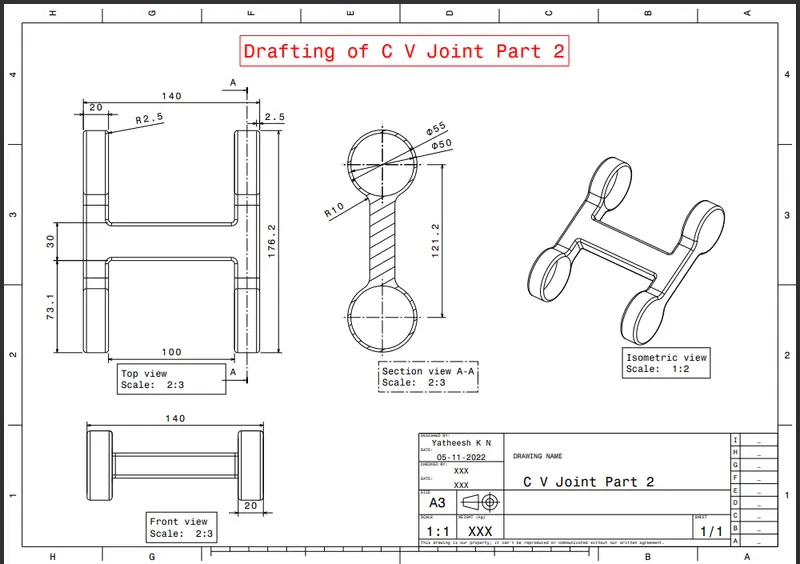
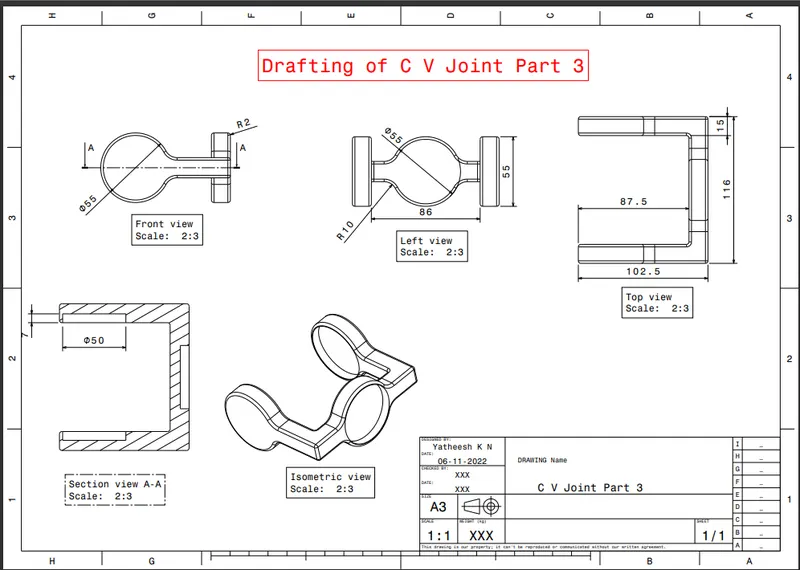
2)Procedure to create the C V Joint
- Create the C V Joint parts separately in the part workbench.
- Create the sketch with proper dimention as given in the 2D Drawings , check the sketch is iso constraint or not.
- Convert the sketches into solid by pad feature and Boolean operation.
Part 1
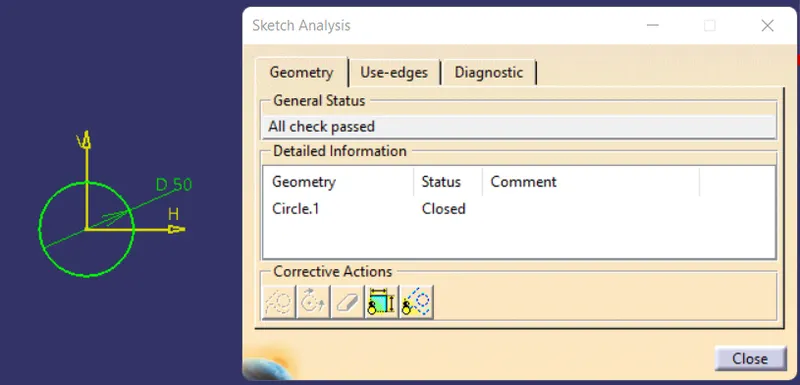
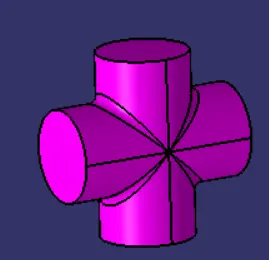
Part 2
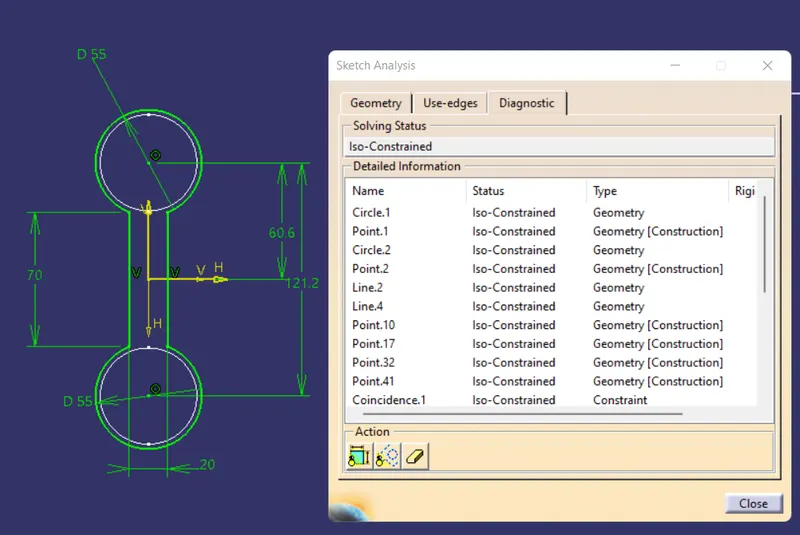
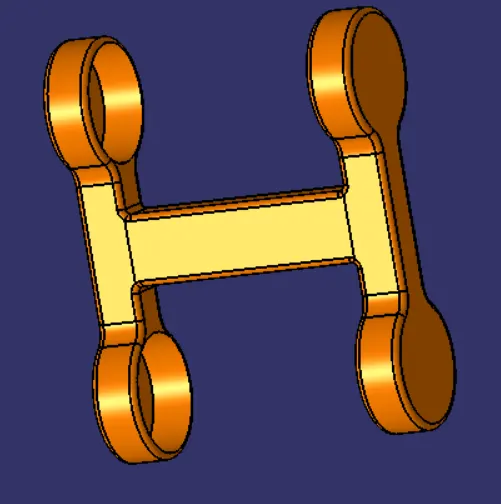
Part 3
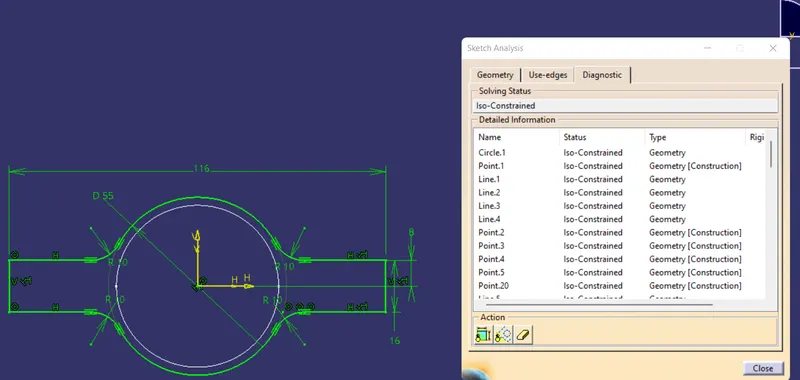
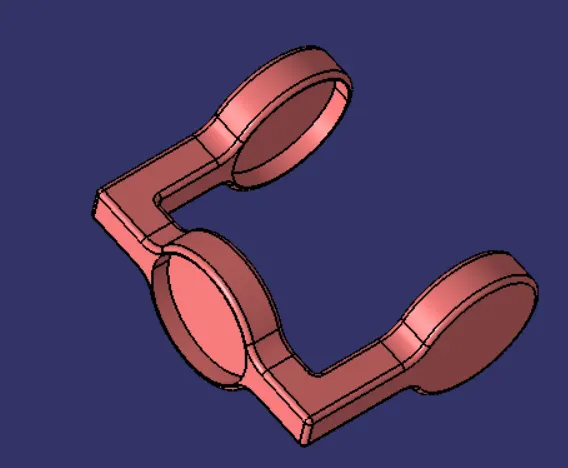
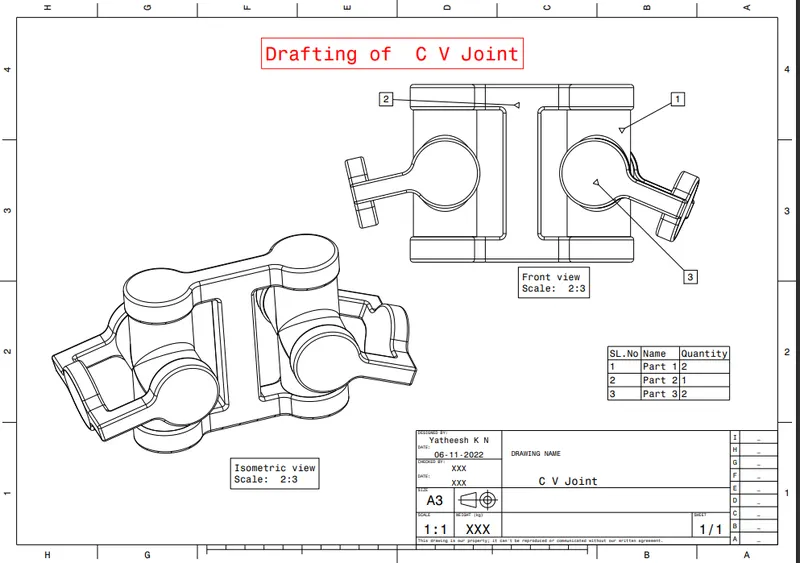
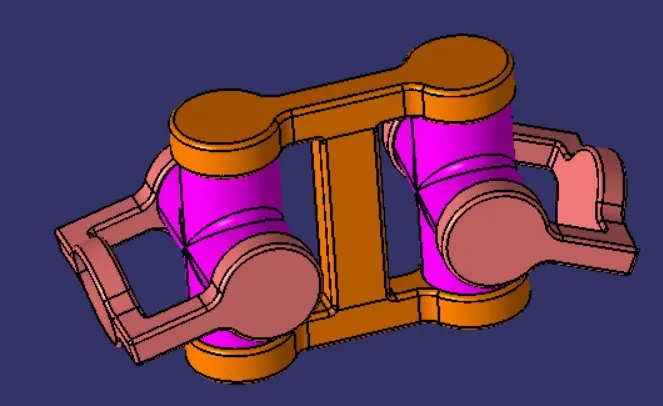
Assembly of C V Joint
- Create a new Product and insert all the parts in the assembly workbench using component command.
- Create Skeleton Reference as a point to fix the parts.
- Create a required reference axis, planes and points in all parts and publish them. Useing Constrain and offset command assemble the parts.
Drawings