Week 1 Challenge
1ans) Aim: To create a new project and name the project.
Procedure:
1.open autodesk revit.
2.left side there will be open and new options visible.
3.click on new and select template.click okay.
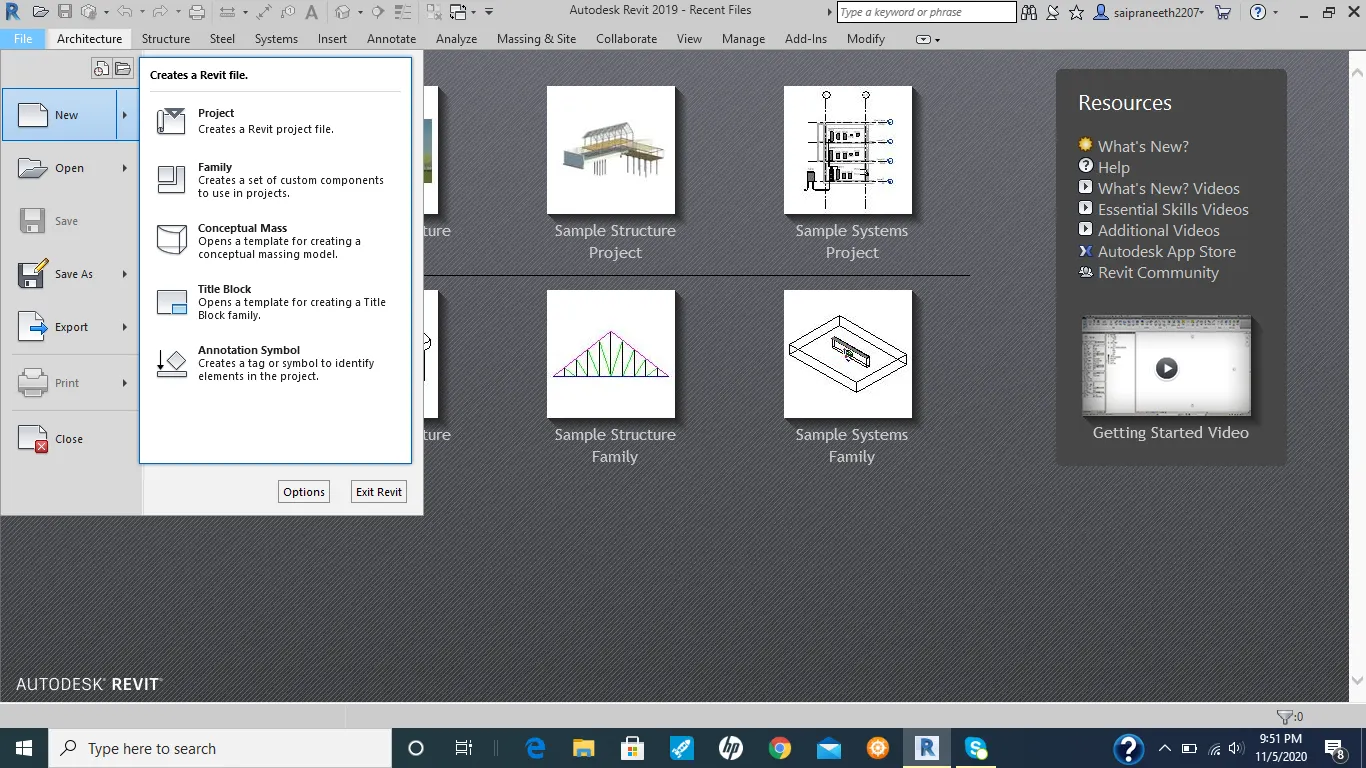
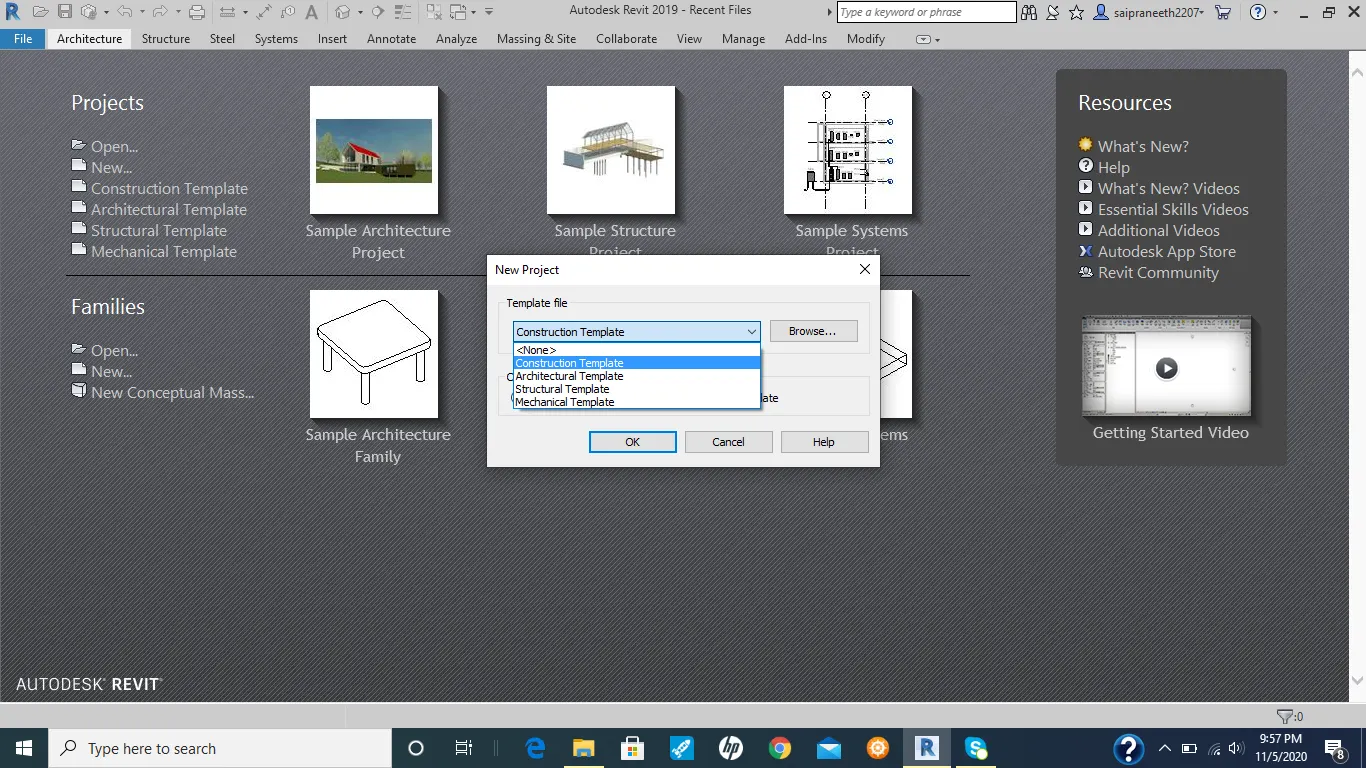
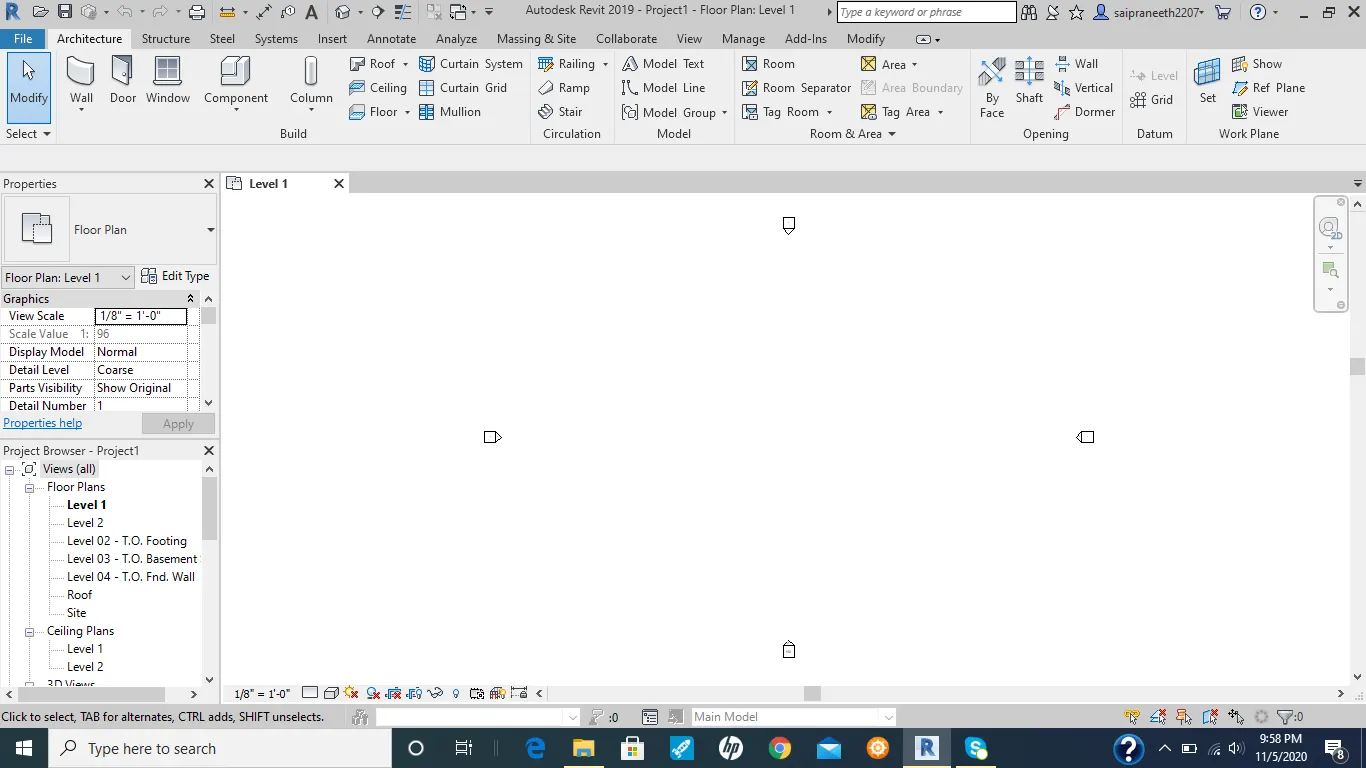
Result: new project is successfully created using revit.
2ans) Aim: To save a new project file.and also to close and open using icons from the file toolbar.
Procedure:
1.click on file.click on save and assign a name for the project.select the place for the file to be saved and save it.
2.now to open saved file,go to files option and click on open.
3. select needed file to open and click open.
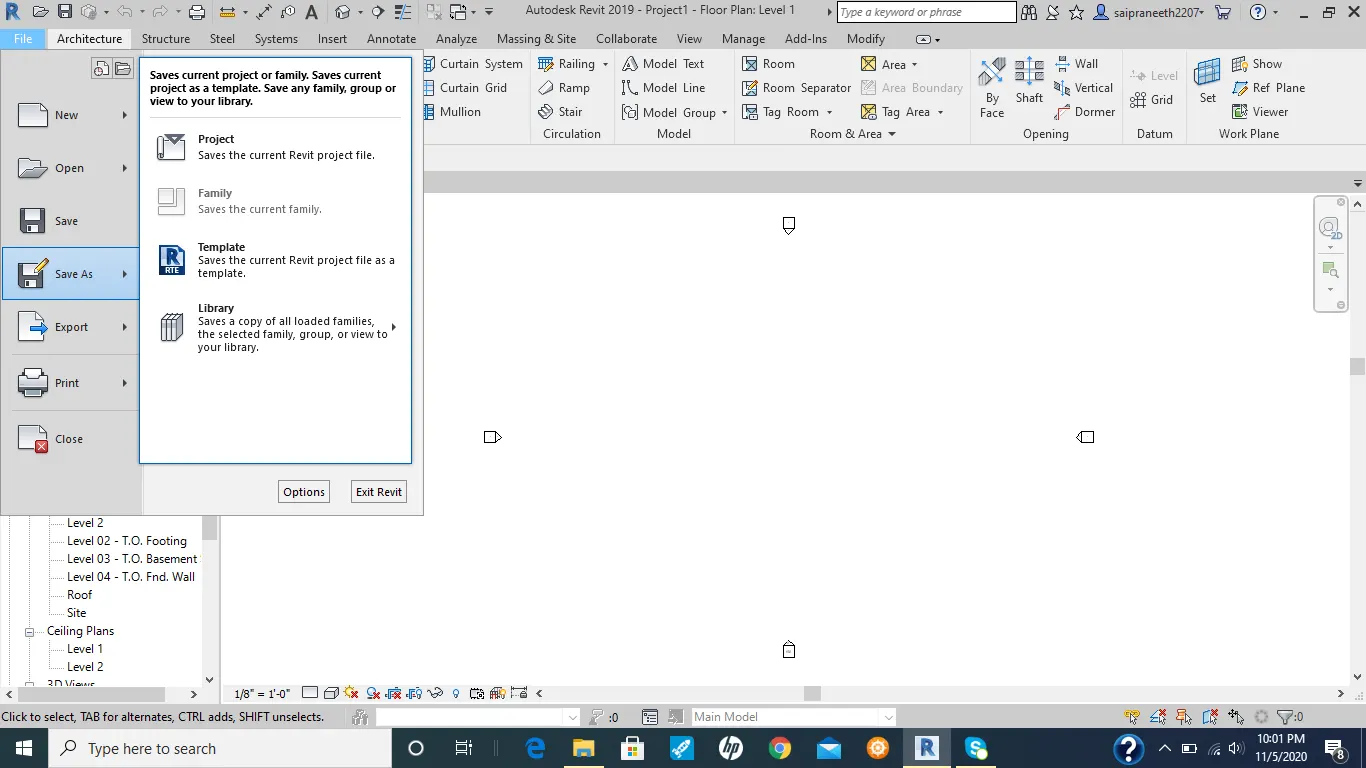
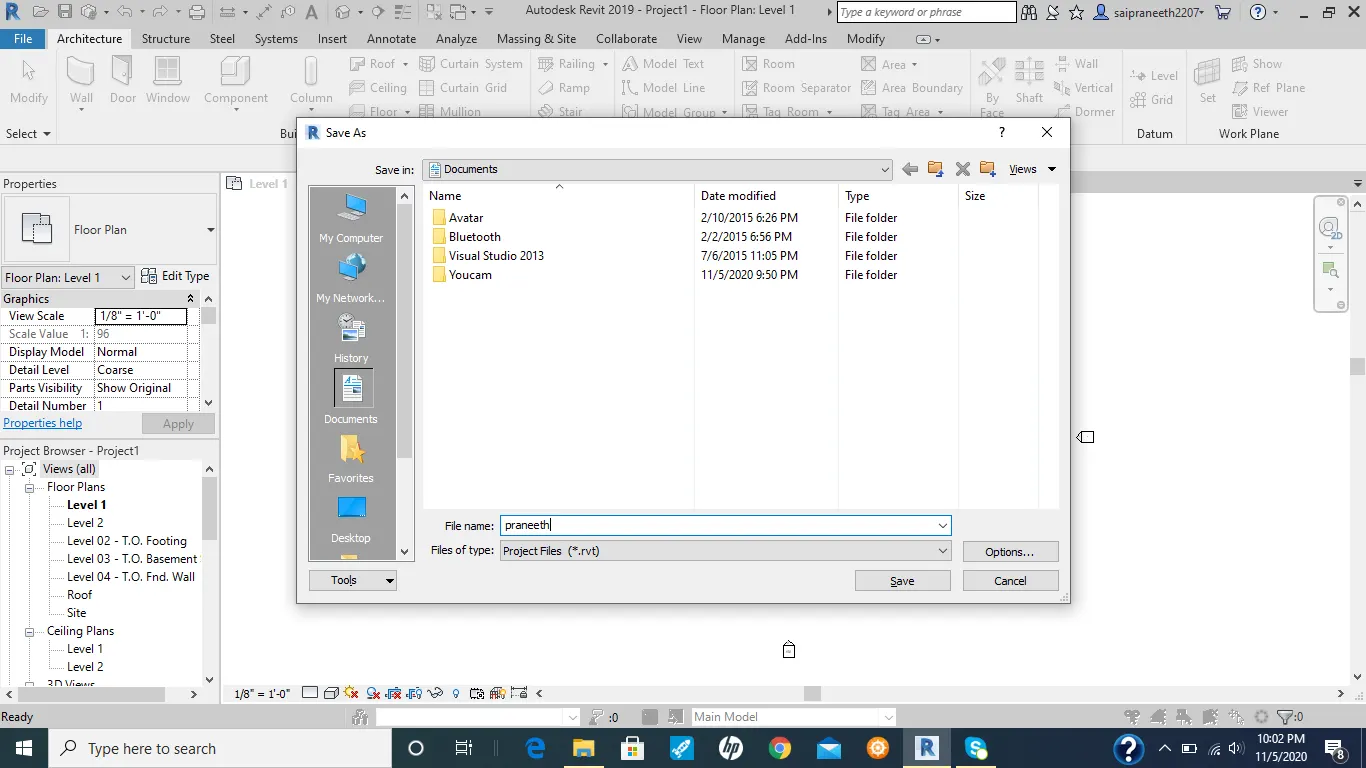
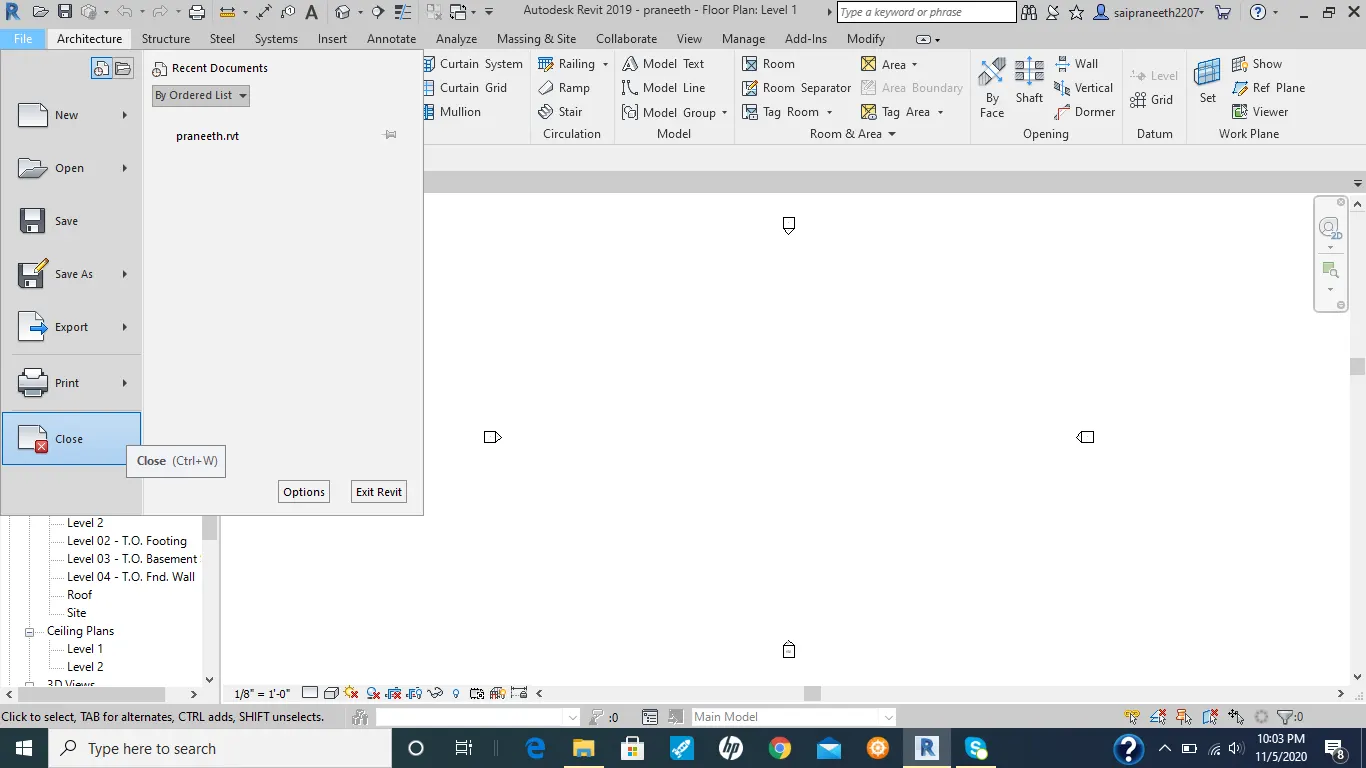
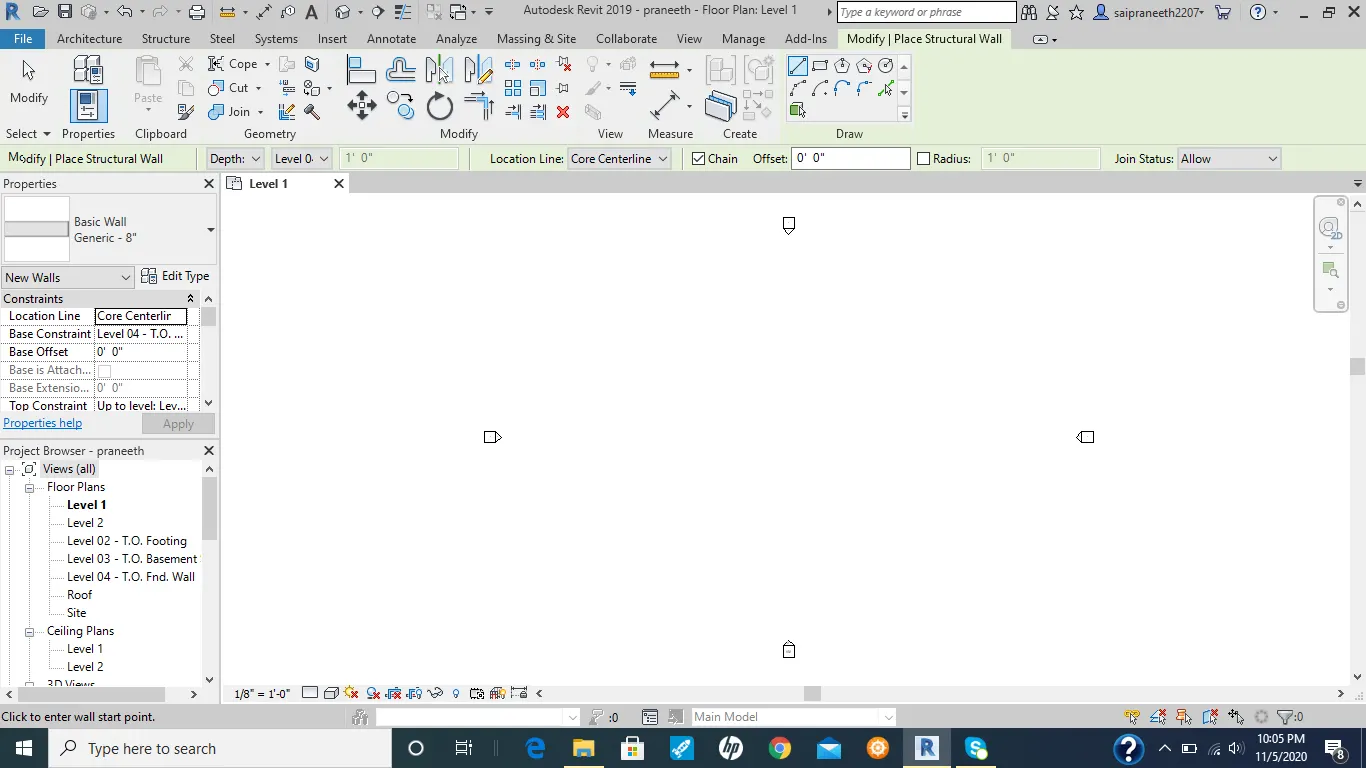
Result: task completed successfully.
3ans) Aim: To draw a wall and rectangular layout of walls of dimensions 40'-0"x35'-0".
tools used:wall,line,rectangle.
Procedure:
1.on toolbar,click on wall command.
2.draw a rectangle using line or rectangle command.
3.click and drag for desired dimensions.
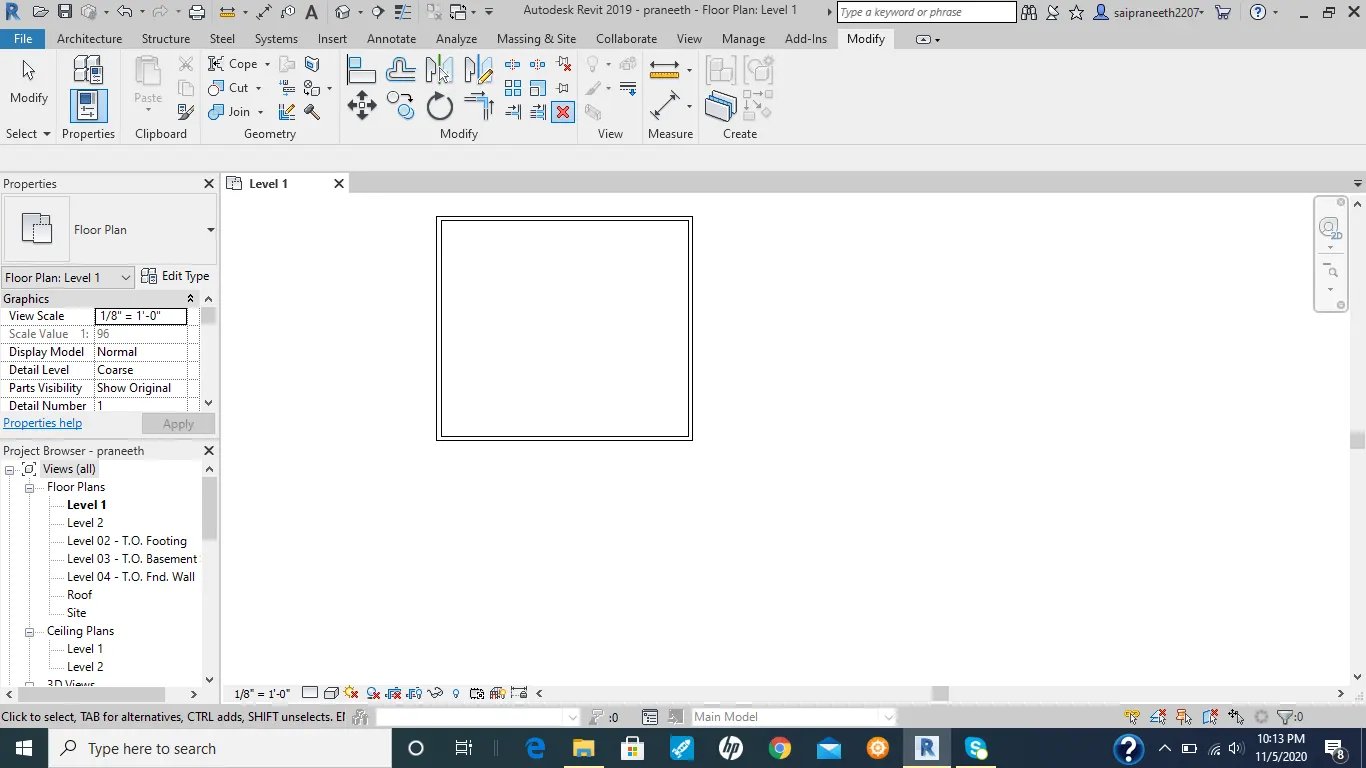
Result: rectangular layout of 40'-0"x35'-0" drawn successfully.
4ans) Aim:to use an annotate toolbar and align the option to add dimensions to the layout.
tools used:
1.aligned dimension
Procedure:
1.click on annotate toolbar.
2.select aligned dimension option.
3.click on point to be aligned.
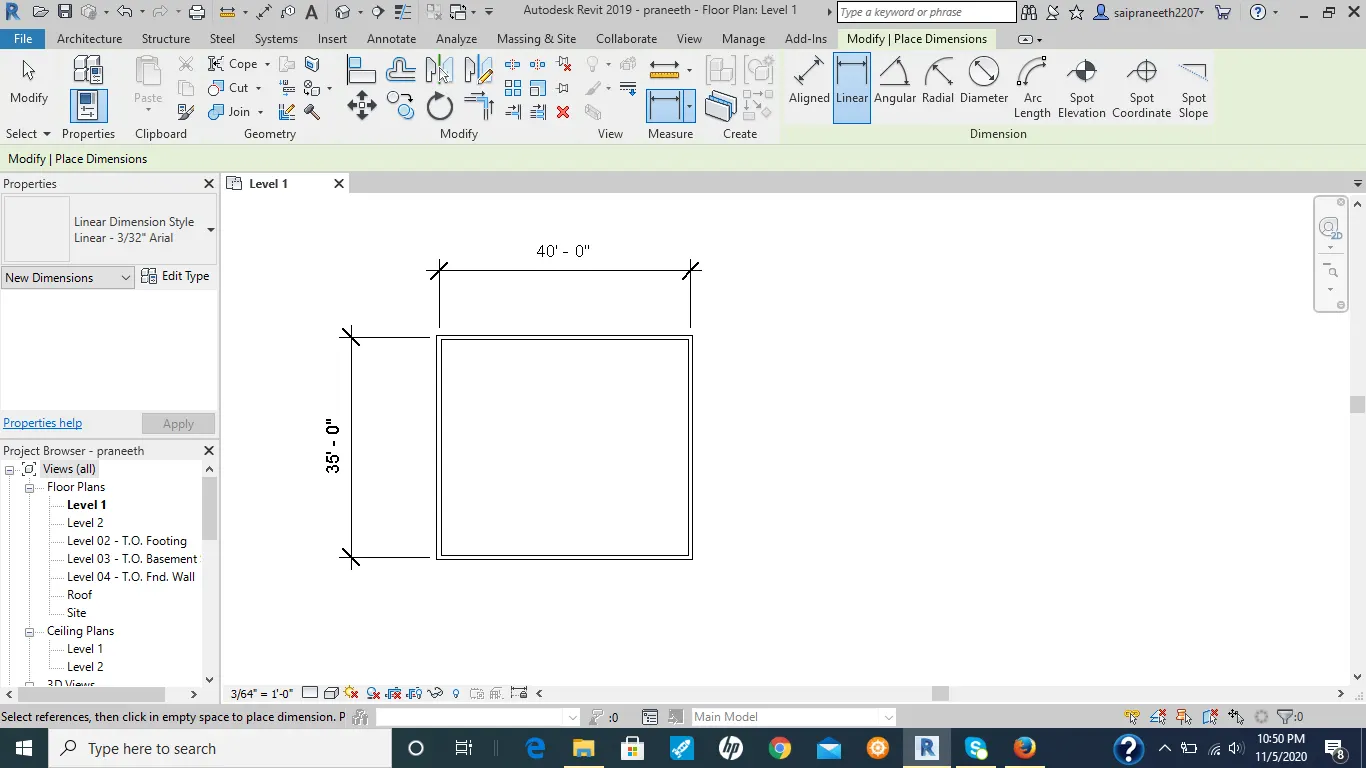
Result:aligned option was used to add dimensions to layout.
5ans) Aim: to use the properties browser to switch to different wall types.
tools required:
walls,properties browser.
procedure:
1.select the walls which ae needed to be changed.
2.from properties browser click on walls then options for walls will open up.
3.from there we can select different types of walls offered by revit.
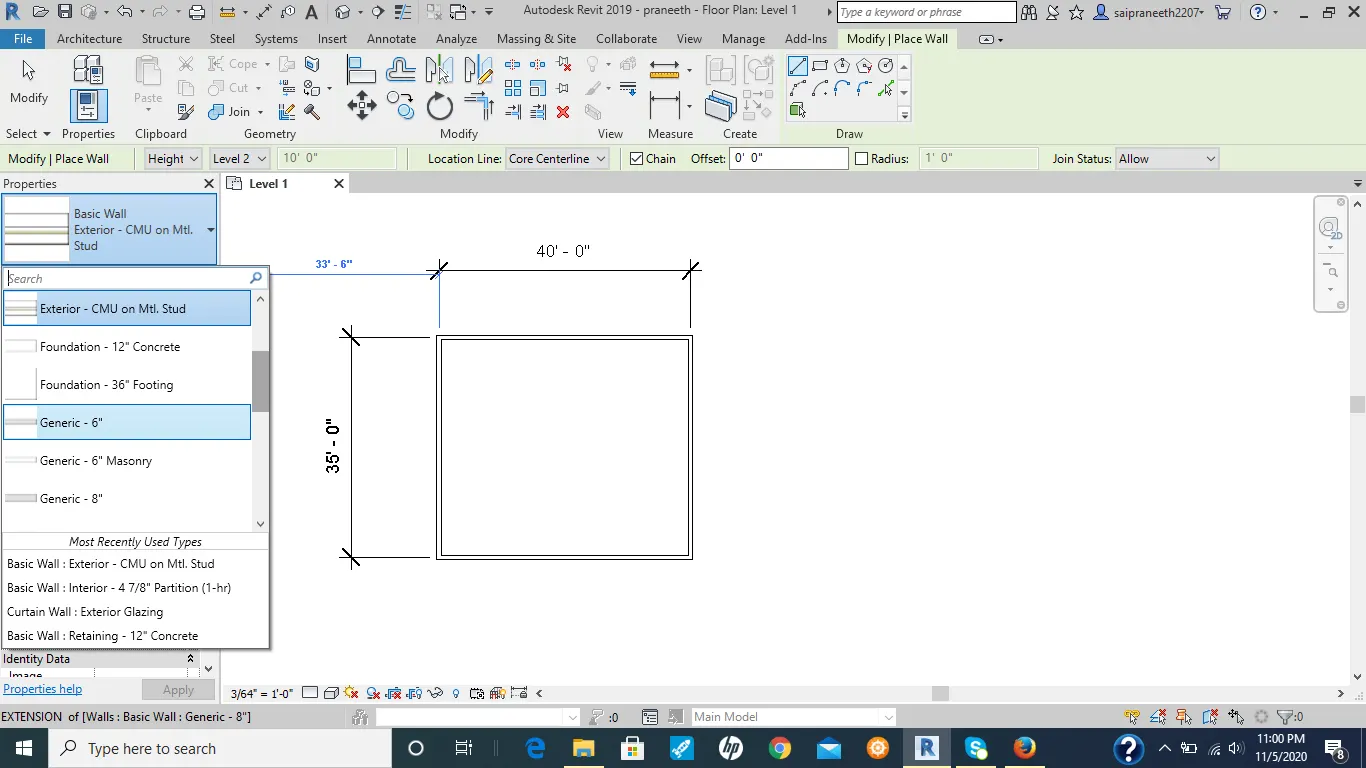
result: successfully properties browser used to switch to diferent types of walls.
6ans)Aim :to create a 3d view from the view toolbar and save the the view with a name.
tools used:3d view
procedure:
1.select the 3d option from view option.
2.right click and click save the view.
3.now name it ans save it.
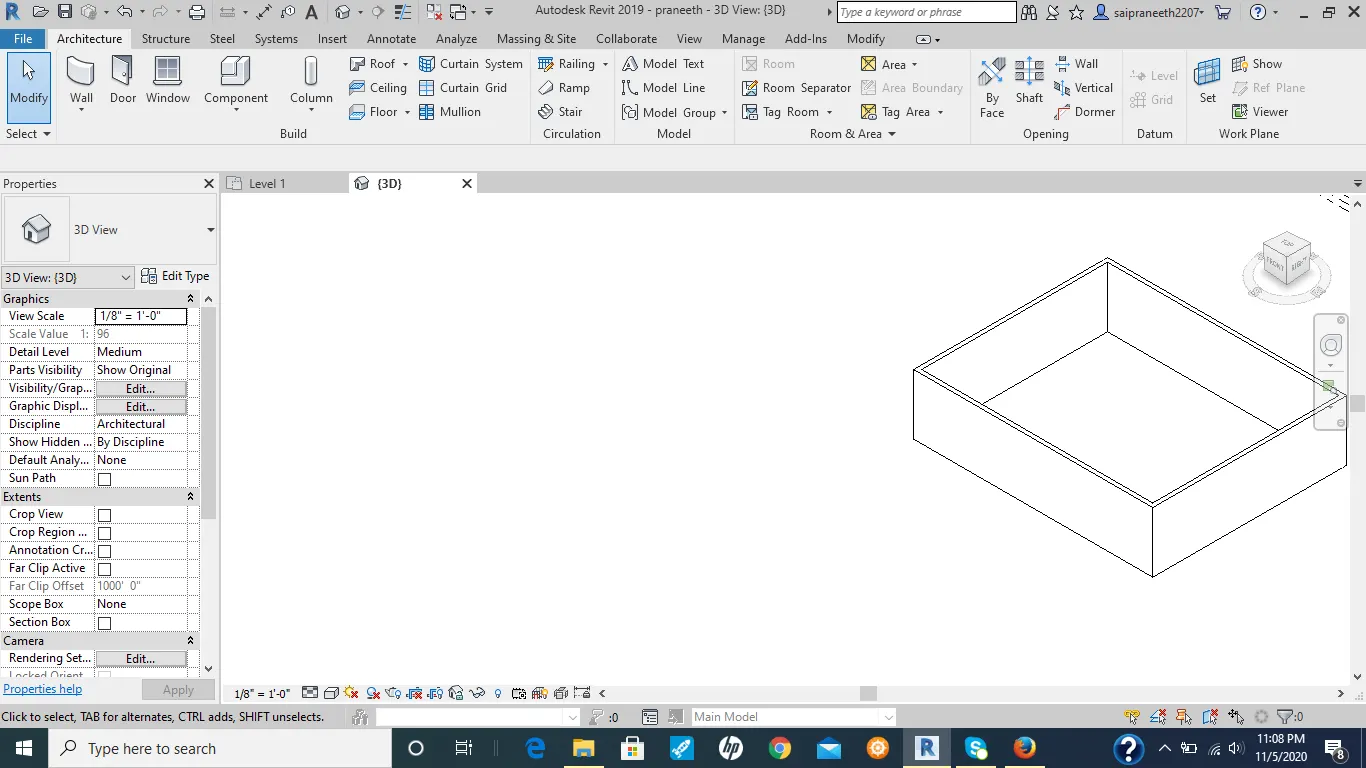
result : created a 3d view from the view toolbar and saved the view with appropriate name
7ans) Aim:to navigate the 3d model using view cube.that is to orbit/pan through the model layout created.
tools used:visual style tool.
procedure:
1. click on view cube and navigate through the view as desired by moving the view cube.
2.to pan the layout hold the scrool wheel on mouse and move.
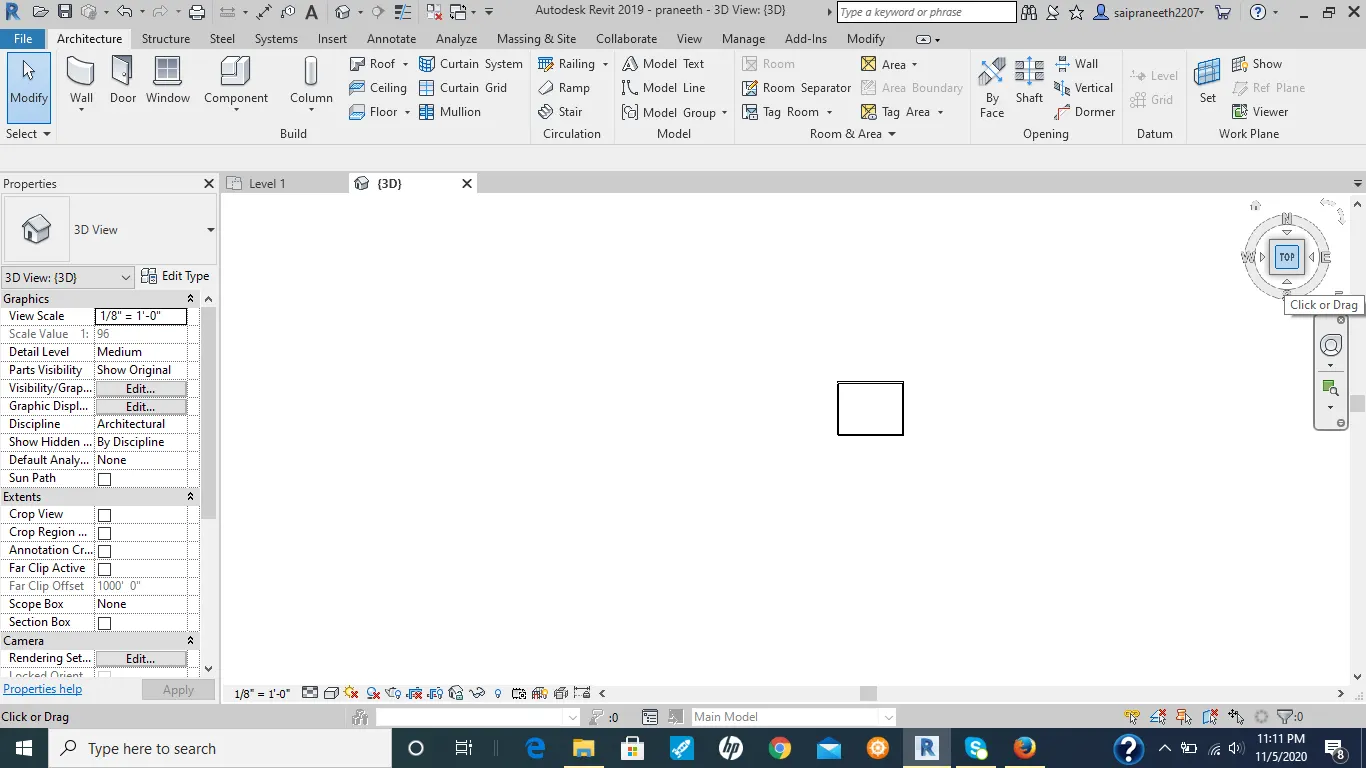
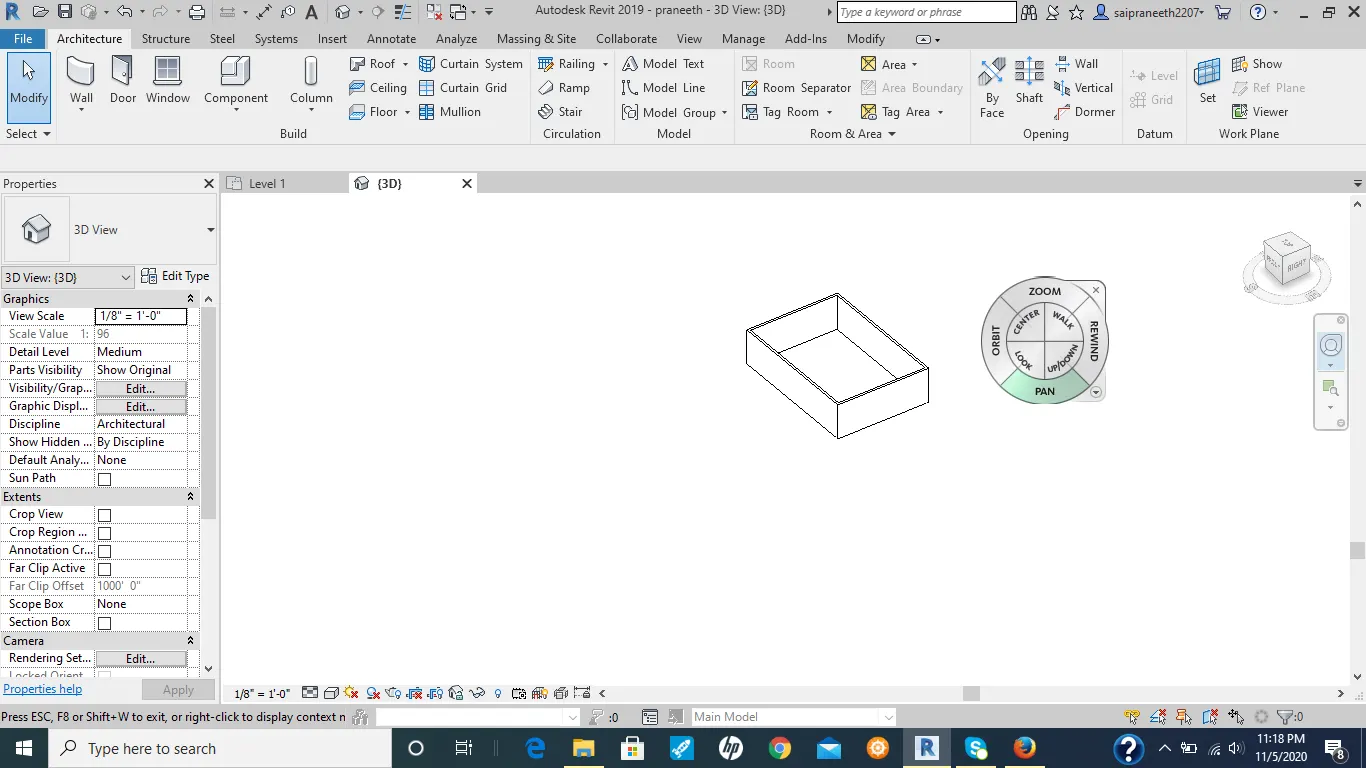
Result: navigating is done successfully.
8ans)
Aim: Using the visibility settings option below to switch model to shaded, realistic, hidden lines options
Tools Used: visual style tool.
Procedure:
1. on the bottom left click on visual style icon and option popup
2.here we can switch model to shaded, realistic, hidden lines options.
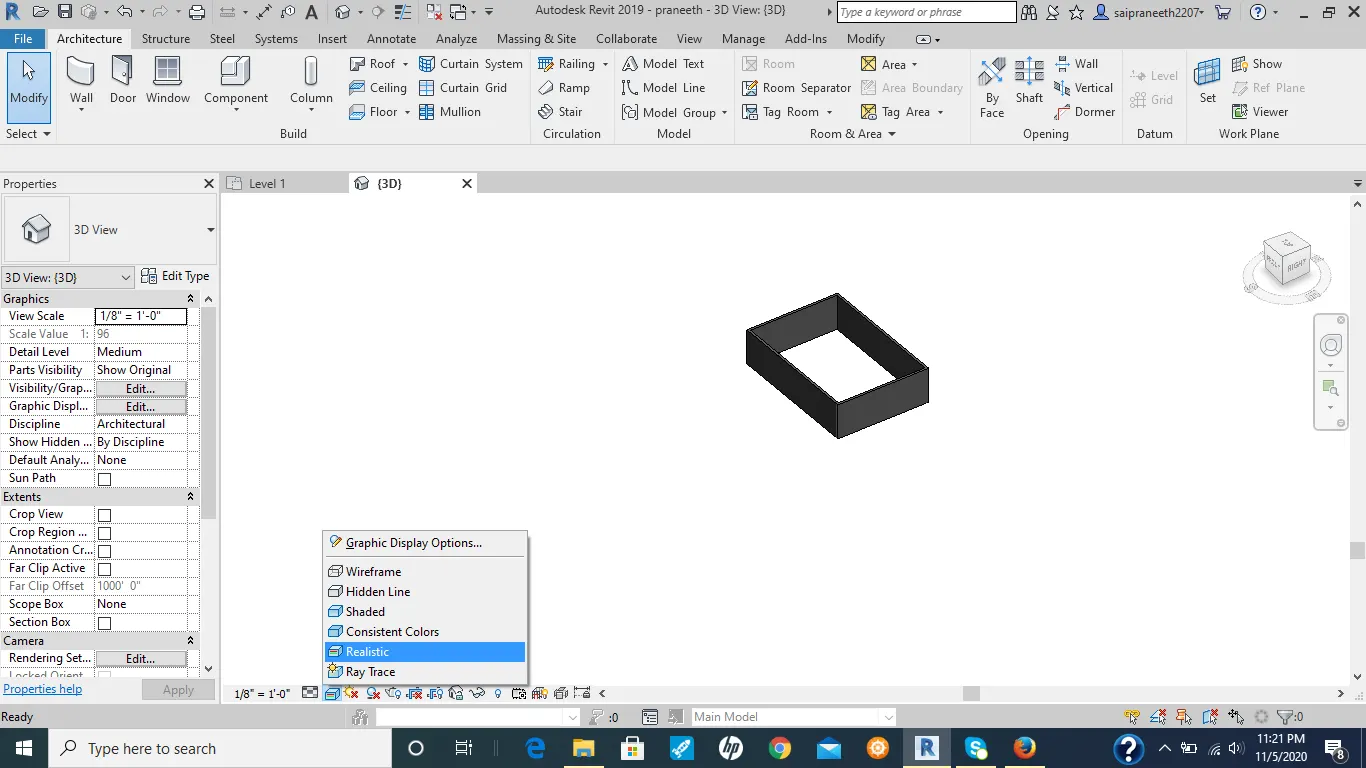
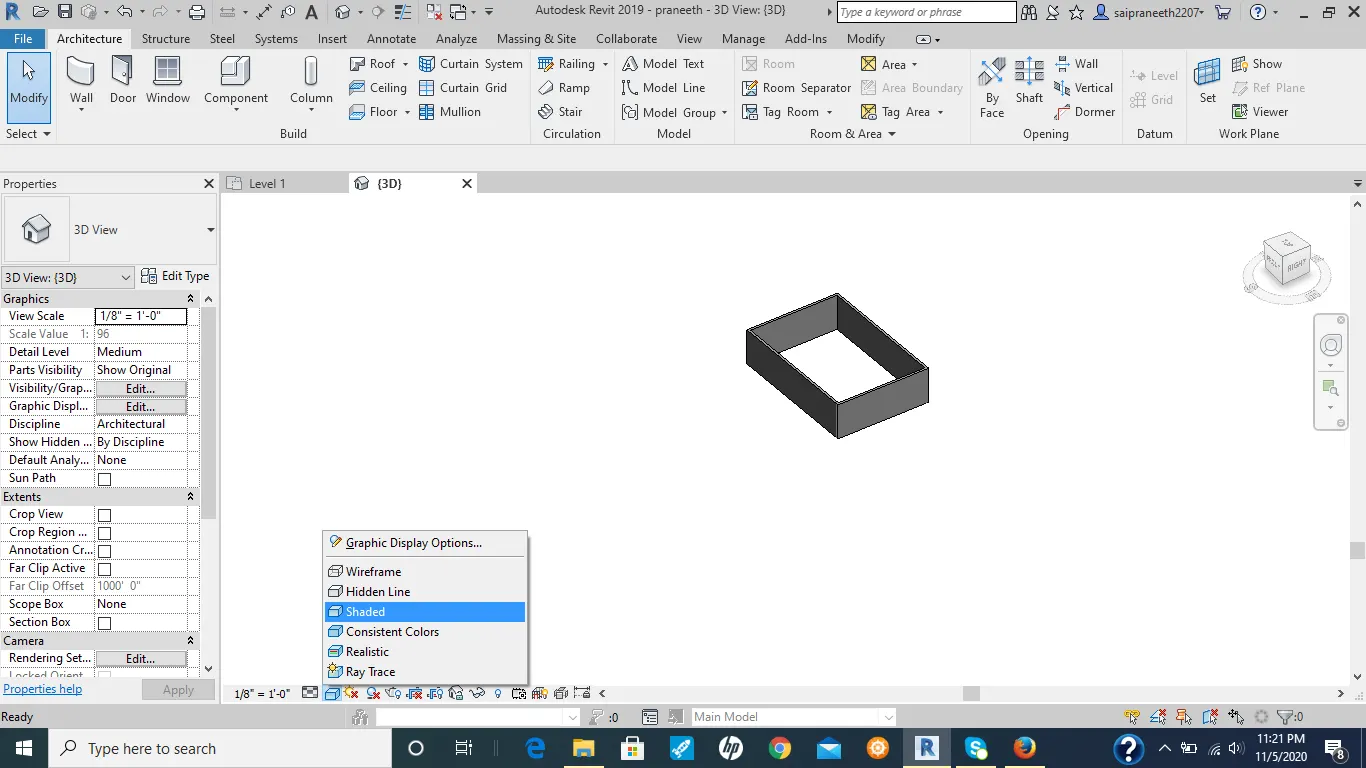
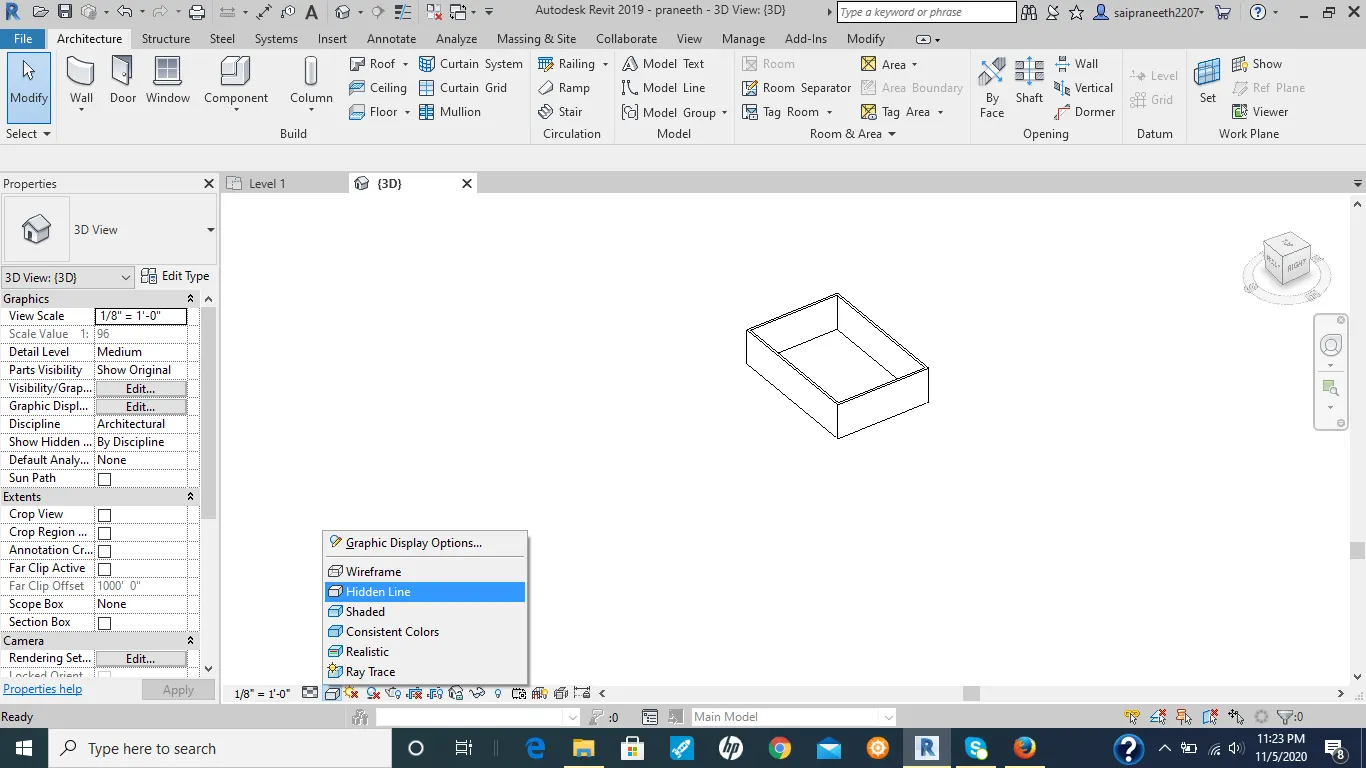
Result : switched model to realistic,shaded,hidden lines successfully.
9ans)
Aim:To turn the sunlight on and off to view shadings in the layout created.
Tools Used:sun setting tool
Procedure:
1. click on sun setting tool given on left bottom
2. we can set the sun path on an off
3. This is how sun path on and off looks
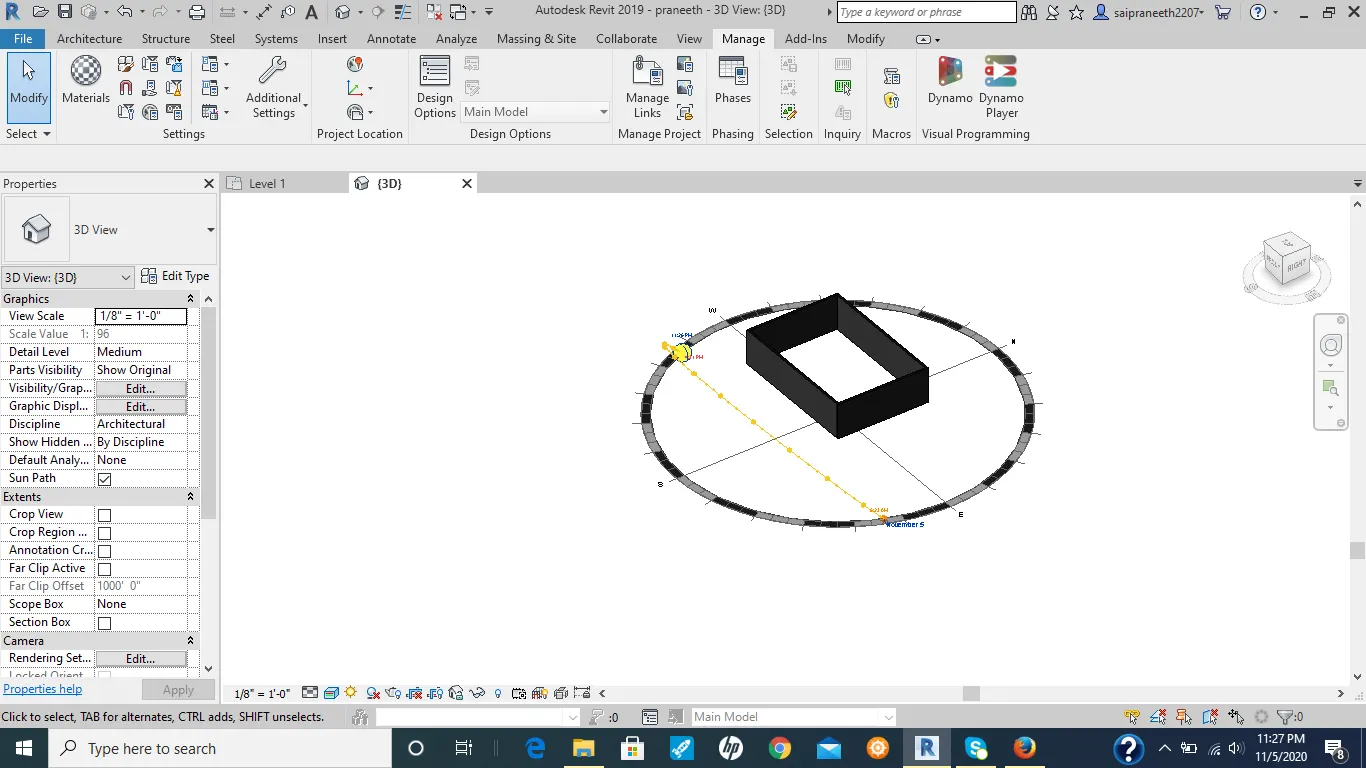
Result:sun path is set successfully.
10ans)
Aim: To use the Manage tool bar to enter project settings, project name and project issue date (
Tools Used:
7. manage tool bar
8. project information tool
Procedure:
1.click on manage tool an open manage tool bar
2.now click on project information tool under settings in manage tool bar
3.in dialog box opened we can name the project, issue date, and can change poject settings
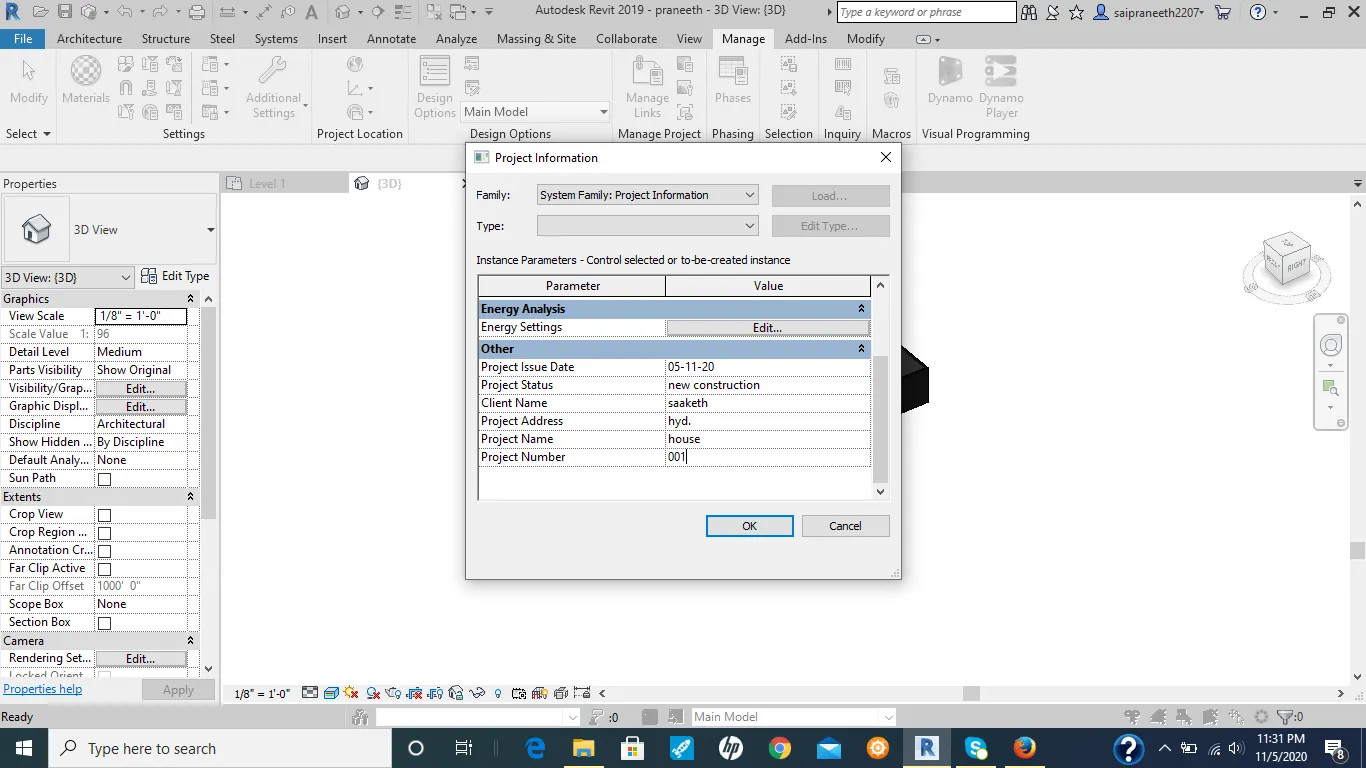
Result: project settings is saved and used successfully.
11ans) It helps to perforn analysis on structural building as it helps to add different loads to know the pergomance.it also helps to perform energy optimisation and energy analysis of the building.it creates an energy model and helps to generate an energy analaytic model.
12ans) link CAD,link IFC,link REVIT,link IMAGE,coordination model,link TOPOGRAPHY,POINT CLOUD,DWF markup,manage links,link PDF.
13ans) we use collaborate tab here in revit because to link up multiple rivet models together. it provides maximum accuracy so that there will be increase in effeciency. also we can change the communicate requirements.