Usage of Navigation tool , Timeliner and Clash Detection test using Naviswork
1. Aim: To export the Revit architecture and structure model to the Navisworks cache file
PROCEDURE:
Step 1: Install the navisworks manage software and also install navisworks exporters from the Autodesk website
Step 2: Open the architectural model created using Revit software
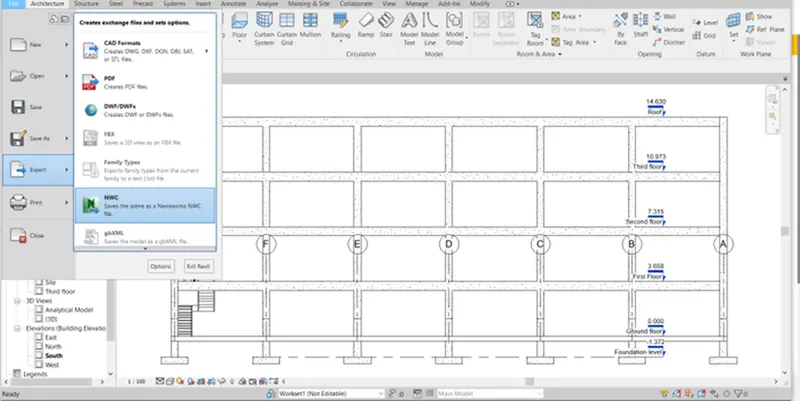
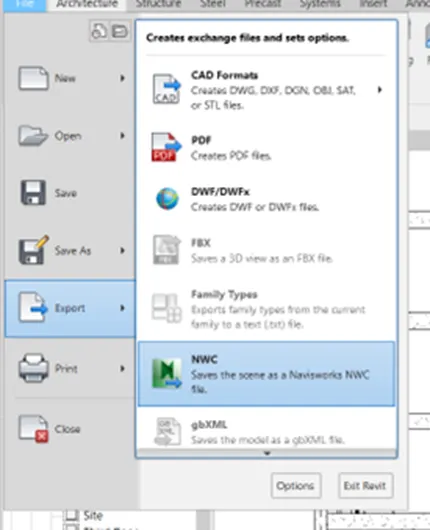
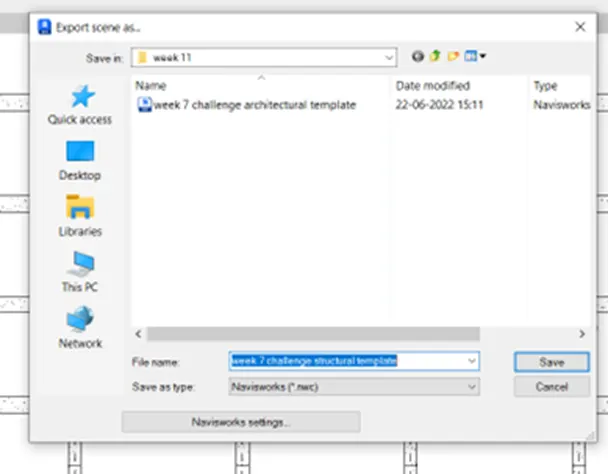
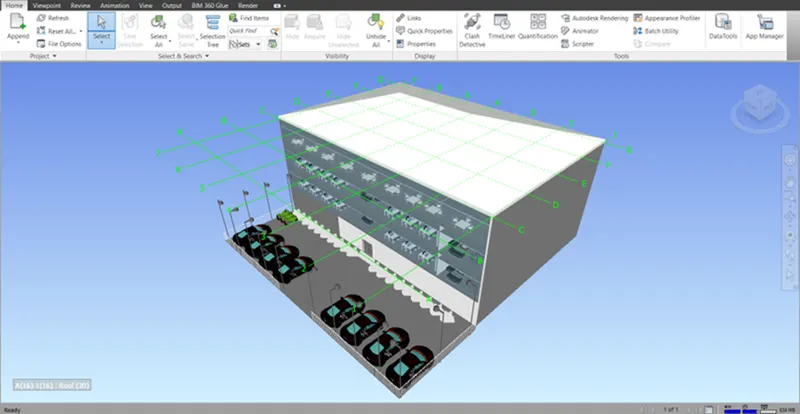
Go to the file menu and select the export option in that select NWC file and save the file
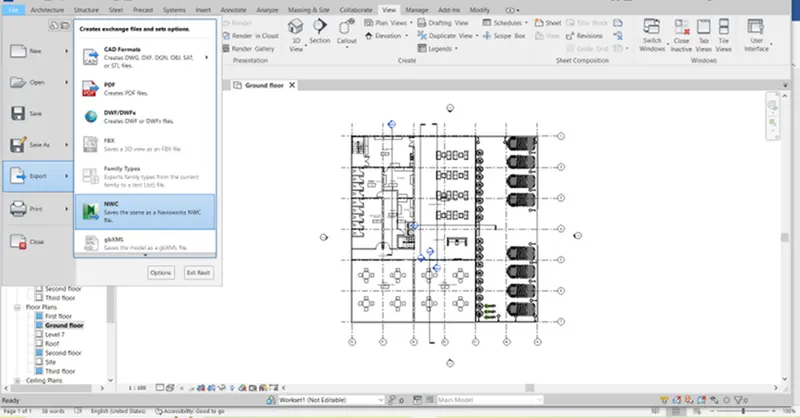
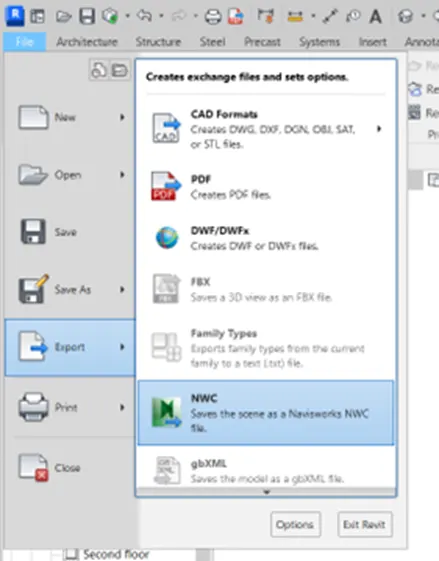
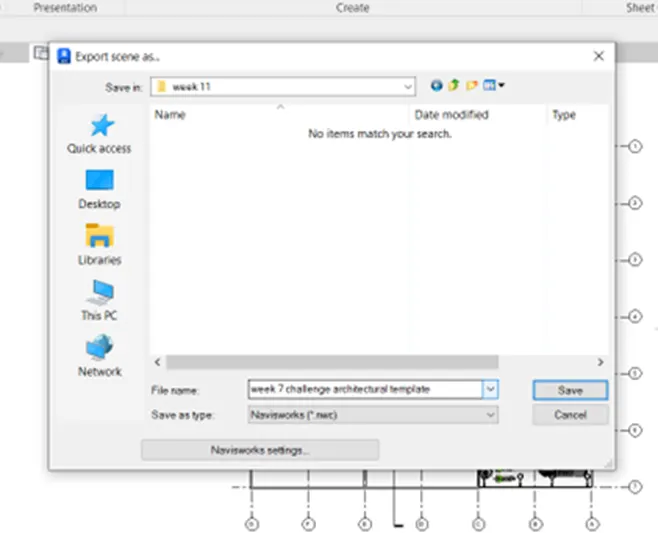
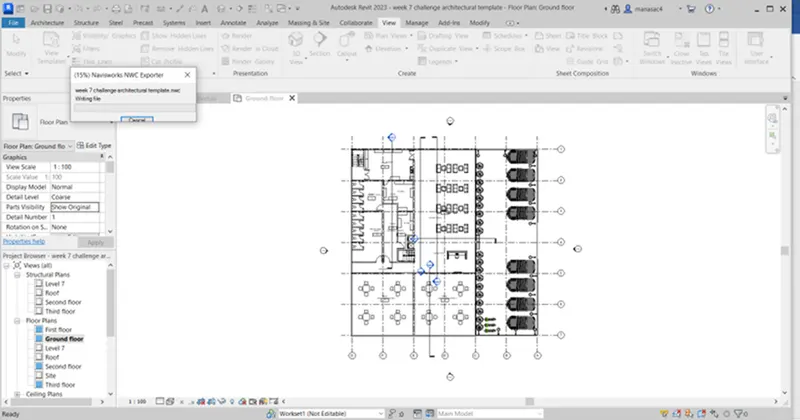
The architectural model is exported to nawiswork
Step 3: Open the structural model created using Revit software
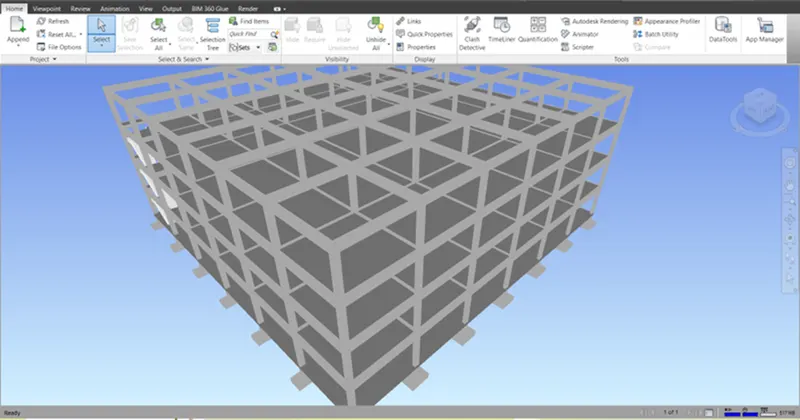
Go to the file menu and select the export option in that select NWC file and save the file
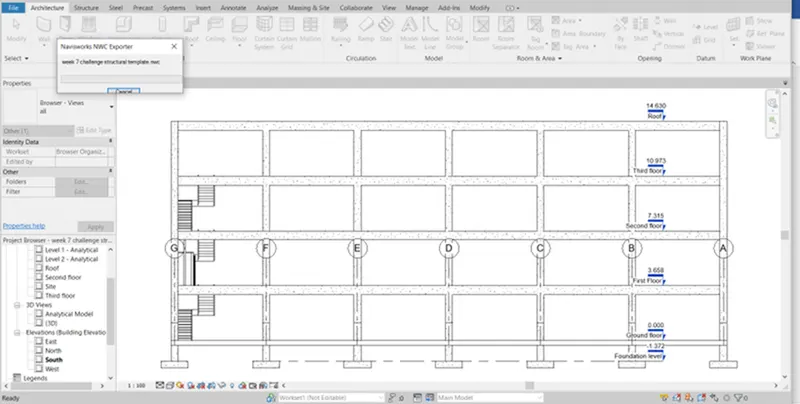
RESULT: Architectural model file and structural model file created using Revit software is exported to Naviswork
Architectural file
Structural file
2. AIM: To navigate tool to walk around the model and walk through the rooms created and record the movement as animation in the Naviswork file
PROCEDURE:
Step 1: Open the Architectural file which we have exported
Step 2: Go to the viewport tab in that select the walk option
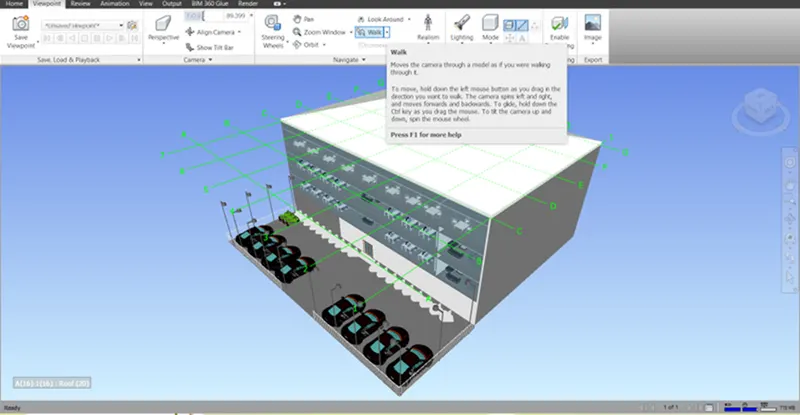
A. Reception area walk-through is created
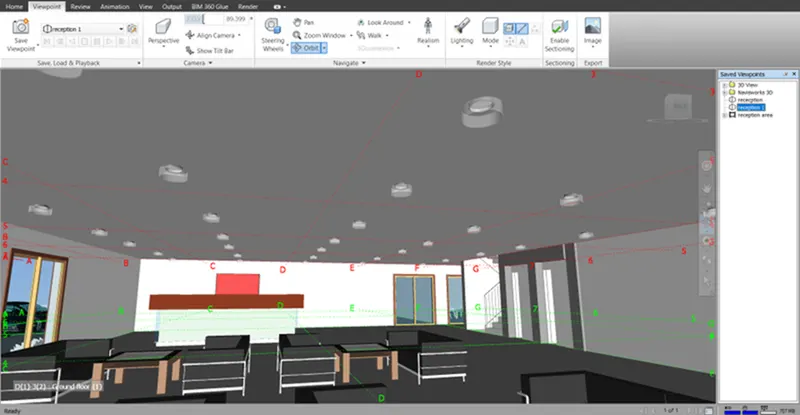
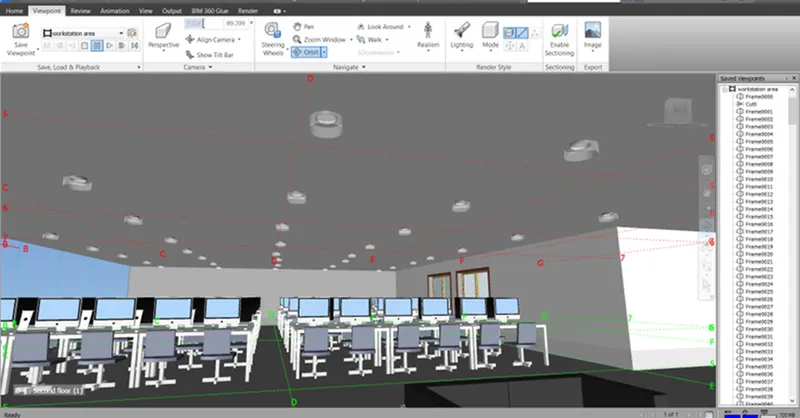
B. Workstation area
C. Exterior area
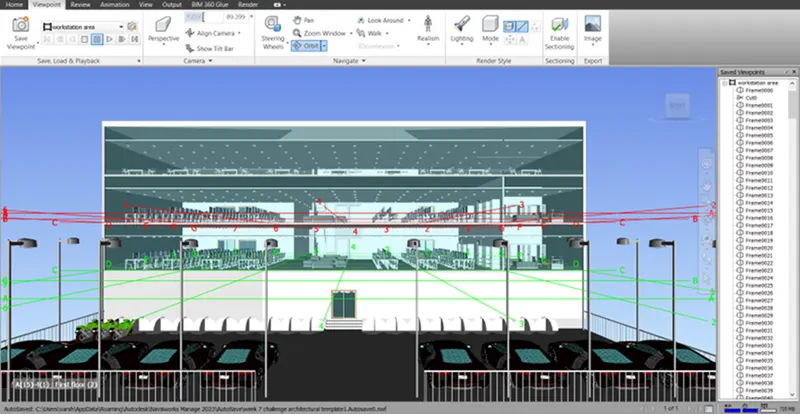
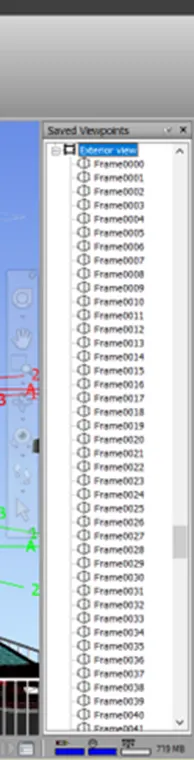
RESULT: With the help of the navigate tool the walk-through is recorded and the viewport is saved
3. AIM: Use the navigate tool to use the realism feature to walk through the model and record moving as animation in Naviswork
PROCEDURE:
Step 1: Open the Architectural file which we have exported
Step 2: Go to the viewport tab select Realism option in that select third person
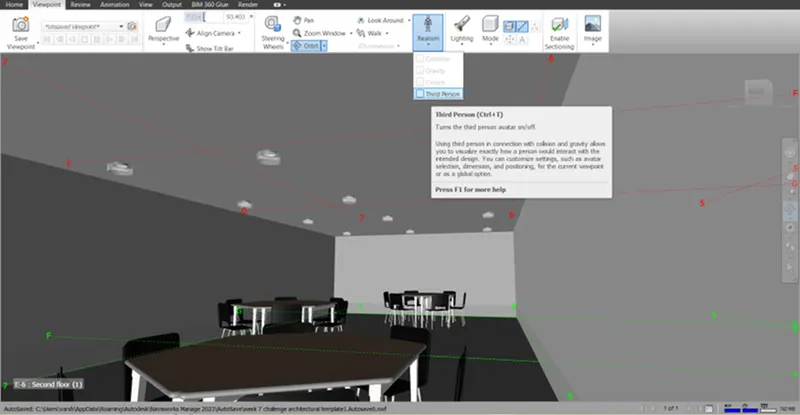
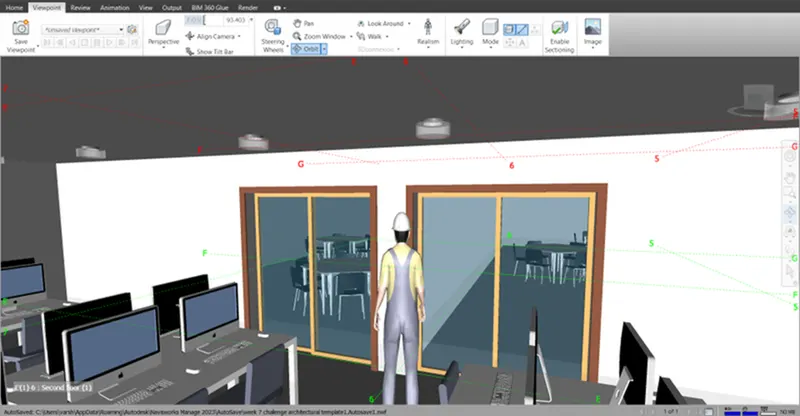
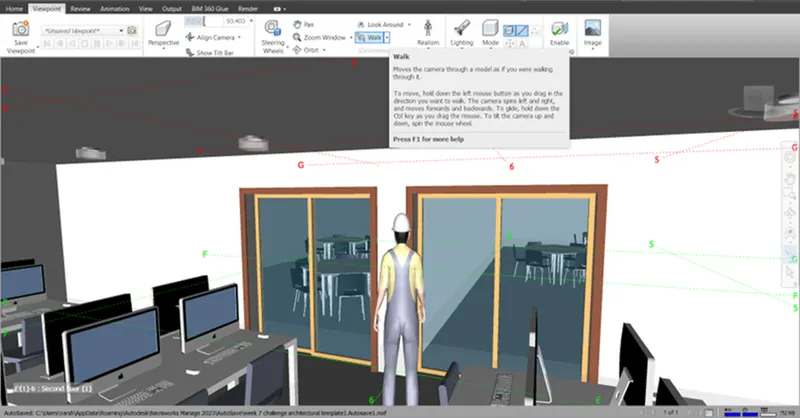
Step 3: Go to the viewport tab in that select walk option and record the animation
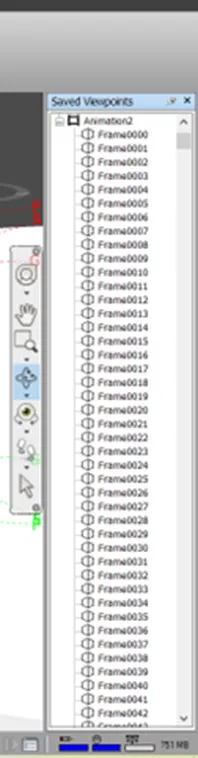
RESULT: With the help of the navigation tool, a third person is added to the walkthrough around the model
Walk-through is recorded by using the walk option
4. AIM: To create the clash detection test between the architectural and structural model
PROCEDURE:
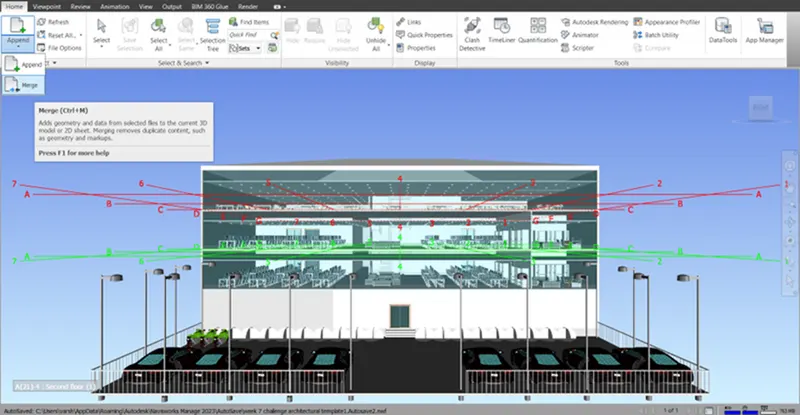
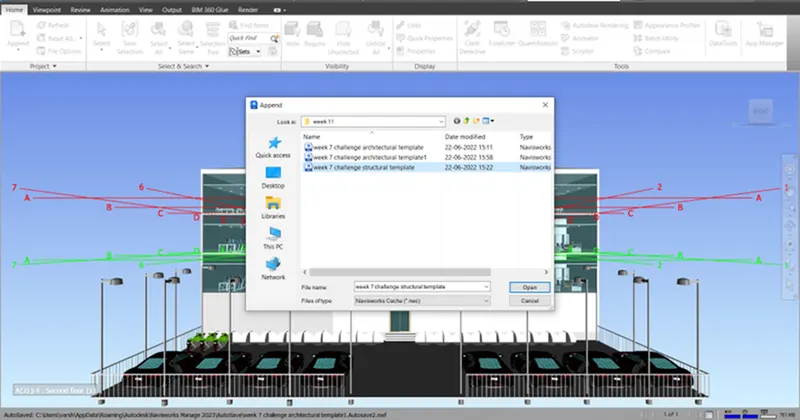
Step 1: Go to the home tab and in that select append in that select append and add the structural model to the architectural model
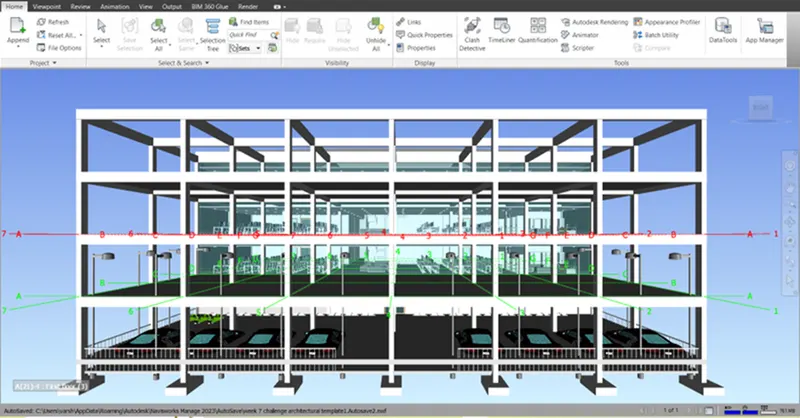
Step 2: Go to the home tab and select the clash detective test option
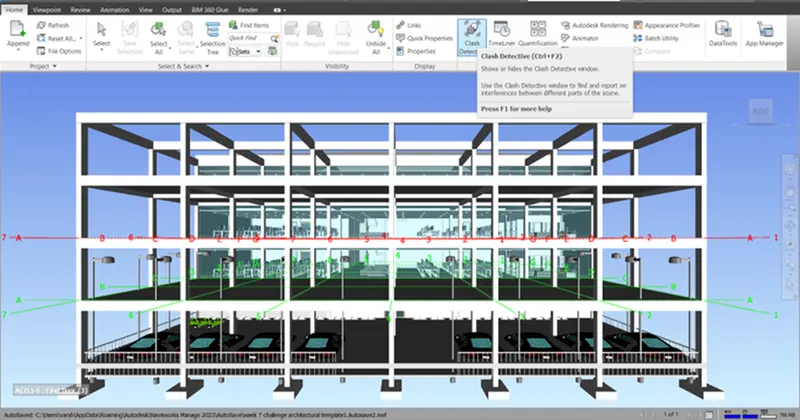
Click on the add test option and in test 1 select the architectural and structural model
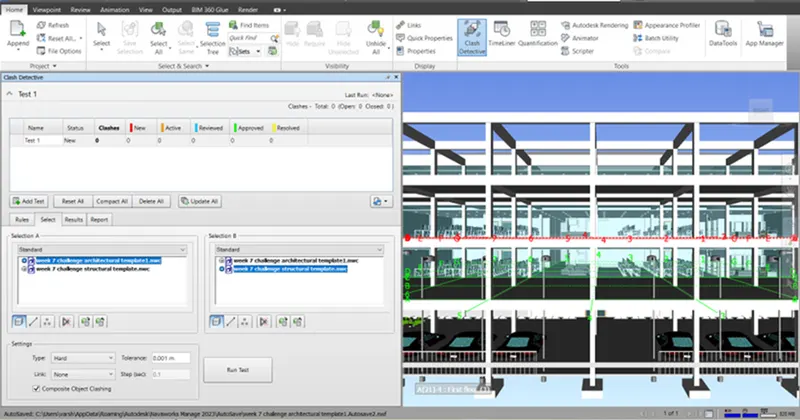
Step 3: Click on run test the clashes in the model will be visible
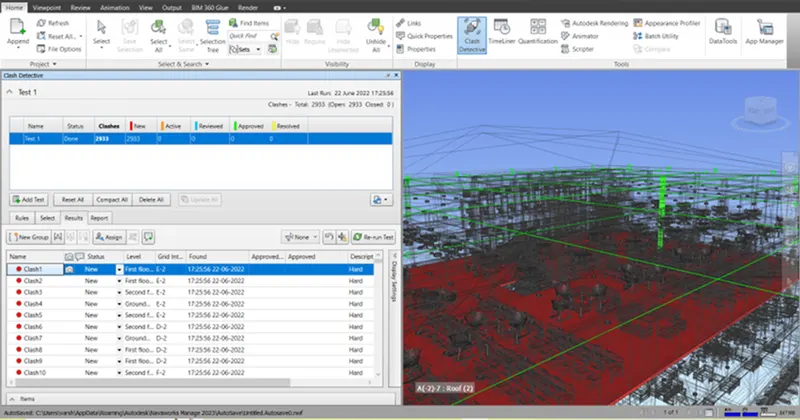
The clashes appeared in 2933
Step 4: List down the clashes that are active, approved, resolved, and revised
Save the results
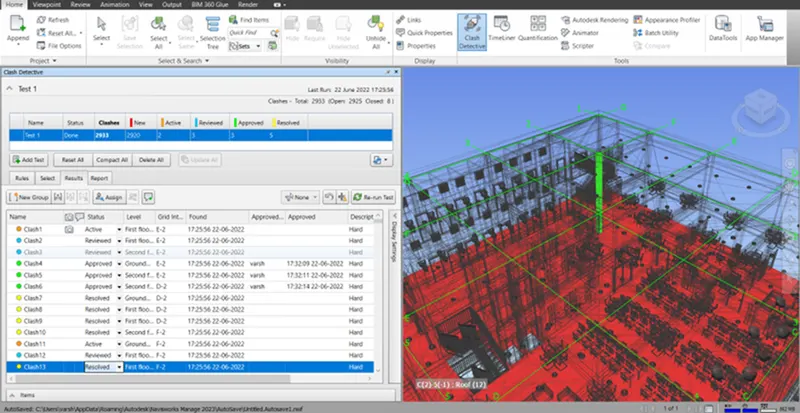
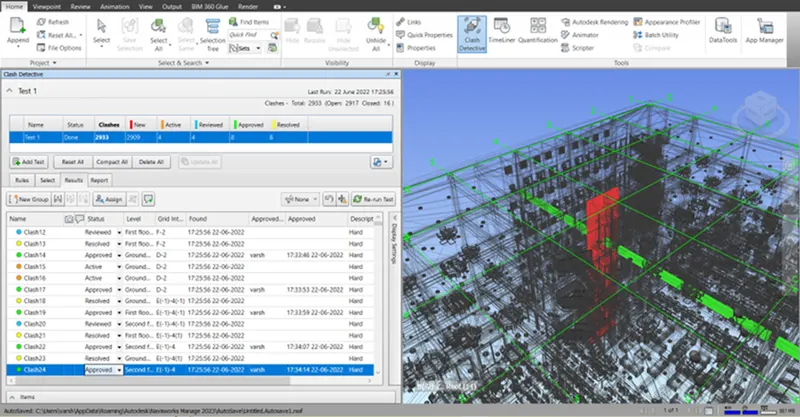
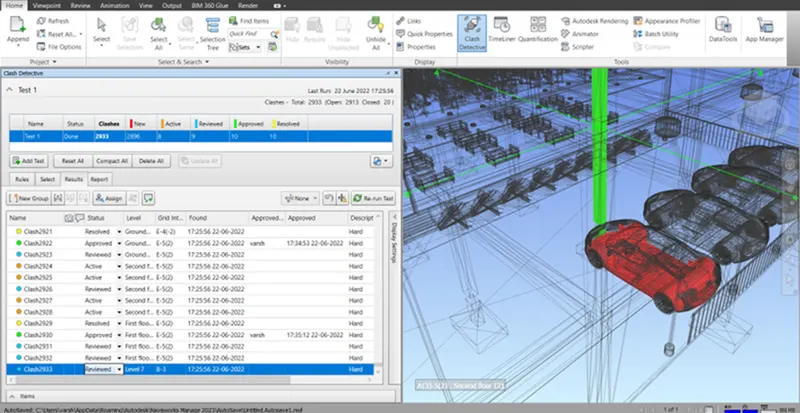
After changing the status of the clash the file is ready to send for review
RESULT: The clash detective test is done between the architectural and structural model
5. AIM: Using the Timeliner feature in Navisworks we can prepare a schedule for the project by adding reasonable assumptions for the task start date and end date and simulate the task completion as a visual simulation
PROCEDURE:
Step 1: Open the navisworks structural model file
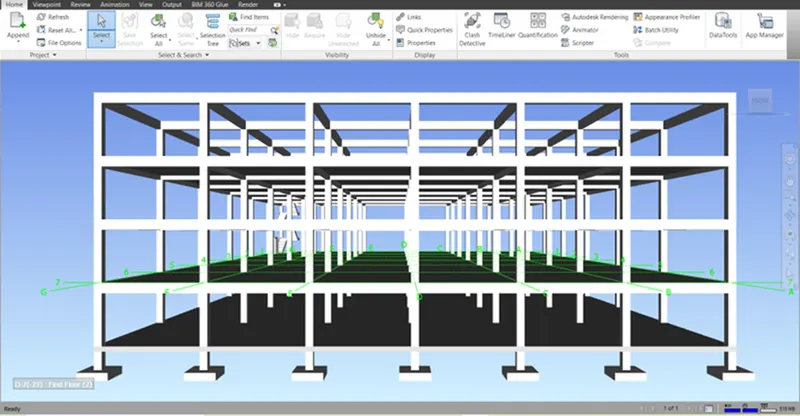
Step 2: Go to the home tab and select timeliner and also select Selection tree
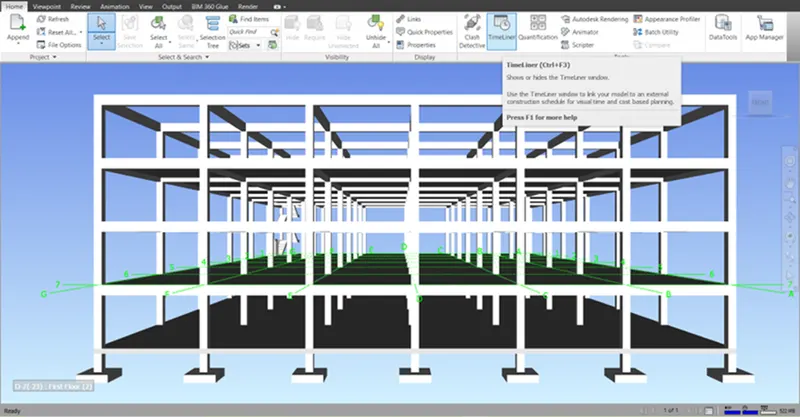
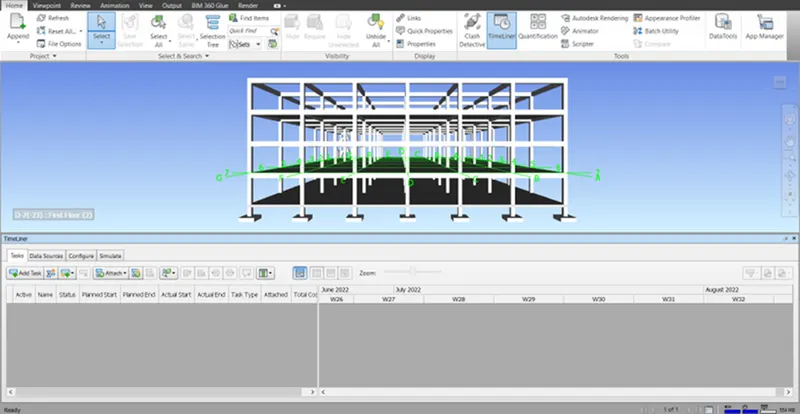
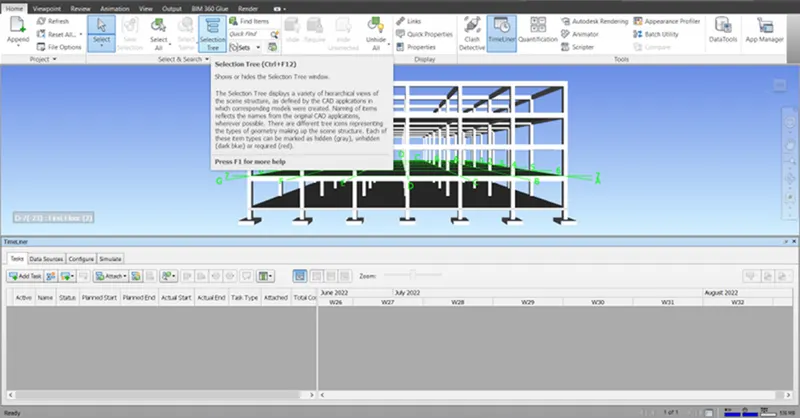
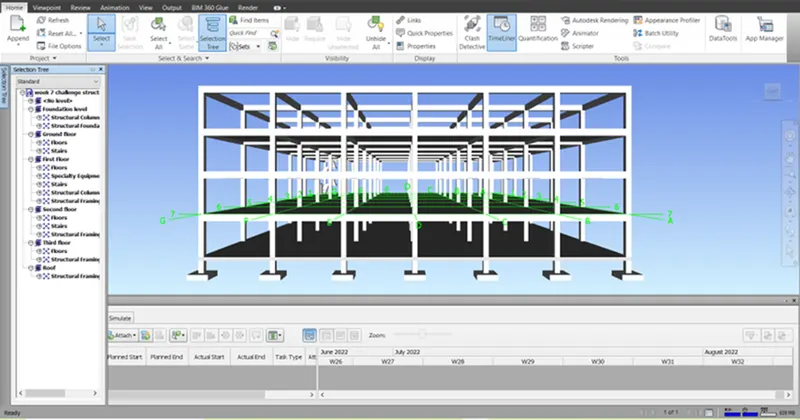
Step 3: Click on add the task and add the task according to the model also select the items from the selection tree and attach the selection to the task by selecting attach current selection the task type is given and the start date and finish date are also given
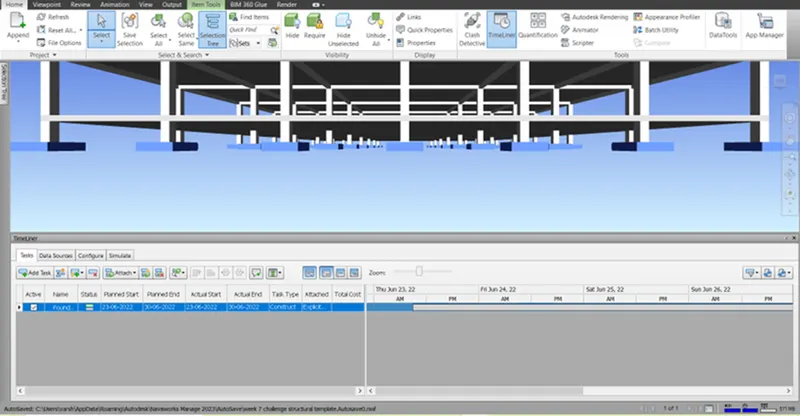
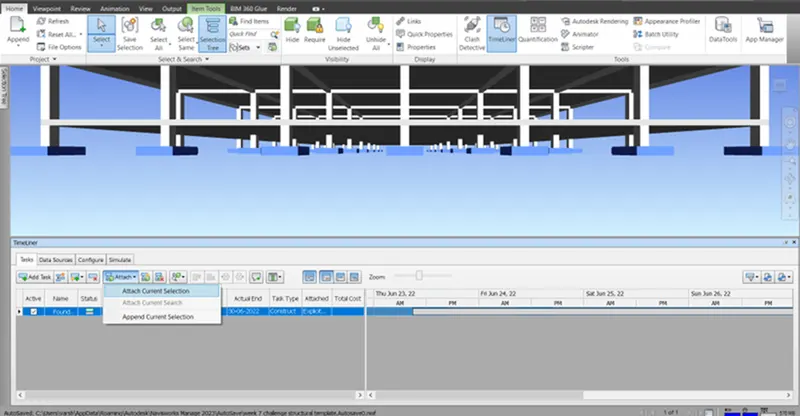
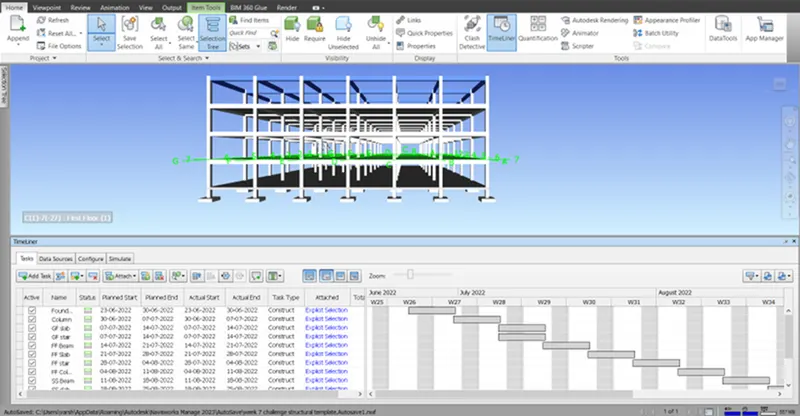
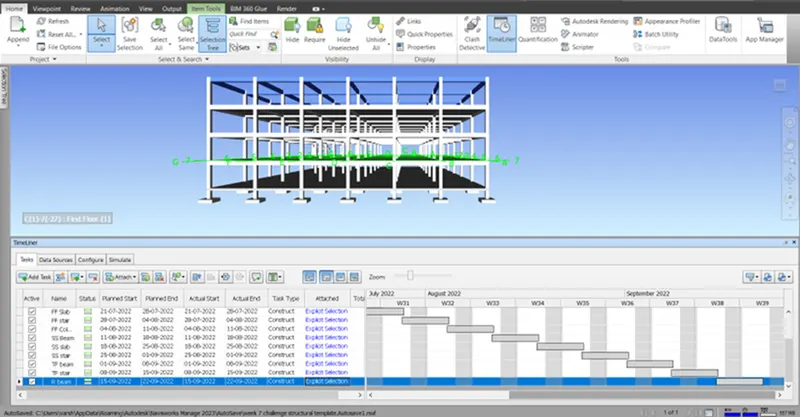
Tasks are added according to the model
Step 4: Now go to simulate in the timeliner dialogue box and run the video
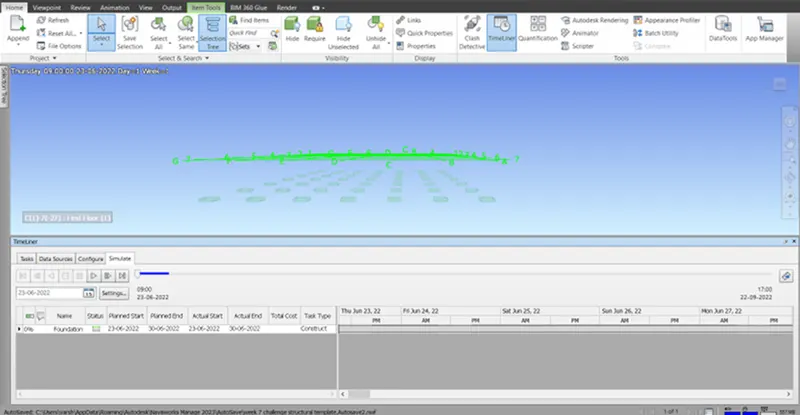
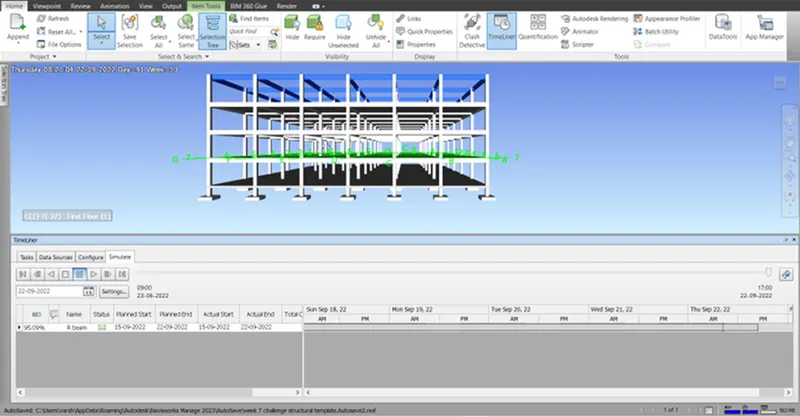
Step 5: Click on export animation and export the animated file
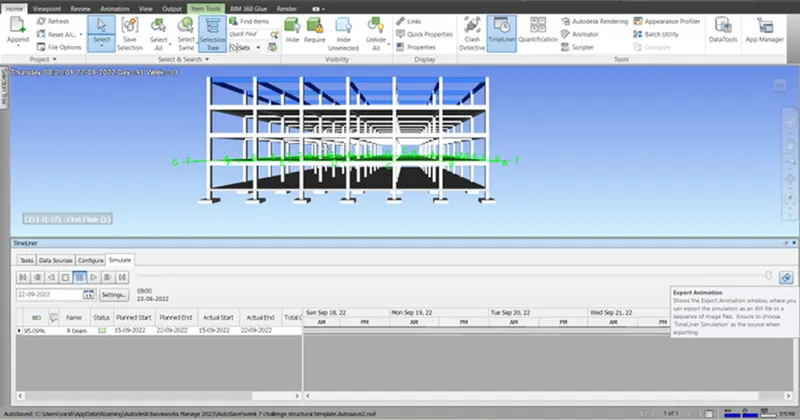
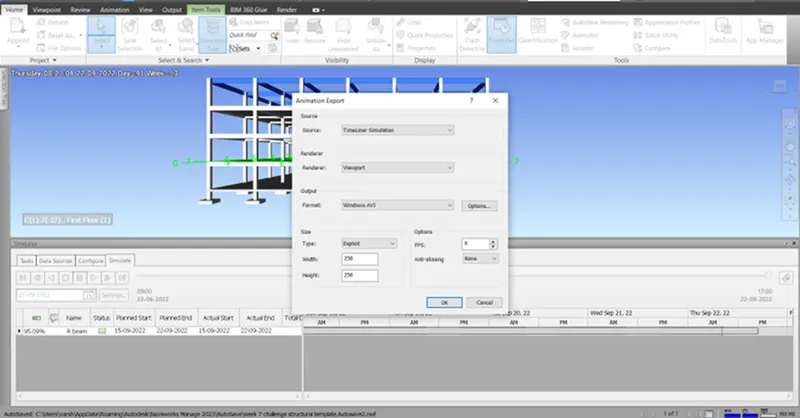
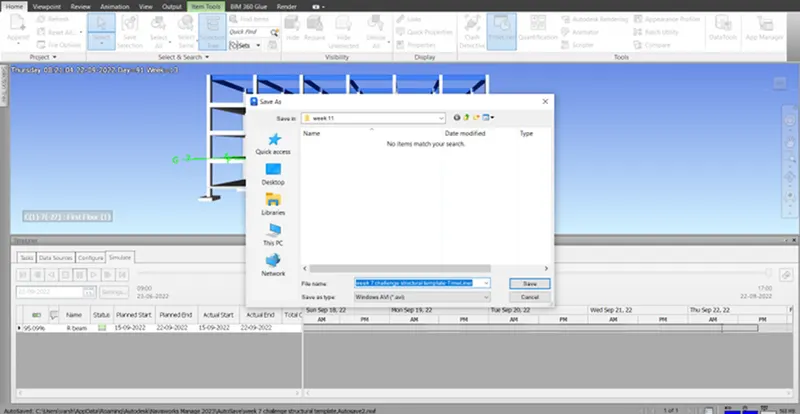
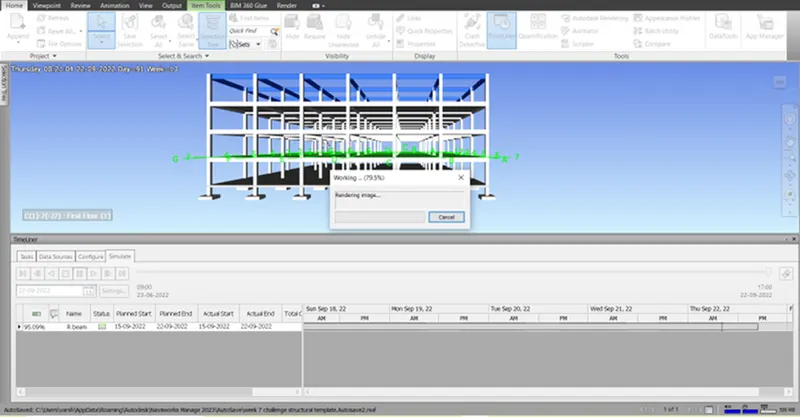
RESULT: By using timeliner feature in Navisworks we have prepared a schedule of the project by adding necessary assumptions for the tasks created simulated the task completion as a visual simulation and saved the timeliner to Navisworks