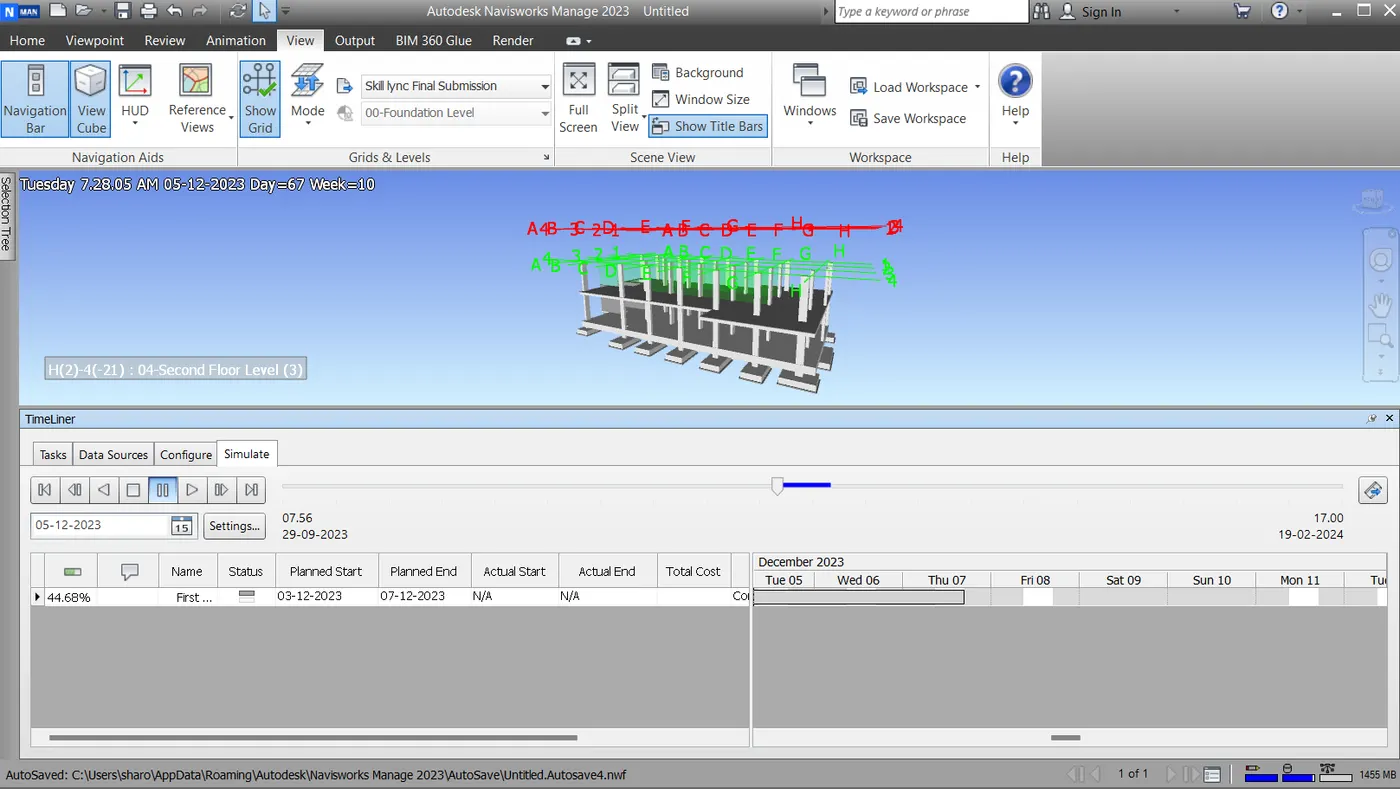
Usage of Navigation tool , Timeliner and Clash Detection test using Naviswork
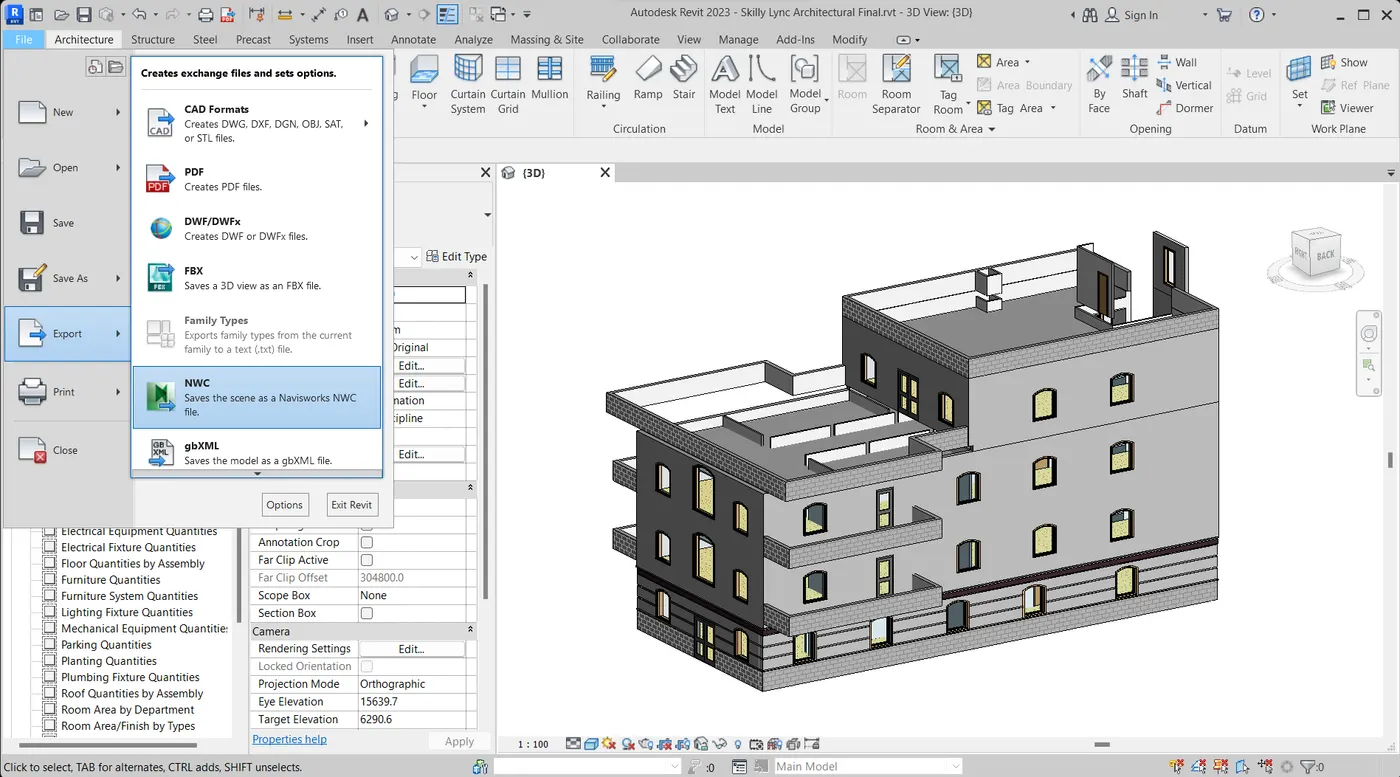
1.To Export Revit Files(.Rvt) to Navisworks Cache(.nwc)
- Step 01 : Open a Revit File
- Step 02 : Menu Tab → File → Export → NWC
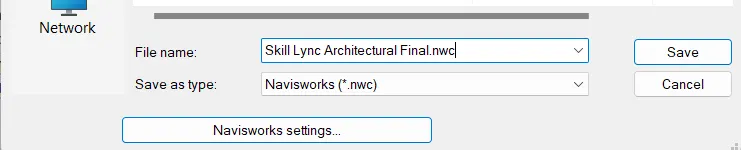
- Step 03 : Save as the export file in desired location
- Note : The file exports based on view on window,so to occur whole building as .nwc format the view should be in 3D
- Image 01(File is ready to export)
- Image 02(Save the file as *.nwc)
2.Use Navigate tool to walkthrough the rooms,
- Step 01 : Open the Navisworks Manage
- Step 02 : Quick Access Tool Bar → Open (or) Ctrl+O
- Step 03 : Open the saved .nwc file
- Step 04 : Viewpoint Ribbon → Save viewpoint → Name the Viewpoint
- Step 05 : Viewpoint Ribbon → Save viewpoint → Record (or) Ctrl+Up arrow
- Step 06 : Viewpoint Ribbon → Walk
- Step 07 : Viewpoint Ribbon → Stop
- Step 08 : Animation Ribbon → Export Animation (or) Ctrl+Shift+A
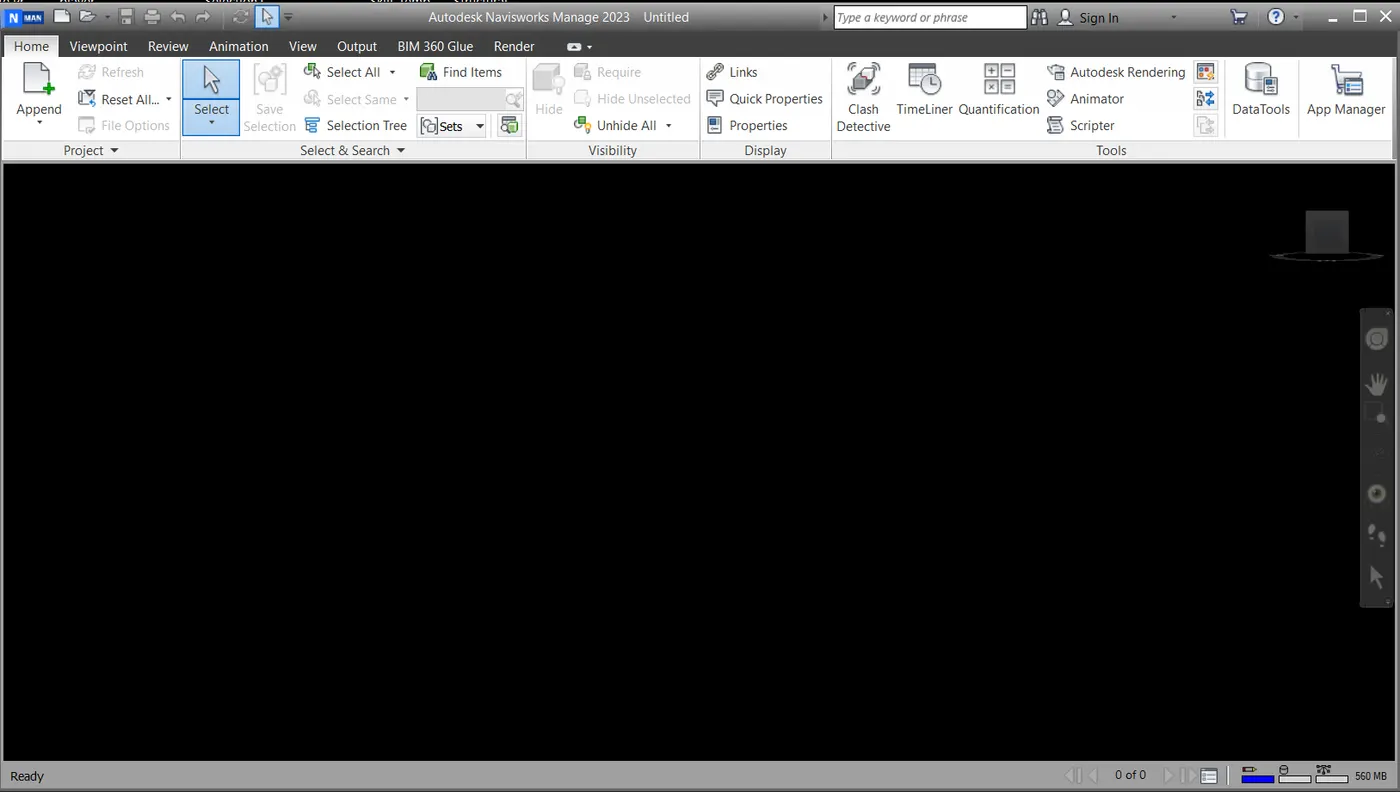
- Image 03 : Navisworks Manage GUI
- Image 04 : Navisworks File Open
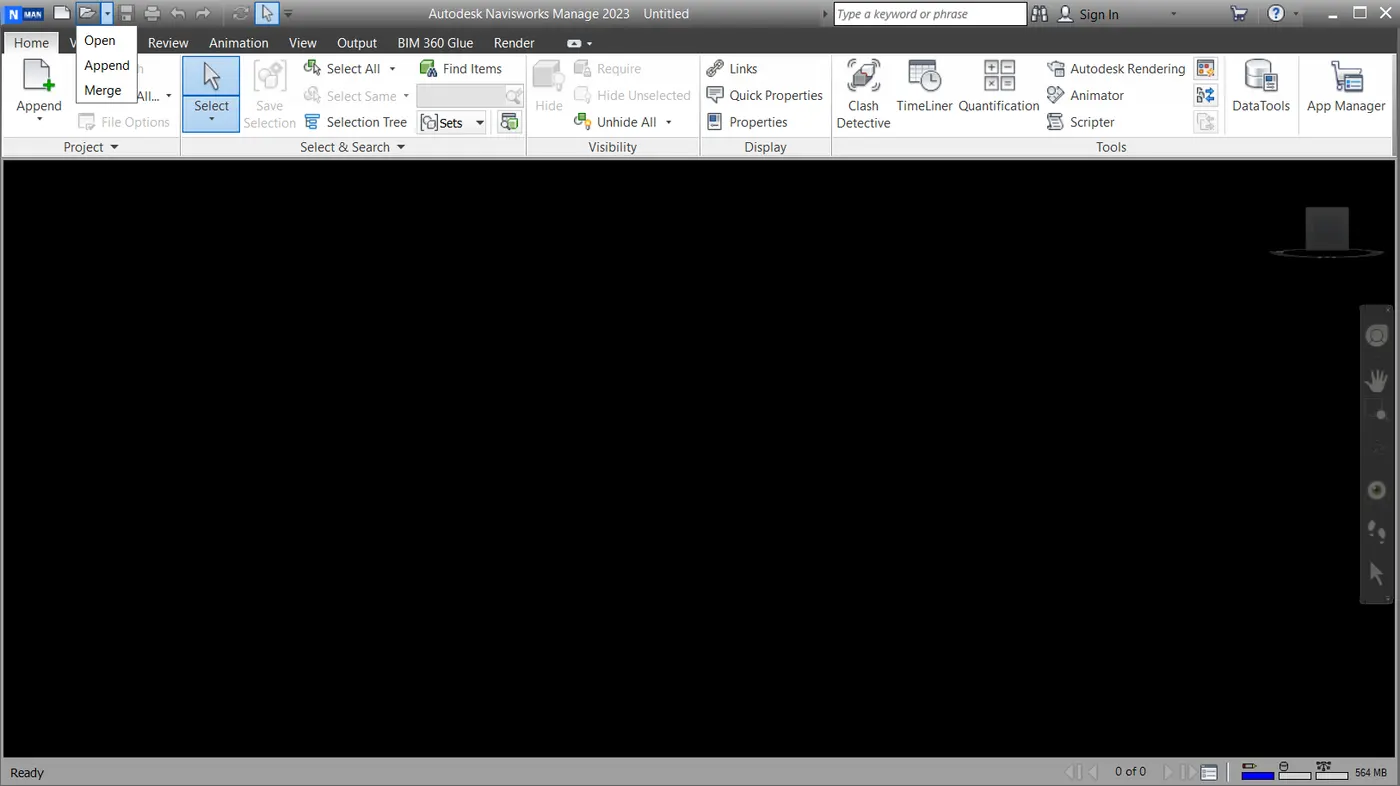
- Image 05 : Building model In Naviswork
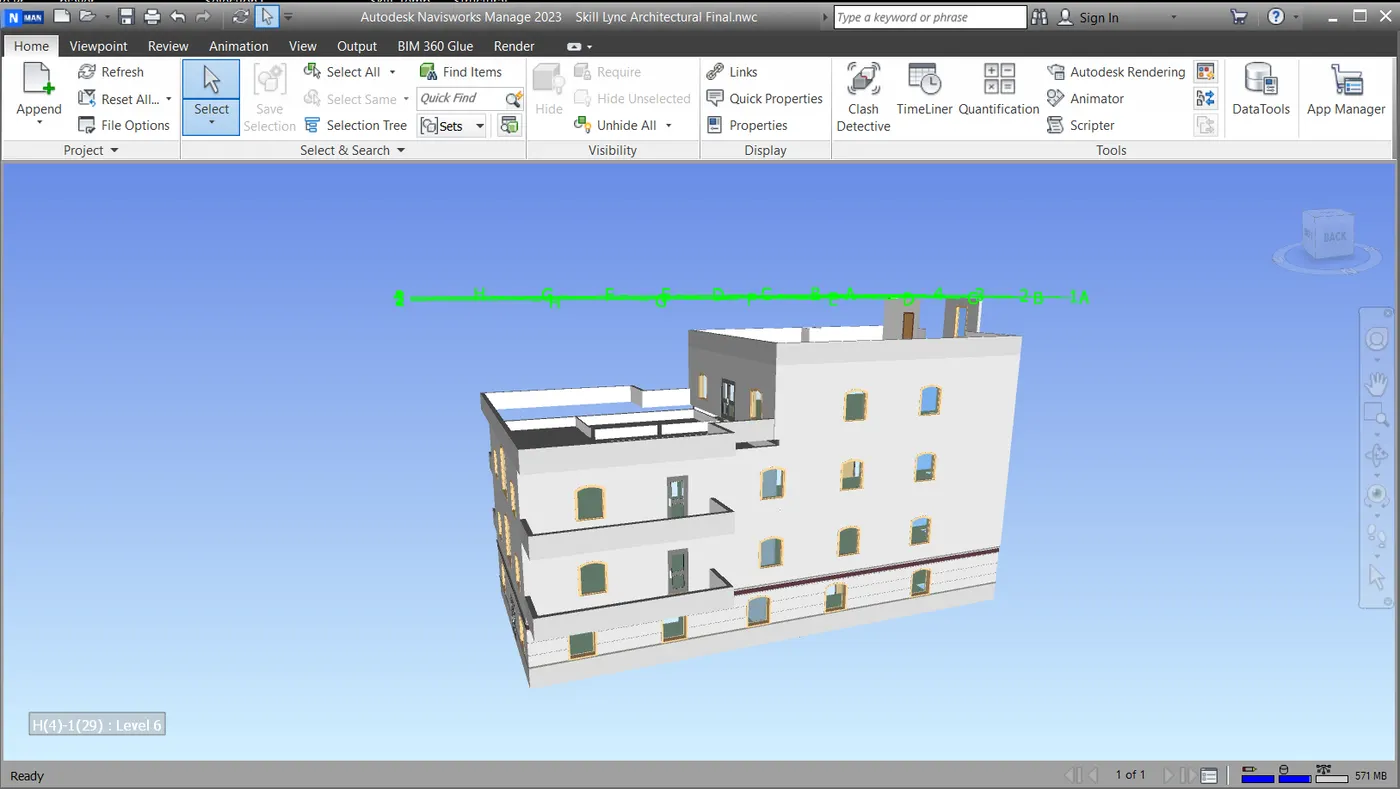
- Image 06 : Viewpoint Ribbon in Naviswork
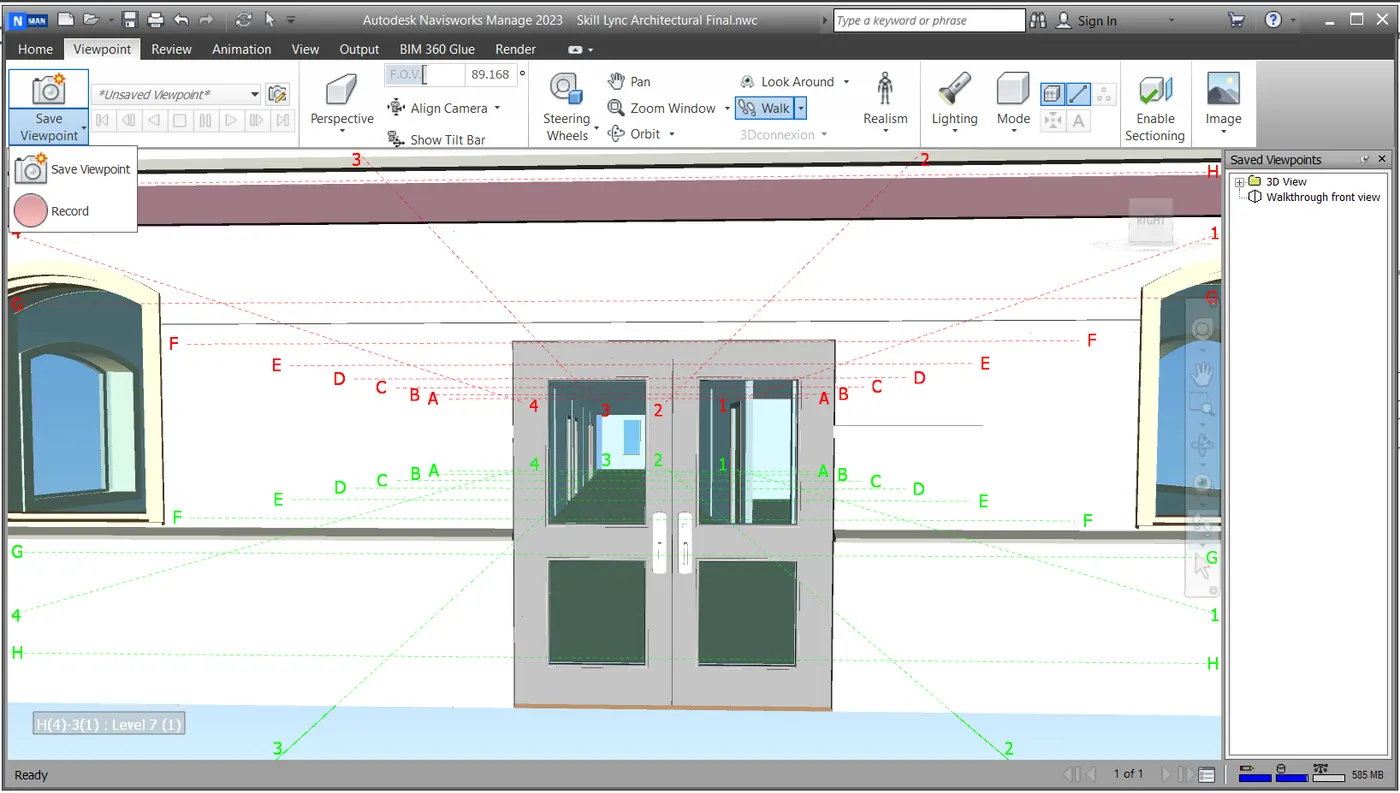
- Image 07 : Viewpoint Ribbon → Walk
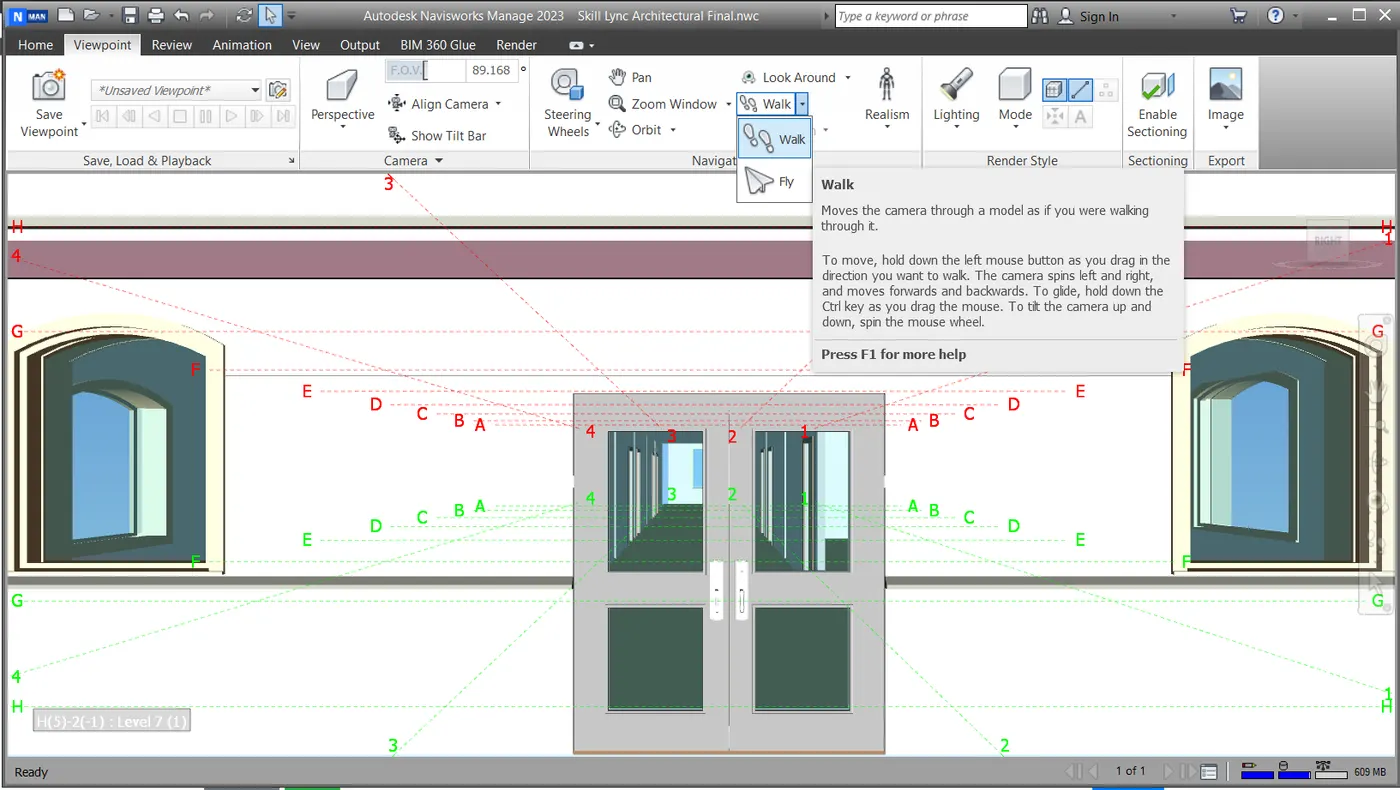
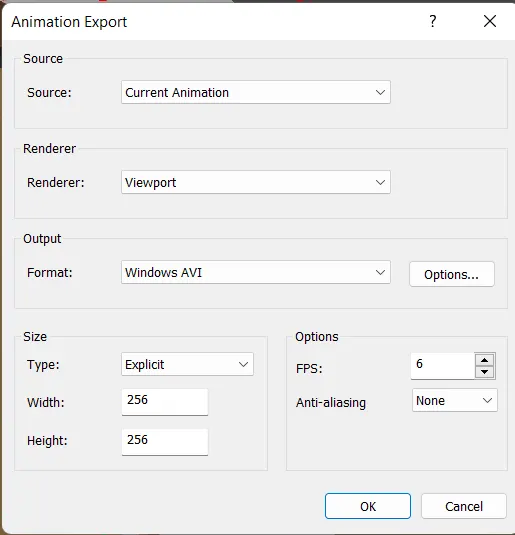
- Image 08 : Animation Ribbon → Export Animation
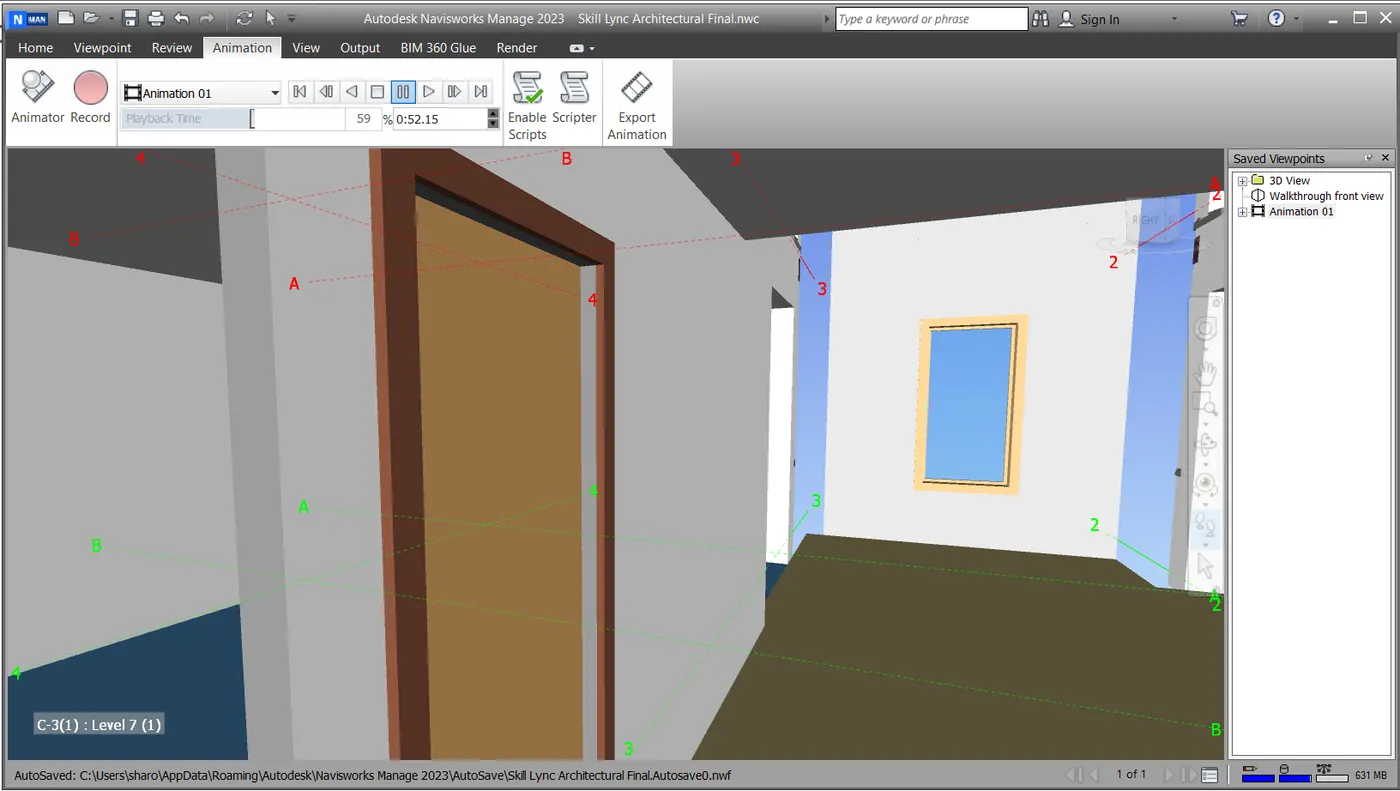
- Image 09 : Animation Export Settings
3.Use Realism Feature in Walkthrough,
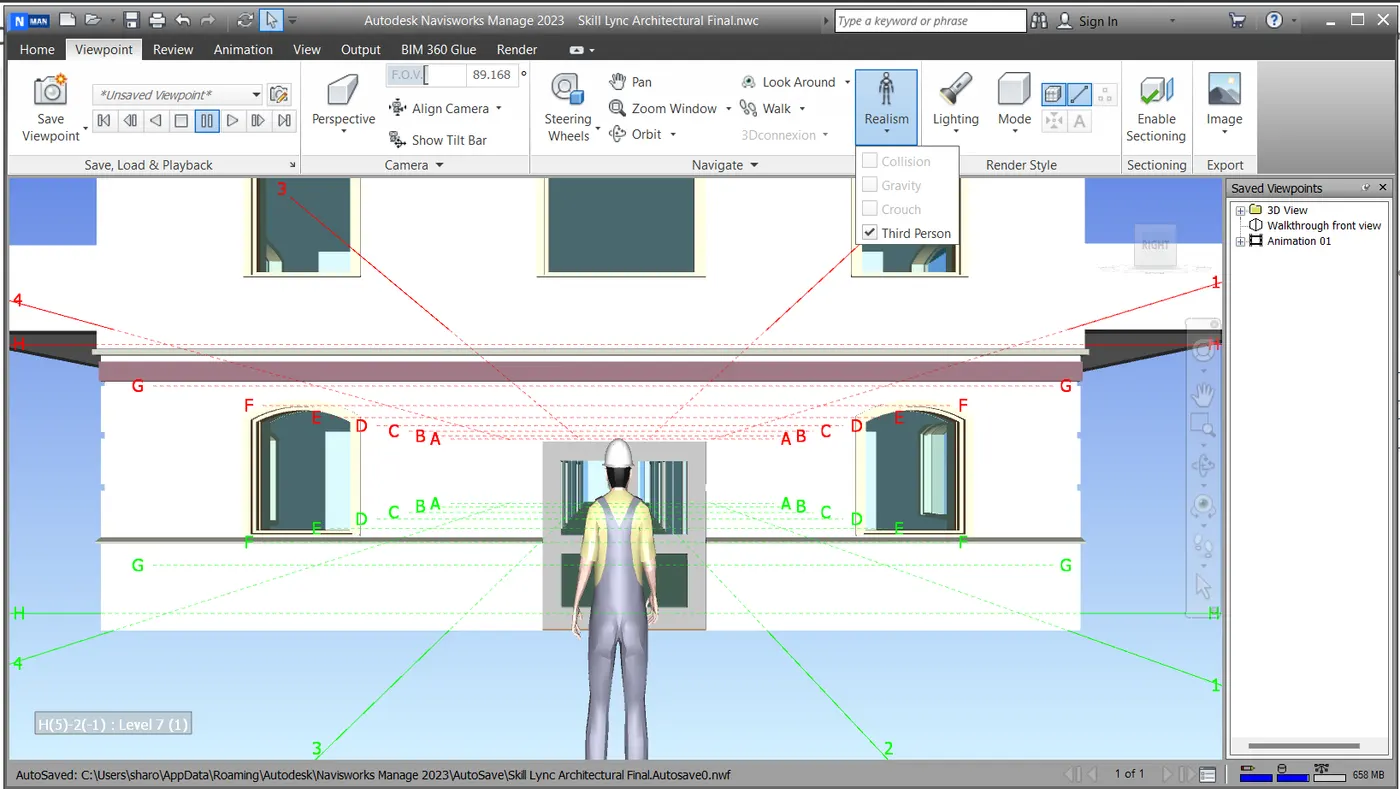
- Step 01 : Viewpoint Ribbon → Realism(Third Person)
- Step 02 : Viewpoint Ribbon → Walk
- Step 03 : Viewpoint Ribbon → Stop
- Step 04 : Animation Ribbon → Export Animation (or) Ctrl+Shift+A
- Image 10 : Realism in Viewpoint Ribbon
4.Clash Detection Test in Navisworks Manage,
- Step 01 : Import the Architectural .nwc file in Navisworks
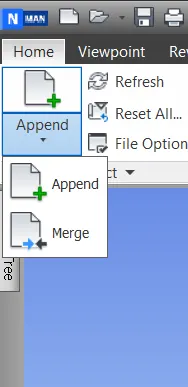
- Step 02 : Append Structural .nwc File in Navisworks
- Step 03 : Home → Clash Dectective
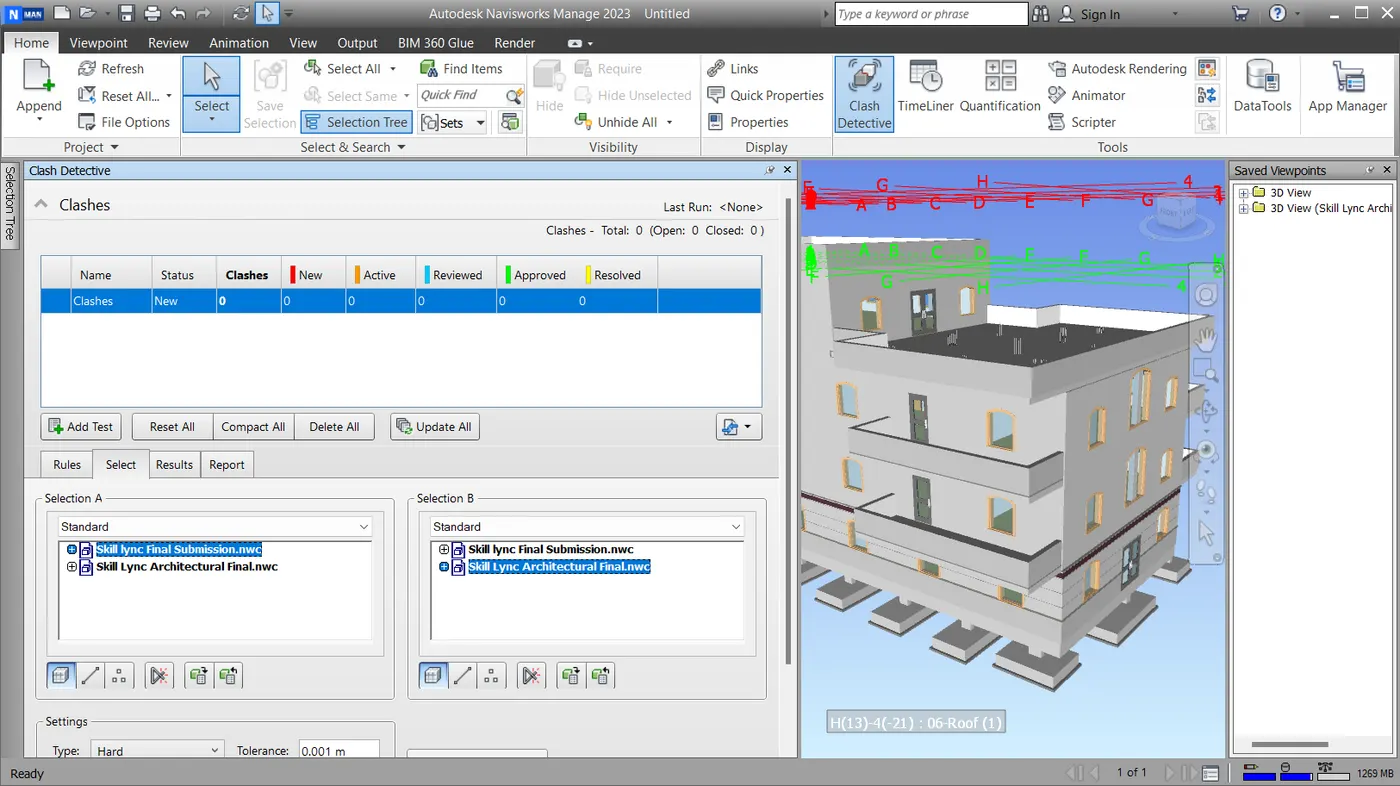
- Step 04 : In Clash detective window → Add test
- Step 05 : Pick Section A(architectural) and Section B(Structural)
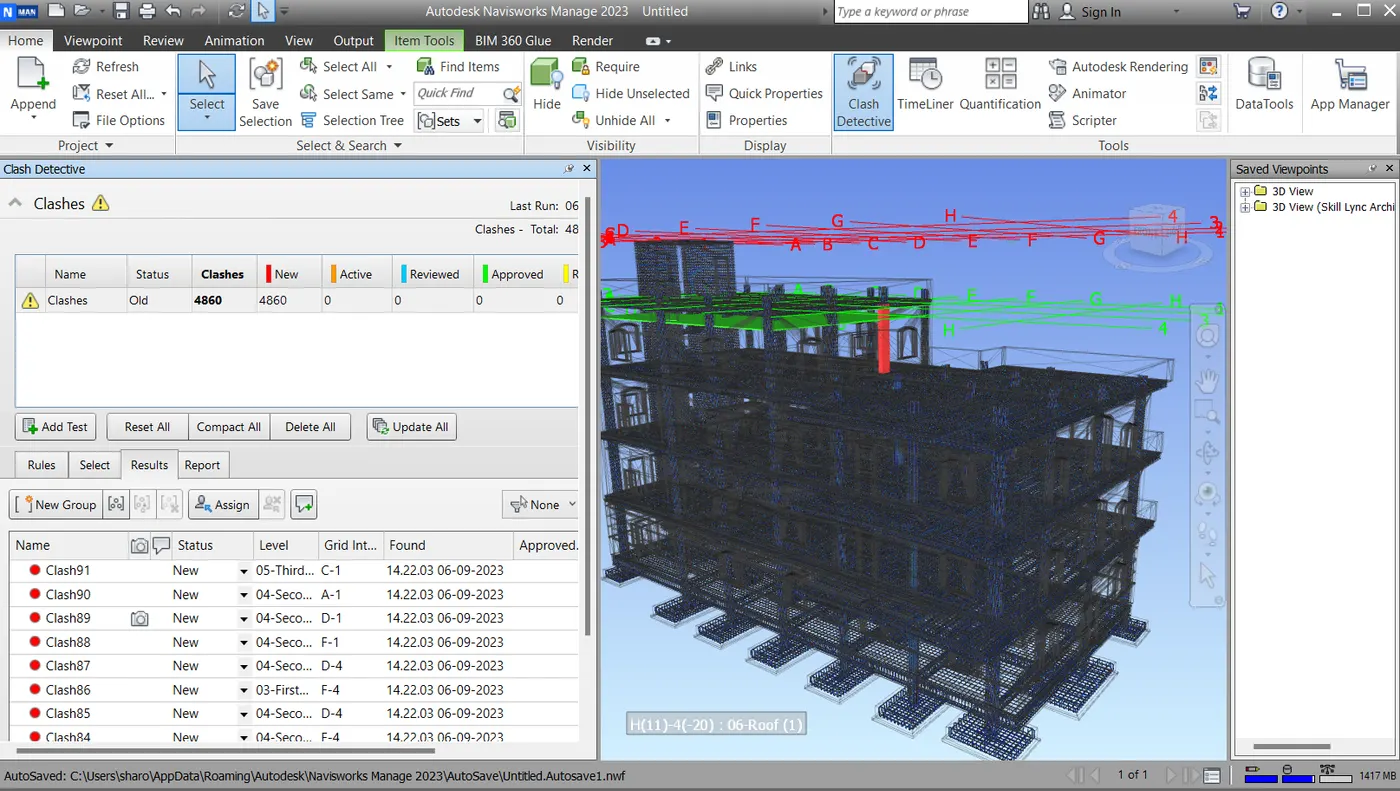
- Step 06 : Run Test
- Image 11: Import Structural File
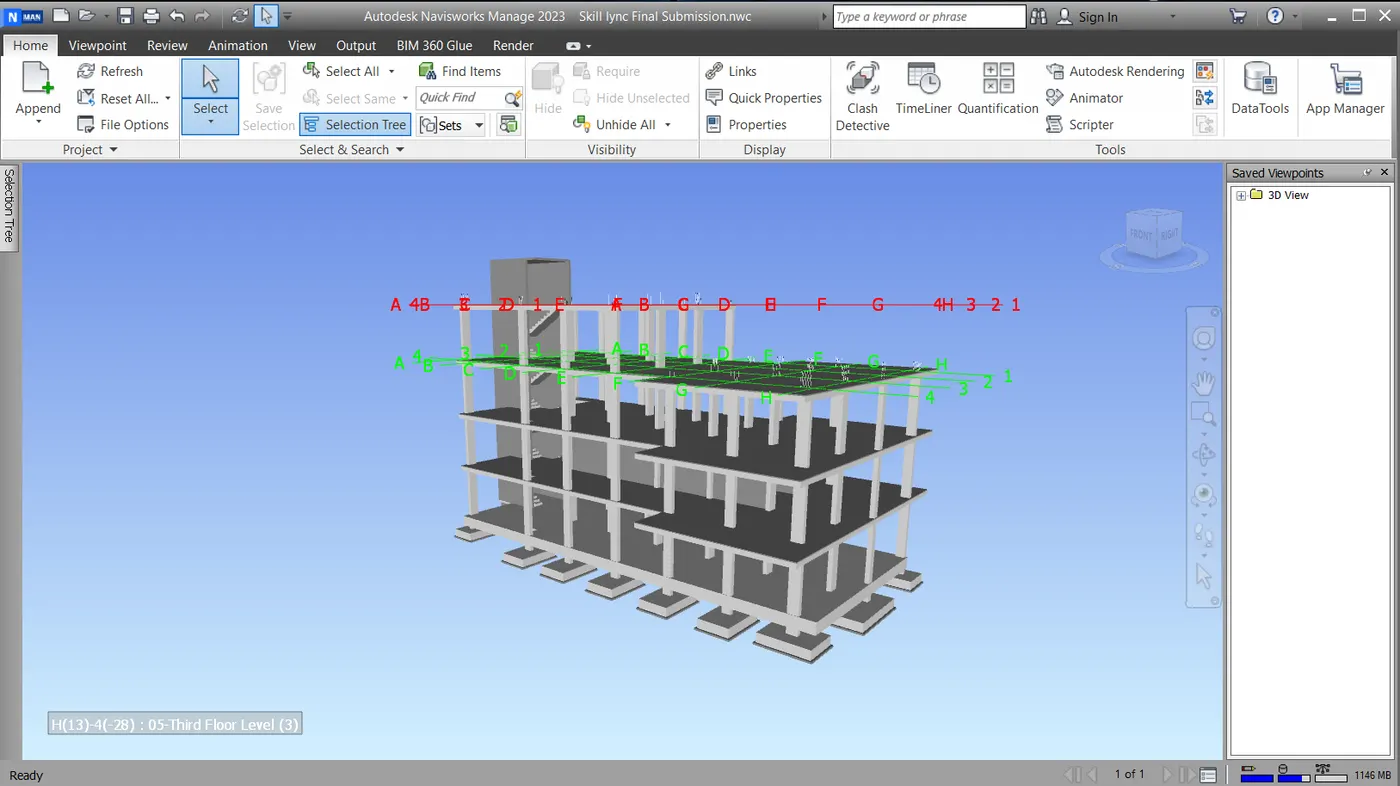
- Image 12: Append Tool to import Architectural file
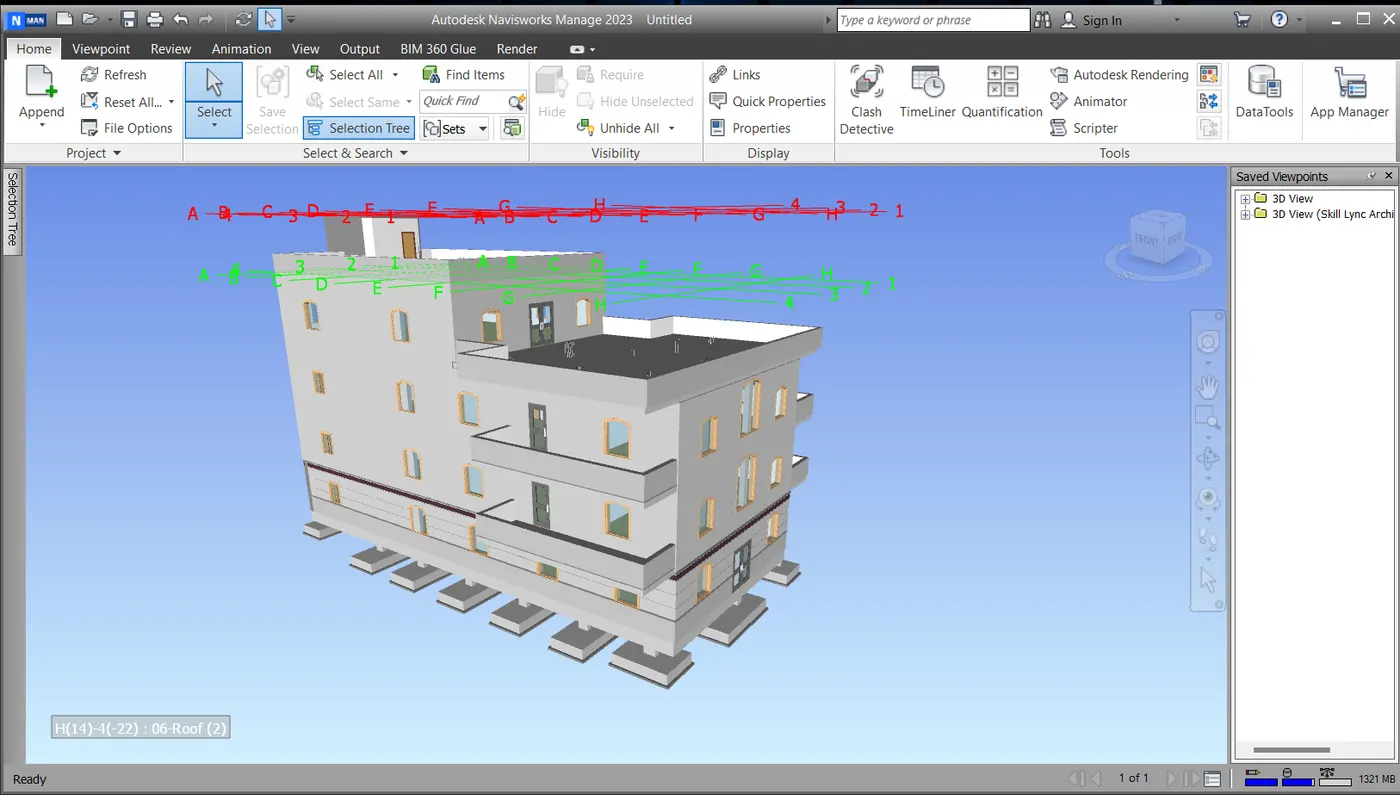
- Image 13:Architectural and Structural files are in same coordination
- Image 14:Add test → choose the files in clash detective window
- Image 15: Run test → Clash results
5..Using TimeLiner in Navisworks Manage,
- Step 01 : Home → TimeLiner
- Step 02 : Select from Selection Tree and create view in sets
- Step 03 : Add Task in TimeLiner and name as per levels
- Step 04 : Make a shedule like construction period,time etc.
- Step 05 : Attach the Views in schedule
- Step 06 :Simulate the timeliner
- Step 07 : Export the animation as .avi
- Image 16 : Home → TimeLiner
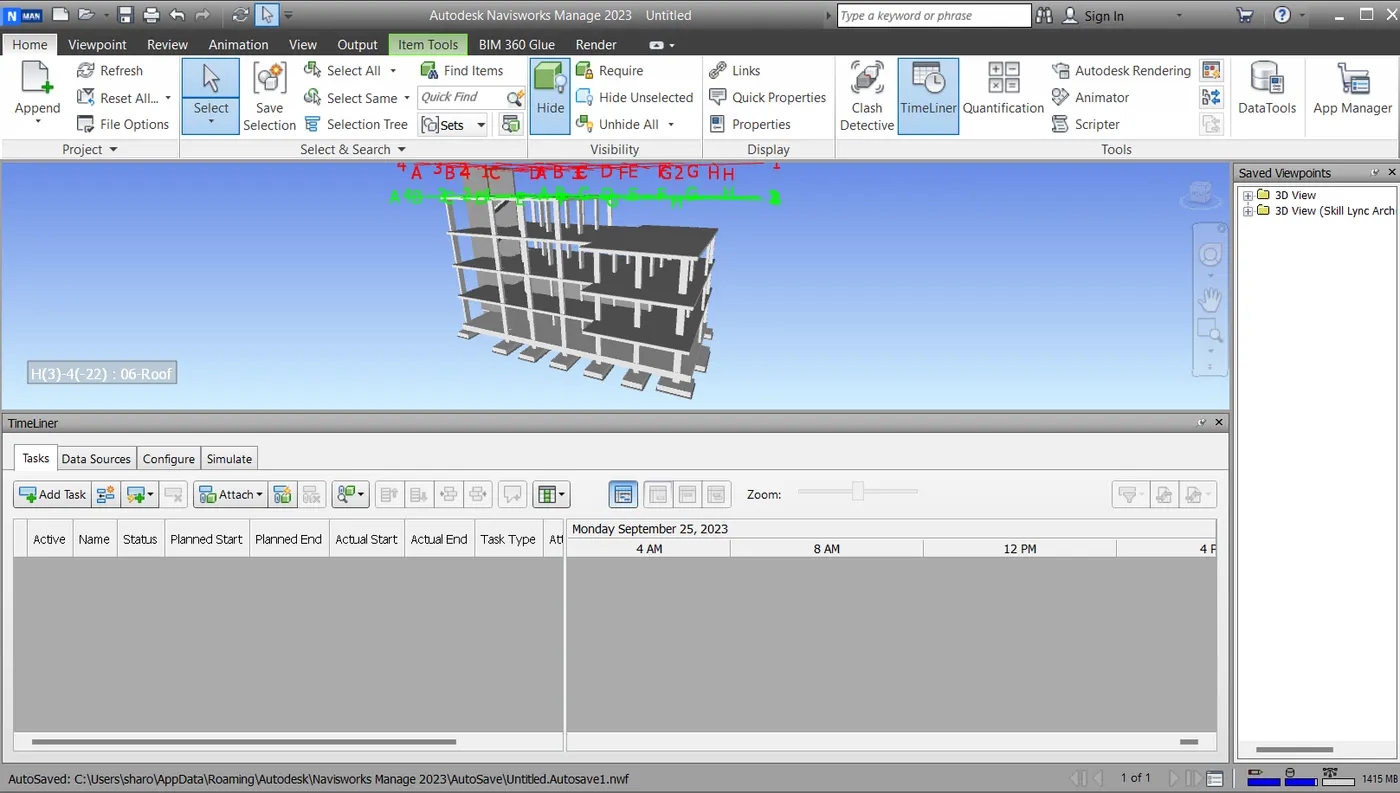
- Image 17 : Slection Tree → save the members as sets
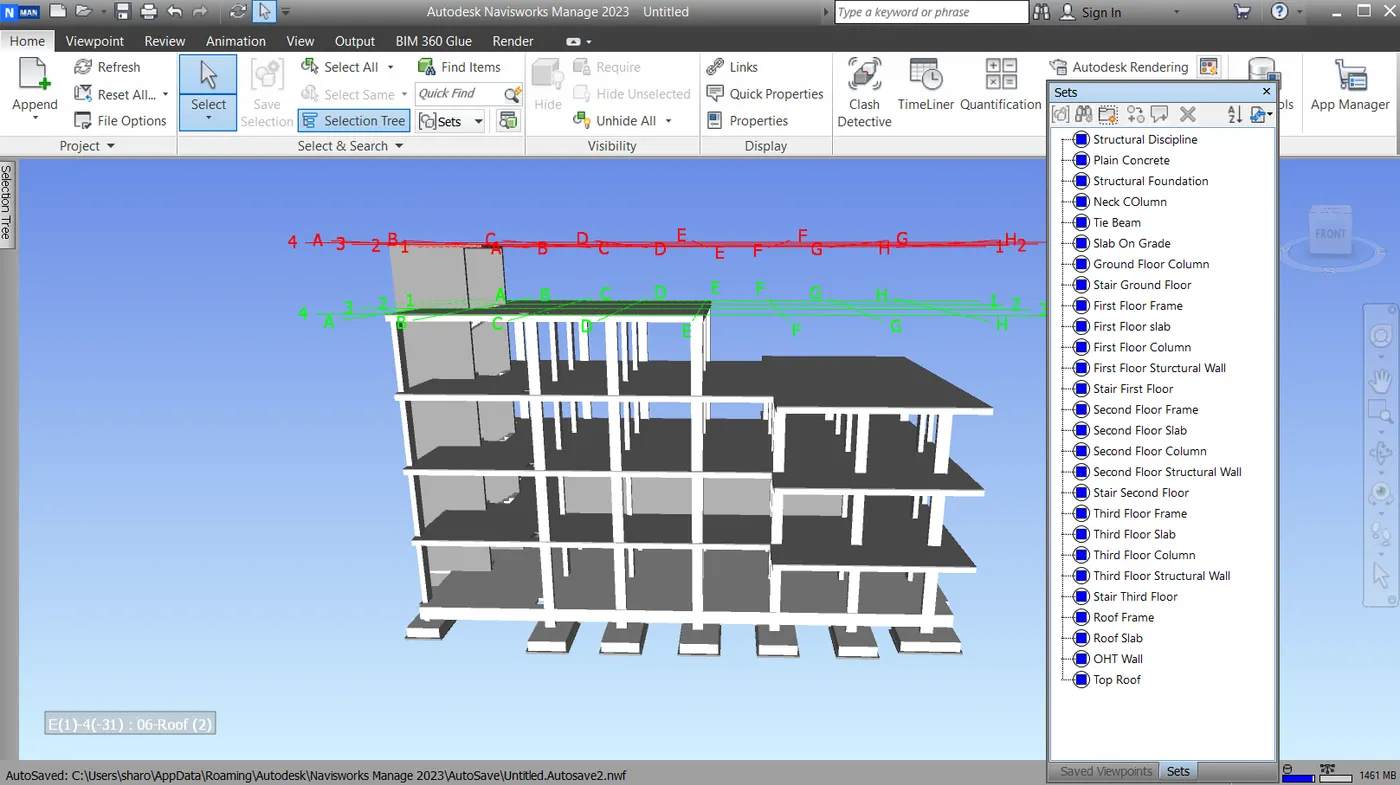
- Image : Save The Tasks
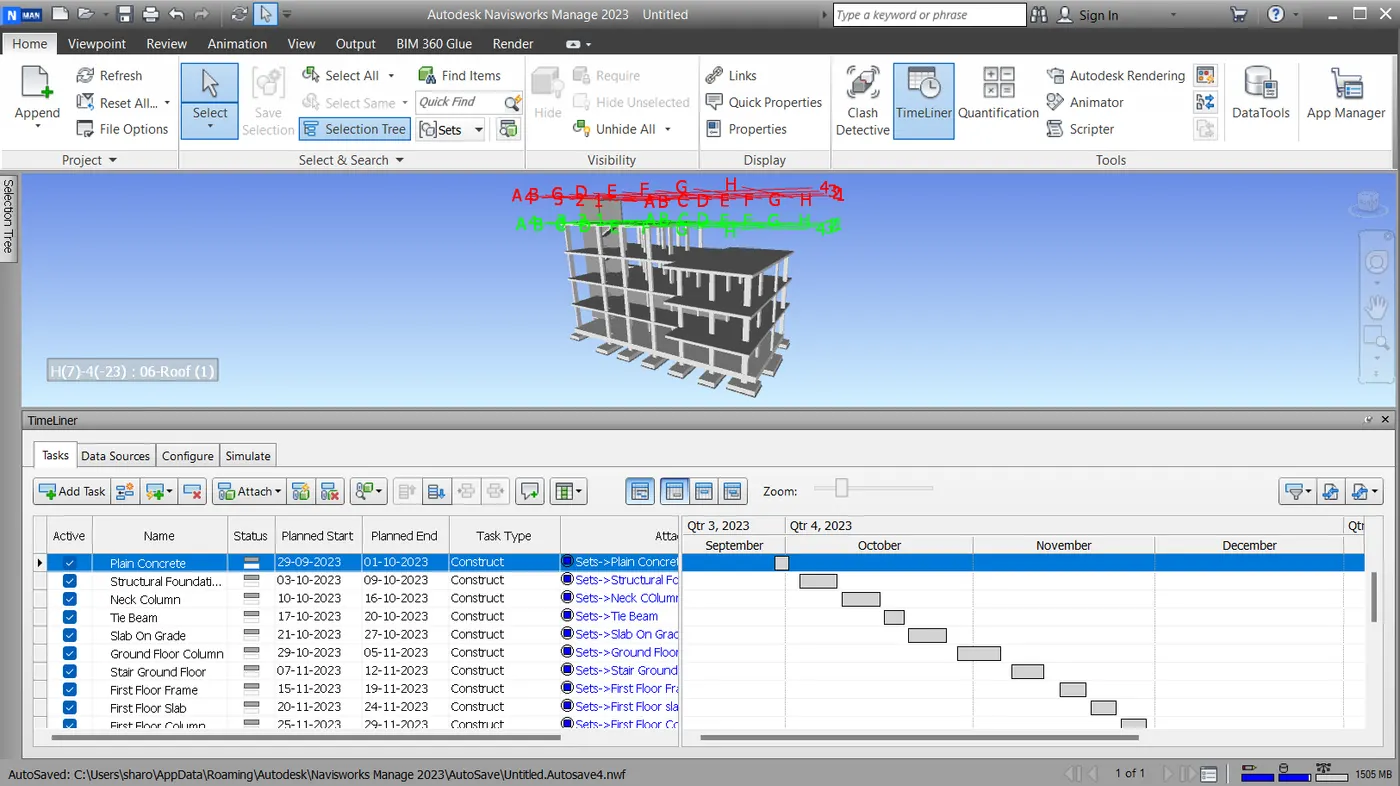
- Image : Simulate the Model And export animation as .avi