Usage of Navigation tool , Timeliner and Clash Detection test using Naviswork
1.
Aim:
To export the Revit architecture and structure model created in week 6 challenge to Navisworks Cache file following the export settings.
Procedure:
- Initially Open the Autodesk account and download the Naviswork Manage software.
- Now, open the Architectural model created in week 6 challenge in the Revit software.
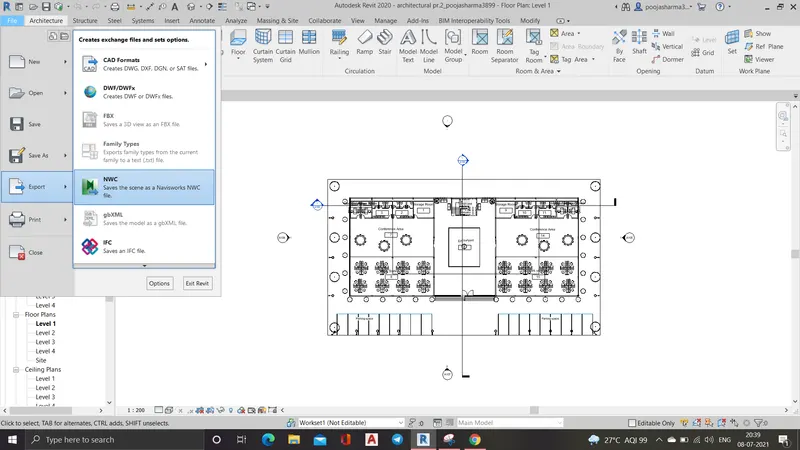
- Then go to File --> Export --> NWC file.
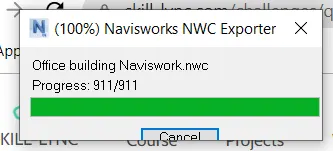
- Now, save the file.
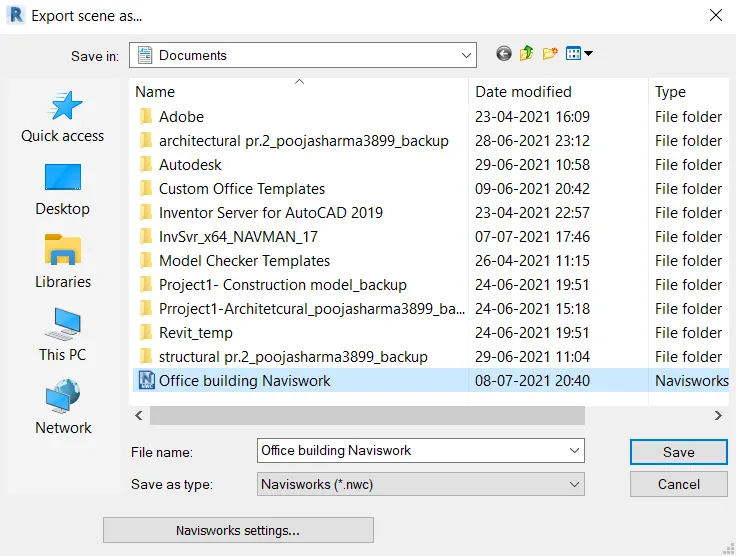
- Hence, the file is exported.
Result:
- The architecture model of the office building is successfully exported to the Naviswork cache file.
2.
Aim:
To use navigate tool to walk around the model and walk through the rooms created and record your moving as animation in your Navisworks file.
Procedure:
- Initially open the architecture file in the Naviswork.
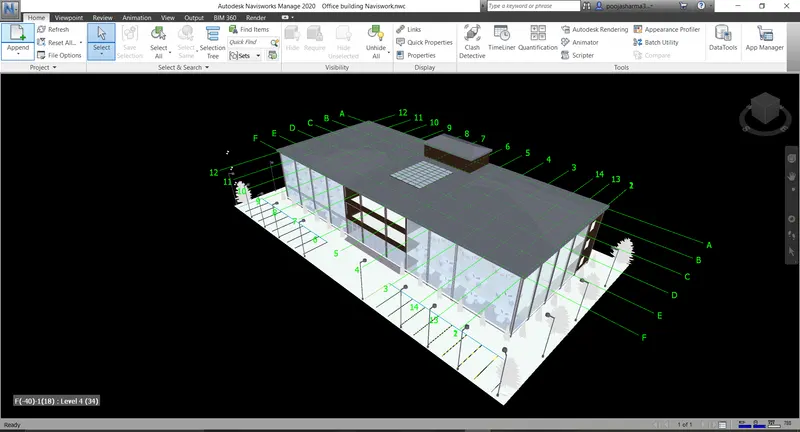
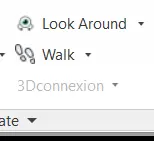
- Now, go to walk option in the viewport tab of the Naviswork software.
- Use the record option in the save viewport option to record animated view of each and every room
 .
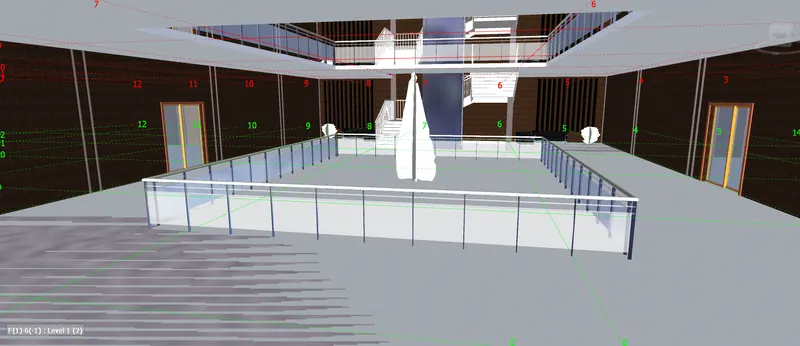
. - Entrance area:
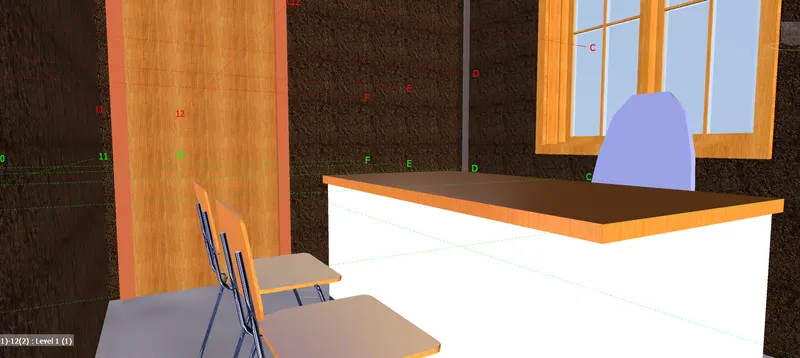
- Manager's room:
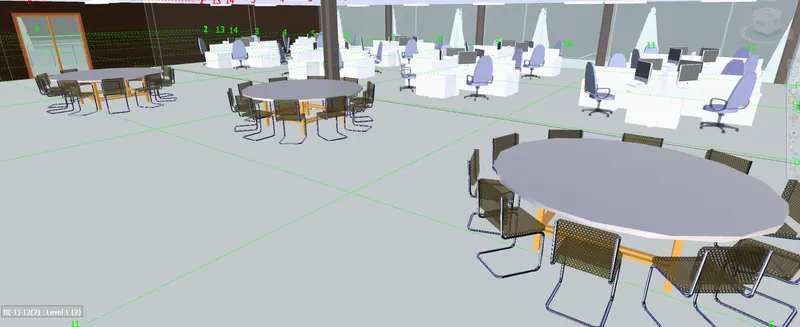
- Work station cum conference area:
- Wash Room:
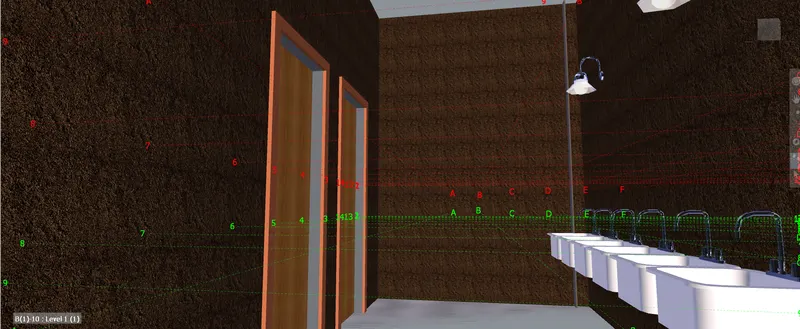
- Courtyard:
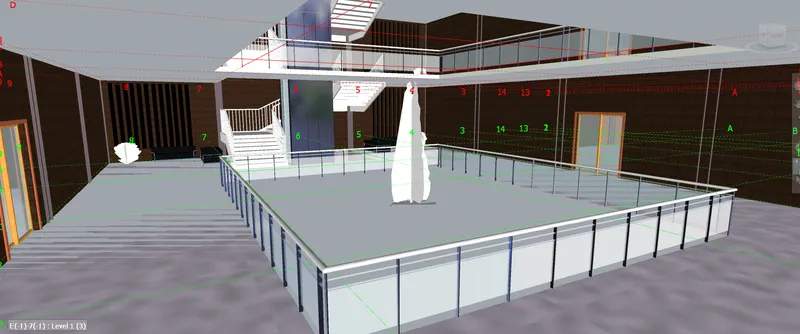
- Cafeteria:
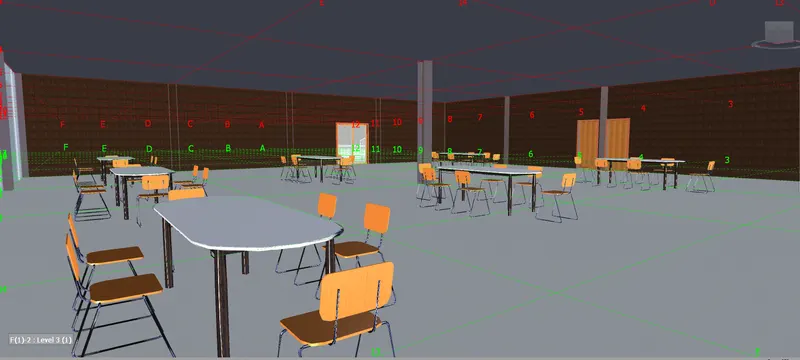
- Wash room in Cafeteria:
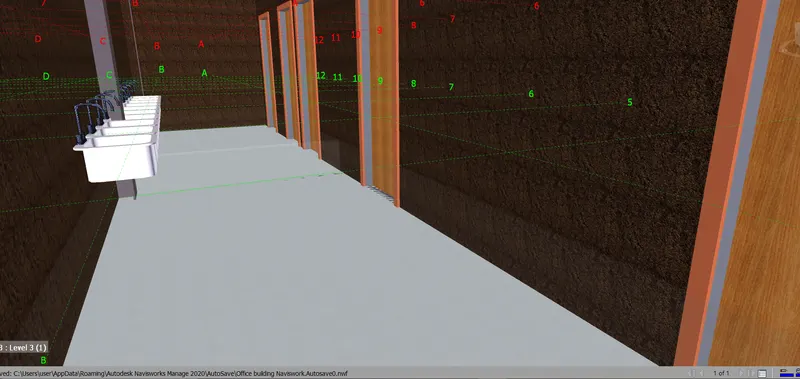
- Toilet:
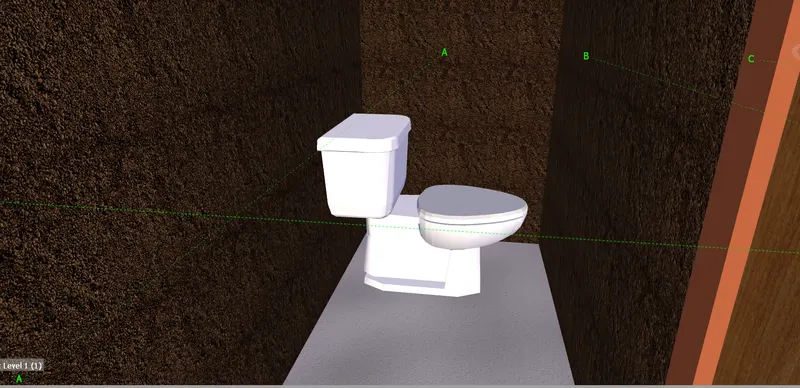
- Hence, Walk through the building is completed.
Result:
Walk around the model is completed.
3.
Aim:
To use Realism feature to walk through the model and record moving as animation in Navisworks file.
Procedure:
- In the Naviswork software under the Viewport tab go to Realism and in realism choos third person.
- Now, again record the moving from save viewport option.
- Entrance area:
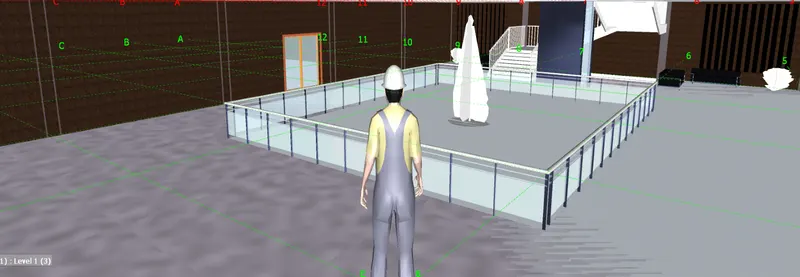
- Conference area and work station:
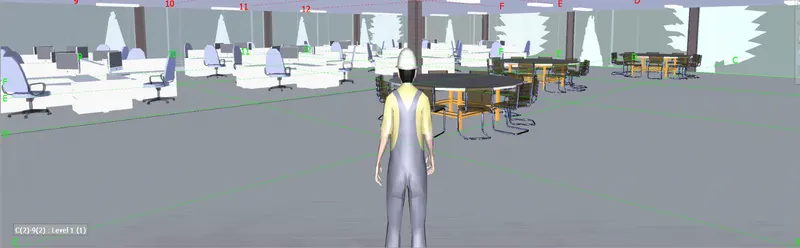
- Manager's Room:
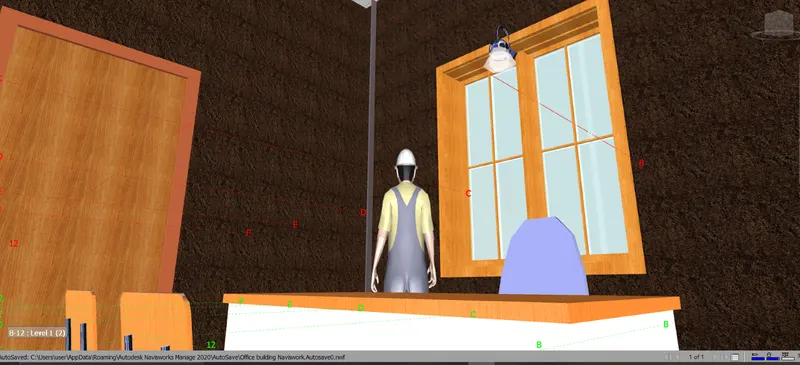
- Courtyard:
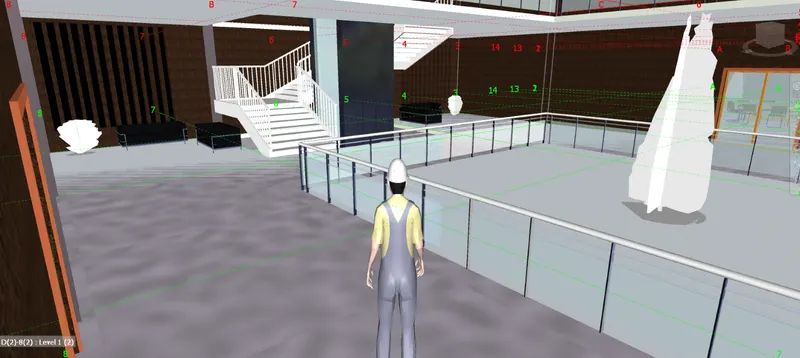
- Cafeteria:
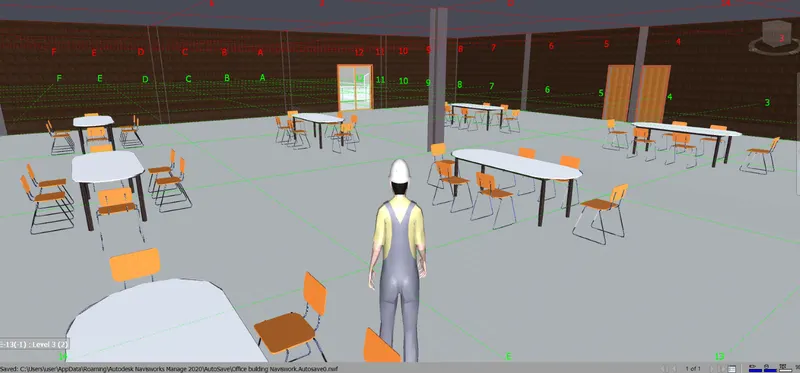
- Wash area at cafeteria:
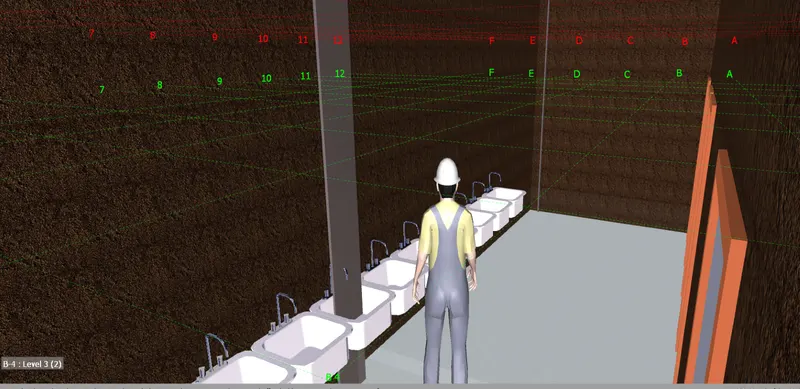
- Hence, the realism walk around is completed.
Result:
Walk through the model using Realism is completedly successfully.
4.
Aim:
To create the clash detection test between the two models.
Procedure:
- Initially append the structural model to this architetural model.
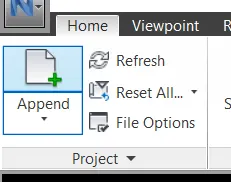
a)
- Initially go to home tab and in that choose clash detective icon.

b)
- Study the clashes between two models:
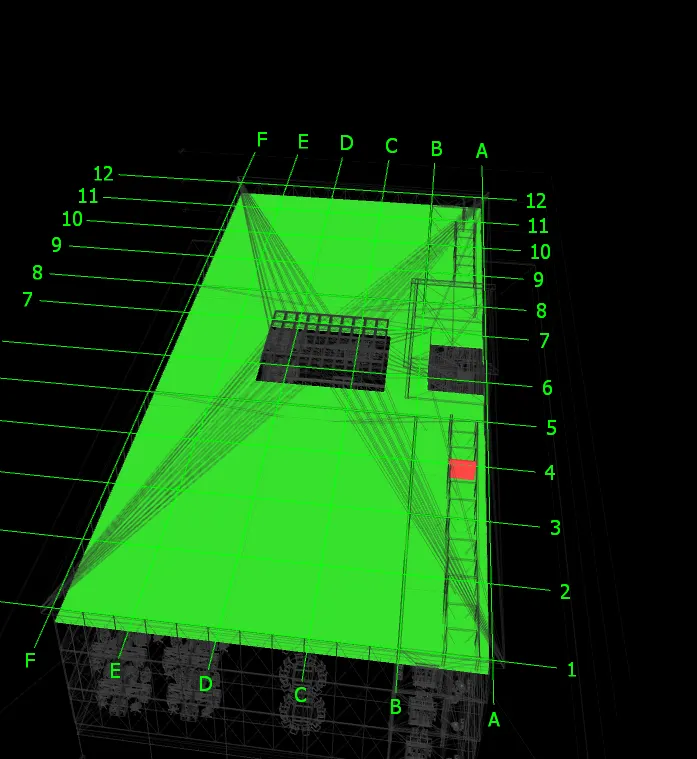
c) List which of the clashes could be approved
d) List which of the clashes could be neglected ( will be taken care later)
e) List which of the clashes can be resolved
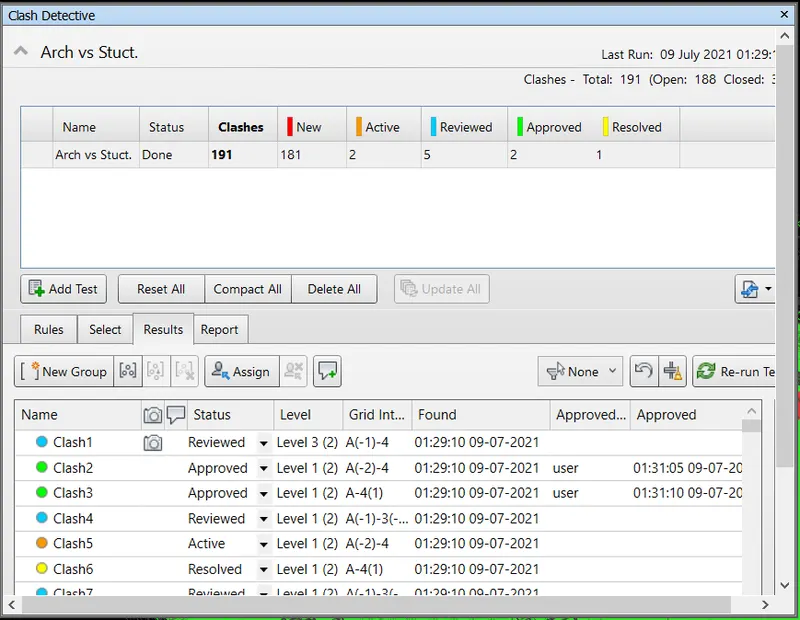
f) Save the results after color coding the clashes to the Navisworks file
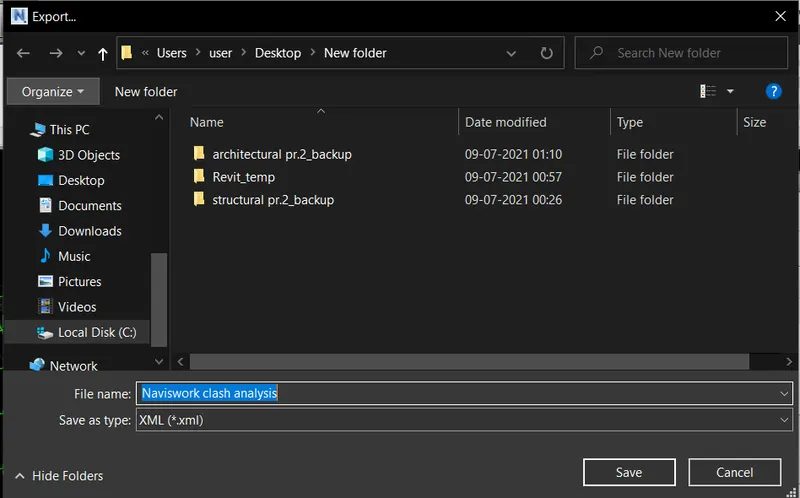
- Hence, completed.
Result:
The Naviswork clash analysis have been successfully carried out.
5.
Aim:
To use the Timeliner feature in Navisworks to prepare a schedule for the project developed in week 6 to 8 by adding reasonable assumptions for task start date and end date and simulate the task completion as a visual simulation.
Procedure:
- Initially open the structural model in the revit.
- Then go to file menu --> Export --> NWC file.
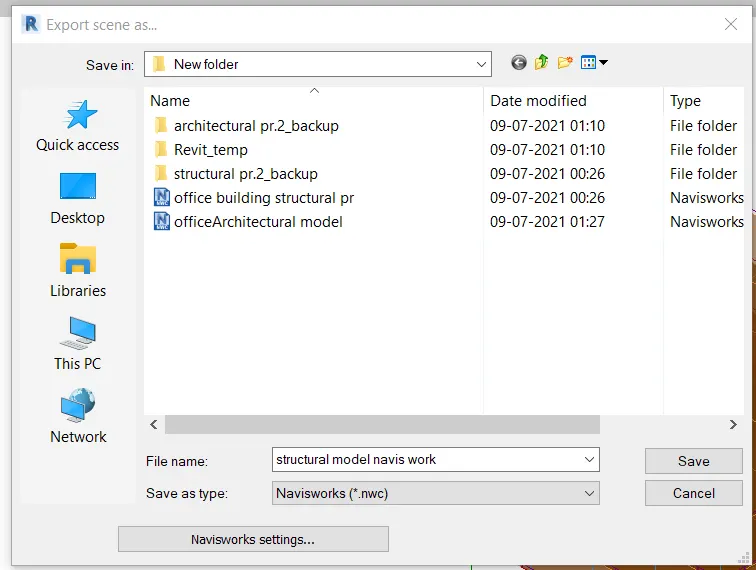
- Now, open the structural model in Naviswork software.
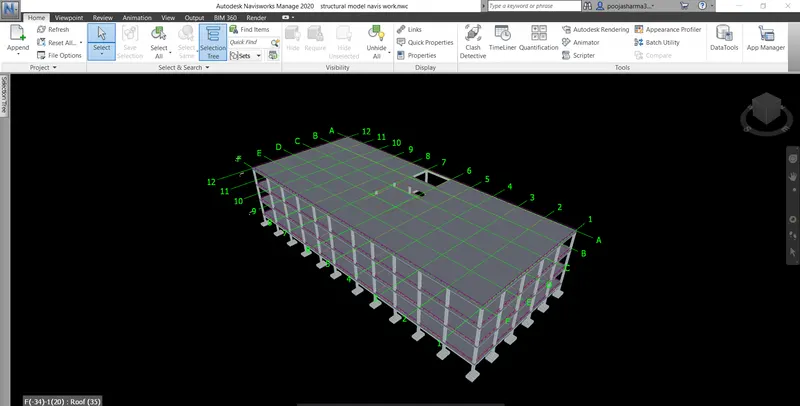
- Now, go to Timeliner in the home tab.
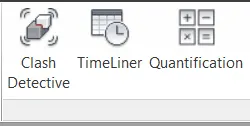
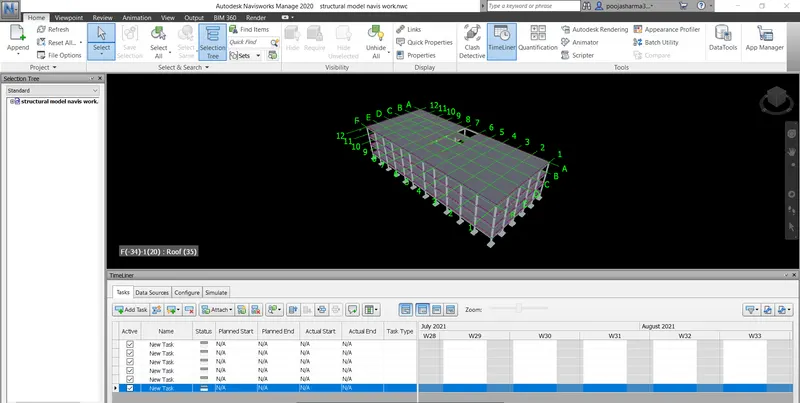
- Click add task option available in the Timeliner to add new tasks.
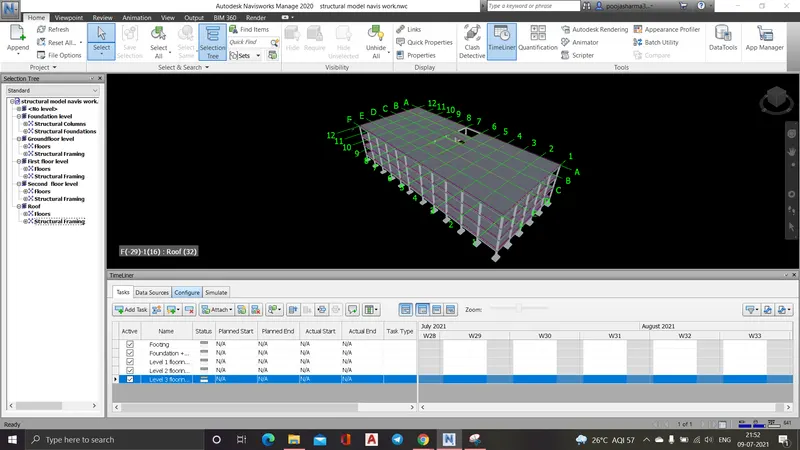
- Next we have to update the planned and actual dates and provide type (construct).
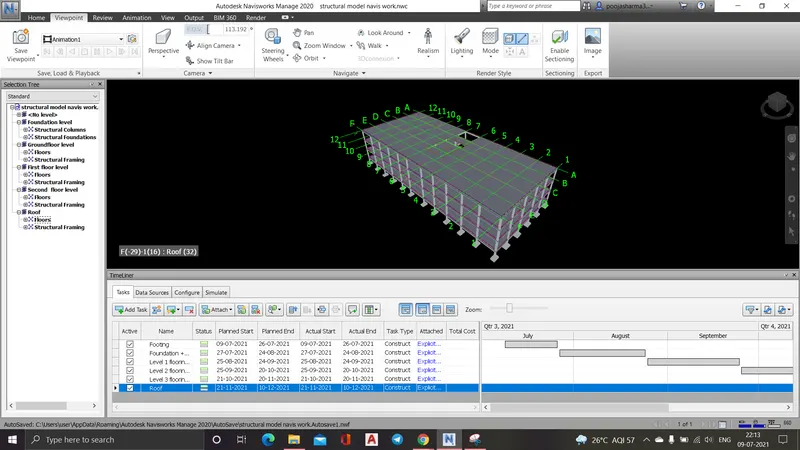
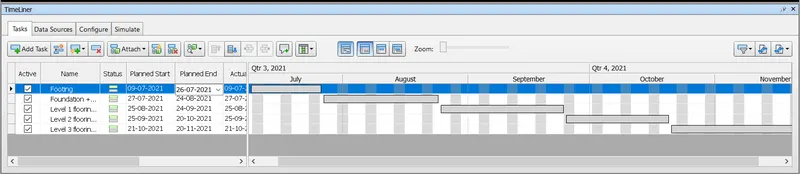
- Click on simulate and record it and save the work.
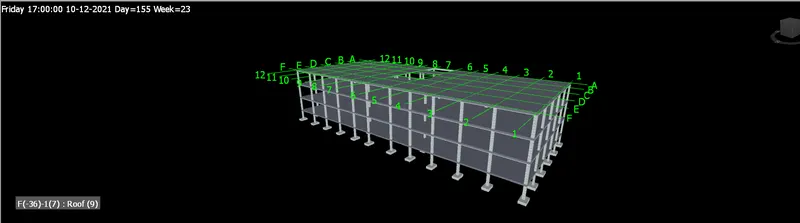
- Hence, the Timeliner simulation is completed.
Result:
Timeliner feature in the navis work has been successfully completed and the result is given below-