Usage of Navigation tool , Timeliner and Clash Detection test using Naviswork
Q.1 Utilize the Architecture/ Structure Project file developed by you in Week 6 to 8. Export the Revit architecture and structure model to Navisworks Cache file following the export settings discussed in class
Answer-
- Architectural file.
- file.
- Open
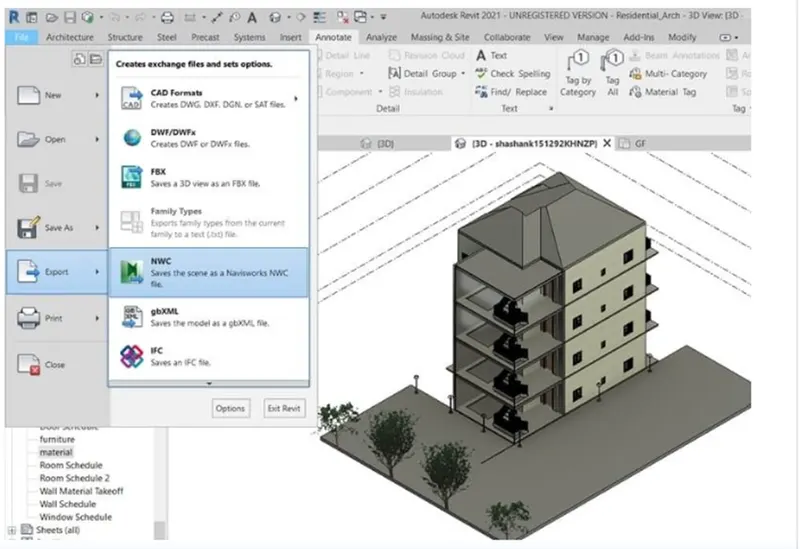
- Export.
- NWC.
- Navisworks.
- View.
- 3D view.
Procedure-
- the Revit file which is to be exported to the Navisworks file is to be opened with the support of the file icon.
2.Click on File and choose export advice and choose NWC, the exporting work gets completed, Now open Navisworks software and click on open tool from the file menu.
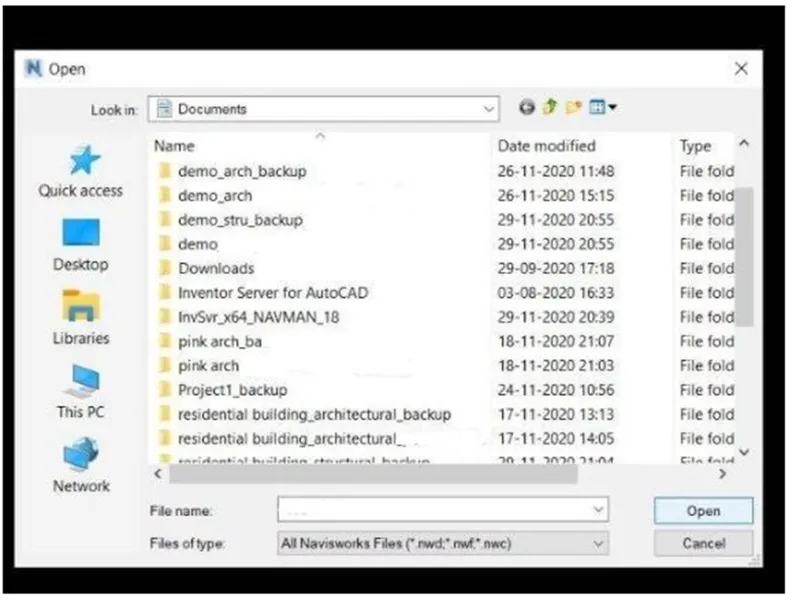
3.Open dialog box displays, choose the file which we want to open in Navisworks and choose the NWC extension and click on ok.
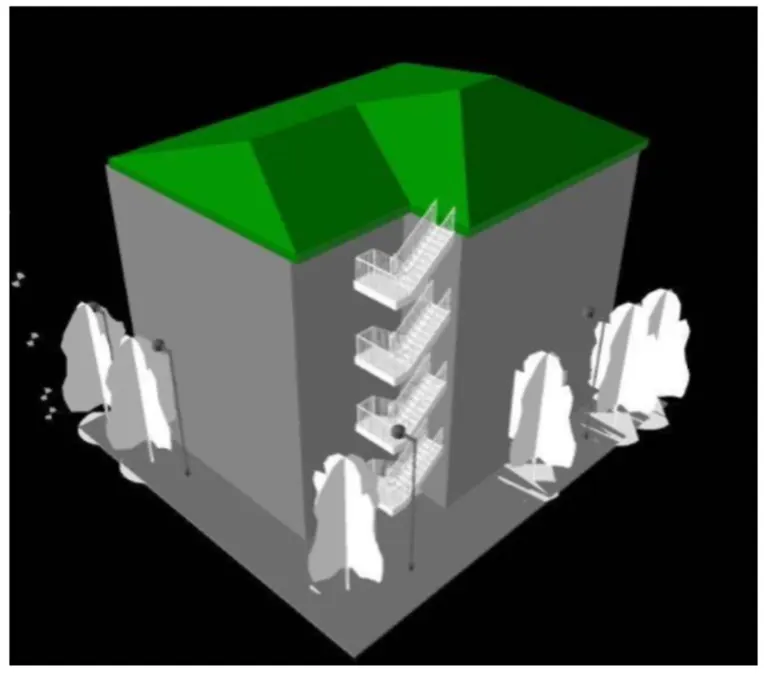
4.The Revit file gets opened in the Navisworks software, then we can manage the components in the Navisworks and perform important interchanges.
RESULT :
We have strongly exported Revit architectural and structural model to Navisworks cache file with the support of Navisworks software.
Q2) Utilize Navigate Tool to walk around the model and walk through the rooms generated and record your moving as animation in your Navisworks file.
ANSWER-
AIM- Utilize navigate tool to walk around the model and walk through the rooms cheated and record the moving as animation in the Navisworks file.
TOOLS UTILIZED:
- Architecture file.
- Navisworks.
- Viewpoint.
- save viewpoint.
- Walk.
- Record.
- Stop.
- Arrow keys for movement.
PROCEDURE-
- Open the architecture file which we want to export to Navisworks.
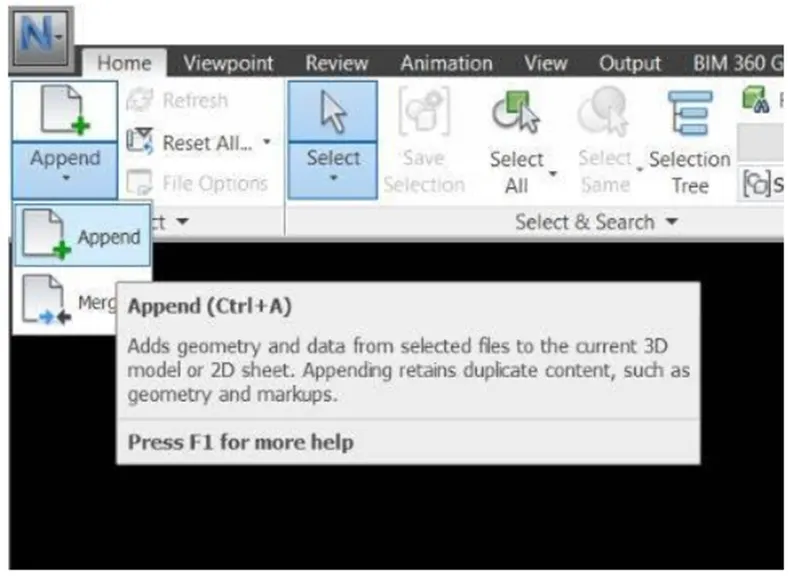
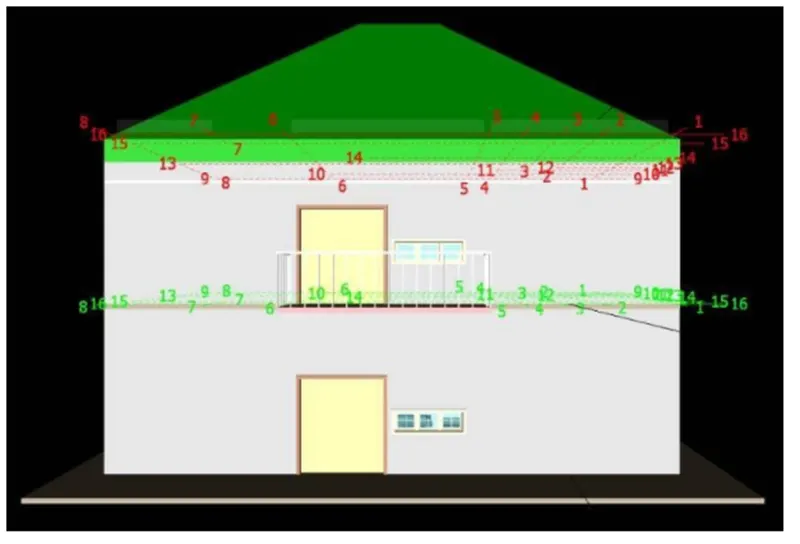
- Then Click on the viewpoint tool and choose save viewpoint advice.
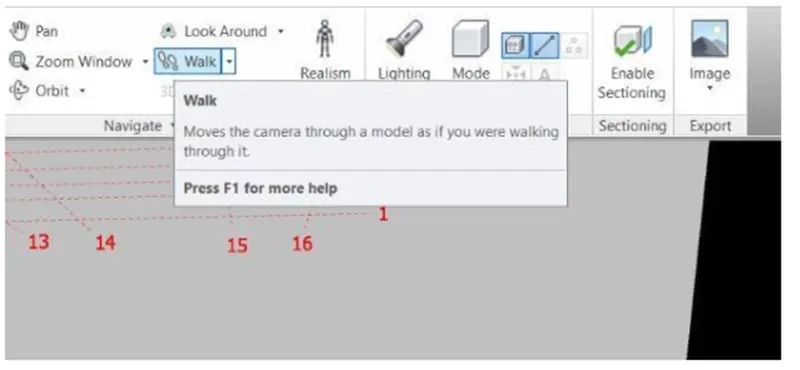
3.views are to be saved by giving proper names.
4.Now choose walk advice and Utilize the cursor to choose where we want to initiate the walk. with the support of arrow keys, the view in the project can be moved.
5.Now with the support of walk tool we can move to the wanted position where we desire and interchange the design according to our desire.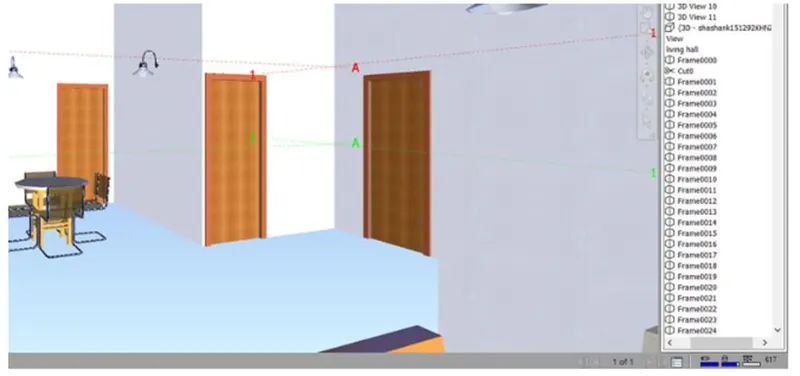
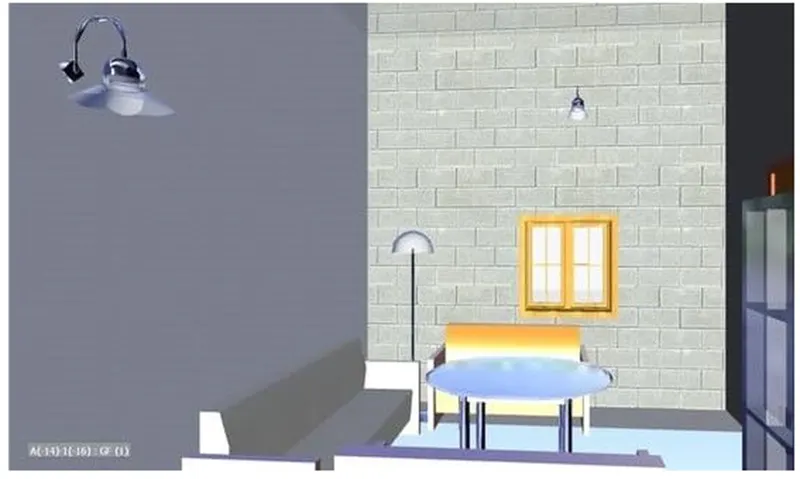
6.with the support of the record advice, we could record the walk then The pictures will be saved as frames.
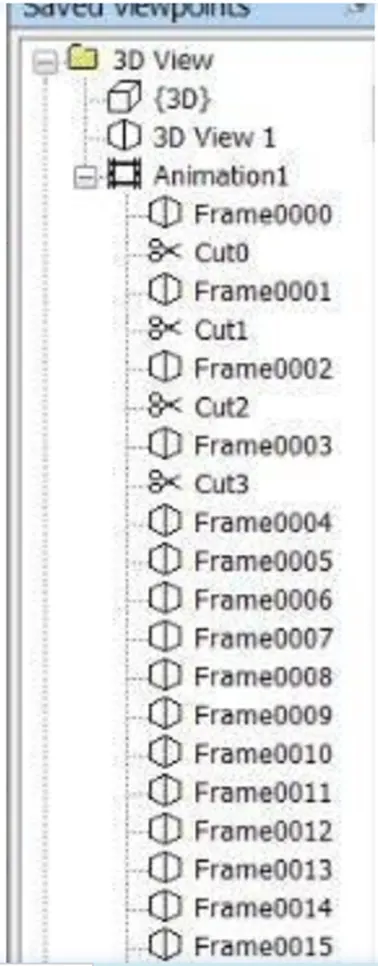
RESULT :
With the support of navigate tool we have generated walk through to rooms and recorded moving as animation in Navisworks file.
Q.3) Utilize Navigate tool to Utilize Realism feature to walk through the model and record your moving as animation in Navisworks file.
AIM- To Utilize navigate tool to Utilize the realistic feature to walk through the model and record our movings as animation in navisworks file.
TOOLS UTILIZED:
- Navisworks.
- Viewpoint.
- Save view point.
- Walk.
- Record.
- Stop.
- Arrow keys for movement.
PROCEDURE:
- the architecture file which we want to export to the Navisworks is to be opened.
- Then click on viewpoint tool and followed by choosing save view point advice.
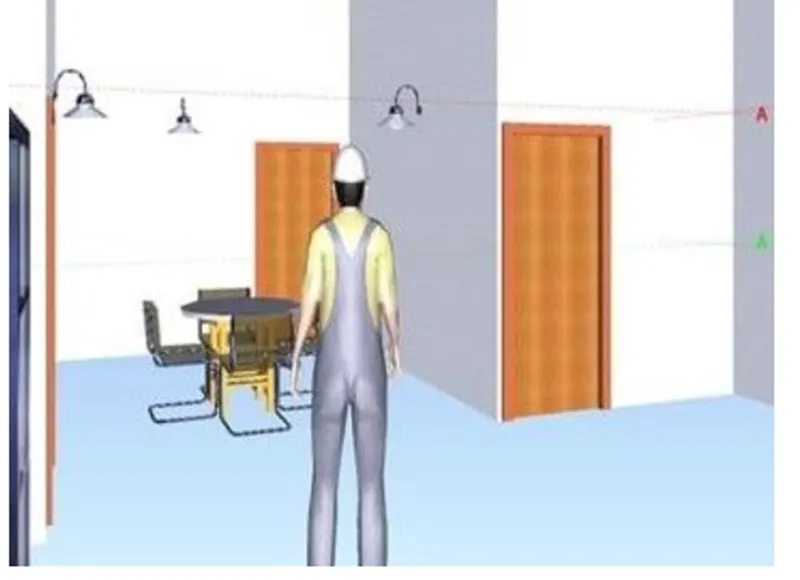
- Save the view with proper name and click enter, click on the realistic advice from the ribbon and choose third-person advice.
- Now choose walk advice and Utilize the cursor to choose where want to initiate the walk.
- we can move the view in the project with the support of arrows.
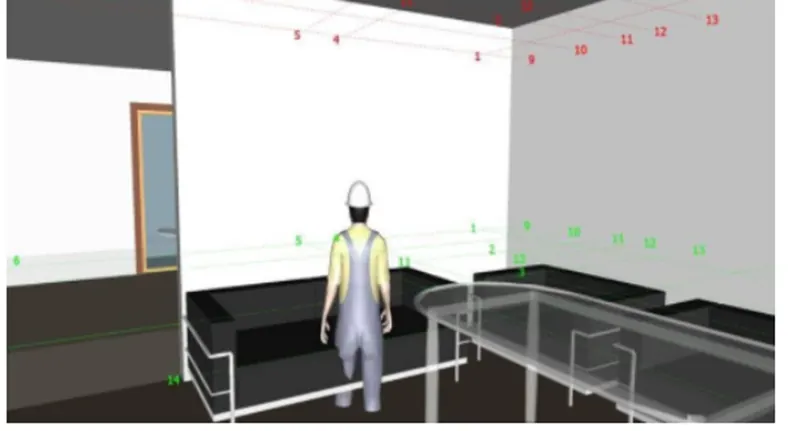
- With the support of walk tool we can move to the wanted position where we desire to interchange the design according to our desire.
- Now we can utilize the record advice and record the walk with the support of realistic third person, the pictures will be saved as frames.
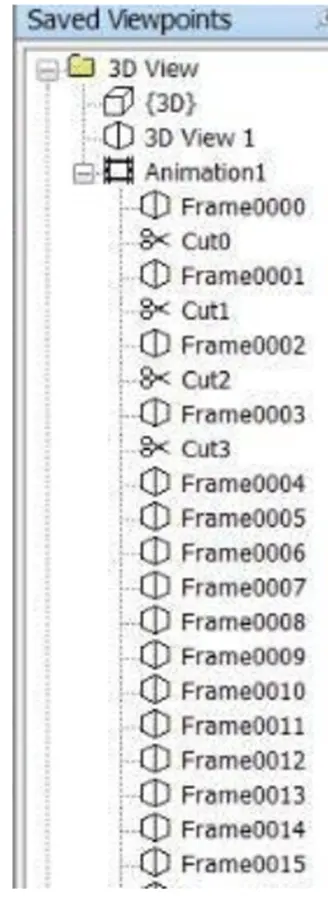
RESULT :
With the support of Navigation tool, we have Utilized realistic feature to walk through the model and recorded our moving’s as animation in Naviswork file.
Q.4 Embed both architecture and structure *.nwc file to your Navisworks file. Create a clash detection test between the two models
- Run the Clash Detection Test
- Study the clashes between the two models
- List which of the clashes could be grantd
- List which of the clashes could be not considered ( will be taken care later)
- List which of the clashes can be resolved
- Save the results after color coding the clashes to the Navisworks file
- In case of resolution annotate the clash and save the view to defined views in Navisworks
Answer-
AIM- To create a clash detection test between the architectural and structural model.
- Run the Clash Detection Test
- Study the clashes between the two models
c. List which of the clashes could be grantd
d. List which of the clashes could be not considered ( will be taken care later)
e. List which of the clashes can be resolved
f. Save the results after color-coding the clashes to the Navisworks file
g. In case of resolution annotate the clash and save the view to defined views in Navisworks.
TOOLS UTILIZED:
- Open.
- architecture file
- home
- affix test
- Append.
- Clash detection.
- clash detection dialog box
- Run test.
PROCEDURE:
a)
- Once load and open the structure and architecture files, we can initiate the clash test.
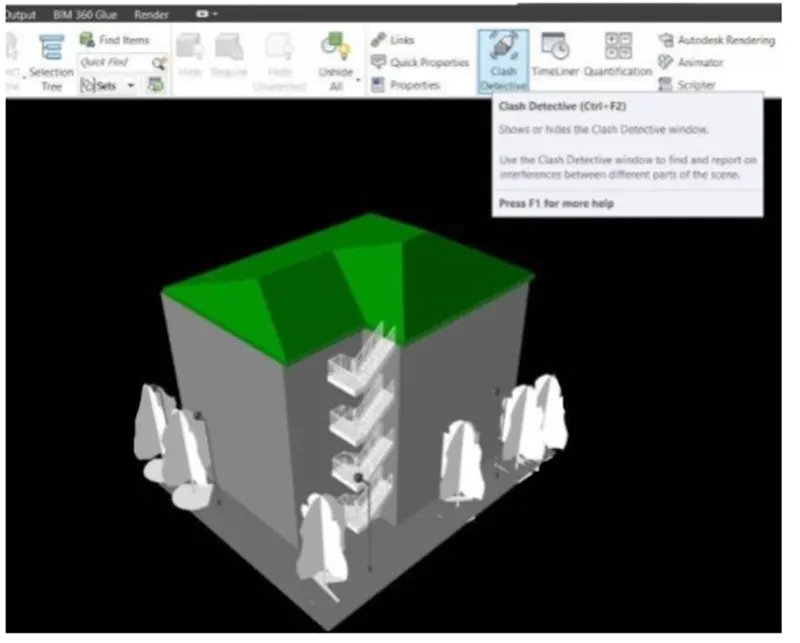
- Then Go to home menu and choose clash detective, Clash detective dialog box displays.
b)
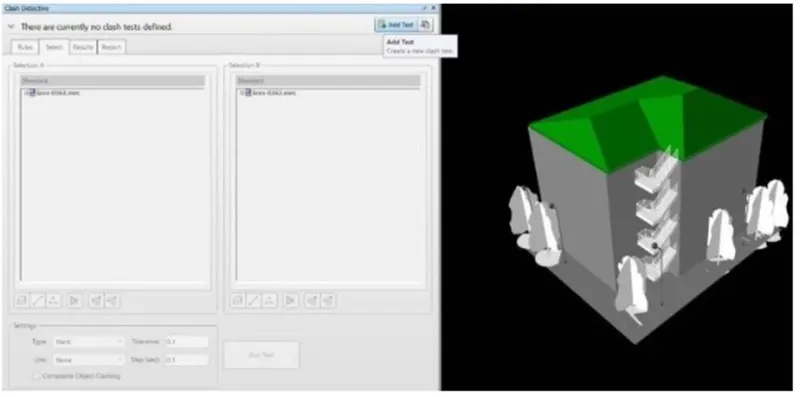
- Click on affix test advice.
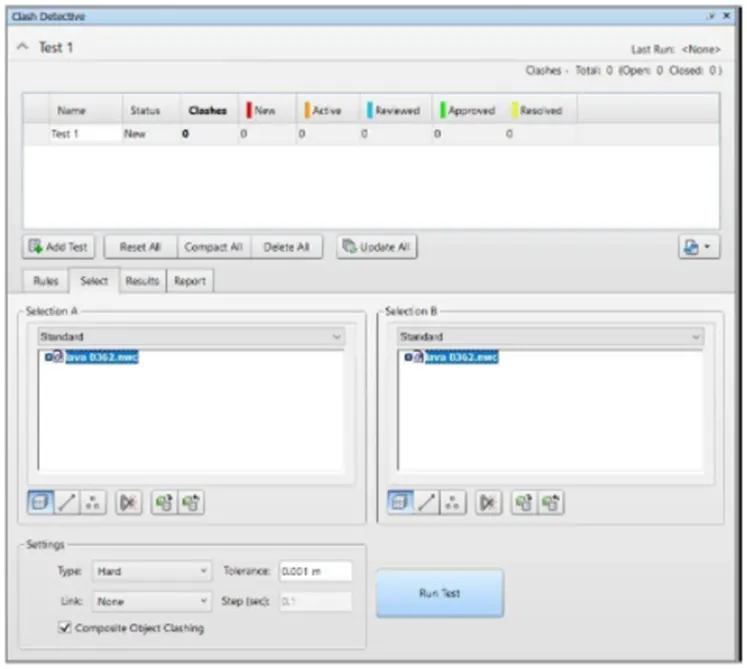
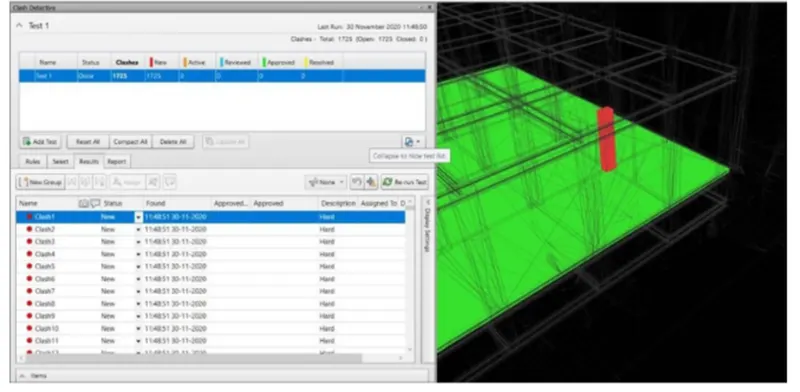
- Then choose the files which we want to test then click on run test.
c)
clashes can be grantd as part of the construction, these clashes will not appear anymore. it turns into green colour once we click grant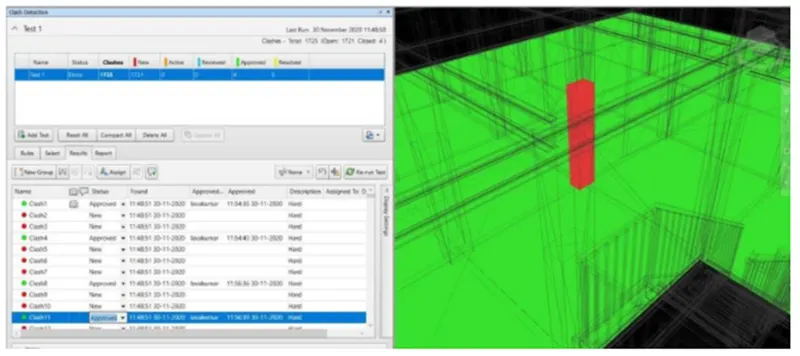
d)
the clashes which will not CA Utilize any disturbance to the project can be not considered.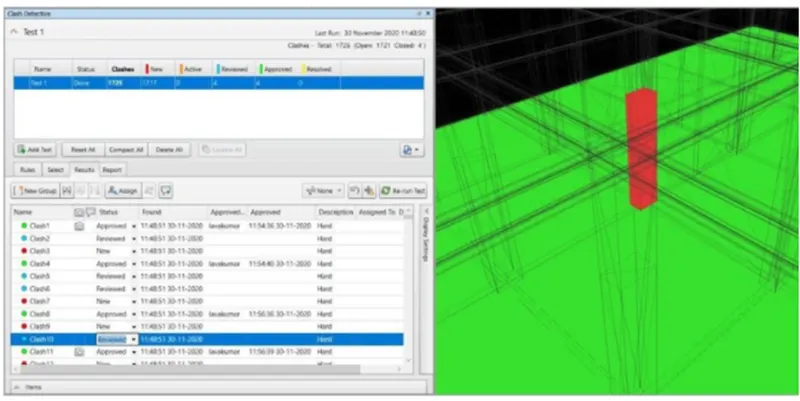
- e)
Clashes can be resolved which can interchange model boundary conditions, these clashes can be excluded from the detective test.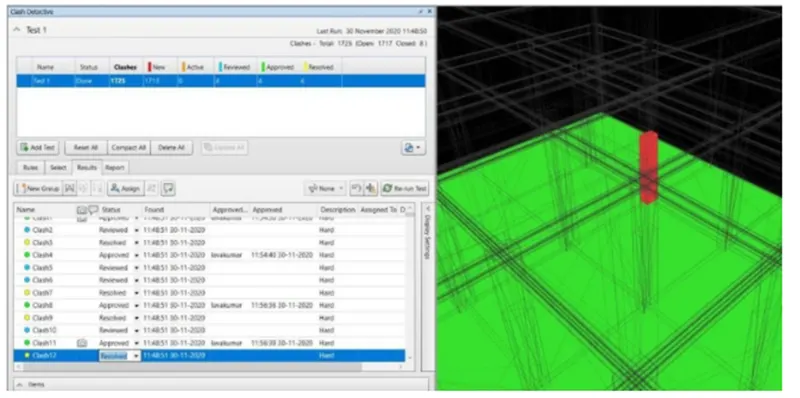
f)
Once we interchange all the clashes we can save the Navisworks file. Now, this file is ready and can be sent for review.
- g)
We can annotate and save the place where we can clash are visible and is viewed personally and will be rectified by the design engineer. 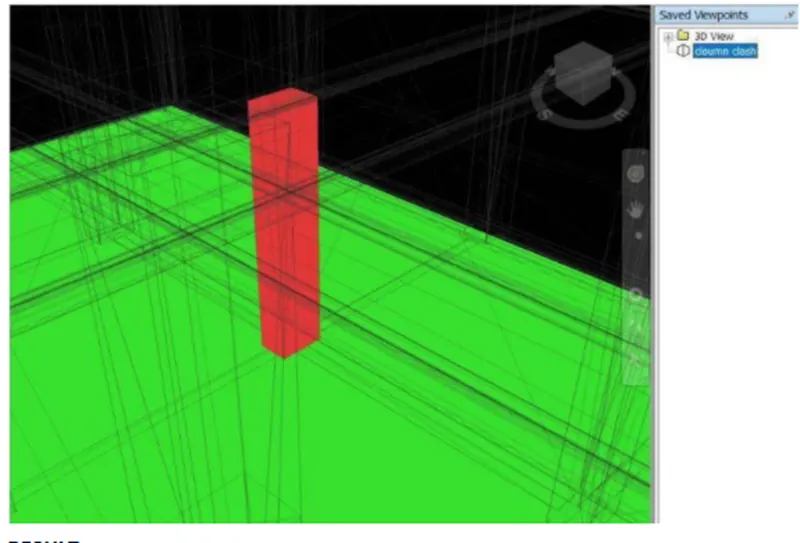
RESULT :
we have strongly performed the clash detection test where we can resolve the problems and send the file to the design engineer for corrections.
5) Utilizing the Timeliner feature in Navisworks prepare a schedule for the project developed in week 6 to 8 by affixing reasonable assumptions for task initiate date and end date and simulate the task completion as a visual simulation. Record it and save the timeline simulation to Navisworks file.
ANSWER-
AIM- utilizing the Timeliner feature in Navisworks we can prepare a schedule for the project by affixing reasonable assumptions like task initiate and end date and simulate the task.
TOOLS UTILIZED:
- Home.
- Navisworks
- Timeliner dialog box
- simulate
- Timeliner.
- Affix task.
- Chooseion tree.
PROCEDURE:
- Open the Navisworks file and click on timeliner tool from the home menu, now timeliner dialog box displays.
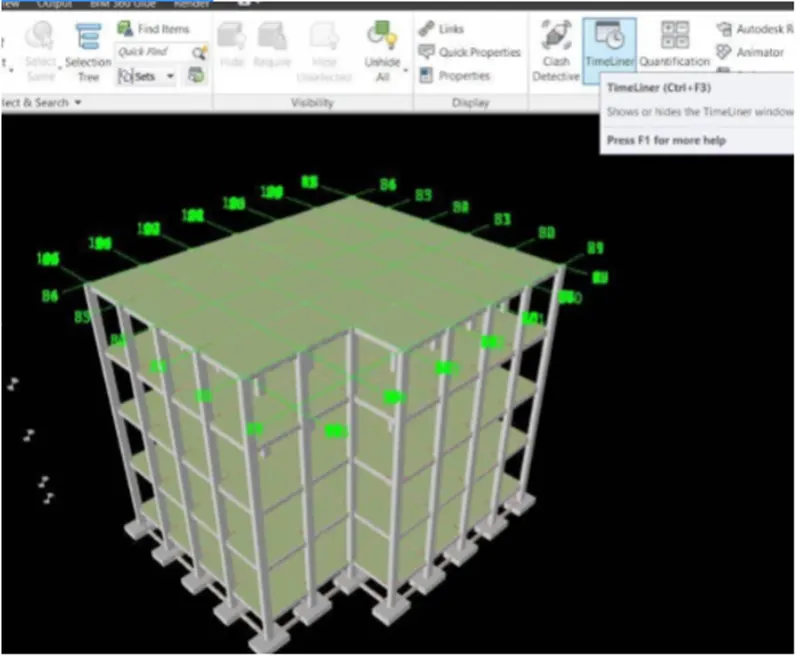
- Choose the components by Clicking on the Choose ion tree and affix them to the timeliner.
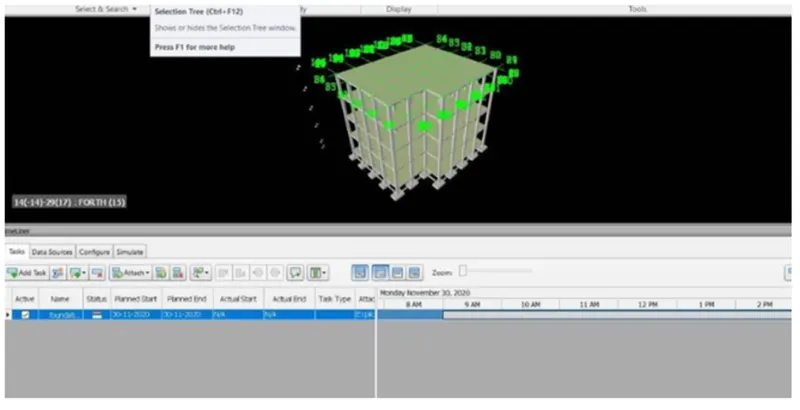
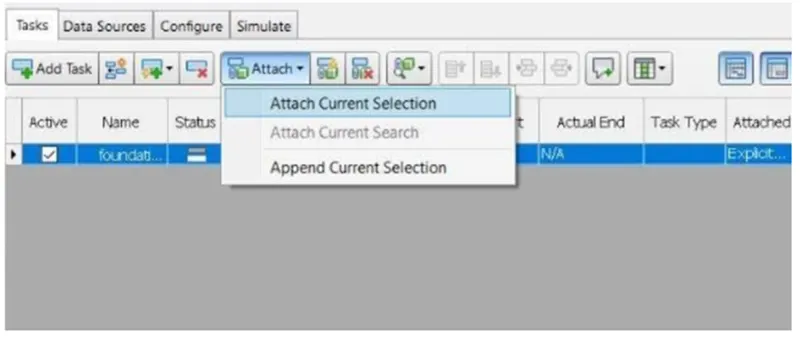
- Then click on affix task to affix the first work in the project, we can affix the actual and planned initiate and end dates, we can choose the task type for construction.
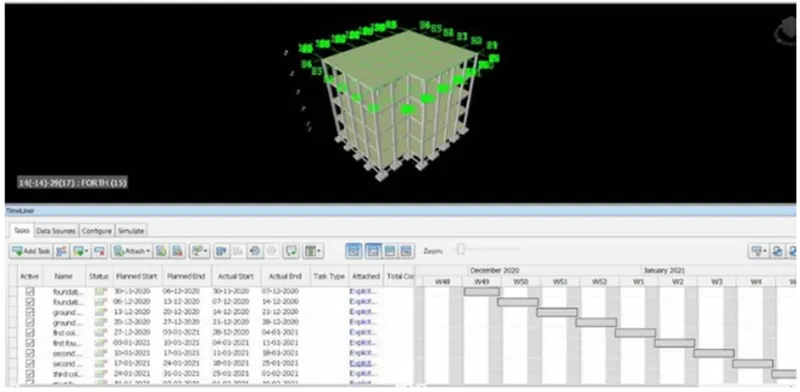
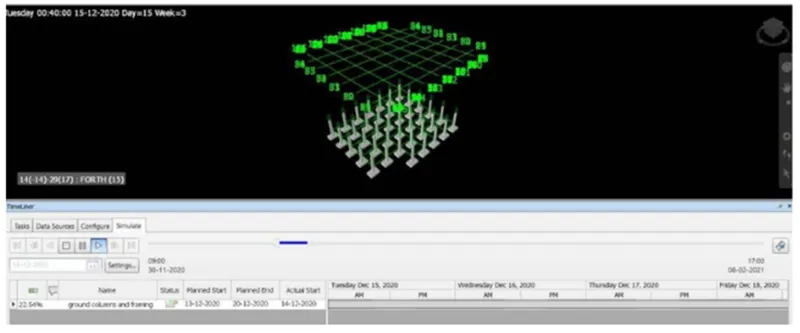
4.Once we fill all the details in the timeliner dialog box we can click simulate advice.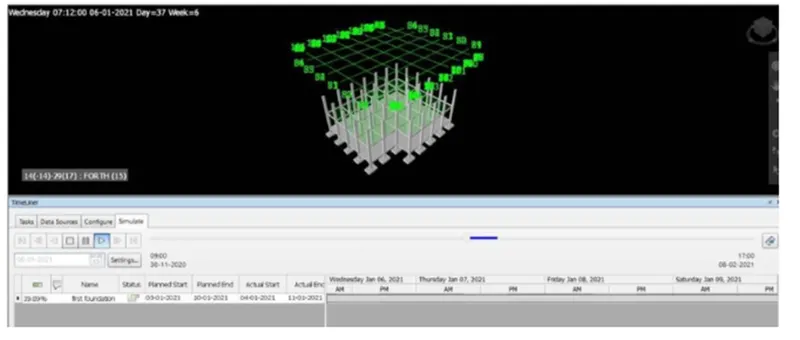
5.The simulation begins and we can see the construction from the initiating date to ending date in the form of video.
RESULT :
we have Utilized timeliner feature in navisworks to prepare a schedule for the project developed in previous weeks and affixed some reasonable assumptions for the task like initiate date and end date and simulated the task completion as a visual simulation and saved the timeliner simulation to Navisworks file