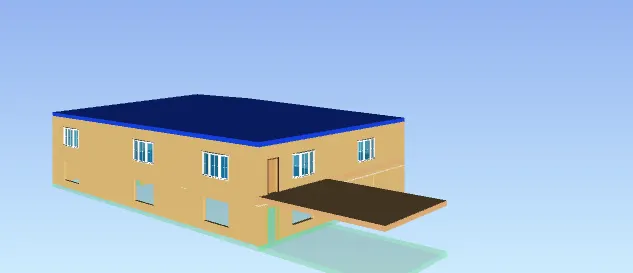
Usage of Navigation tool , Timeliner and Clash Detection test using Naviswork
1. ans.
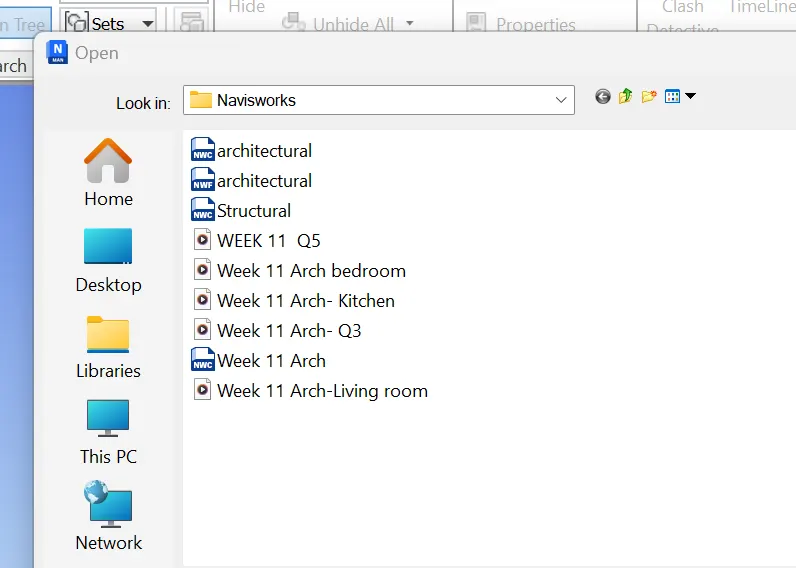
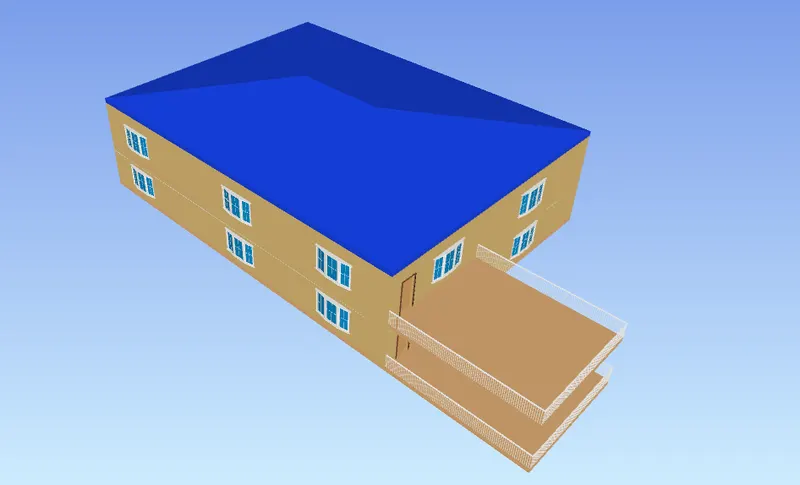
Aim:- Exporting the Revit architecture and structure model to the Navisworks Cache file following the export settings.
Tools used:- Revit, Projects, Export option, file menu, 3D view, etc.
Navisworks is Used primarily in construction industries to complement 3D design packages (such as Autodesk Revit, and AutoCAD), Navisworks allows users to open and combine 3D models; navigate around them in real-time (without the WASD possibility), and review the model using a set of tools including comments.
For exporting model:-
- Open Revit and open the Architecture projects created in previous challenges. Go to 3D view.
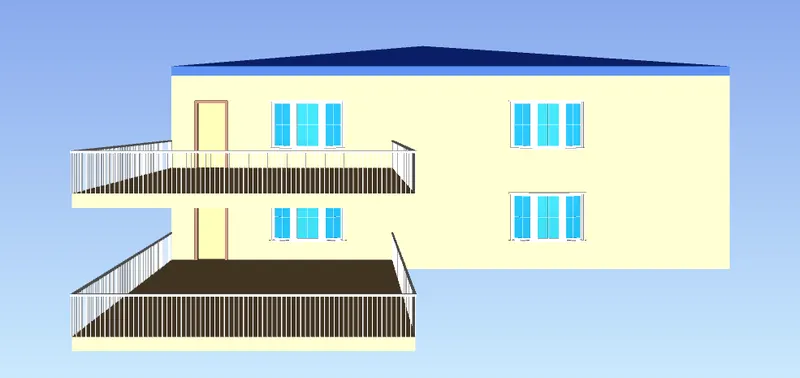
2. ans Aim:- Use Navigate Tool to walk around the model and walk through the rooms created and record our moving as animation in the Navisworks file.
Tools used:- Navisworks Manage, Viewpoint, Walk, Record option, etc.
Navisworks 3D project review software products use innovative technology to compress files for interactive visualization and smooth real-time walk-throughs, so we can navigate, explore, and review even the largest and most complex 3D models on standard PCs.
- Export the desired Architecture/Structure project to Naviswork and open the architectural exported model.
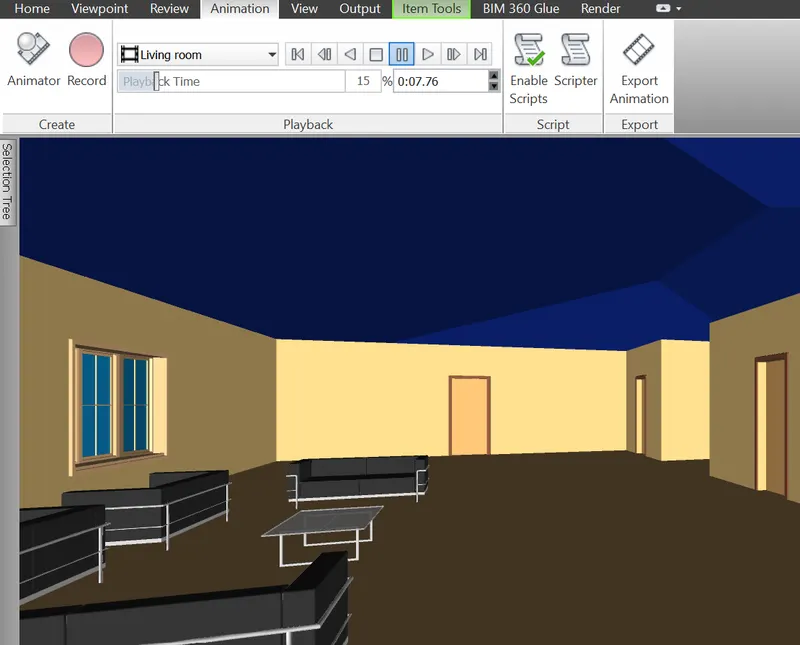
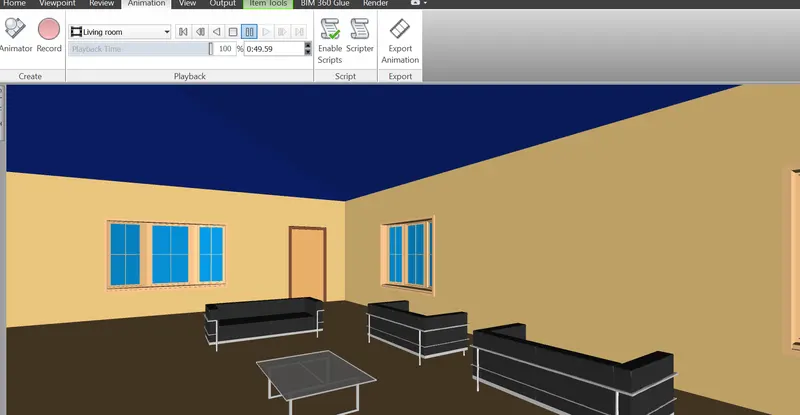
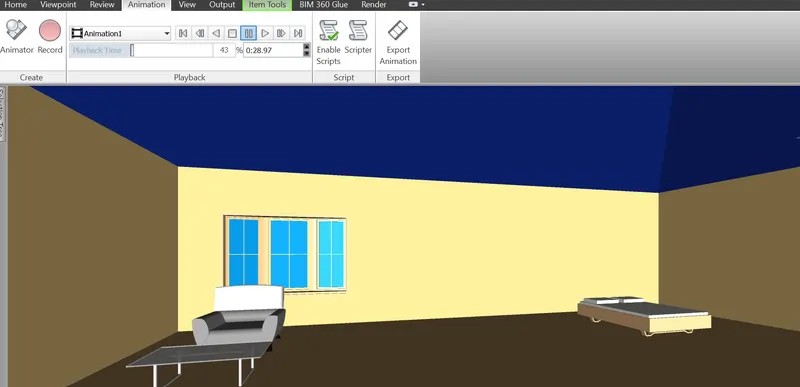
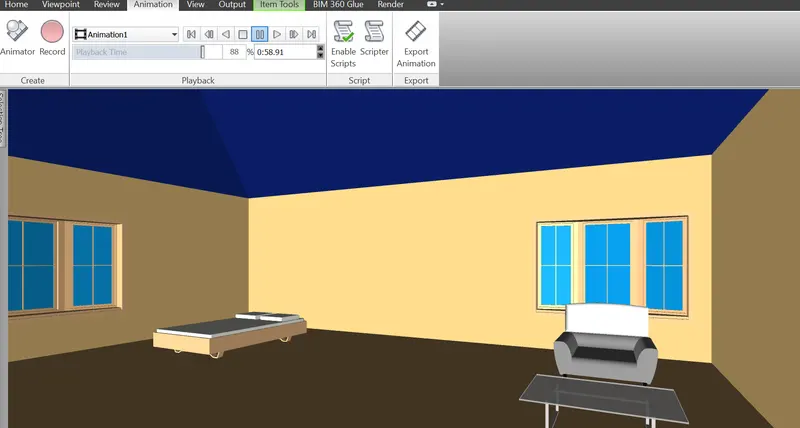
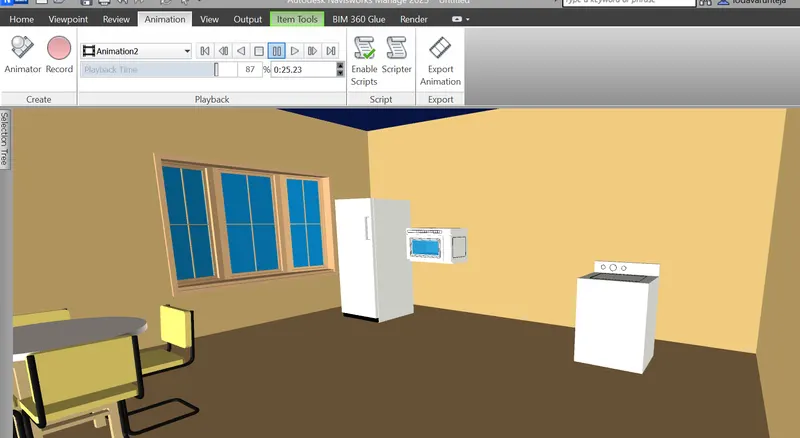
Click Stop after walking is complete. Walk Recording will be saved in a file
3. ANS
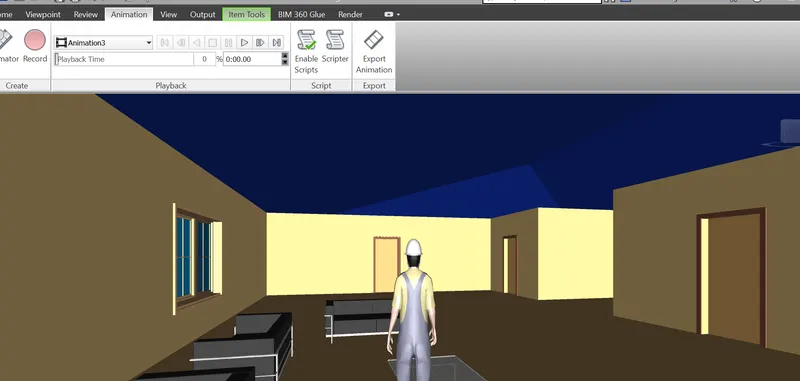
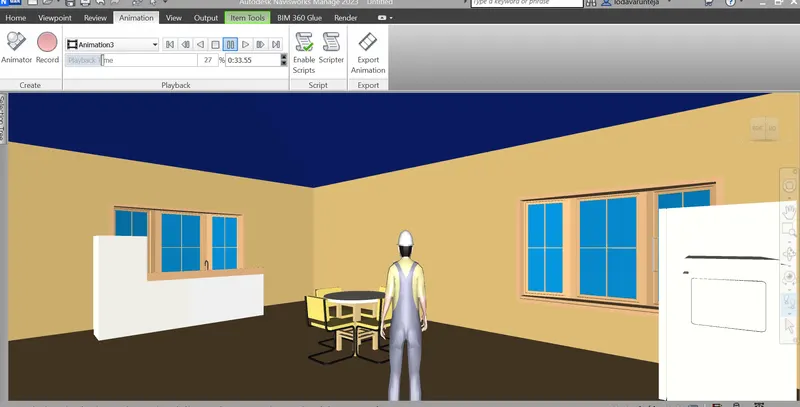
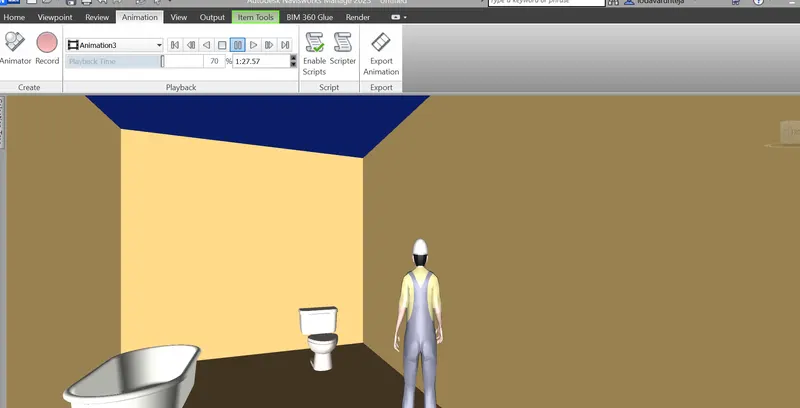
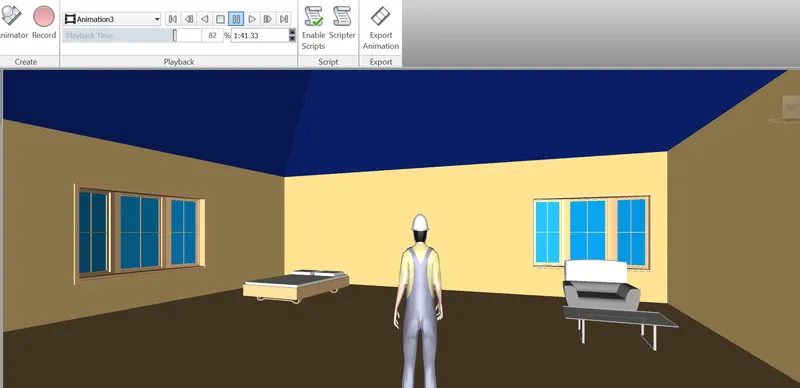
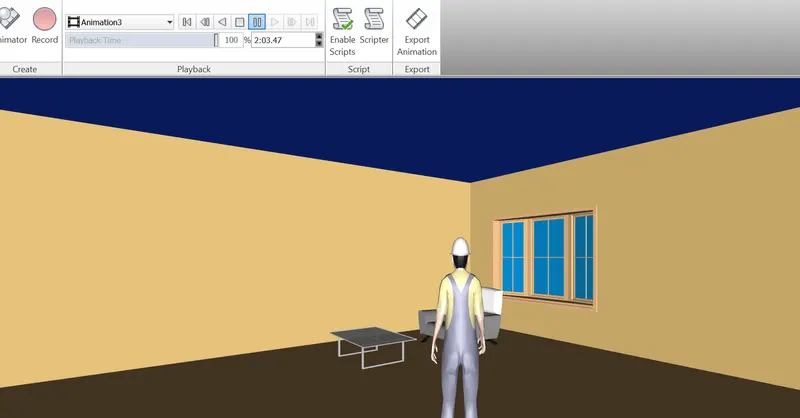
Aim:- Use Navigate tool to use the Realism feature to walk through the model and record our moving as animation in the Navisworks file.
Tools used:- Navisworks Manage, Viewpoint, Realism, Record option, etc.
Navisworks 3D project review software products use innovative technology to compress files for interactive visualization and smooth real-time walk-throughs, so we can navigate, explore, and review even the largest and most complex 3D models on standard PCs.
- Export the desired Architecture/Structure project to Naviswork. Select the Realism option and click on the third person option. Create a Viewpoint and click on Record.
- Start a Walk by clicking on walk option.
- Walk through various rooms.
- Click Stop after walking is complete. Walk Recording will be saved in file.
4. ANS
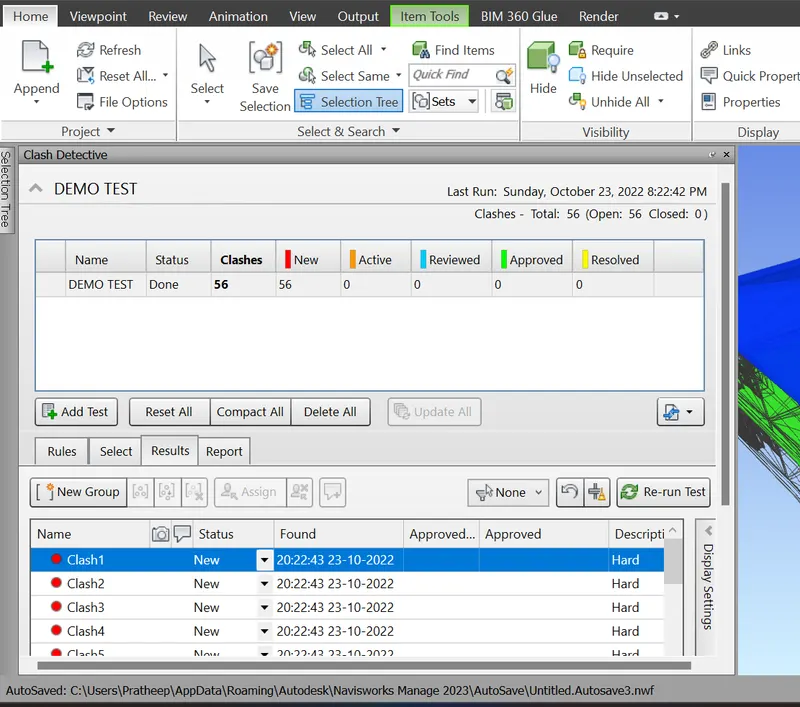
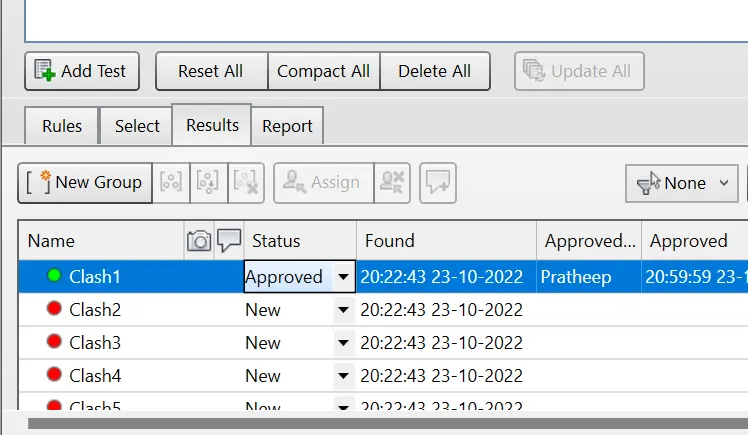
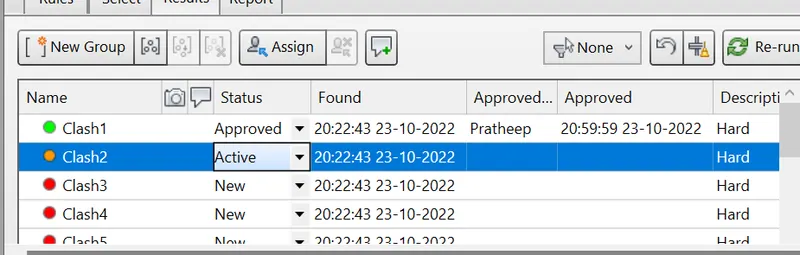
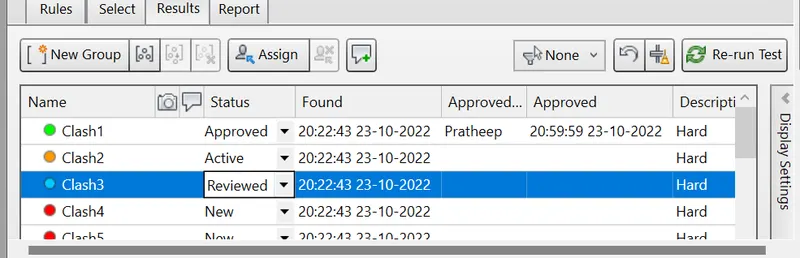
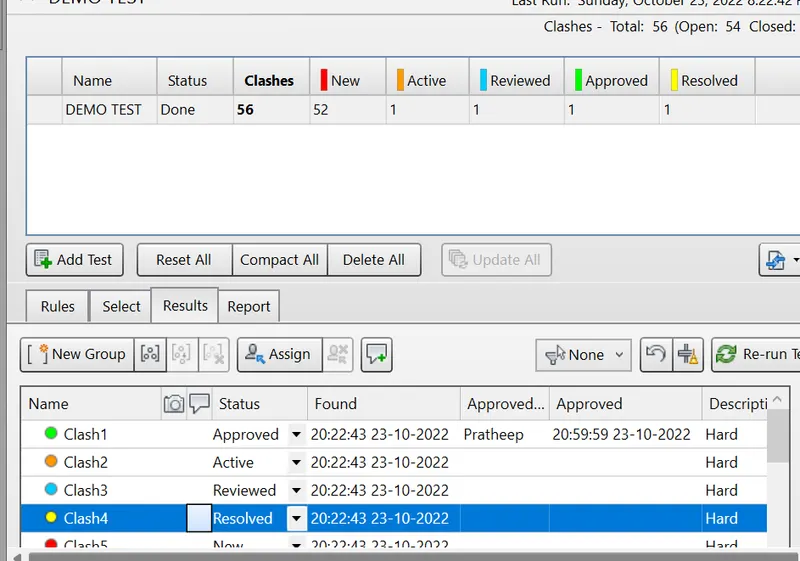
Aim:- Embedding both architecture and structure .nwc file to your Navisworks file. Creating a clash detection test between the two models.
Tools used:- Navisworks Manage, Clash detective, Add test, etc.
In Building Information Modeling (BIM), clash detection is the technique of identifying if, where, or how two parts of the building (e.g., plumbing, walls, etc.) interfere with one another. It is the method of identifying and inspecting the various building design interferences which frequently occur during the BIM coordination or Construction Gatekeeping process.
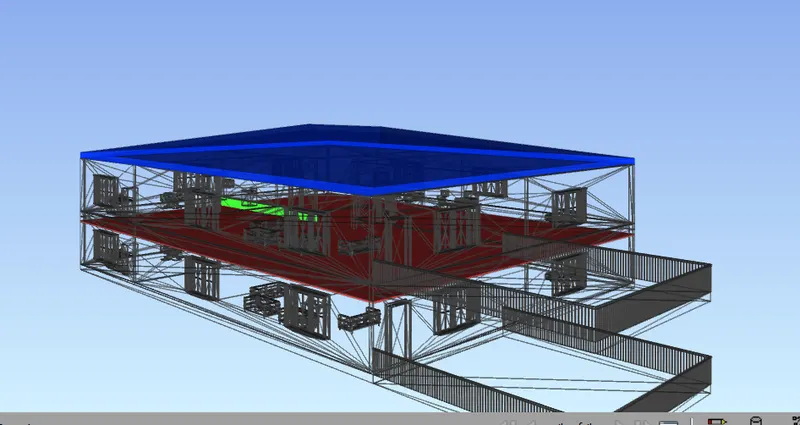
- Open the Exported Architectural and Structural project in Navisworks. First of all, open the architectural project and then append the structural one using the append option of the home tab.
5. ans.
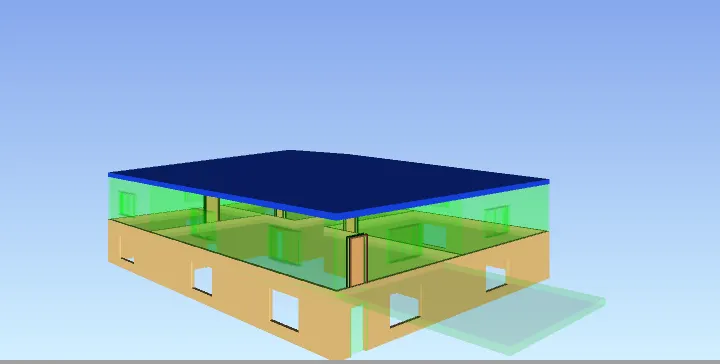
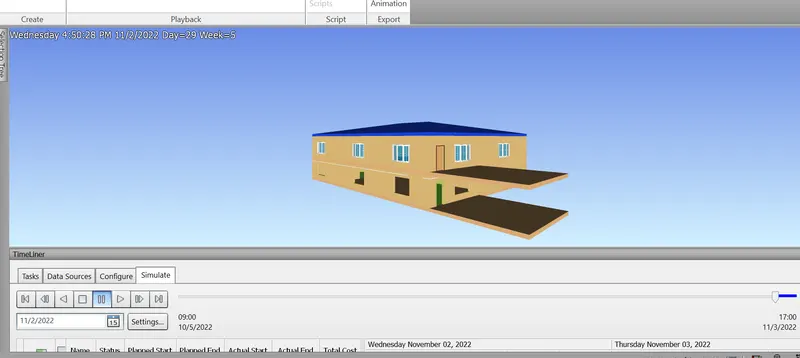
Aim:- Using the Timeliner feature in Navisworks prepare a schedule for the project developed in previous challenges and simulate the task completion as a visual simulation. Recording it and saving the timeline simulation to the Navisworks file.
Tools used:- Navisworks Manage, Timeliner, Add Task etc.
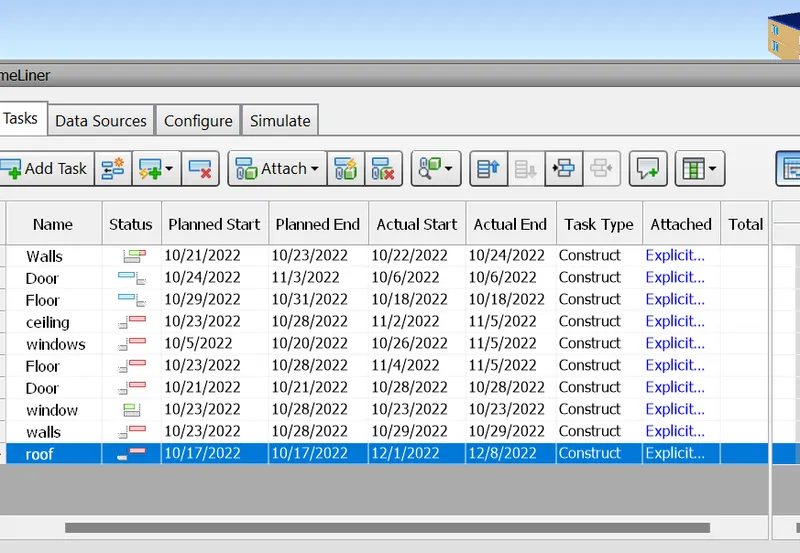
The TimeLiner tool enables us to link your model to an external construction schedule for visual time and cost-based planning. The timeline tool adds schedule simulation to Autodesk Navisworks. TimeLiner imports schedules from a variety of sources. We can then connect tasks in the schedule with objects in the model to create a simulation. This allows you to see the effects of the schedule on the model, and compare planned dates against actual dates. Costs can also be assigned to tasks to track the cost of a project throughout its schedule. TimeLiner also allows the export of images and animations based on the results of the simulation. TimeLiner will automatically update the simulation if the model or schedule changes.
- Open the Exported Structural Model in Naviswork.
- Click on timeliner option. timeliner window will appear. Select the add task and rename the appropriate components. Enter suitably Planned start date, end date, actually, start and end date. Specify the Task type as Construct.
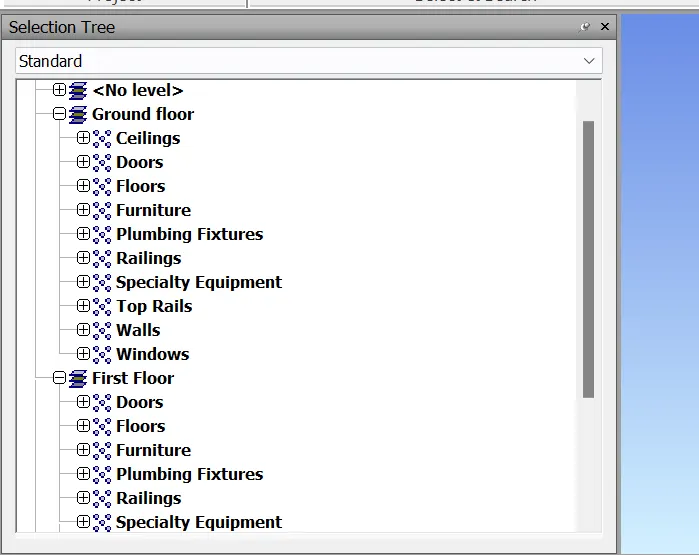
- Enter the selection tree and select the components and attach it using Attach option.
- Similarly add all details for all components of structures.
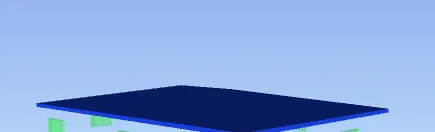
- Record the simulation and we can export it to the required format or save the file in Navisworks.