Usage of Collaborate tool in REVIT
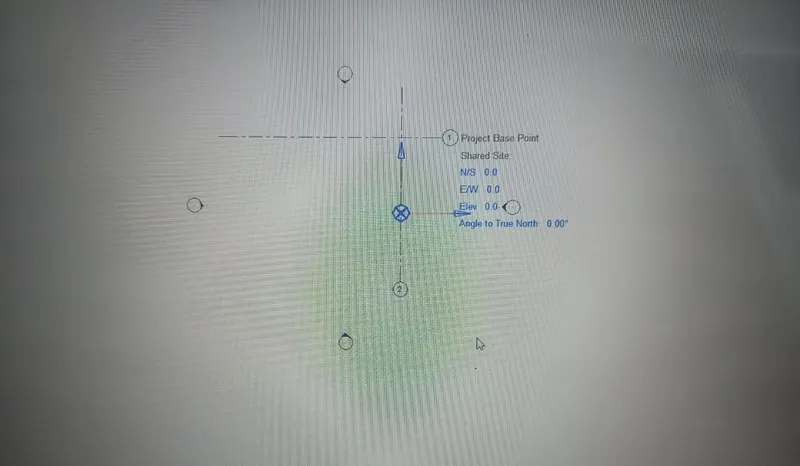
1) Open an architectural template. Using the Manage tab set project base point and project shared coordinates for the project
ANSWER:-
- Open new architectural template
- click on architectural
- select the grids and draw
- click on manage tab
- click on project location
- specify coordinates at points
- click on center point of the grids
- and enter zero and click ok
- type (vg) vissible graphics compand
- scroll down and select site option
- and expand the site option click on project base point
- and click ok
- and project base point shows in sheet
- put in the (0,0) in all directions.
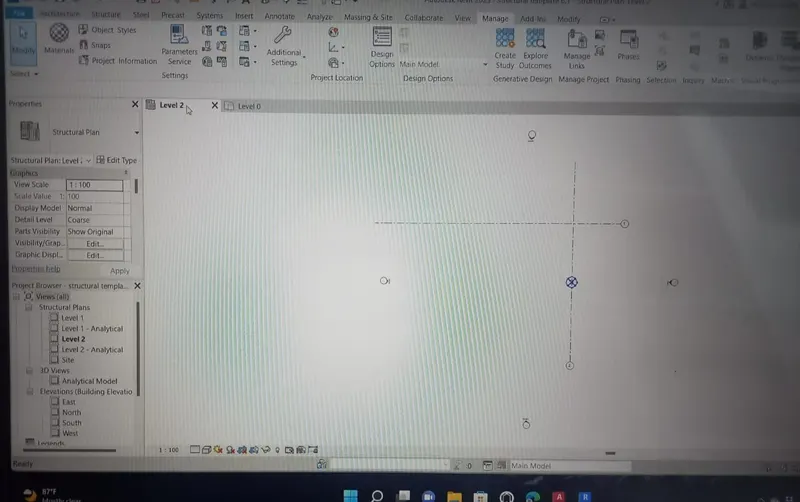
2) Open another new file but with a structural template. Using the manage tab set project parameters the same as the architectural model. Copy the parameters from the architectural model to the structural template or enter the parameters manually into the structural model
ANSWER:-
- Open new structural template
- click on architectural
- select the grids and draw
- click on manage tab
- click on project location
- specify coordinates at points
- click on center point of the grids
- and enter zero and click ok
- type (vg) vissible graphics compand
- scroll down and select site option
- and expand the site option click on project base point
- and click ok
- and project base point shows in sheet
- put in the (0,0) in all directions.
3) Re-open the architectural model. Using the tools under the Collaborate tab make the architectural model a central model (enabling simultaneous working on the model)
ANSWER:-
- Open new architectural template
- click on architectural
- select the grids and draw
- click on manage tab
- click on project location
- specify coordinates at points
- click on center point of the grids
- and enter zero and click ok
- type (vg) vissible graphics compand
- scroll down and select site option
- and expand the site option click on project base point
- and click ok
- and project base point shows in sheet
- put in the (0,0) in all directions.
- click on collabrate in cloud
- click on network option
- and save the file and then notification and click as yes
- then file is save as central module file.
4) Create the Grids Longitudinal and Transverse pattern for the project similar to the task done in Week 2
ANSWER:-
- Open new structural template
- click on architectural
- select the grids and draw
- click on manage tab
- click on project location
- specify coordinates at points
- click on center point of the grids
- and enter zero and click ok
- type (vg) vissible graphics compand
- scroll down and select site option
- and expand the site option click on project base point
- and click ok
- and project base point shows in sheet
- put in the (0,0) in all directions.
- click on collabrate in cloud
- click on network option
- and save the file and then notification and click as yes
- then file is save as central module file.
5) Synchronize the changes from the local copy to the central file of the architectural model.
ANSWER:-
- Open new architectural template
- click on architectural
- select the grids and draw
- click on manage tab
- click on project location
- specify coordinates at points
- click on center point of the grids
- and enter zero and click ok
- type (vg) vissible graphics compand
- scroll down and select site option
- and expand the site option click on project base point
- and click ok
- and project base point shows in sheet
- put in the (0,0) in all directions.
- click on collabrate in cloud
- click on network option
- and save the file and then notification and click as yes
- then file is save as central module file.
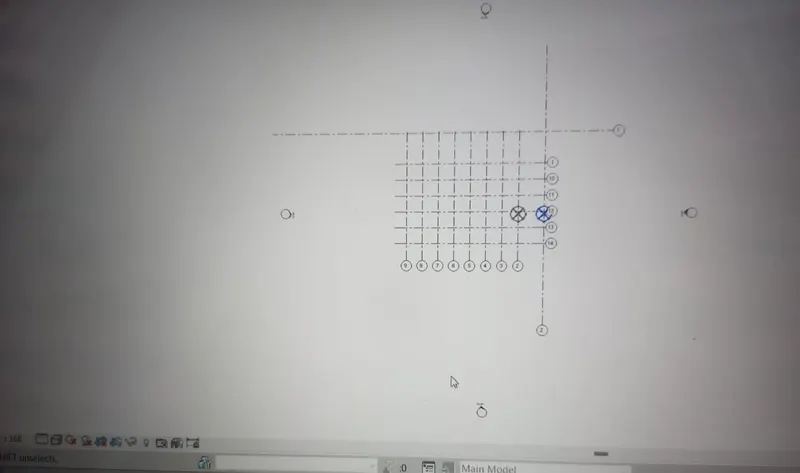
6) Open the structural model and use the collaborate tools to save the model as a central file.
ANSWER:-
- Open new architectural template
- click on architectural
- select the grids and draw
- click on manage tab
- click on project location
- specify coordinates at points
- click on center point of the grids
- and enter zero and click ok
- type (vg) vissible graphics compand
- scroll down and select site option
- and expand the site option click on project base point
- and click ok
- and project base point shows in sheet
- put in the (0,0) in all directions.
- click on collabrate in cloud
- click on network option
- and save the file and then notification and click as yes
- then file is save as central module file.
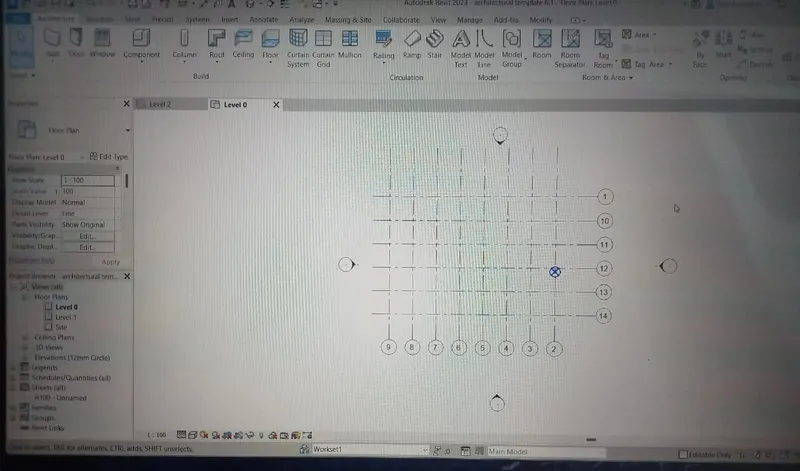
7) Under the Collaborate tab, select the grids and levels from the architectural model, and using Copy Monitor try to copy the grids to the structural model. See what happens when the copy monitored grid is moved around in the structural model
ANSWER:-
- Open new architectural template
- click on architectural
- select the grids and draw
- click on manage tab
- click on project location
- specify coordinates at points
- click on center point of the grids
- and enter zero and click ok
- type (vg) vissible graphics compand
- scroll down and select site option
- and expand the site option click on project base point
- and click ok
- and project base point shows in sheet
- put in the (0,0) in all directions.
- click on collabrate in cloud
- click on network option
- and save the file and then notification and click as yes
- then file is save as central module file.
- click on insert tab
- click on link revit
- insert the architectural template and click open
- click on (vg) vissible graphics compand
- click on revit link and unlink the architectural template and open
- click on collabrate option
- click on copy/monitor and click the set link
- click copy option and select multiple
- and click on finish
- and the click the above process in (vg) vissible graphics compand as click on revit link and unlink the architectural template and open
8) Create another new file with a construction template. Save the new file as a central model. This file will include both architectural and structural model. Under the manage tab, Click manage links to link both architectural and structural files. Save the file and close all the files.
ANSWER:-
- Open new architectural template
- click on architectural
- select the grids and draw
- click on manage tab
- click on project location
- specify coordinates at points
- click on center point of the grids
- and enter zero and click ok
- type (vg) vissible graphics compand
- scroll down and select site option
- and expand the site option click on project base point
- and click ok
- and project base point shows in sheet
- put in the (0,0) in all directions.
- click on collabrate in cloud
- click on network option
- and save the file and then notification and click as yes
- then file is save as central module file.
- click on insert tab
- click on link revit
- insert the architectural template and click open
- click on (vg) vissible graphics compand
- click on revit link and unlink the architectural template and open
- click on collabrate option
- click on copy/monitor and click the set link
- click copy option and select multiple
- and click on finish
- and the click the above process in (vg) vissible graphics compand as click on revit link and unlink the architectural template and open
9) Are the grids from structural and architectural model matching in the construction template created? If yes the model is set up for project 2. If not work on the shared parameters and linking options under Manage links
( Hint: origin to origin, by shared coordinates or by project base point to base point ) to link the models in an appropriate manner
ANSWER:-
- Open new constructional template
- click on architectural
- select the grids and draw
- click on manage tab
- click on project location
- specify coordinates at points
- click on center point of the grids
- and enter zero and click ok
- type (vg) vissible graphics compand
- scroll down and select site option
- and expand the site option click on project base point
- and click ok
- and project base point shows in sheet
- put in the (0,0) in all directions.
- click on collabrate in cloud
- click on network option
- and save the file and then notification and click as yes
- then file is save as central module file.
- click on insert tab
- click on link revit
- insert the architectural template and click open
- click on (vg) vissible graphics compand
- click on revit link and unlink the architectural template and open
- click on collabrate option
- click on copy/monitor and click the set link
- click copy option and select multiple
- and click on finish
- and the click the above process in (vg) vissible graphics compand as click on revit link and unlink the architectural template and open
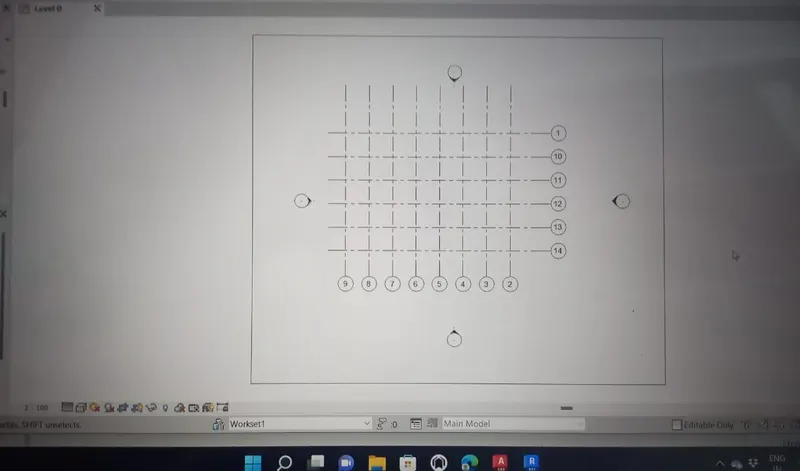
10) List a flow chart of a project tree set up in terms of Construction model, Architecture & Structure model, in this exercise and understand how many people can work on the same project using Revit simultaneously
ANSWERS:-
CONSTRUCTION MODEL:- This cna be classified into 2types
- Architectural model
- structural model
1.Architectural model:-
- modelling walls
- modelling windows
- modelling doors
- assigns materials
- modelling architectural floorings
- modelling architectural roofings and cellings
- enables to provide the geographic condition of
- modelling staircase
- creates openings
- create openings
- architectural model in overall contributes to the aesthetic beauty of a building.
2. structural model :-
- modelling column
- modelling beam
- modelling footing
- modelling structural floors
- modelling labs
- modelling tress systems
- modelling connections
- structural model in genearl develops the entire framework of a structure.