Usage of Collaborate tool in REVIT
1) Aim: To set a project base point and project coordinates using manage tab in architectural template
For this, Go to startmenu and double click on the revit software and the revit software opens
Open the new architectural template
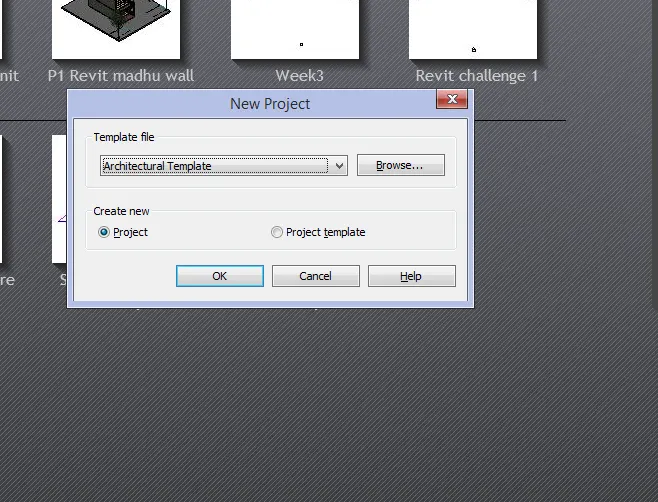
First we have to set shared coordinates and then we have to set the project base point in the architectural template
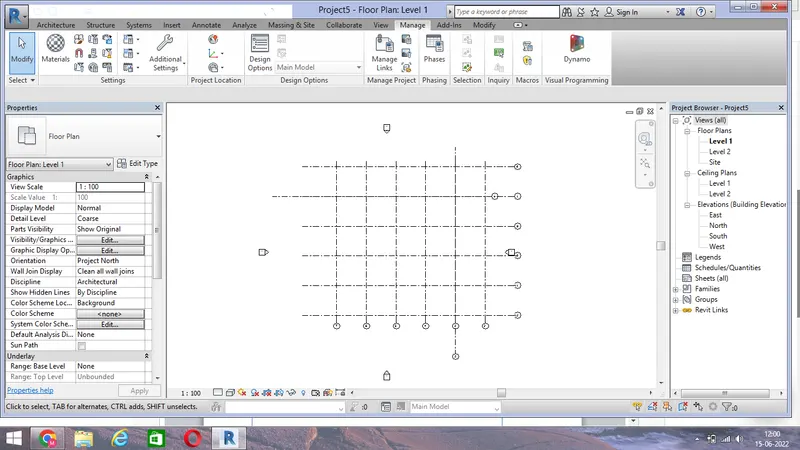
After opening the architectural template draw some grids using grids option for providing the specified coordinates
One horizontal and one vertical grids are drawn
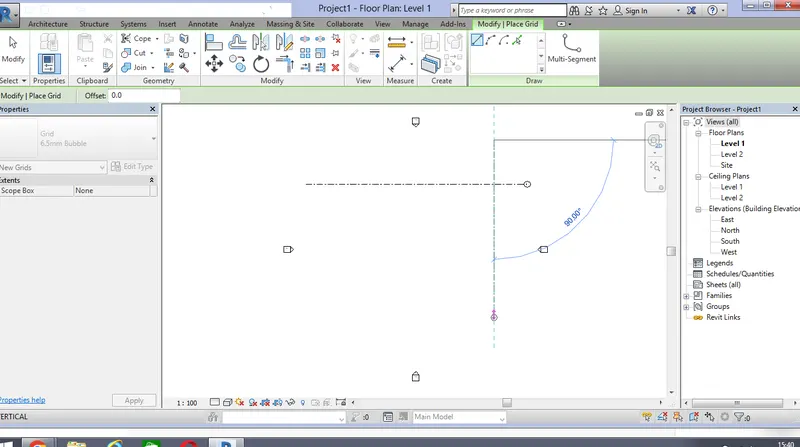
Now specify the coordinates using manage tab
Go to manage tab and in the project location tab, we find an option called coordinates drop down the coordinates and then click specify coordinates at a point
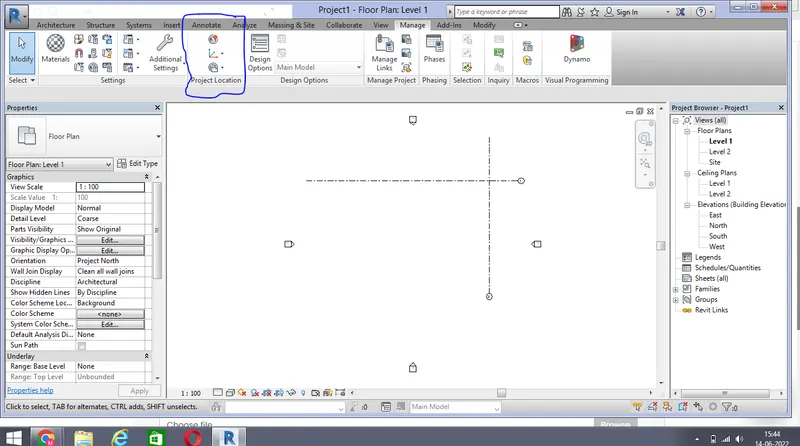
Click the coordinates where we want to check the coordintes
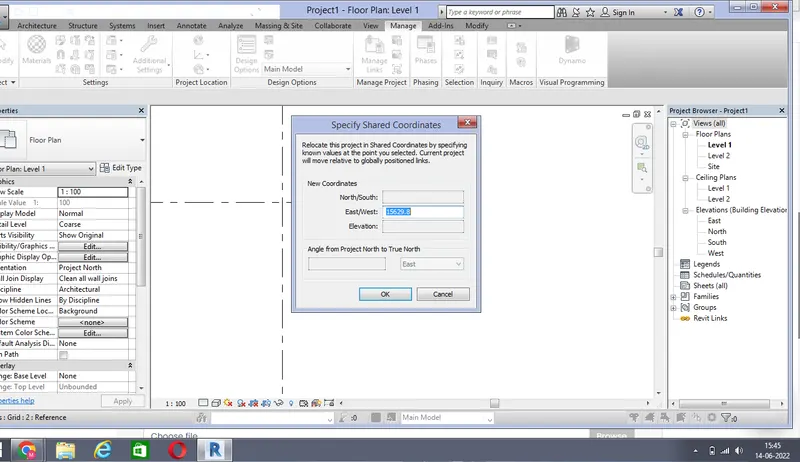
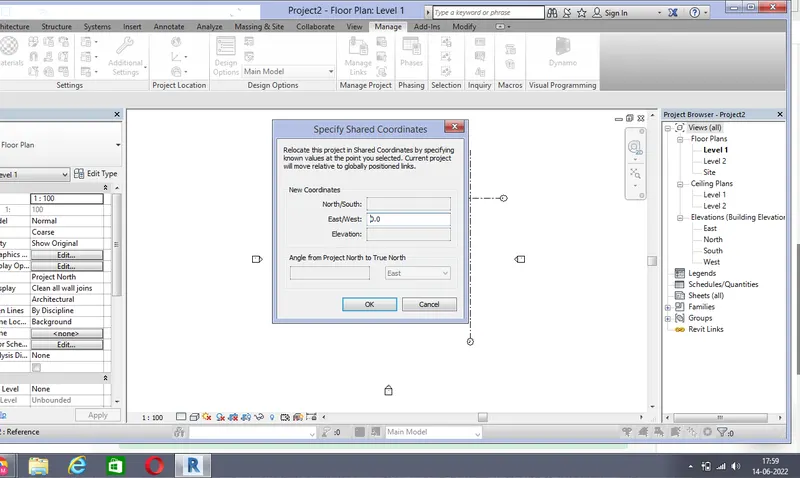
Specify shared coordinates dialogue box opens
And provide east/west as 0
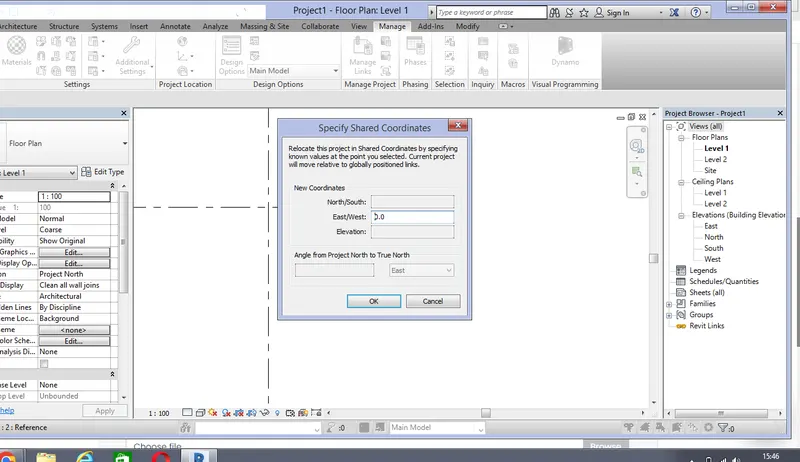
Now we have specified the coordinates and then we have to set the project base point
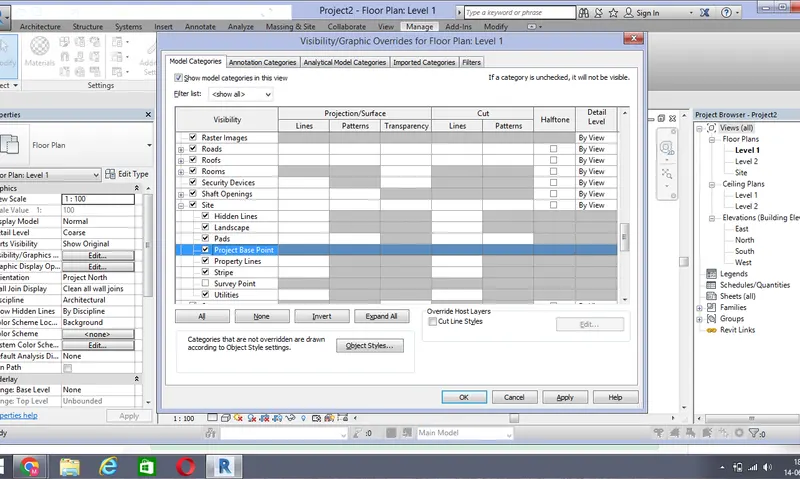
So just type VG i,e visibility graphics and the VG dialogue box opens and just expand the site option
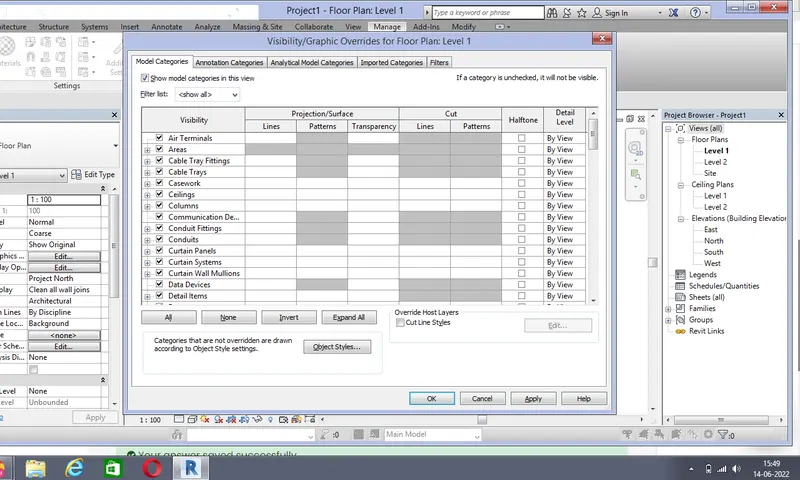
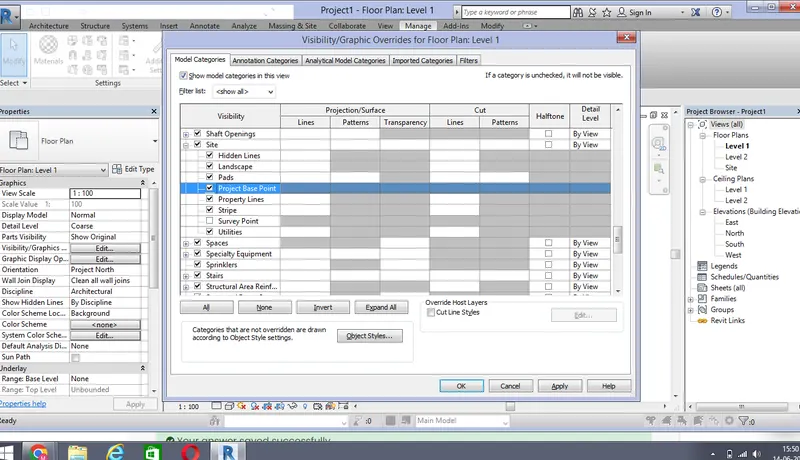
Select the site option and exand this site option
And tick the project base point option
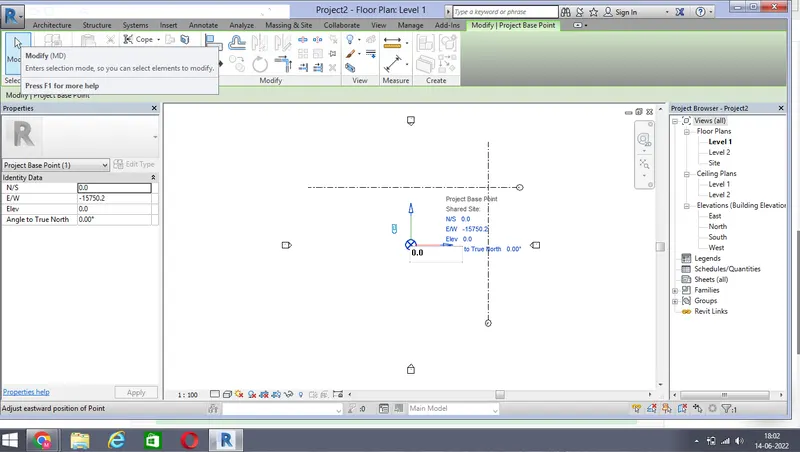
The project base point is located in circular tool
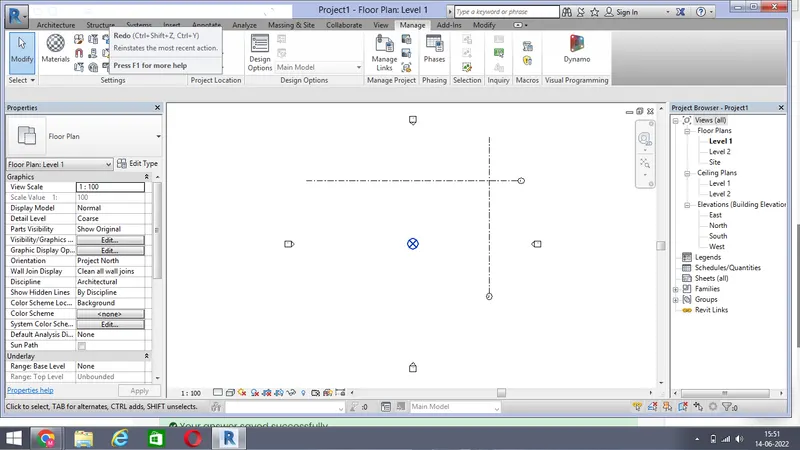
Place the circular tool at the shared coordinates
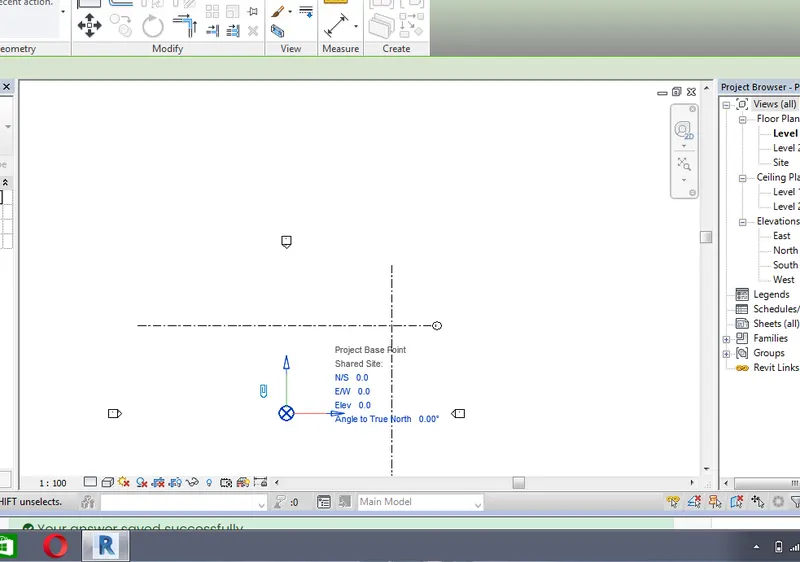
Just move this into the junction of base point and notedown the base points
2) Open the revit software and click new structural template
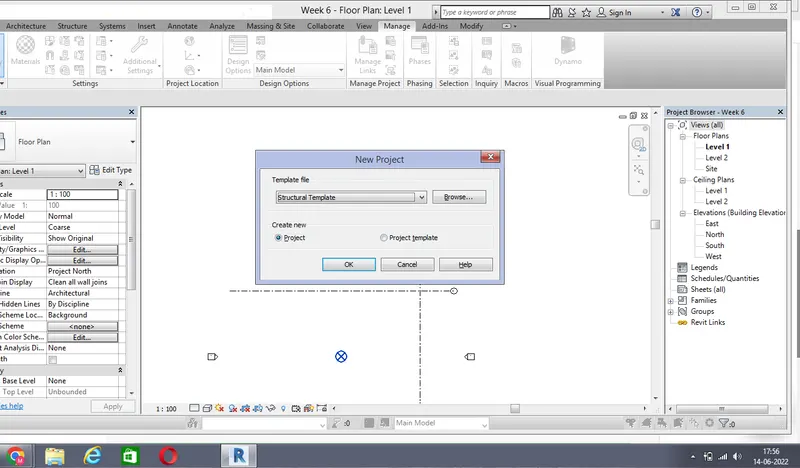
And open the structural template
Draw a grid using grid command in structural template
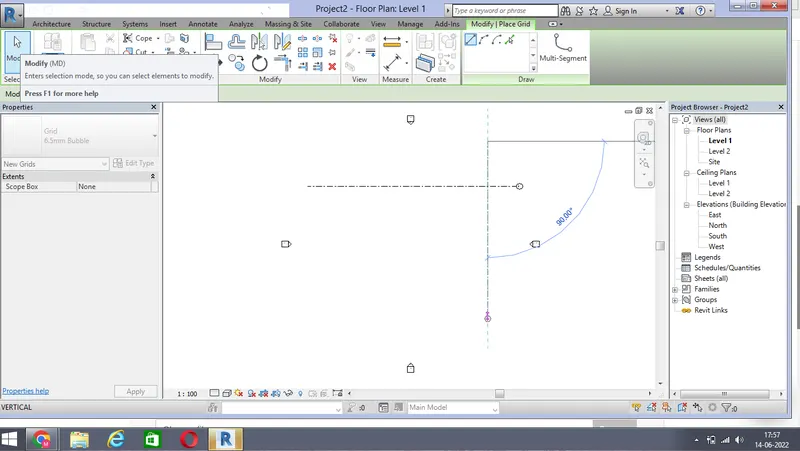
Go to manage tab and select coordinates option and choose specify shared coordinates
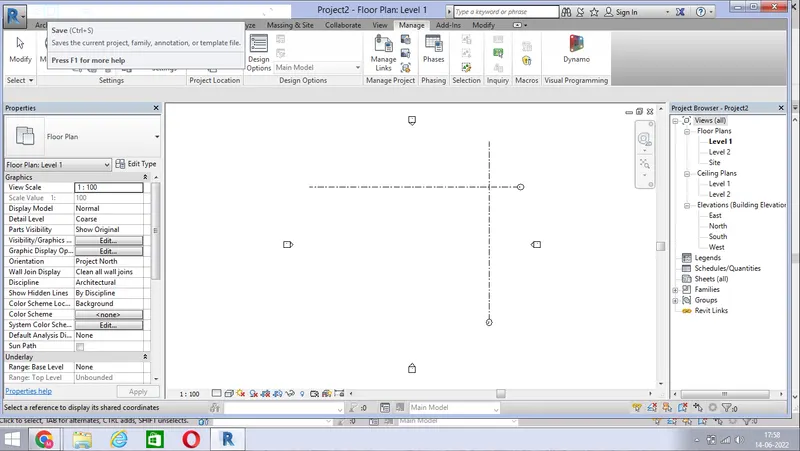
Then choose the point to get the coordinates and specify the coordinates as 0
To specify project base point go to VG command ( Visibility graphics) and expand the site option
And check the project base point option
Enter the coordinates manually as 0
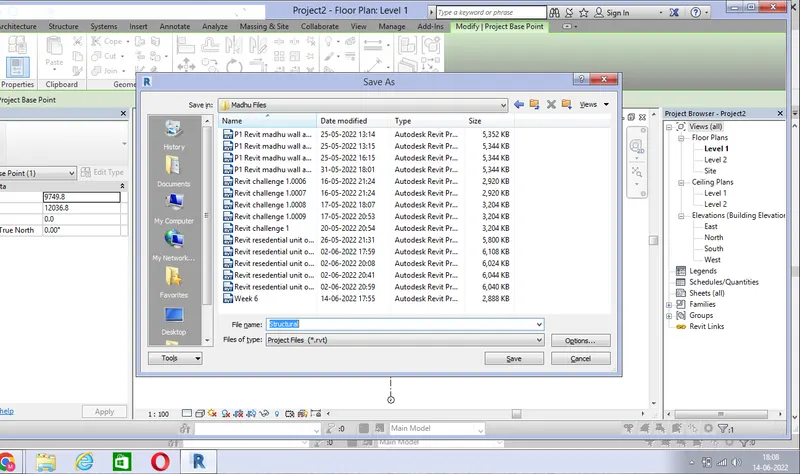
Now save the file in the name of structural file
3) Go to revit architecture, reopen the architectural model which we had saved already by using open option
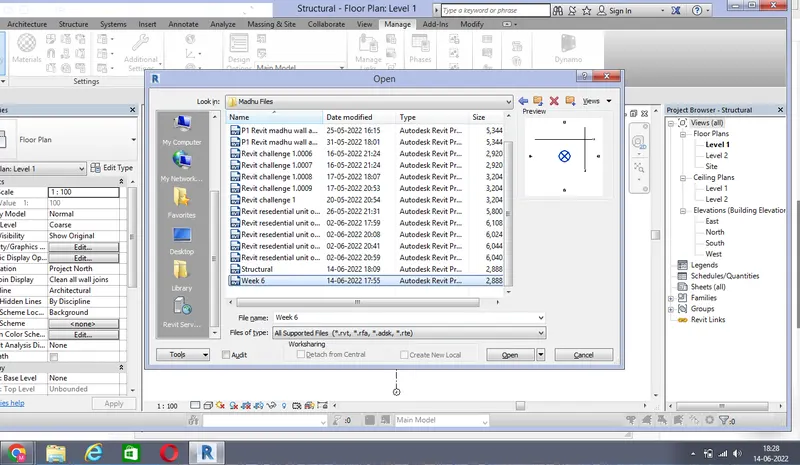
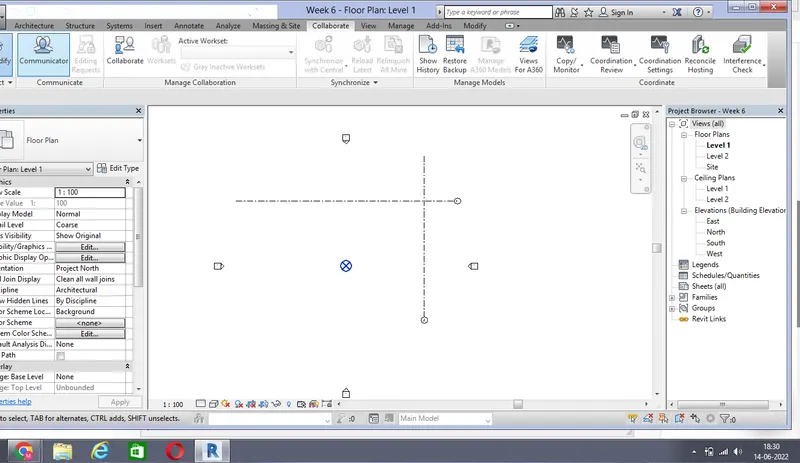
To make it has a central model file, go to colloborate tab and click on colloborate tool
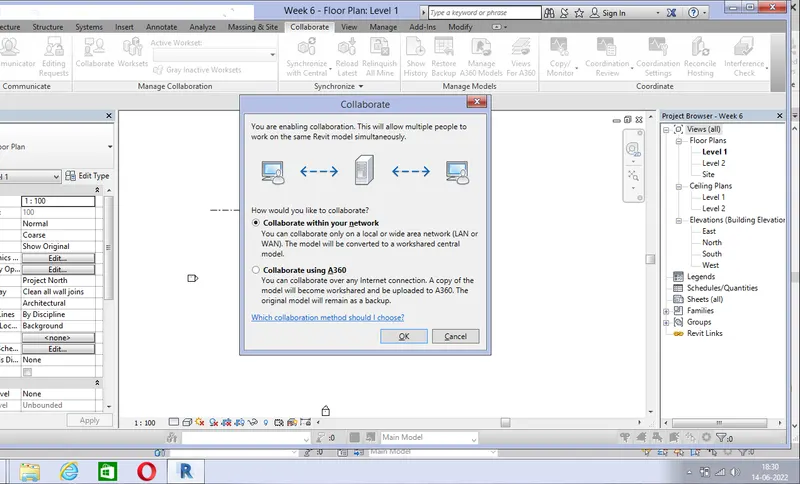
Colloborate dialogue box will open and click within your network option and click ok
After this click save option and it will ask to save as central model file and click on yes
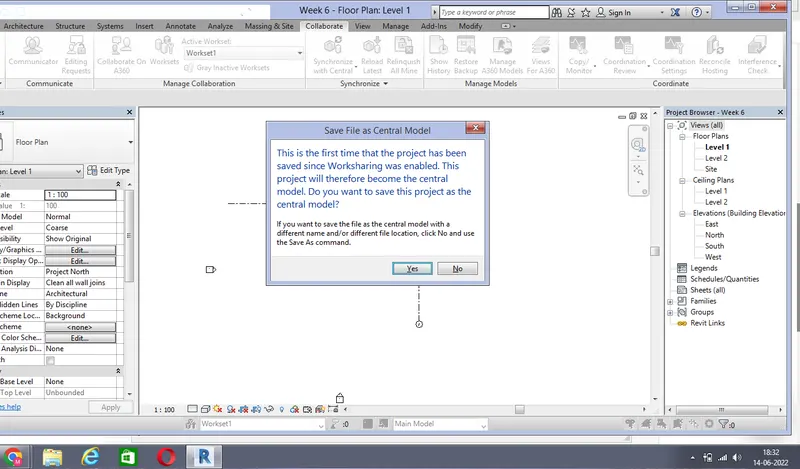
Now the file is made as a central model file
4) Open the revit software and just open a architectural model file which we had already saved as a central model file
To draw a longitudinal and transverse grids, click on architectural grids
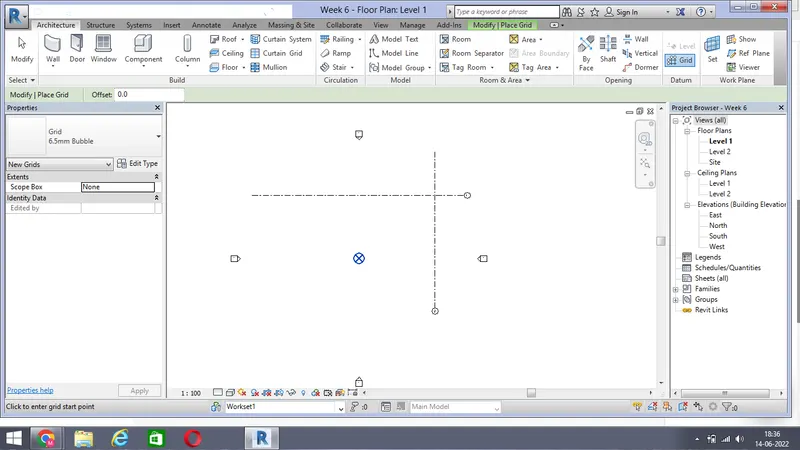
And select the grid option and click on pick line option.
And give the offset as 10' and pick the grids longitudinally
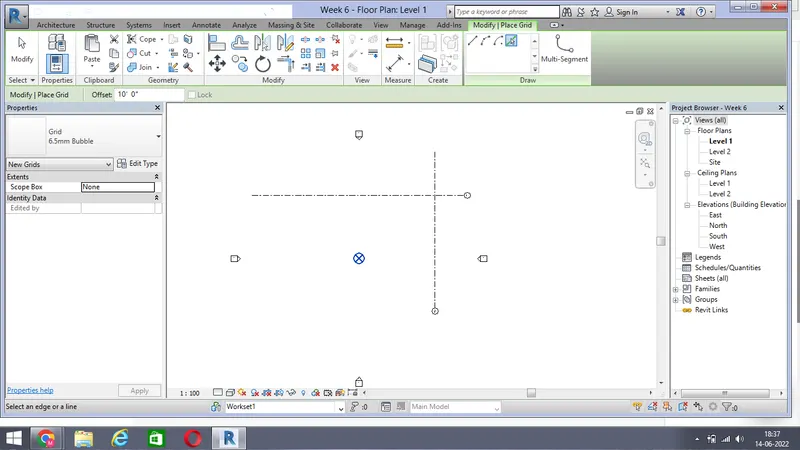
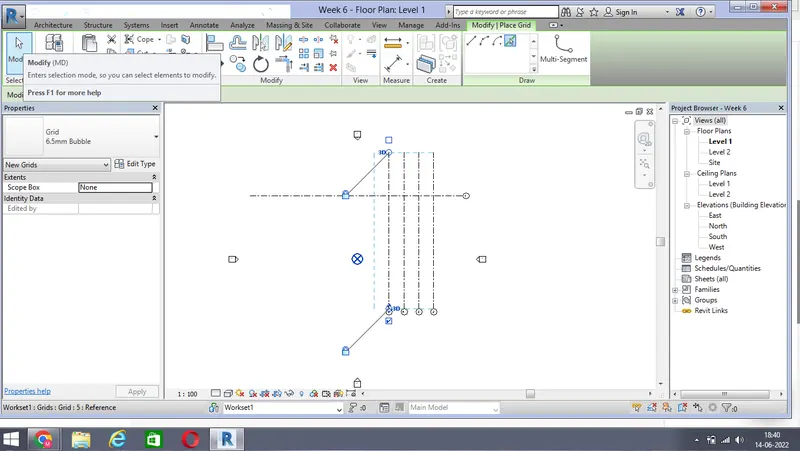
Similarly pick the grids in transverse direction
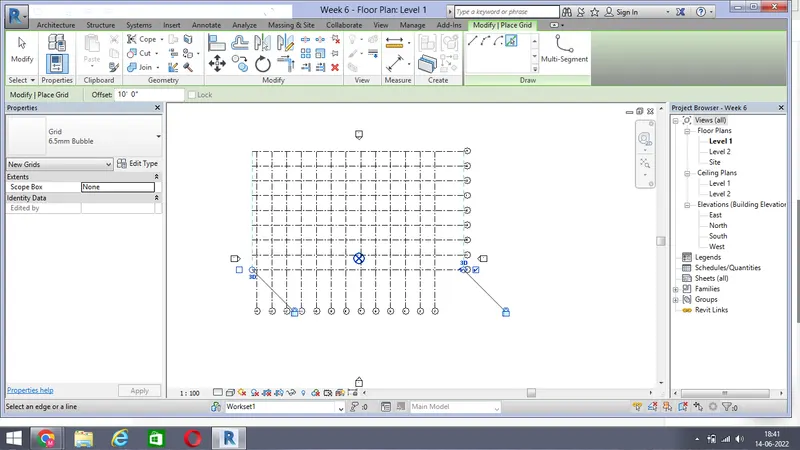
5) Open the revit software and open the architectural model that we had modelled by grids
Then go to colloborate tab and select the synchronize with central option
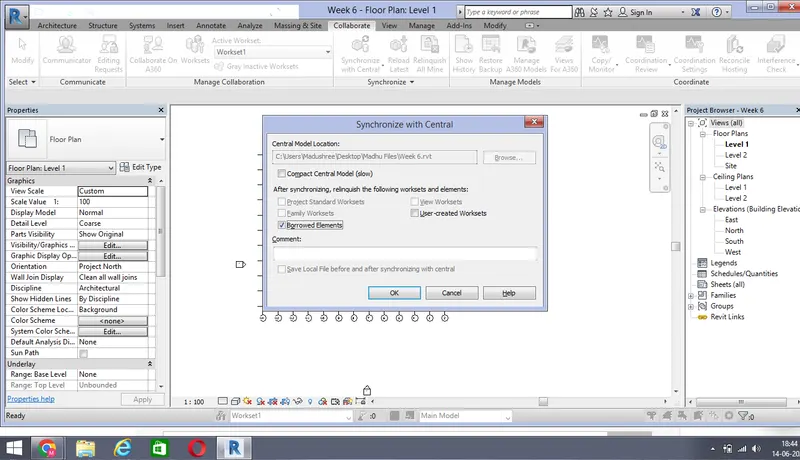
It will ask a path to synchronize abd we can give the path
Click on compact central model
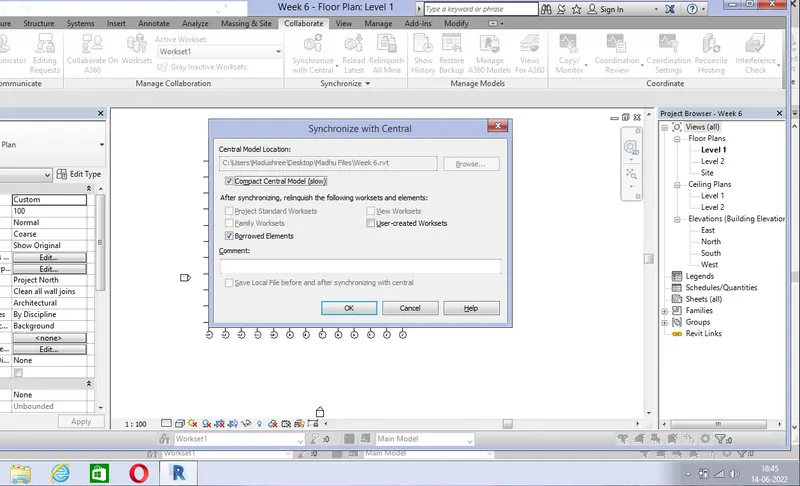
So now local copy is synchronize with central, hence the changes is synchronized with the central model file
6) For this open the structural model which we had already saved previously
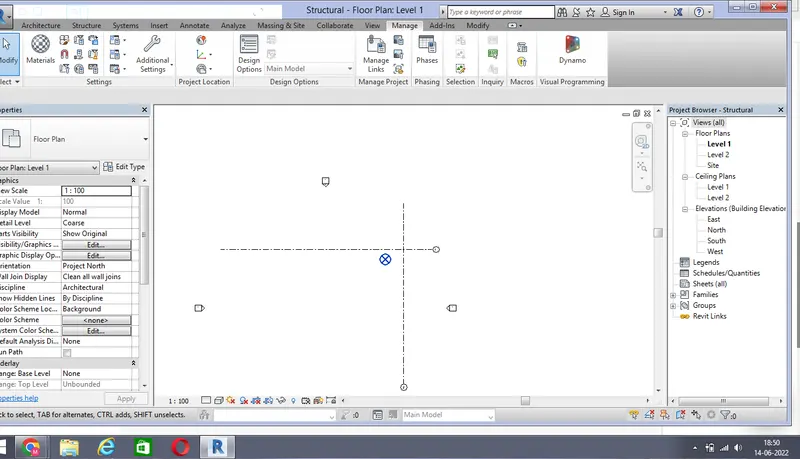
To make it as a central model file, go to colloborate tab and choose colloborate with cloud option
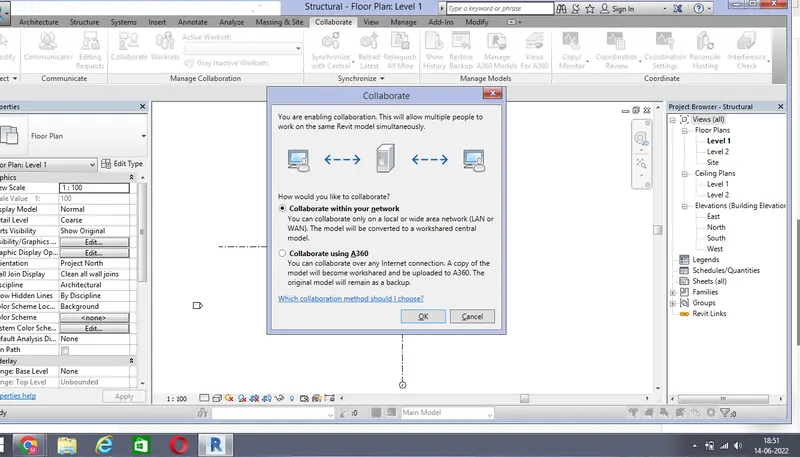
Select colloborate within your network and press ok
Then after doing this procedure, click on save option
Save as central model file dialogue box opens
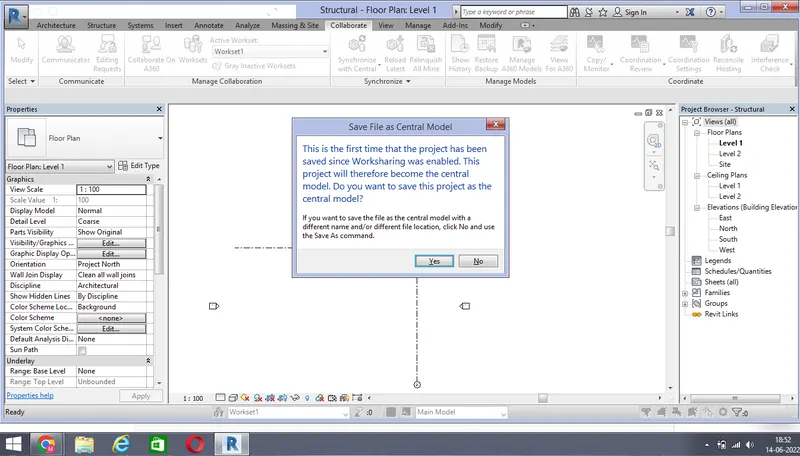
And give yes and the worksharing mode is enabled and this structural model is converted as a central model file
7) Open the revit software and open the structural model which we had created
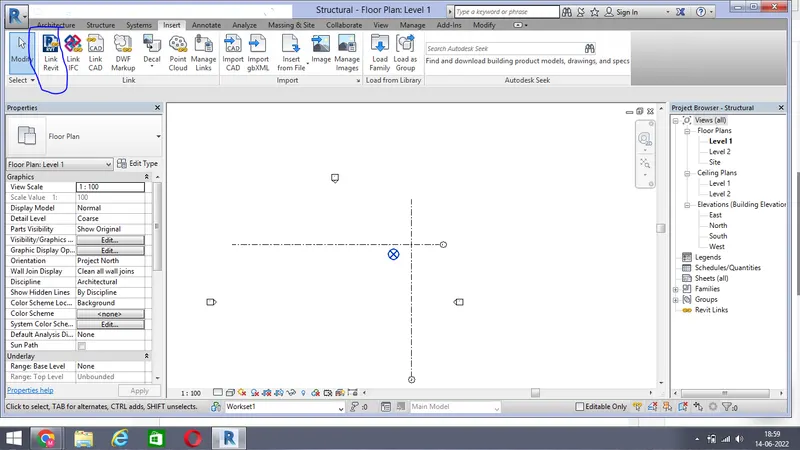
In order to insert the architectural model into a structural model, go to insert tab and select the link revit option
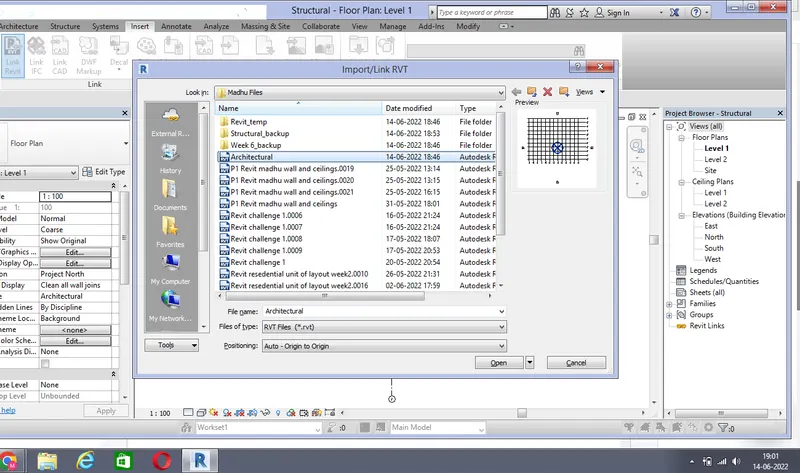
Select the architectural model to insert into the structural model and click open
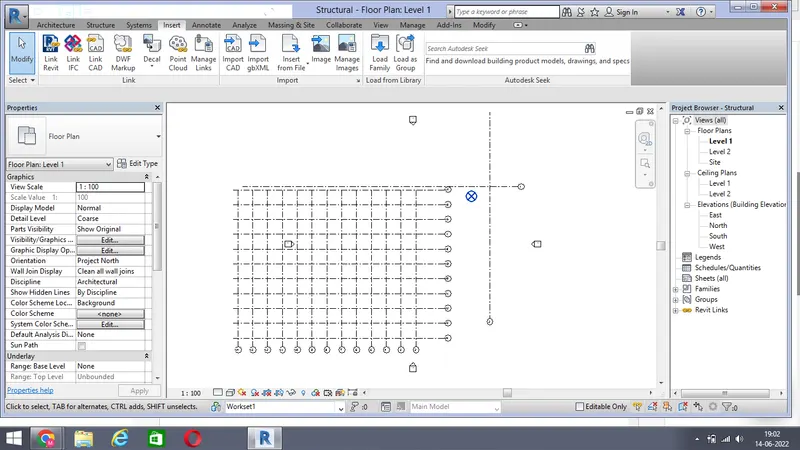
Now the architectural model is linked to our structural model
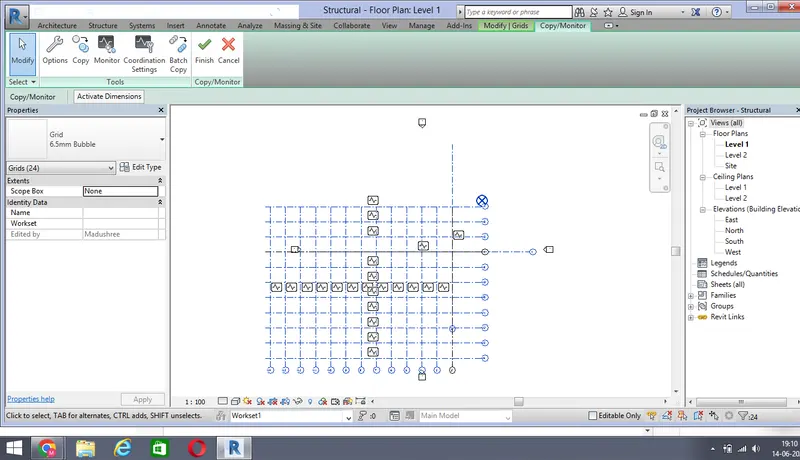
Now go to colloborate tab and click on copy monitor option and select the select link option
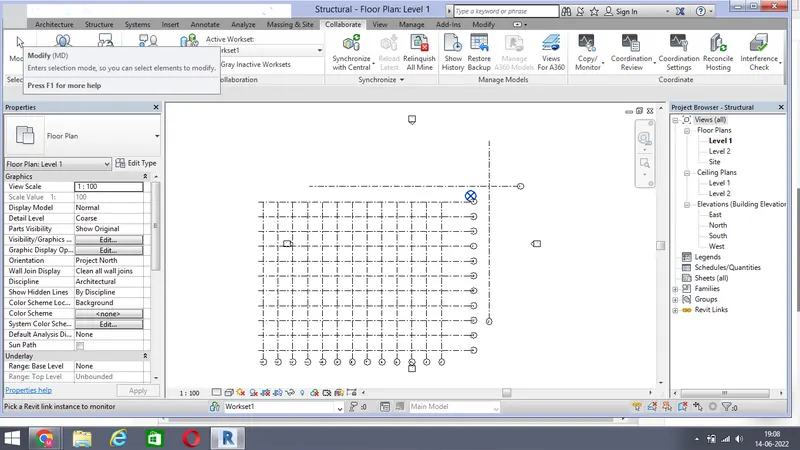
Then select the linked model and click on the copy tool and select on multiple option
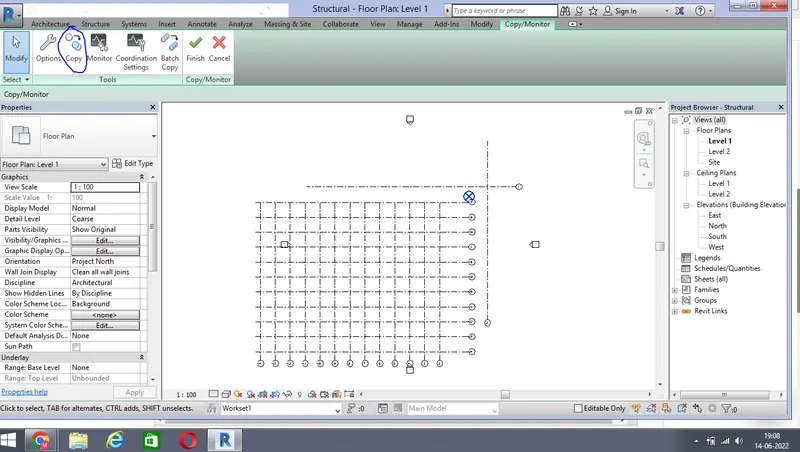
And copy the entire architectural model
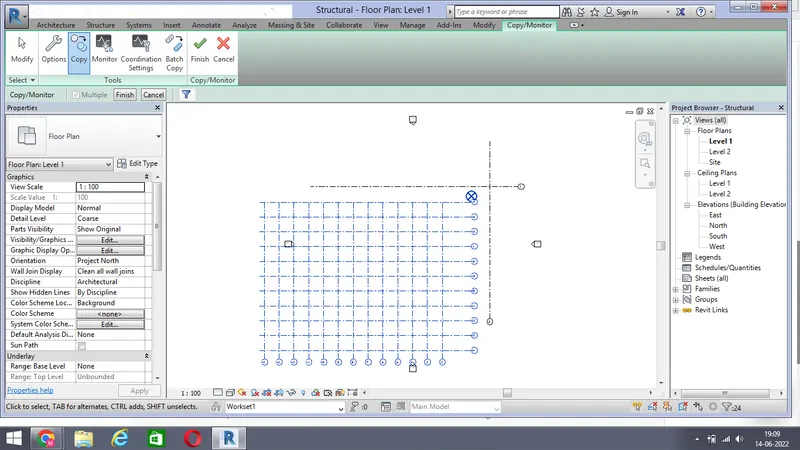
And click on finish in the ribon first
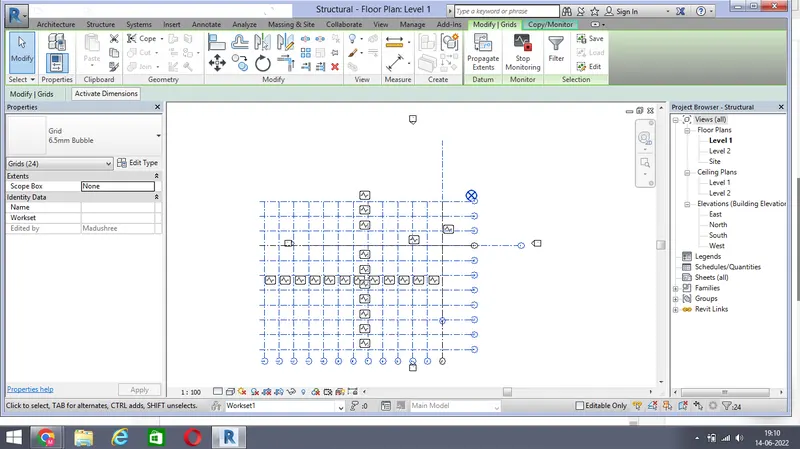
And again click on copy monitor and again press on finish button
To cross check this, go to VG command and select the revit links and uncheck the architectural model
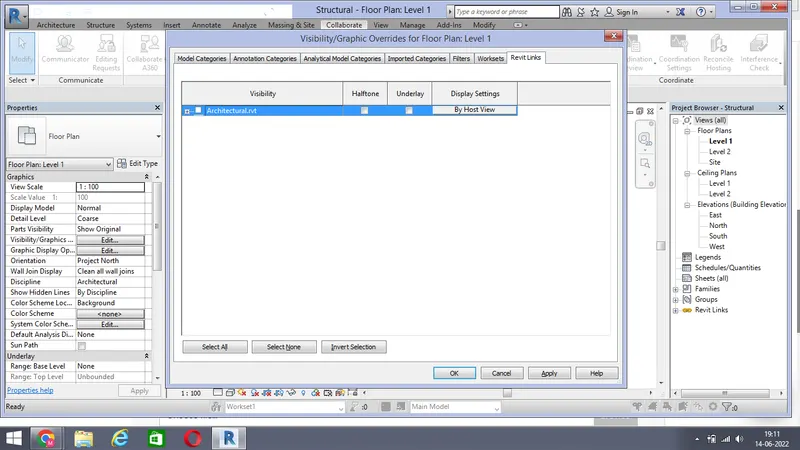
Even when we uncheck this architectural model, the architectural model will remain same
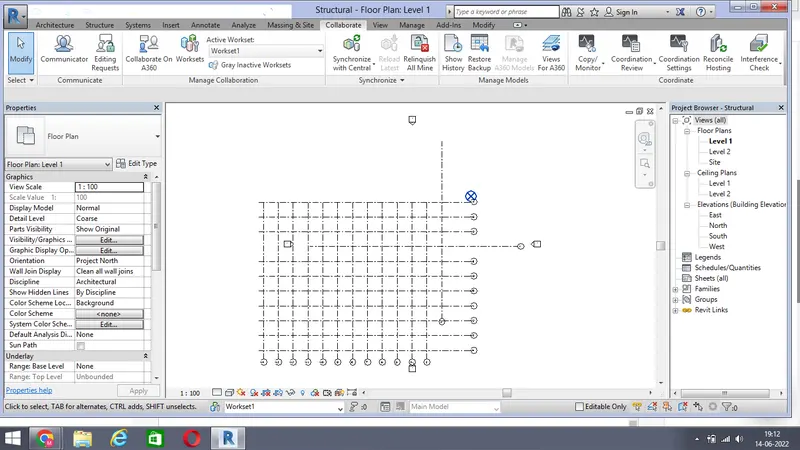
So the architectural model is linked to structural model
8) For this open the revit sofware and open the new construction template file
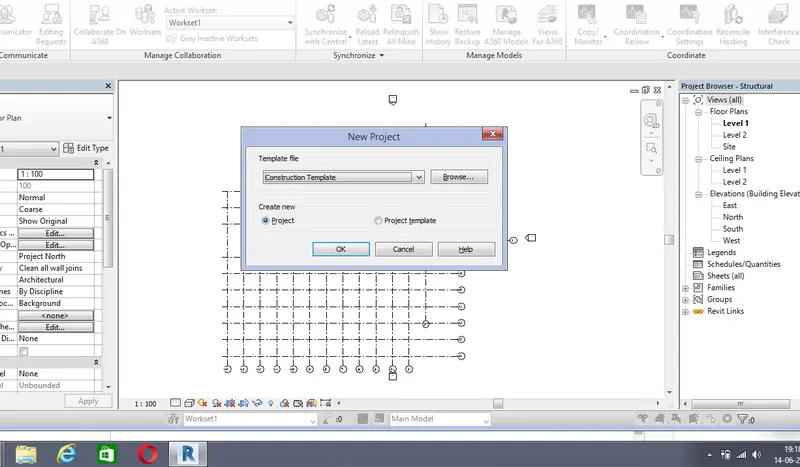
And now go to colloborate tab and select the colloborate tool
First save the file in the name of construction template
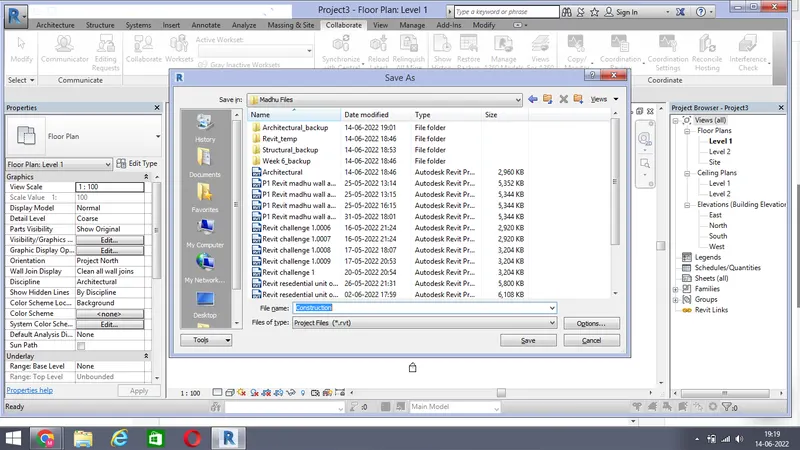
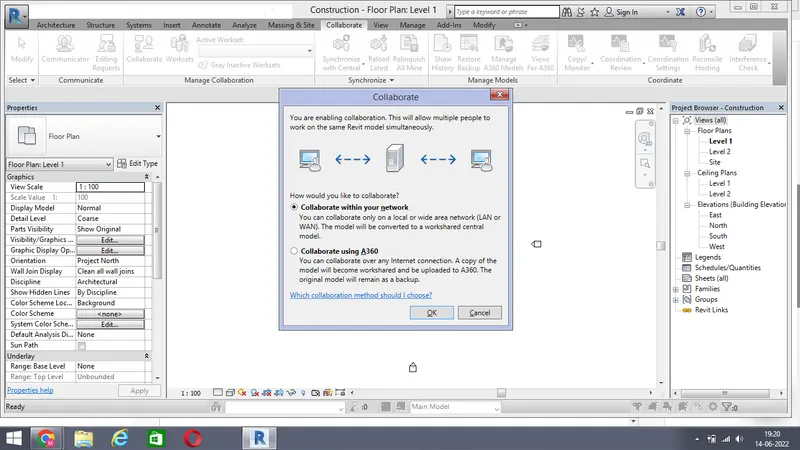
And click on colloborate tab and colloborate tool
Choose colloborate within your network and click on ok
Now again save the construction model by save option
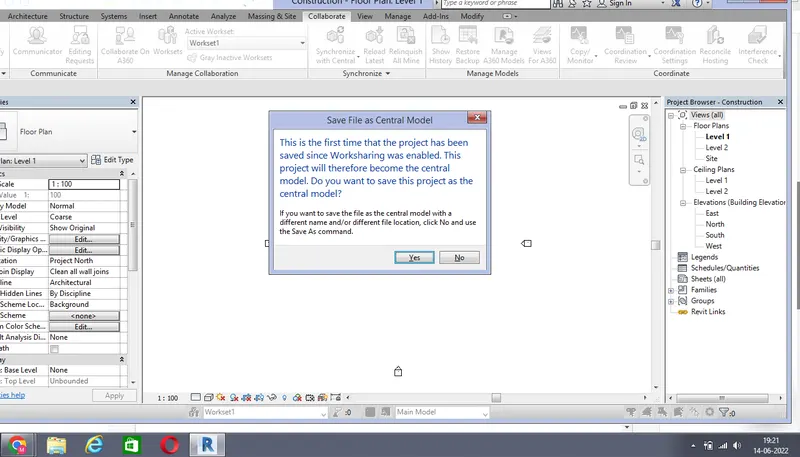
Save as central file dialogue box opens and click on yes
Next go to insert option and select link revit option
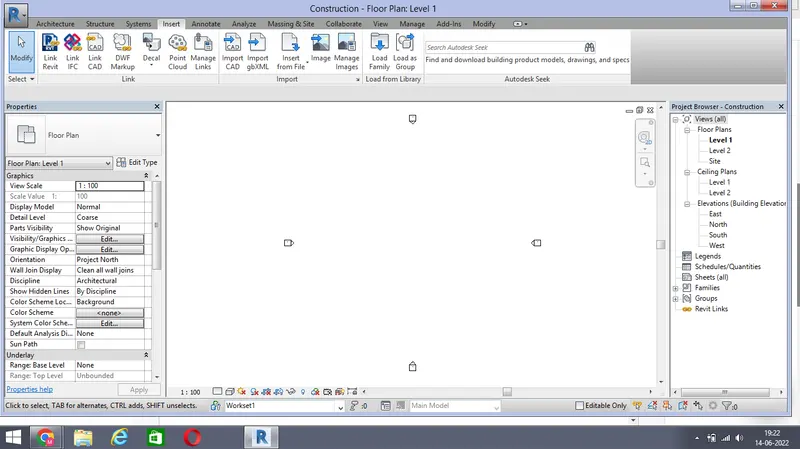
And select the architectural model to link in the construction template model
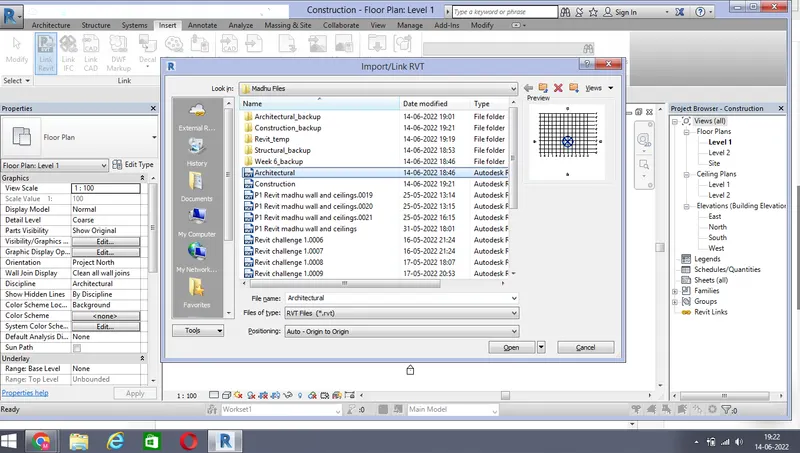
Next again click on structural model to link this with a construction template
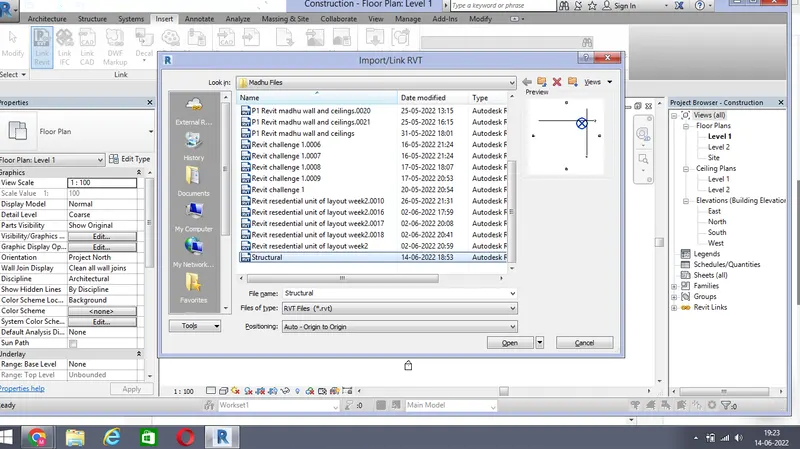
And click on structural model to link in the construction and click open
Then the structural model is linked to a construction template
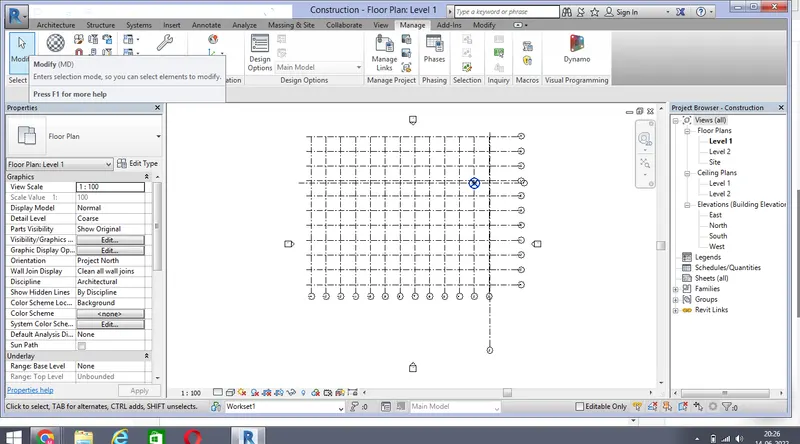
9) Open the revit software and Open the construction template,
Here the Architectural model and structural model is not colligue with each other, so we have to go to manage tab
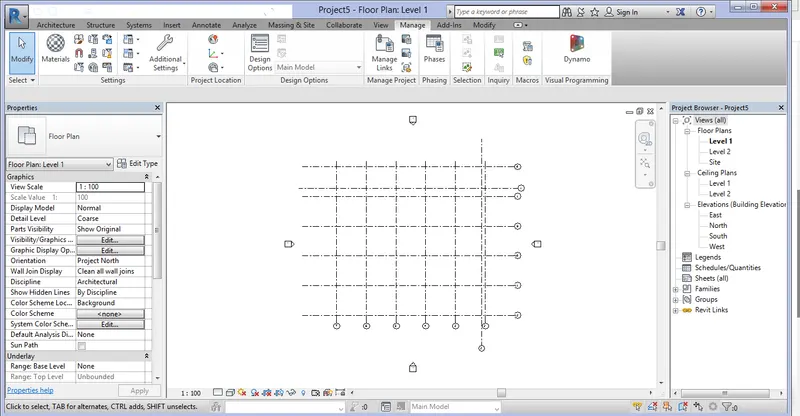
Go to project location tab and select the position tab
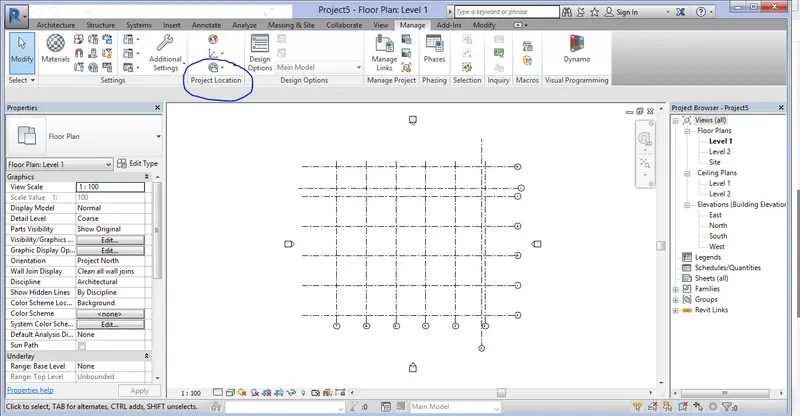
There select the relocate project option and select the intersection of two lines
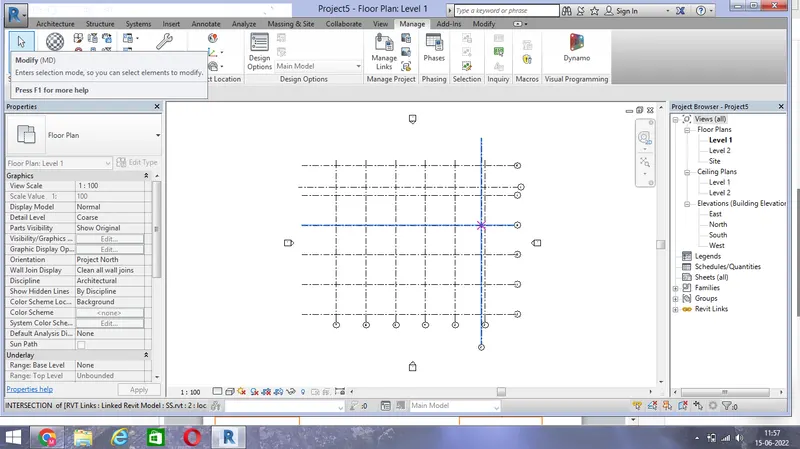
Now the model is colleague with each other
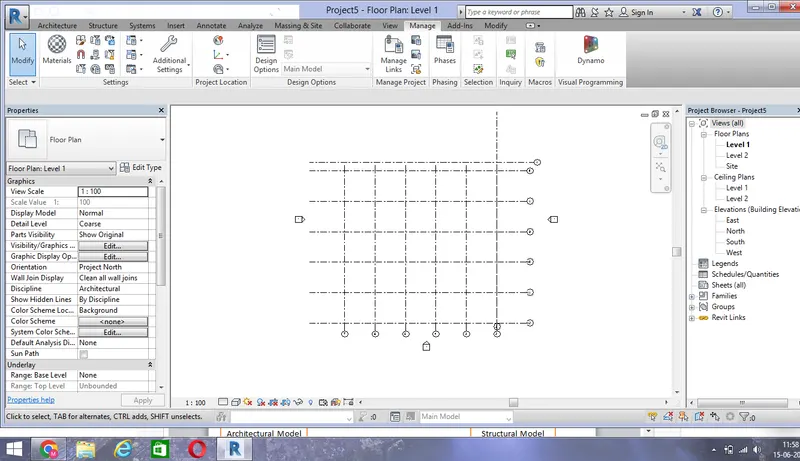
Again select the relocate project option and select the intersection of two points
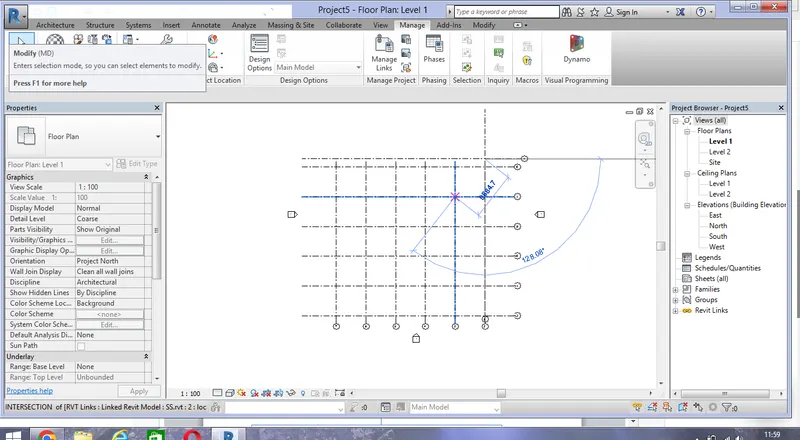
Now the two models are colleague with each other
10) 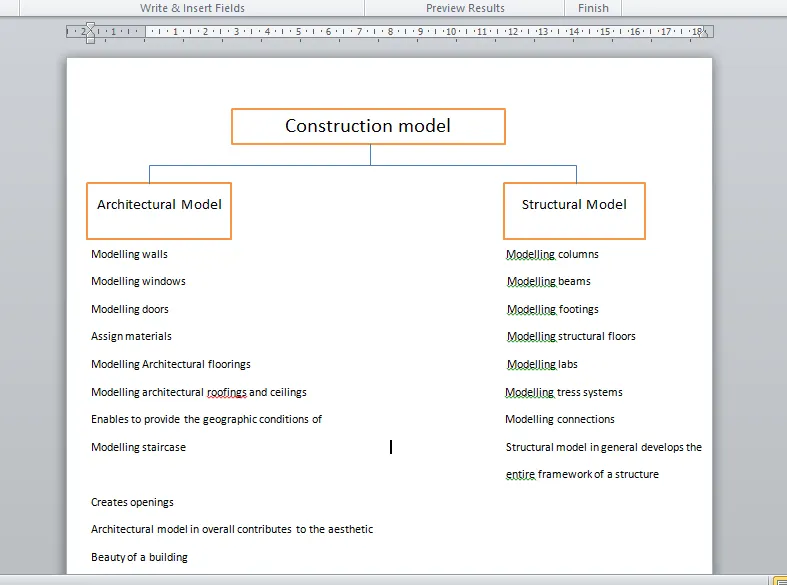
The revit allows the multiple users to work simultaneously on one revit project.This can be acheived through the work sharing. Using linked elements projects elements are sepearated into individually managed models that can be linked together. Members from various disciplines can work together in a revit projects like architect people, structural people, mechanical people, plumbing people etc. So the number of people working simultaneously may depend on type of a project being done. So there can be many people who can work on single project simultaneously using this colloborate option.