Usage of Collaborate tool in REVIT
1)
AIM : Open an architectural template. Using the Manage tab set project base point and project shared coordinates for the project.
- Open the Revit software.
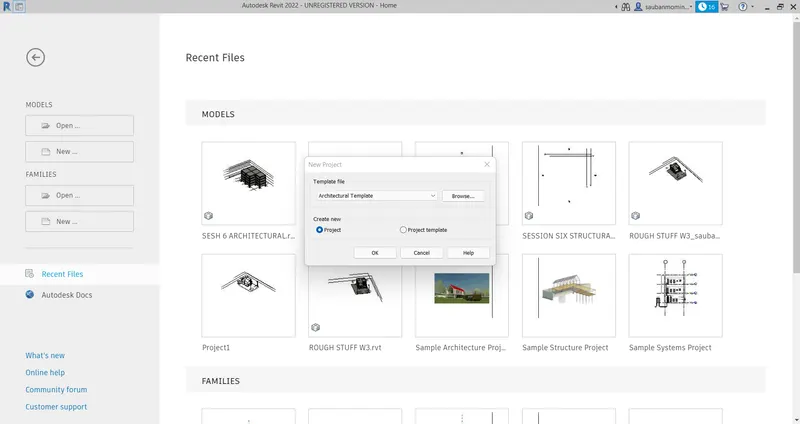
- Click on the "new" option under the project category.
- Choose the Architectural template from the drop-down list on your screen.
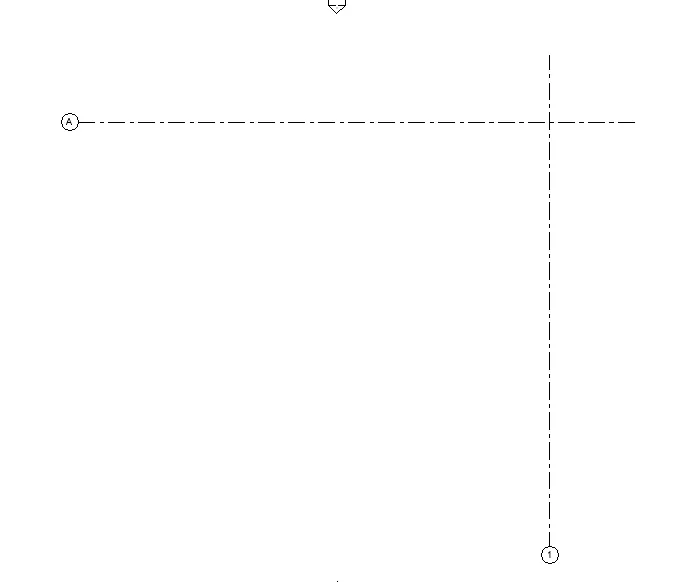
- From the Architectural tab, click on the grid to create the grid lines.
- Create one longitudinal and one transverse grid that intersects each other at a certain point.
- The same point is going to be your reference point for the shared coordinates.
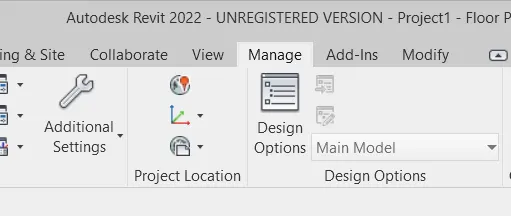
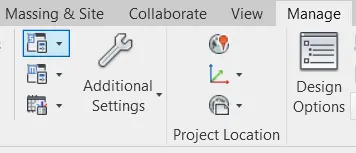
From the manage tab, go to project location.
Click on the coordinate sign to invoke a dropdown list.
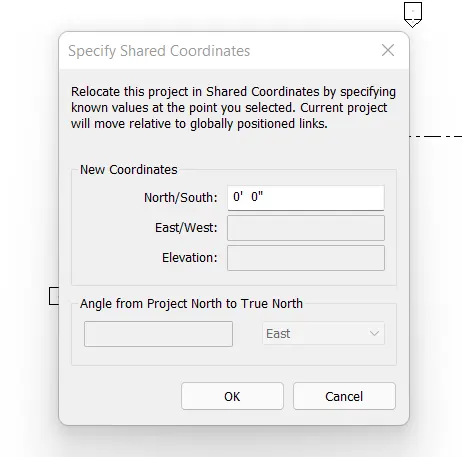
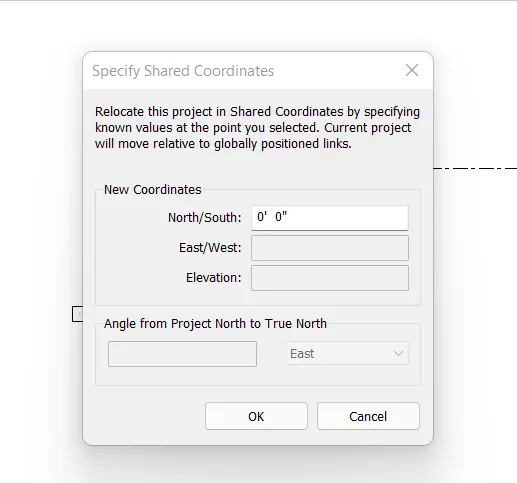
From the list, click on specify coordinates option.
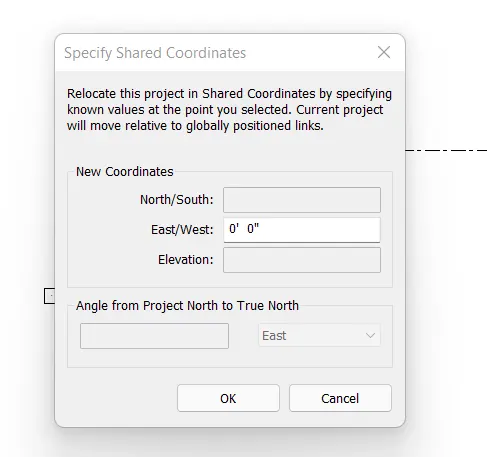
Then, click on both grids one by one and set up the North-South and East-West coordinates at 0.
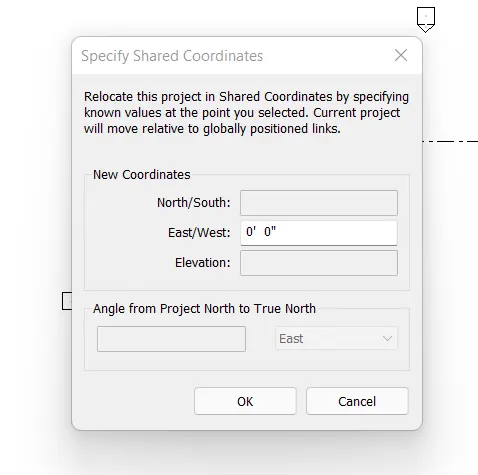
After fixing the project coordinates, go to visibility graphics by typing "VV".
From the list, go to the site option and expand it.
Within its expansion, check the project base point to make it visible.
Now, to align the base point with your shared coordinates, enter the values of its coordinates as 0,0 which is similar to the shared coordinates.
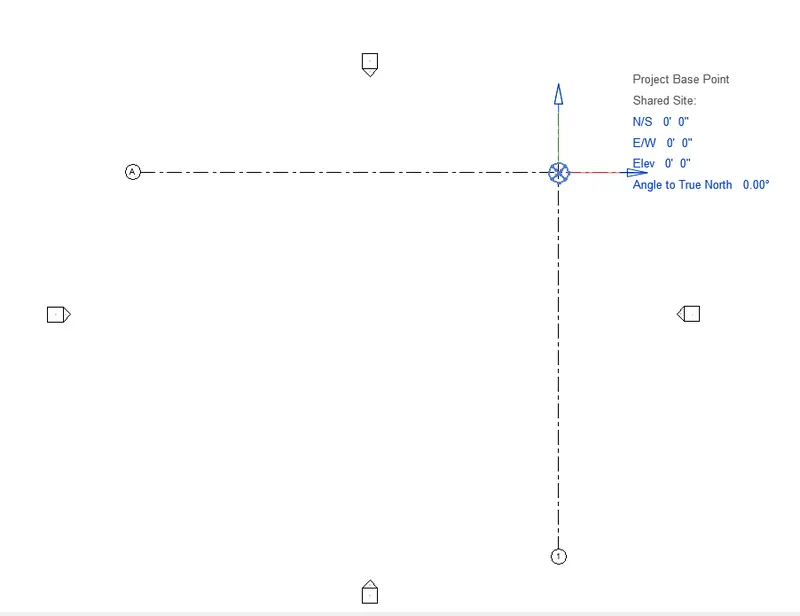
2)
AIM : Open another new file but with a structural template. Using the manage tab set project parameters the same as the architectural model. Copy the parameters from the architectural model to the structural template or enter the parameters manually into the structural model.
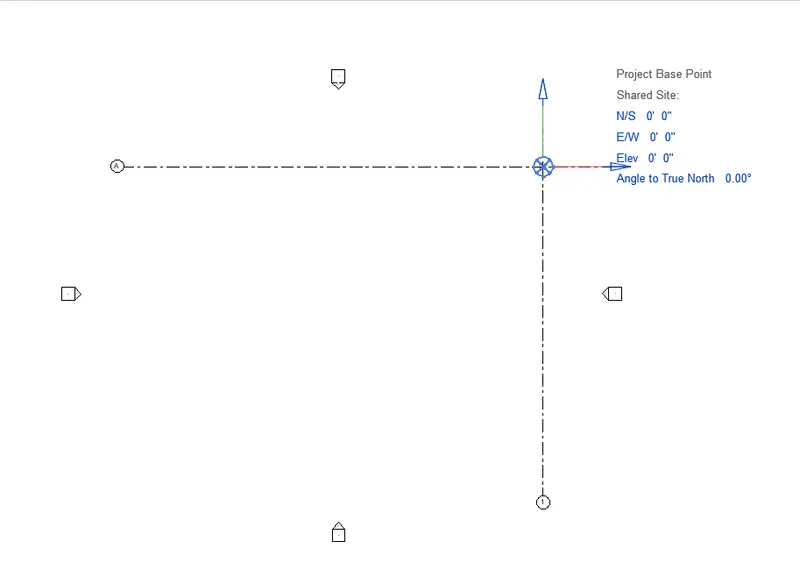
Since, we're going to link the structural template with our Architectural one, we will have to follow a similar approach to set up the shared coordinates and the project base point in the structural file.
- Open up a new Architectural template
- Open the Revit software.
- Click on the "new" option under the project category.
- Choose the Structural template from the drop-down list on your screen.
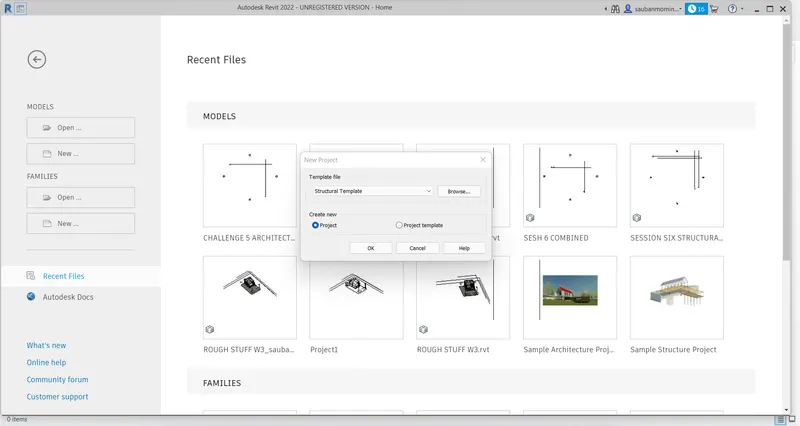
- Specify the project coordinates that are going to be shared while linking different Revit files
- From the manage tab, go to project location.
- Click on the coordinate sign to invoke a dropdown list.
- From the list, click on specify coordinates option.
- Then, click on both grids one by one and set up the North-South and East-West coordinates at 0.
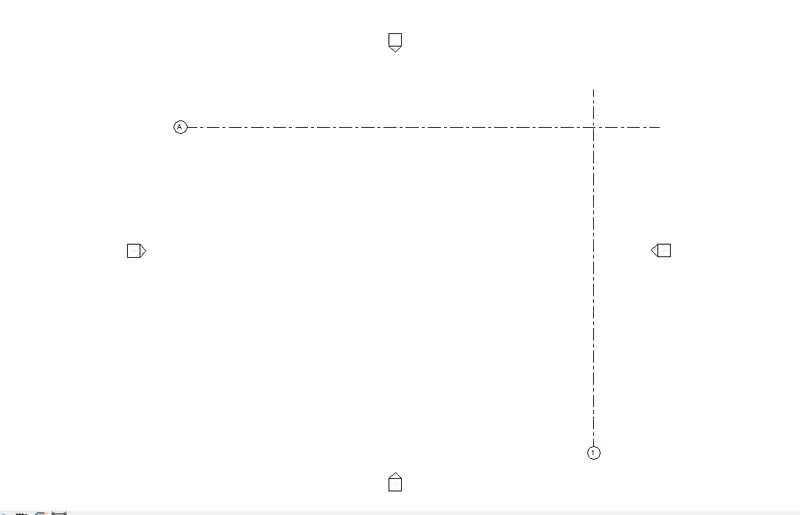
- Specify the project coordinates that are going to be shared while linking different Revit files
- From the manage tab, go to project location.
- Click on the coordinate sign to invoke a dropdown list.
- From the list, click on specify coordinates option.
- Then, click on both grids one by one and set up the North-South and East-West coordinates at 0.
- Set up the project base point
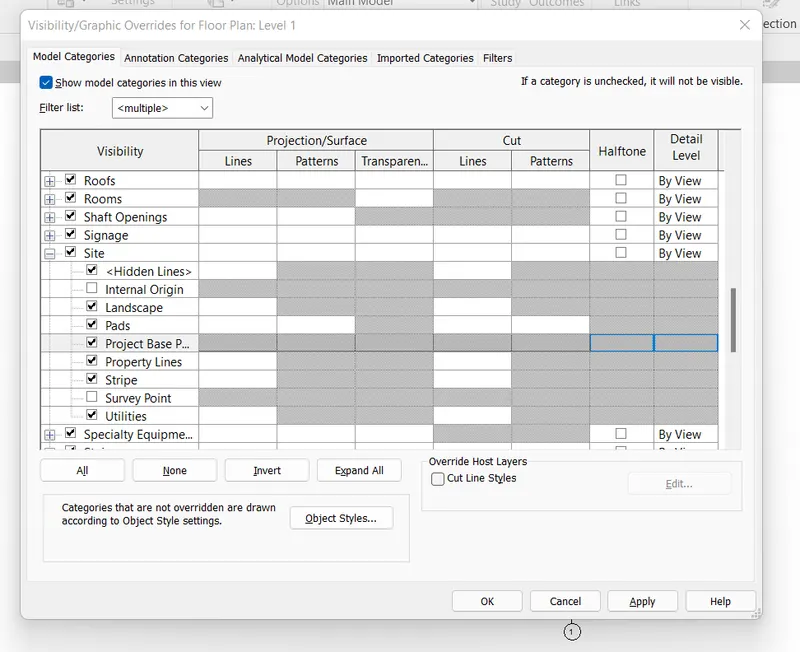
- After fixing the project coordinates, go to visibility graphics by typing "VV".
- From the list, go to the site option and expand it.
- Within its expansion, check the project base point to make it visible.
- Now, to align the base point with your shared coordinates, enter the values of its coordinates as 0,0 which is similar to the shared coordinates.
3)
AIM : Re-open the architectural model. Using the tools under the Collaborate tab make the architectural model a central model (enabling simultaneous working on the model).
COMPLETE STEPWISE PROCEDURE TO PUT UP YOUR FILE FOR COLLABORATION AND CREATE A CENTRAL MODEL OF THE SAME IN REVIT:
- Open the file you want to collaborate for
- From the open menu in Revit, browse for your file and click open.
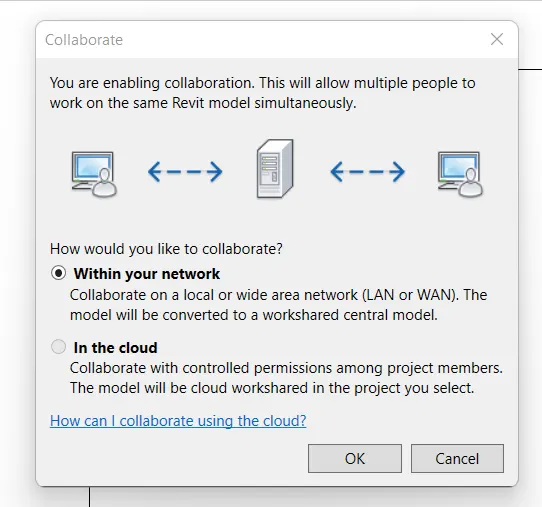
- Once it is loaded, go to the collaborate tab and click on the "Collaborate" option to put it up for collaboration.

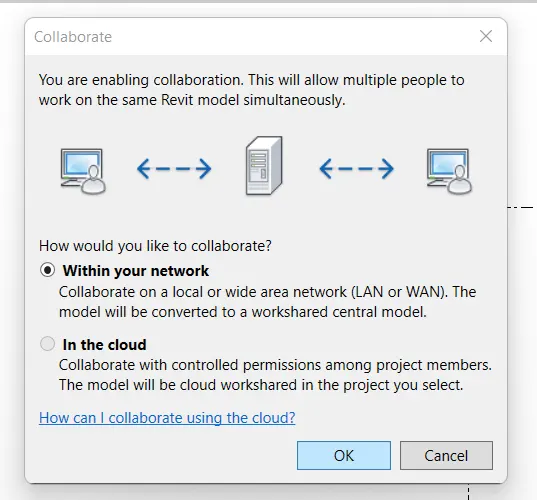
- Select the mode of collaboration
- Once you click on the collaborate option, you will be given two choices to put up your file for collaboration.
- The first option will be for collaboration within local computer networks whereas the second option will allow you to put up the file online which will be accessible for a larger audience.
- Thus, it is better and safer to go for the local area network collaboration.
- Make a central copy of your model
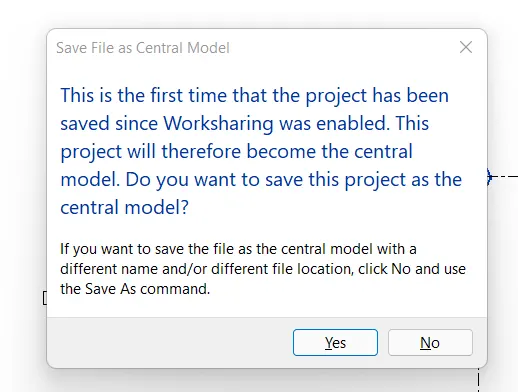
- After putting the file up for collaboration, now you will have to save a central copy of the same.
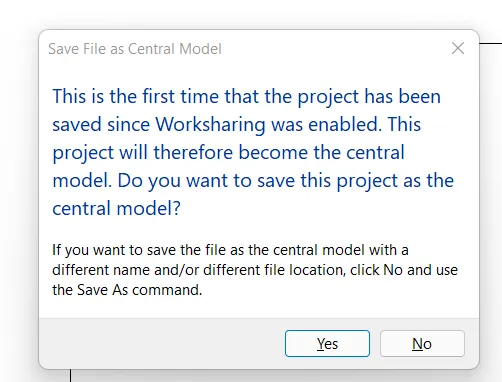
- For this, just save the file, and an automatic message saying it will be saved as a central file will pop up.
- Click OK and Revit will create a central copy of your model which can be accessed by different parties.
4) Create the Grids Longitudinal and Transverse pattern for the project similar to the task done in Week 2.
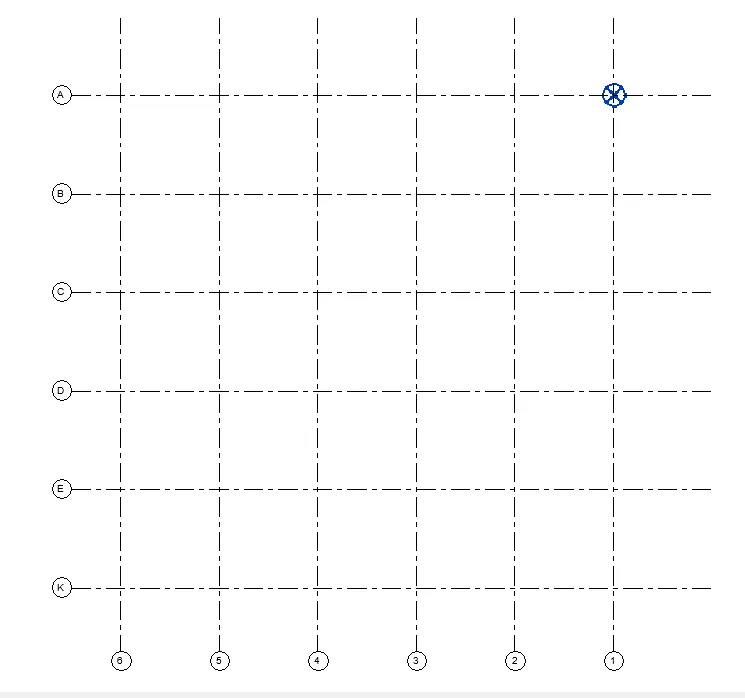
COMPLETE STEPWISE PROCEDURE TO LAY DOWN GRIDS IN REVIT:
- Click on the grid option and do the required settings
- From the Architectural tab, click on the grid to activate their creation.
- Now, from the setting line, set up the relevant offset and choose the pickline option.
- The grid offset can vary based on your project type and scope.

- Layout the grids
- Now, click on the reference grid line and start drawing the remaining grids at the specified offset.
- Follow the same procedure for both longitudinal and transverse grids.
5)
AIM : Synchronize the changes from the local copy to the central file of the architectural model.
COMPLETE STEPWISE PROCEDURE TO SYNCHRONIZE YOUR LOCAL FILE WITH THE CENTRAL MODEL IN REVIT:
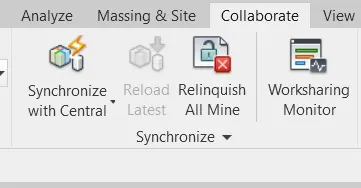
- Go to the Synchronize ribbon
- Within the collaborate tab, locate the synchronize ribbon.
- From the same, click on the synchronize with central option.
- Do the needed settings
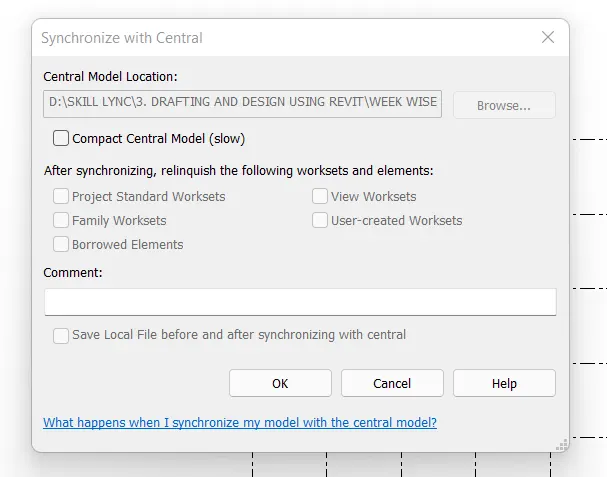
- Once you click on the synchronize with the central, two options will pop up.
- Choose the first option that says modify and synchronize.
- Then, a dialogue box will open where you can opt for various settings and also add the comments explaining your edits.
- Check the compact box from the same dialogue box and click on OK to complete the synchronization process.
6)
AIM : Open the structural model and use the collaboration tools to save the model as a central file.
STEPWISE PROCEDURE:
- Open the structural file of your model and enable collaboration
- From the open menu in Revit, browse for your file and click open.
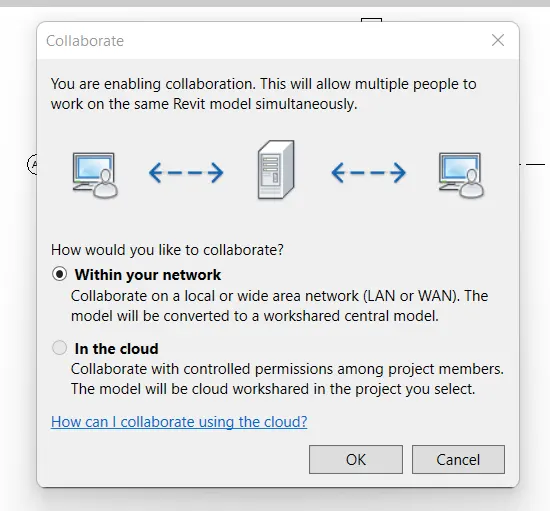
- Once it is loaded, go to the collaborate tab and click on the "Collaborate" option to put it up for collaboration.

- Select the mode of collaboration
- Once you click on the collaborate option, you will be given two choices to put up your file for collaboration.
- The first option will be for collaboration within local computer networks whereas the second option will allow you to put up the file online which will be accessible for a larger audience.
- Thus, it is better and safer to go for the local area network collaboration.
- Make a central copy of your model
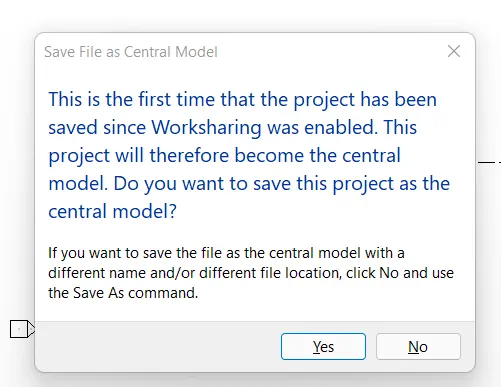
- After putting the file up for collaboration, now you will have to save a central copy of the same.
- For this, just save the file, and an automatic message saying it will be saved as a central file will pop up.
- Click OK and Revit will create a central copy of your model which can be accessed by different parties.
7)
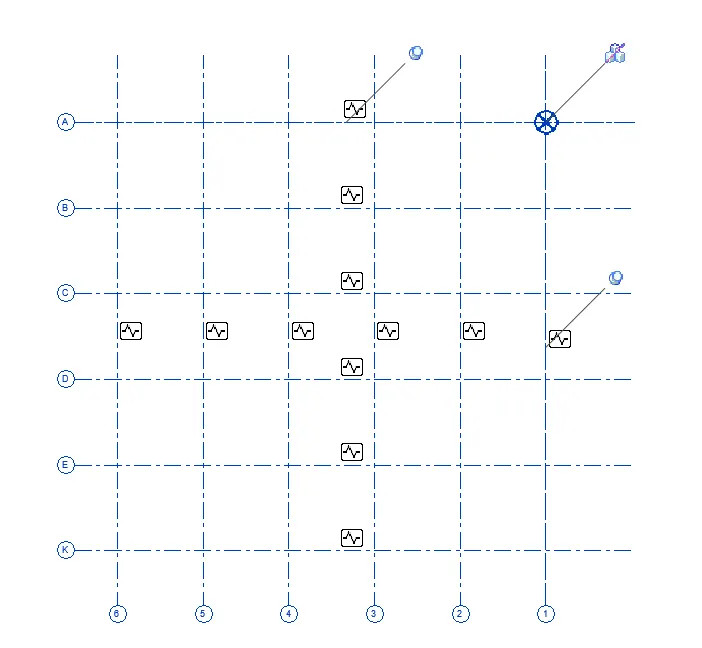
AIM : Under the Collaborate tab, select the grids and levels from the architectural model, and using Copy Monitor try to copy the grids to the structural model. See what happens when the copy monitored grid is moved around in the structural model.
COMPLETE STEPWISE PROCEDURE TO LINK THE ARCHITECTURAL FILE TO STRUCTURAL FILE AND COPY THE REQUIRED ELEMENTS FROM THE SAME IN REVIT:
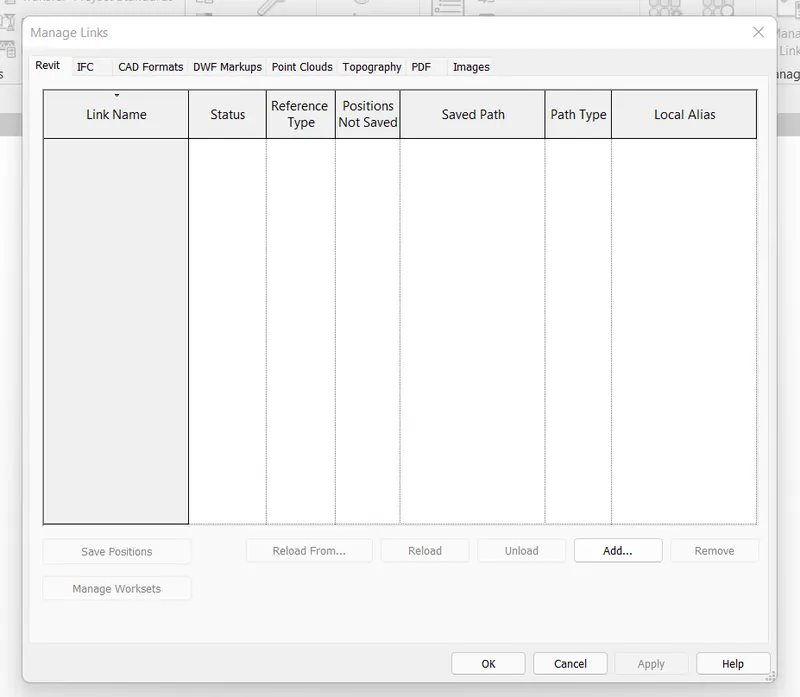
- To link a new file, go to the Manage tab and click on manage links
- From the manage tab, go to the manage links option to take care of all your linked models.
- You will be given various options in the manage links dialogue box to control different models.
- Link the Architectural model to your structural model
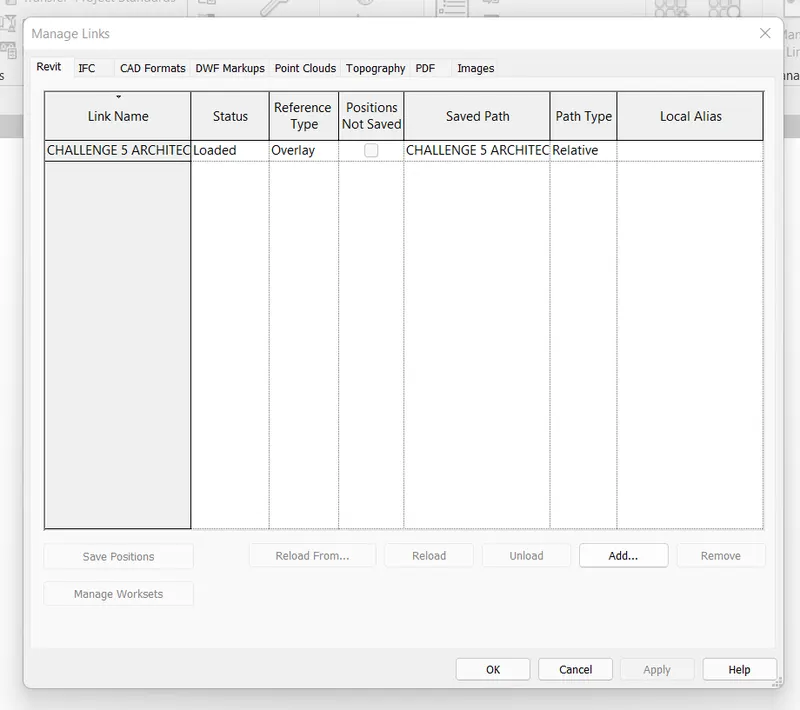
- From the manage links dialogue box, click on add option.
- Browse for the file you want to link up.
- Select the file and there are different ways to link your model.
- Choose the link by shared coordinates and click open.
- Now, copy the needed elements into your structural file
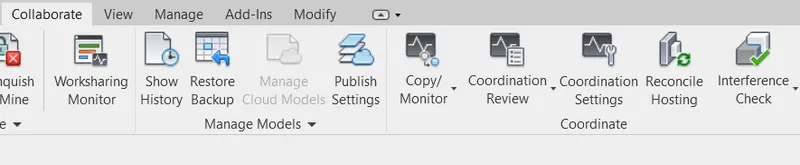
- To copy the objects from your linked file, go to the copy/monitor from the collaborate tab.
- Click on it and go for the select link option.
- Select the link after that.
- Do the copy settings and bring the Architectural grid into your structural model
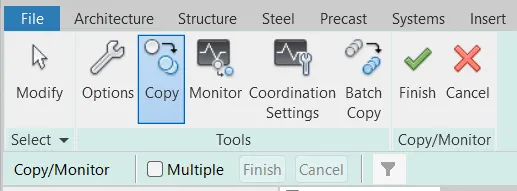
- Select the copy option and check the multiple box.
- Now, go into the link and select the grids.
- After selecting all the grids, click on the finish option to finish up the process.
8)
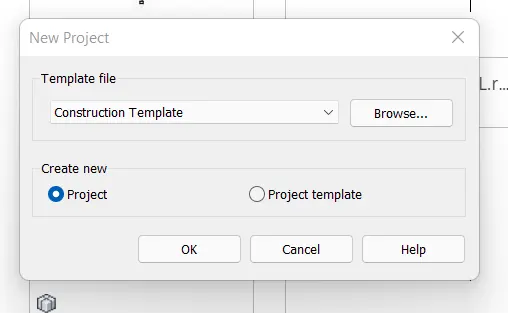
AIM : Create another new file with a construction template. Save the new file as a central model. This file will include both architectural and structural models. Under the manage tab, Click manage links to link both architectural and structural files. Save the file and close all the files.
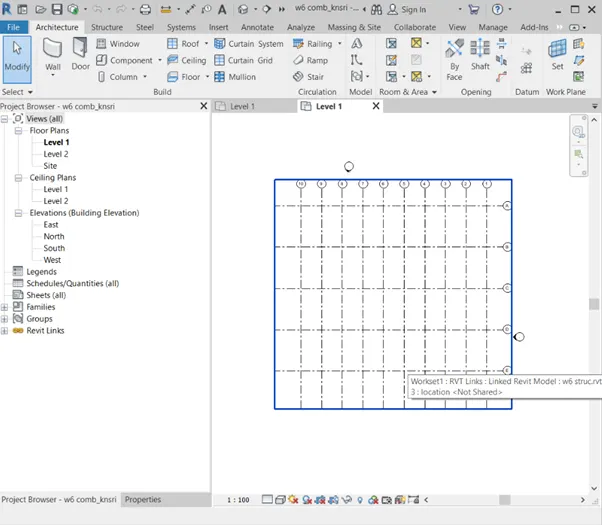
Follow the same procedure that we followed previously to create a new template, put it up for collaboration and then link various files to it.
- Open the construction template and save it
- Put it up for collaboration and create a central file
- At last, add up both Architectural and structural links to this construction template using shared coordinates.
- Go to the insert tab and select Link Revit.
- Then select the both file onr by one.
9)
AIM: Are the grids from structural and architectural models matching in the construction template created? If yes the model is set up for project 2. If not work on the shared parameters and linking options under Manage links.
ANSWER:
YES! Both of my girds match up in the construction template. The image showcasing the same is inserted below:
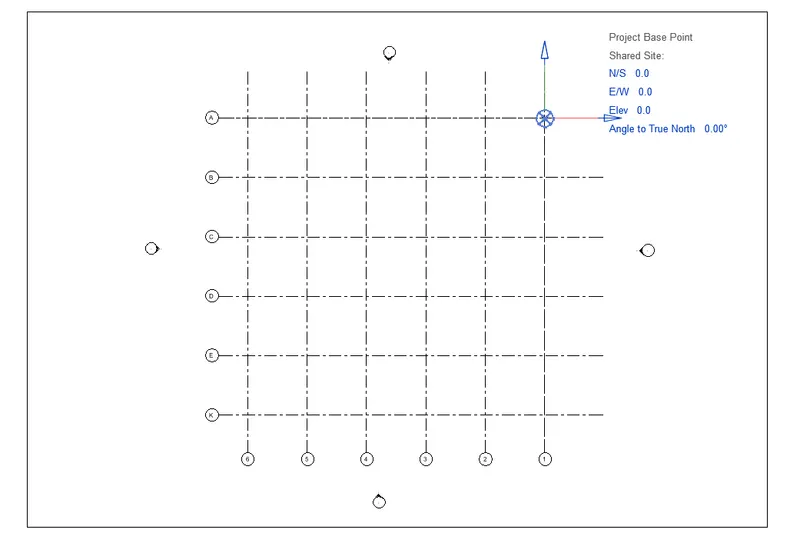
Although, the grids didn't add up accurately at first. So, the following procedure was followed to incorporate them into the place.
- From the project location ribbon, click on the acquire coordinates option.
- Click the links and acquire their shared coordinates into the construction template.
- Then, from the same ribbon go for the relocate project option.
- Select the first base point and then select the second base point to make them collide and hence match the Architectural and Structural grids into the construction template and set the file ready for the upcoming project.
10)
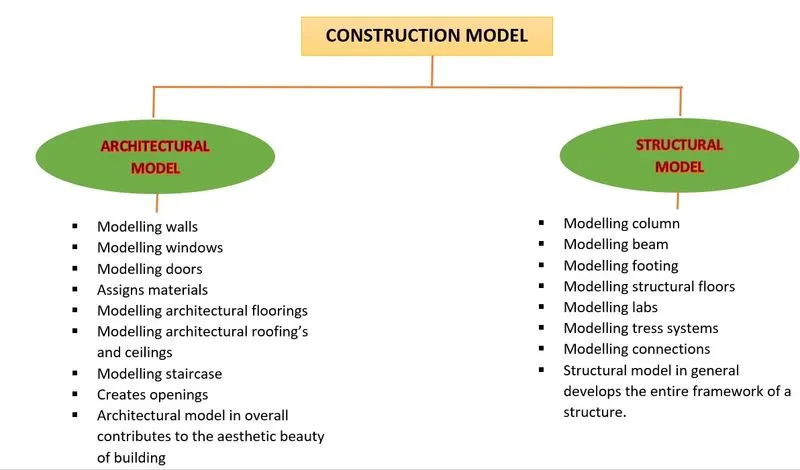
The flow chart goes as follows:
People who can work on a Revit project simultaneously
- Architects
- Landscape Architects
- Surveyors
- Civil Engineers
- Structural Engineers
- MEP Consultants
- Sustainability designers
- People involved in ensuring energy efficiency of the building
- Quantity surveyors