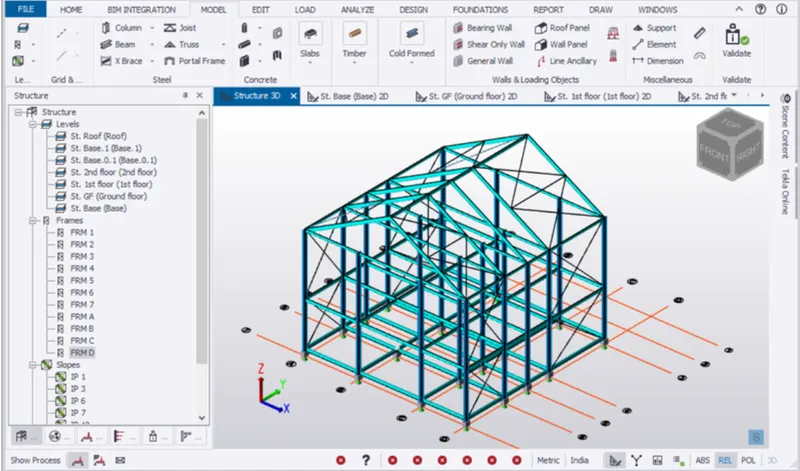
To model beams and bracings for industrial steel structures using TSD
1. Create beam properties for First floor and model the beams.
Answer -
First we have to open the Tekla software.
Next we set the levels using the construction levels option.
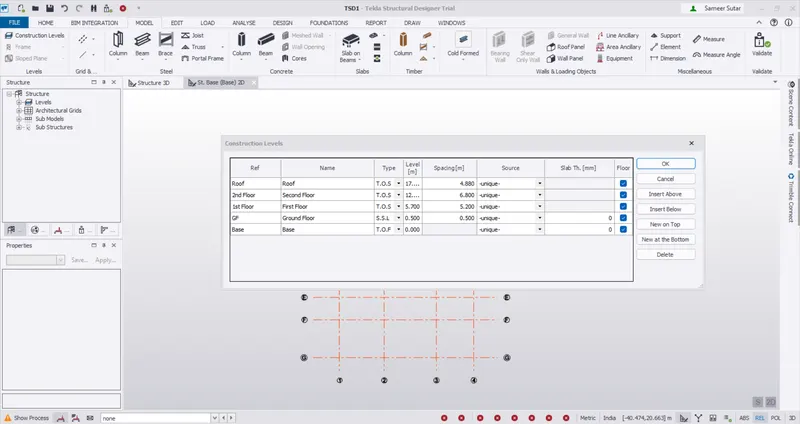
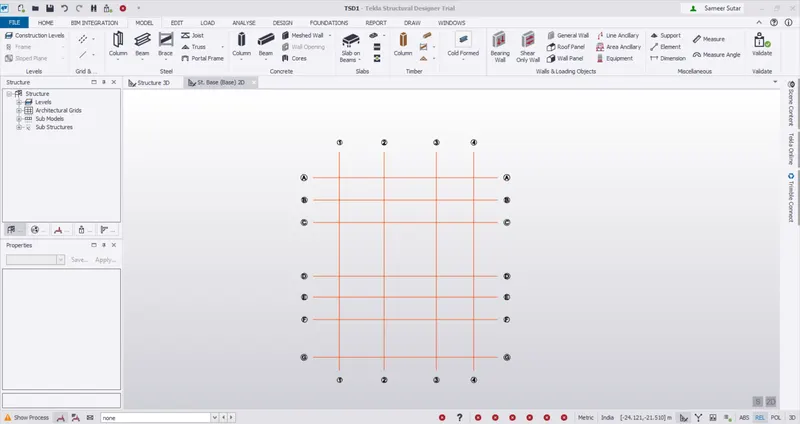
And the grid lines are drawn according to the given attachments.
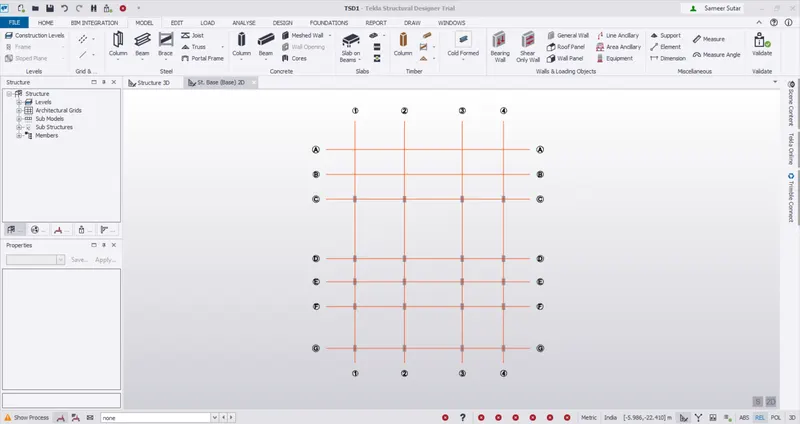
Next we create column properties for different types of pedestral members and model in the grids.
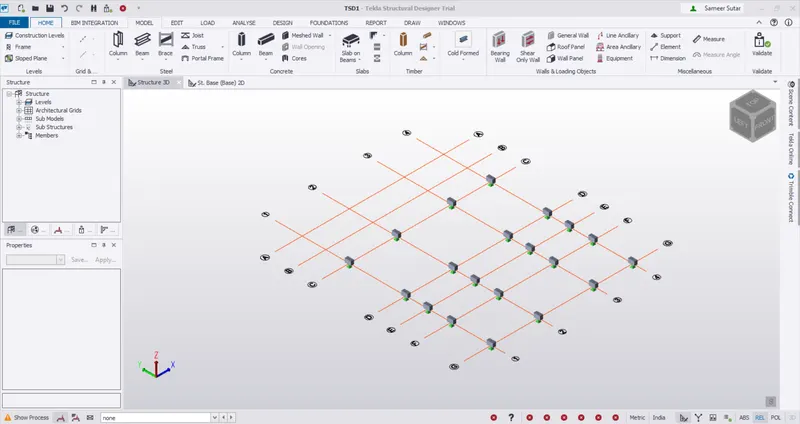
Next we go to the home tab and select Manage Property set option.
Next the new tab will appears, in that we need to add the properties of steel column and steel beam.
Next click on the OK button.
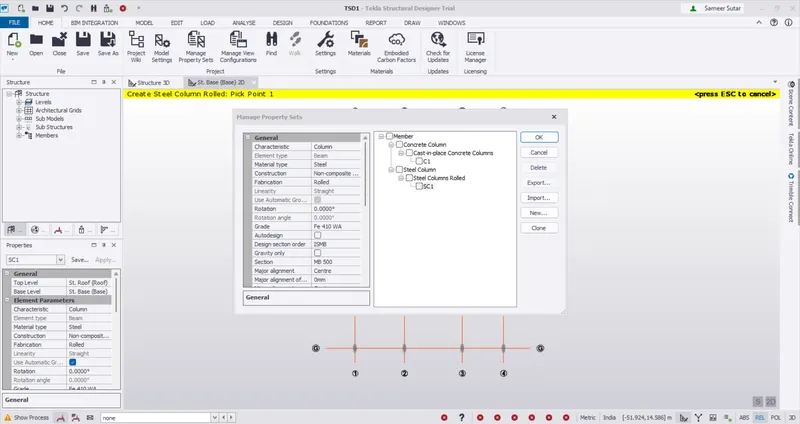
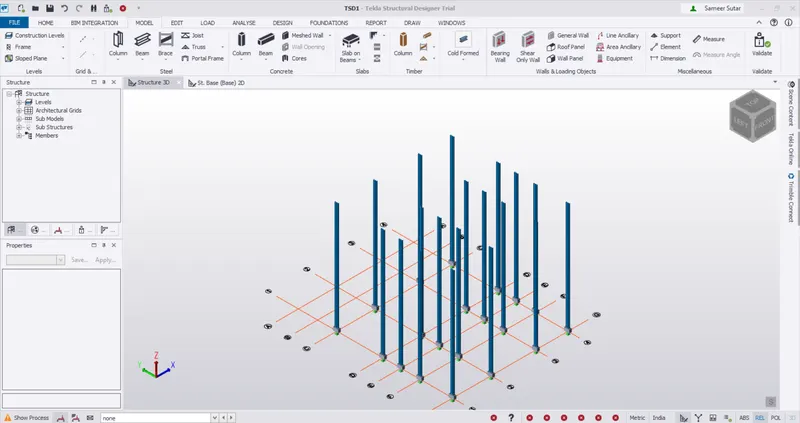
Now we add the steel columns by applying the steel properties which we have added in the manage property sets.
Now we add the steel beams by applying the beam properties which we have added in the manage property sets.
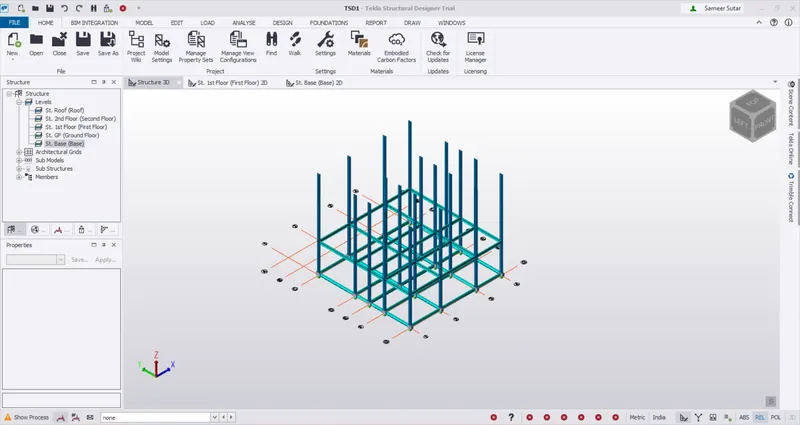
Now the steel beam steel columns are shown in the 3D view.
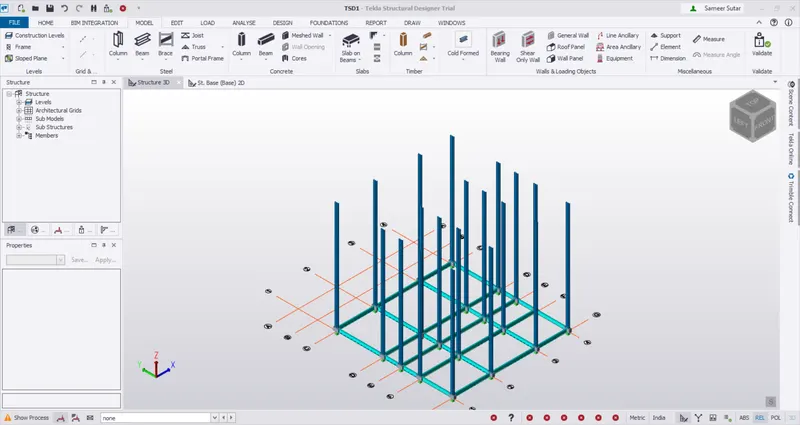
Next we need to add the beam properties for 1st floor.
Now we go to the home tab and select property sets option.
Next the new tab will appears, in that we need to add the properties of steel beam.
Next click on the ok button.
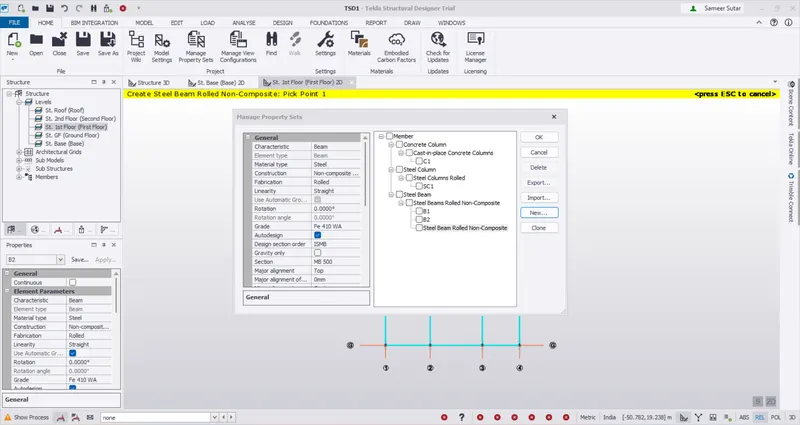
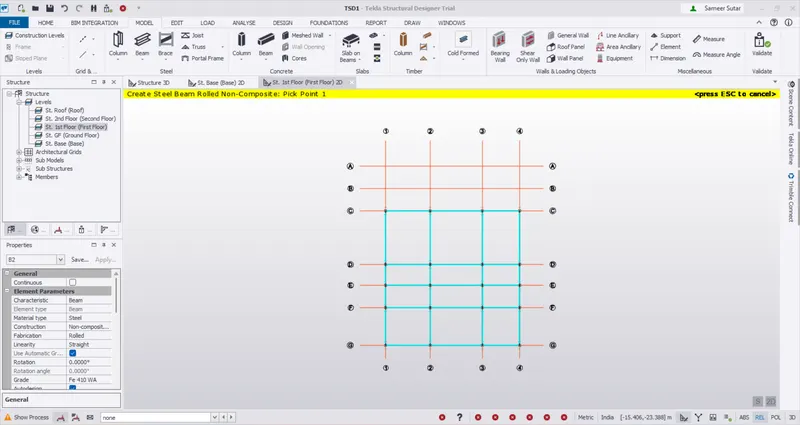
Now we add the steel beams in 1st floor by applying the beam properties which we have added in the manage property sets.
Now the steel beams created in 1st floor are shown in the 3D view.
2. Create rafter beam on second floor as roof and moment frame action in one direction and add bracings at locations as per the design
intent.
Answer -
Here we need to create the rafter beam on second floor as roof.
Now we go to home tab and select manage property sets option.
Next the new tab will appears, in that we need to add the properties of steel beam.
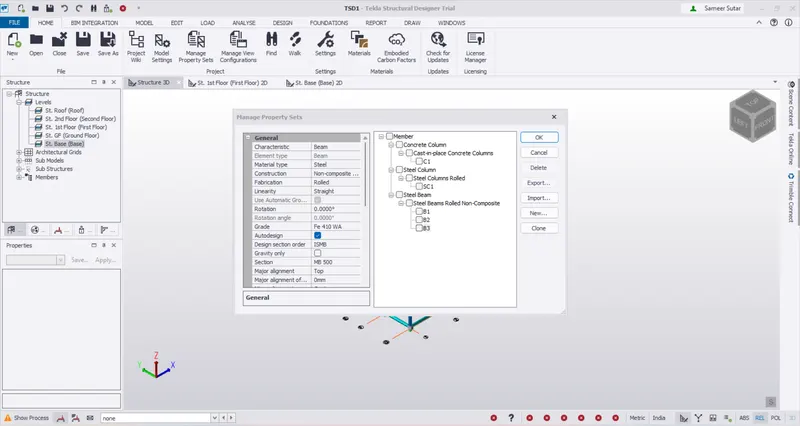
Now we add the beams as roof on 2nd floor by applying the beam properties which we have added in the manage property sets option.
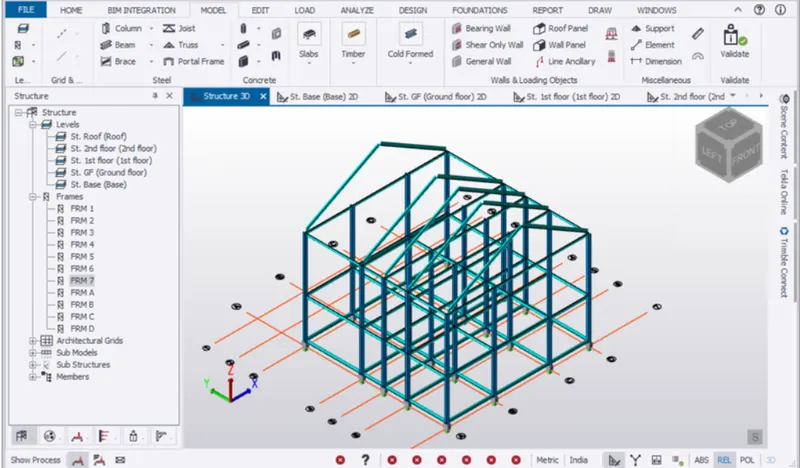
Now we go to home tab and select manage property sets option.
Next the new tab will appears, in that we need to add the properties of steel beam.
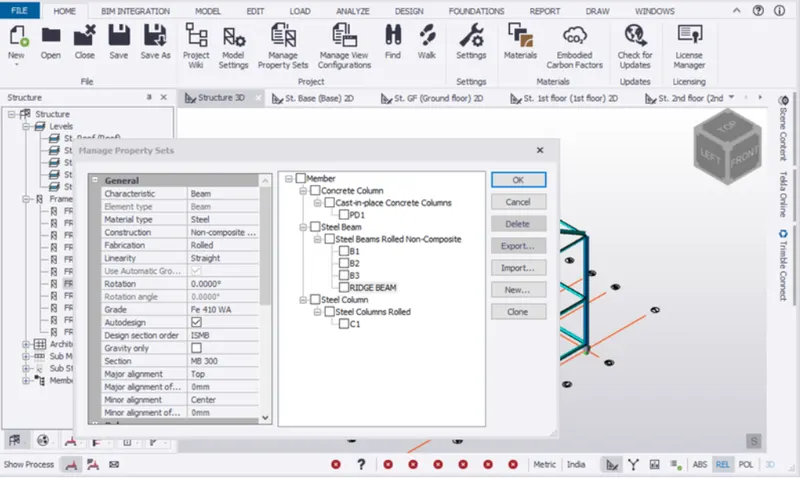
Now we add Ridge beam on roof by applying the beam properties which we have added in the manage propertys sets option.
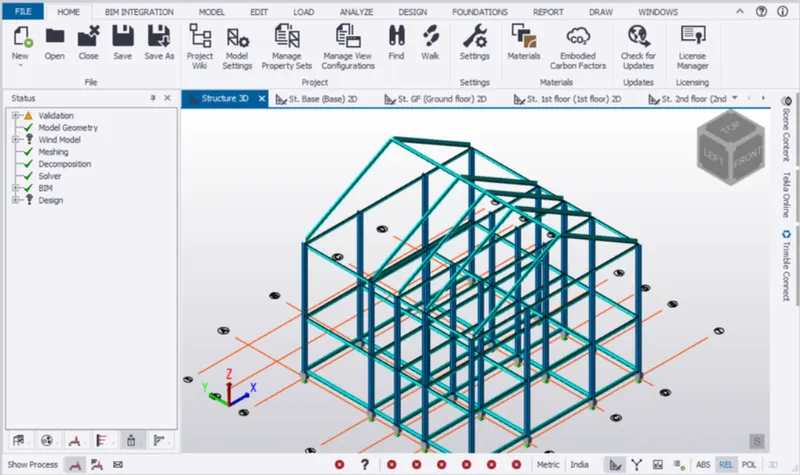
Now we add the bracings in the required places.
Next we go to the home tab and select manage property sets option.
Next the new tab will appears, in that we need to add the properties of steel bracing.
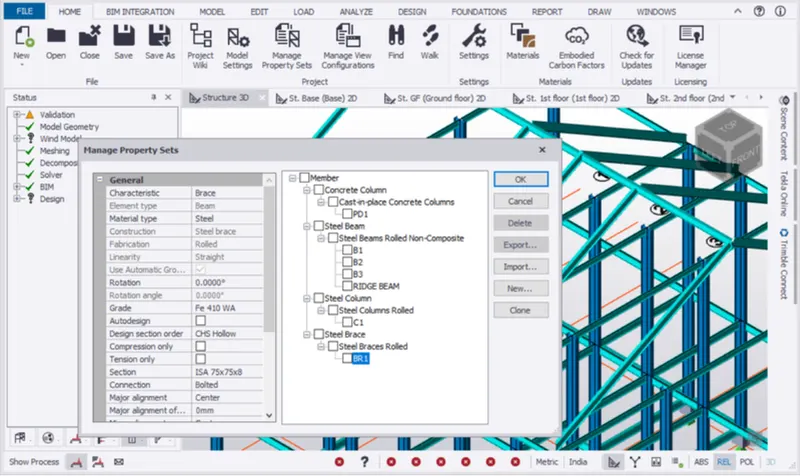
The steel bracings are added in the required places.