Roof Design
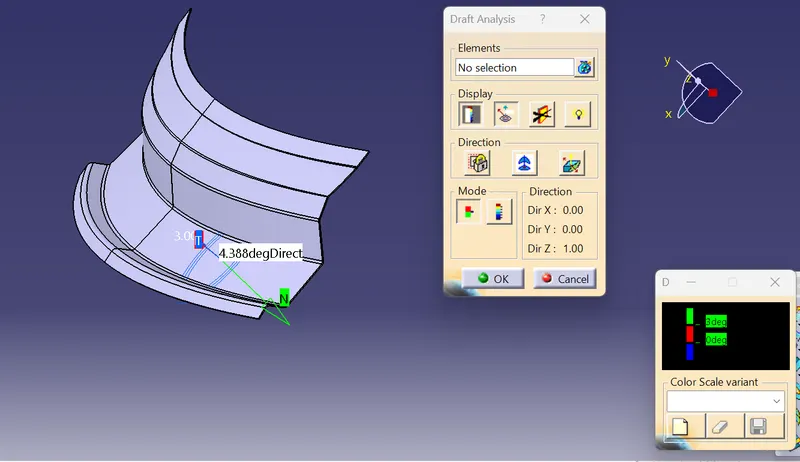
Open the STP file of the roof on the Geometric Shape Design workbench. Name the Geometric set as the parent file. Please create a new geometric set named working part and place the parent file inside it. Create a new set called working offset inside which the operations are carried out.
Offset the left side surface of the roof inside the parent file. Hide the parent file. Extract the front edge with no propagation. Create a sweep in that edge in the Y direction with an angle value of 5degree with a length of 15mm with a forward arrow downwards. Create an extract for the right side longer edges beside the holes as before. Create a sweep as before in the right bottom direction from the front side of the surface. Create a plane normal to the curve with a length ratio of 0.99 along the front edge extract. Split the sweep with the plane as the cutting element in the reverse direction. Create a plane as usual with a ratio of 0.002. Split in the same way as before not in the reverse direction. Create a plane on the longer extract as same as before with a ratio of 0.998. Split as before. Create extract and sweep with length 100mm, angle 18 degrees in forward bottom direction as before on the smaller edge behind. Create a plane with a ratio of 0.008. Split as before. Create a sweep on the front edge near the previous sweep with the direction Y axis, 80-degree angle, length 20mm, and forward bottom direction. Create a sweep as before on the longer extract. Create the second sweep below the first one on the back side of the roof with Y, 80 degrees, 35mm, and forward below direction. Create 3rd sweep Y, 10 degrees, 8mm, and top forward direction. Create the fourth one with 80-degree, 10mm, Y, and forward top direction. Create the fifth with Y, 10 angles, 10mm, and the bottom forward. Join the entire swept surfaces and main surface together. Edge Fillet the entire edges of the joined surface. Create extrapolate on the longer by creating an extract with tangent continuity and then extrapolate at 23mm. Split the extrapolate with the xy plane as a cutting element. Apply symmetry to the surface. Apply to sew surface on the split with the object to sew as the symmetry.
Define a new geometric set called the reference part. Copy the entire features and paste on onto a new part file with paste special with a link. Hide the entire features except for surfaces 29 and 28. Offset the lower swept horizontal surface on the front of the roof by extracting the surface with no propagation; select the ist option and cancel. Select 1.95mm and multiple extracts; select 3rd option. Create an offset for the top surface with multiple extracts with no propagation and offset it as before. Hide surface 28 on the left side before doing these steps. Apply the fill option on the front hole by extracting the circular edge with tangent continuity. Join the fill with both other surfaces. Apply a parallel curve on the first shorter edge of the top surface with support as join, 150mm constant, Tangency, and reverse direction. Apply split on join with the parallel curve as cutting element. Provide a parallel curve on the shorter edge of the top surface with 20mm support. Split the split surface with the curve as the cutting element on the other side. So we get two similar thinner surfaces.
Create a sweep on the first surface with a 35-degree, 20mm length, Y axis, and bottom forward direction. Create 2nd sweep on the surface with Y,90, and 60mm on forward. Create 3rd sweep with Y, 43, 43mm, forward top. Create 4th sweep Y, 70 degrees, 25mm, forward top. Apply healing to the 2nd split surface. Create a boundary on it with tangent continuity on the edge side near the 1st split surface. Join those boundaries created. Extract the healed surface with point continuity as it covers all its boundaries. Hide that surface. apply a fill to it. Create an extract to the respective surface edge. Create a curve smooth to extract curvature with the support surface of the joining surface. Create multiple sections of the surface to join the two surfaces. Create the respective edge fillets. Thicken the surface in part design workbench and then mirror it to the xy plane.