Radar Mast & Final Assembly of Yacht
1.ASSEMBLY OF YACHT-SUSAN
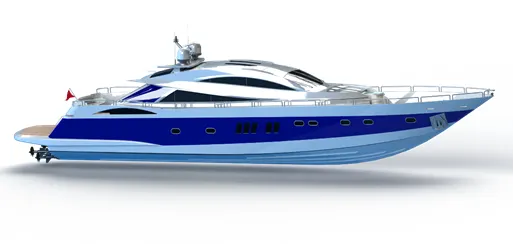
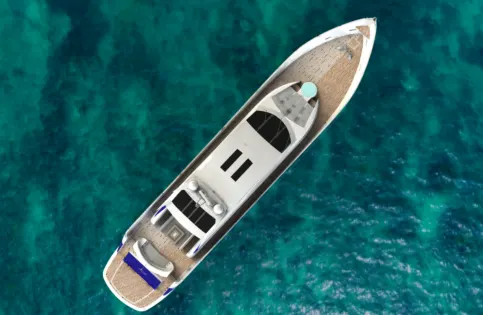
2.OBJECTIVE: The main objective is to create individual parts of sunseeker yacht and assemble it and to create photo realistic model by using photoview360, solid works visualize.
3.INTRODUCTION: solid works is one of the modelling software .it was mainly used to model 3D and 2D sketch. In this project we learnt detailed design of YACHT using this software
4.DESIGN METHOD:
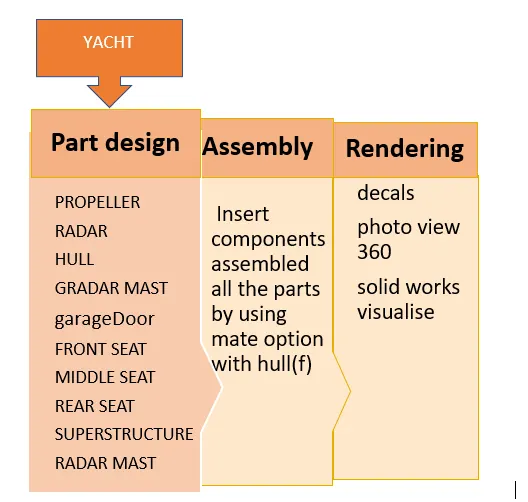
5.DESCRIPTION
- Boss extrude used to add material to the part.
- Cut-extrude feature removes material from the part
- fillet creates a rounded internal or external face on the part.
- loft used to add material between two profiles.
- Shell used to create thickness of the profile and creates a hallow shape.
- Dome provides a smooth curve on the face of the profile.
- Linear/circular/sketch pattern used to create different number of patterns required to create the linear/circular pattern
- chamfer to make symmetrical sloping edge.
- Composite curve helps to join and make complete smooth curve when two profile curves are broken
- Projected curve used to draw 3D curve on the profile by two splines or lines which starts and ends in the same direction
- Revolve create a sketch with a line, plane or axis for revolve
Surface modeling feature
- Surface knit creates one single solid surface body from multiple surface body
- Surface extrude: for open sketch surface extrude can be done
- surface sweep generated from section curve positioned along the path
- surface loft it creates zero thickness profile with help of line or spline as profile and guided curve
- surface trim it trims the surface with the help of sketch entities
- ruled surface it creates a tapered curved surface with the help of single edge at a given distance
-
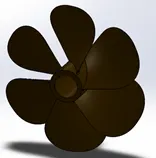
PROPELLER: The purpose is to provide propulsion so that boat was able to move forward through the water.it consists of two or more blades connected together by a central hub that attaches the blades to the engine shaft
Features: revolve, cut-extrude, loft, circular pattern, fillet.
Appearances: custom brown
-
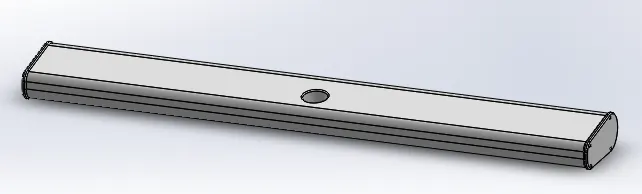
- RADAR: It is used to safely navigate, identifying, tracking a ship from one point to another
- Learnt how to use sketch driven pattern features
Features: cut-extrude, boss-extrude, fillet, offset, sketch driven pattern, mirror, text.
Appearances: white
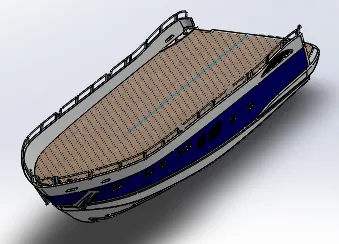
HULL: To define the hull, it can be said that it is the watertight enclosure of the ship, which protects the cargo, machinery, and accommodation spaces of the ship from the weather, flooding, and structural damage
Tools: projected curve, surface loft, surface trim, surface extrude, surface knit, surface fill, extrude cut, extrude boss/base, fillet, mirror.
- Imported the deck surface of the hull as an interface surface
- By using the blue print setup and with the help of spline we draw the projected curve
- With the help of projected curve and surface extrude, surface loft and surface trim we drawn shape of the hull
- we knitting all the surfaces of the hull and merged the whole body
- after knitting all the surfaces if they are any blue extra edges/gaps we cannot make solid body
- By using surface fill option and we try to form a solid
- Later we create a shell
- We created cable holes by using slot
- We draw one side of the hull and later we mirror it to form full hull
- By using decals and appearances we completed the hull
Garage Door: Use for storage purpose
- We exported the garage door part of the hull
- We created half part of the door and we mirror it
- By using the sketch text features we marked name of the garage door.
Tools: boss-extrude, fillet, chamfer, linear pattern.
-
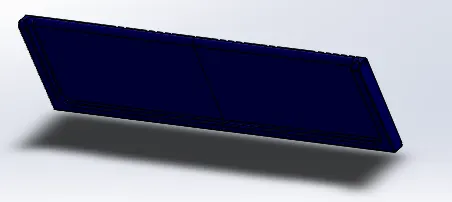
Modeling of Front seat
Tools: boss-extrude, surface extrude, surface loft, surface trim, surface extrude, surface knit, surface fill, surface sweep, fillet, dome
- Imported the deck surface of the hull as an interface surface
By using the blue print setup and above features we created front seat
-
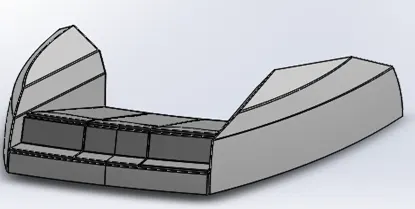
Middle seat
Tools: boss-extrude, fillet, mirror, extrude cut
- Imported the deck surface of the hull as an interface surface
By using the blue print setup and above features we created middle seat
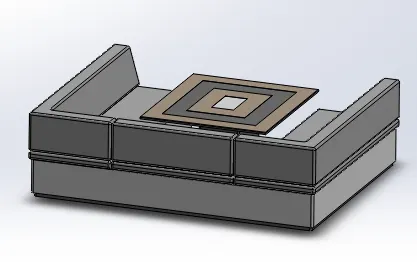
Rear seat
Tools: boss-extrude, surface extrude, surface loft, surface trim, surface extrude, surface knit, surface fill, surface sweep, fillet, mirror, ruled surface, surface offset
- Imported the deck surface of the hull as an interface surface
By using the blue print setup and above features we created rear seat
-
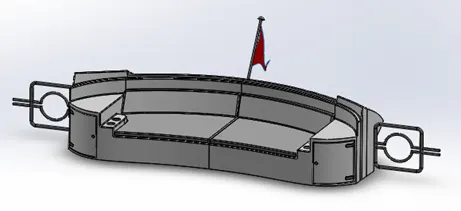
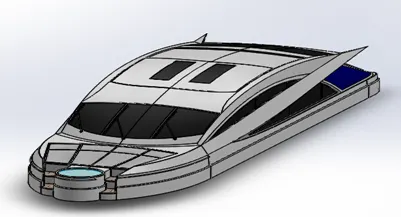
SUPERSTRUCTURE: it was mounted on the hull and it serves as a control tower, operational center and work station of majority of technical staff
- We opened the blueprint setup and named it as super structure
- Imported the deck surface of the hull as an interface surface
- By using the blueprint set up we drawn base of superstructure by using spline and lines and surface extrude and surface sweep
- By using projected curve we created curved surface of superstructure
- With the help of projected curve and surface extrude, surface loft and surface trim we drawn one side of superstructure
- we knitting all the surfaces of the hull and merged the whole body
- after knitting all the surfaces if they are any blue extra edges/gaps we cannot make solid body
- By using decals and appearances we completed the superstructure
- Tools: surface extrude, surface sweep, ruled surface, surface knit, surface trim, ruled surface, projected curve
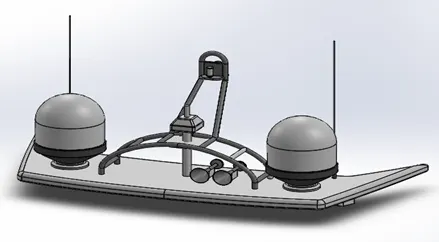
RADAR MAST: it was used to detect other ships and land obstacles and to avoid collision and navigate the sea
Tools: boss-extrude, surface extrude, surface loft, surface trim, surface extrude, surface knit, surface fill, surface sweep, fillet, dome, revolve
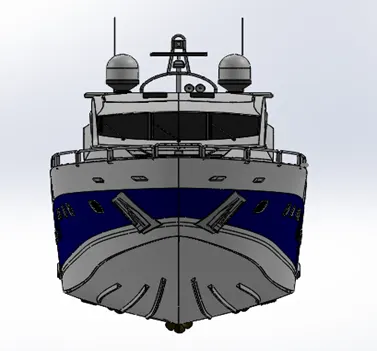
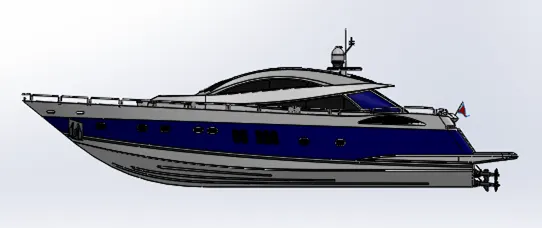
- ASSEMBLY: Assembly Insert components assembled all the parts by using mate option with hull(f)
FRONT VIEW
SIDE VIEW
ISOMETRIC VIEW
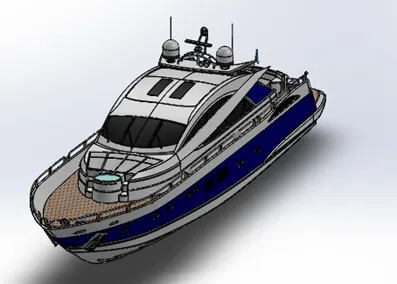
- part tree
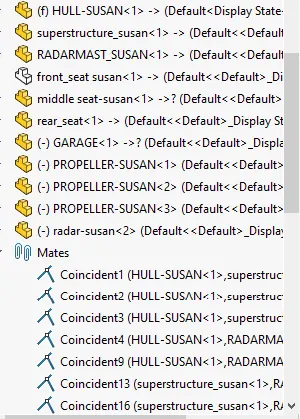
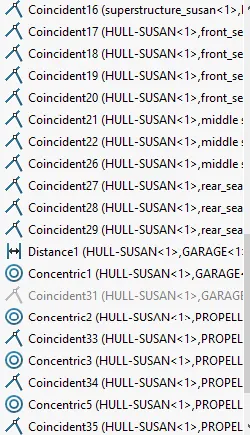
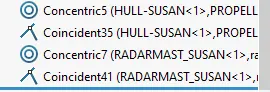
- SIDE VIEW
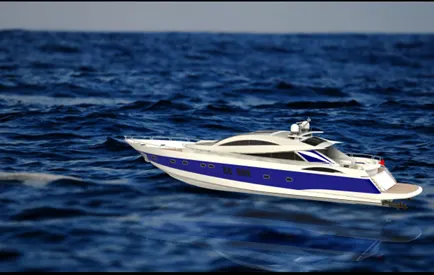
- TOP VIEW
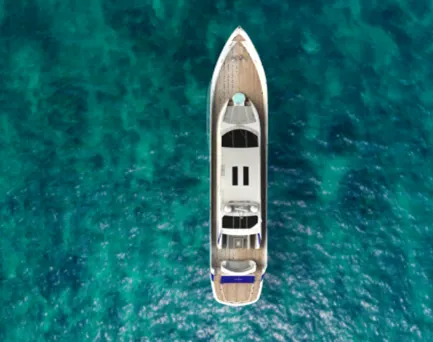
- CAMERA VIEW
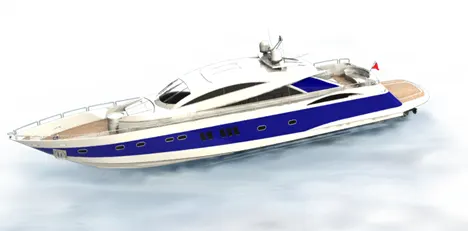
- SIDE VIEW
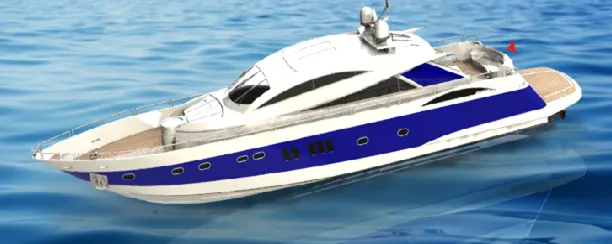
-
7.CONCLUSION
- Get Knowledge on converting a sketch in solid body and assembling the parts
- Learnt how to render an image by using photoview360
- Learnt how to set camera views, photo realistic background images.