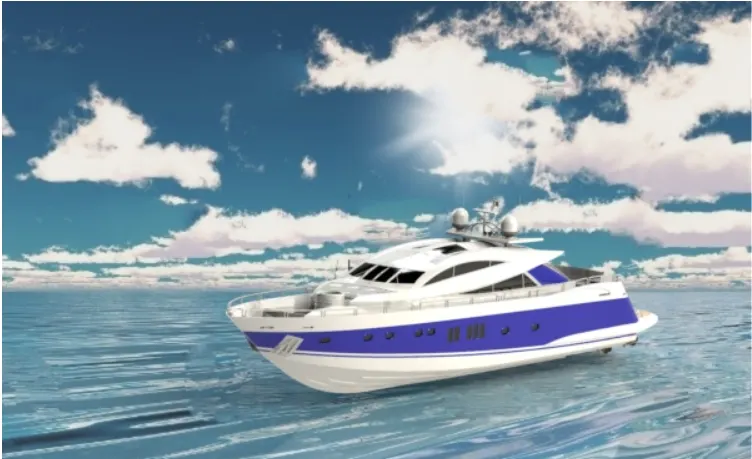
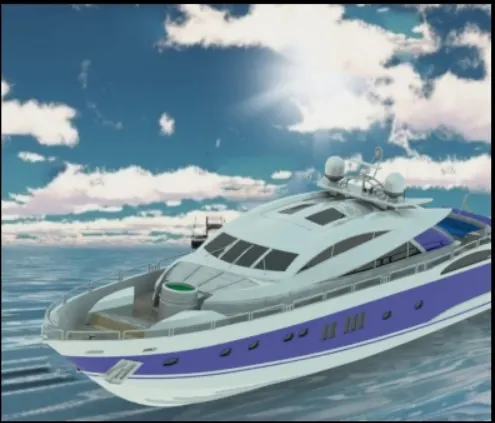
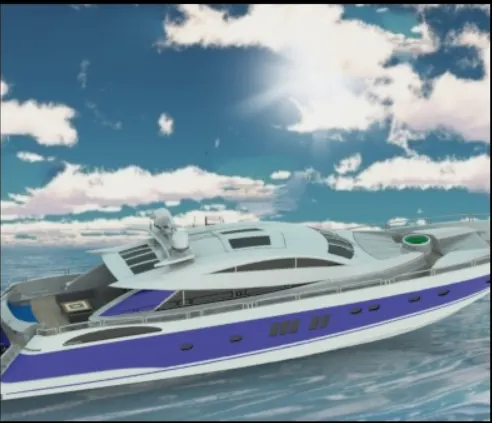
Radar Mast & Final Assembly of Yacht
DESIGN AND MODELLING OF A SUNSEEKER PREDATOR YACHT
- Objective
- Making of a surface model by using different surface tools that are available on solid works.
- Hand practice on a surface model in a solid works environment
- Also here we can learn about the assembly and rendering of a model.
- Introduction
- A yacht is a sailing or power vessel used for pleasure, cruising, or racing. There is no standard definition, so the term applies to such vessels that have a cabin with amenities that accommodate overnight use.
- In this project, we design a 32m sunseeker predator yacht that comes under the private and medium categories.
- The design of a yacht is carried out by the designing of the individual parts separately as follows-
- Yacht propeller
- Radar
- Blueprint
- Hull
- Garage door
- Front seat
- Middle seat
- Rear seat
- Superstructure
- Radar mast
- Assembly
- All these individuals’ parts are modeled separately and assembled together.
- A brief description and procedure for modelling individual parts are described below-
- YACHT PROPELLER-
- A propeller is a device with a rotating hub and rotating blades that are set at a pitch to form a helical spiral.
- Which, when rotated, exerts linear thrust upon a working fluid such as water or air.
- Features are used to design the propeller-
- 2D sketch entities
- Solid revolve boss
- Solid loft
- Fillet
- Extruded cut
- Circular pattern
- Appearances
- Procedure for modelling-
- Open solid works and create a part model.
- Then create a sketch of the hub on the midplane by using sketch entities.
- Revolve and make it a solid body.
- Now draw another sketch on the top plane and also create a reference plane from the top plane.
- Create a new sketch on the newly created plane and make a loft between those sketches.
- Give fillet to it.
- After that make a circular pattern of the blade with respect to the hub.
- At last, apply required appearances to the propeller.
- Save the part file.
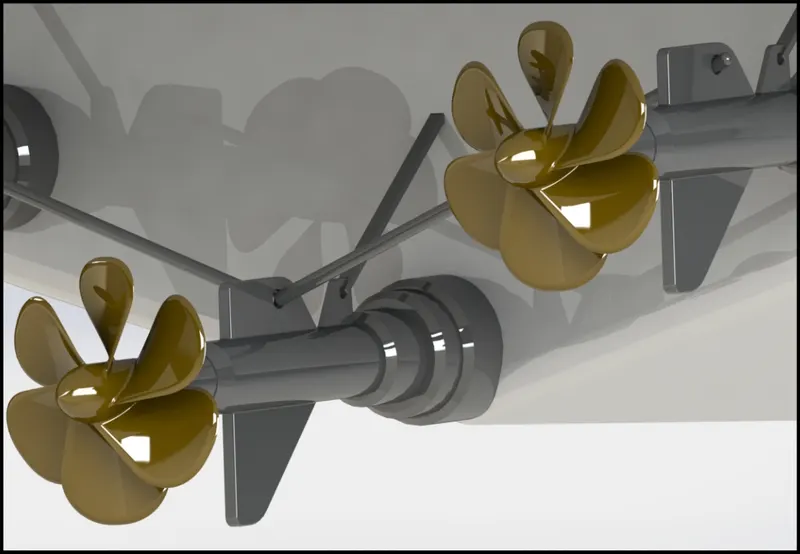
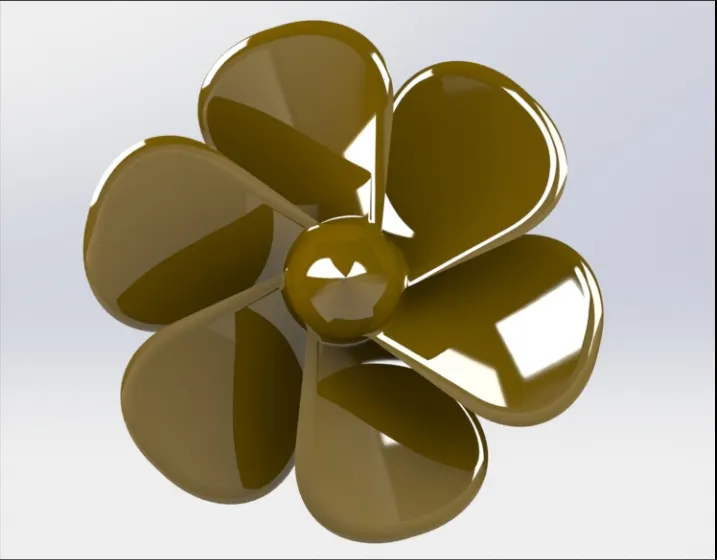
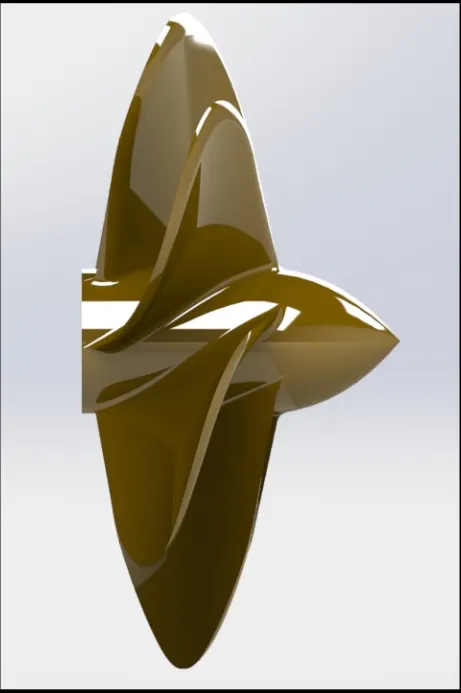
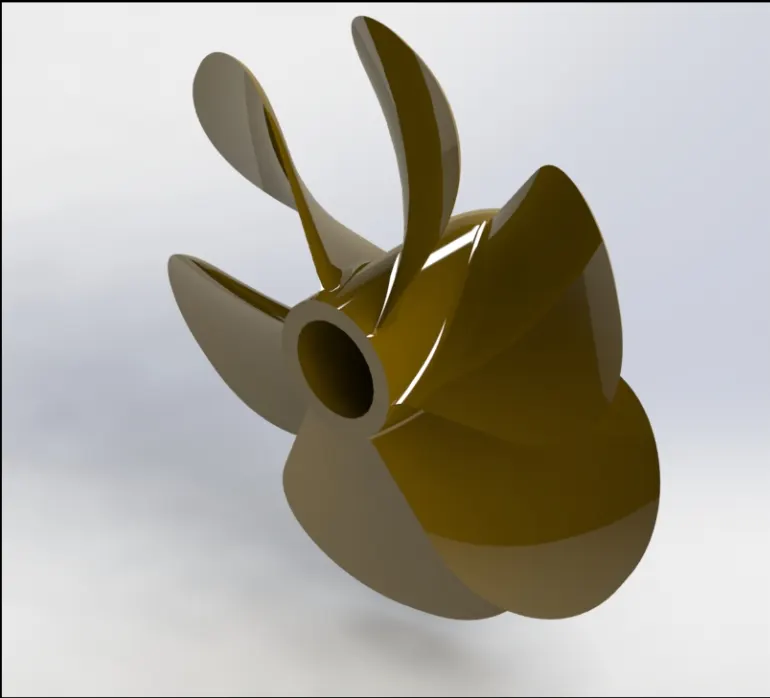
- Rendered images of the propeller are shown below-
2. RADAR
- Radar is a detection system which used to send and receive the radio signals for communication and also determines the range of objects and aircraft.
- Features used to design a radar-
- Solid extrudes
- Fillet
- Offset entities
- Mirror
- Sketch entities-text
- Split line
- Appearances
- Procedure for modelling-
- open solid works create a new part.
- Select the right plane and create a sketch by 2D sketch entities.
- Extruded it to a solid body and apply fillet.
- By using offset entities and other entities make some parts of radar that are needed.
- After that mirror the body about the midplane and select the merge entities and knit surface option.
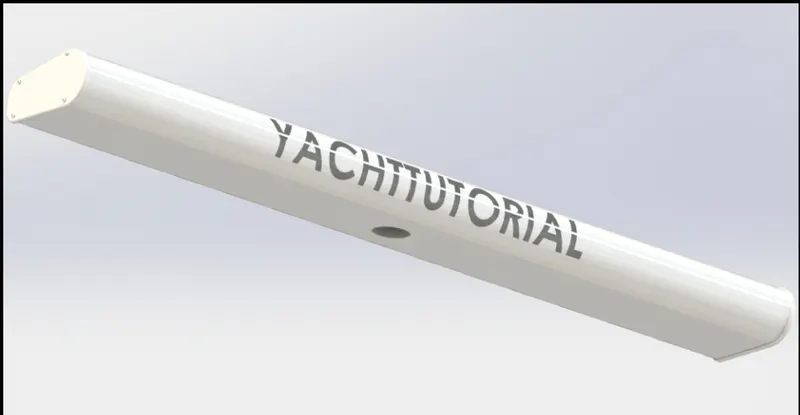
- Apply desired text on the radar curve plane with the help of the split line option.
- Here chooses the projection to the surface.
- Apply desired appearances to the body.
- Save the part file.
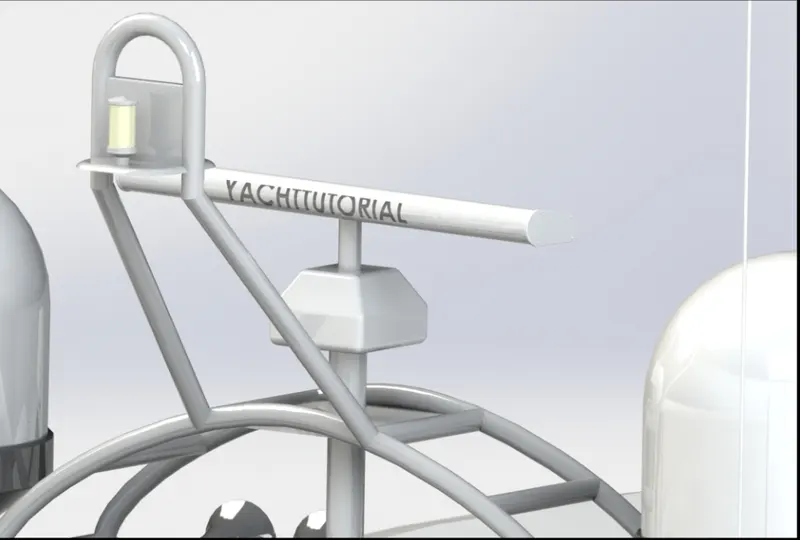
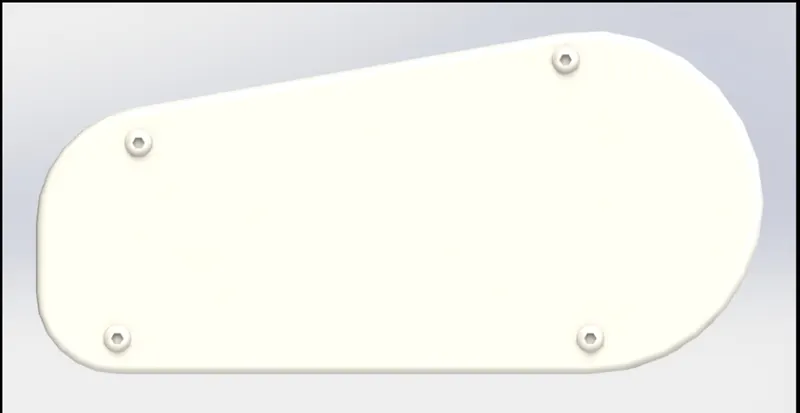
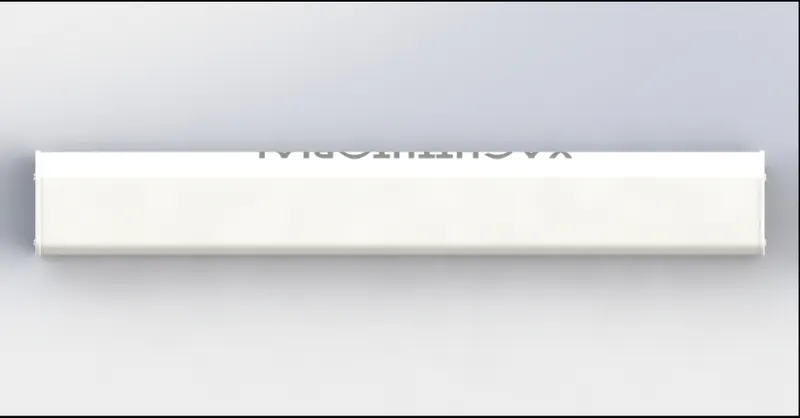
- Rendered images of the radar are shown below-

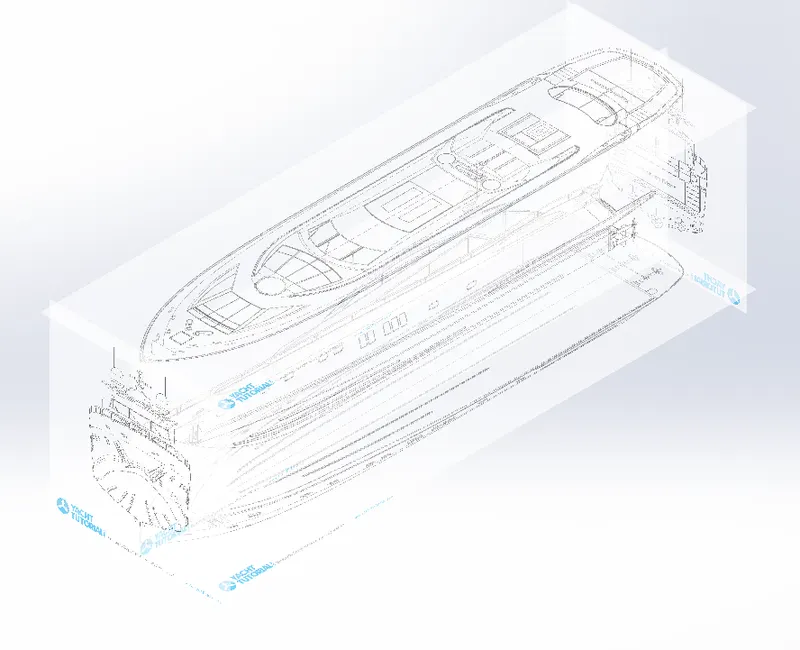
3. BLUEPRINT SETUP-
- It is a guide for making something or it is a design or pattern that can be followed. A yacht blueprint is a combination of multiple images of the yacht from the different sides such as Frontside, Topside, Backside, and Bottom side.
- Features used for blueprint setup-
- Sketch picture or sketch tool
- Plane reference
- The procedure used for modelling-
- Open solid works and create a new part file.
- Select the front plane and create a sketch on it.
- Go to the insert-sketch entities-sketch picture then browse the desired picture.
- Set the picture in the required position by giving the x and y dimensions.
- Do the same for the front plane and midplane.
- After that create a reference plane from the front plane, midplane, and bottom plane as per the required distance and insert the desired sketch pictures.
- Save the blueprint setup.
4. HULL
- A hull is a watertight body of a ship, boat, or flying boat. The hull may open at the top or it may be fully or partially covered with a deck.
- Here the deck surfaces are made of wood.
- But nowadays it is constructed with fiberglass, followed by alluminium steel, and carbon fiber.
- Features used to design the Hull-
- Blueprint setup
- 2D sketch entities
- Guide curves
- Project curves
- surface extrudes
- surface loft
- trim surface
- surface fill
- Knit surface
- Shell
- Extrude cut
- Solid sweep
- Dome
- Helix spiral
- Linear pattern
- Mirror
- Convert entities
- Split
- Delete and keep the body
- Offset surface
- Edit decals
- Edit appearance
- Procedure for modelling-
- Insert the blueprint of the yacht in a new part.
- Create the projected curves of the bottom parts as per the blueprint and create lofted surfaces.
- Trim the unwanted surface for making the surfaces of the hull.
- Fill the open surface by extruded surface and knit them.
- Create a shell of the required thickness from the knitted surface.
- By using surface fill to create the deck surface and basement.
- Create windows and path holes on the surfaces of the hull.
- Create a headlight and anchor stand on the front side of the hull.
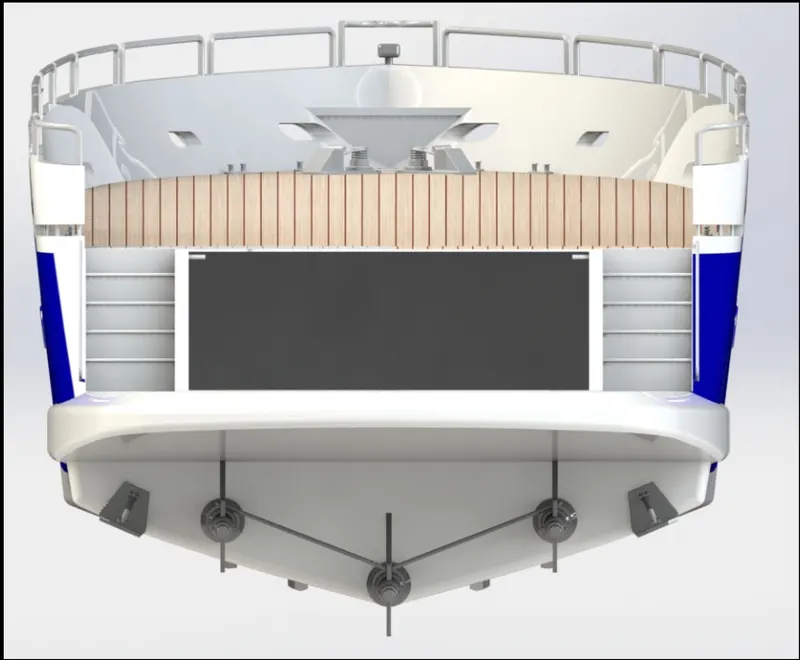
- Create stairs, long slots, and railings that are needed on the backside of the hull.
- Create a shaft for the rotating propeller on the bottom backside of the hull.
- Create a standing board on the front side of the hull.
- Create the remaining part of the hull by mirroring the hull modeled till the last step.
- Apply decals and appearance on the software of the hull.
- Apply appearance to the hull surface h for required.
- Save the part file.
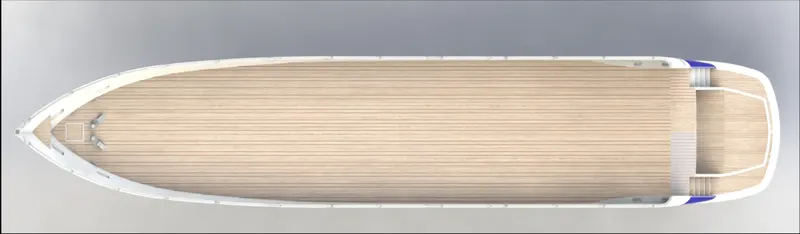
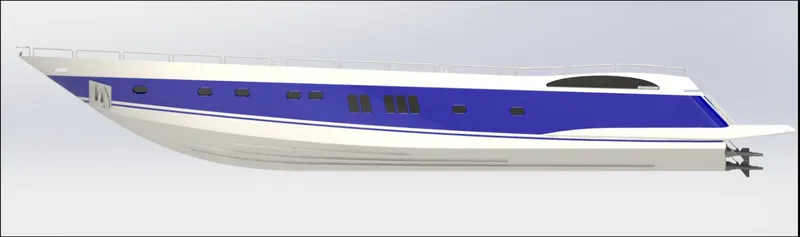
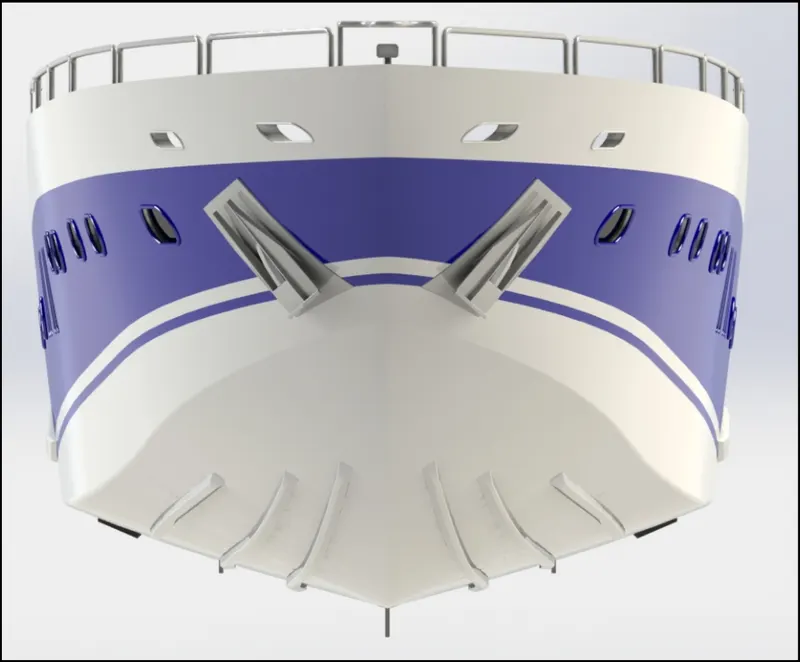
- Rendered images of the hull are shown below-
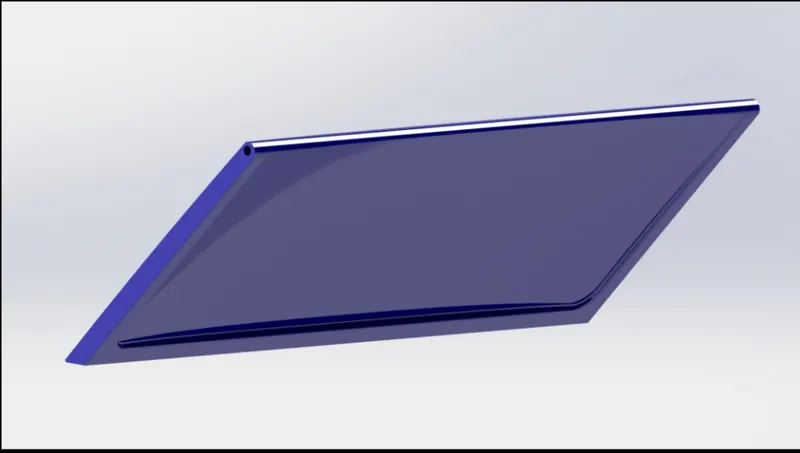
5. GARAGE DOOR-
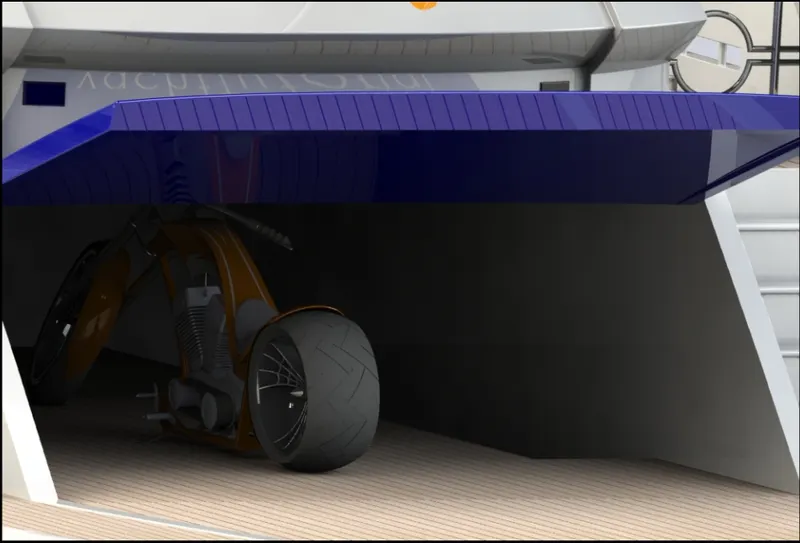
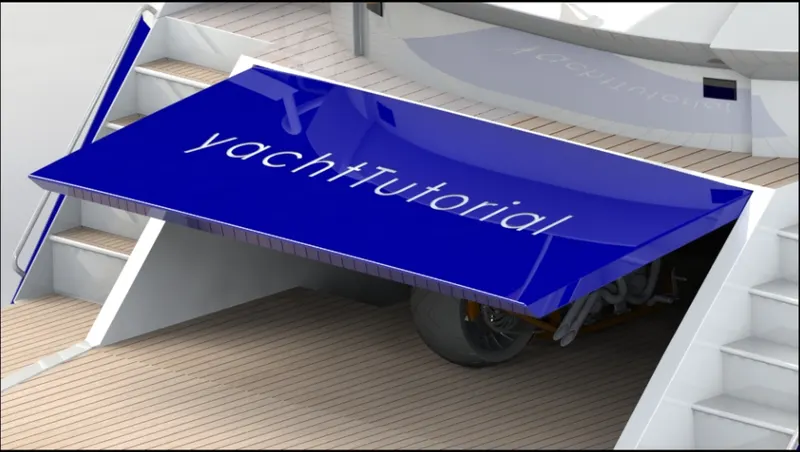
- Garage doors cover the storage space provided in the yacht for parking personal vehicles such as cars, motorcycles, etc.
- Here the garage is closed by a door usually it is made up of woods and metals.
- Features used to design the garage door:
- 2 D sketch entities
- Extruded cut
- Shell
- Extruded boss
- Mirror
- Split
- Appearances
- Procedure for modelling-
- Open solid work creates a new part file.
- Then open the garage door block file that is saved previously from the hull.
- Remove the unwanted portion of the block inserted.
- Create the remaining part of the garage door.
- Mirror the other side part and select the knit surface and merge entities option.
- Apply the desired appearance and save the part file.
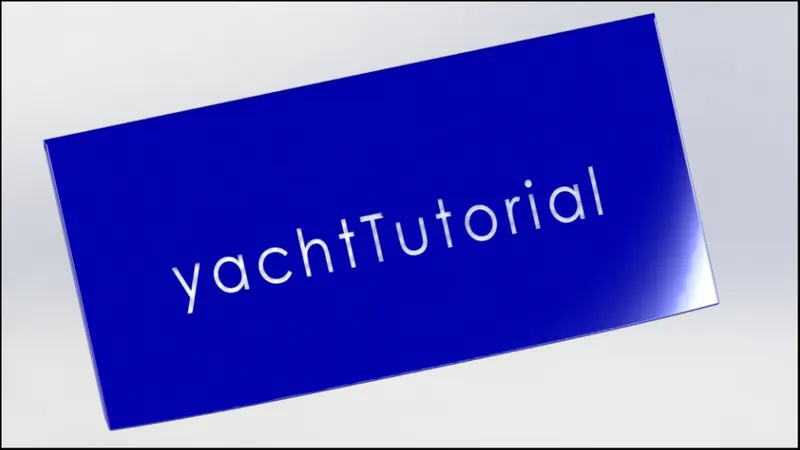
- Rendered images of the garage door are shown below-
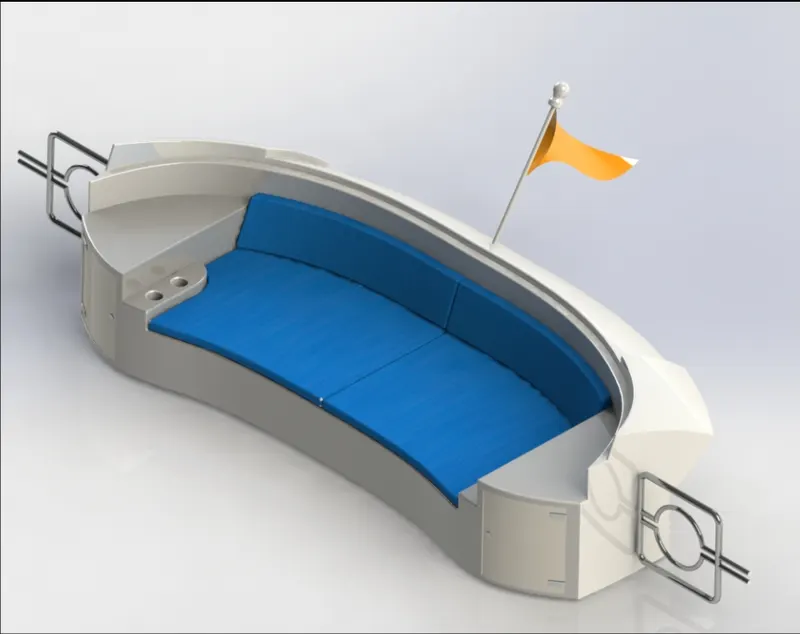
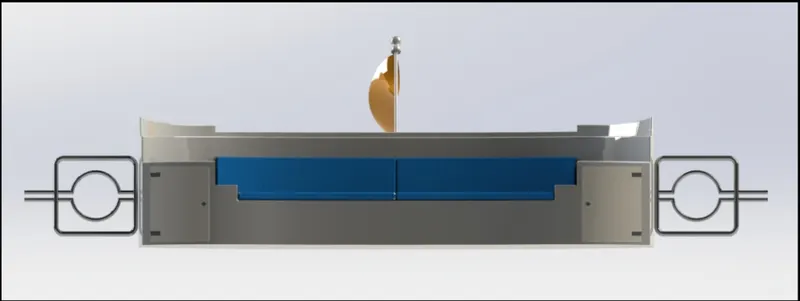
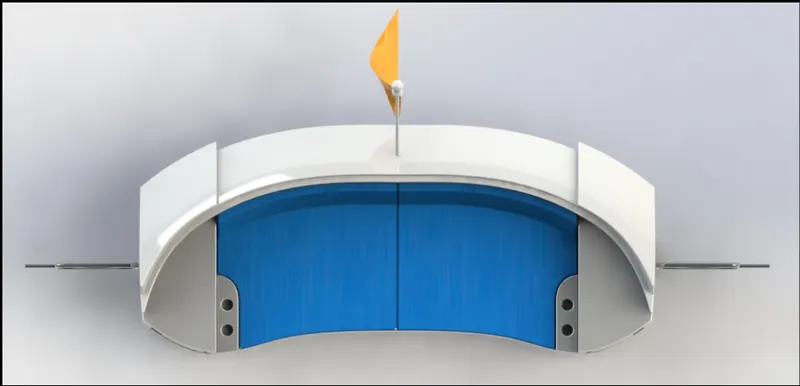
6. SEAT-
- It is used in yachts for luxury and enjoyment in the external environment.
- A seat with nice cushions is usually used on the yacht.
- In this project there are three types of seats are used:
- Front seat
- Middle seat
- Rear seat.
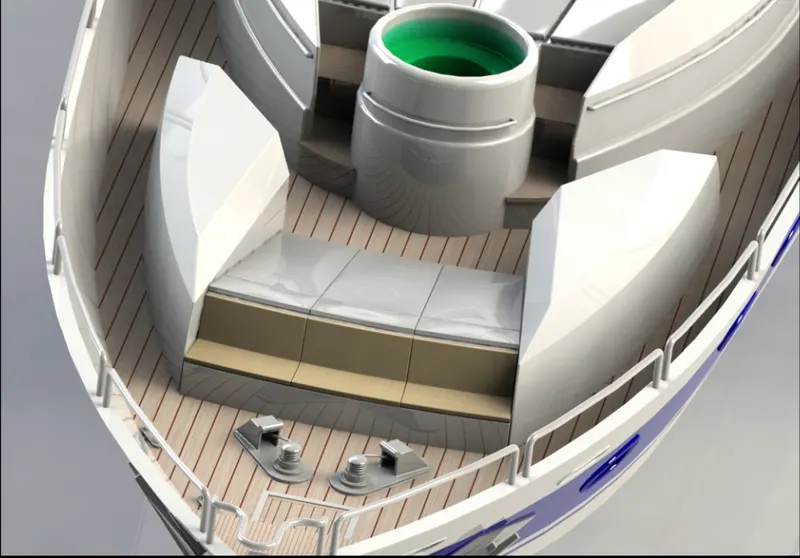
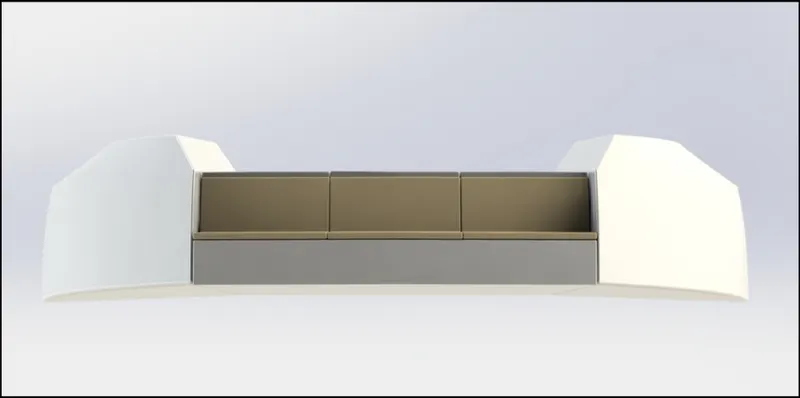
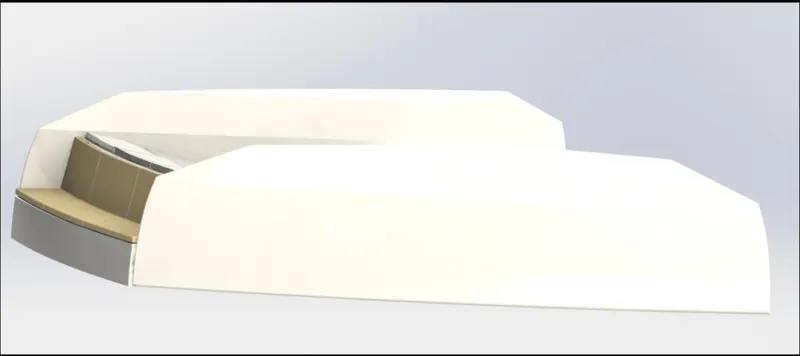
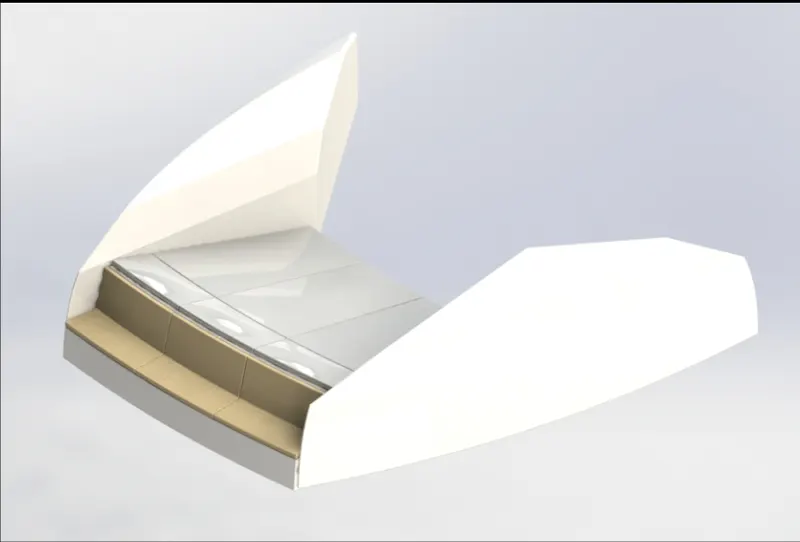
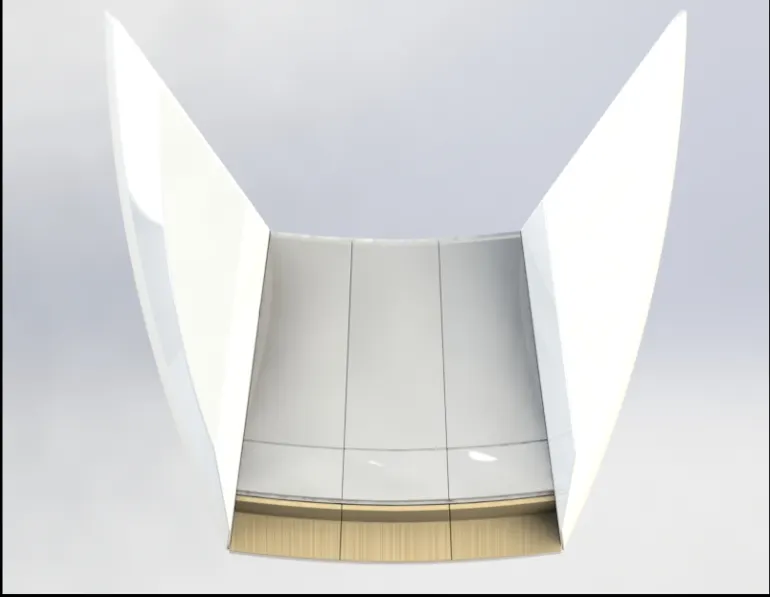
- Front seat is kept in the front portion of the yacht, it is capable of three to four people.
- Middle seat is kept just behind the superstructure.
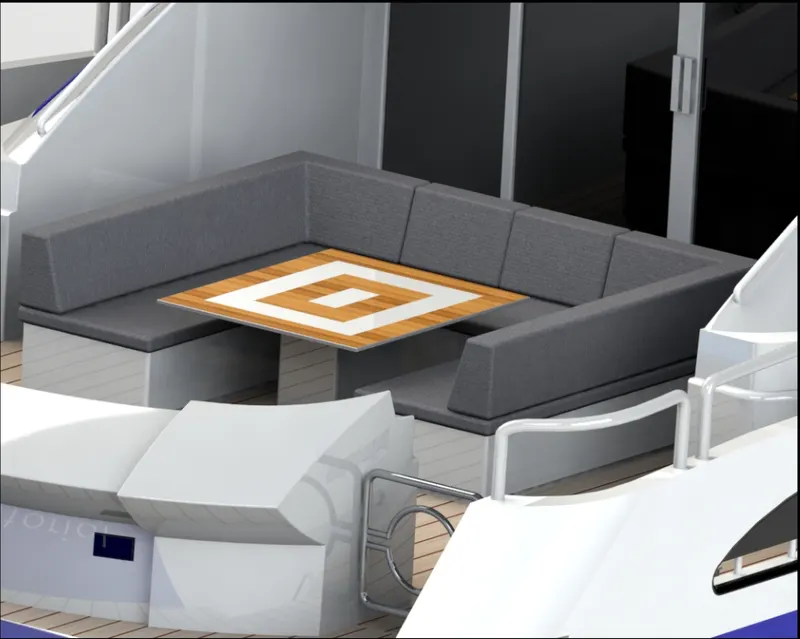
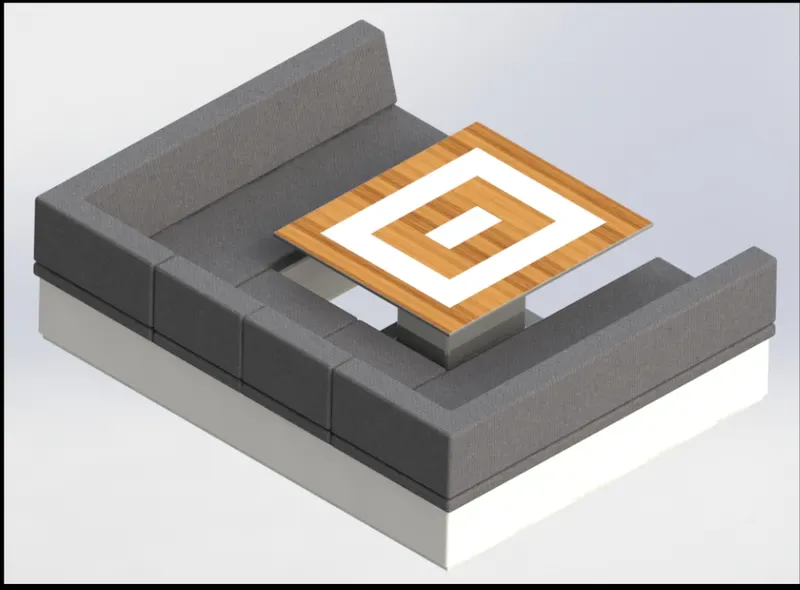
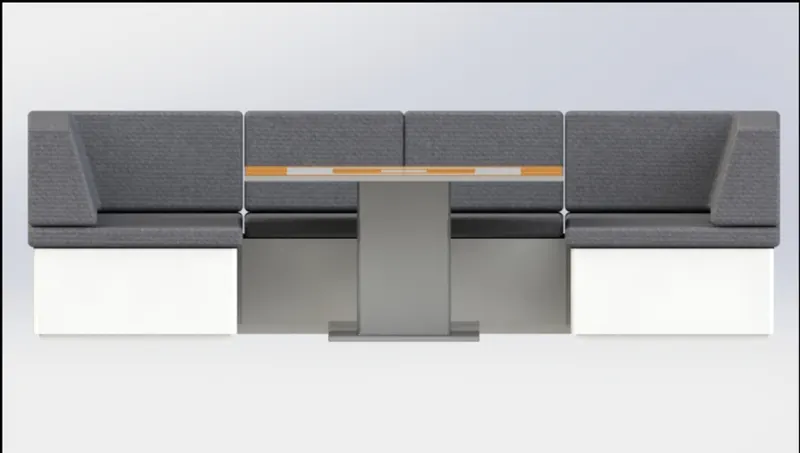
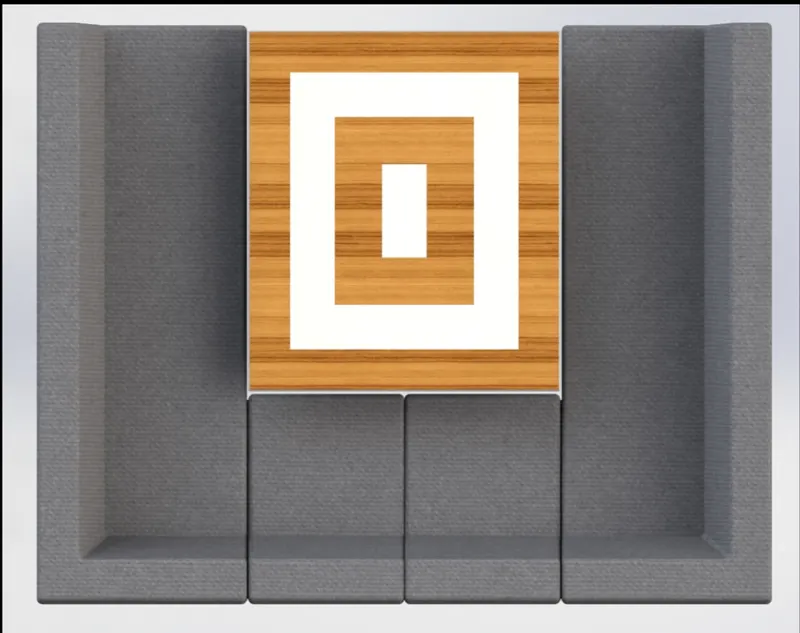
- It has a table and also three corner seats with a capacity of 5 to 6 seats.
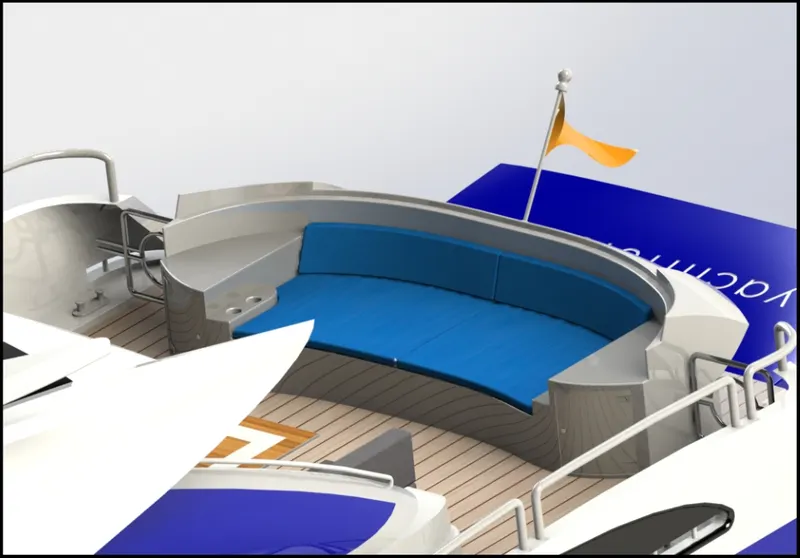
- The rear seat is kept at the last end of the yacht and it has a sitting capacity of 2 to 3 persons.
- Procedure for modelling yacht's front seat-
- open solid works and create a new part.
- Insert the blueprint setup.
- After that import the deck surface of the hull as the interface surface.
- Select the top portion of the deck surface and creates a sketch on it by using 2D sketch entities.
- By using these sketches make the required surface and trim the unwanted surface.
- Fill the underneath surface and make it solid.
- Give the chamfer and fillet where ever required.
- Create an additional cushion on the surface of the seat.
- Create the remaining part of the seat by mirroring the seat model.
- Give appearances to it and save the part file.
- Rendered images of the yacht's front seat are shown below-
- Procedure for modelling yacht's middle seat-
- Insert the blueprint setup of the yacht in a new part.
- Select the surface interface of the hull and make a sketch of it.
- Make it a solid body by using the boss extrude option.
- Create a cushion part on the base of the middle seat.
- Apply chamfer and fillet to make the cushion.
- Mirror the rest part and select the merge entities and knit surface option.
- Create the table at the center of the middle seat.
- Apply appearances as required and save the part file.
- Rendered images of the yacht's middle seat are shown below-
- procedure for modelling yacht's rear seat-
- Open solid works insert the blueprint setup to a new part file.
- Import the deck surface of the hull.
- Create a sketch on the top surface of the deck.
- Create the required surface by using the sketch with the help of a surface loft.
- Trim the unwanted surface.
- By using the ruled surface and extended surface features fill the surfaces.
- After that apply the knitted surface and make it solid.
- Next make the cushion part on the surface of the seat.
- Create a cub board under the hand rest portion.
- Create a gate on one side of the rear seat.
- Creates the remaining part by mirroring the portion of the seat.
- Apply appearances as per required.
- Save the part file.
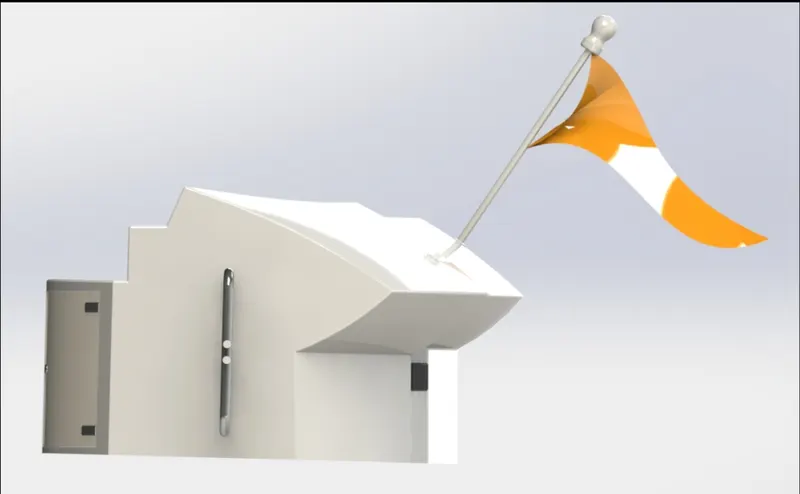
- Rendered images of the yacht's rear seat are shown below-
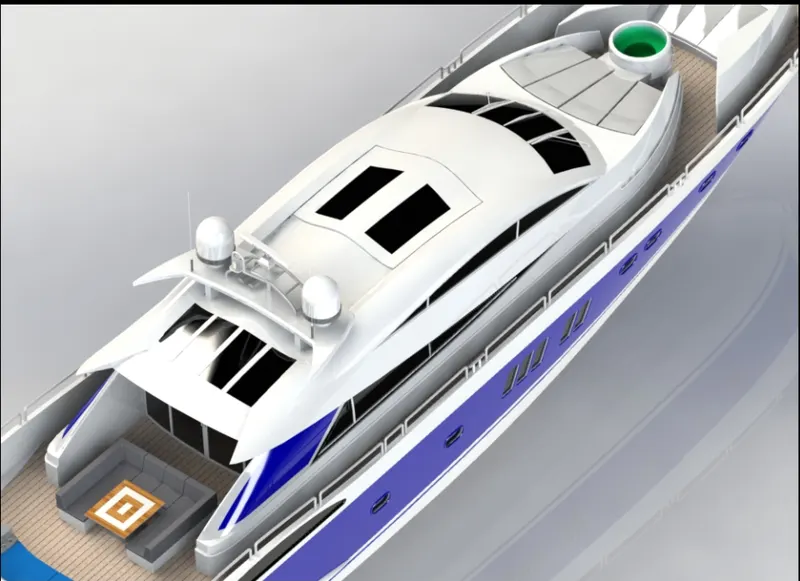
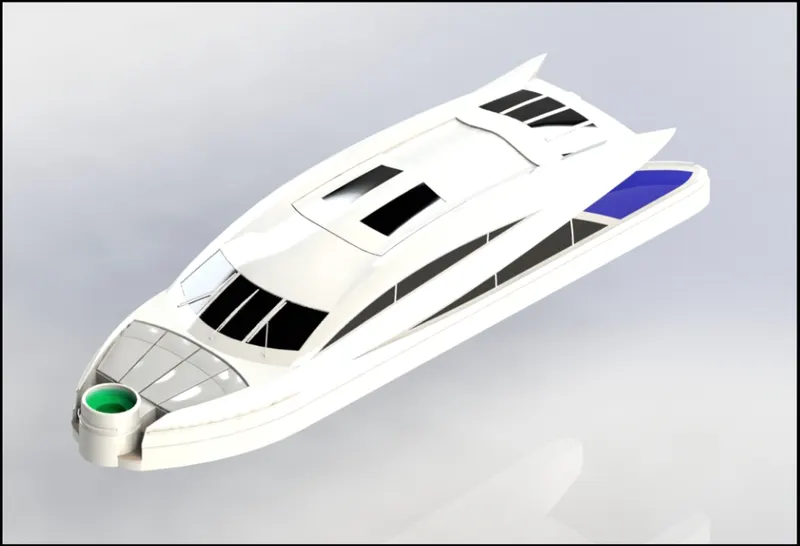
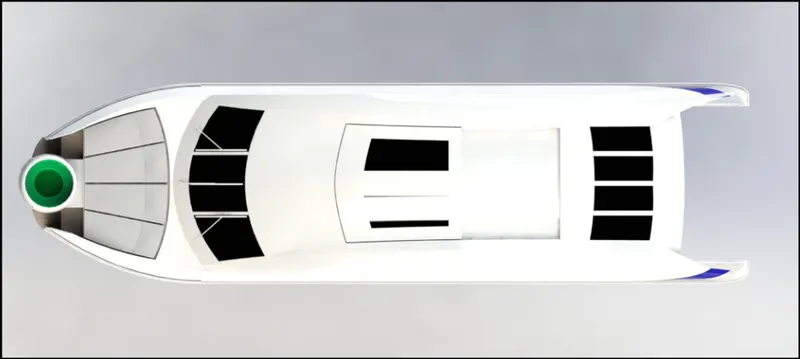
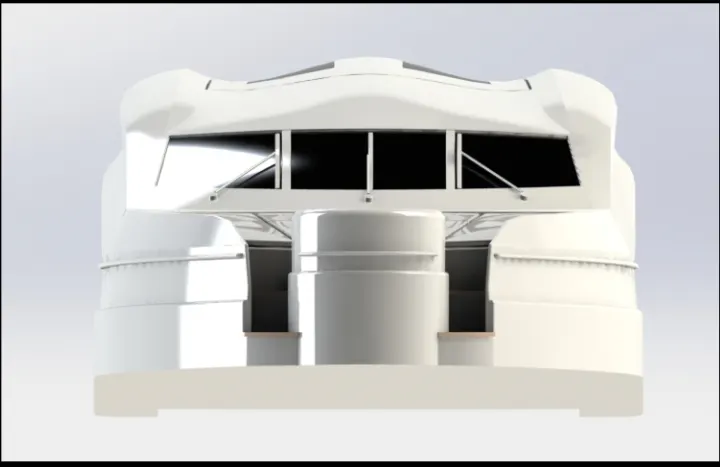
7. SUPERSTRUCTURE-
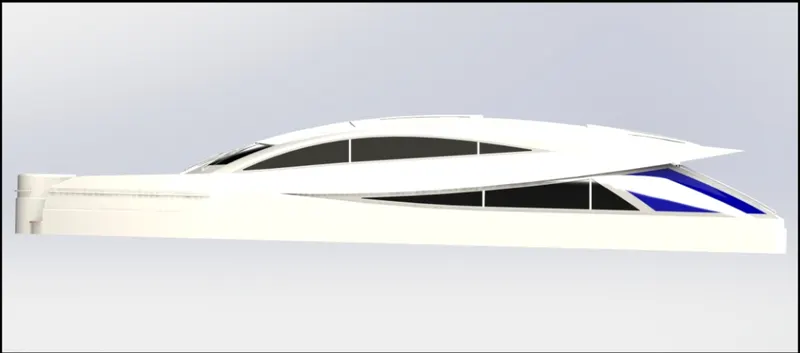
- A superstructure is an upward extension of an existing structure above from deck surface.
- It is made up of different layers which are used for different purposes.
- It provides space for living accommodation, meeting room, etc.
- Features used in designing the superstructure-
- 2D sketch entities
- Surface extrudes
- Surface sweep
- Ruled surface
- Trim surface
- Project curve
- Surface loft
- Surface fill
- Delete surface
- Offset surface
- Trim surface
- Extruded boss
- Swept boss
- Mirror
- Appearances
- Procedure for modelling-
- Open solid works and import the blueprint setup to a new part.
- Insert the surface interface of the hull.
- Create a plane with a reference from the top plane.
- Create half of the surface of the superstructure.
- First create the foundation surface then make other surfaces as required.
- Provide a surface knit on this surface.
- According to the blueprint make windows and sunroof in the superstructure.
- Create the staircase in the front portion of the superstructure.
- Create the handle and wiper part over the window in the front portion of the superstructure.
- Mirror the remaining portion and select the option knit surface and merge entities.
- Apply appearances as required and save the part file.
- Rendered images of the yacht's superstructure are shown below
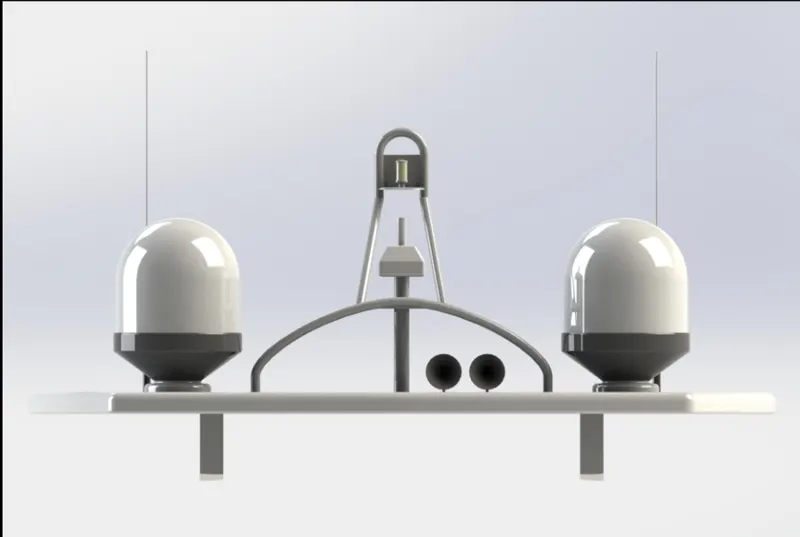
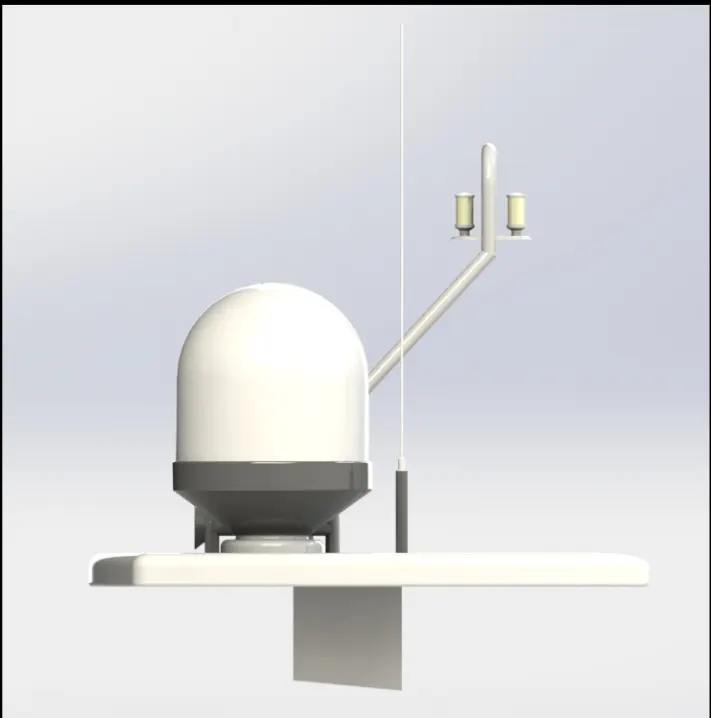
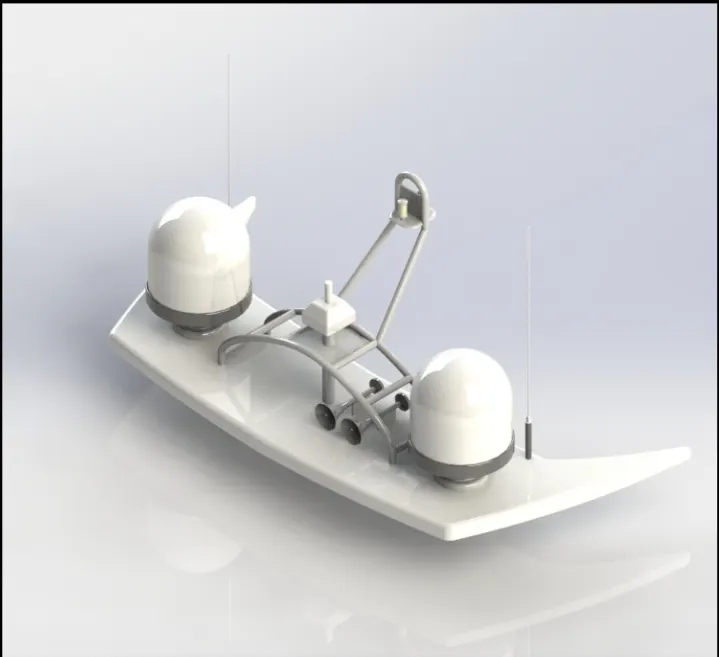
8. RADAR MAST-
- The radar mast is the mounting device of the radar in the yacht.
- It is a mandatory aid to navigation, the radar is used in identifying, tracking, and positioning vessels.
- Features used in designing the radar mast-
- 2D sketch entities
- Solid extruded boss
- Chamfer/fillet
- Revolve boss
- Solid sweep
- Mirror
- Project curve
- Appearance
- Procedure for modelling-
- Open solid works create a new part and import the surface interface of structure to a new part.
- Make the foundation of the radar mast.
- Create the cylindrical tank on the base of the radar mast.
- Provide fillet to the required edges.
- Create the radar holder and light holder.
- Create the two horns on the top of the bottom plate of the radar mast.
- Create the remaining part of the radar by mirroring.
- Apply appearances to the desired surface as per requirement.
- Rendered images of the radar mast are shown below-
9. ASSEMBLY-
- Open solid works and create an assembly part.
- Select the option “insert component”.
- Choose the hull part and import it.
- Next choose the superstructure, front seat, and middle seat and imports them separately to the solid works assembly file.
- Import the rear seat and place it manually by giving the proper mate with the hull from the rear side.
- Import the garage door makes a suitable mate between garage space and garage door.
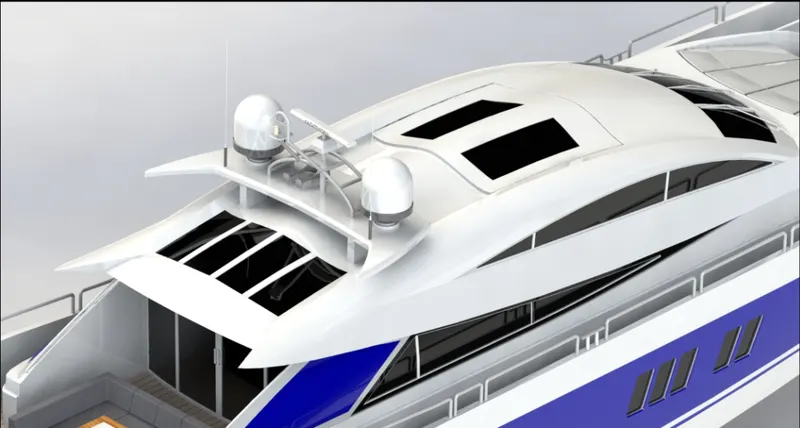
- Import the radar mast and click ok after that import the radar and give desired mates.
- At last, import the propeller 3 times and give the required mates to the propeller with the rotating shaft in the down portion of the hull.
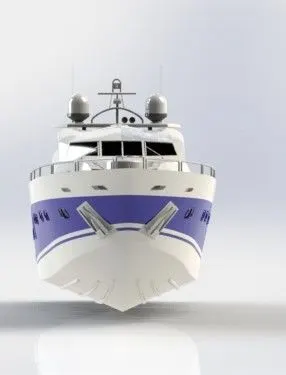
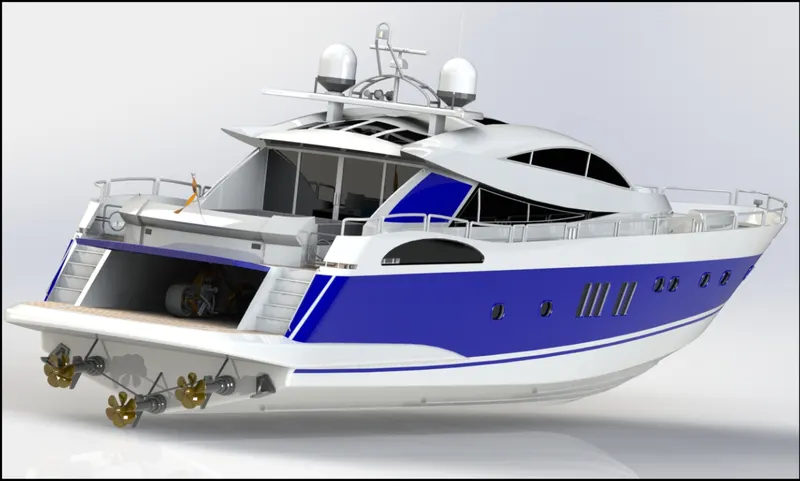
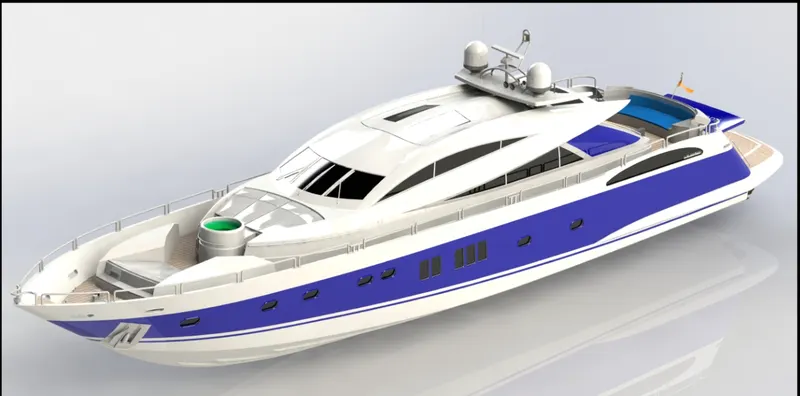
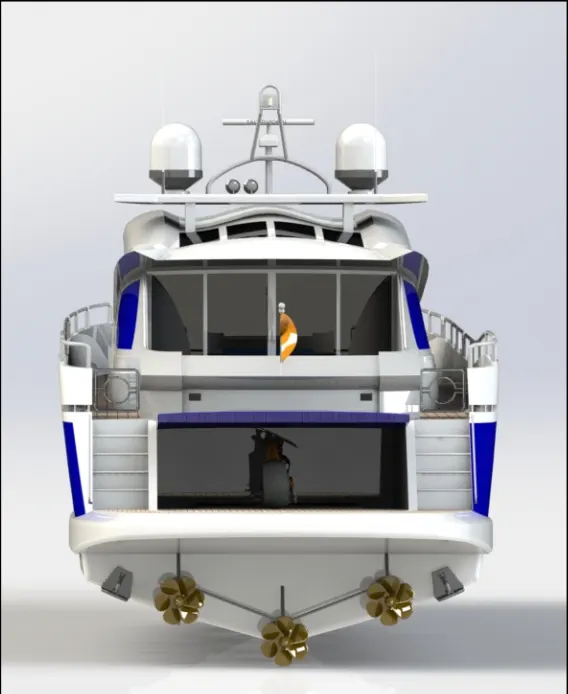
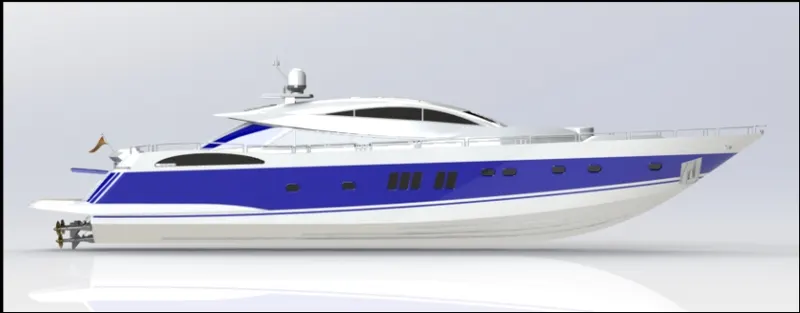
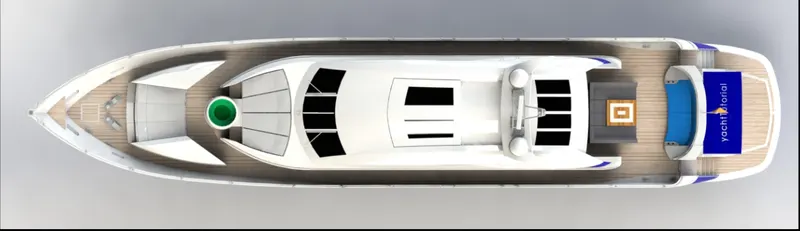
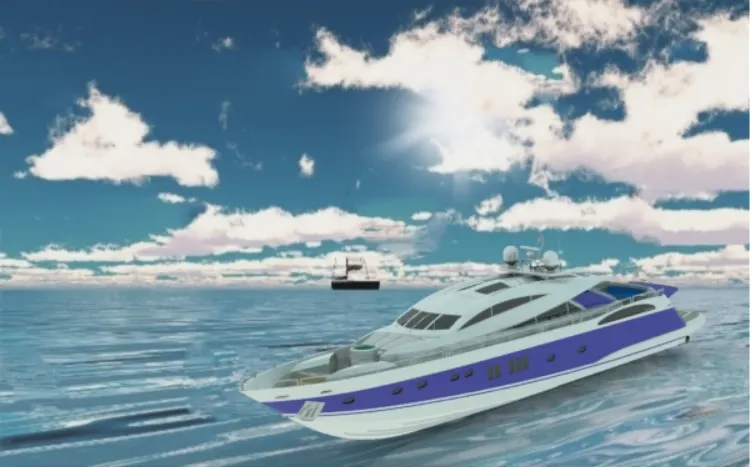
- Rendering images of the assembly are shown below-